Do you have an old pair of jeans? You know, like jeans that have a hole in the knee that you just can’t patch?
You can turn old jeans into a chew toy your pet will love with our DIY denim dog toy!
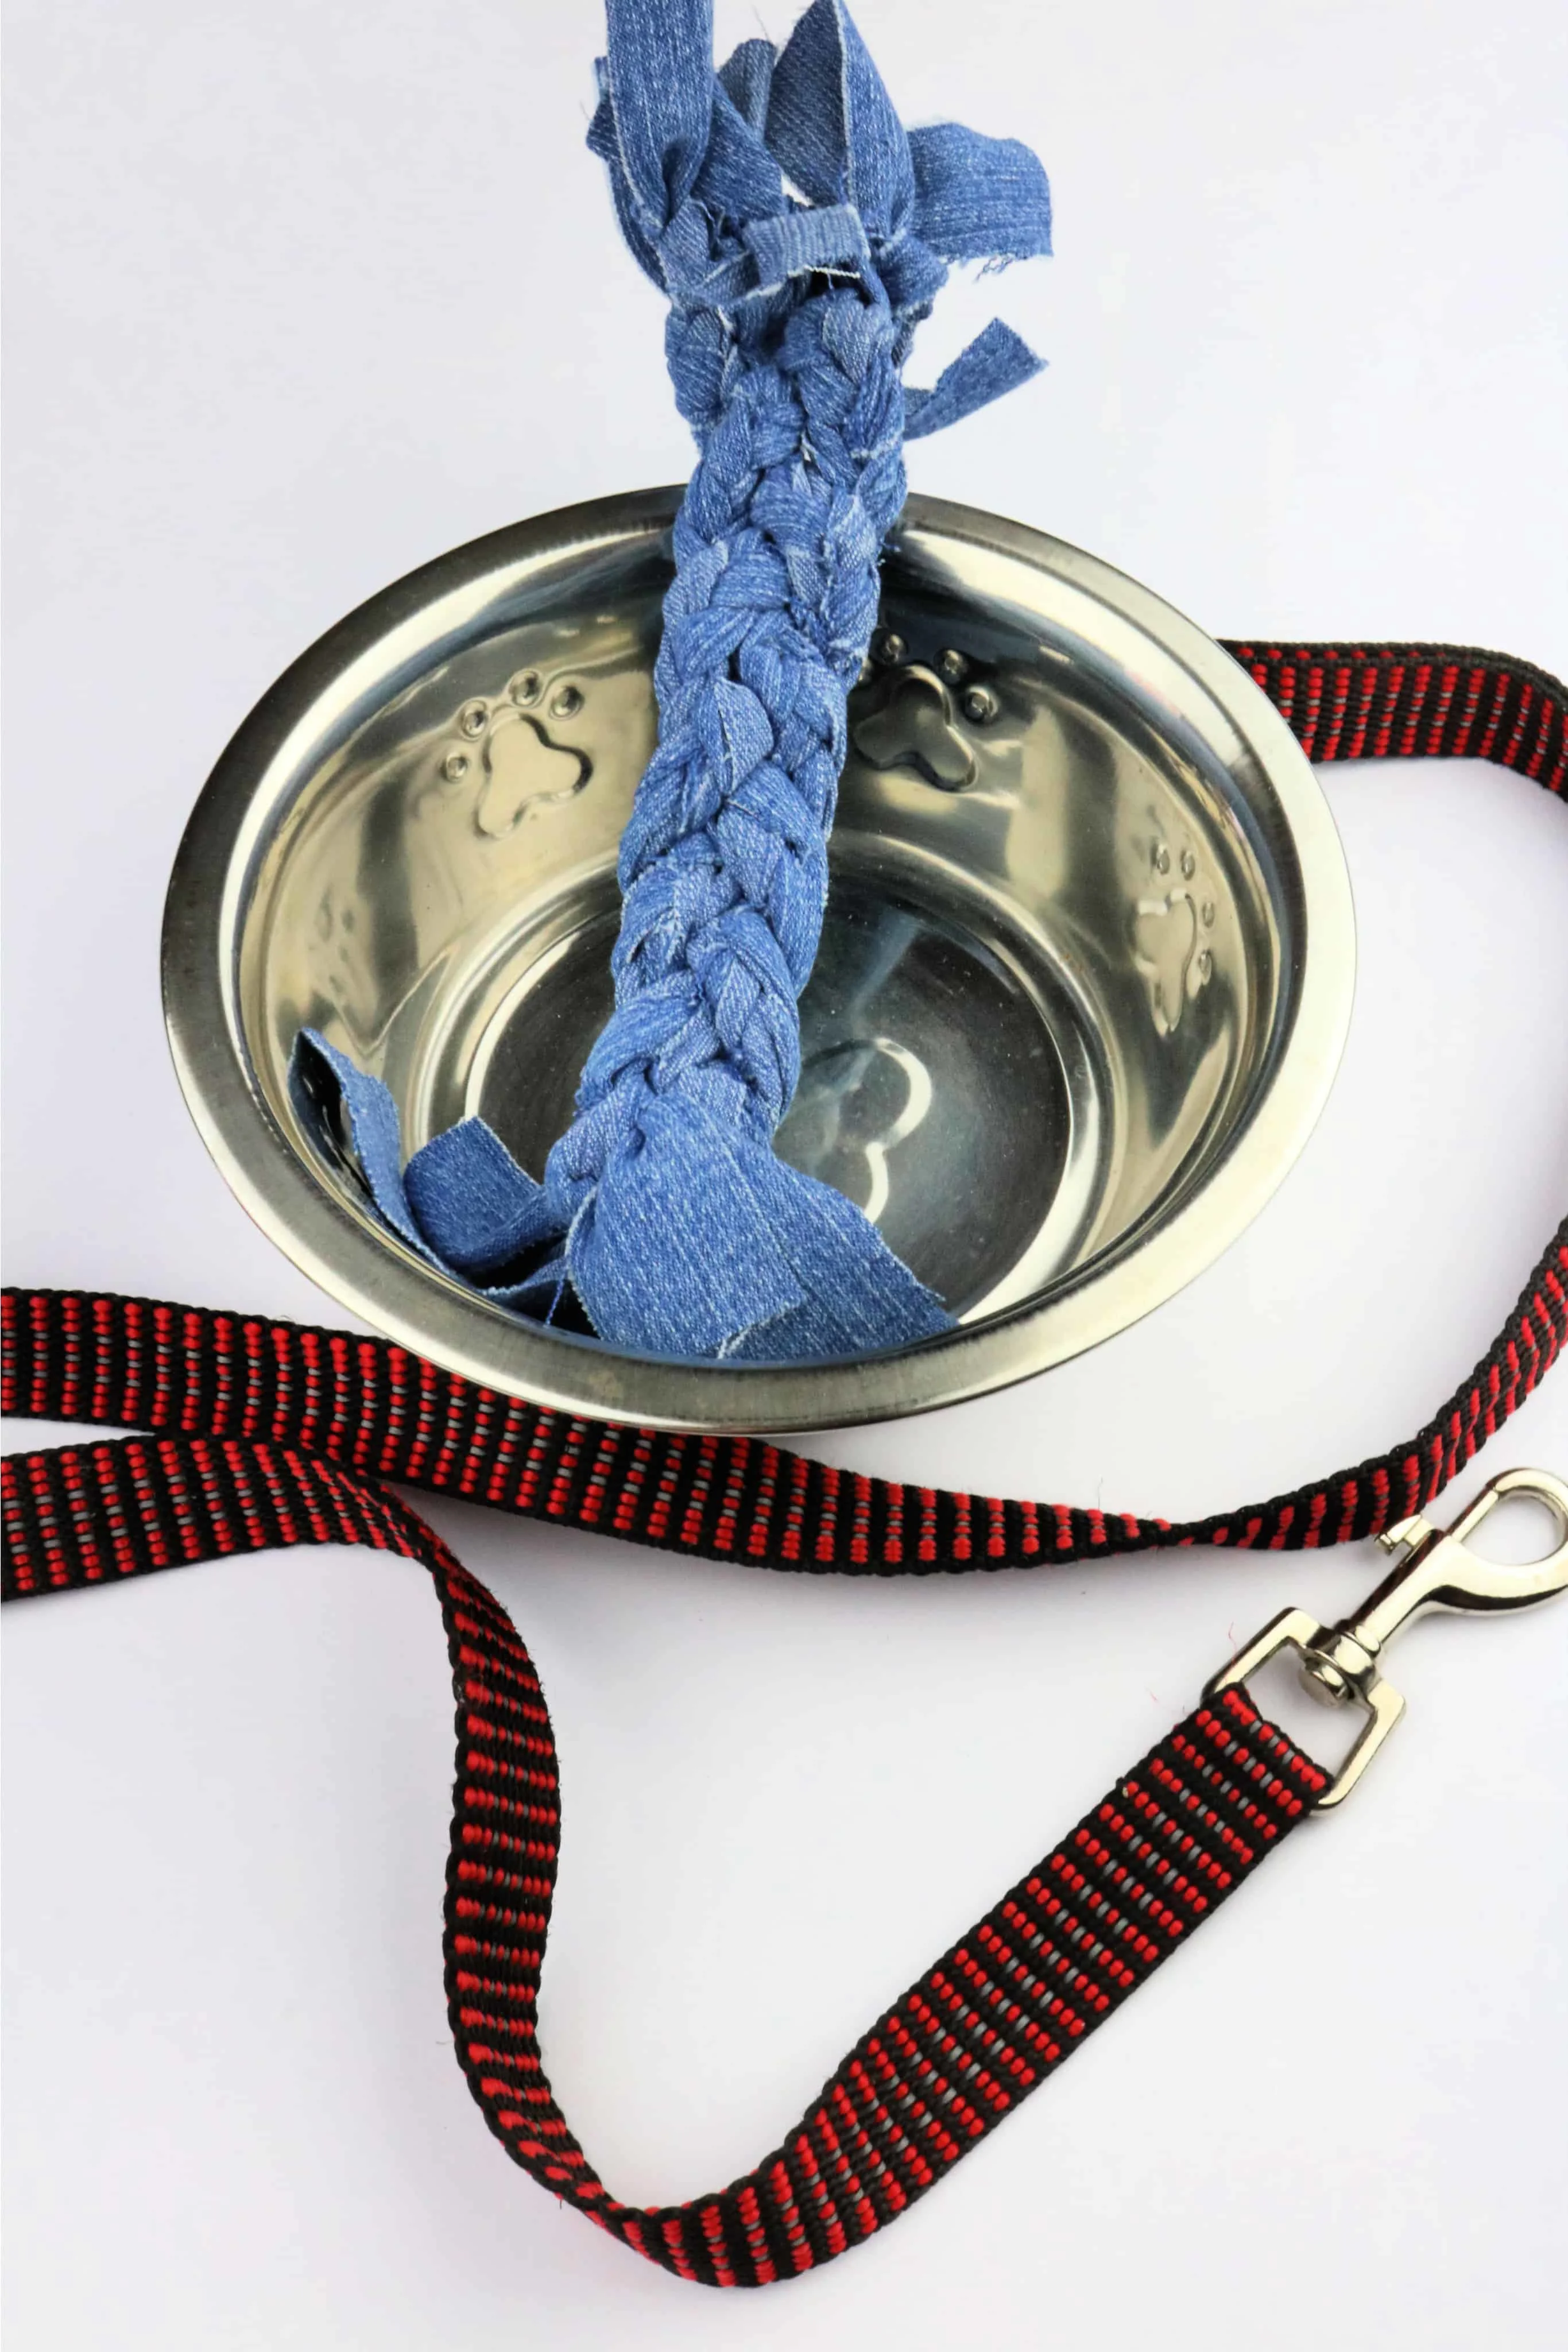
Jeans are strong and sturdy fabric. Which makes them a great material to make dog toys. The denim can stand up to pets pulling and tugging on it, while chewing at the same time.
It is easy to find an old pair of jeans to use for this project. If you don’t have any at home, go to a thrift store and buy a pair for just a dollar or two.
In fact, since you don’t need to wear these jeans, you might be able to score a deal on the ugliest pair of jeans they have! It doesn’t matter what they look like or what size they are since you will be cutting them up.
You could get them for just a few cents!
What’s even better is that this project requires no sewing or any fancy supplies. Nope! Just jeans, scissors and a ruler.
It literally can’t get much more simple than that.
Check out my other easy Dog DIY crafts:
- No Sew Dog Bed
- DIY Snuffle Mat for Dogs
- Engraving Dog Tags with Cricut
- 5 Second Rule Dog Sign
- Custom Dog House
- DIY Dog Paw Balm Recipe
Can I Wash This Dog Toy?
Yes, you can wash this pet toy because it is just made out of denim. You are able to wash it on hot water because you don’t have to worry about shrinking or damage (assuming the jeans were already pre-shrunk by washing in hot water and/or a dryer).
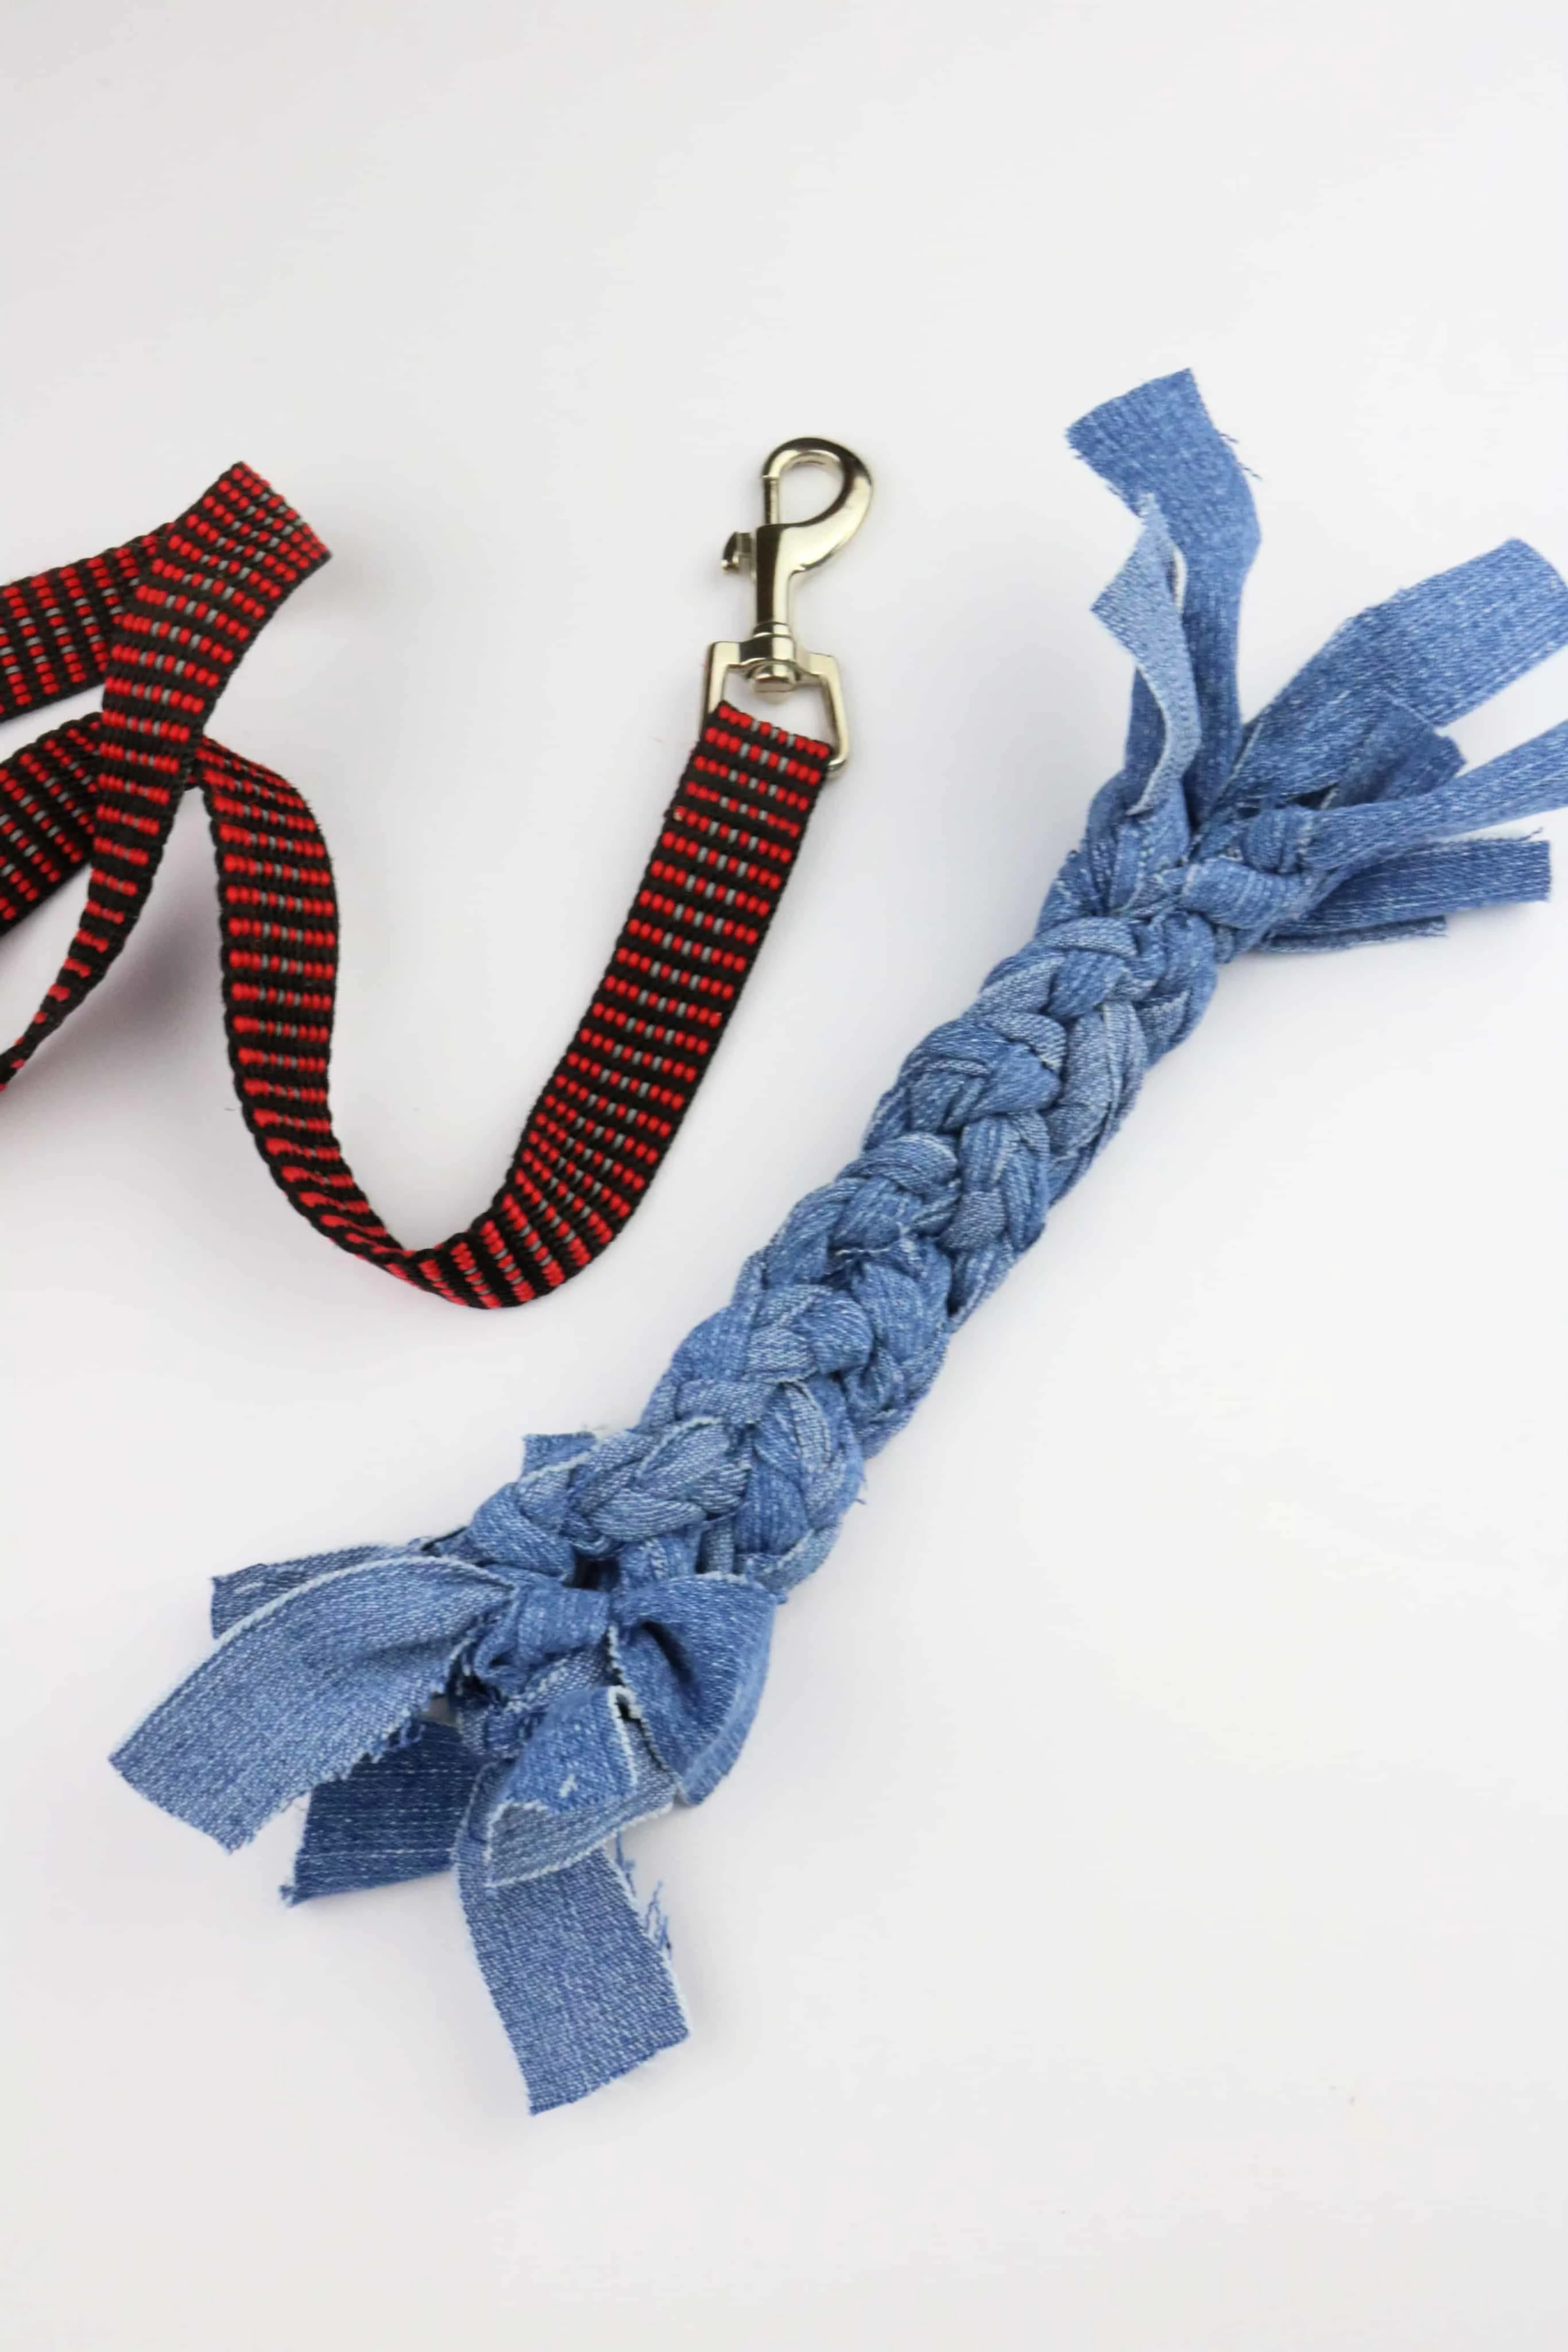
How to Make a Denim Dog Toy
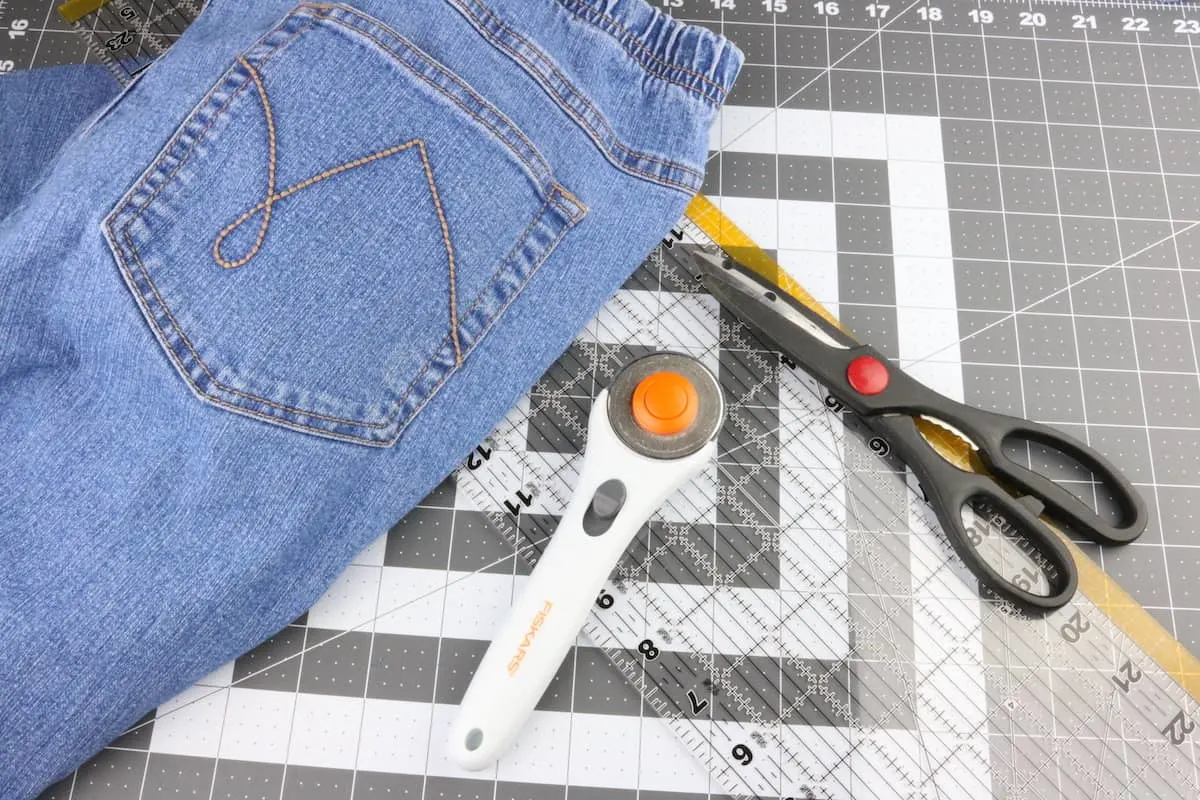
Supplies
- Old jeans or denim fabric
- Scissors or a Rotary Cutter
- Ruler or Cutting Mat
Instructions
Step 1:
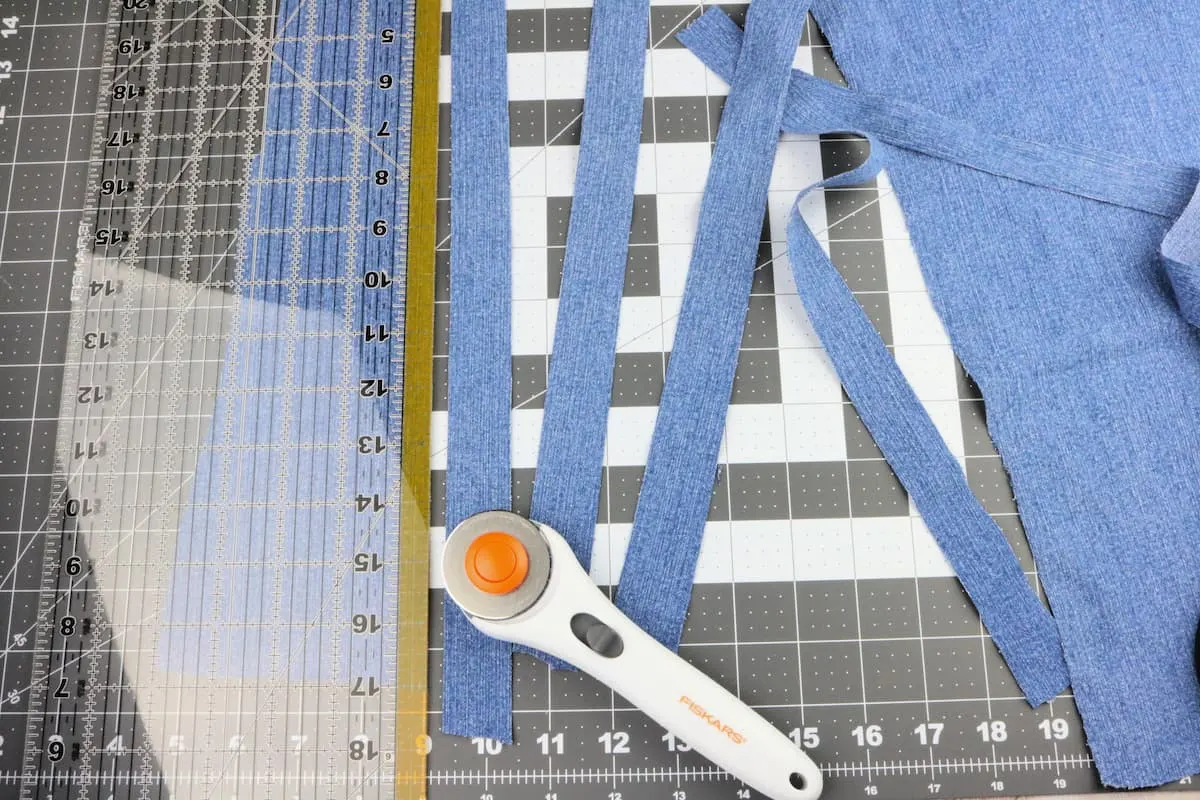
Cut jeans into strips that are about one inch wide by at least 19 inches long. It works best when you cut from the leg of the jeans.
You need 9 strips.
Step 2:
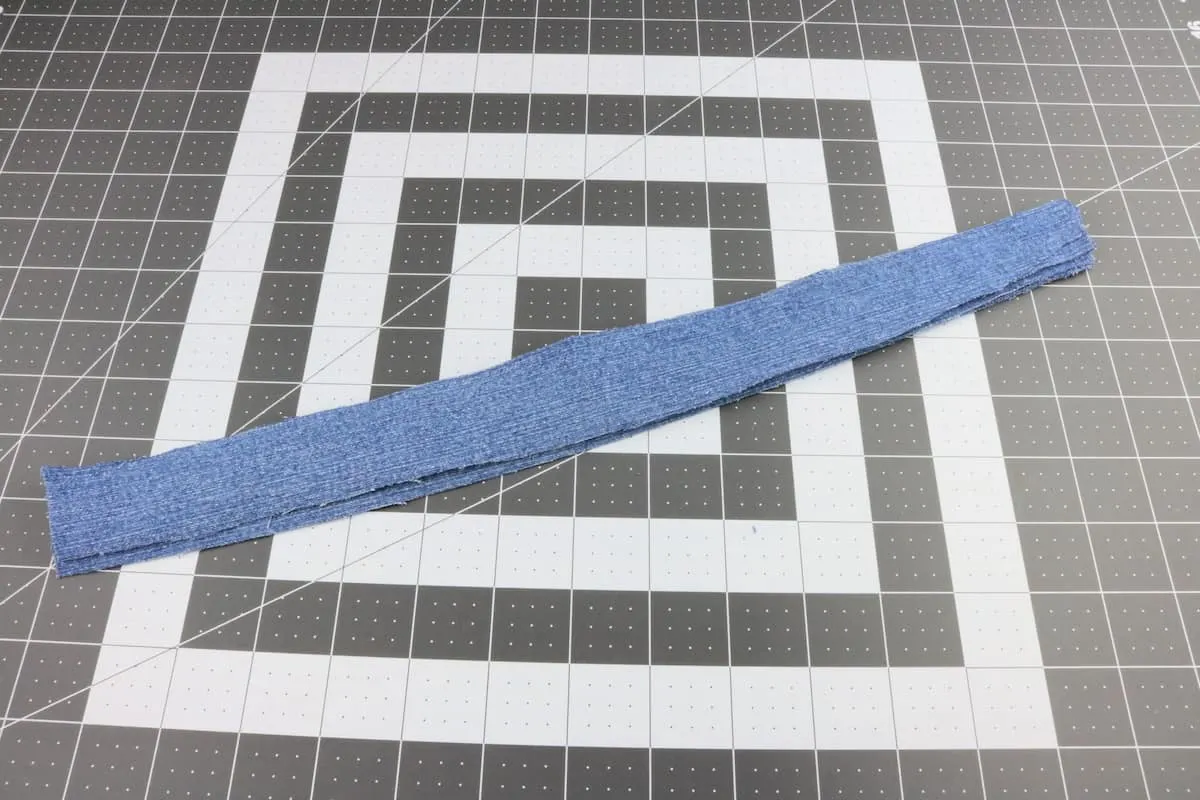
Lay all of the pieces on top of each other in a stack with the cut ends lined up.
Step 3:
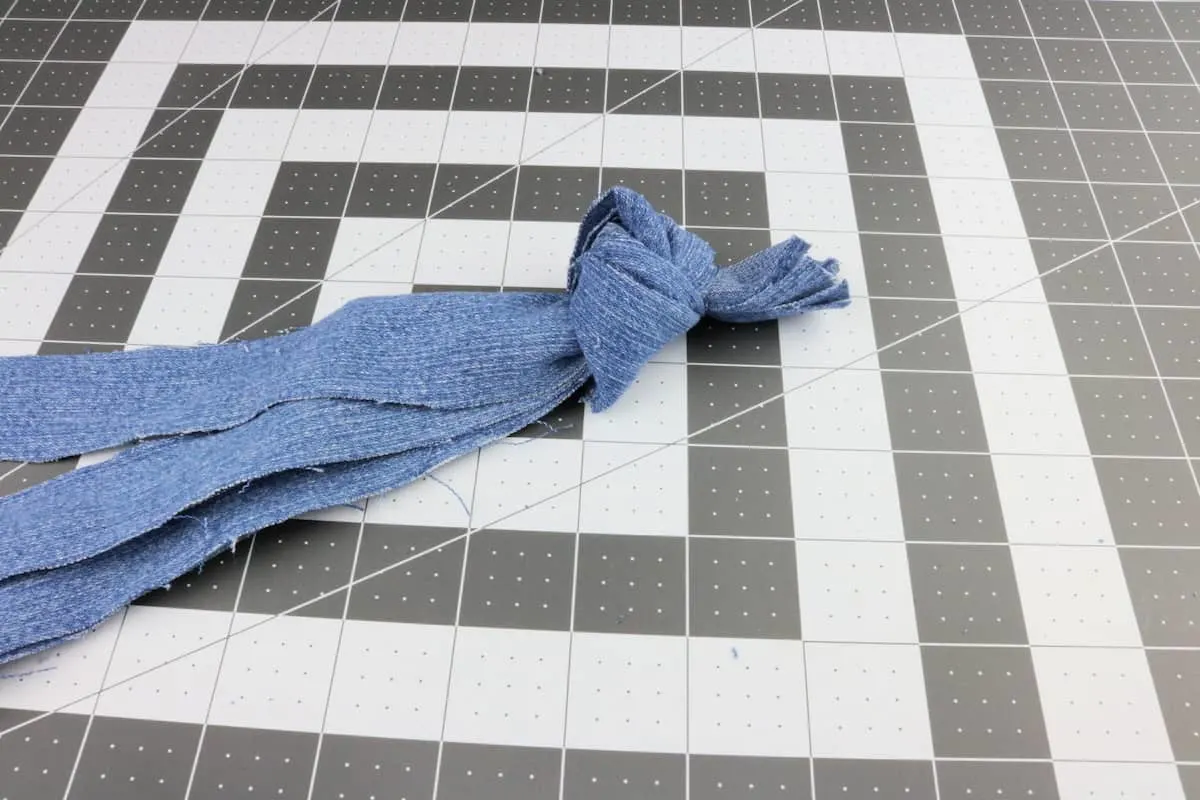
On one end, tie all the pieces into a knot to hold them together. This step isn’t necessary, but you do need to have another way to hold them together. For instance, a large binder clip, rubber band, etc.
Step 4:
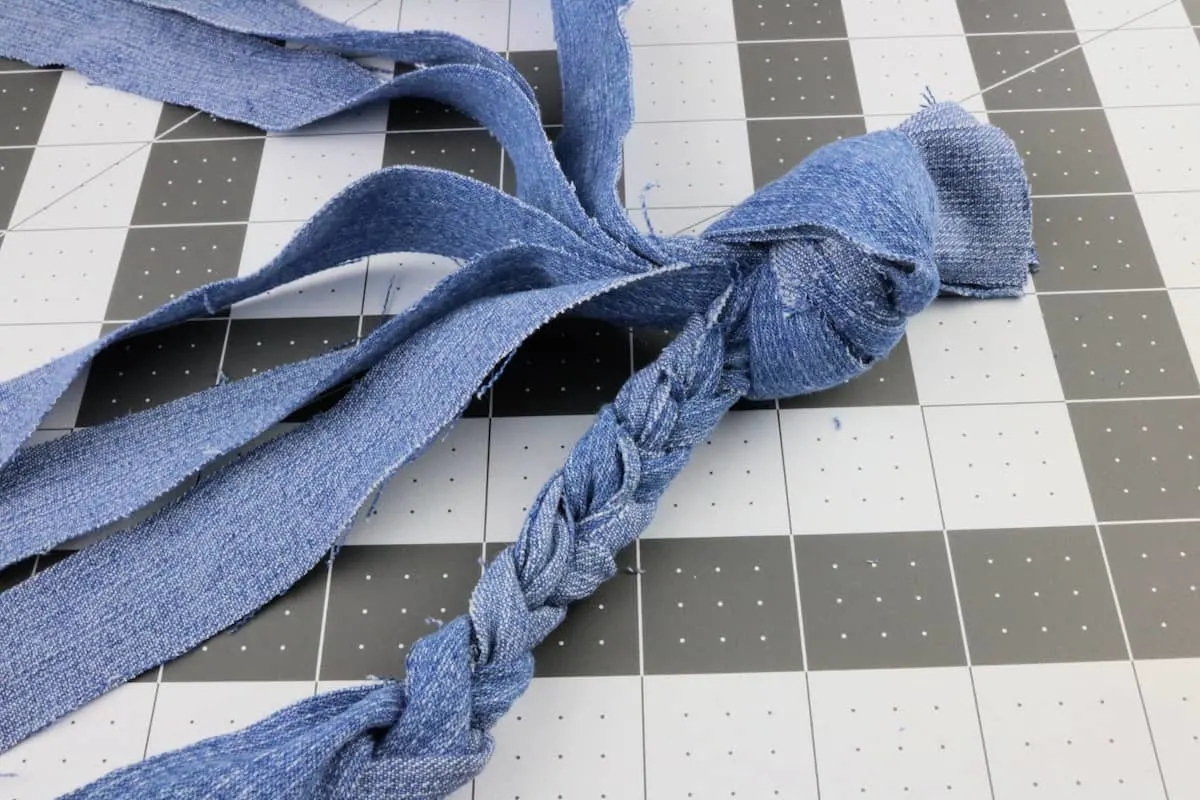
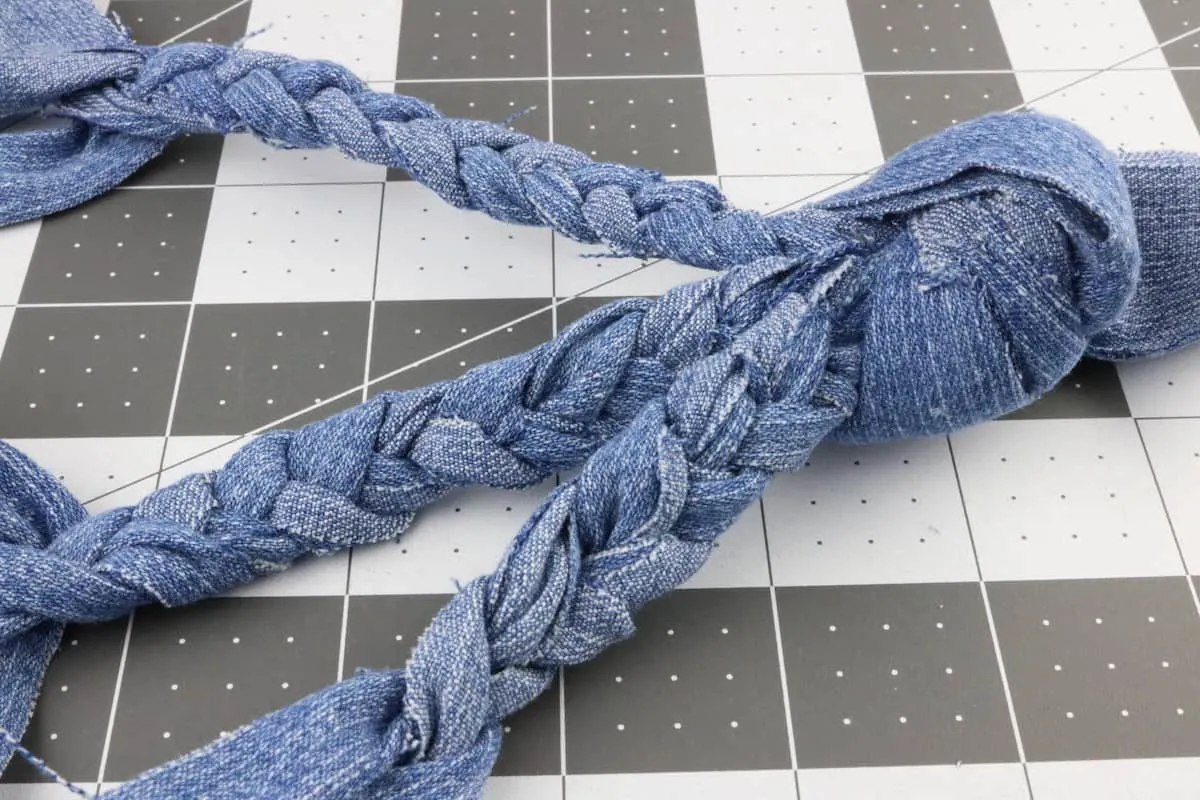
Take three pieces that are side by side and braid them together.
Step 5:
Now, repeat step 4 by braiding the next three pieces that are near each other. And finally braid the remaining three pieces. Now you will have a total of 3 braids.
Step 6:
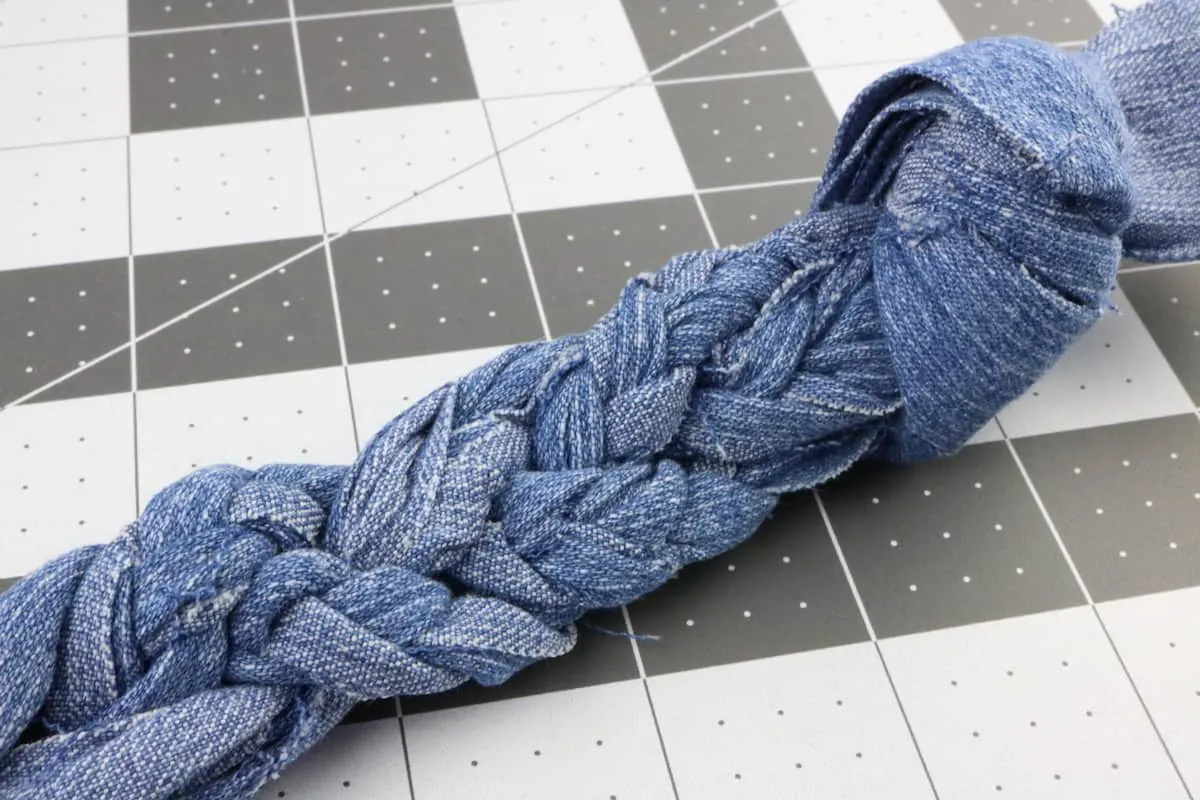
Take those 3 braids and braid them together to form one large, thick braid.
Step 7:
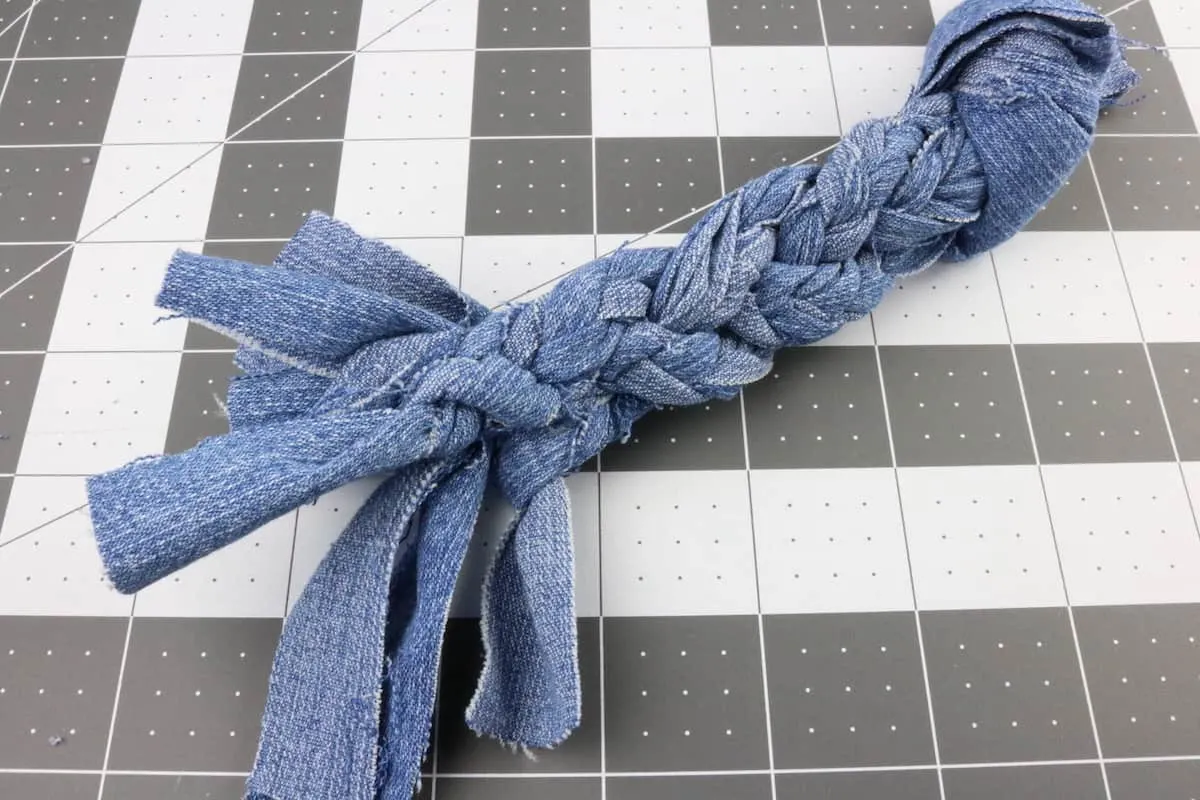
Tie the ends off by tying them to each other until they are all tied to another piece. Make sure you tie them to a piece that is not within its own braid.
Step 8:
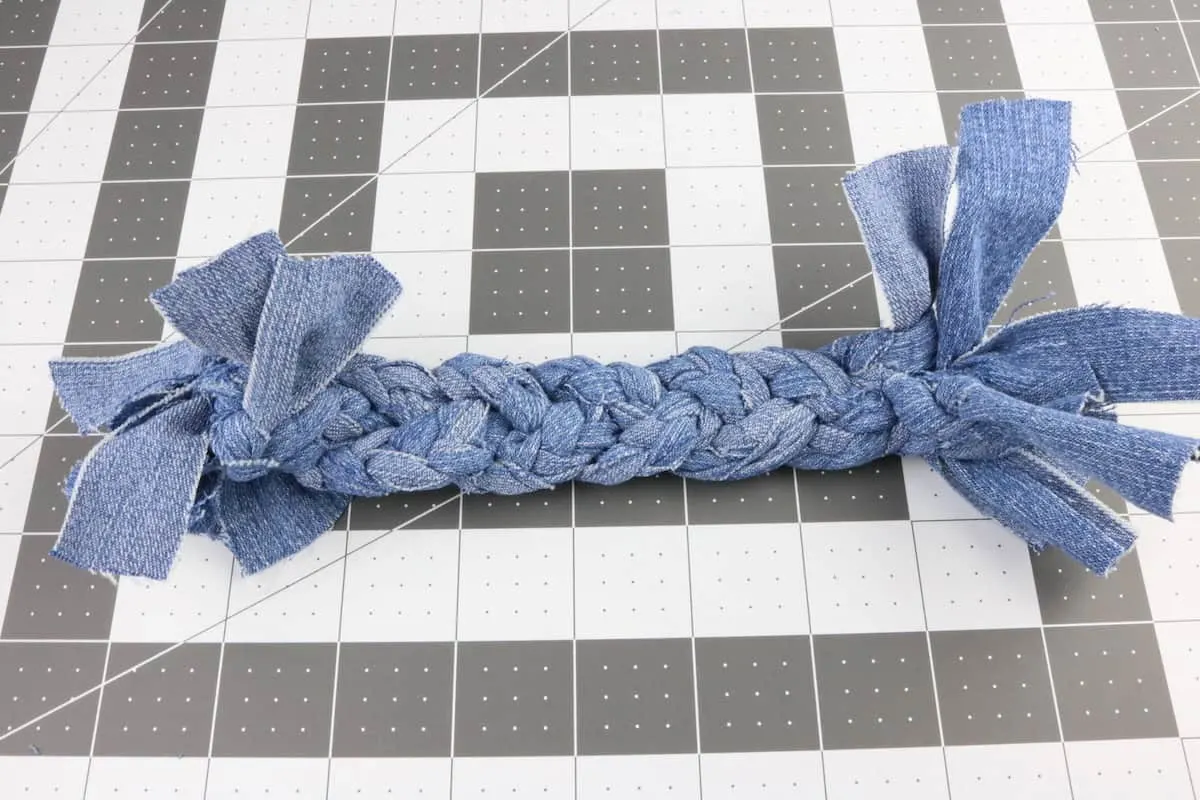
Unknot the other end or unclip. Then tie those ends just like you did on the other end in Step 7.
Be sure to Pin This DIY so that you won’t forget it!

