


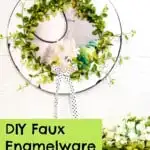
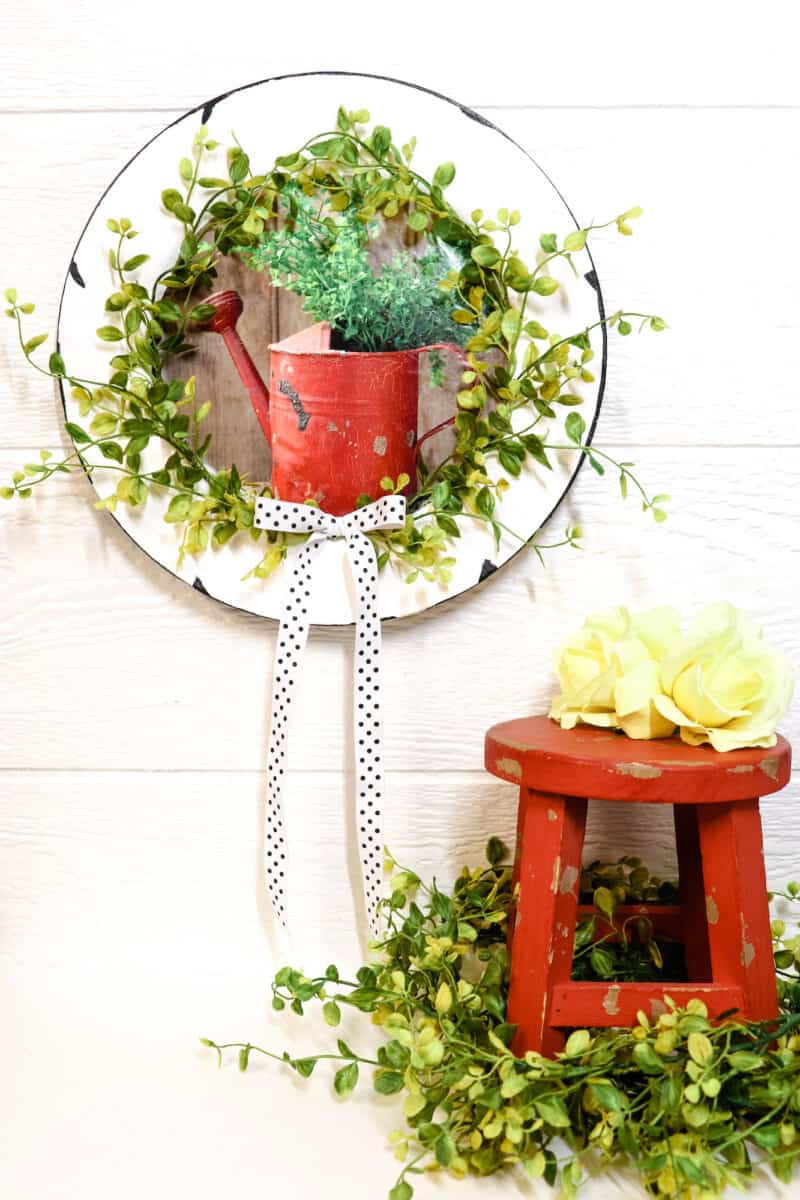
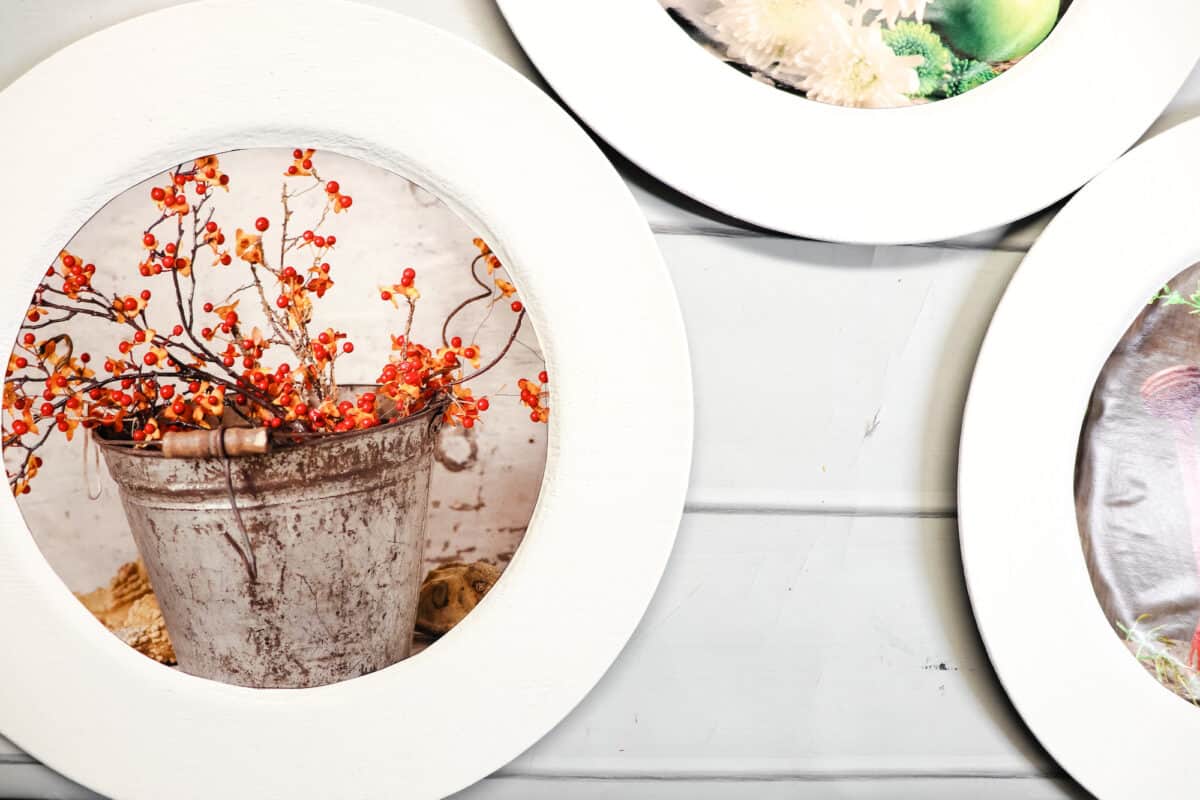
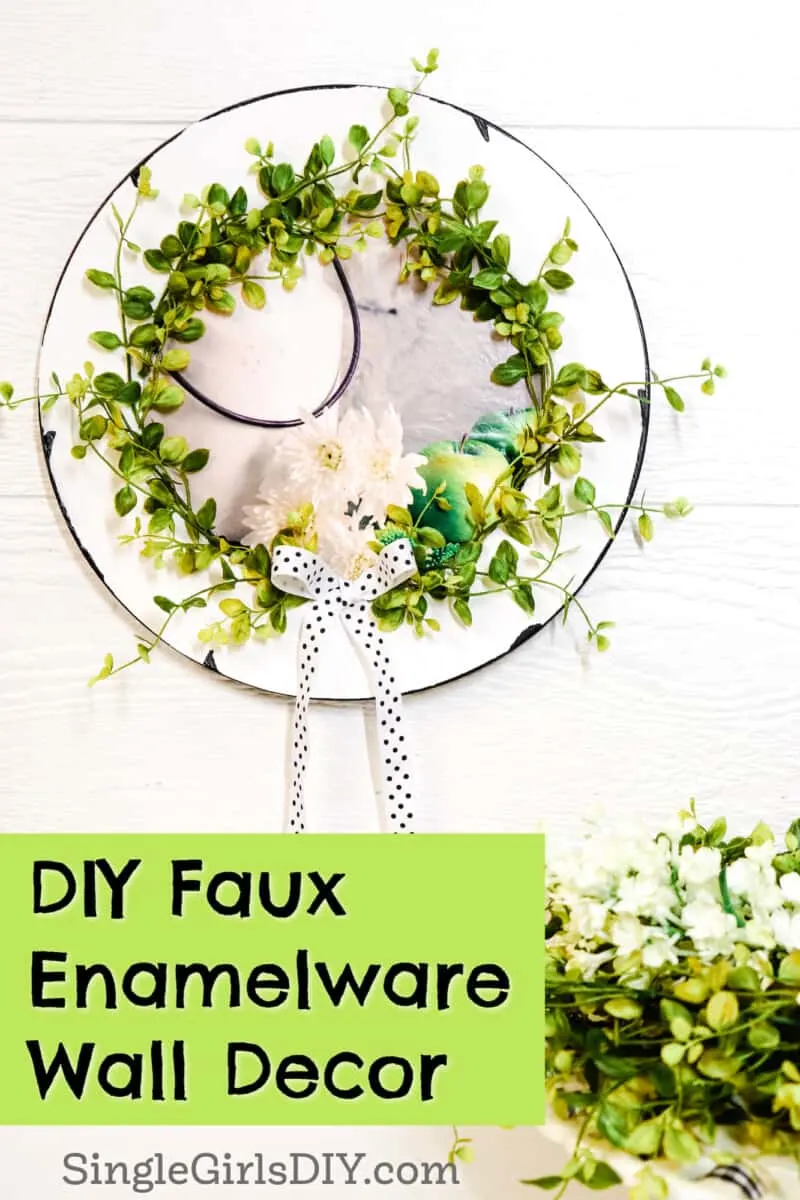
Sometimes the most beautiful items in our home don’t cost much money at all. That’s true for these faux enamelware charger plates. These stunning wall decorations cost just a couple dollars to make, yet they look very high end and stylish.
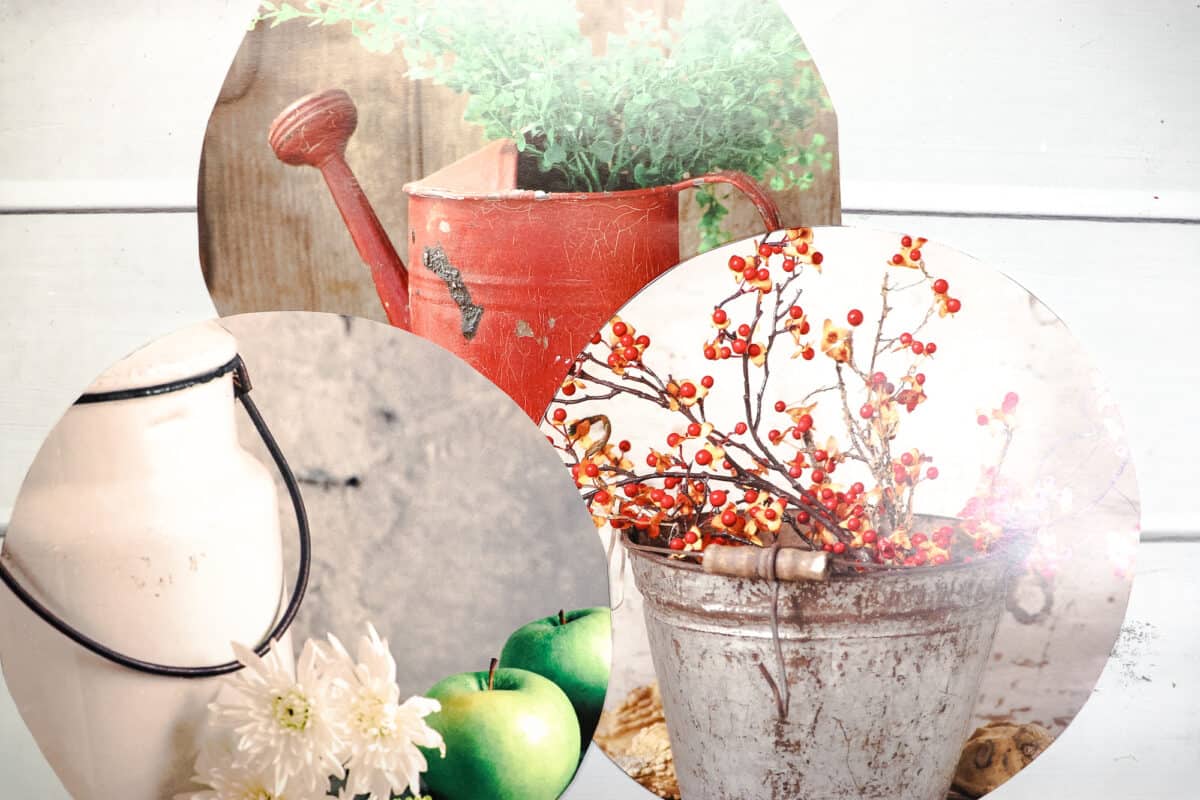
I turned plain plastic charger plates from the Dollar Tree into these farmhouse-style decorative accents. Using beautiful photos from a wall calendar, I turned the ho-hum plates into pretty wall art.

While real enamelware dishes can be expensive, I made my own vintage-looking enamelware with paint and a brush. It is really easy to give an antique look to these brand new items.
Can’t you just imagine these pieces hanging in a farmhouse years ago?


I bought these charger plates for $1 each. However, I have found stacks of them at the thrift store for even cheaper than that, so be sure to look for them. After all, if you are painting the plate white, it doesn’t matter what they look like beforehand.
Be sure to see how I turned a gold charger plate into a Scarecrow decoration for Fall.

Almost all of the supplies were bought at the Dollar Tree. The picture frame hangers were the only thing I ordered online, but you might just be able to find them at a dollar store, too!
If you like this stunning transformation, be sure to check out all of my Dollar Store craft ideas.
How to Make a Faux Enamelware Charger Plate Decorations
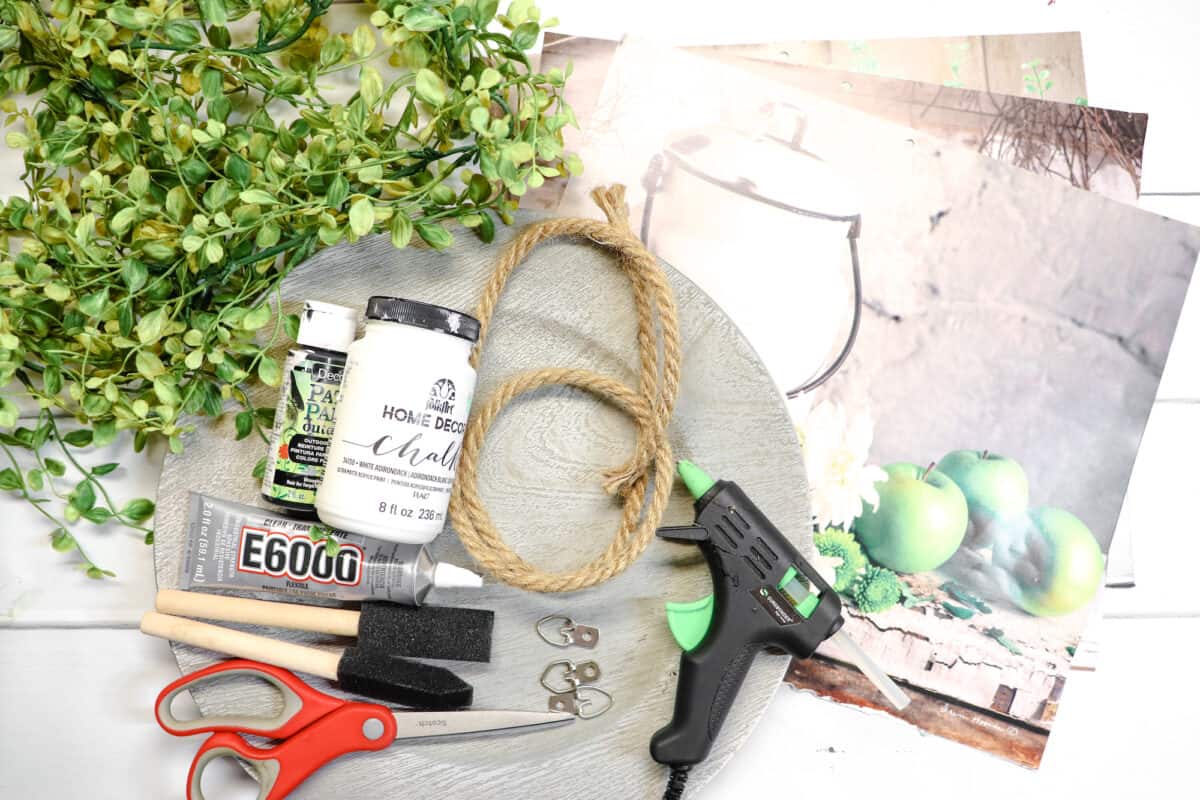
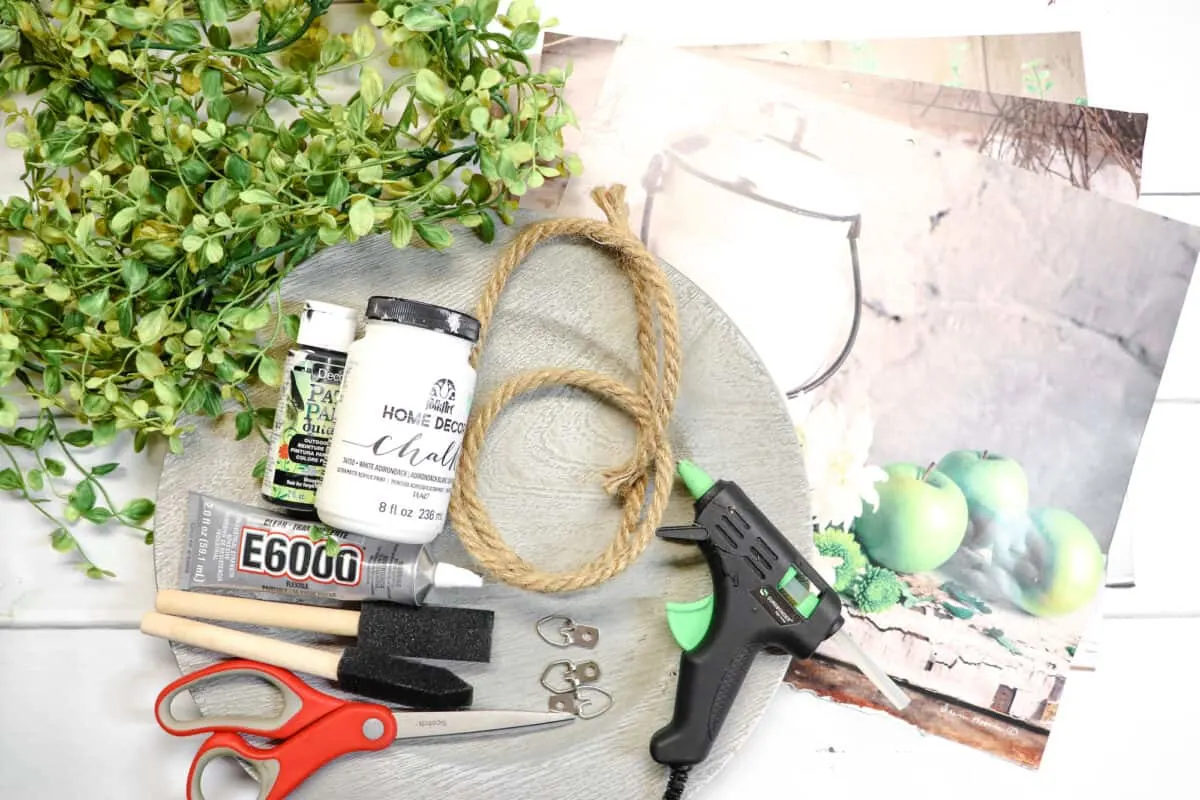
Supplies
- 3 charger plates
- 3 calendar pictures from a wall calendar
- Free Circle Template
- Nautical rope
- Greenery or garland (I used boxwood)
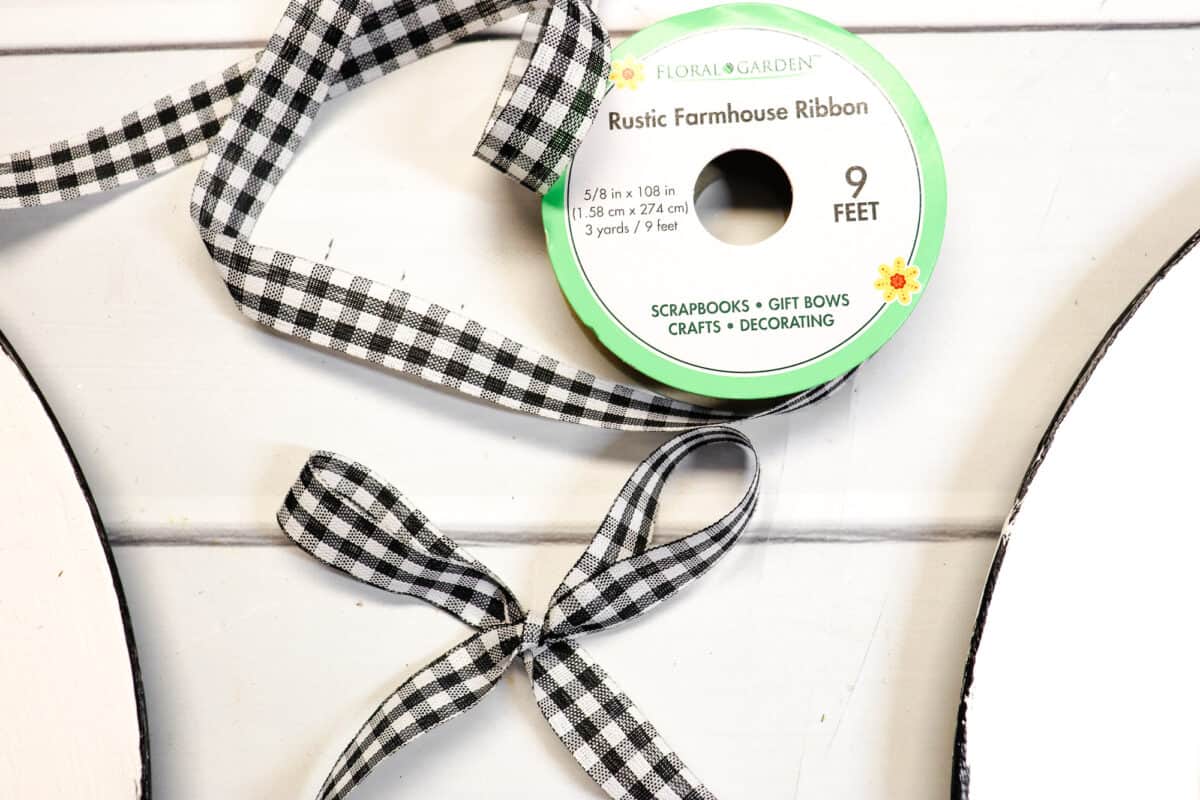
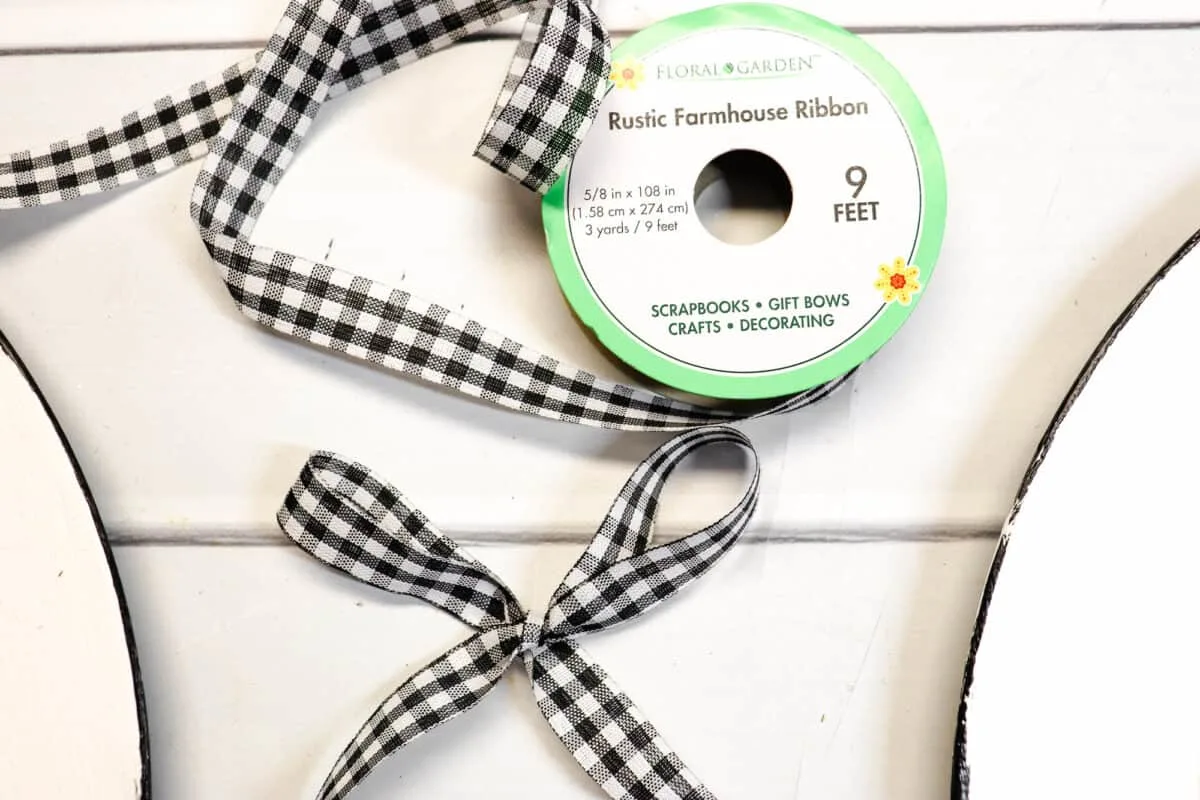
- Buffalo check gingham ribbon
- White and black polka dot ribbon
- White chalk paint
- Black paint
- E6000
- Hot glue gun
- 2 foam brushes
- Scissors
- 3 picture frame hangers or Command Hooks
Instructions
Step 1
Print out the smiley face circle template and cut it out. This should fit perfectly in the center of your charger, but check to be sure. Trim any excess off as necessary.
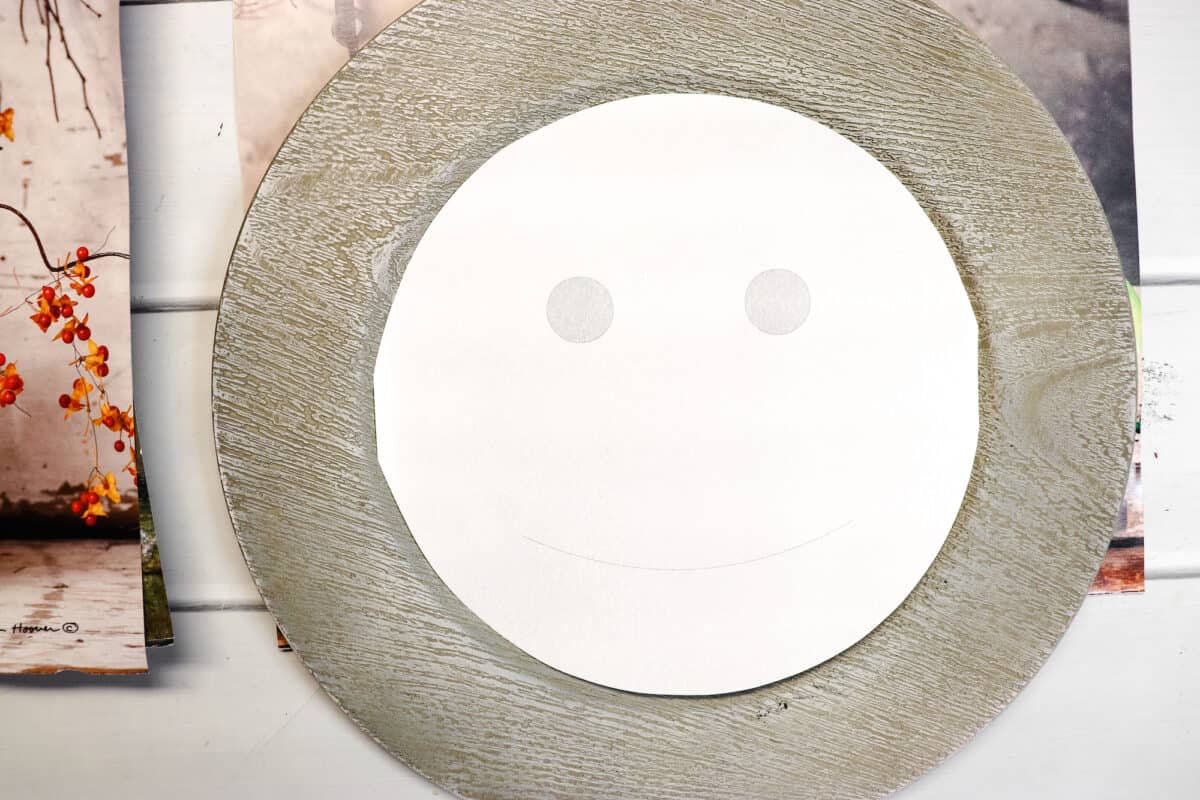
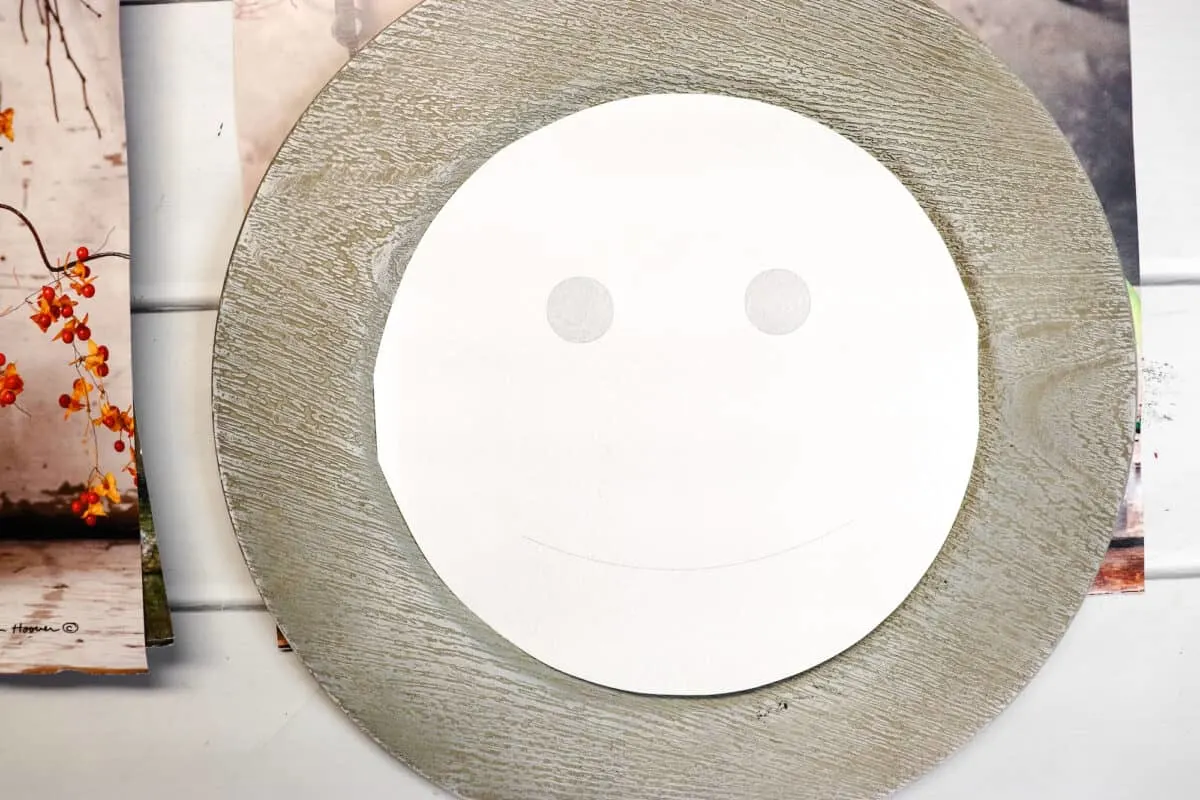
Place the circle template on a calendar page and trace around the circle. Be sure to position the template with the prettiest part of the image underneath the circle. You might need to hold it up to the light to position before drawing the circle.
Cut out the print from the calendar page.

Step 2
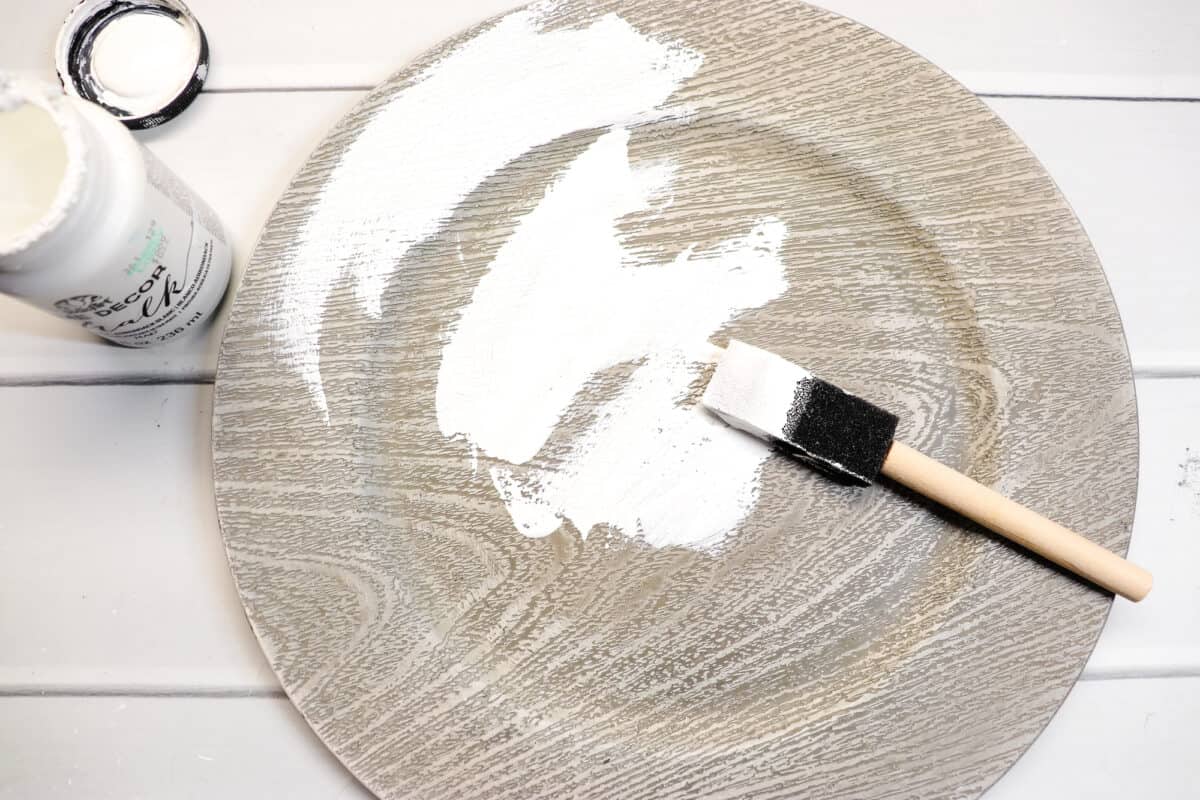
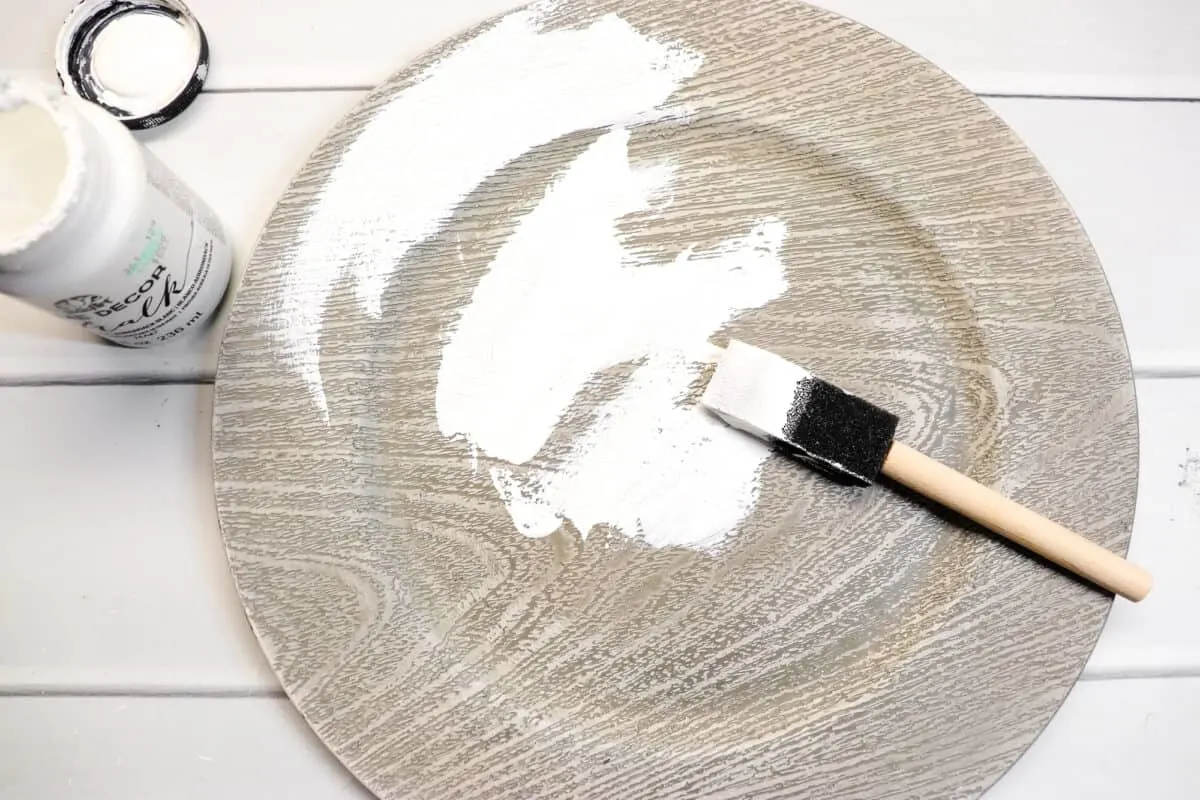
Paint the chargers with white chalk paint. Allow to dry.
Step 3
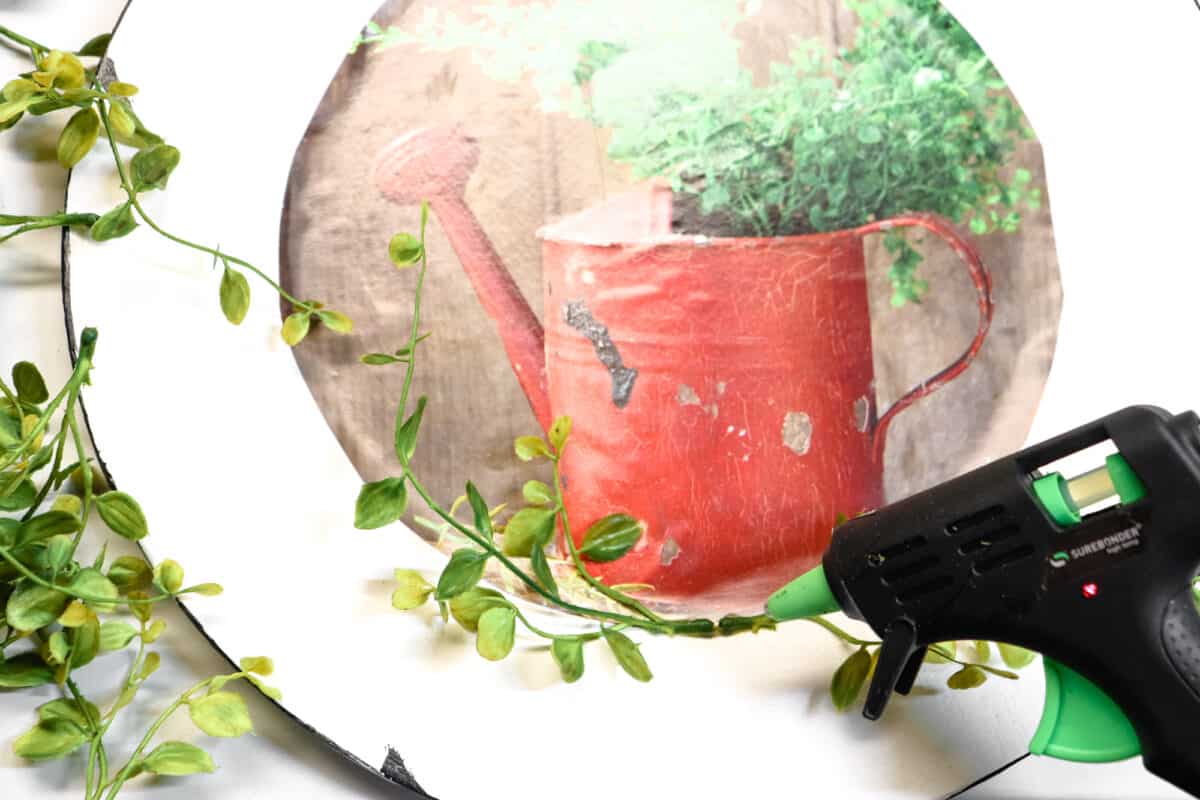
Hot glue the cutout calendar circles to the center of each charger.
Use the glue sparingly so that it doesn’t make lumps underneath the picture.

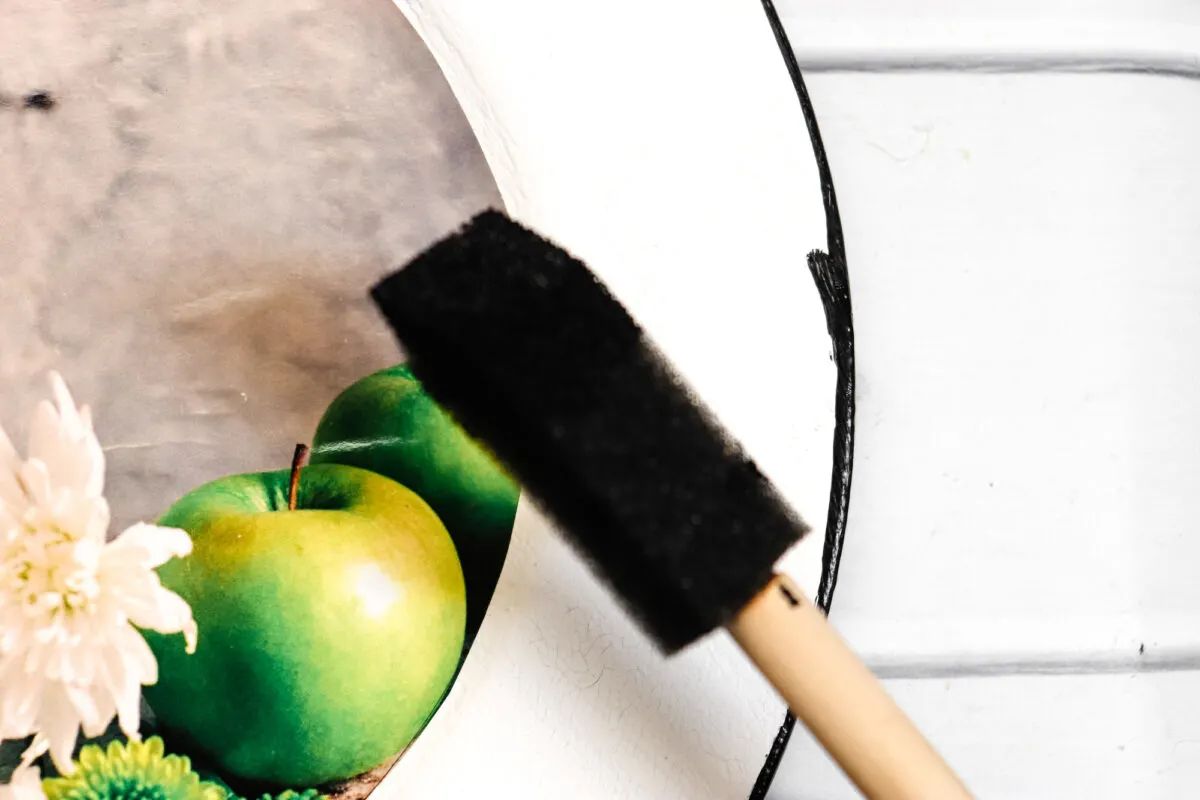
Step 4
Use a foam brush to paint black edges around the chargers and a few little spikes on the edges to look like worn enamelware.

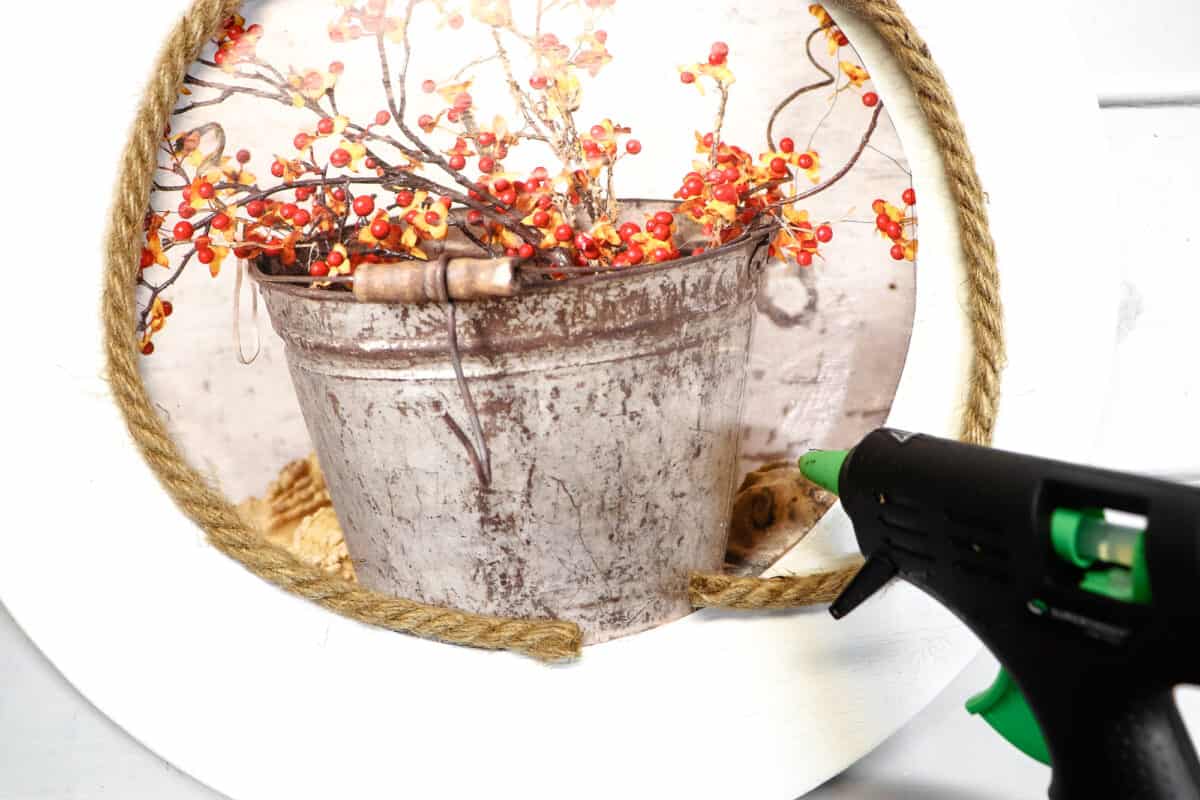
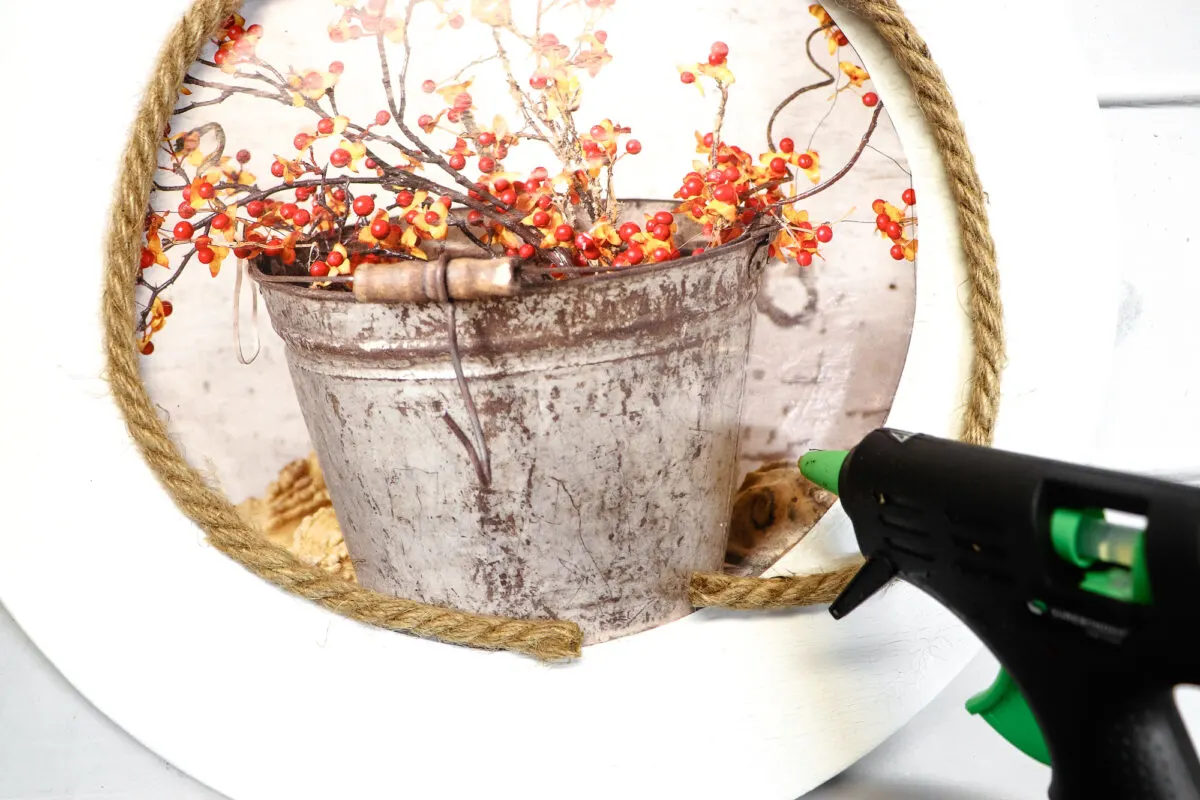
Sep 5
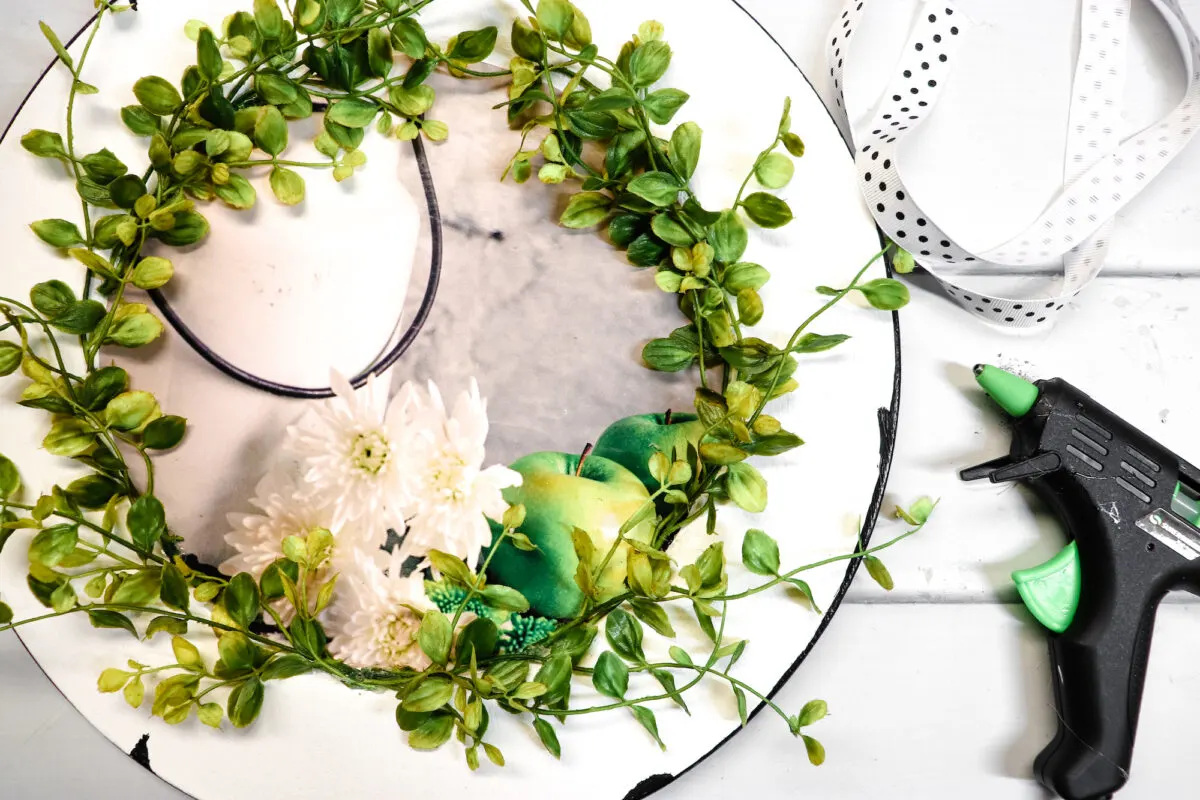
Now it is time to decorate the inside edges of the charger plates. Hot glue your decorations to the inside edge of the plate to cover the cutout edges.
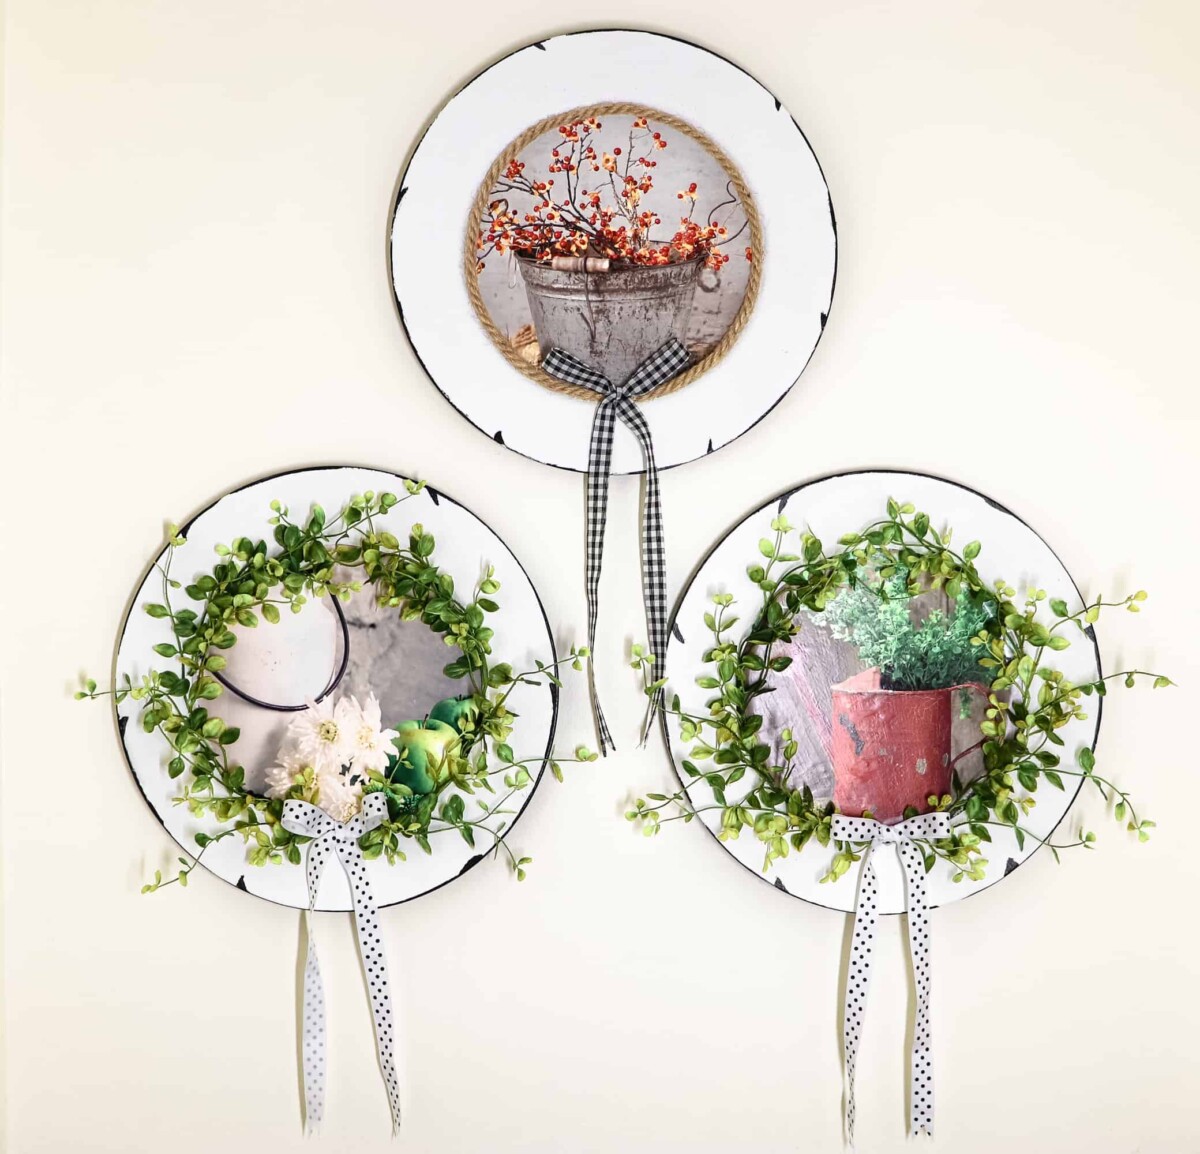
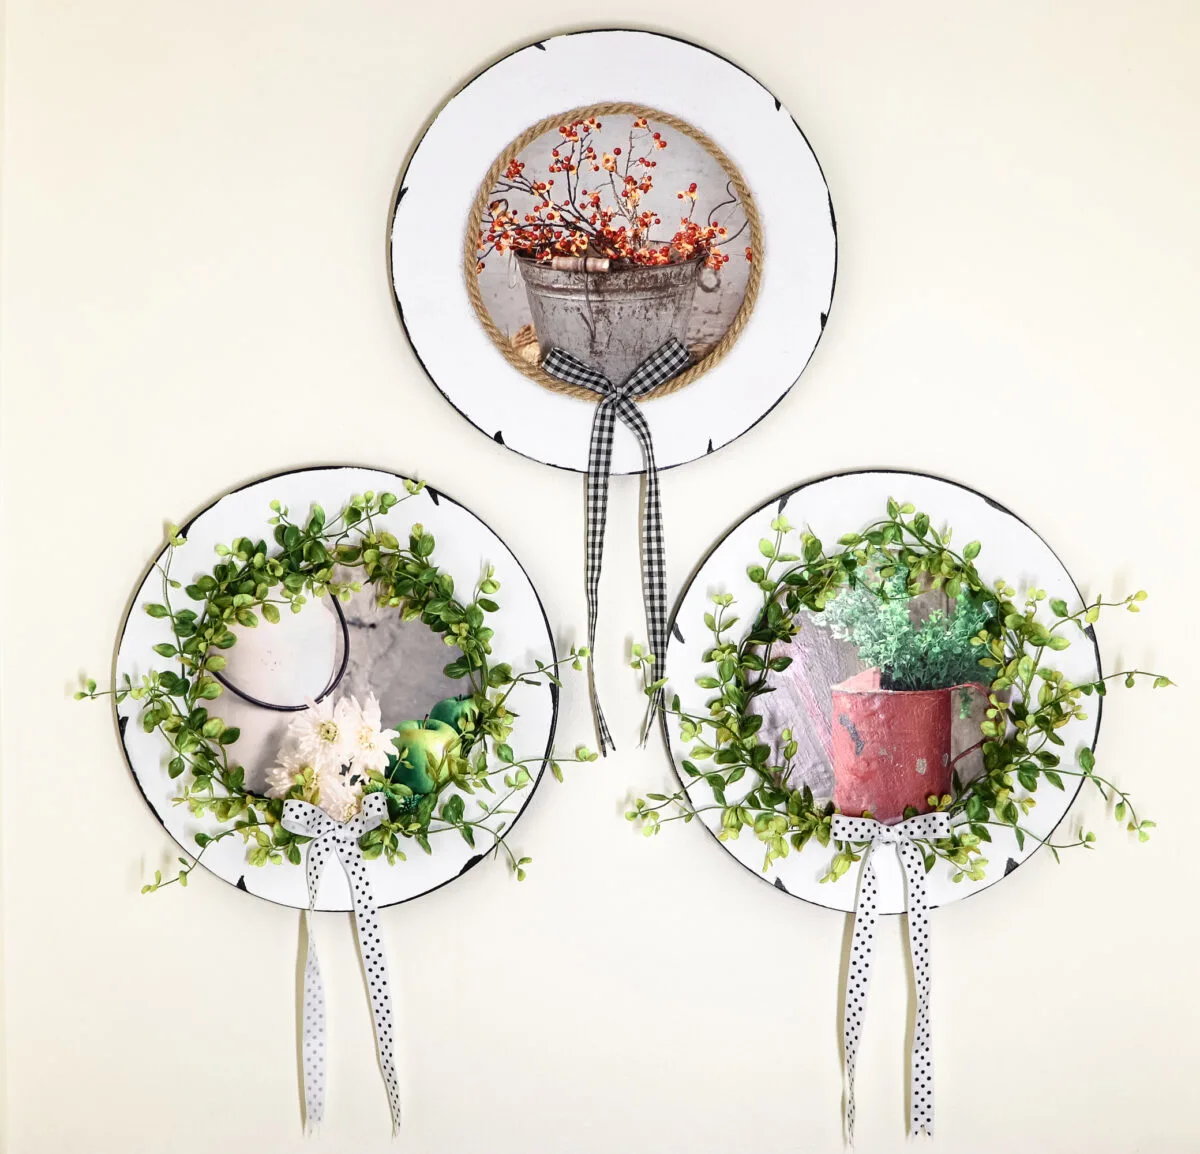
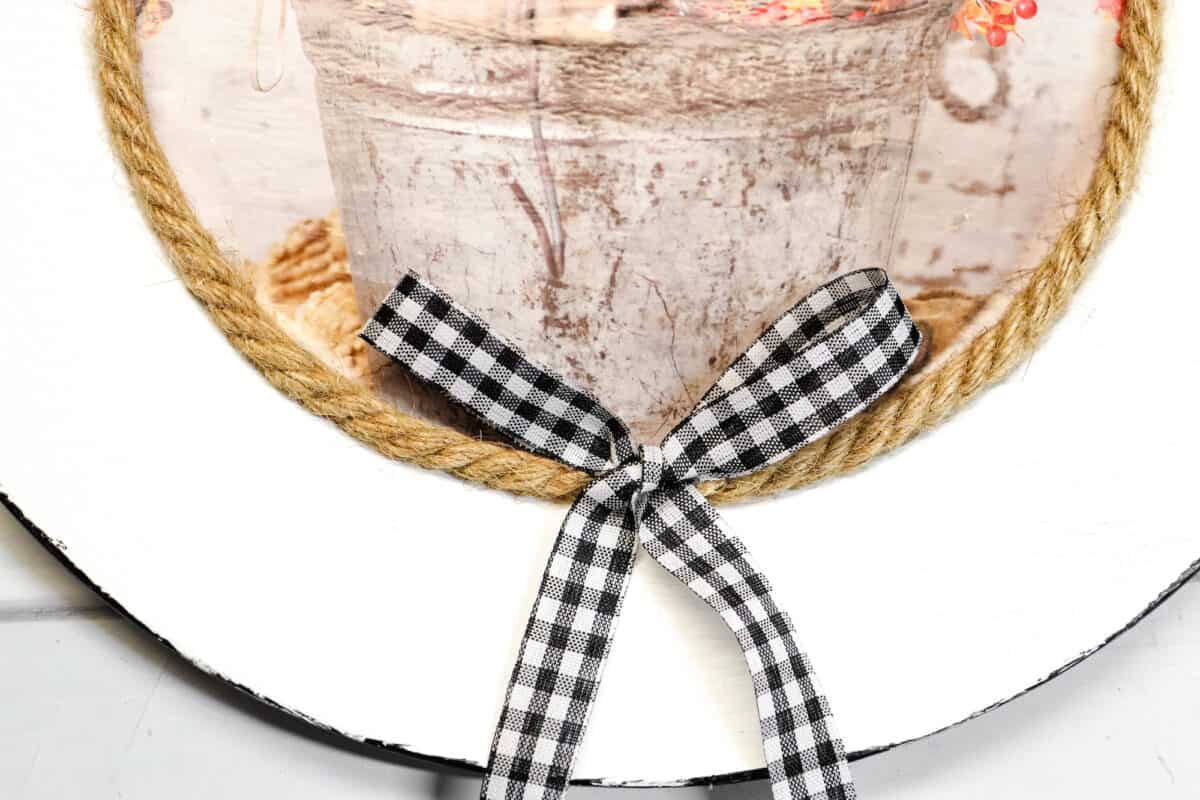
I did this two ways. I used nautical rope for the Fall berries print. Have the ends meet on the bottom of the plate so that you can cover it with a bow.
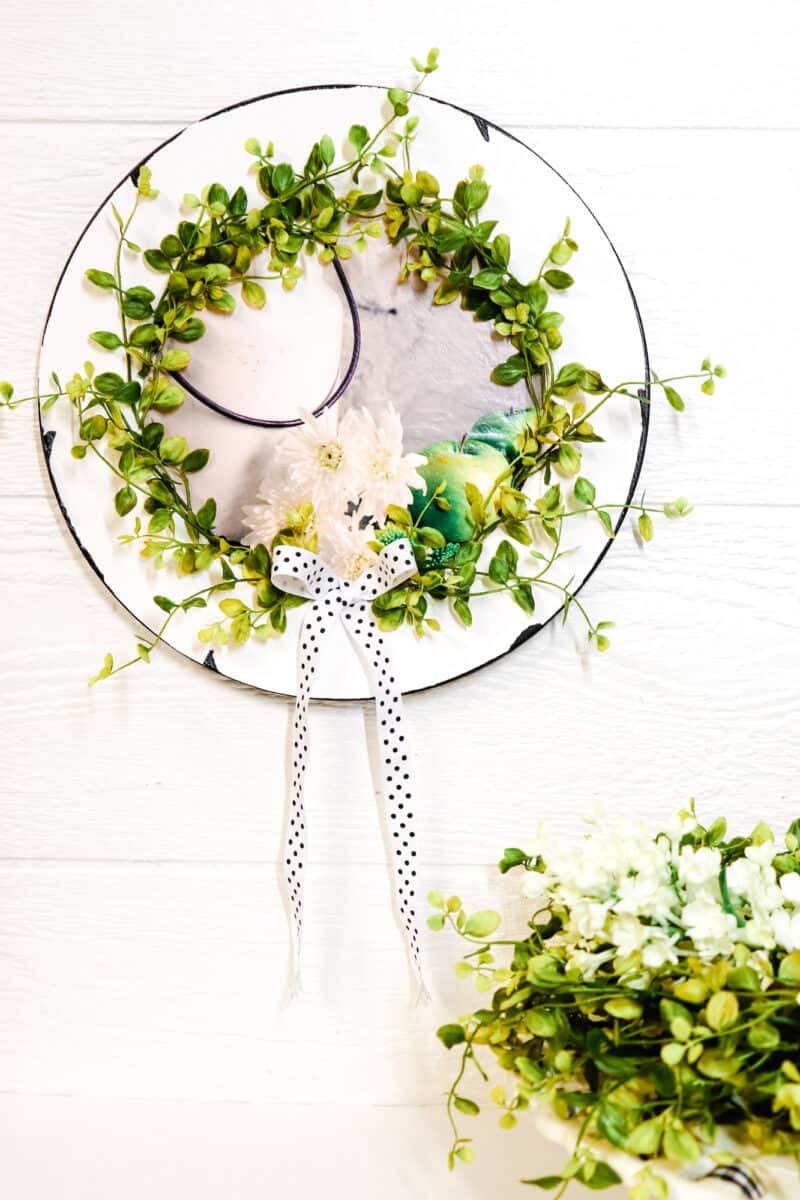
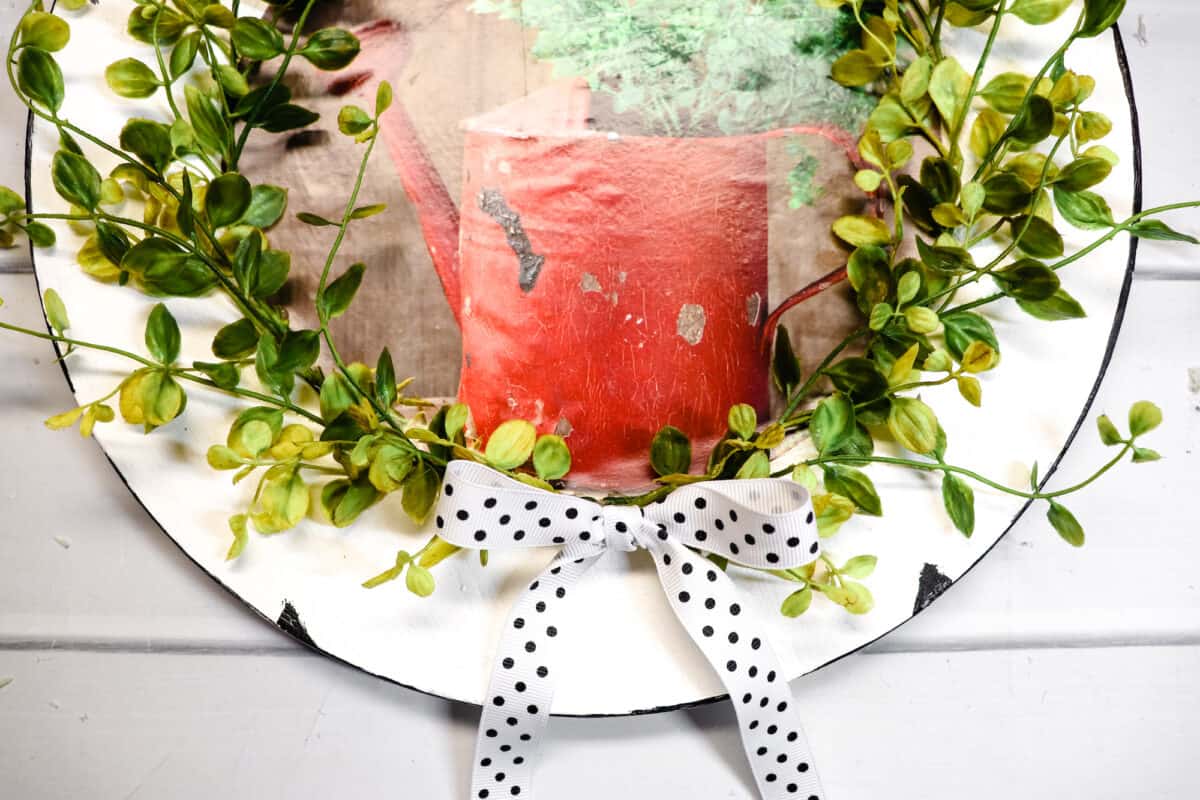
I used faux boxwood greenery for the Spring and Summer prints. Have the stems meet in the middle of the plate so that you can cover them with a bow.


Step 6
Cut (3) 22” ribbon lengths. With each ribbon, tie a small bow with long tails.
Dovetail the ends of the ribbon. (Cut out a triangle piece at the end of the ribbon for a decorative detail.)
Hot glue ribbon to center bottom of chargers.


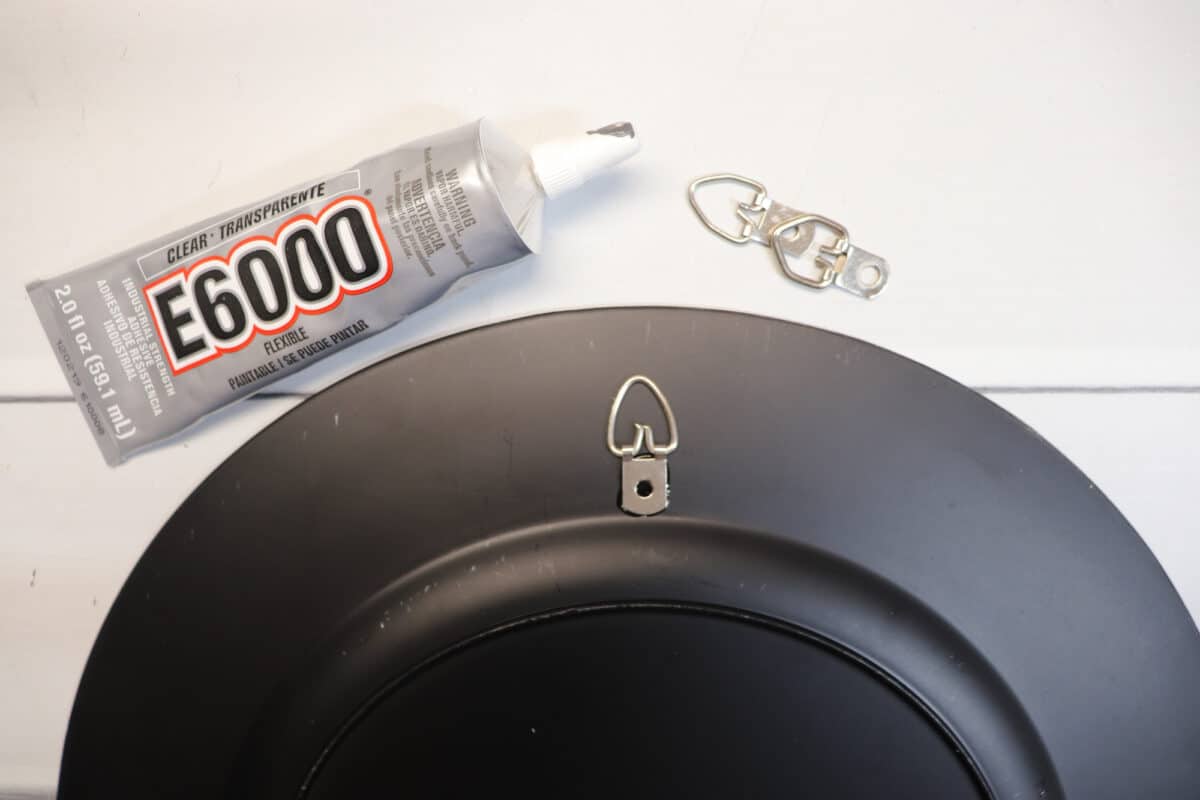
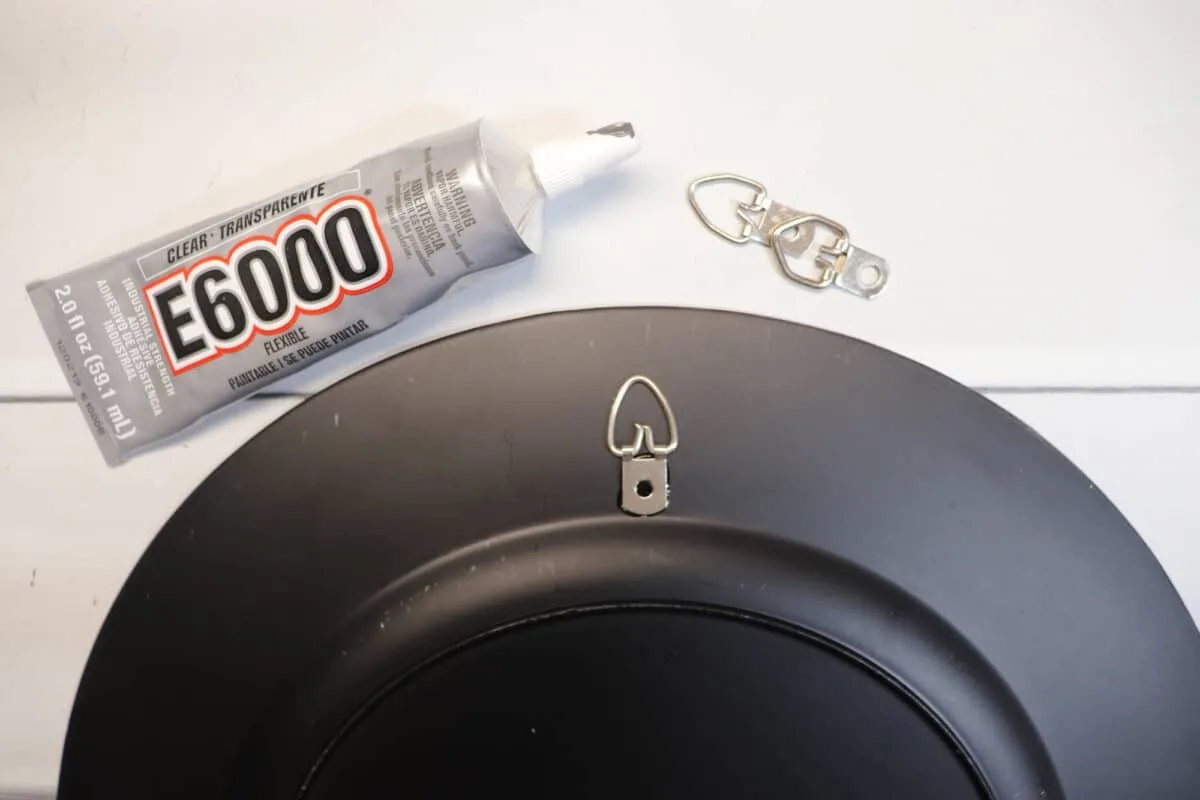
Step 7
Flip chargers over and use the E6000 to attach the picture hanger to the center top of the charger.
Want to save this idea for later? Be sure to Pin It!

If you like these faux enamelware charger plate wall decorations, you might also enjoy these DIY wall decor ideas:
