


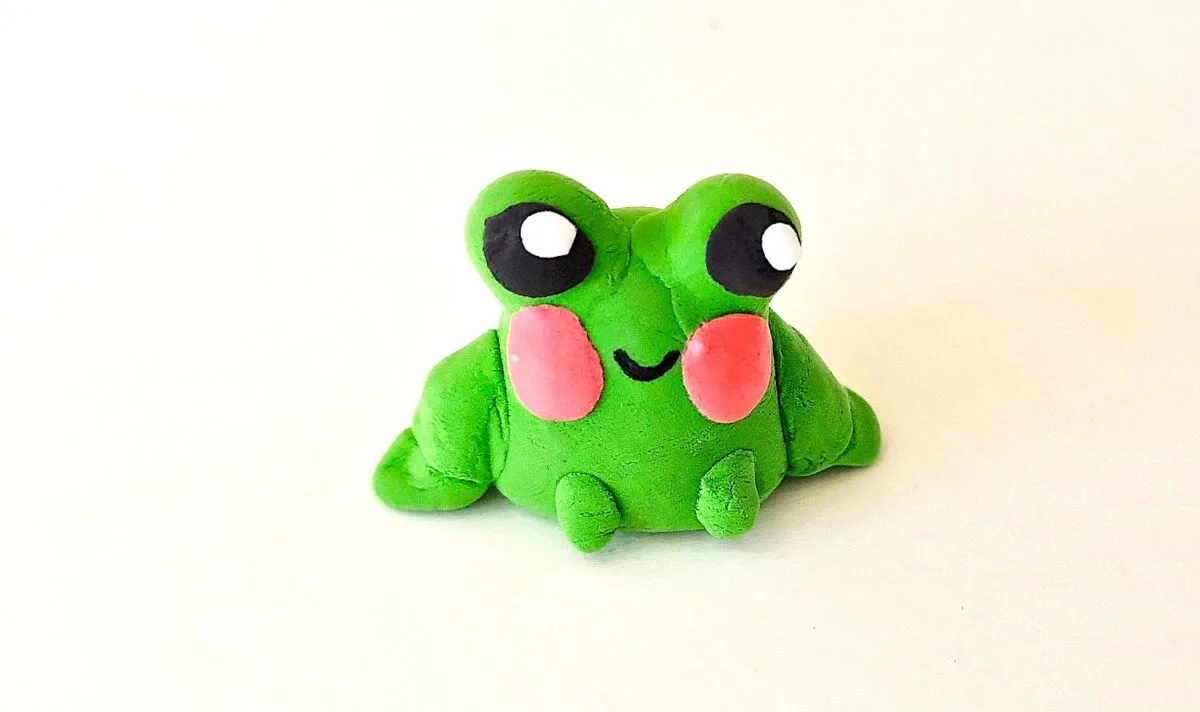
Our cute clay frog is easy to make with either air dry clay or modeling clay. While we made miniature frog figurines, you can make larger versions using this same step-by-step guide.


This aquatic animal is perfect to add to a tiered tray, tuck on a shelf, bookshelf or window sill. It would even look great in a terrarium or plant pot!
Use the same supplies to make a clay fox or clay penguin, too!


How to Make a Clay Frog
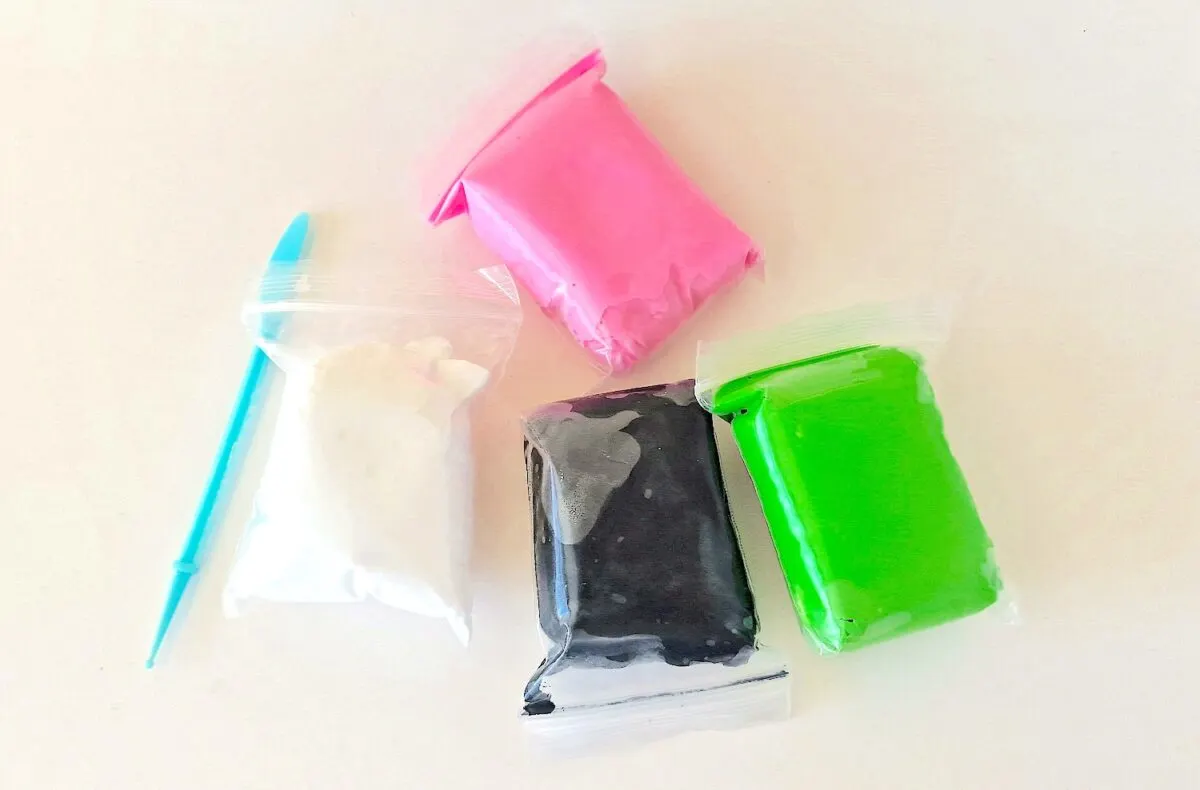
Supplies
- Air Dry Clay or Foam Clay (green, black, white, pink)
- Clay craft tools

Directions
Step 1
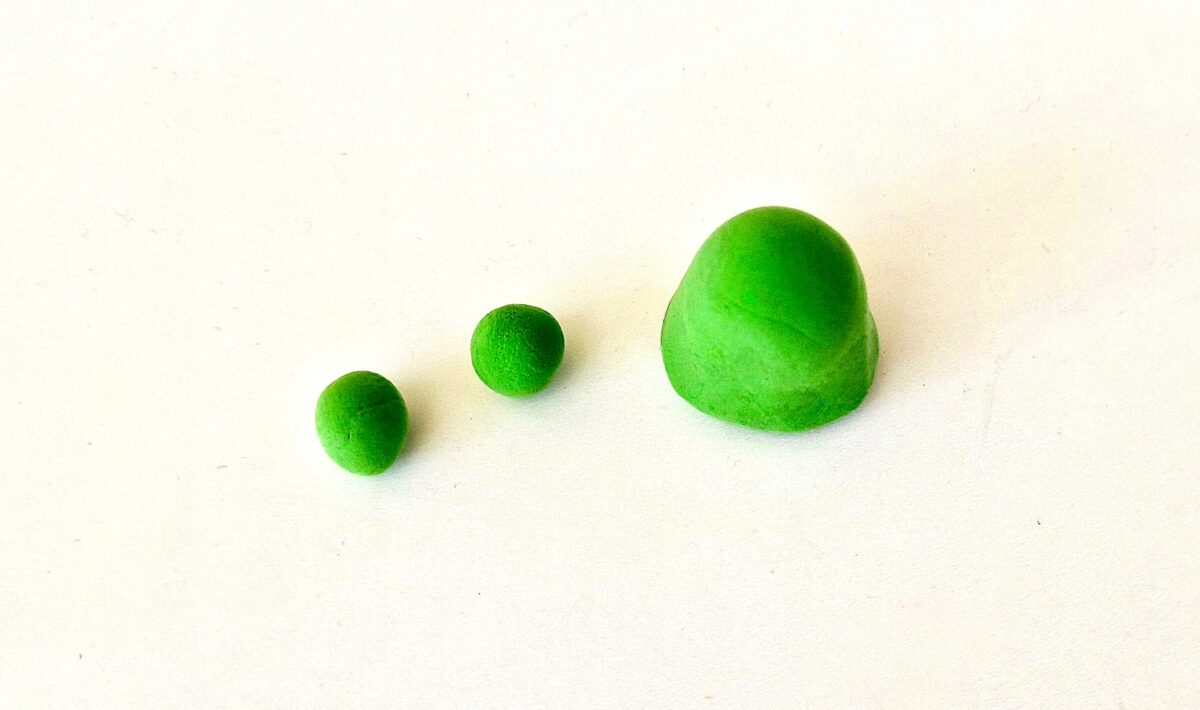
The amount of clay you need will depend on how big you will make the frog.
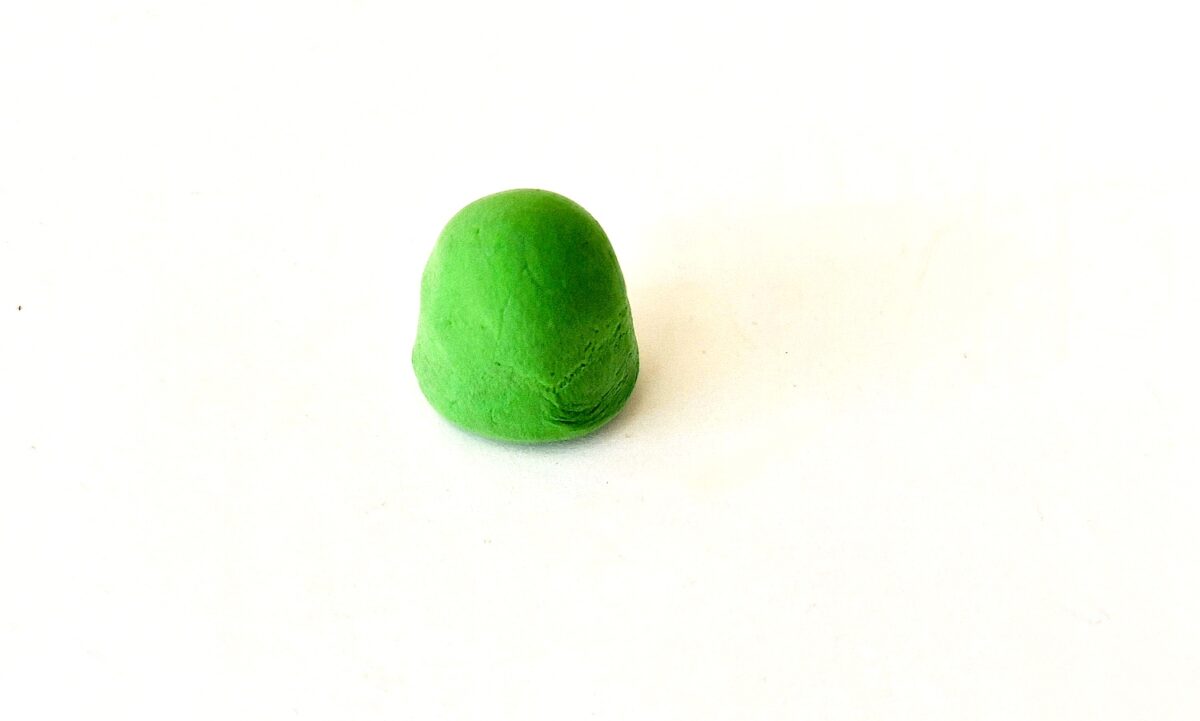
Pinch off a large piece of green clay to become the frog body.
Roll the clay into a smooth ball shape.
Step 2
Take the big clay ball and form an arch shape, round on top and flat on the bottom side.
This is the clay frog body.

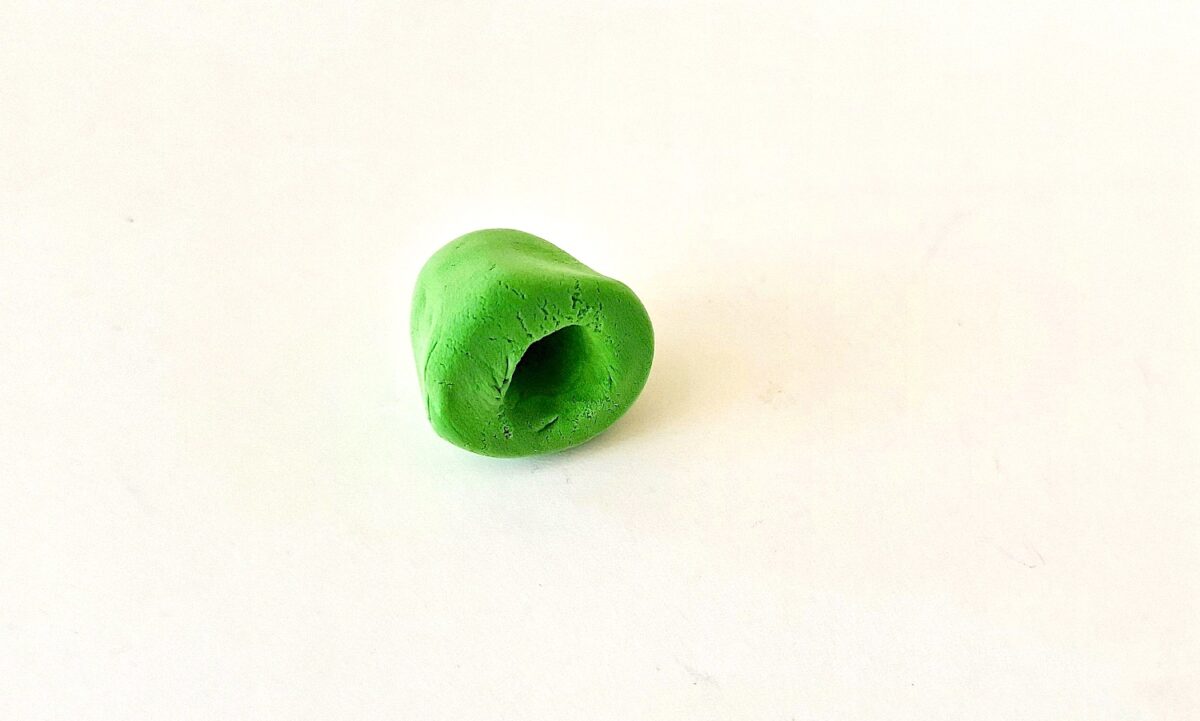
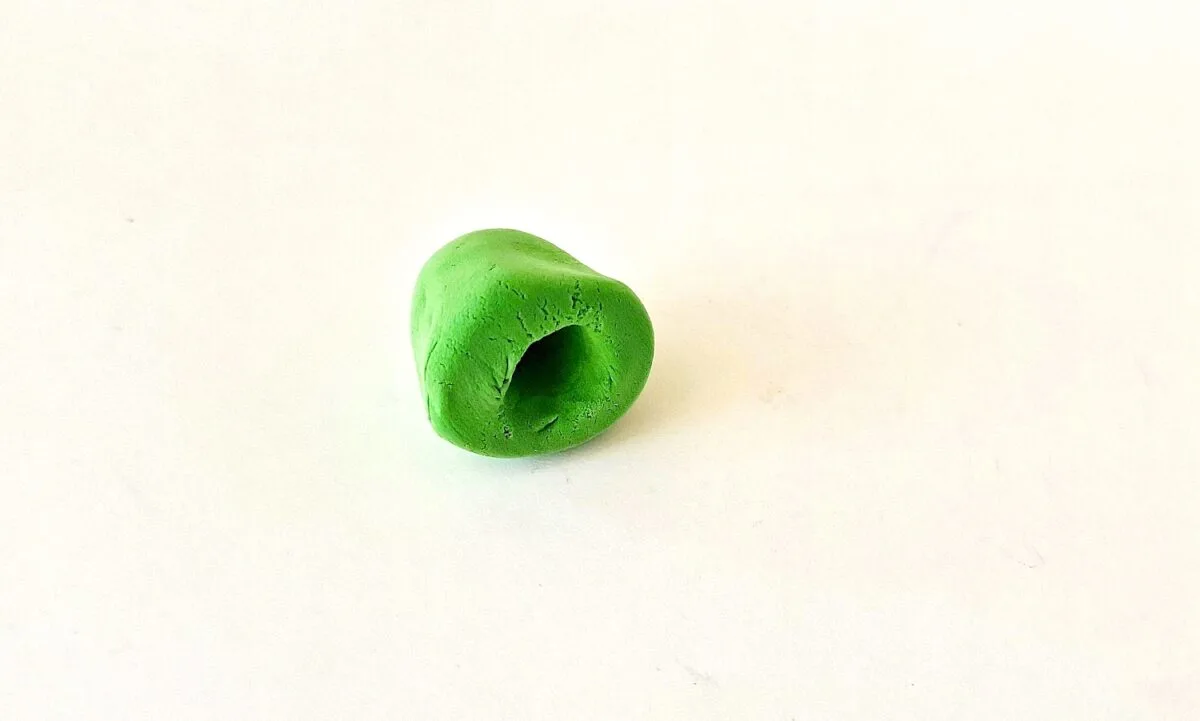
Step 3
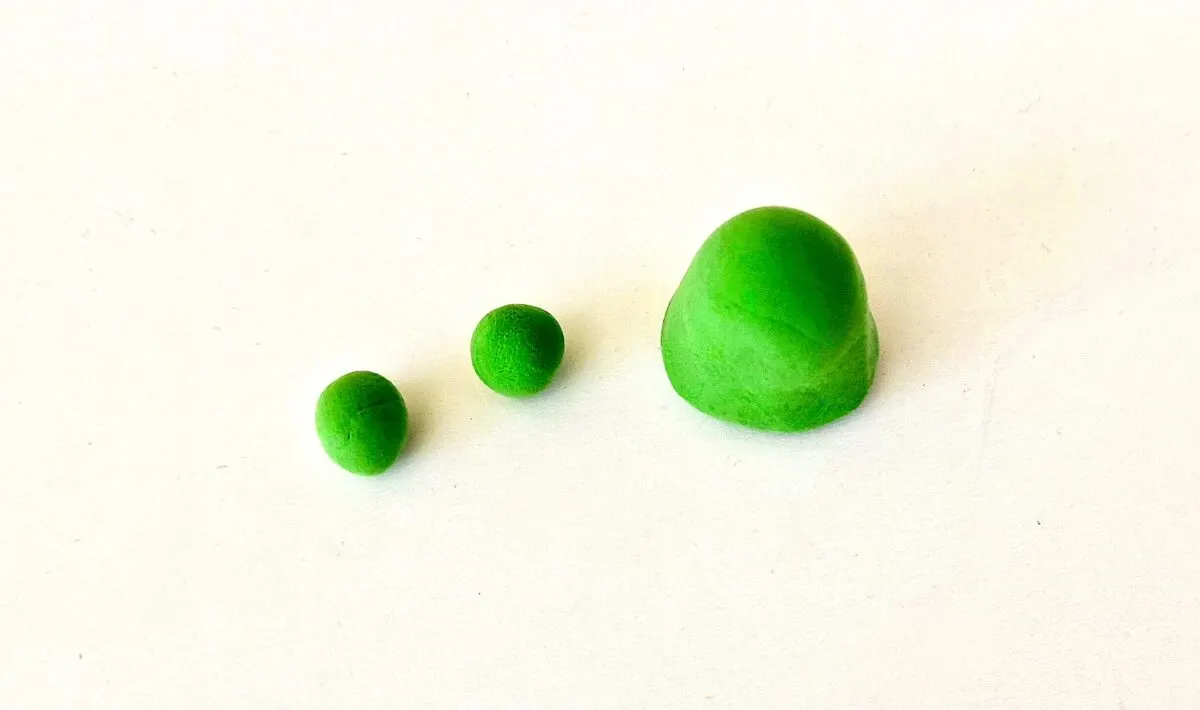
Make a small hole at the bottom end of the clay. Then flatten out the edges.
This will help to keep the clay frog stand straight.
Step 4
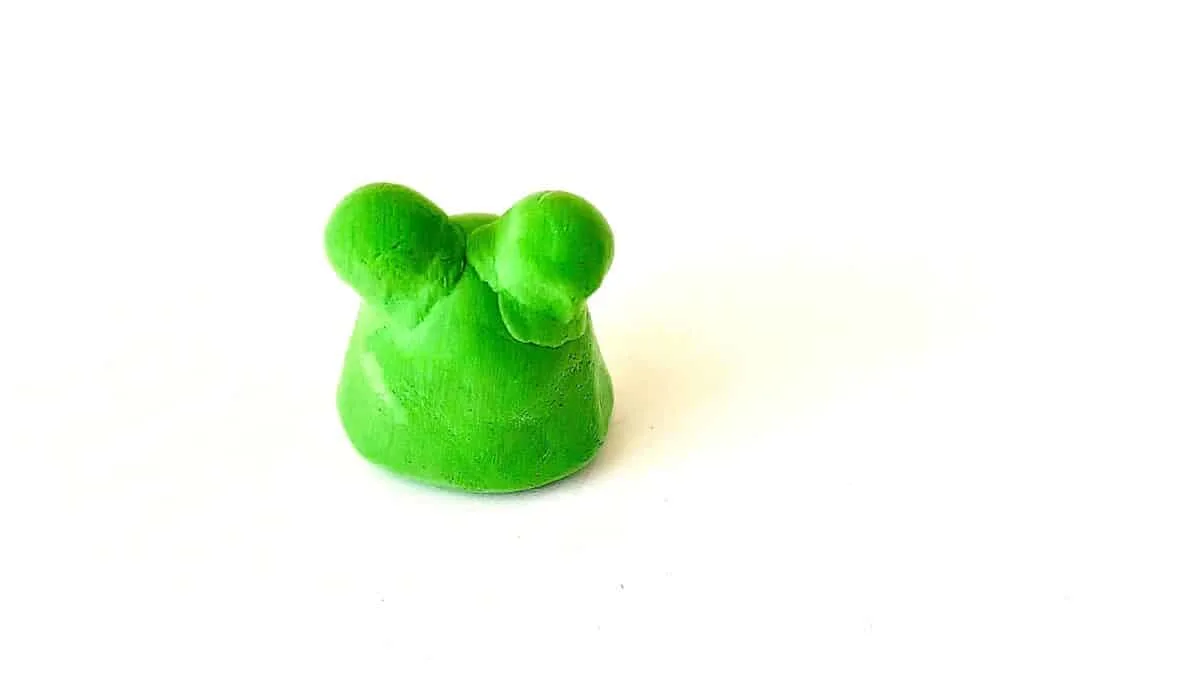
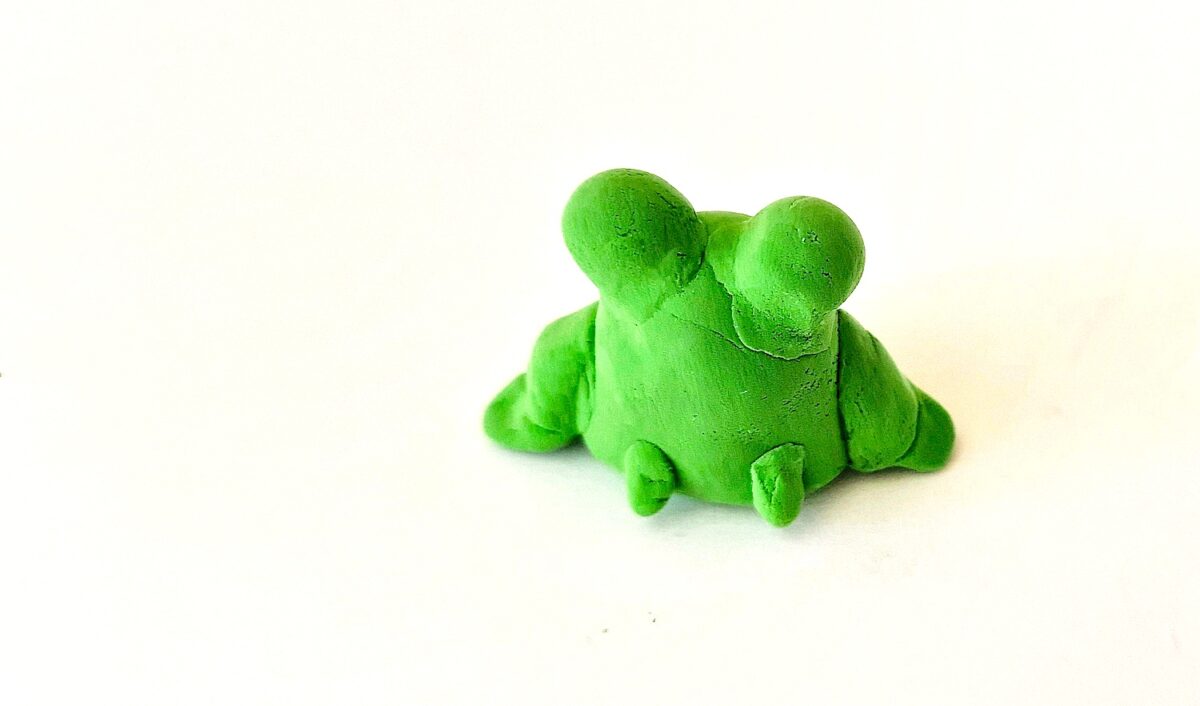
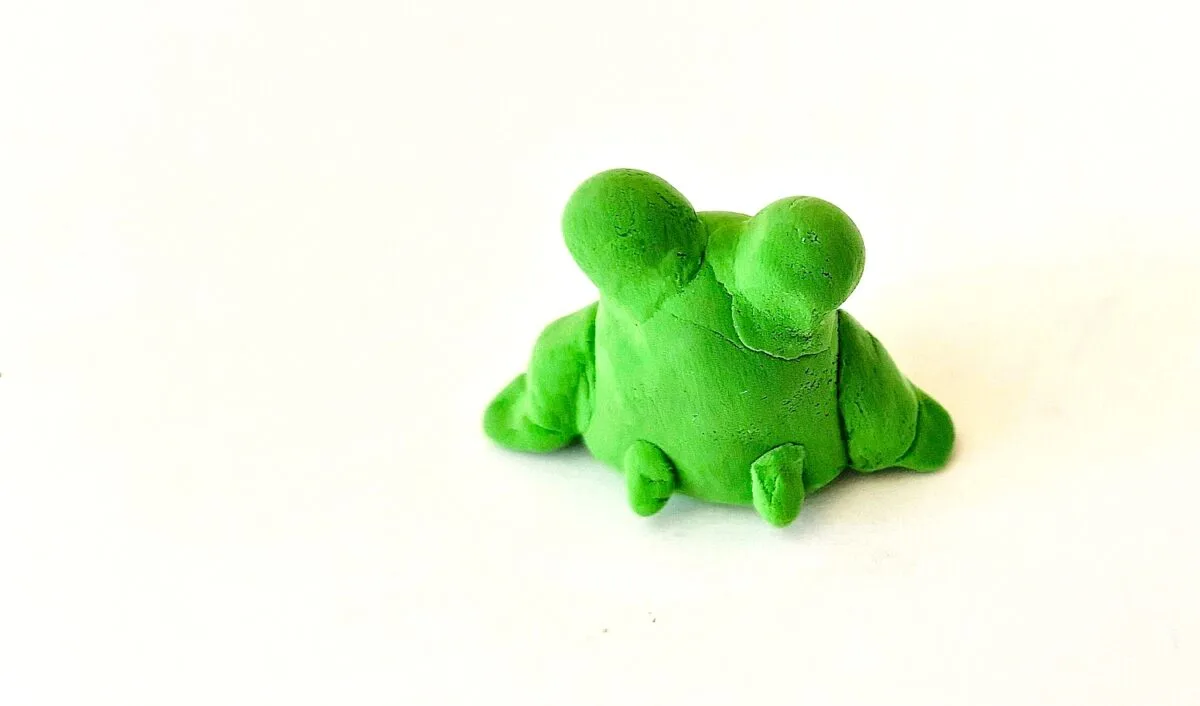
Pinch off a small amount of clay to make the 2 eye bases. Form 2 small, even ball shapes.
Press the 2 small ball shapes on either side of the top (round side) of the frog body.

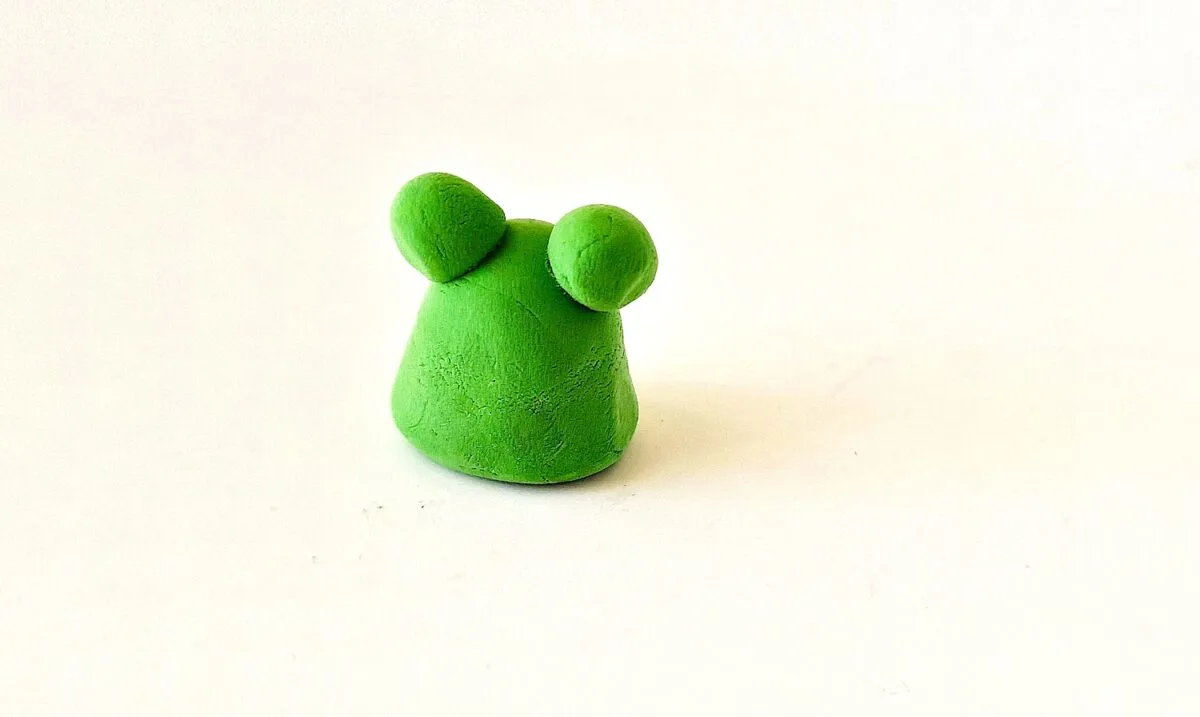
Mold the balls to blend in with the clay on the base. You can use your fingers or a clay tool.

Step 5
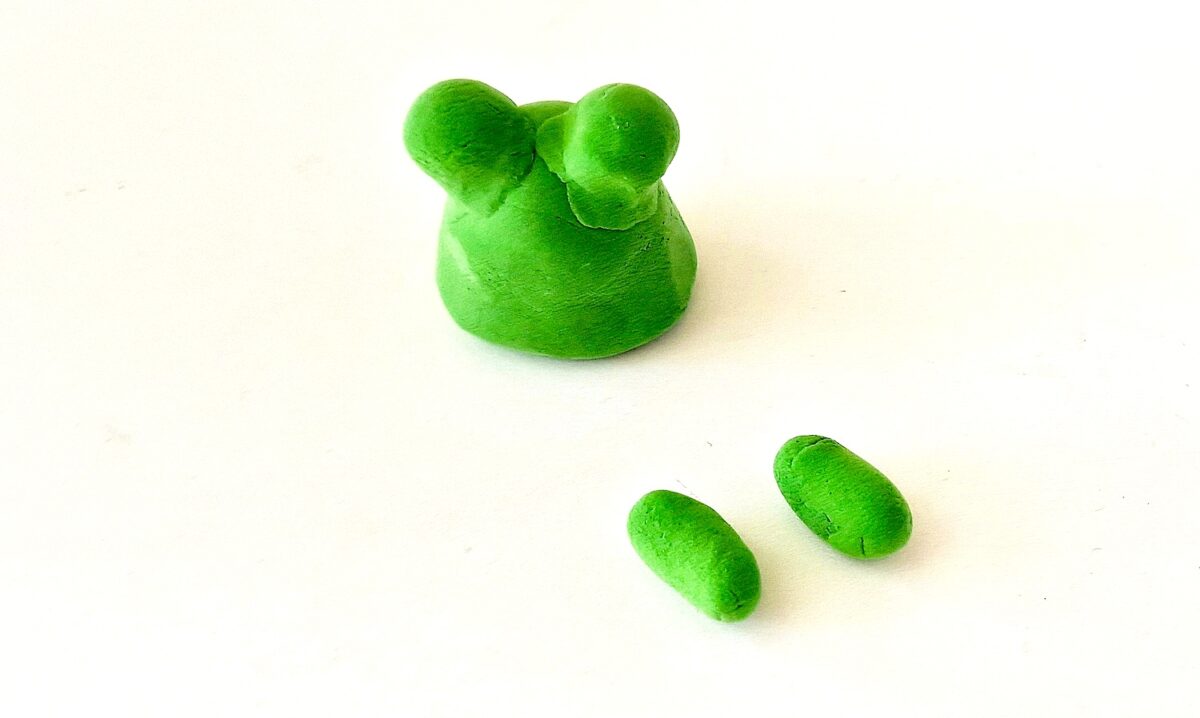
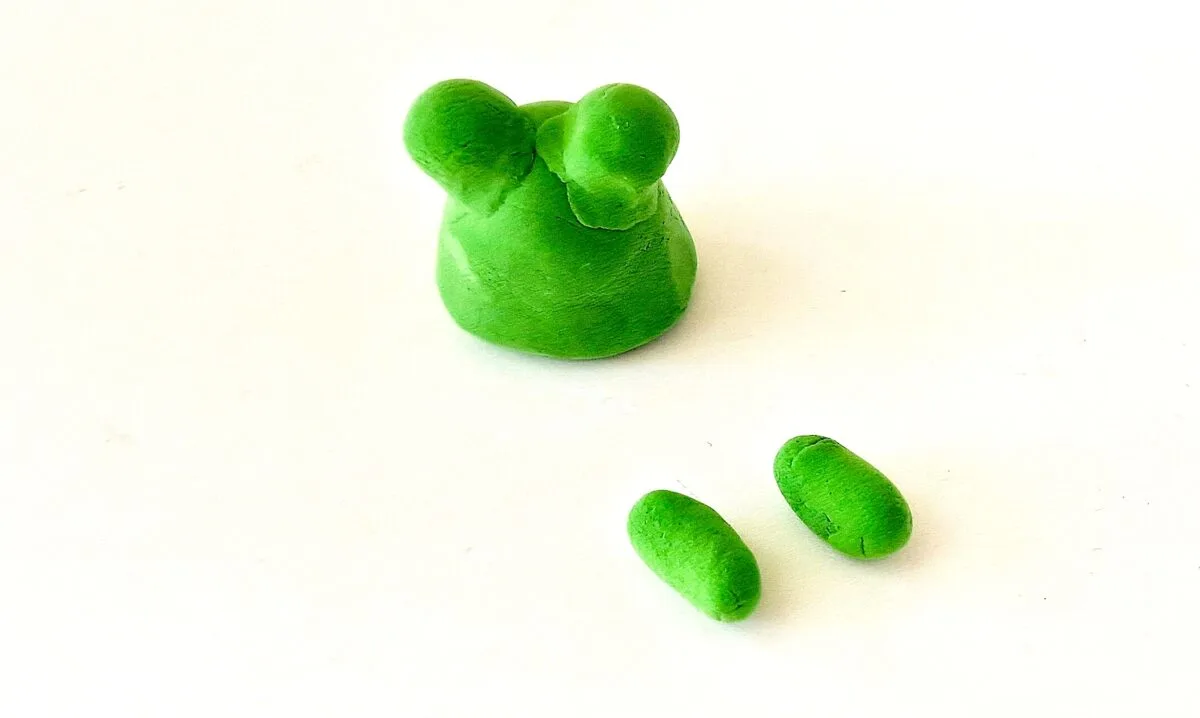
Pinch off another amount of green clay to make the side legs.
Form 2 smooth ball shapes of the same size, then roll them into cylinder shapes.
Step 6
Make slight bends on a side of the clay cylinder shapes to form the side legs.

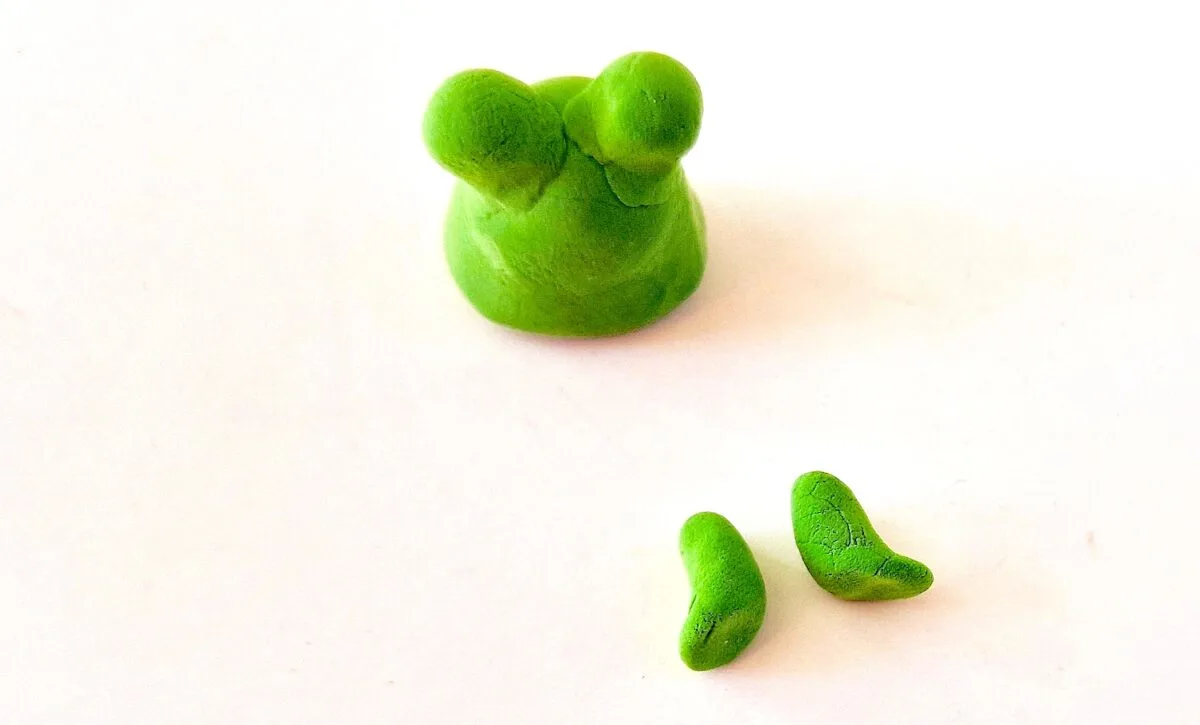
Press the legs on either side of the frog body base.


Step 7
Take 2 very small amounts of green clay and form small ball shapes for the front legs.

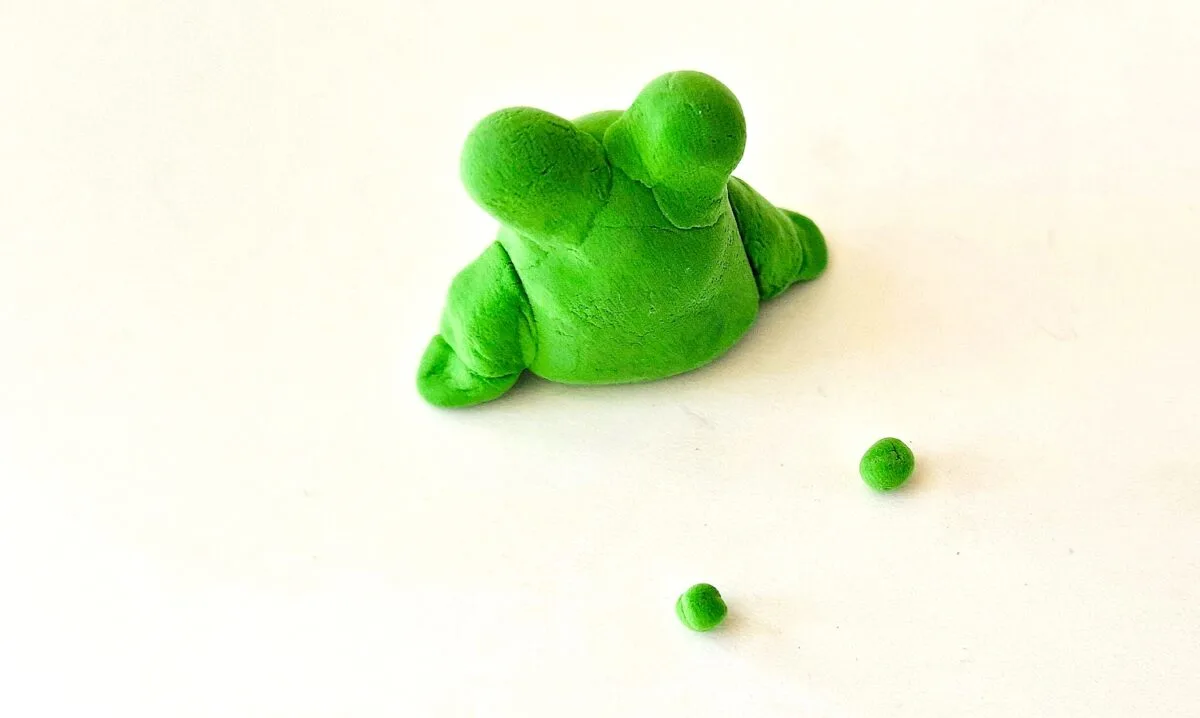
Press them to the front side of the body base.
Step 8
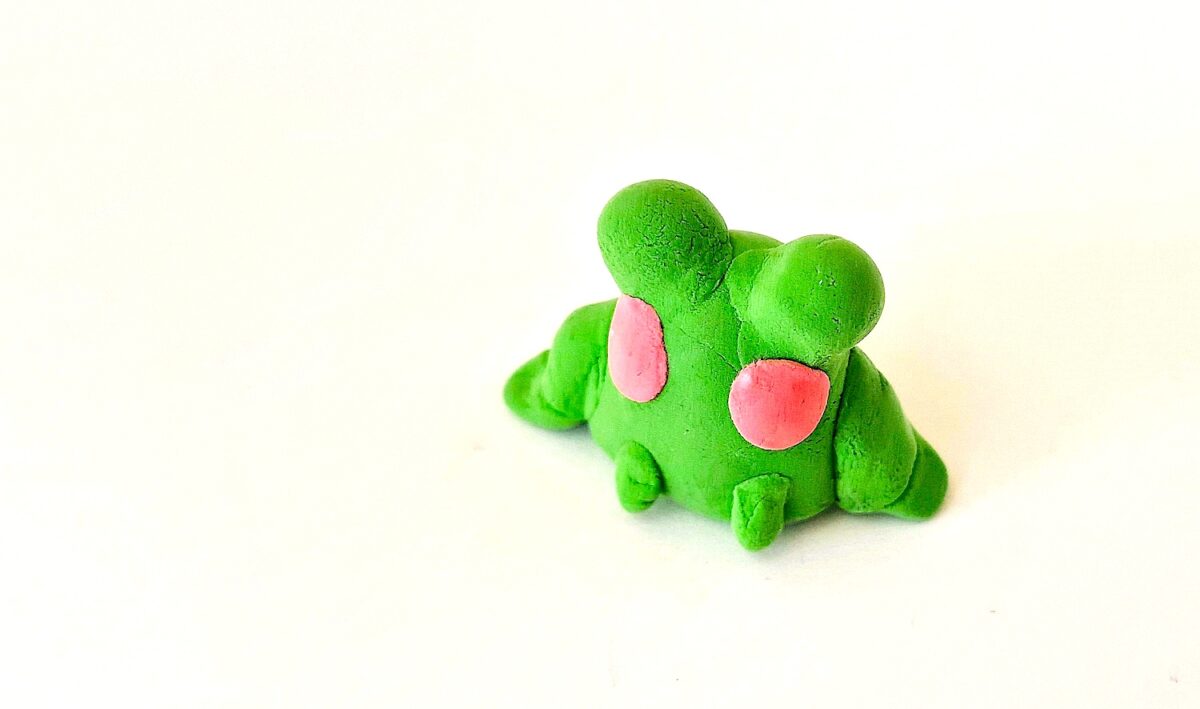
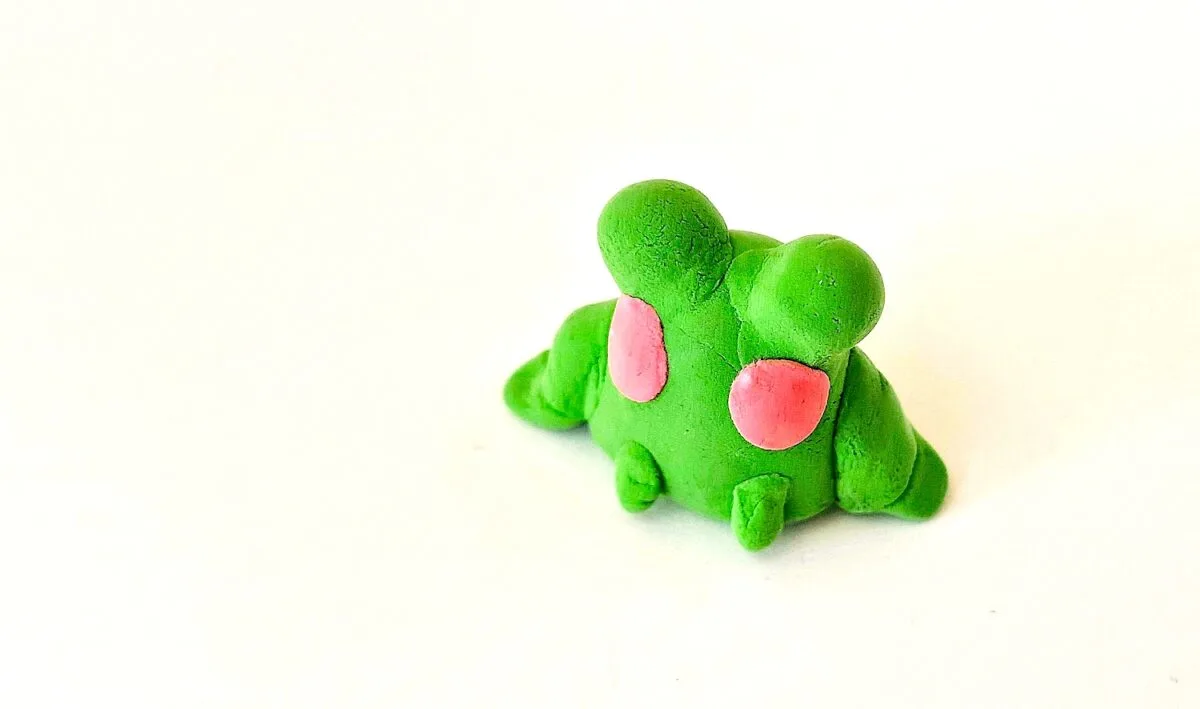
Using a small amount of pink clay, make 2 small balls for the blush spots.
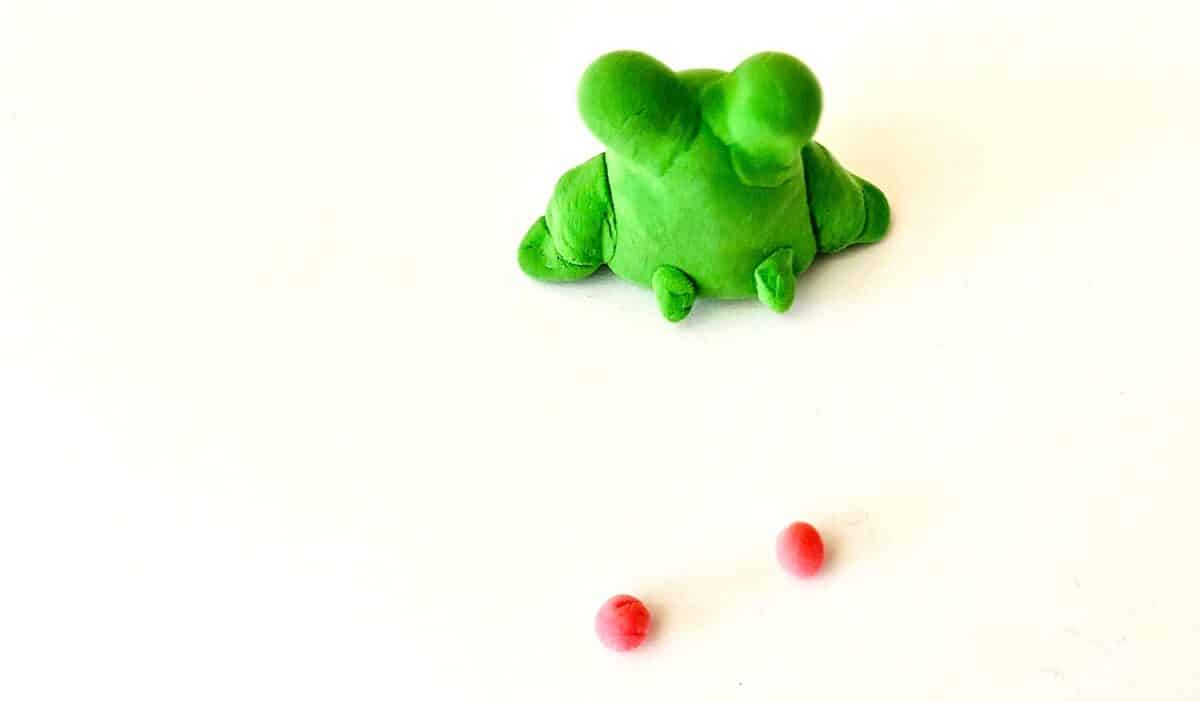
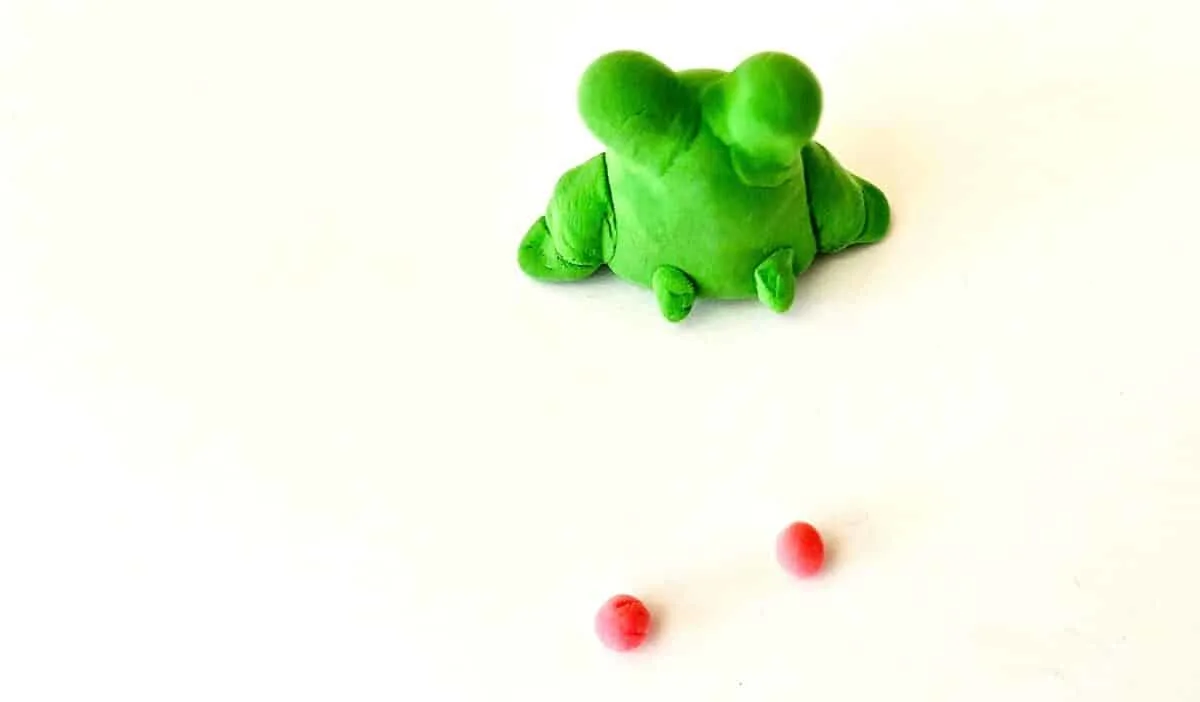
Press the cheeks on either side of the body underneath the eye pieces.
Step 9
Using a small amount of black clay, make two small balls. Then flatten them to look like disks.
Press a round black disk on each of the eye pieces.

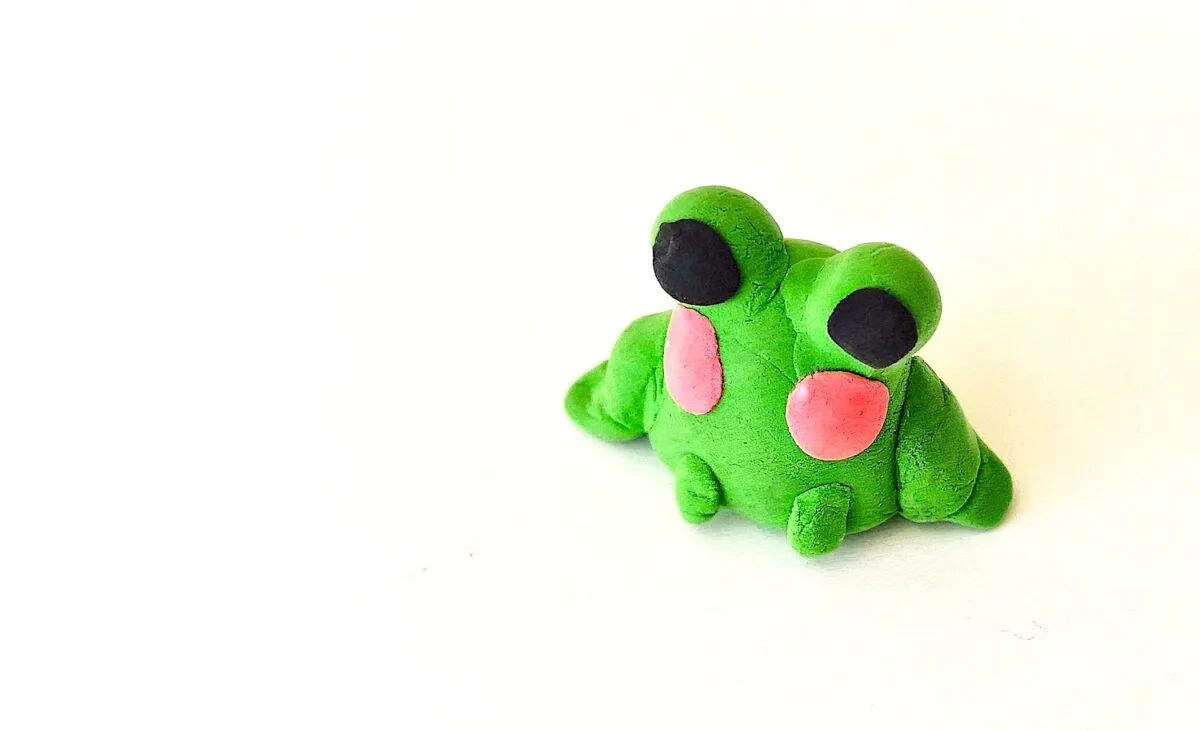
Use another very small, thin piece of black clay to make a smile for the frog.
Step 10
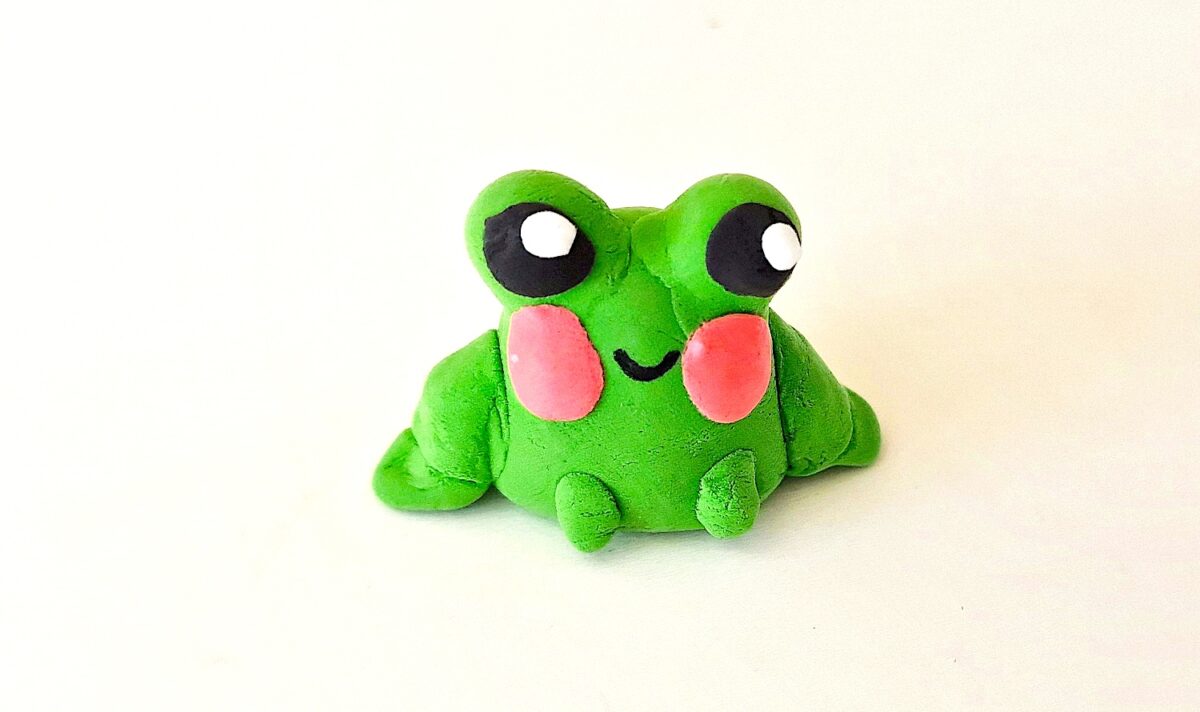
Using a small amount of white clay, make two small balls. Press them to be flat disks.
Press the white flat disks on top of the black eyes.
Attach the black clay smile in-between the cheeks.
Step 11
Add more details to the clay frog if you want to. We made a flower and a lily pad out of additional clay.
Want to save this tutorial? Be sure to Pin It or share on Flipboard!


This is just one of the easy clay crafts we have tutorials for. Be sure to see these ideas next:
- DIY Clay Sunflowers
- Clay Cherry Earrings
- Clay Flower Earrings
- DIY Clay Gnome
- Clay Leprechaun Gnomes
- How to Make a Clay Jewelry Dish
