Turn cheap dollar store pumpkins into cute Trick or Treat Halloween decorations with this Cricut craft.
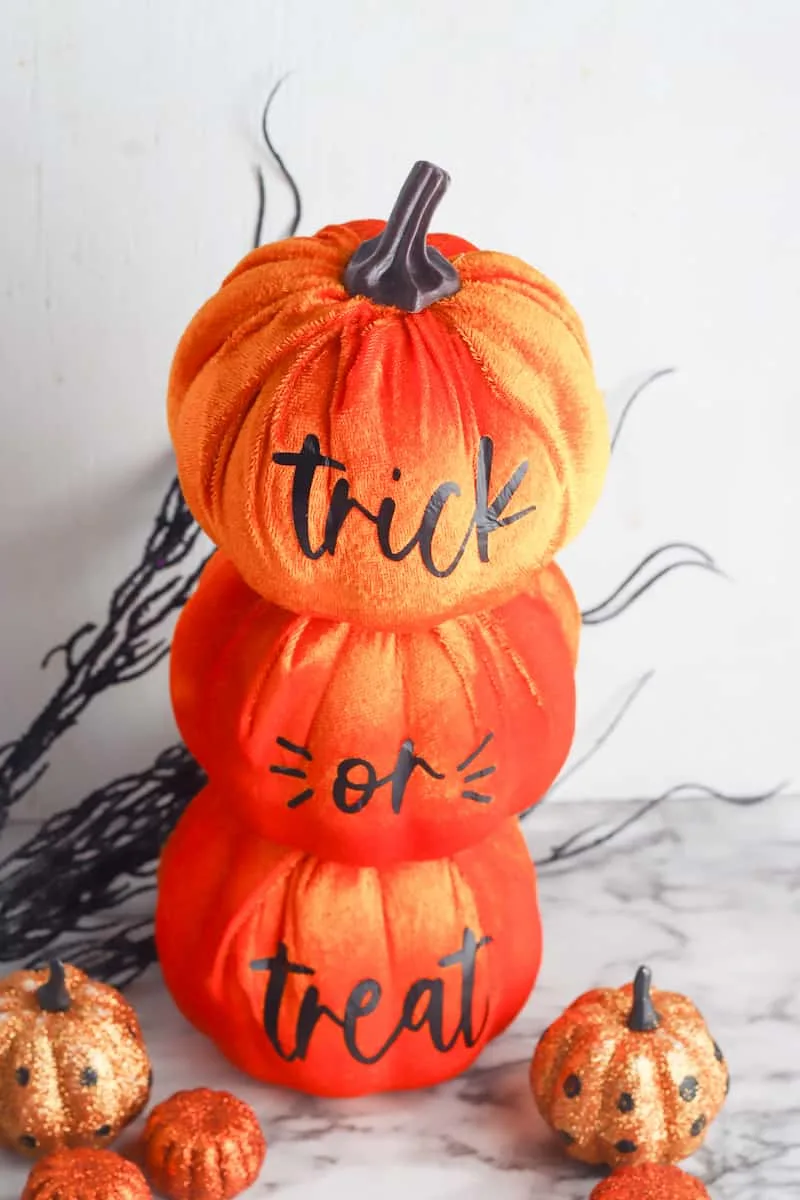
I’m always surprised at the cute things you can make with dollar store materials! So let’s get right to this quick and easy Halloween decor!
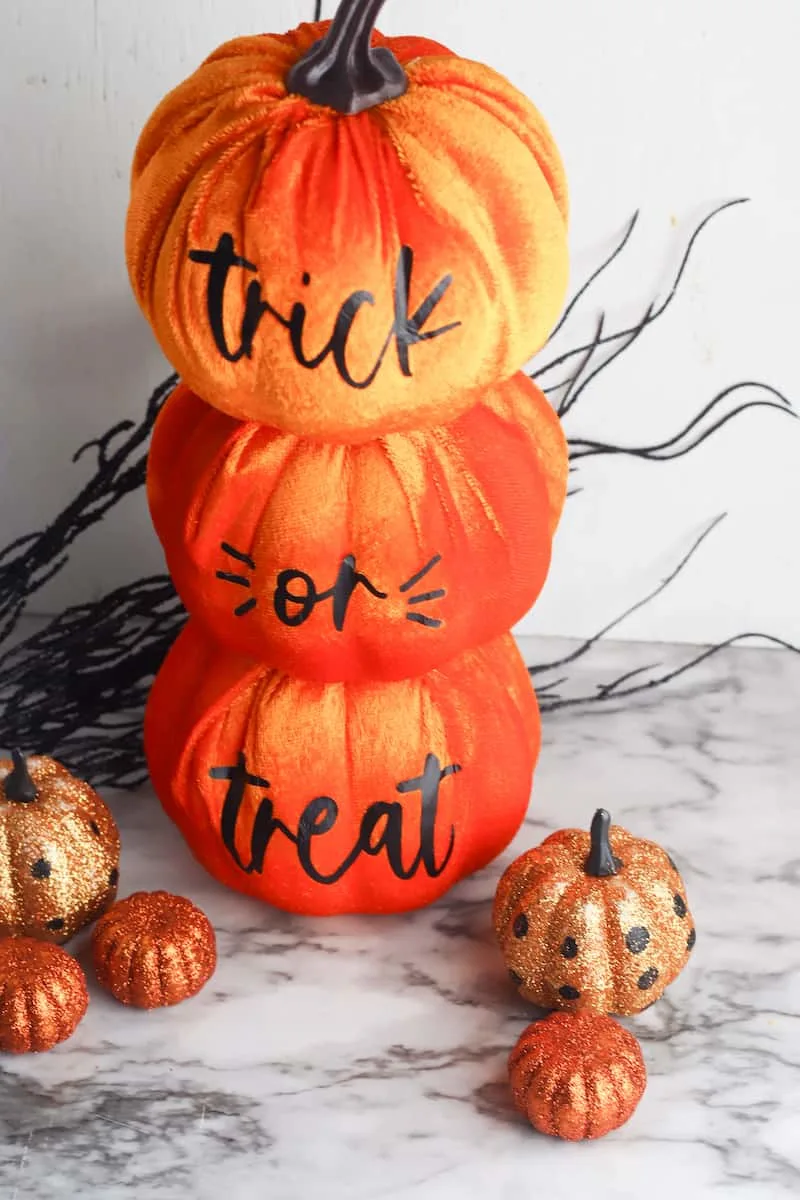
While you’re at the dollar store, pick up the supplies for this easy fall leaves banner, too. Or buy a charger plate to make my cute scarecrow decor!
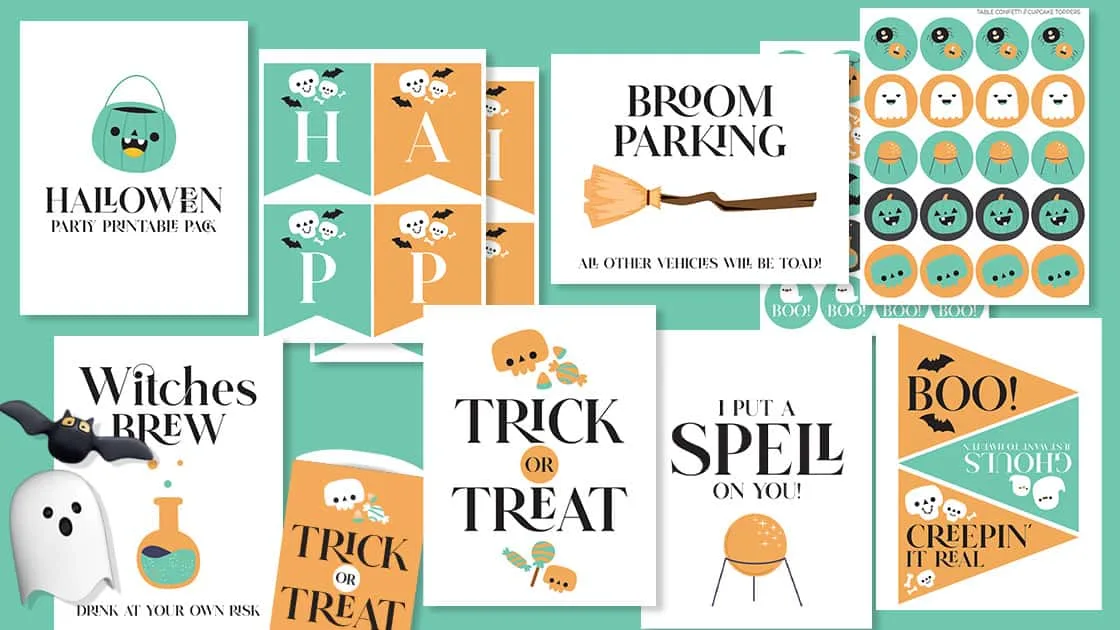
Hurry! Get Your Halloween Printables Pack Now!
This fun Halloween printables pack has banners, signs, treat bags and cupcake toppers. Don’t miss out!
How to Make Trick or Treat Halloween Stacked Pumpkins
Materials
- Velvet covered pumpkins (from Dollar Tree)
- Black heat transfer vinyl
- SVG file
- Cricut
- Weeding Tool (this generic one costs less!)
- Cricut Easypress Mini
- Hot glue gun
Instructions
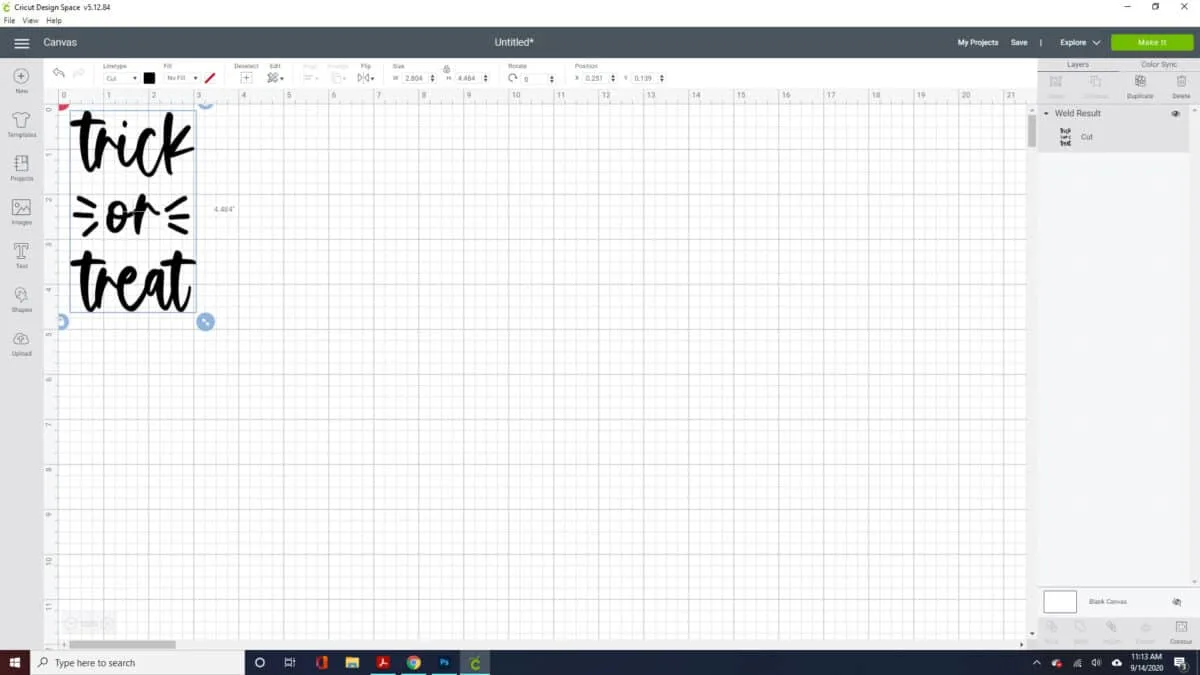
- Upload the SVG file into Design Space and resize the words to fit on the pumpkins.
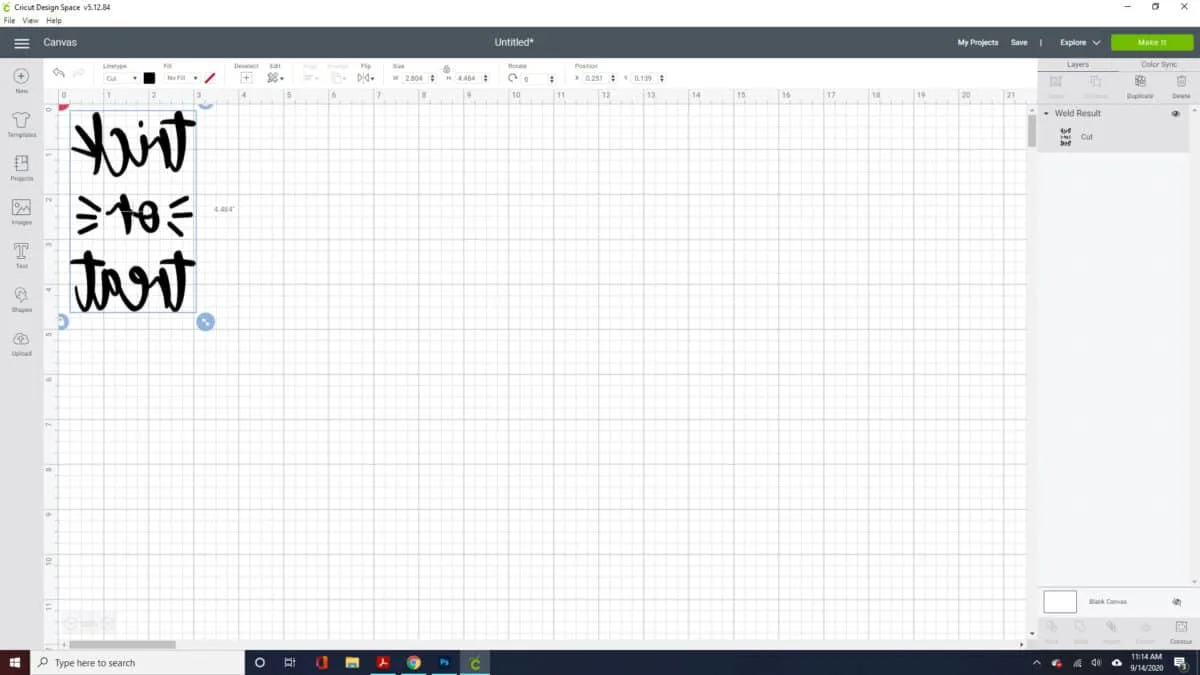
- Flip the file or set the mat to mirror.
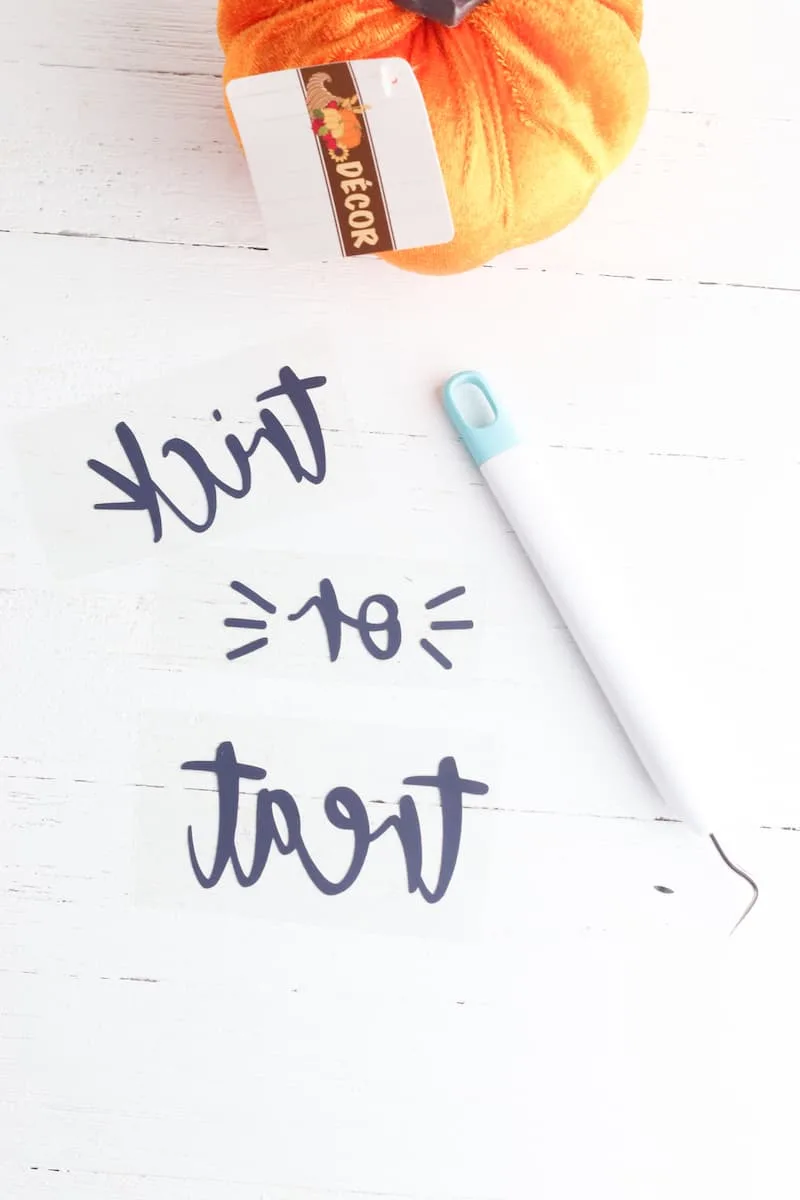
- Cut the file on black heat transfer vinyl.
- Weed out excess vinyl, then cut out each word.
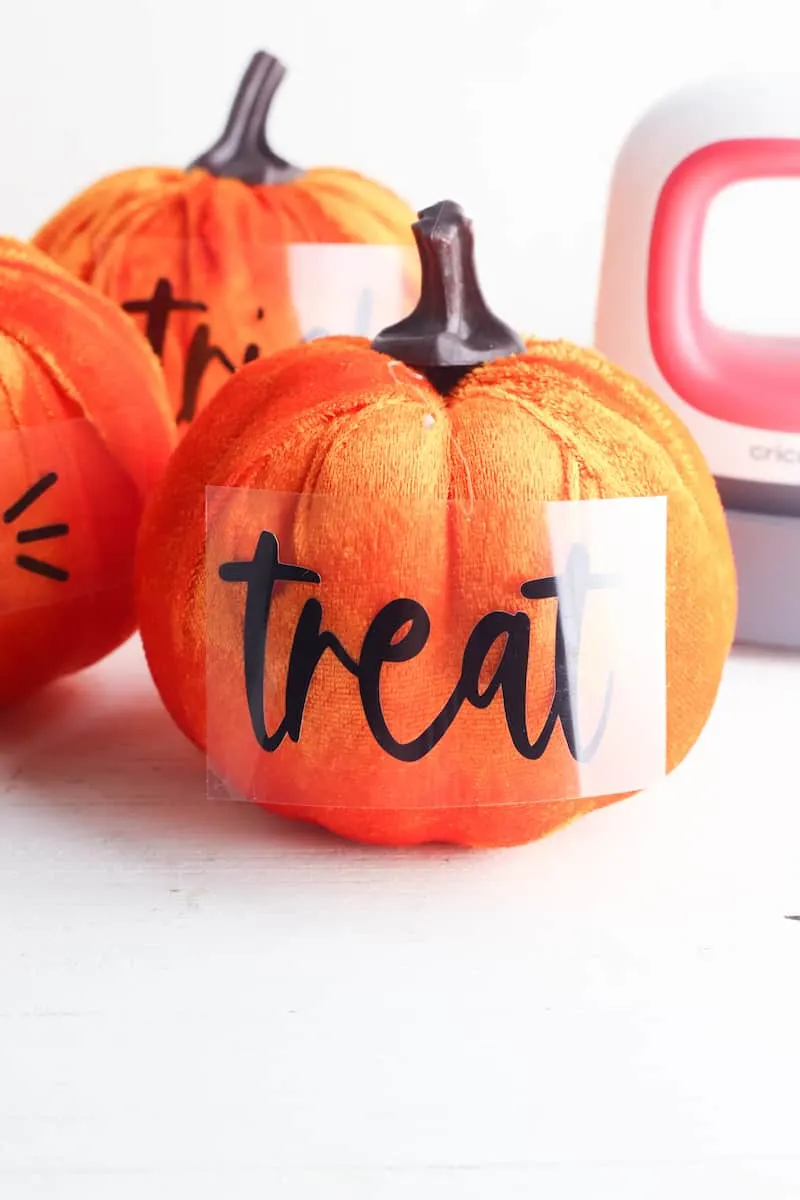
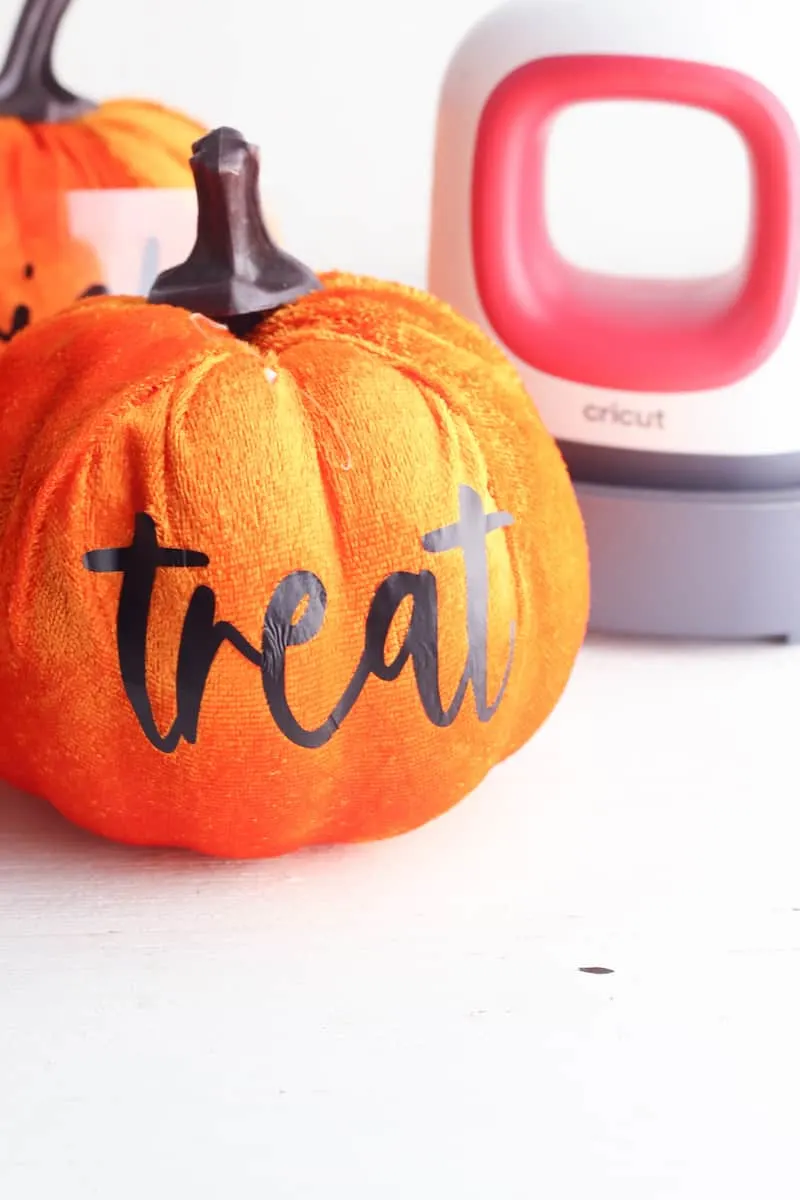
- Place the words on the front of the pumpkins. Use the Mini Press to press the vinyl onto the pumpkin.
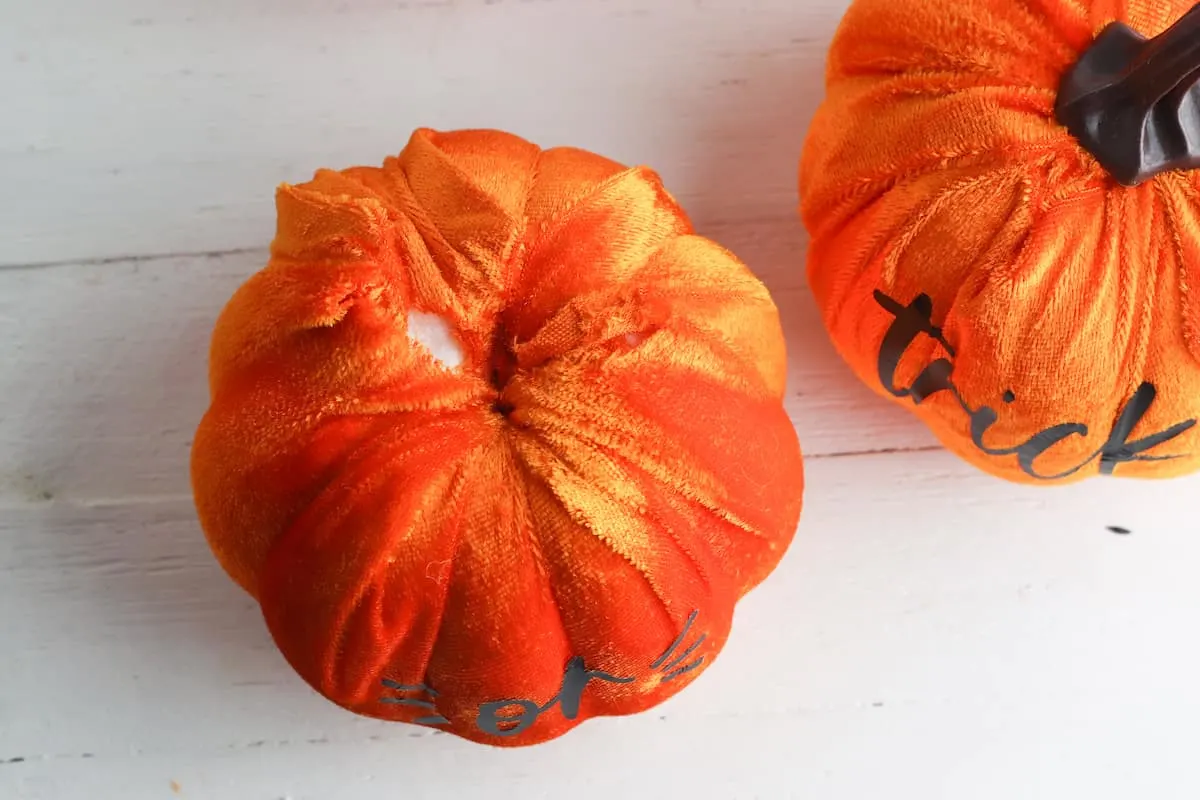
- Remove the stem from the top of the pumpkins that say “or” and “treat.”
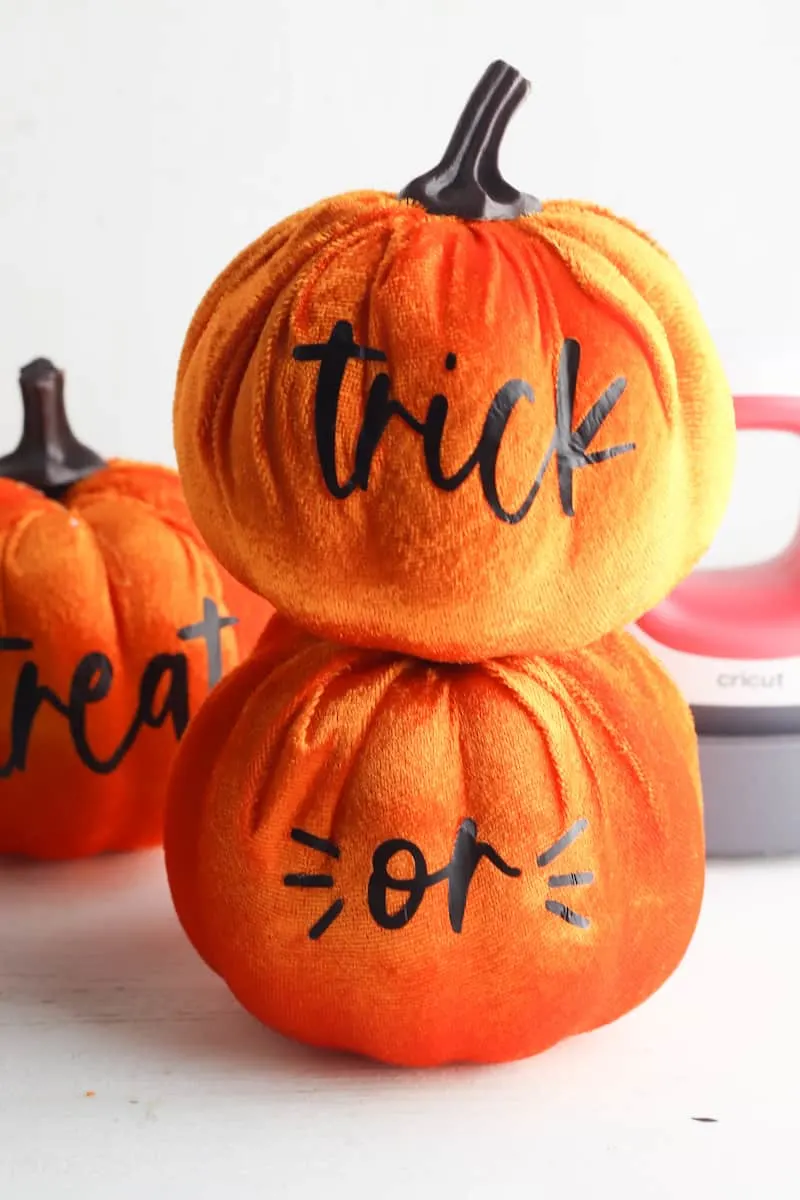
- Use the hot glue gun to glue the pumpkins on top of each other.

Want more Cricut Halloween crafts? Check out my Spooky Spiderweb Hoop or Creepy Spider Glass Jars.
I love these wooden block pumpkins made with shiny metallic paint and Cricut vinyl words. They’re simple yet elegant for a table centerpiece.
I also turned a different type of dollar store pumpkins into Rae Dunn inspired pumpkins.
These paper luminaries don’t require a Cricut machine. They certainly add ambience to your porch or driveway.
And if you like simple felt crafts, you’ll love our 3D felt pumpkins made by cutting felt and gluing together!

