


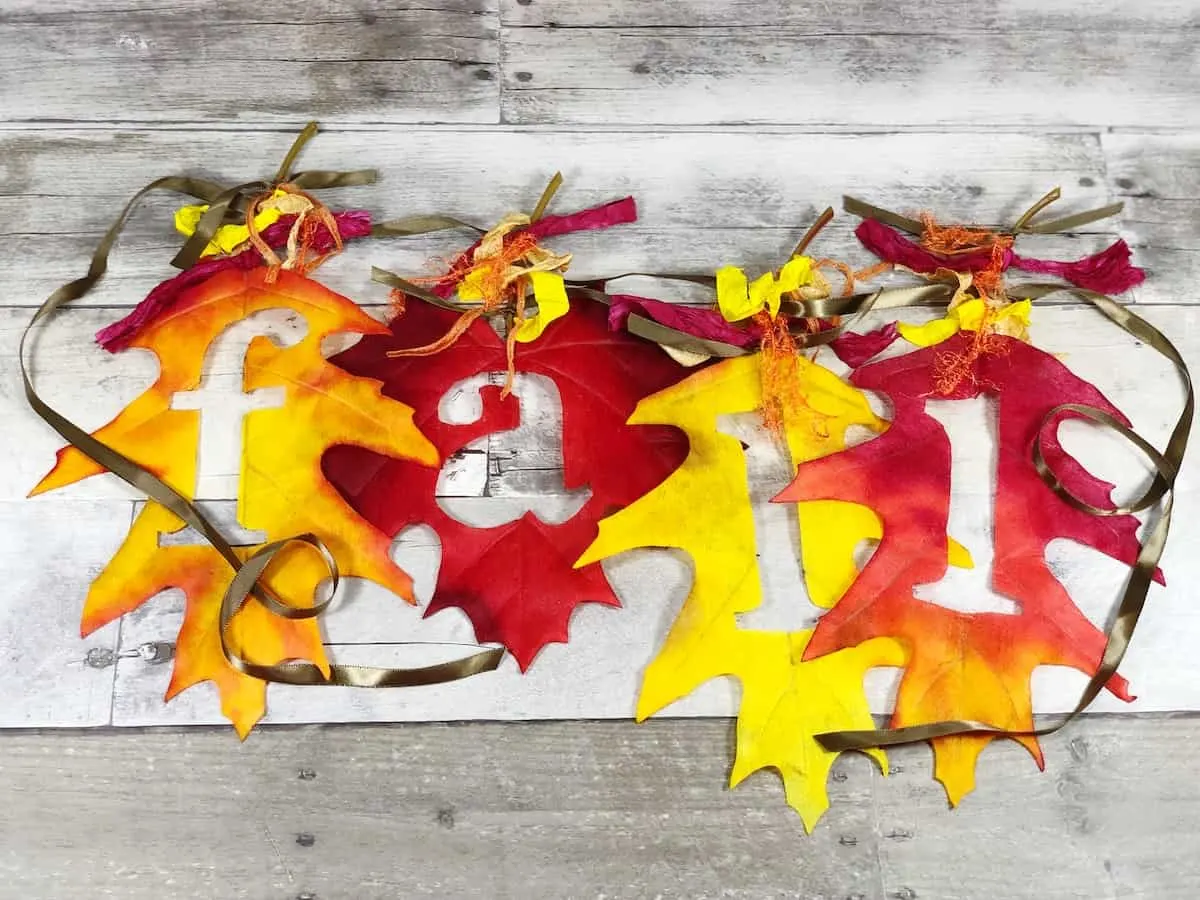
This easy fall leaves banner is so incredibly simple to make. You don’t have to sew and you don’t even need glue! All you need is some dollar store fall leaves and our free printable pattern.
Using our free template that you print from your computer, you will be able to cut out words from the colorful faux leaves. The Fall banner looks so cute when hung on a fireplace mantel or on your front door to welcome guests.
You could even hang this banner across a large wreath so that the leaves hang in the center of the wreath. (Similar to my dried flower wreath.)
I also love that this craft doesn’t need a Cricut machine, which many people don’t have. So this really is something that everyone can make today!


You might also like our easy book page leaves to turn into a banner.
In a hurry? No worries. Just Pin This Idea to save for later!
Helpful Tips to Make This Fall Banner
- While I was able to find oversized dollar store fall leaves, you might not be able to find the same size. The pattern can be scaled on your computer to fit the size of leaves that you have.
- Add additional solid leaves at the beginning and end of the word if you’d like a longer banner.
- Use sisal rope instead of ribbon for the banner hanger if you’d like.
- You could use this same concept with different words. For instance, using an alphabet stencil pack, you could make the following words instead:
- Welcome
- Home
- Autumn
- Cozy

How to Make a Fall Leaves Banner
Supplies
- Dollar Store Leaves – 4 extra-large leaves (the ones I used are 9” X 6”)
- Ribbon (36″ for banner length, additional scraps for decoration)
- Fine Tip Permanent Marker
- Craft Knife (If this one is still under $6, it’s a great deal!)
- Scissors
- Self-Healing Mat (or piece of cardboard)
- Free “Fall” Pattern

Instructions
Step One
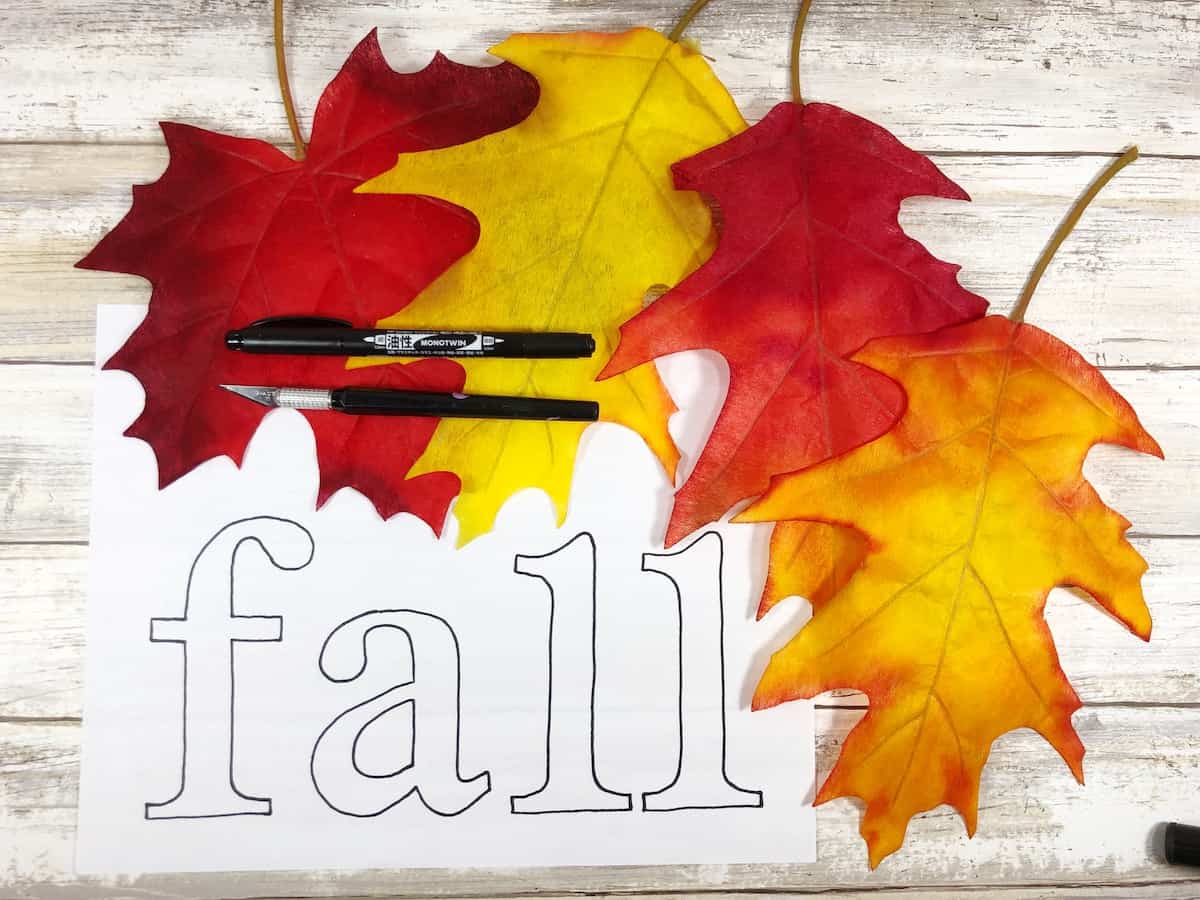
Print out the “Fall” letters template and cut out each letter with the scissors.
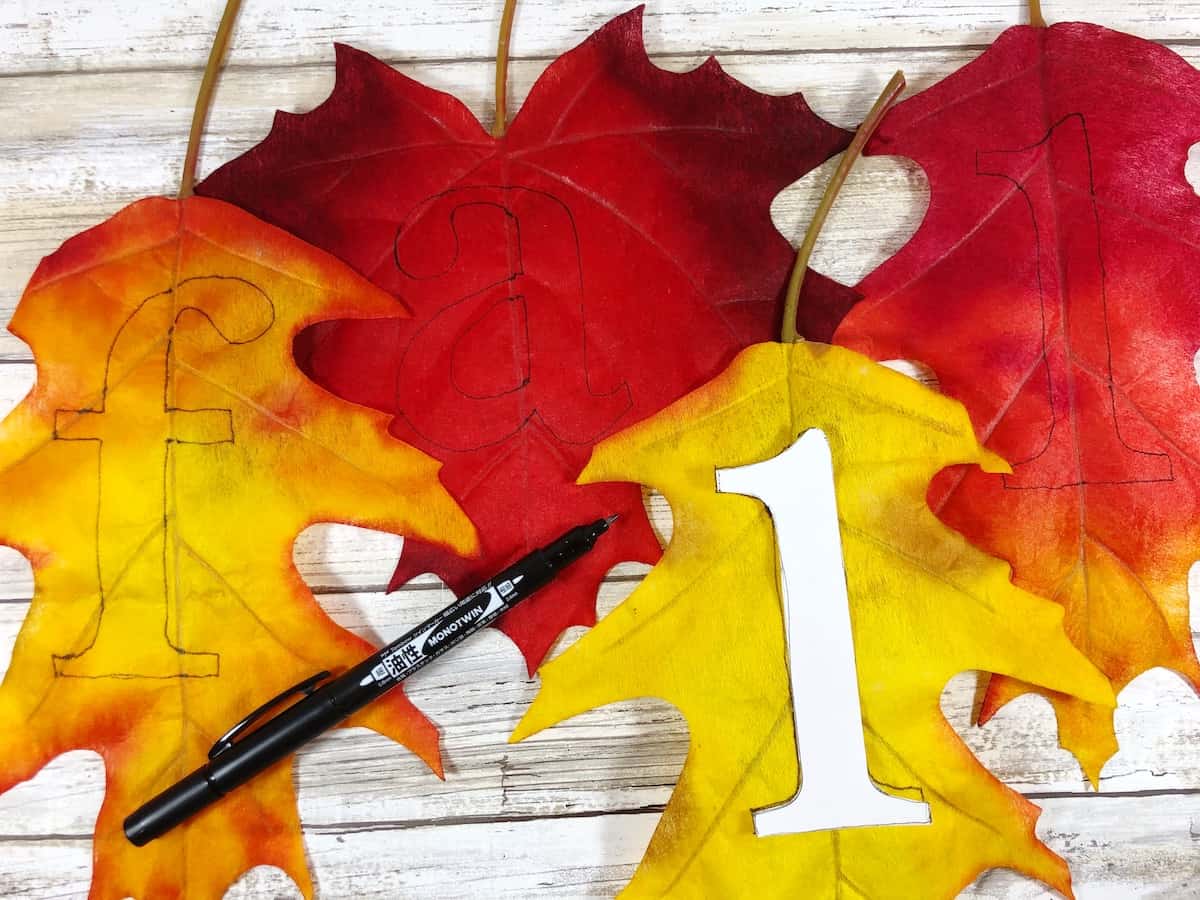
Trace each letter onto one of each of the leaves using a permanent marker with a thin point.

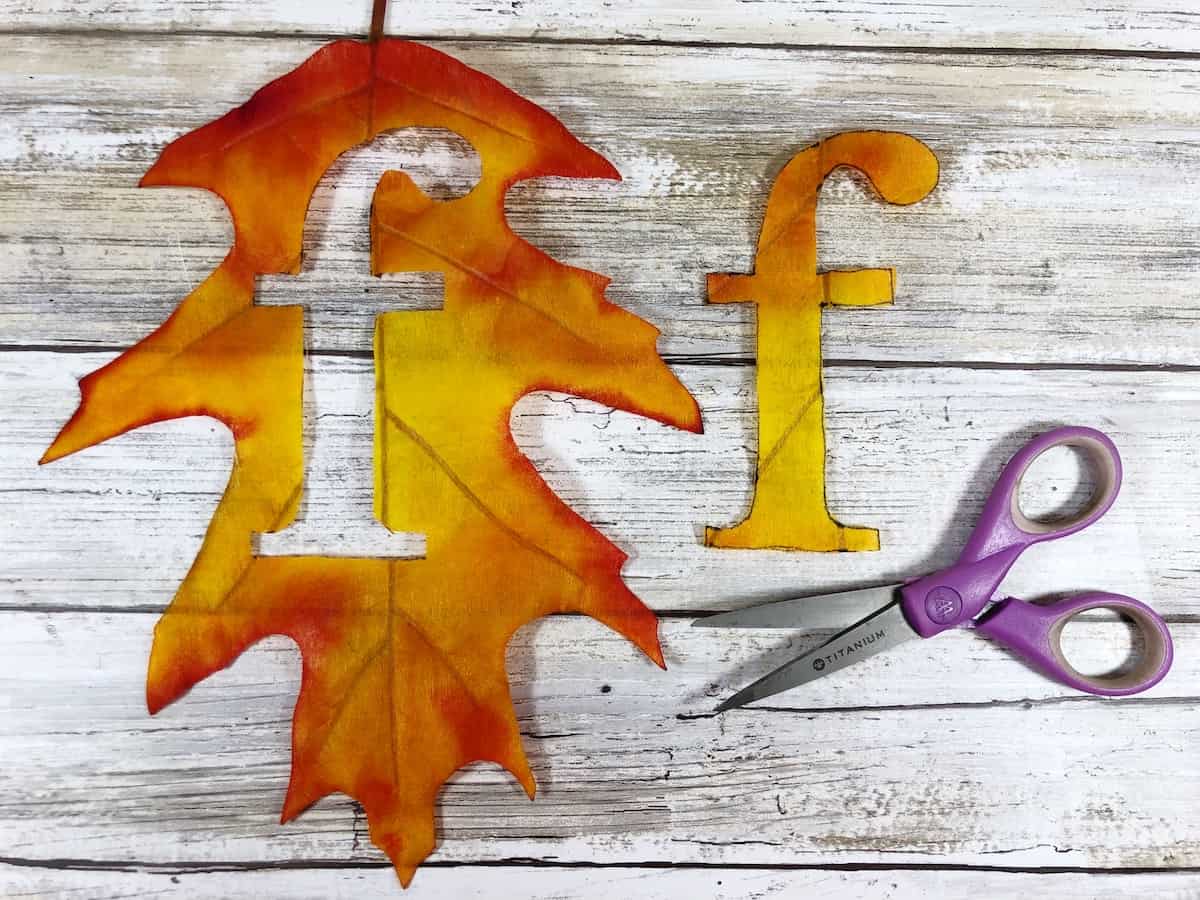
Step Two
To cut out the letters, place a leaf on the self healing mat. Trace around the pattern with a craft knife. This might not be a perfect cut, so you can then go in and clean up the edges with scissors.

For the letter “a,” you won’t be able to cut out the center of the letter. So just disregard that part in the middle (in fact, you don’t even have to trace it if you don’t want to).


Step 3
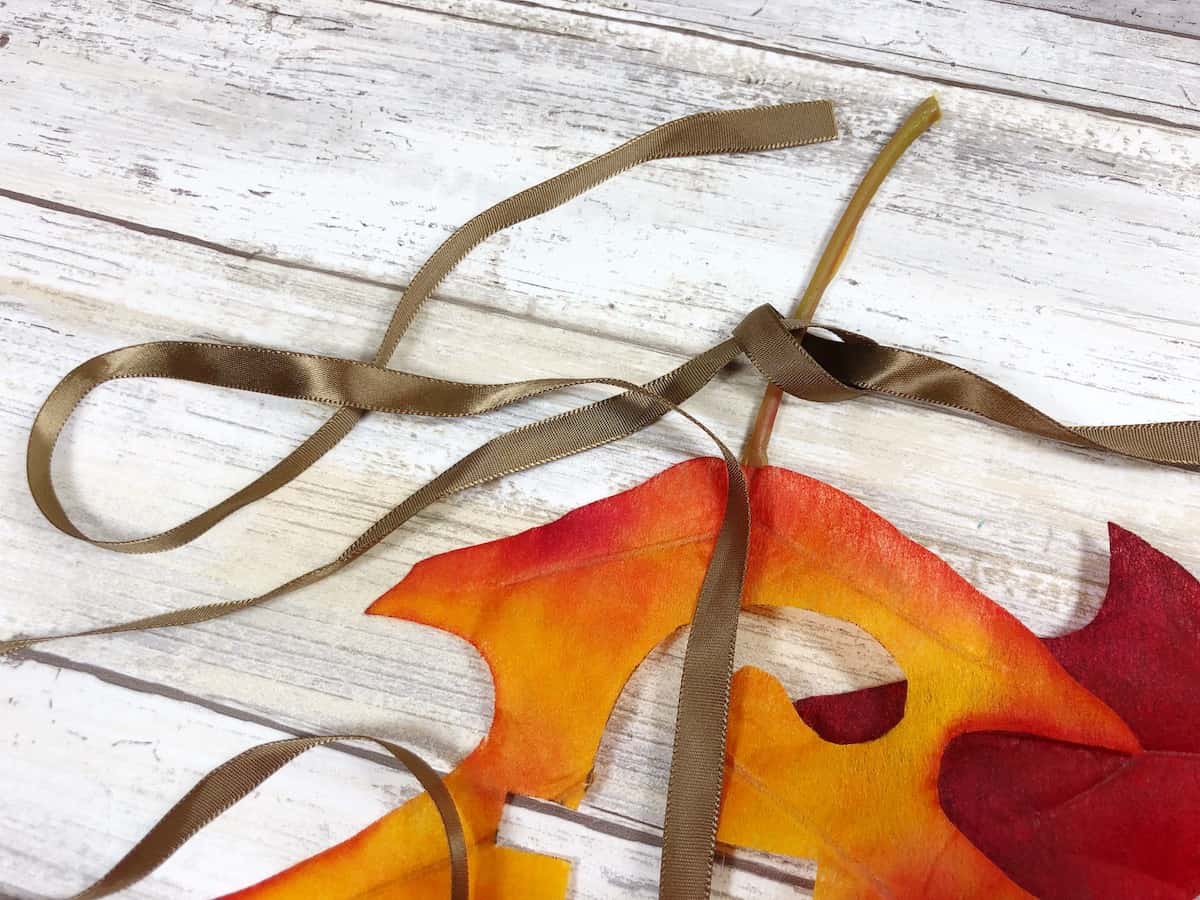
Cut a three-foot length of ribbon. Starting with the letters “a” and “l” in the center of the banner, tie the leaf to the ribbon with a double knot.
You can space out the letters however far apart you’d like. Keep in mind the further out you space them, the more ribbon you will need.
Continue with the letters “f” and “l” to finish.

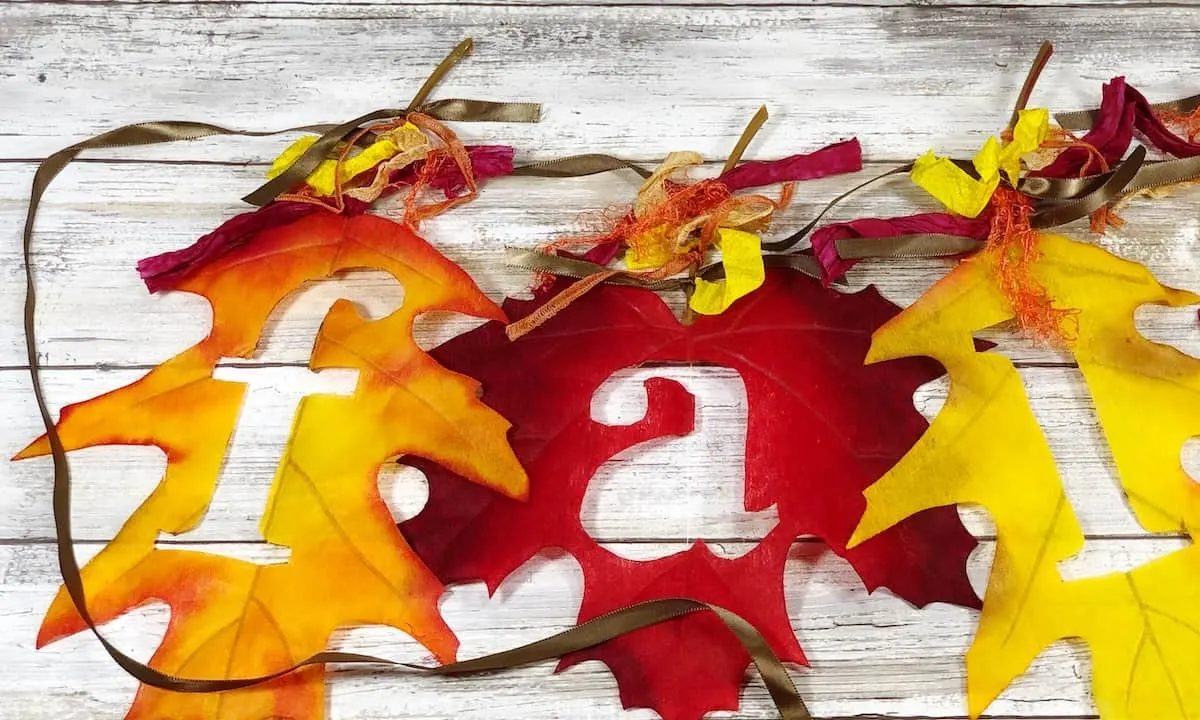
Step 4
Tie colorful ribbon scraps to the stem of each leaf. These can be different colors or patterns. I used about 4-6 different scraps per leaf, but it’s up to you.

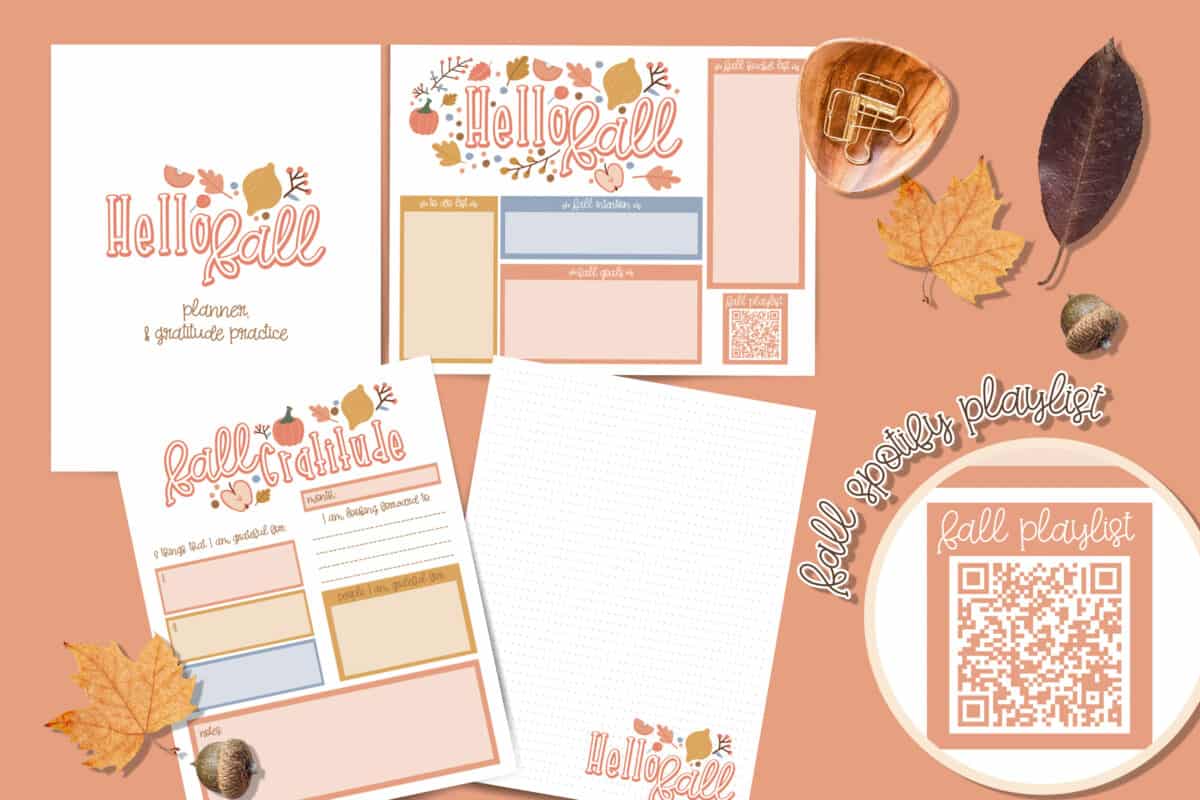
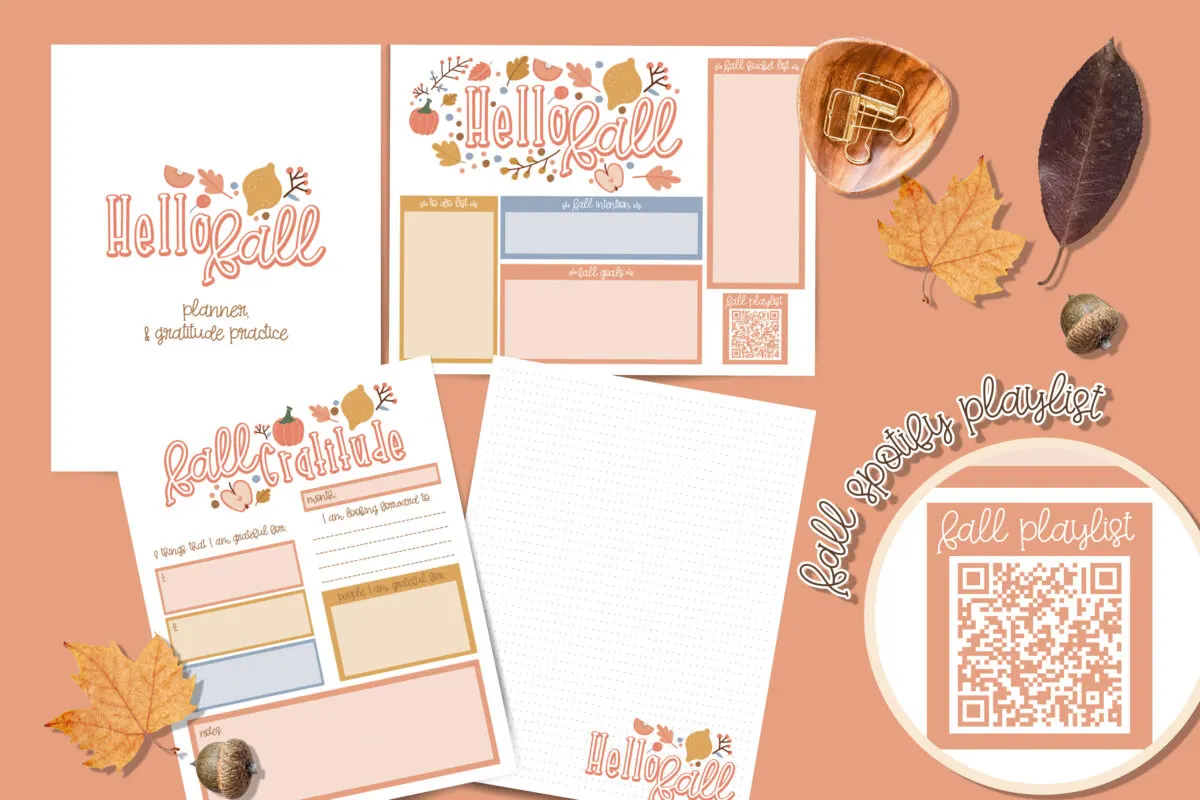
Get Your Fall Gratitude Journal Now!
Fall is a time to rest, reflect and be grateful. This printable planner and journal pack will help you capture your memories, and plan for the busy season ahead.
Want more easy Dollar Store Fall crafts? You want to see these Rae Dunn-inspired pumpkins! Or this Trick or Treat Halloween Pumpkin Tower! This Hi Pumpkin sign was also made from dollar store supplies.
You might also like these easy tin can pumpkins or Halloween Pumpkin tin can lanterns.
These are just some of the many Fall crafts that I’m excited to share with you!
