
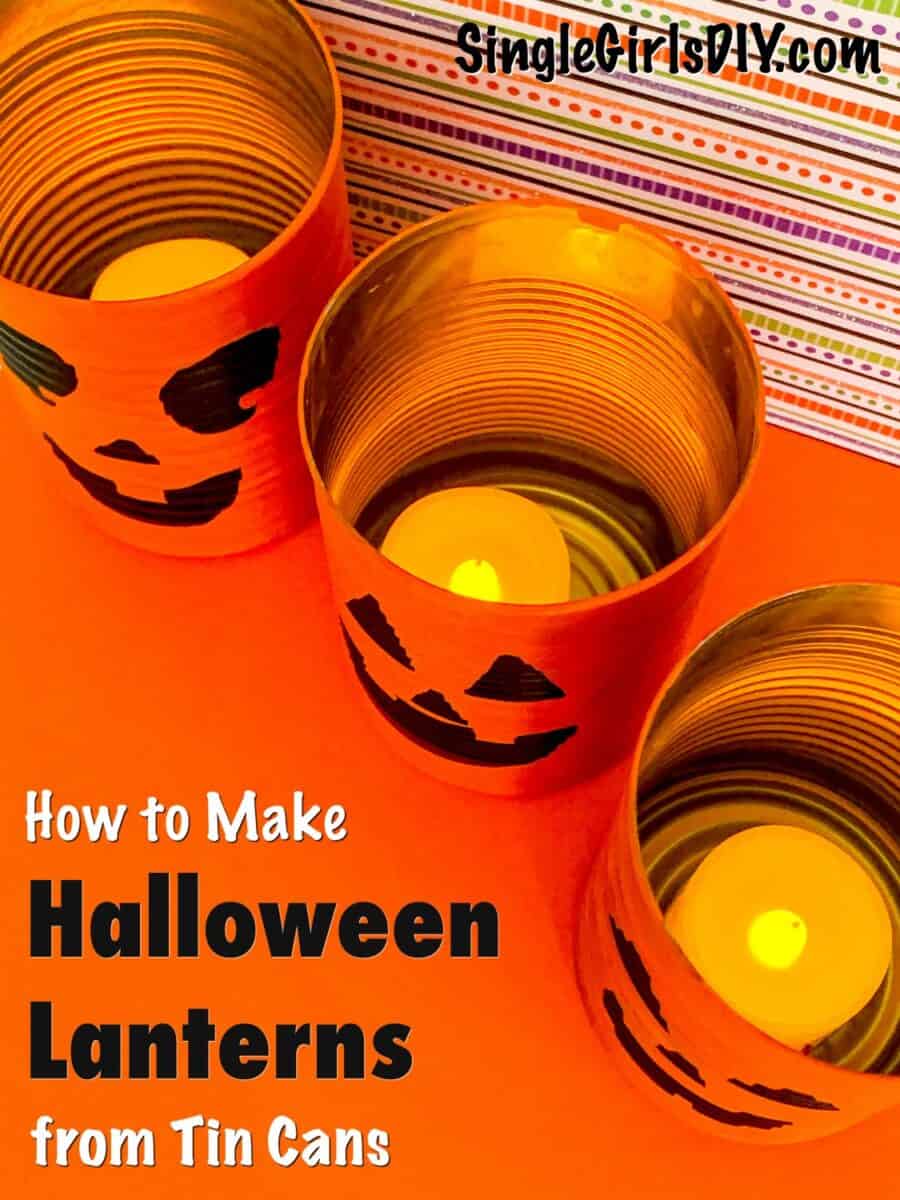
This easy DIY project repurposes tin cans into lanterns for cute Halloween decorations that are inexpensive to make!

Are you like me? Every time I toss out a tin can from food I wonder how I could reuse it?
I hate wasting anything. So when I wanted to upcycle tin food cans into Jack O’Lanterns, I was happy to find out how easy it is!

This Halloween DIY craft can be done with just a few items around the house. If you don’t have the tin cans, ask your neighbors or look inside someone’s recycling bin!
If you like upcycling crafts, you will love these milk jug ghosts, too!
These tin can pumpkin lights would be so cute decorating your house in these ways:
- In a window at night
- Lining your walkway
- On the front porch
- Night lights in the bathroom for kids
- Part of a Halloween tablescape for a party
- Cute hostess gifts
What Paint Works on Tin Cans?
Worried about what type of paint to use to paint tin cans? Don’t be!
You don’t have to buy expensive paint. Or spend money on primer. Plain acrylic paint will work just fine to paint cans. Just be sure to get quality acrylic paint that is thick in coverage and not watered down. Apple Barrel and DecoArt are good brands to use.


Hurry! Get Your Halloween Printables Pack Now!
This fun Halloween printables pack has banners, signs, treat bags and cupcake toppers. Don’t miss out!
How to Make Tin Can Lanterns for Halloween
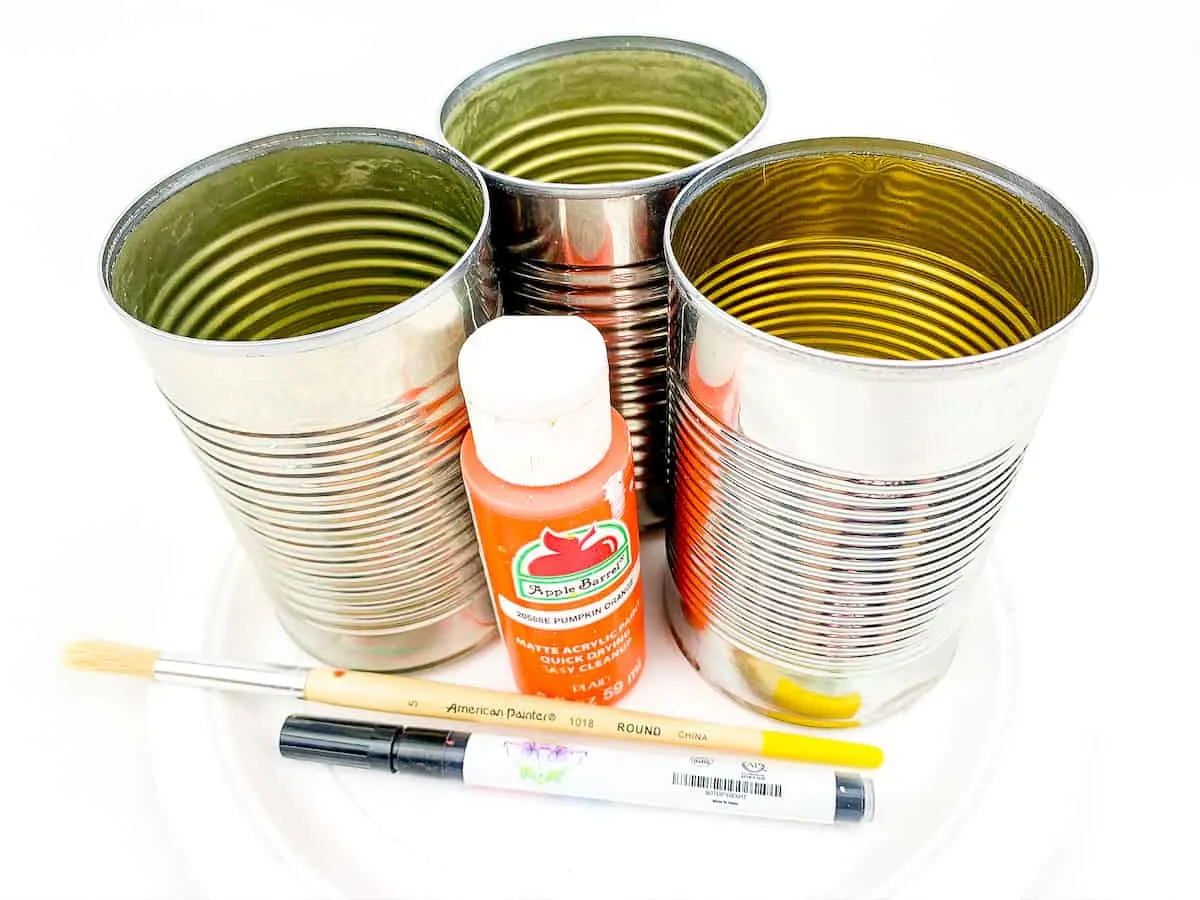
Supplies
- Empty tin cans (washed and cleaned out – be sure to remove any rough edges carefully; you can also buy tin cans new and clean online)
- Orange craft paint (use a good brand, such as Apple Barrel paint)
- Paint brush
- Paper plate or paper
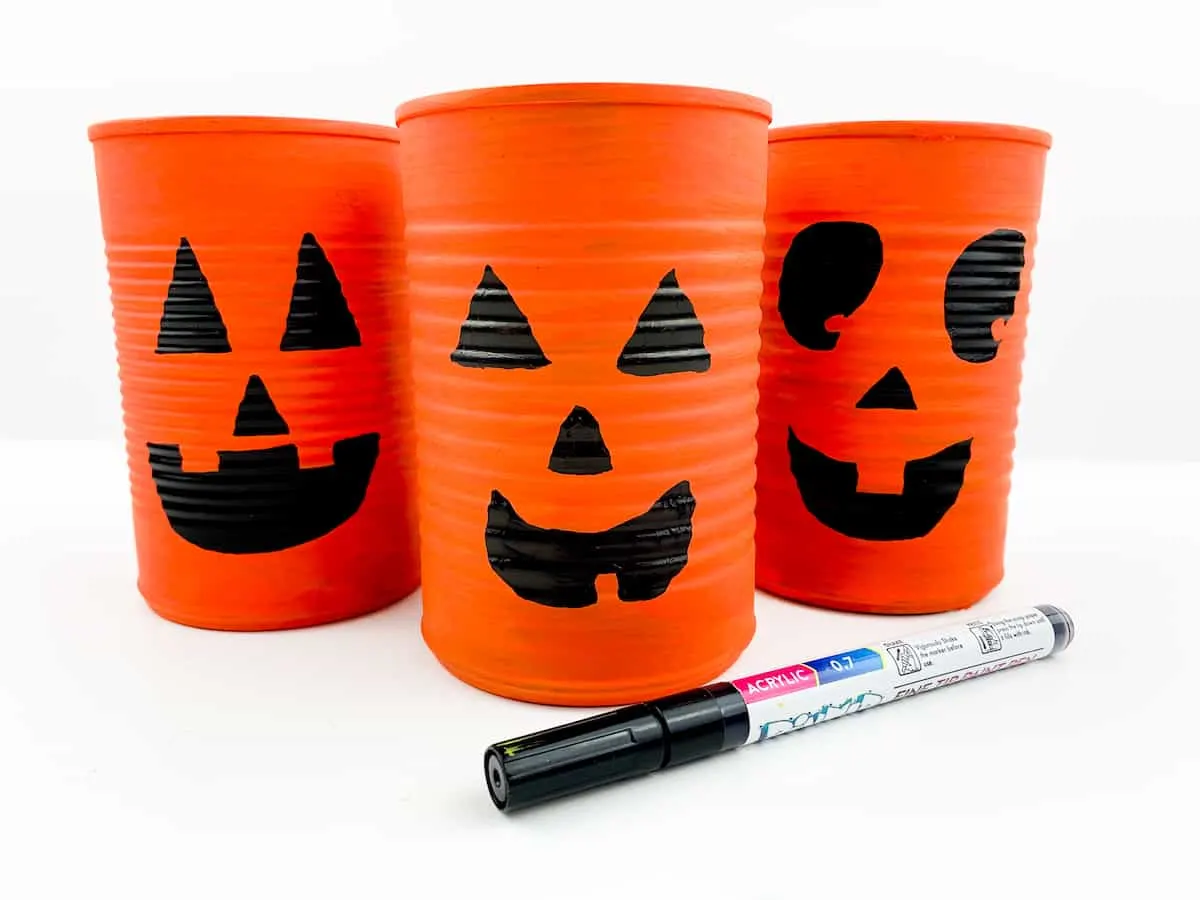
- Black paint marker
- Flameless votive candles

Directions
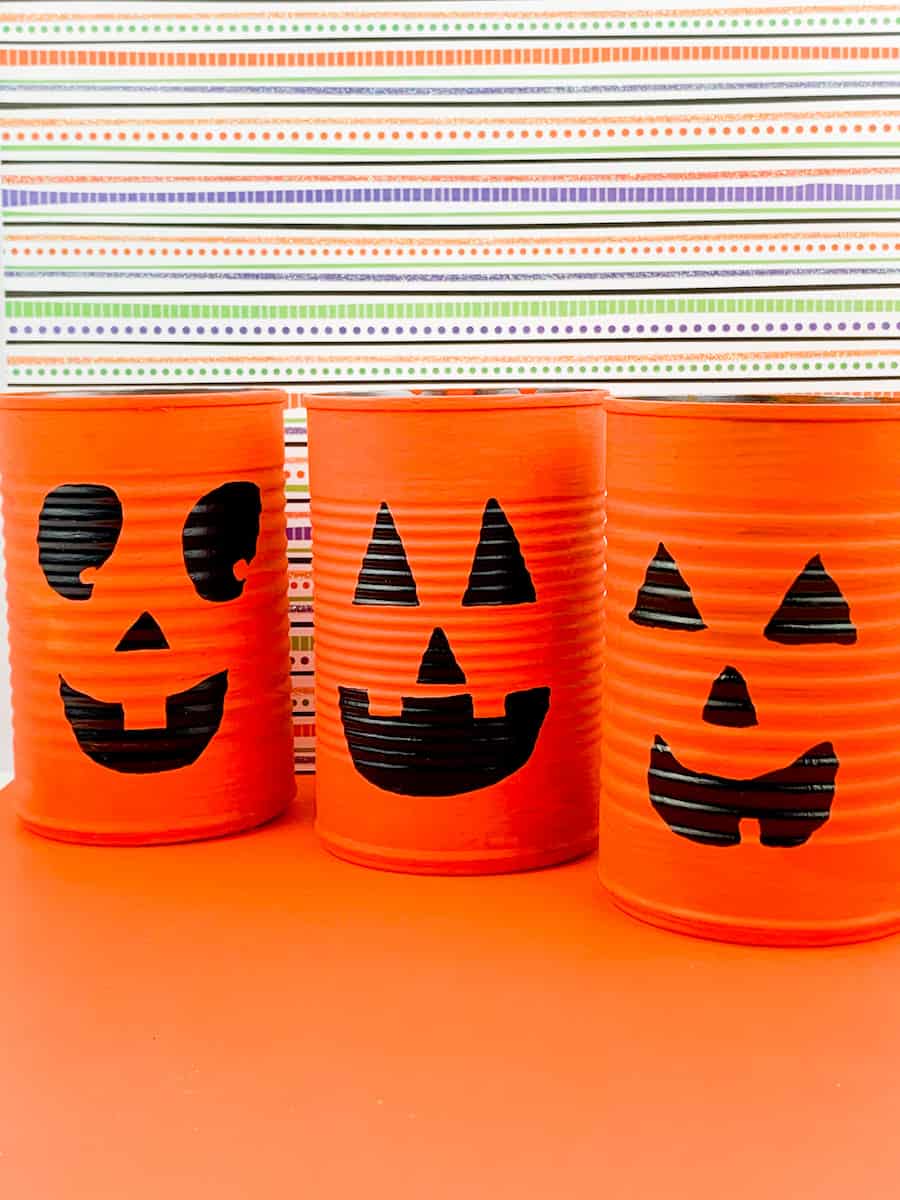
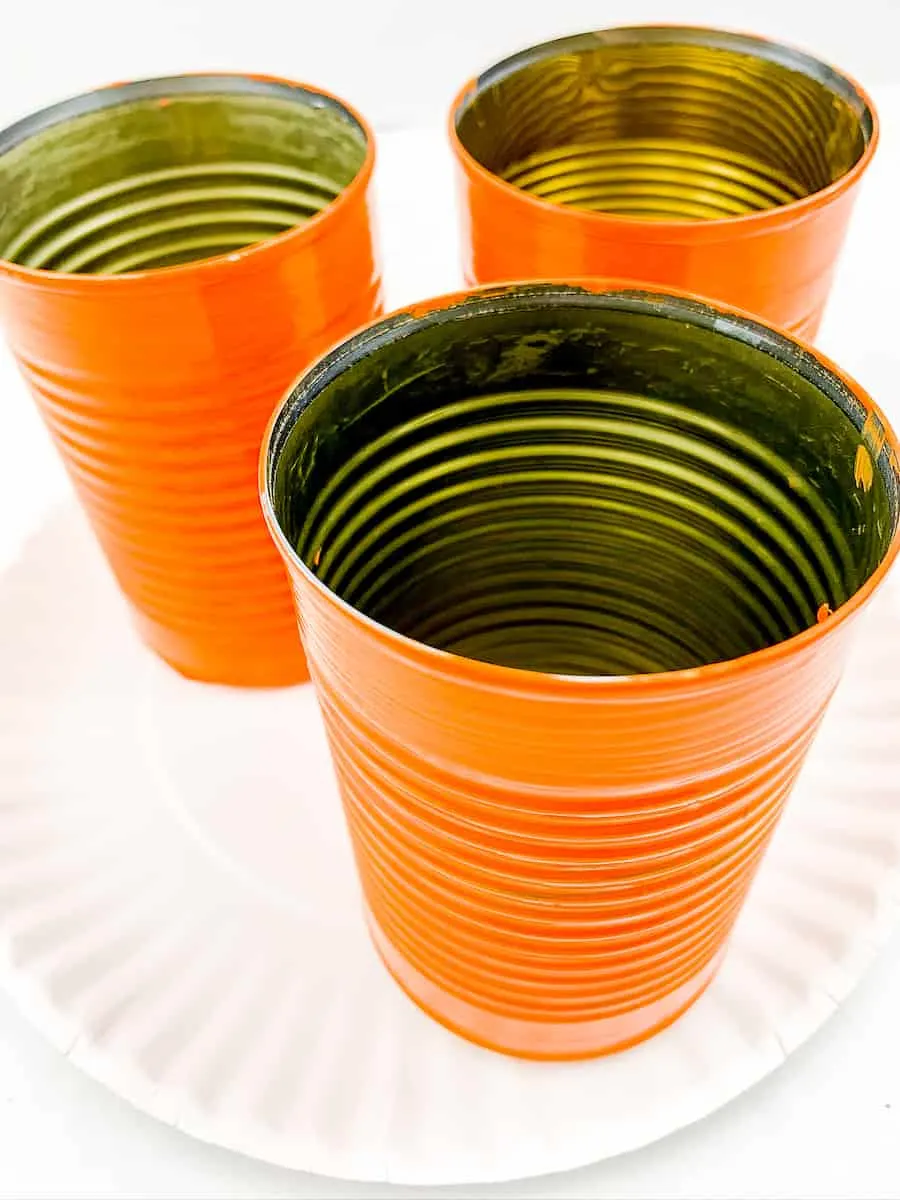
Paint your cans with orange paint, letting dry between coats. I used 3 coats of paint to fully cover the cans.
Allow to dry on a paper plate or paper to protect your surface.
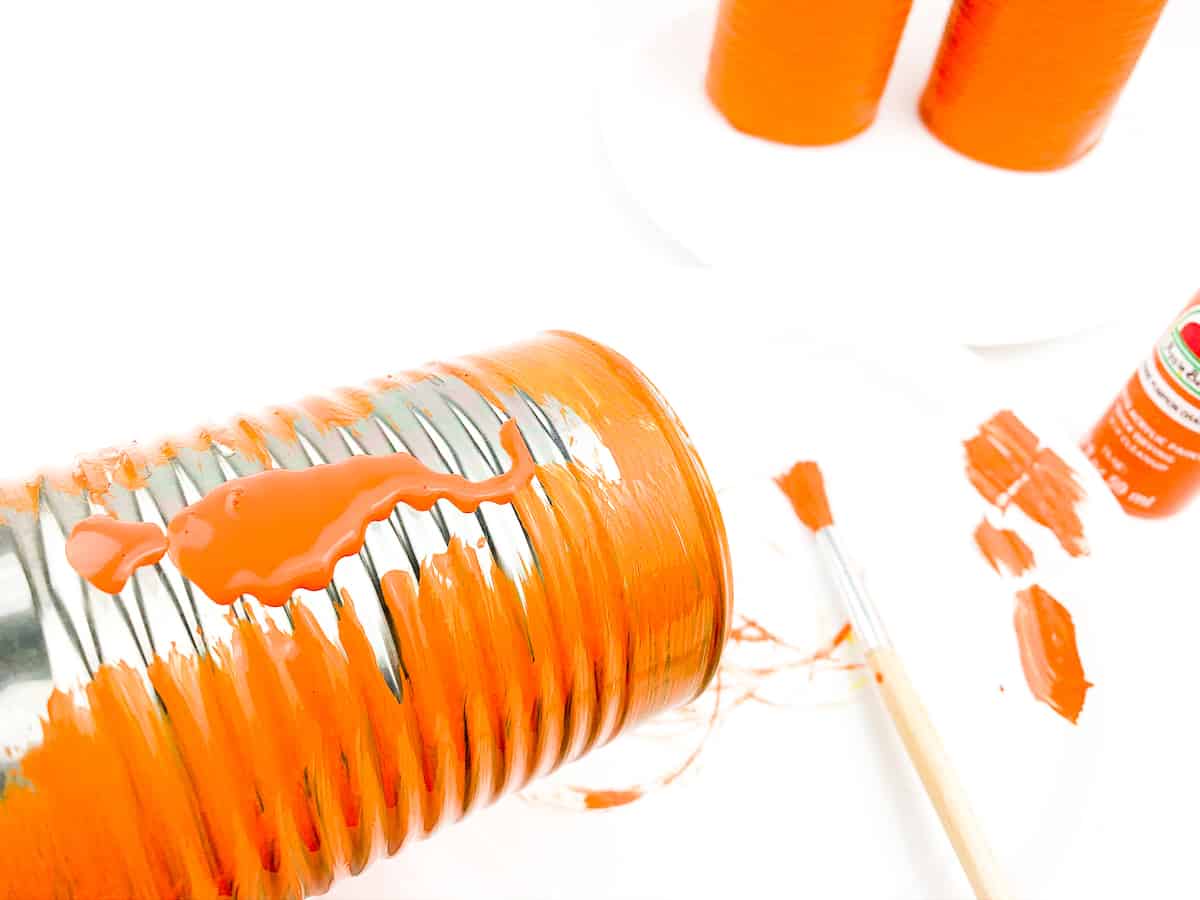

You don’t have to paint the inside of the cans unless you want to.

Using the paint marker, draw a face on each can. Be as silly or scary as you’d like. I chose some classic jack o’lantern faces. But you could do something different.
P.S. Instead of a paint marker you can use a Sharpie.
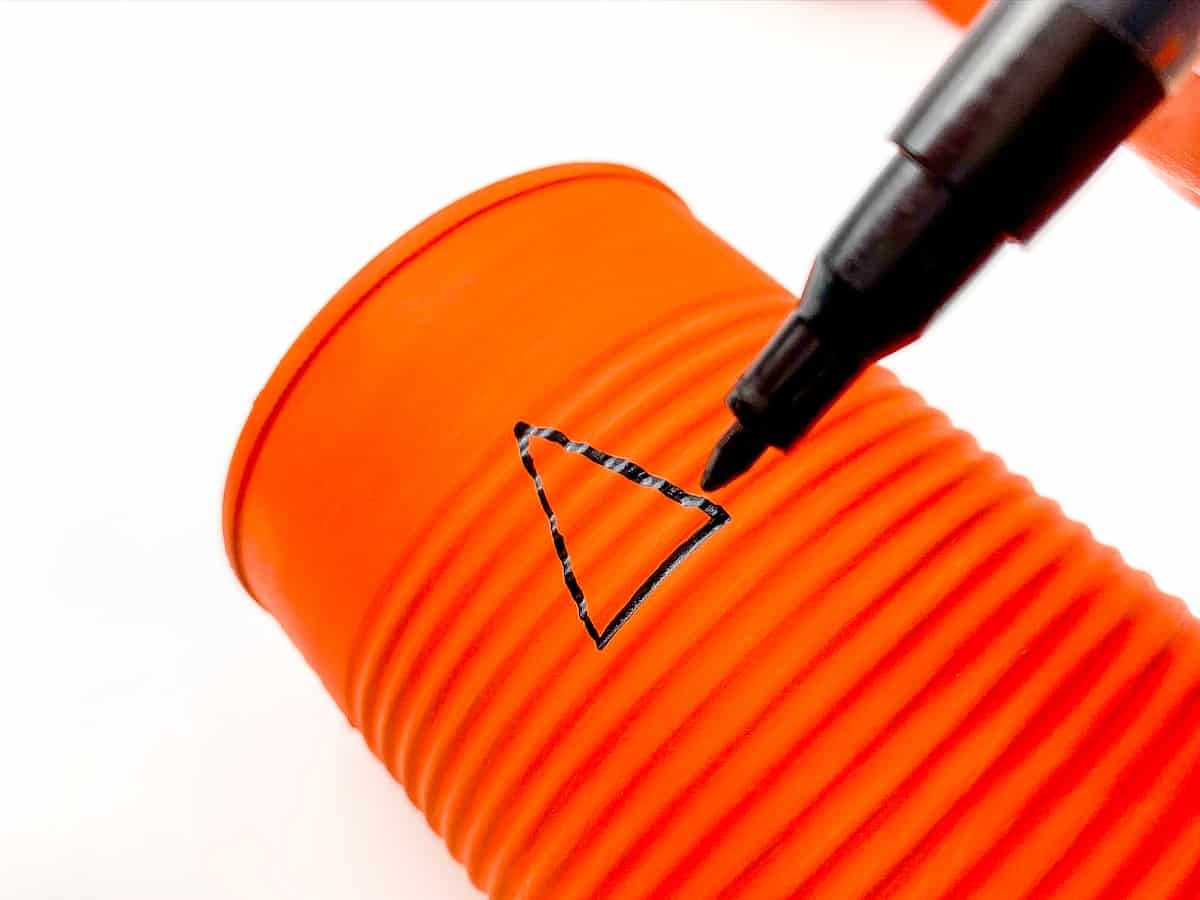

Allow the cans to dry.

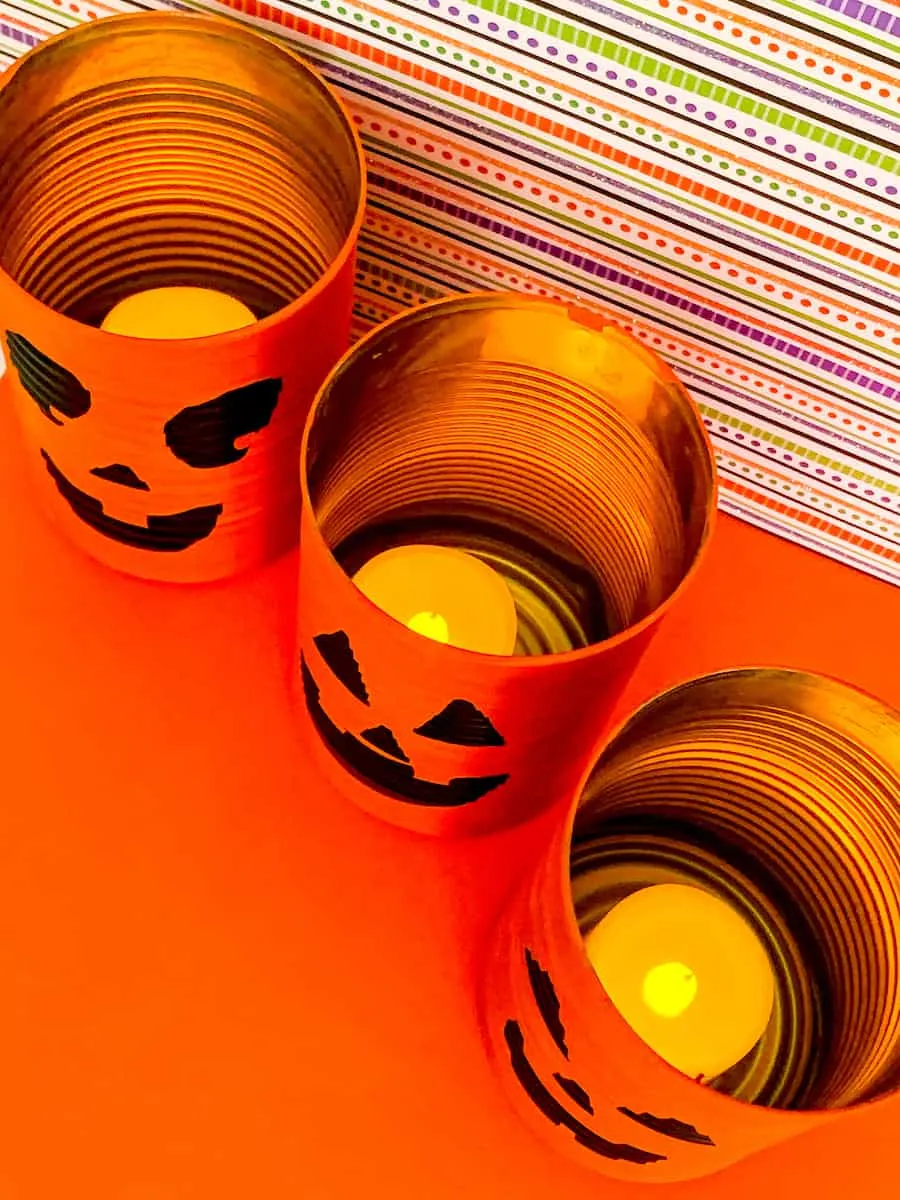
At this point, if you want a flickering tin can lantern, you could add nail holes around the black parts of the pumpkin face. You would do this by gently tapping a nail with a hammer through the can all along the “cut out” parts of the jack o’lantern face.
It is time consuming, which is why I didn’t do it. But it would be cute.
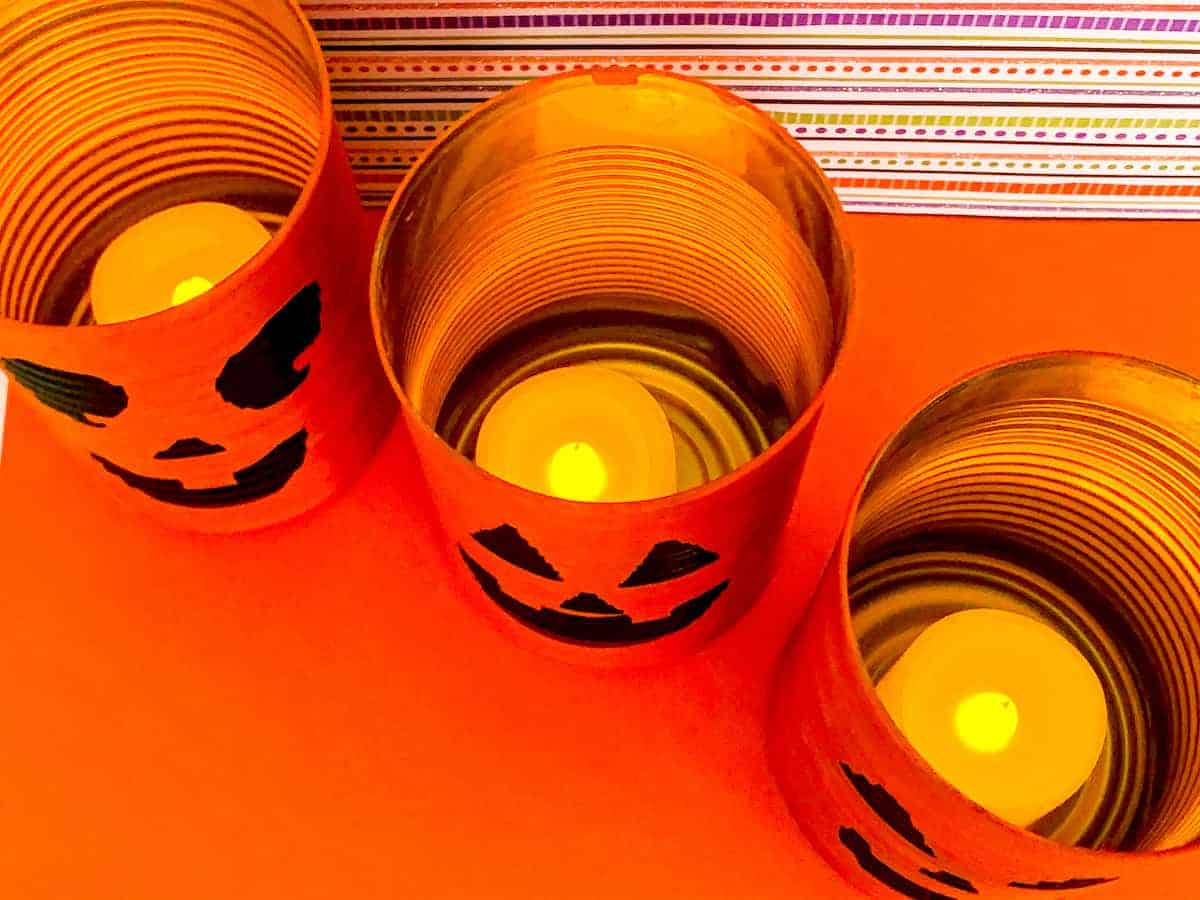
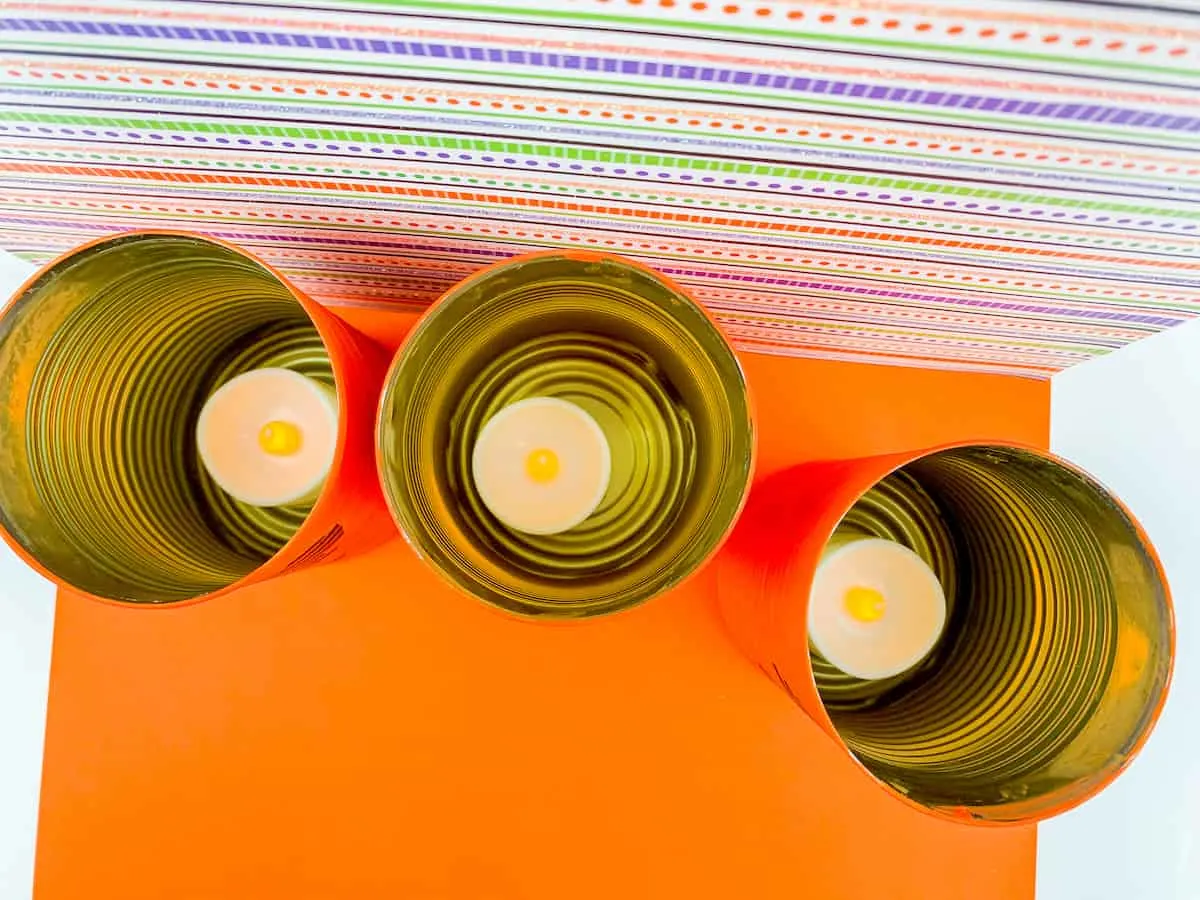
Add a flameless LED votive light to each can. If you can get them for less than $1 each, that’s a great buy!

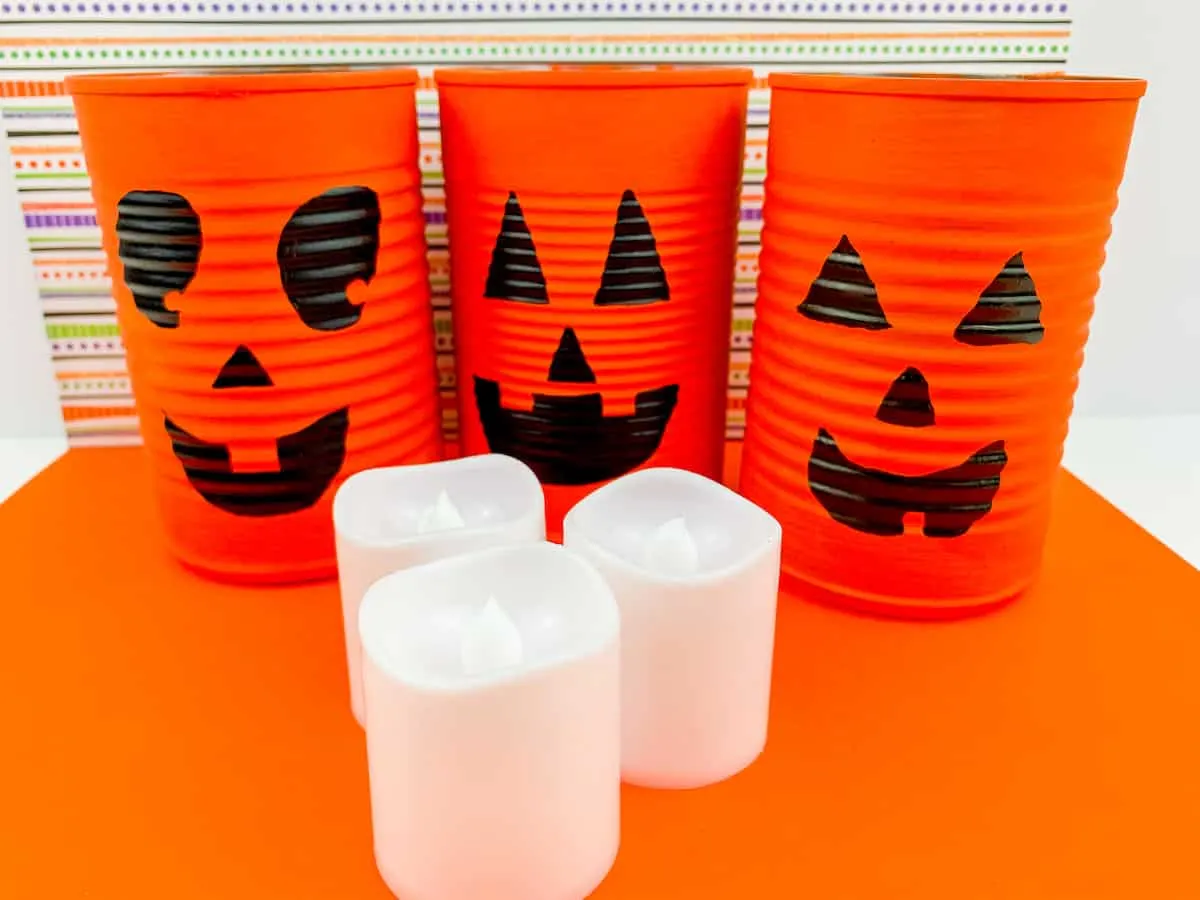

I reuse these votives throughout the year. So I’ll add the votives to my Halloween lanterns, but then use them in my Christmas luminaries later on, too.

Pin This to Save for Later!

Want more great Halloween crafts? Check out our upcycled strawberry basket made into a pumpkin. Or how we turned a Christmas tree into a Halloween ghost decoration.
These creepy spider vases are made from upcycled glass bottles.
This easy Dollar Store Fall Leaves Banner craft has a free template! And this Cricut spider web hoop art makes a great wreath on your front door!

Nancy
Monday 17th of October 2022
Why put a votive in the can without poking holes in the can to to actually see the light within?
Kimberly
Tuesday 18th of October 2022
You can still see light flickering out of the lanterns. If you want to spend more time making them, you can punch holes.
Deborah
Monday 19th of October 2020
Tin cans are not aluminum cans. Those are two entirely different materials. Great idea!