


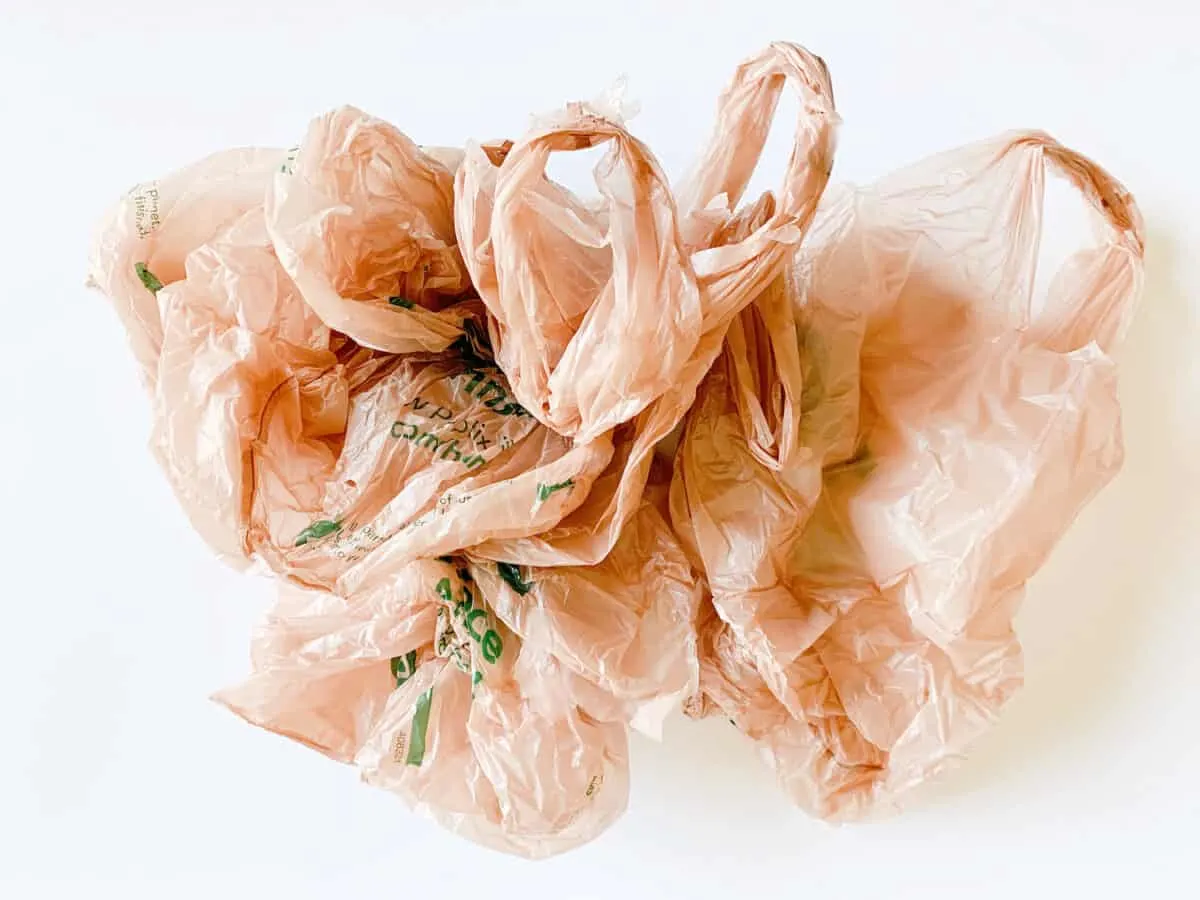
Whenever I see a pile of grocery store plastic bags, I often dream of a way to repurpose the plastic. One day, I got the idea to make a cute plastic bag wreath for my door. And, wow, I love the way it looks!
Strips of the brown plastic bags look like raffia or corn husks for a Fall wreath. I’m so thrilled with the results.
I made this wreath four years ago and I have used it every year since. The plastic has held up well and the leaves are still attached with tape.


This is the easiest wreath I have to store because it lays flat, weighs almost nothing, and can easily be fluffed up the next year.
Plus, my family has looked at the wreath and can’t believe it’s actually plastic bags. They said it actually looks like soft fabric or real raffia. I agree!


Helpful Tips for This Plastic Bag Craft
- I used brown plastic bags for a Fall wreath. However, you can use white plastic bags for Christmas or another holiday. Grey plastic bags would work, too, for a minimal design.
- Add decorations and coordinating ribbon according to the holiday you are decorating for. Christmas wreaths could have evergreen branches, holly, berries, or light bulbs. Easter could have Spring flowers in the center.
- I put my decorations and bow on the bottom. You could put yours on the top or a side.
- Don’t worry about cutting straight lines or if the edges are not straight. You won’t notice!
I have lots of DIY wreath tutorials that you might like to browse, too!

How to Make a Plastic Bag Wreath
I’d suggest also watching my Youtube video below to see how I made this wreath. There is also a printable How-To Card found underneath these instructions, as well.
Supplies
- Plastic bags (I used 15 bags)
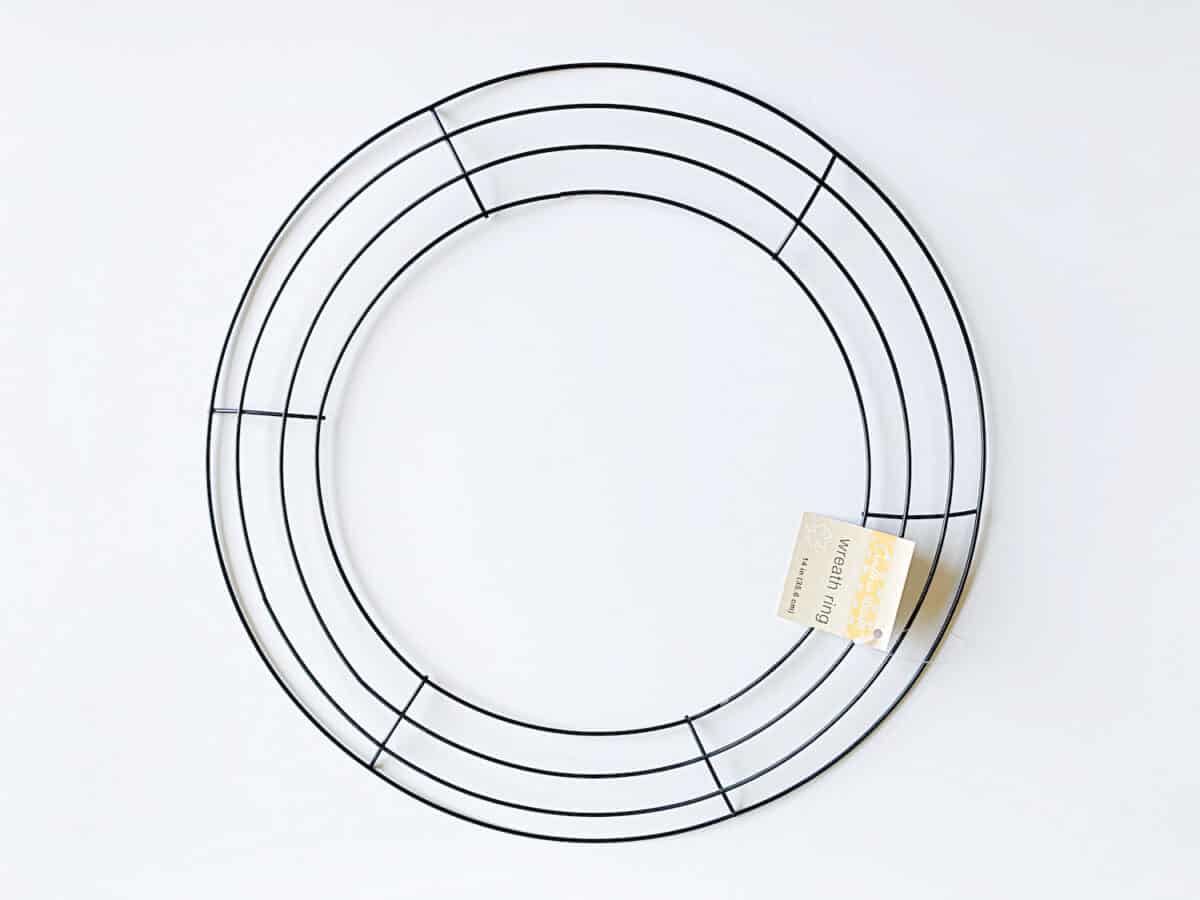
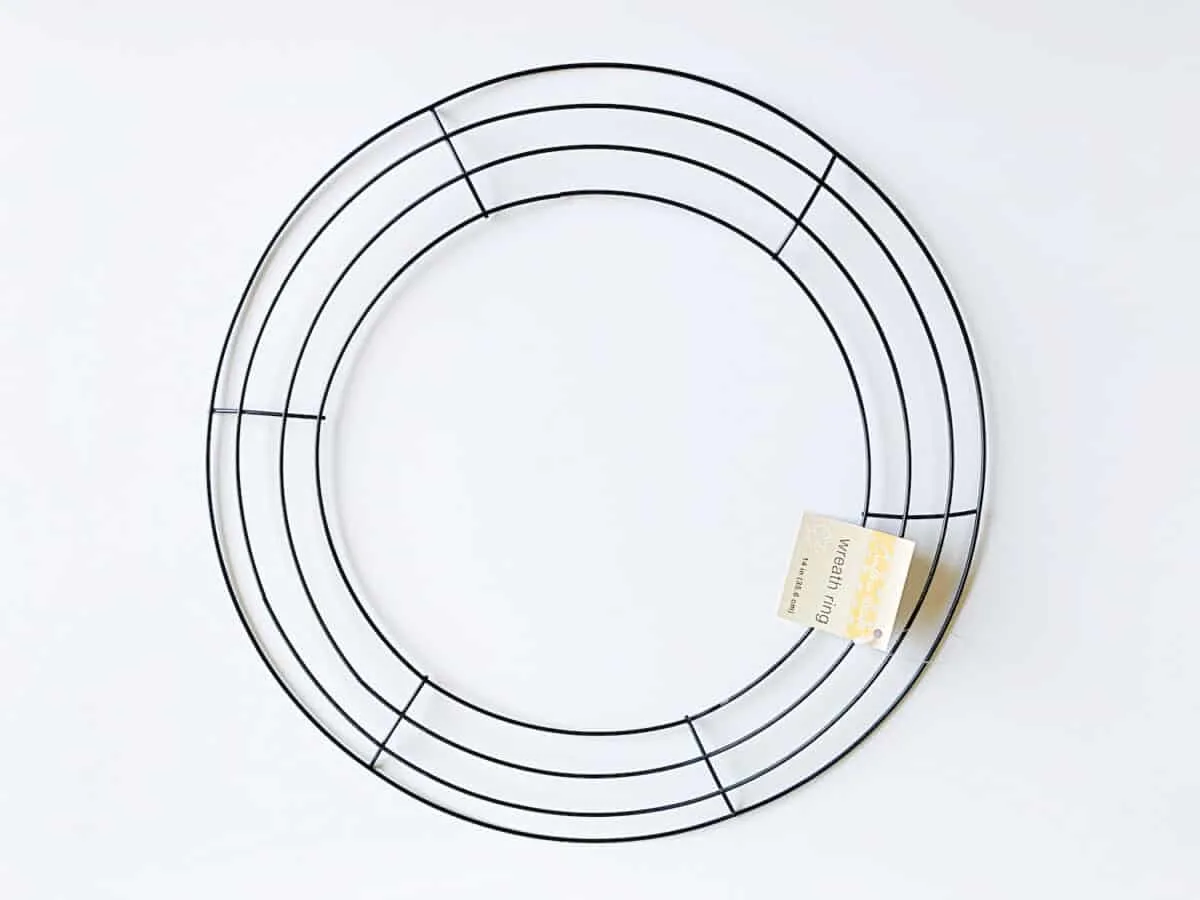
- Wire wreath form (I used a 14-inch Dollar Tree wreath form)
- Decorations (I used artificial leaves)
- Double Sided Tape (you could also use glue)
- Fishing Line (optional)
- Ribbon for a Wreath Bow (I used wire-edged ribbon)
Directions
Step 1
Cut plastic bags into strips. I cut off the handles of my plastic bags to begin with. Then I cut out any areas where there was printed wording.
(You could leave those areas if you don’t mind some color variations in your wreath.)
Next, I cut big squares of the plastic bags. You can choose whatever size you want, but I did approximately 3 inches X 4 Inches.
Step 2
Tie each square to the wreath form individually. You just need to tie the ends together in one knot to secure. No need to double tie.


Add as many squares tied to the wreath as you’d like. Bunch them up on the form until they are poofy and covering the wreath form.
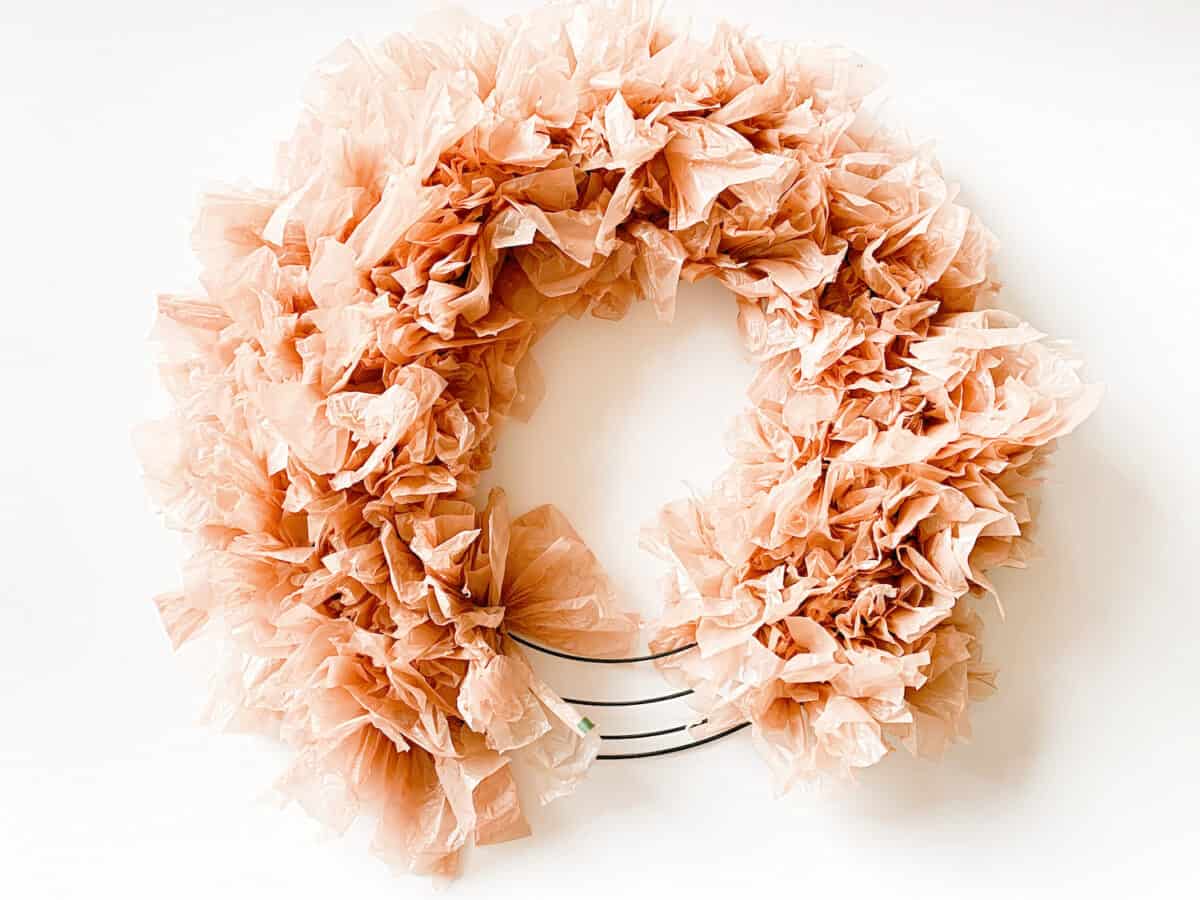
I only tied plastic strips to the inner and outer edges of the form, and they covered the inner two wires fine.

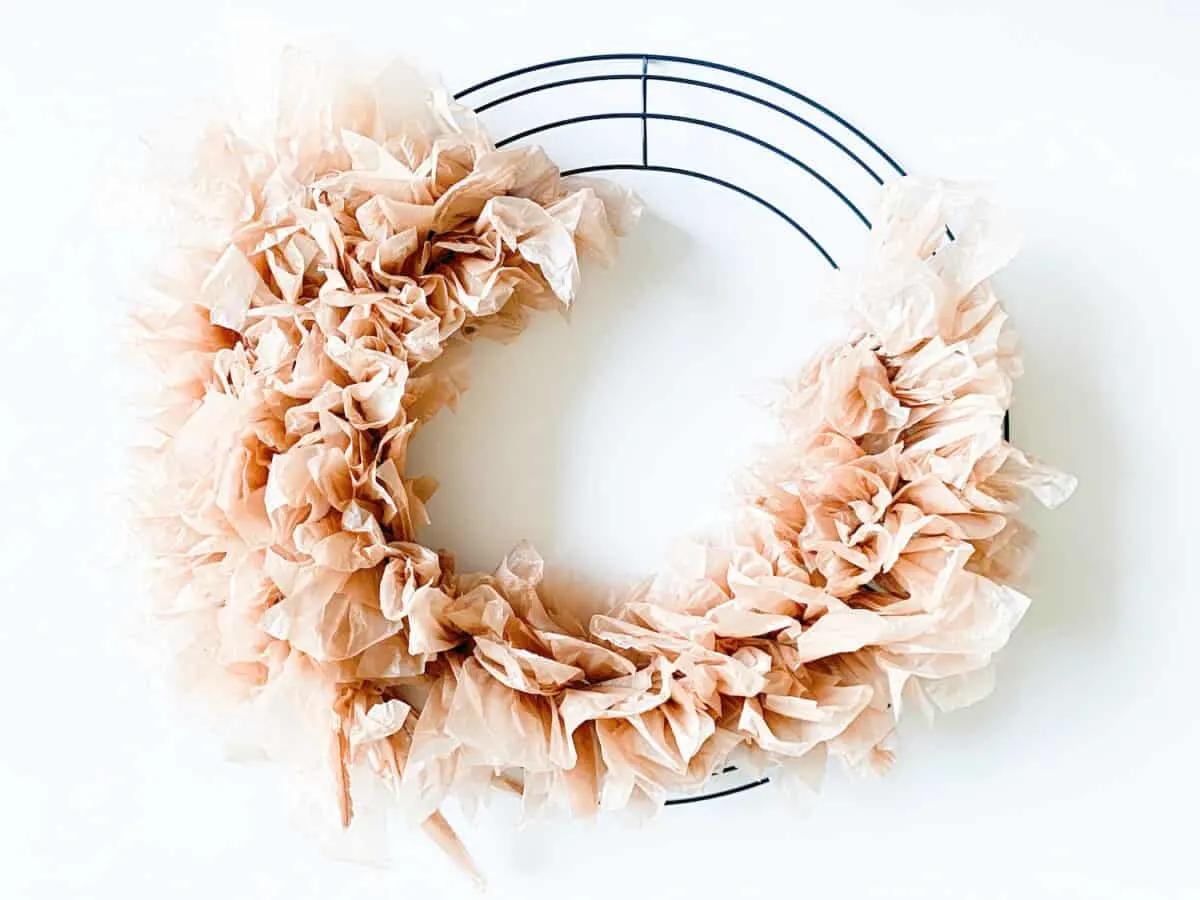
I left the bottom portion of my wreath uncovered, because I was really tired of adding plastic strips! You could over the entire wreath form if you’d like.

Step 3
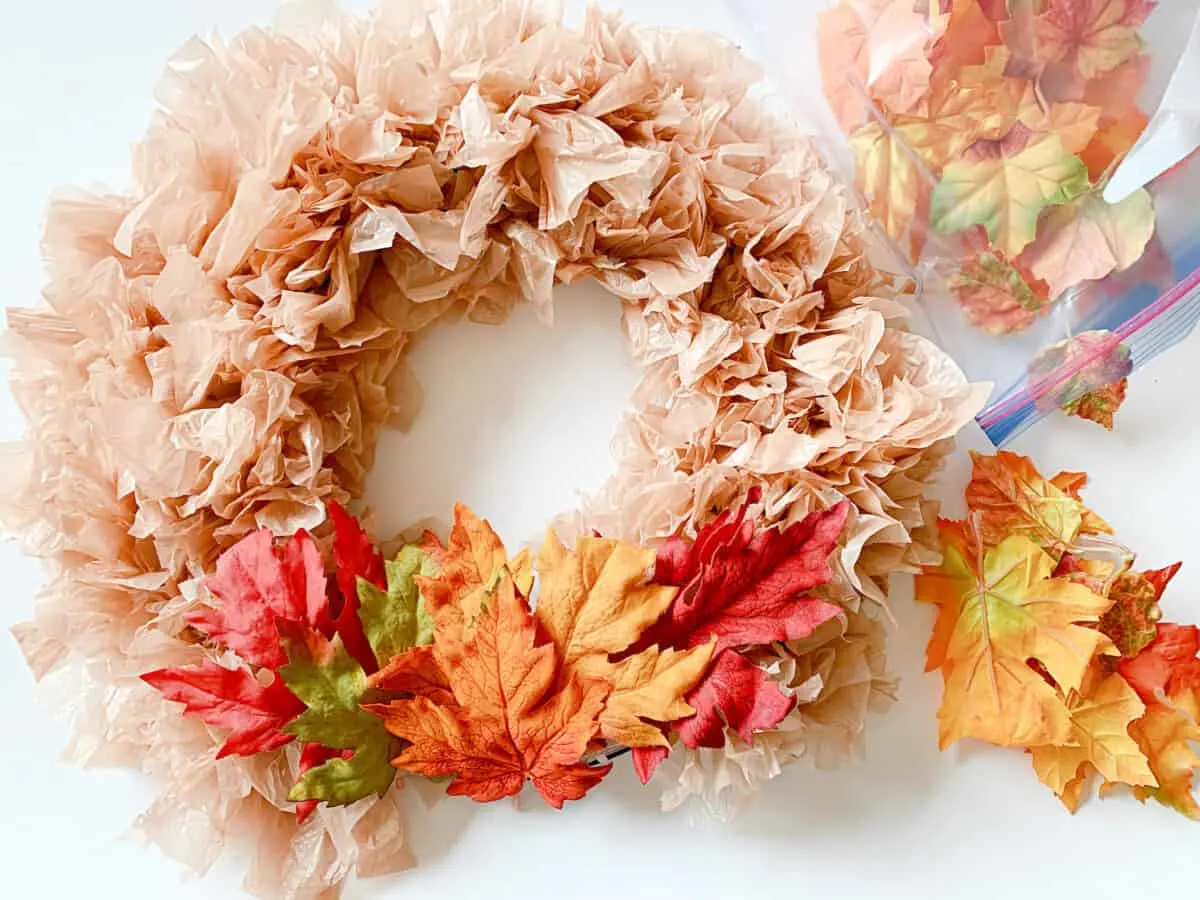
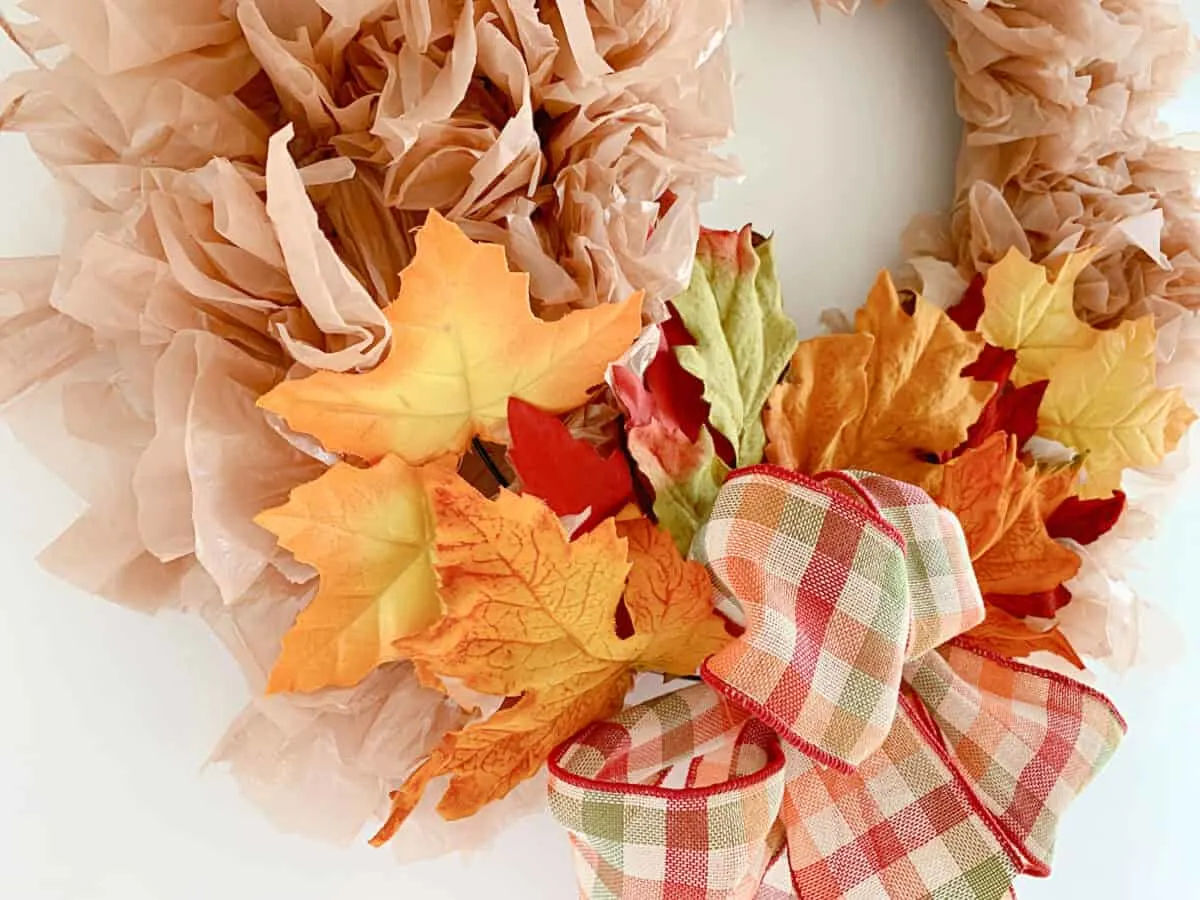
After you have tied as many strips as you’d like, it’s time to add decorations.
I used faux fall leaves on the bottom of my wreath. Choose whatever works for the season you are decorating for.

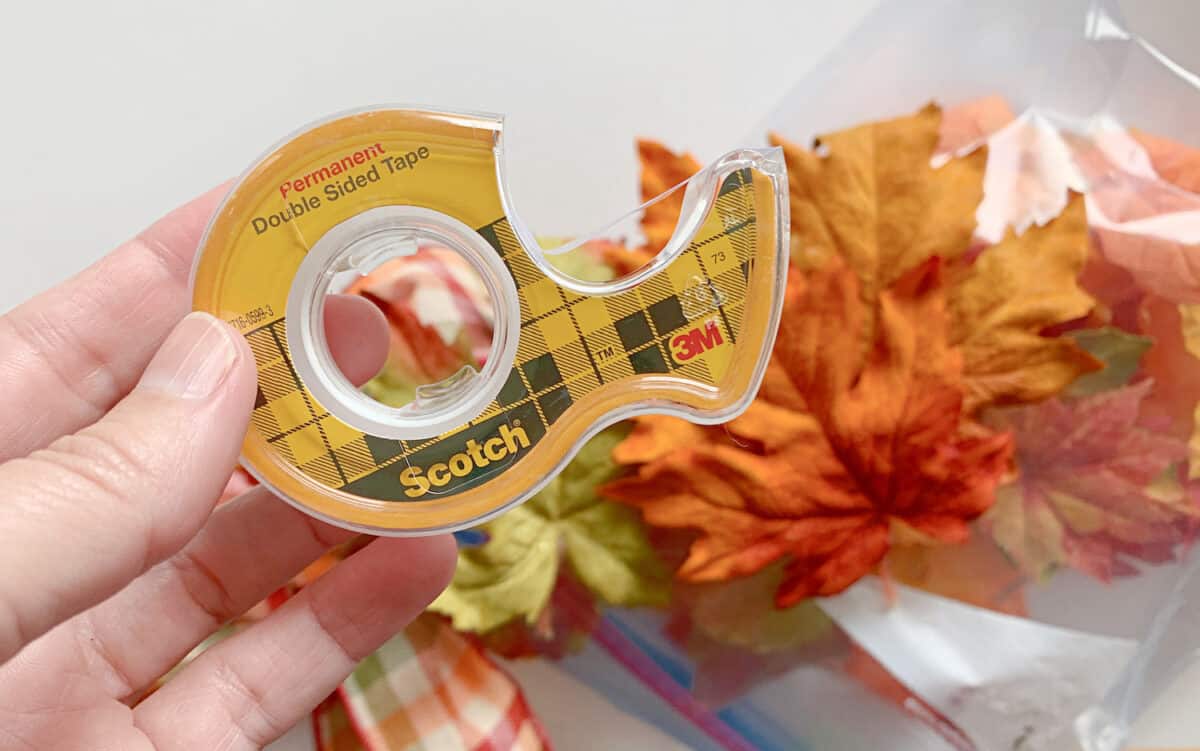
I attached with double-sided tape because it was easier. You could use hot glue or a tacky craft glue, but you will want to attach to the wreath form directly, rather than the plastic, as it could melt with high heat.
I added tape to the backside of the leaf and pressed it onto the plastic. It has stayed on pretty well.
I’ve also tied a few stems of the leaves directly to the wreath form with fishing line.
Step 4
Add a bow. I made two different bows with ribbon. I tied them like normal. Then I attached them individually to the wreath form with fishing line.
I tied them on in a way that made it look like a big, fancy bow.

I have an additional article you might be interested in if you want to see the step-by-step instructions for how to make a bow with wire ribbon.
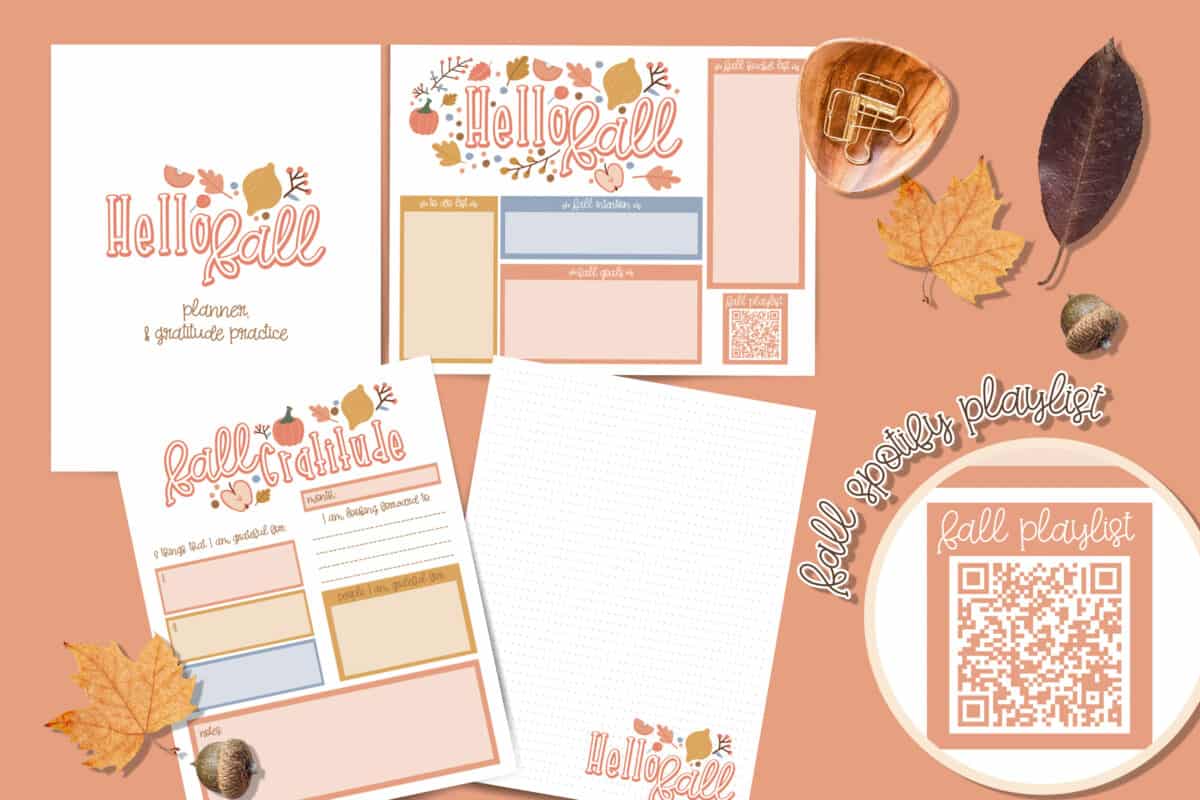
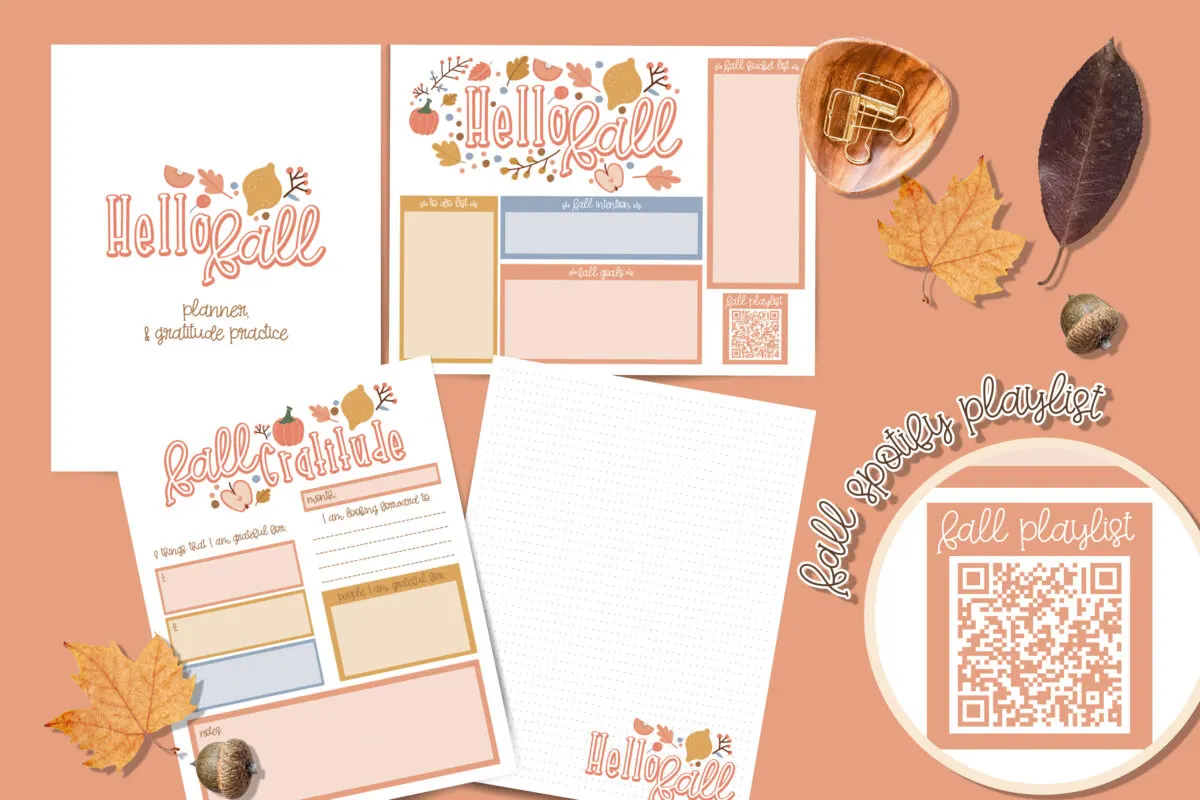
Get Your Fall Gratitude Journal Now!
Fall is a time to rest, reflect and be grateful. This printable planner and journal pack will help you capture your memories, and plan for the busy season ahead.
Watch my video tutorial on Youtube (and I’d be happy if you subscribed!):
DIY Plastic Bag Wreath

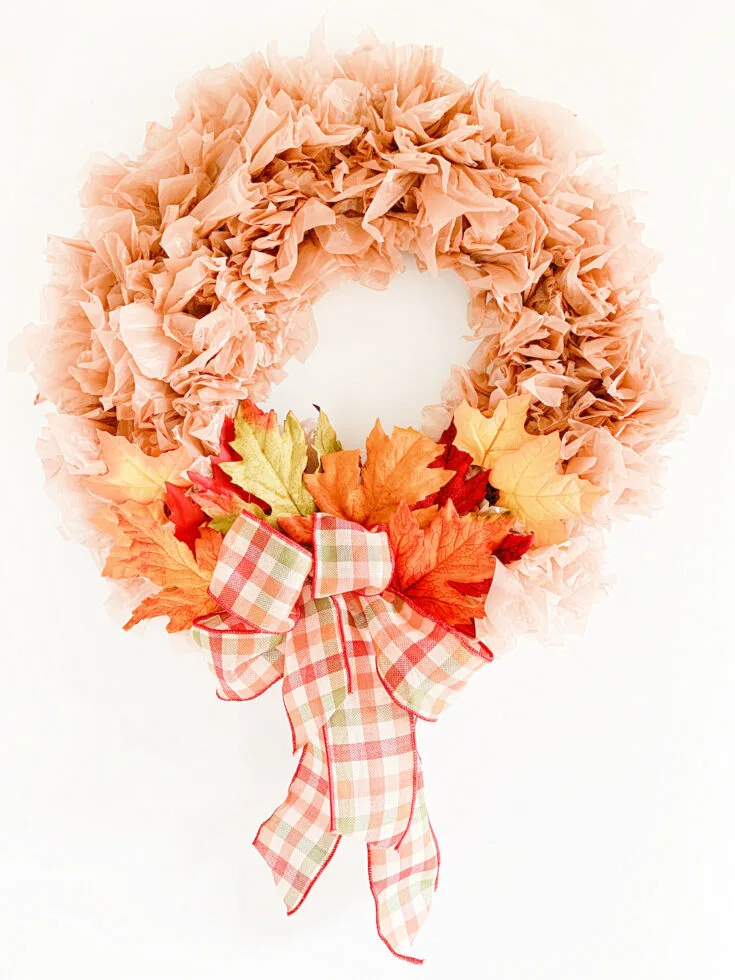
Using free grocery store plastic bags, DIY a cute front door wreath that costs just a few dollars to make!
Materials
- Plastic Bags (about 15)
- Dollar Tree 14-inch wreath form
- Faux Fall leaves
- Wire edged ribbon
- Double sided tape
- Fishing Line (optional)
Instructions
- Cut plastic bags into strips. I cut off the handles of my plastic bags to begin with. Then I cut out any areas where there was printed wording. (You could leave those areas if you don't mind some color variations in your wreath.)
- Cut big squares of the plastic bags, approximately 3 inches X 4 Inches.
- Tie each square to the wreath form individually.
- Add as many squares tied to the wreath as you'd like. Bunch them up on the form until they are poofy and covering the wreath form. Leave a portion of the wreath from uncovered to add decorations to.
- It's time to add decorations. I used faux fall leaves on the bottom of my wreath. Choose whatever works for the season you are decorating for. I attached with double-sided tape because it was easier. I added tape to the backside of the leaf and pressed it onto the plastic. I also tied a few stems of the leaves directly to the wreath form with fishing line.
- Add a bow. I made two different bows with ribbon. I tied them like normal. Then I attached them individually to the wreath form with fishing line. I tied them on in a way that made it look like a big, fancy bow.
I made my Plastic Bag Wreath for Fall decor. If you are looking for more Fall Wreath ideas, check out my Autumn Square Wreath, this adorable bundt pan wreath, or use plants from your garden to make this dried flower wreath.
