
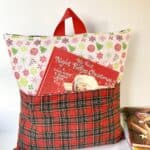
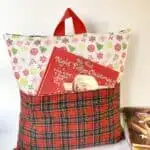
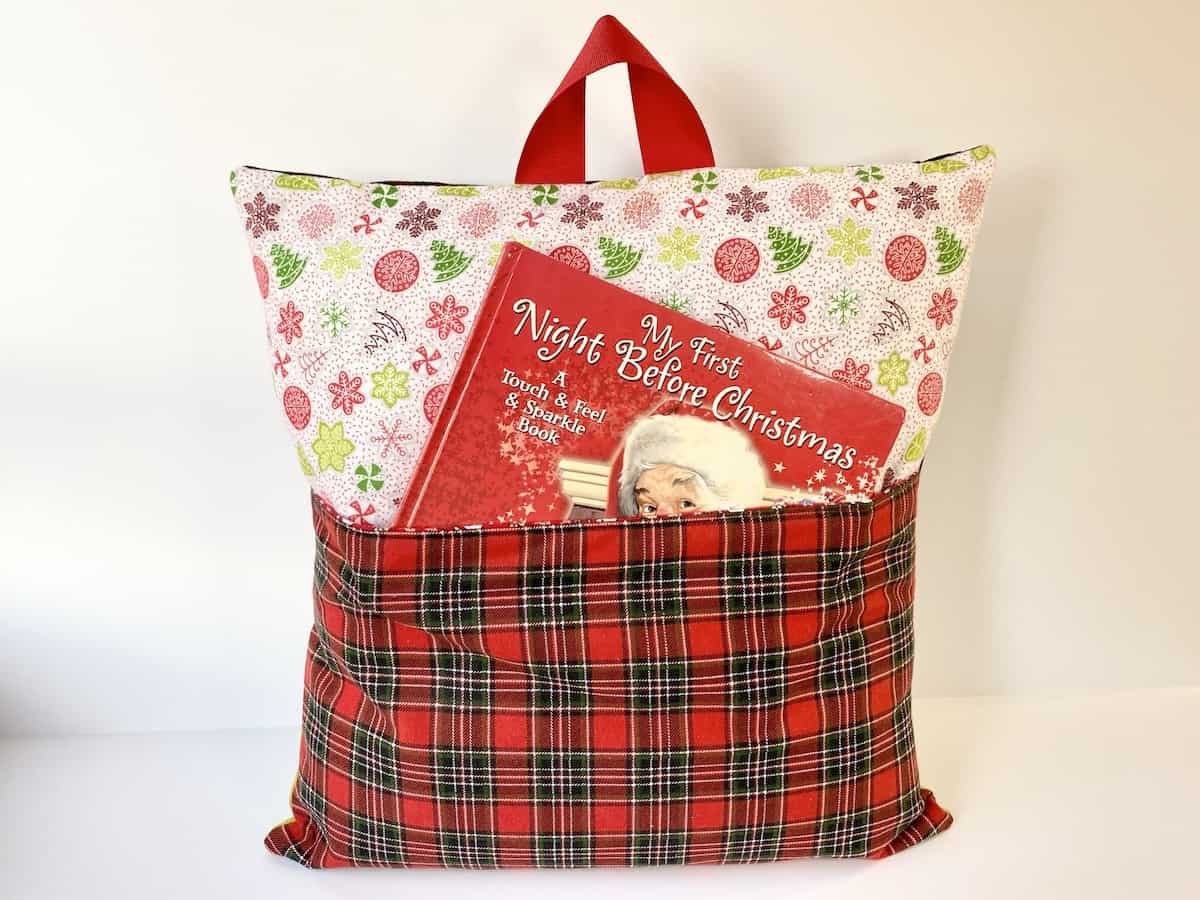
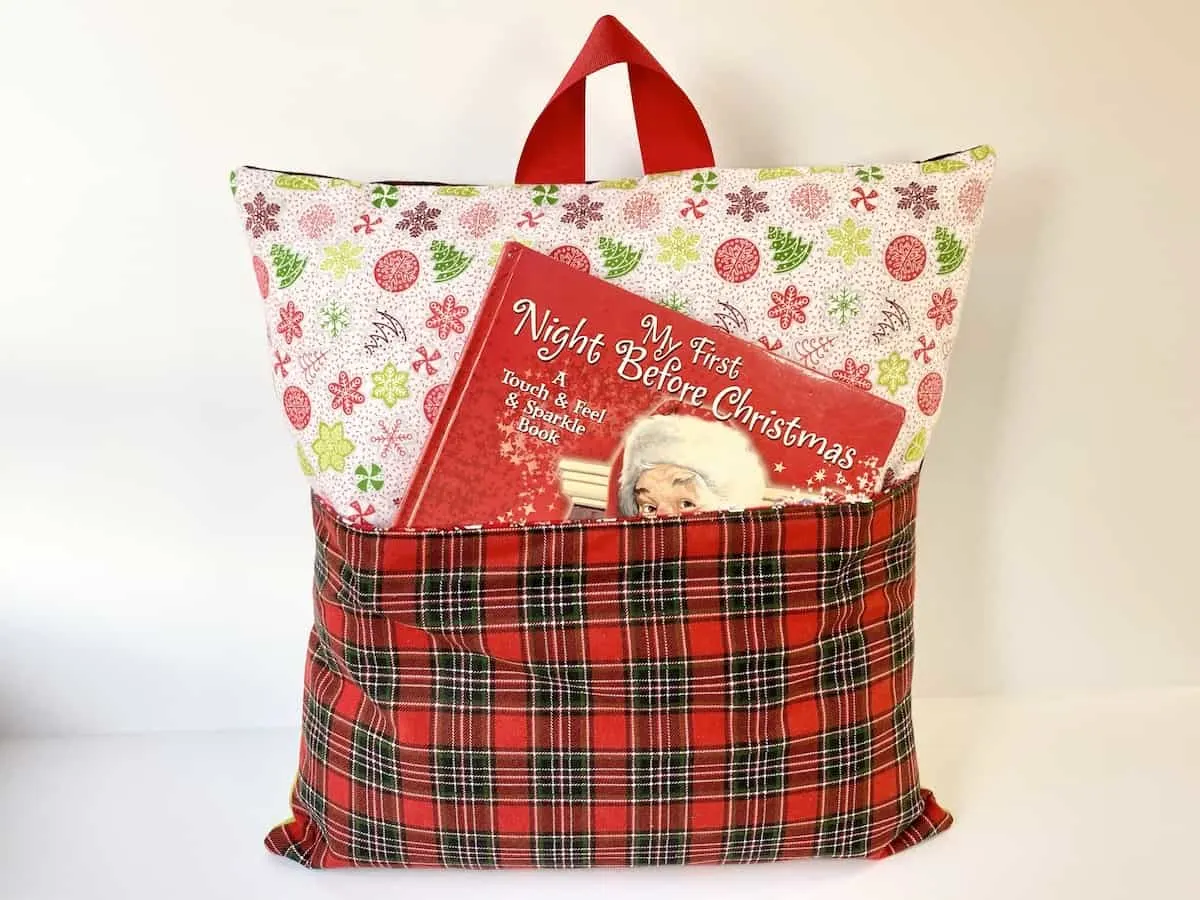
It is nice to cozy up in bed or a comfy chair to read a book. However, it is not always the most comfortable way to read! A lap pillow for reading is a great way to prop up your book whether you are laying down or curled up on the couch. Plus, you can store your book inside the handy pocket to always know where it is!
I will show you how to sew a reading pillow. It’s a fun craft that is comforting for kids and ergonomic for adults!


This tutorial shows you how to sew a Christmas reading pillow for kids, with fun and colorful fabrics.
However, this reading pillow can be made for anyone. For adults, you might choose more subdued fabrics, or you might want all of the fat quarters to be the same pattern, without mixing or matching.
Adults will enjoy wrapping up with this easy to sew double-sided minky blanket while relaxing!
Related Posts:
This reading book pocket pillow is a great gift! Pair it with one of our fun DIY bookmarks for any book lover!
- Cute DIY Snowman Bookmark
- Stretchy Flower Bookmark
- Wire Heart Bookmark
- How to Sew a Fabric Bookmark
- Pen Holder Bookmark


How to Sew a Reading Pillow
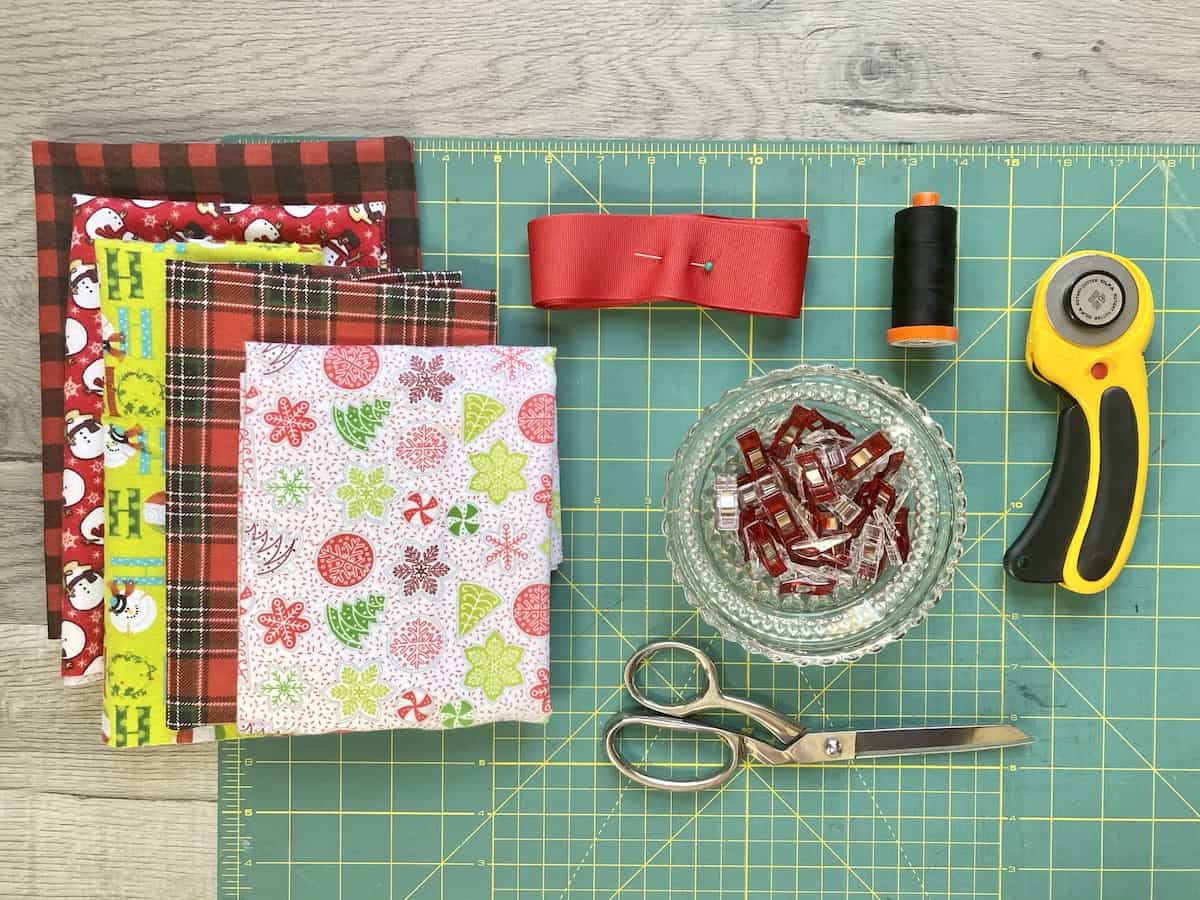
Supplies
- 5 Flannel Fat Quarters in complimentary colors and patterns
- 16 inches of 1 ½″ wide Ribbon
- Coordinating thread
- 18″ Pillow form
- Ruler
- Rotary cutter
- Cutting mat
- Sewing clips
- Fabric scissors
- Sewing machine
- Iron (optional)

Instructions
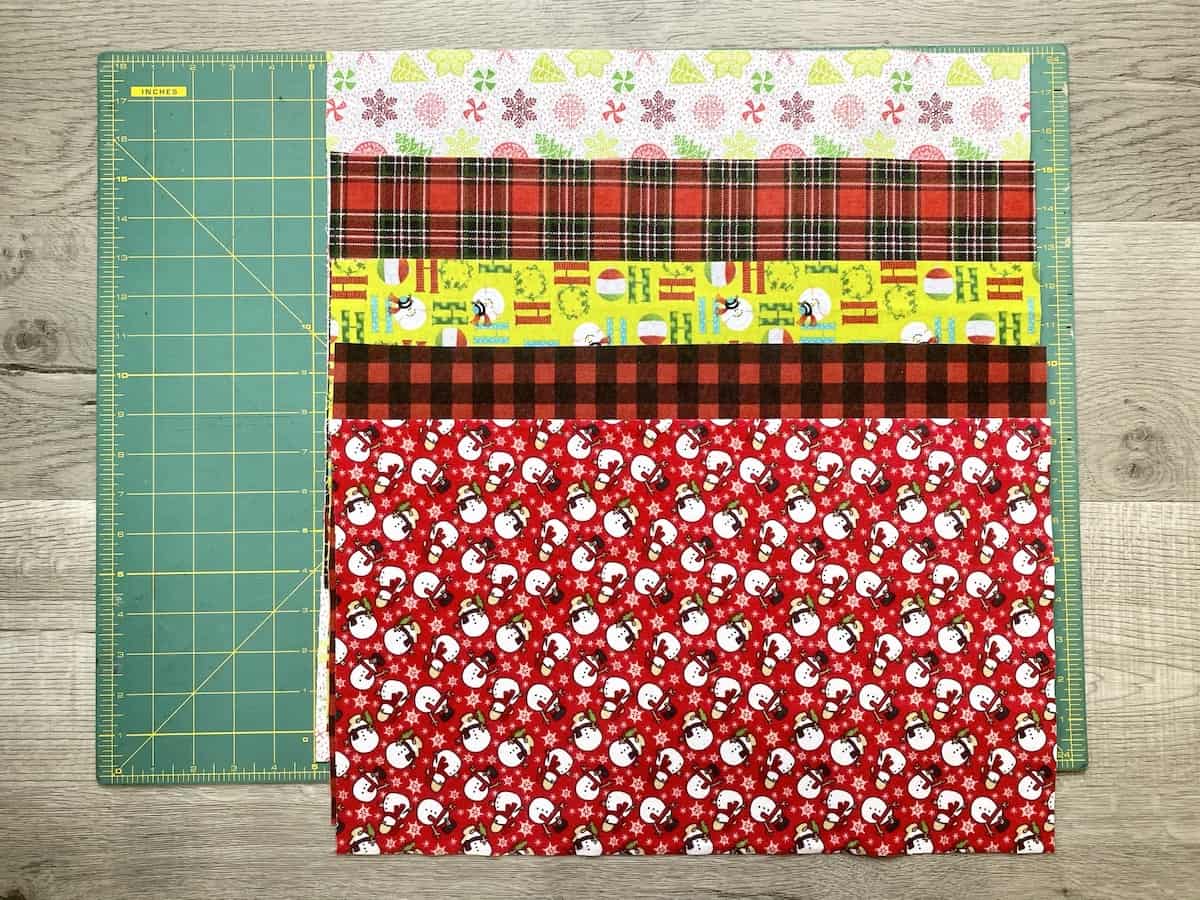
Step 1
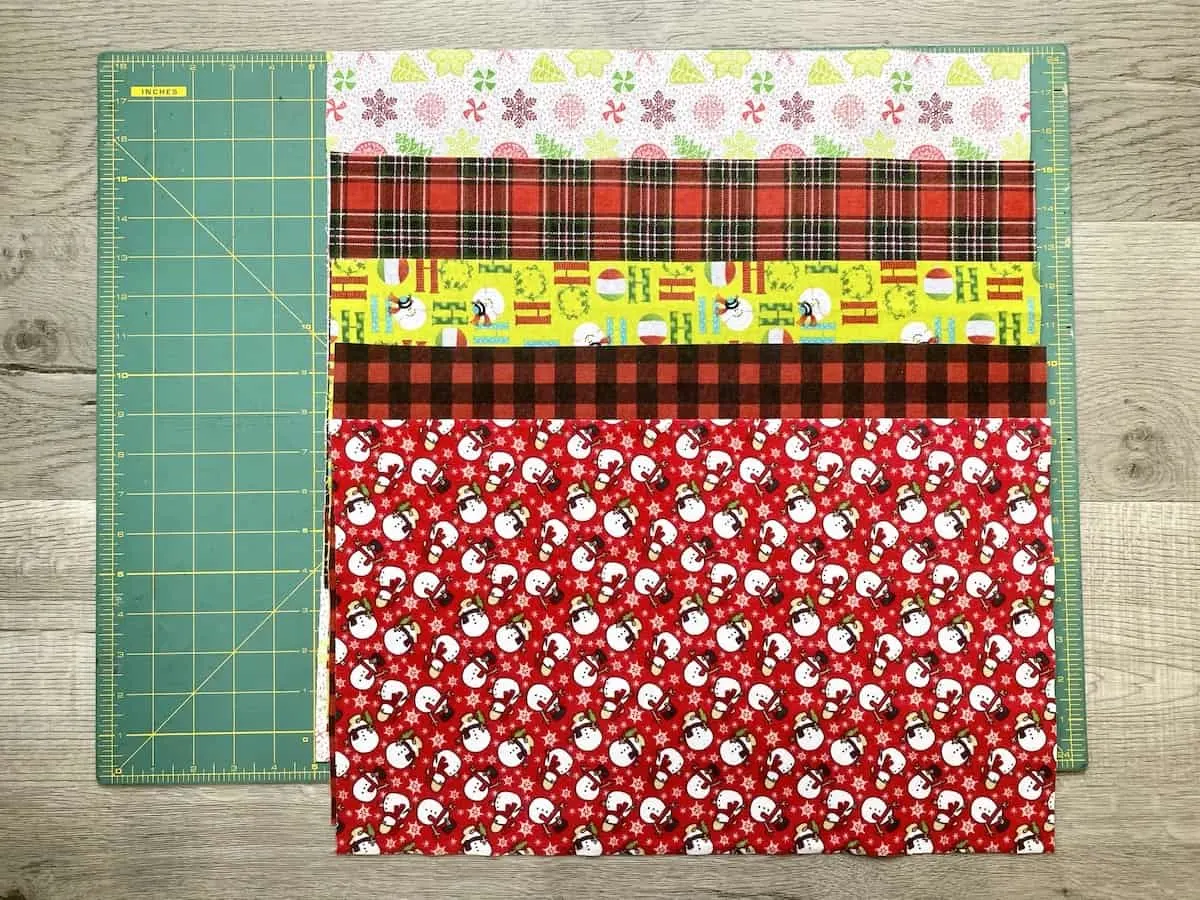
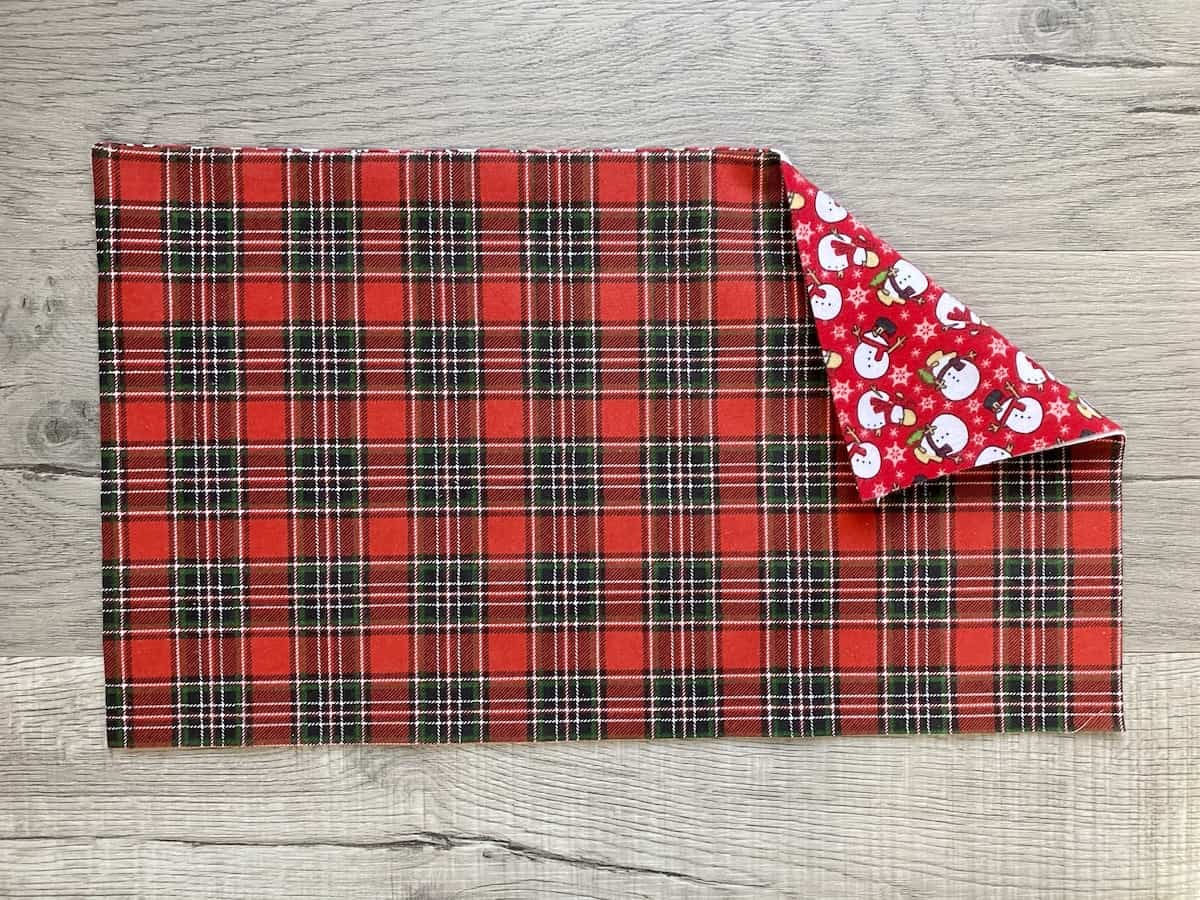
Cut the fat quarters of fabric to the following dimensions:
- Pillow front: 18” x 18”
- Pocket front: 11” x 18”
- Pocket lining: 11” x 18”
- Pillow back: (2) 12” x 18”
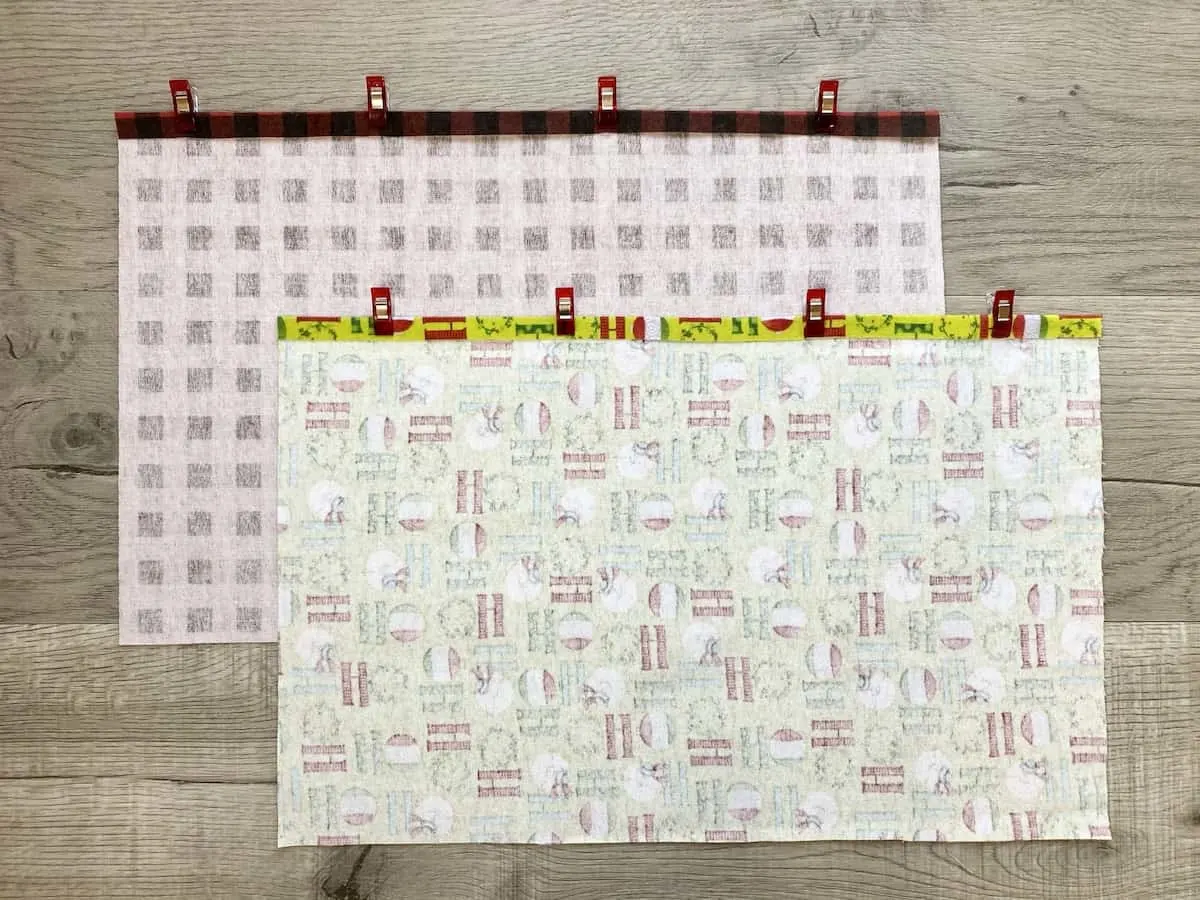
Step 2
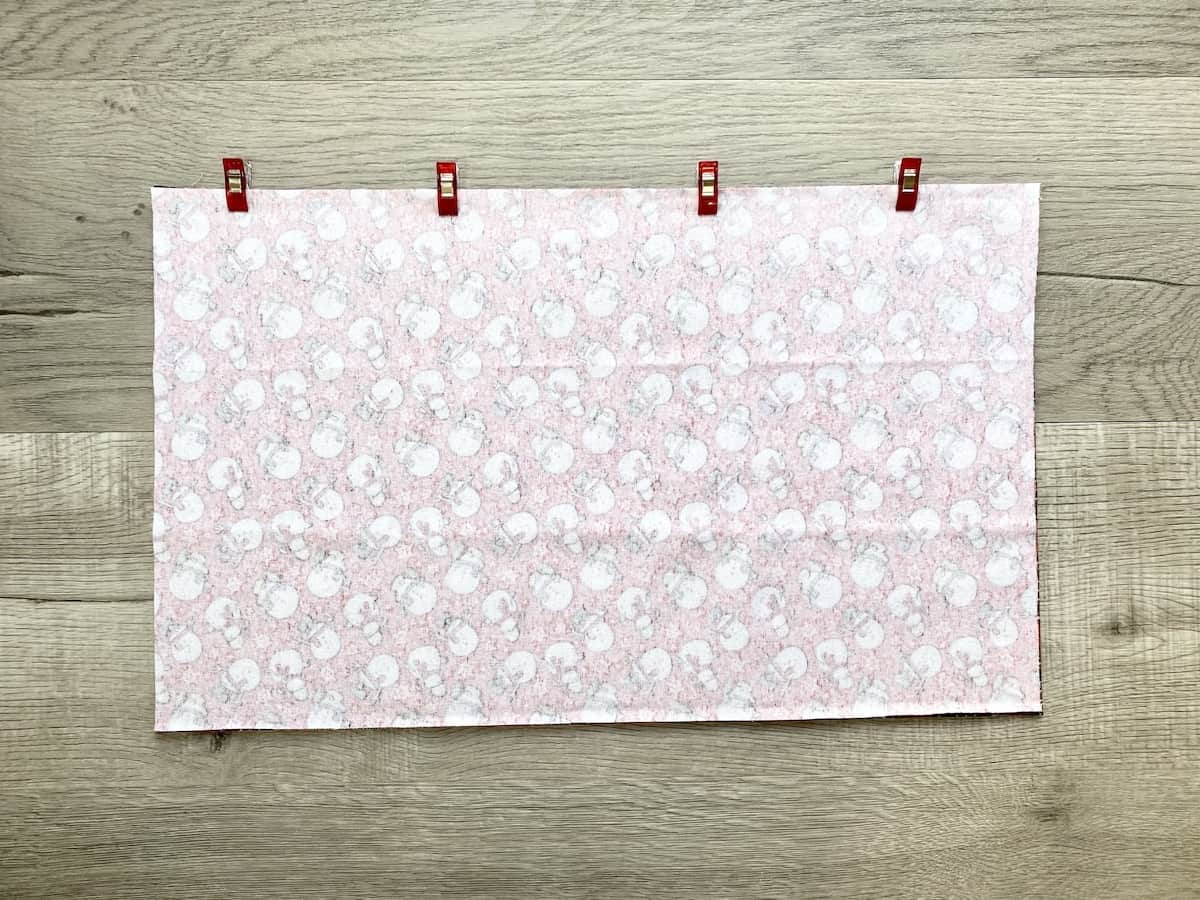
Place the two pocket pieces right sides together and clip.

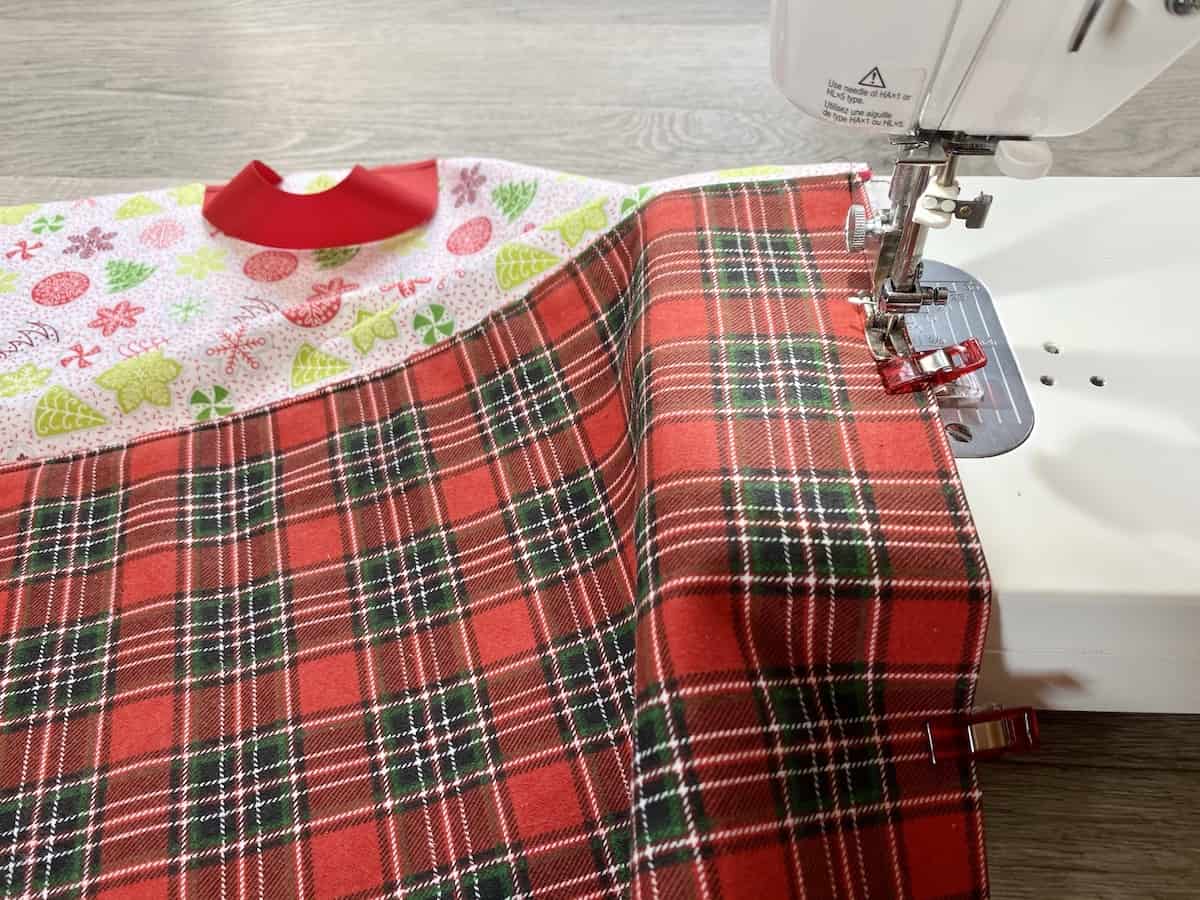
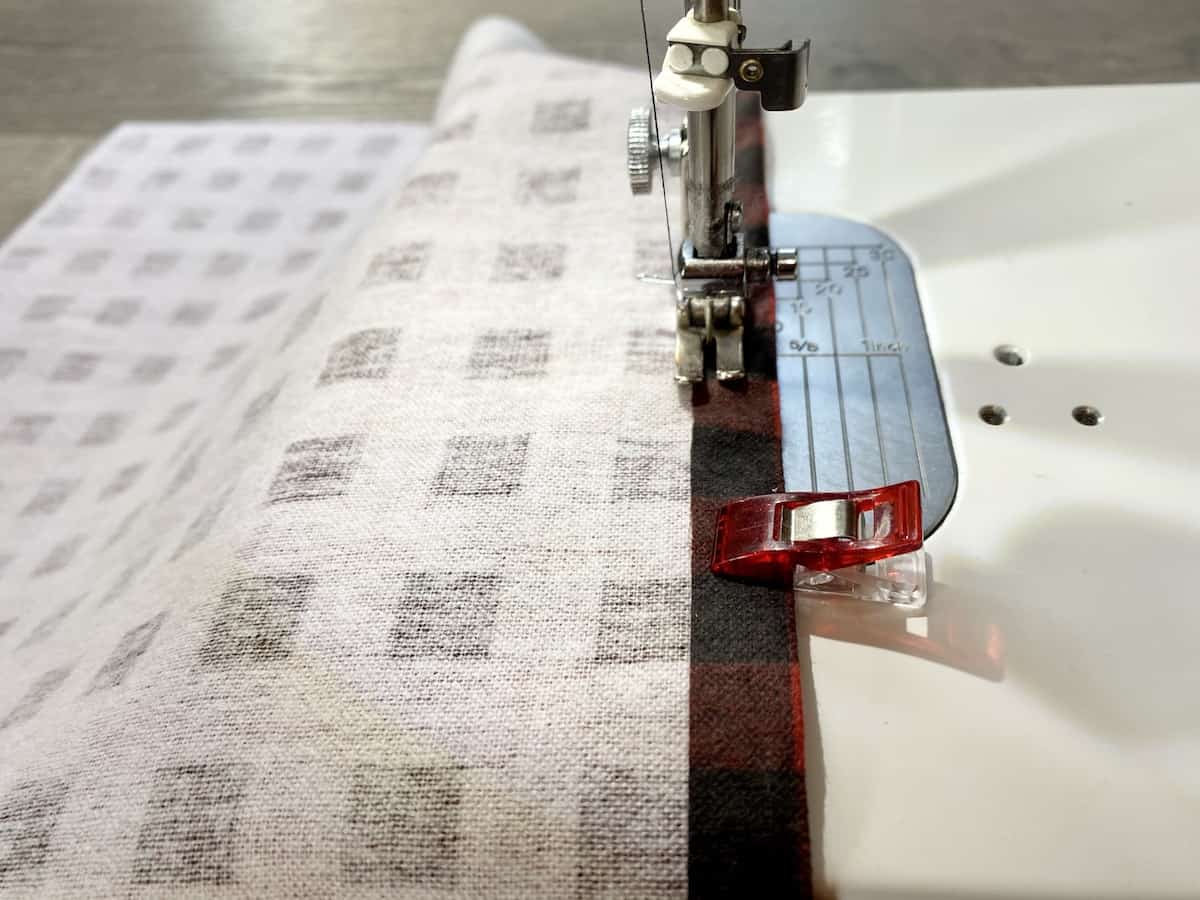
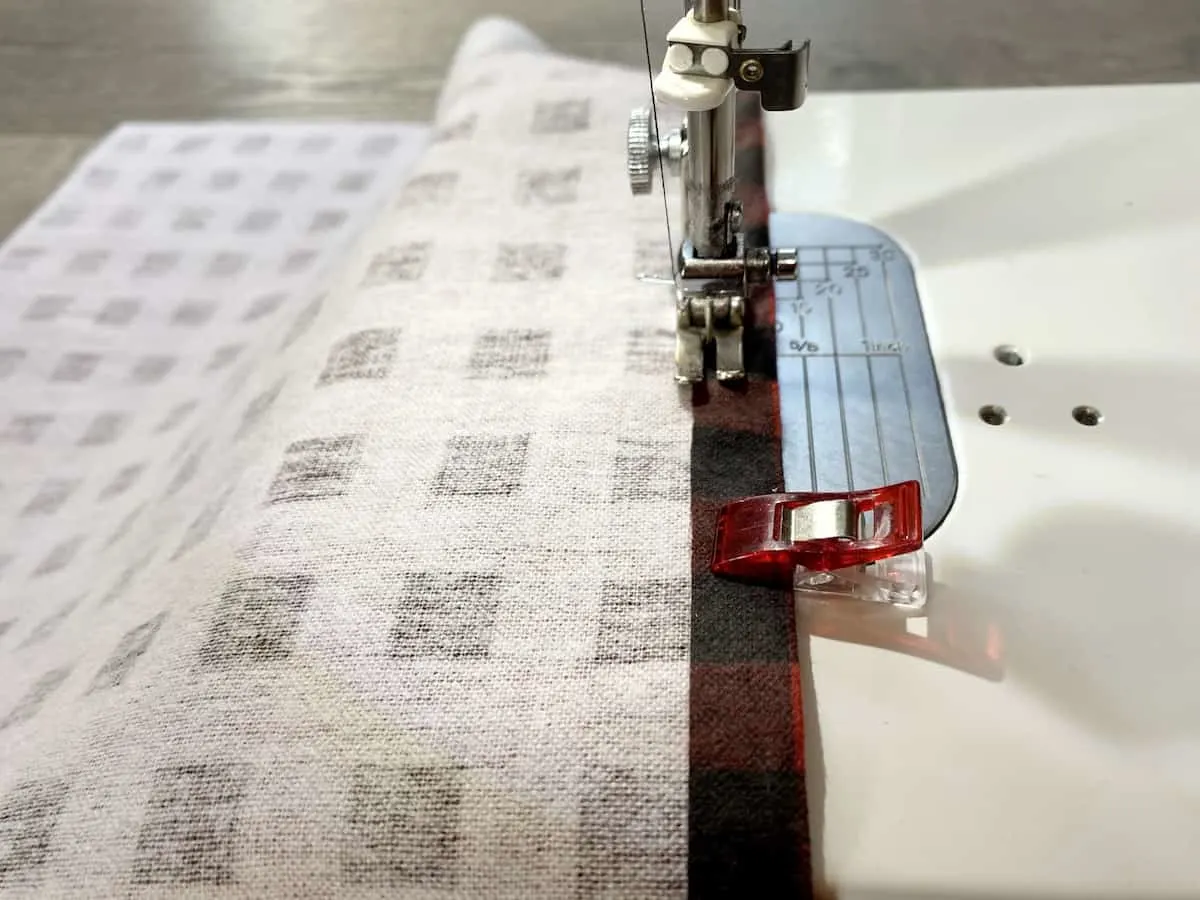
Step 3
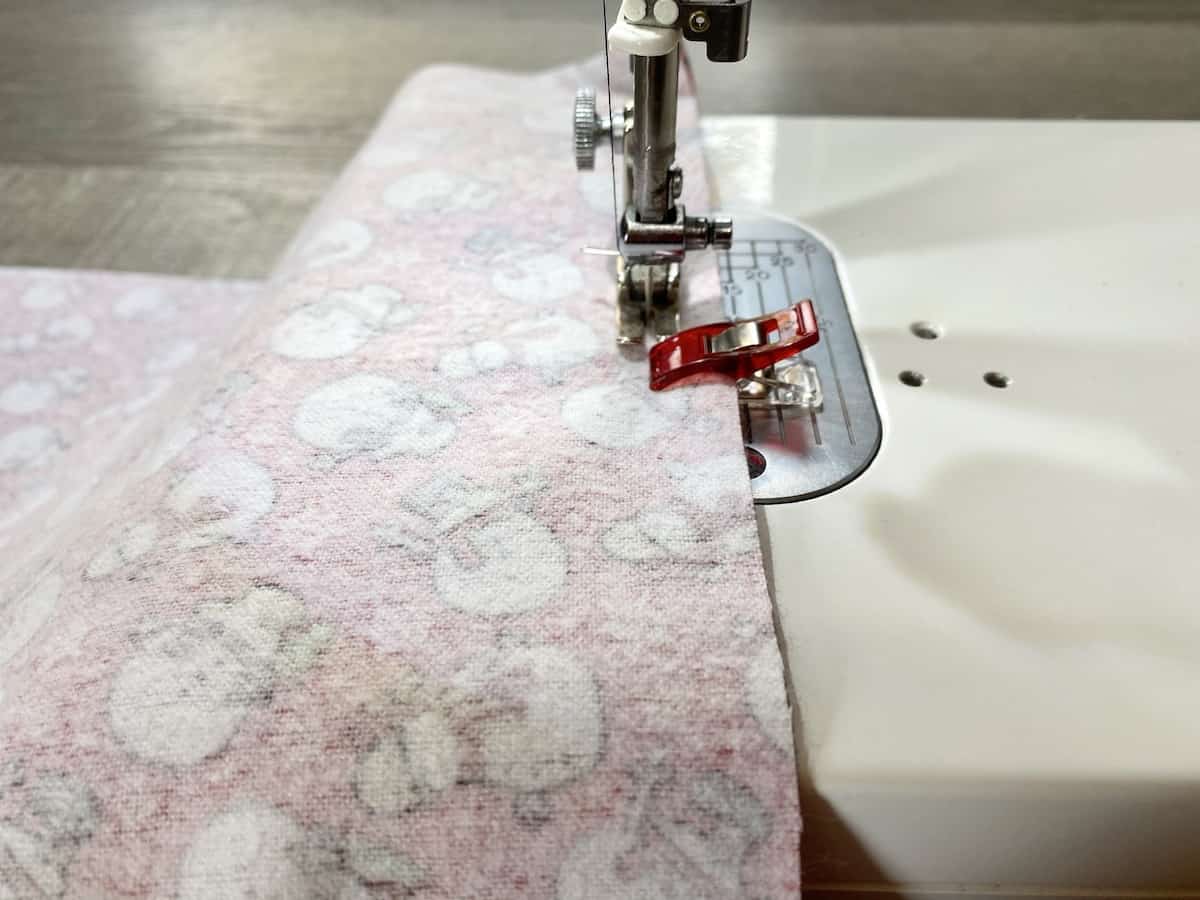
Sew across the top of the pocket with a ½” seam allowance.
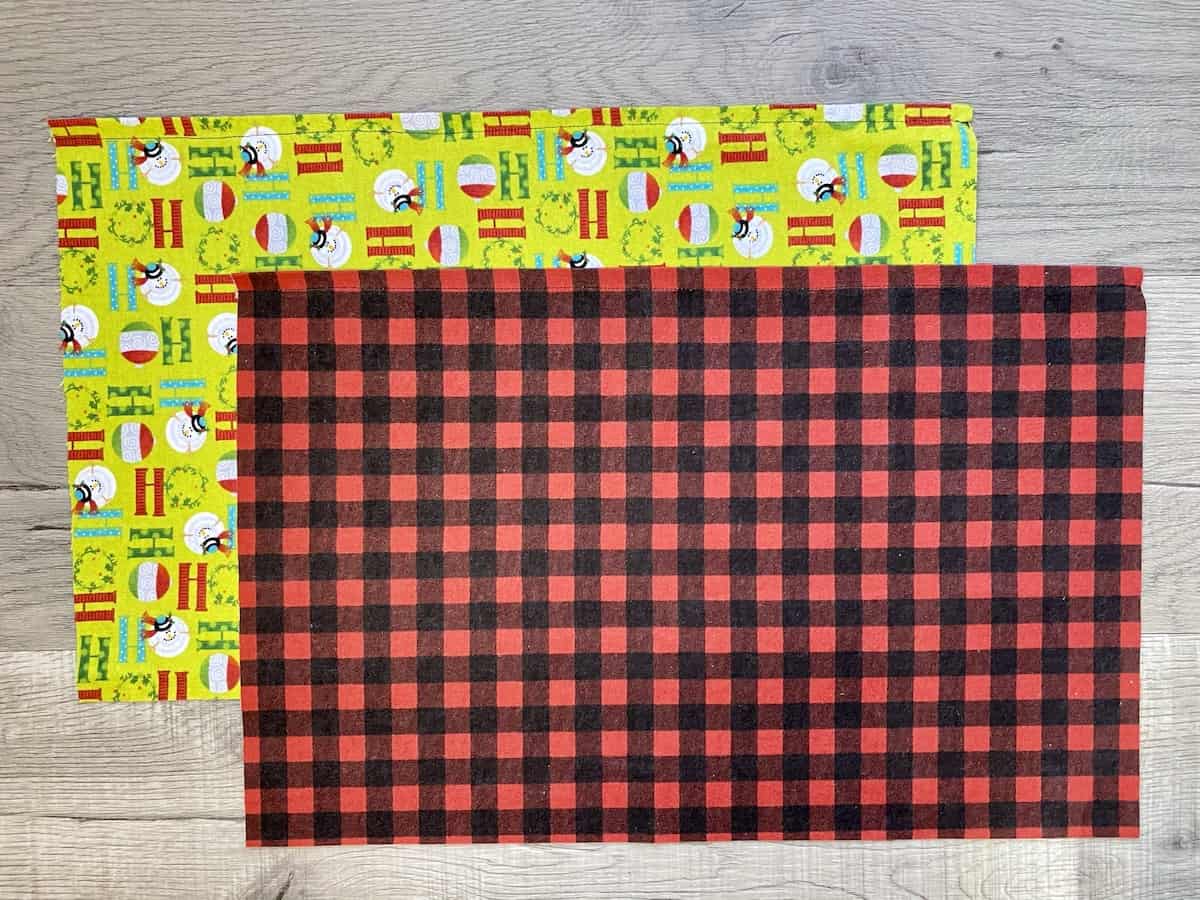
Step 4
Open the seam and press open. Then turn the pocket right side out.

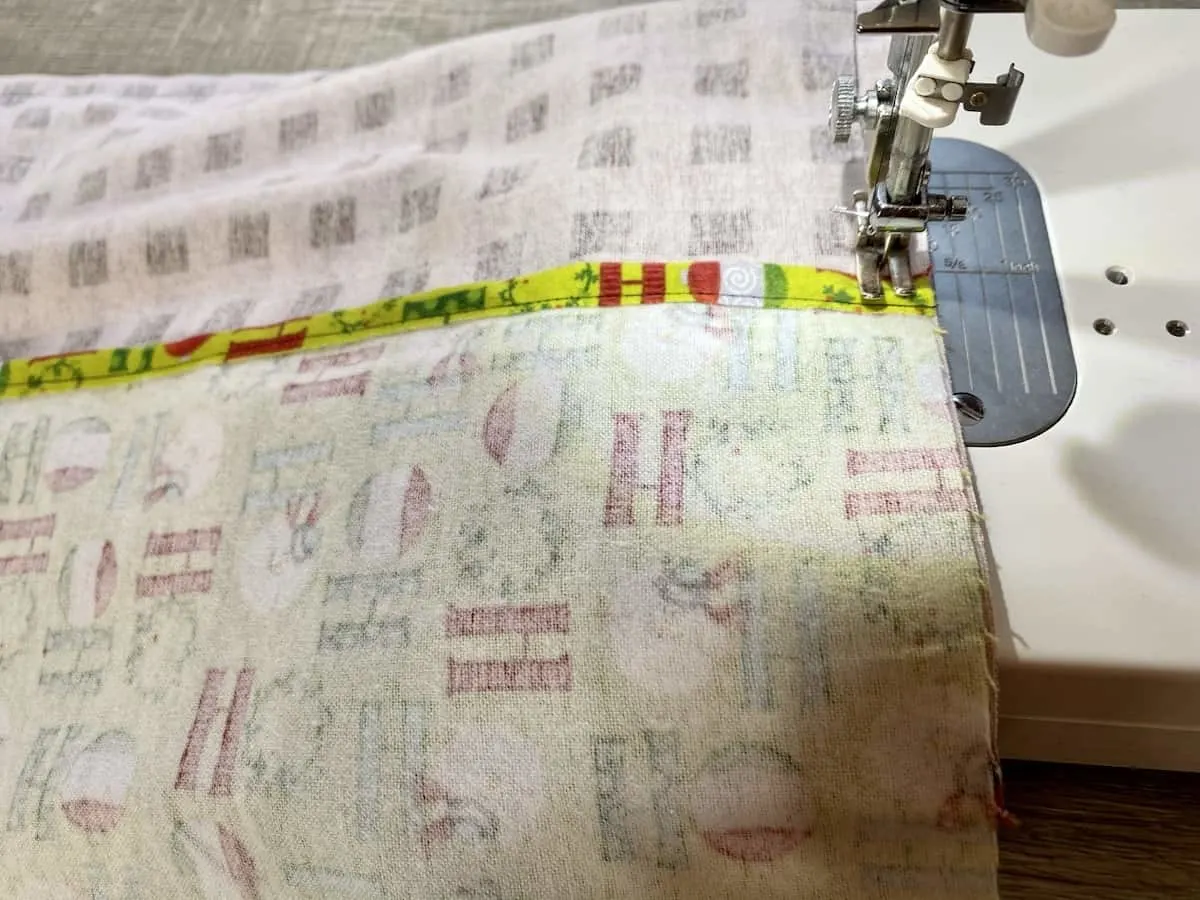
Step 5
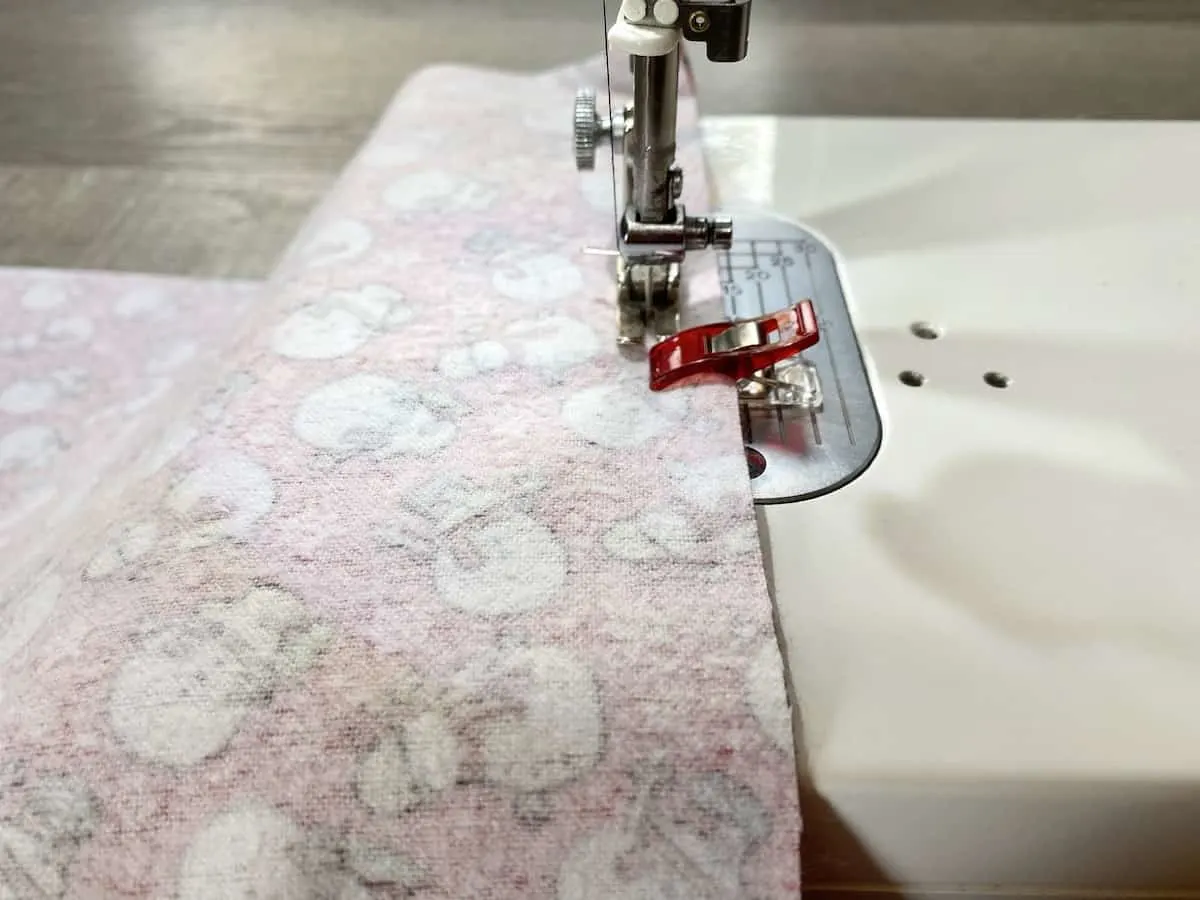
Top stitch across the top of the pocket. Set aside for later.

Step 6
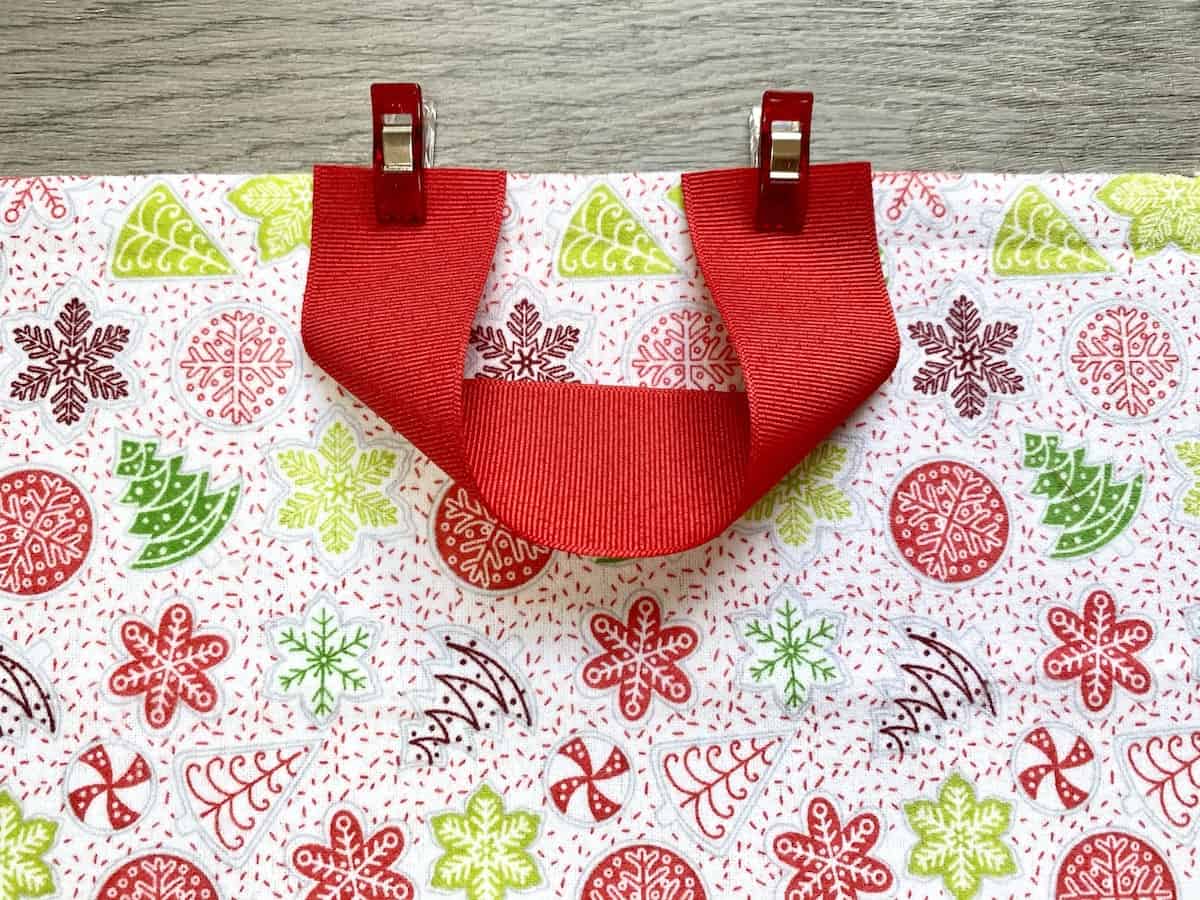
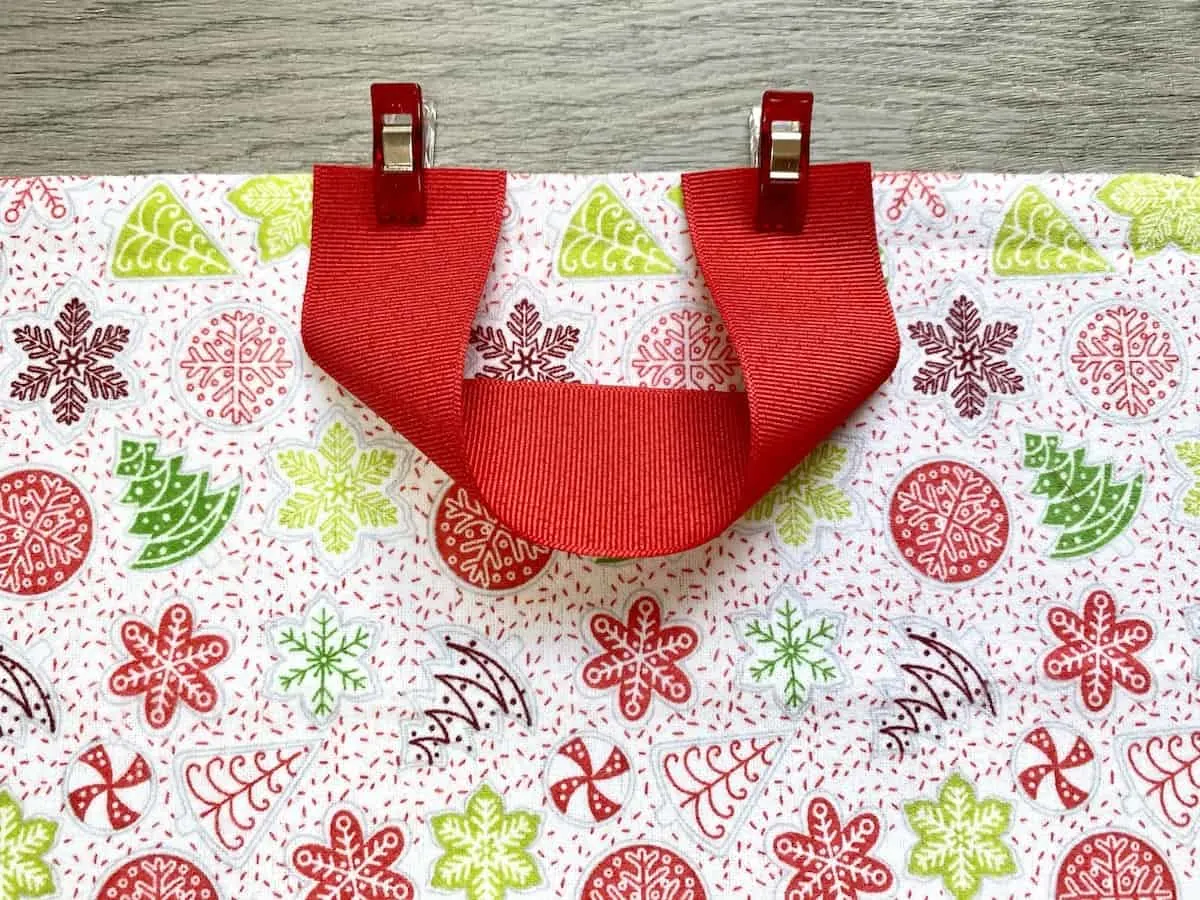
Cut an 8 inch piece of ribbon.
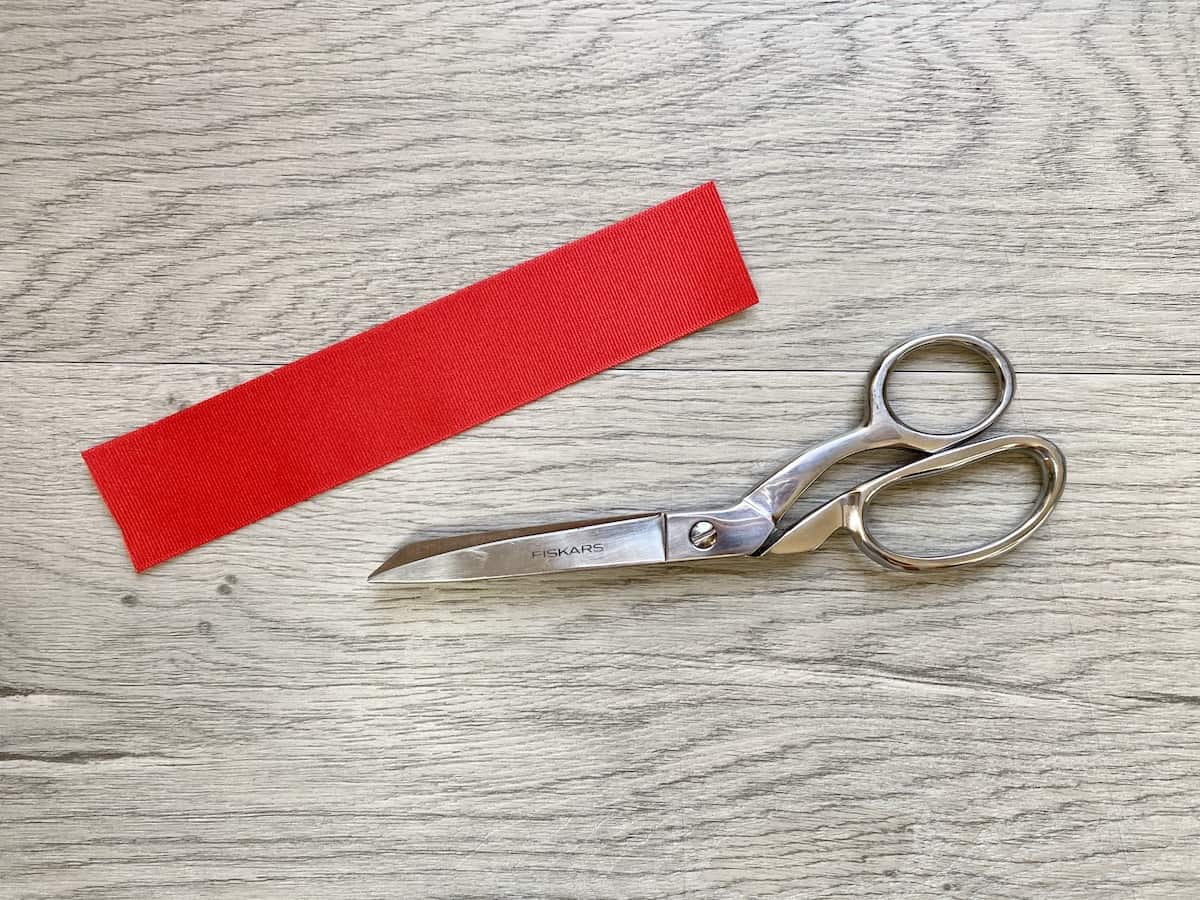

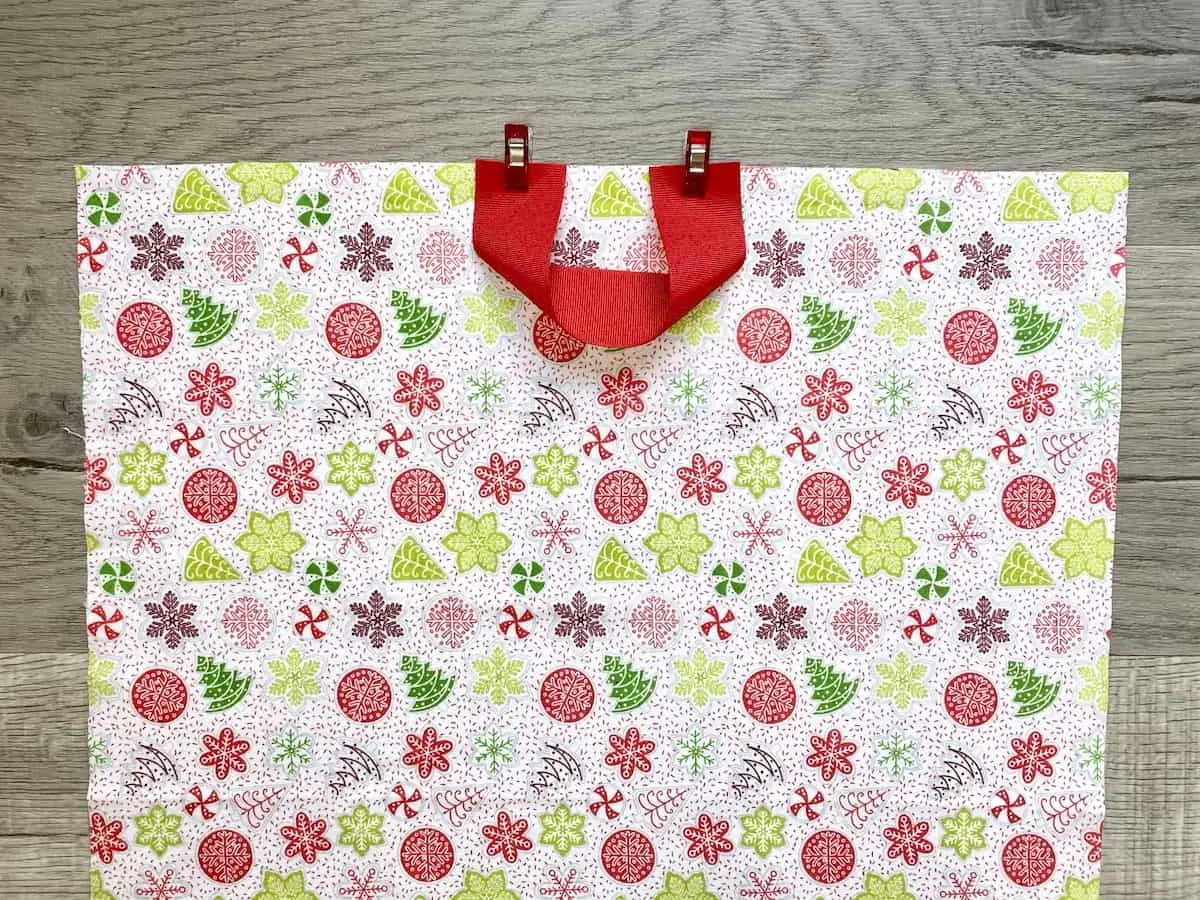
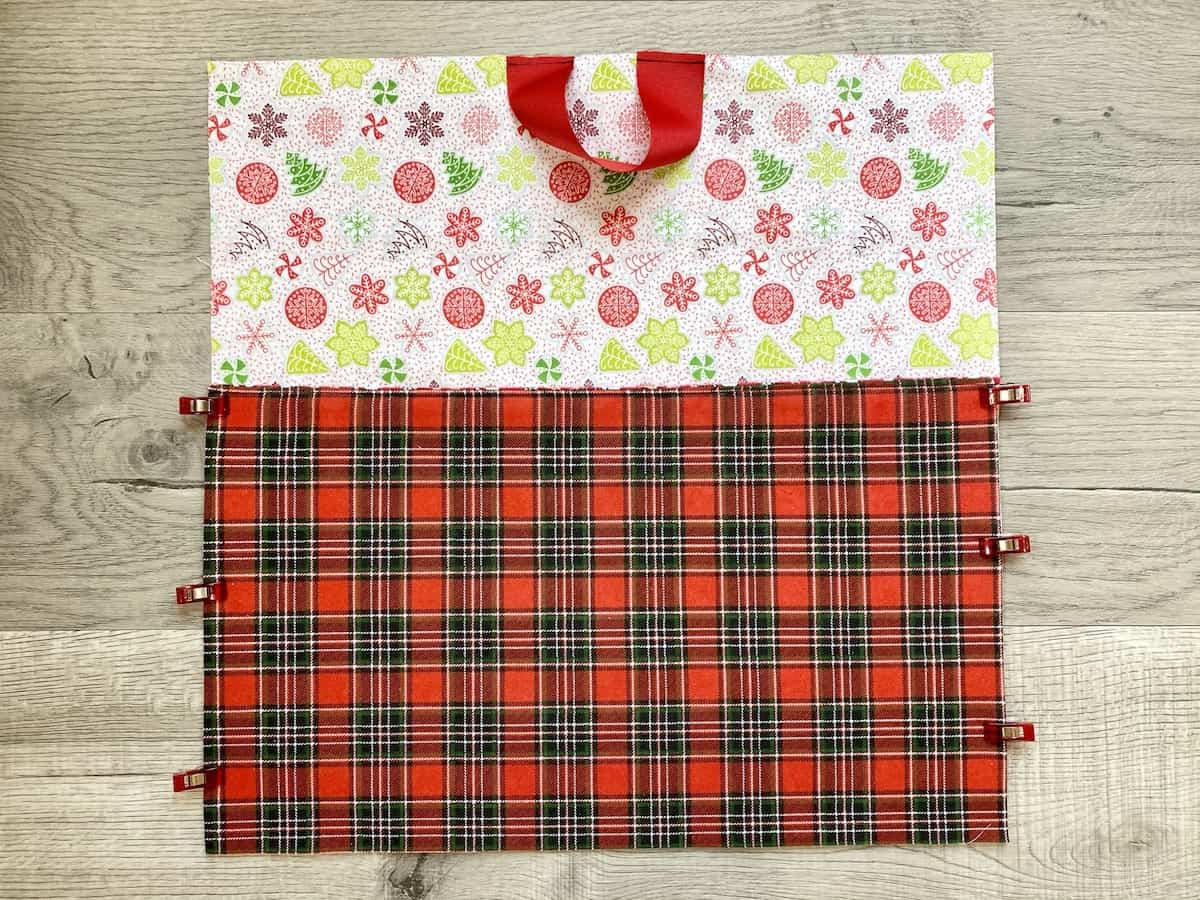
Fold the ribbon into a handle shape and clip to the top, right side of the pillow front fabric.

There will be a twist in the ribbon handle and that is okay.
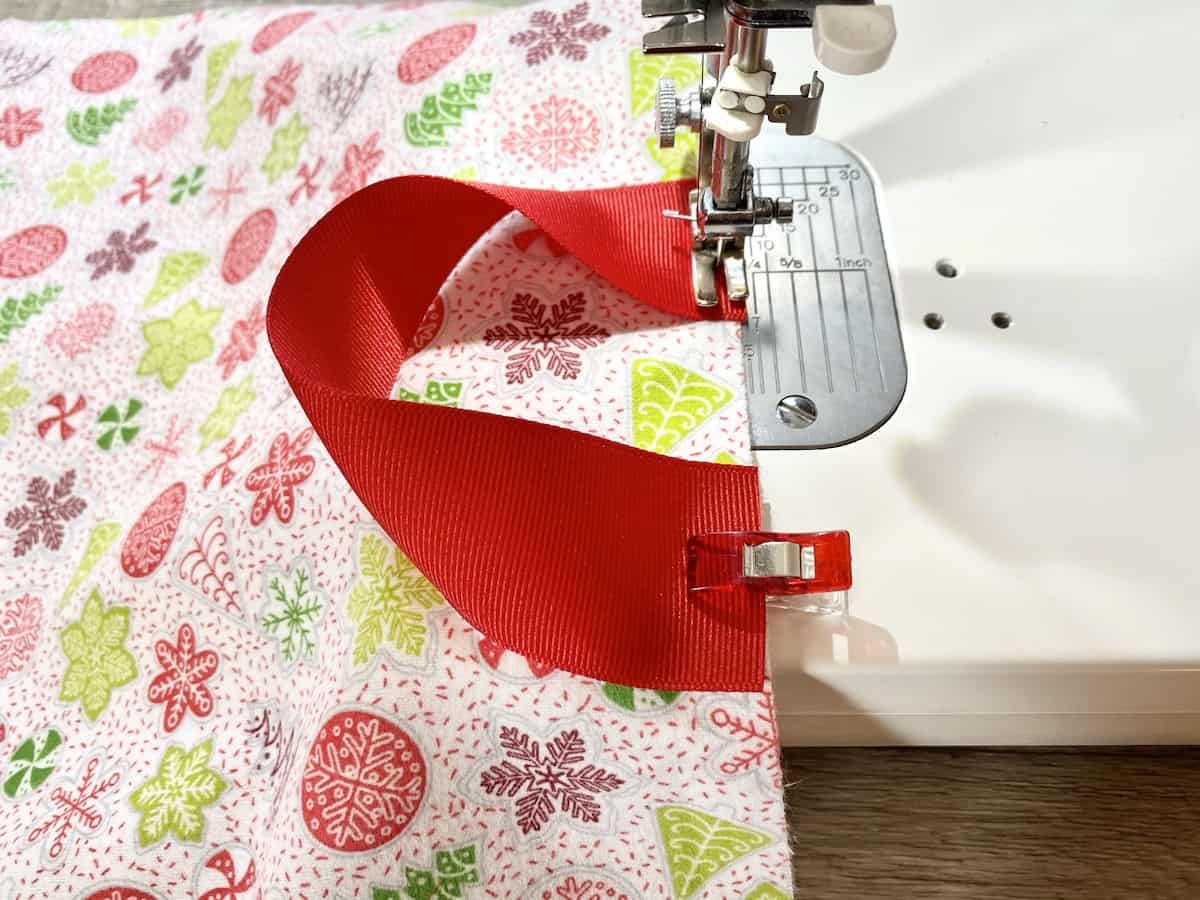
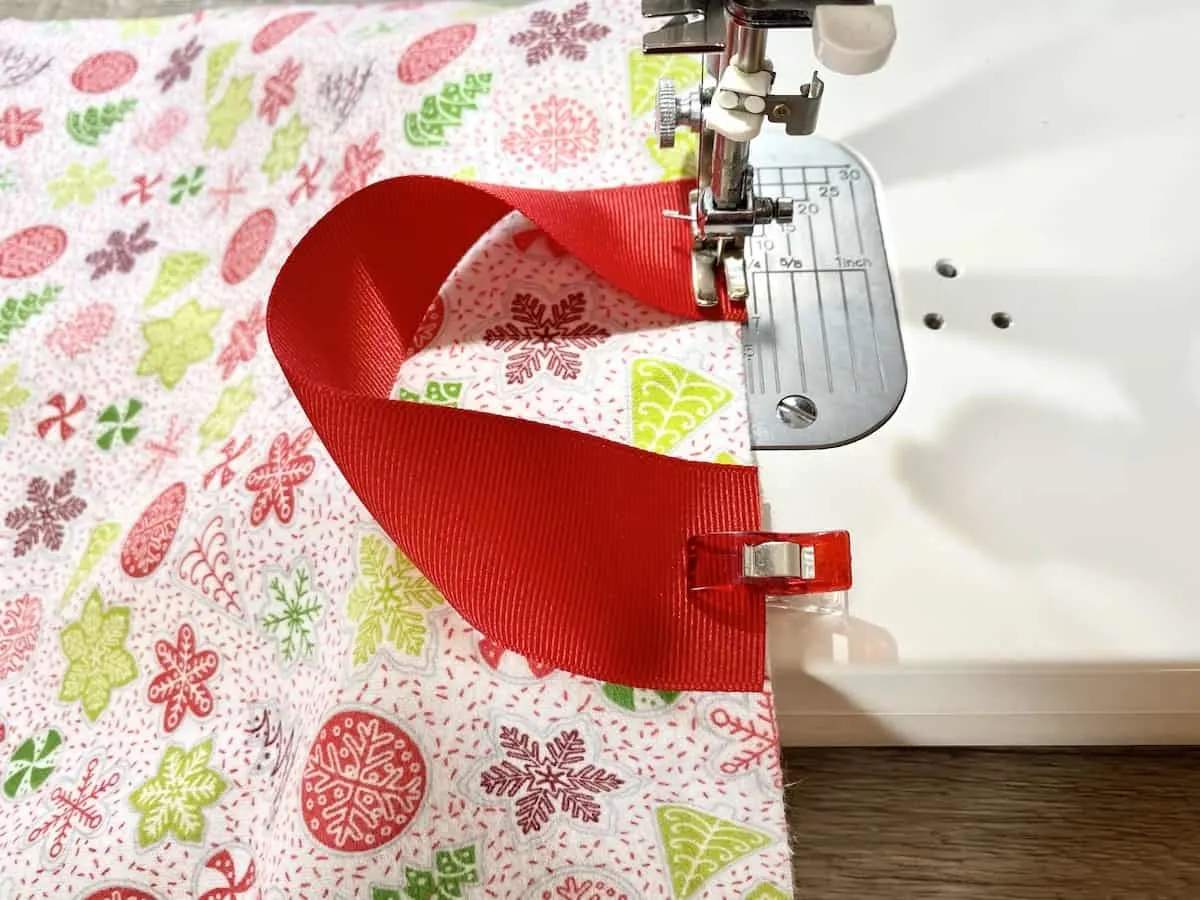
Step 7
Sew across the ribbon on each side. Do not sew in between the ribbon handles on the fabric.
Step 8
Place the pocket on top of the pillow front with the bottom edges aligned.
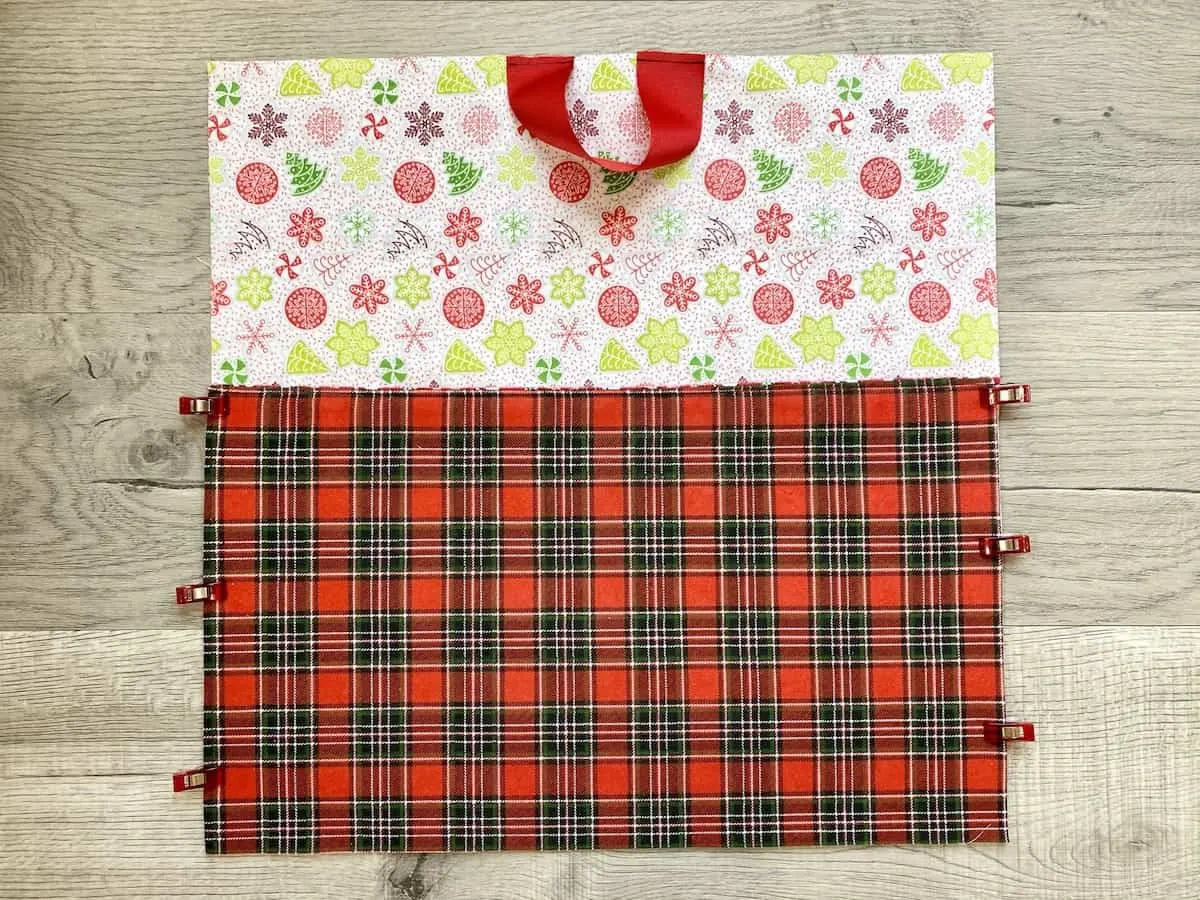
Sew down the sides of the pocket with ½” seam allowance. Backstitch at top of each side of the pocket to reinforce the seams.

Step 9
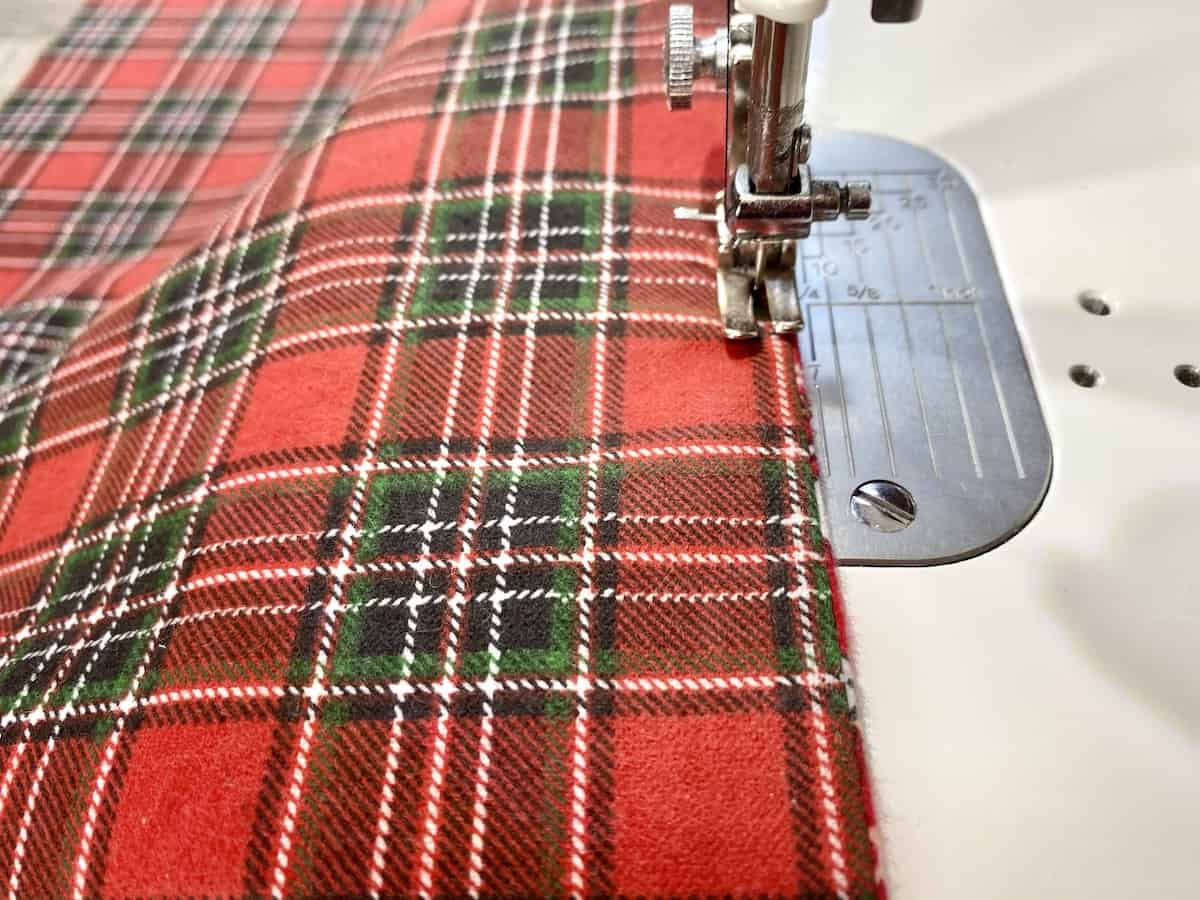
For the back of the reading pillow, fold under one of the 18” sides on each fabric. Press the seam down with an iron.
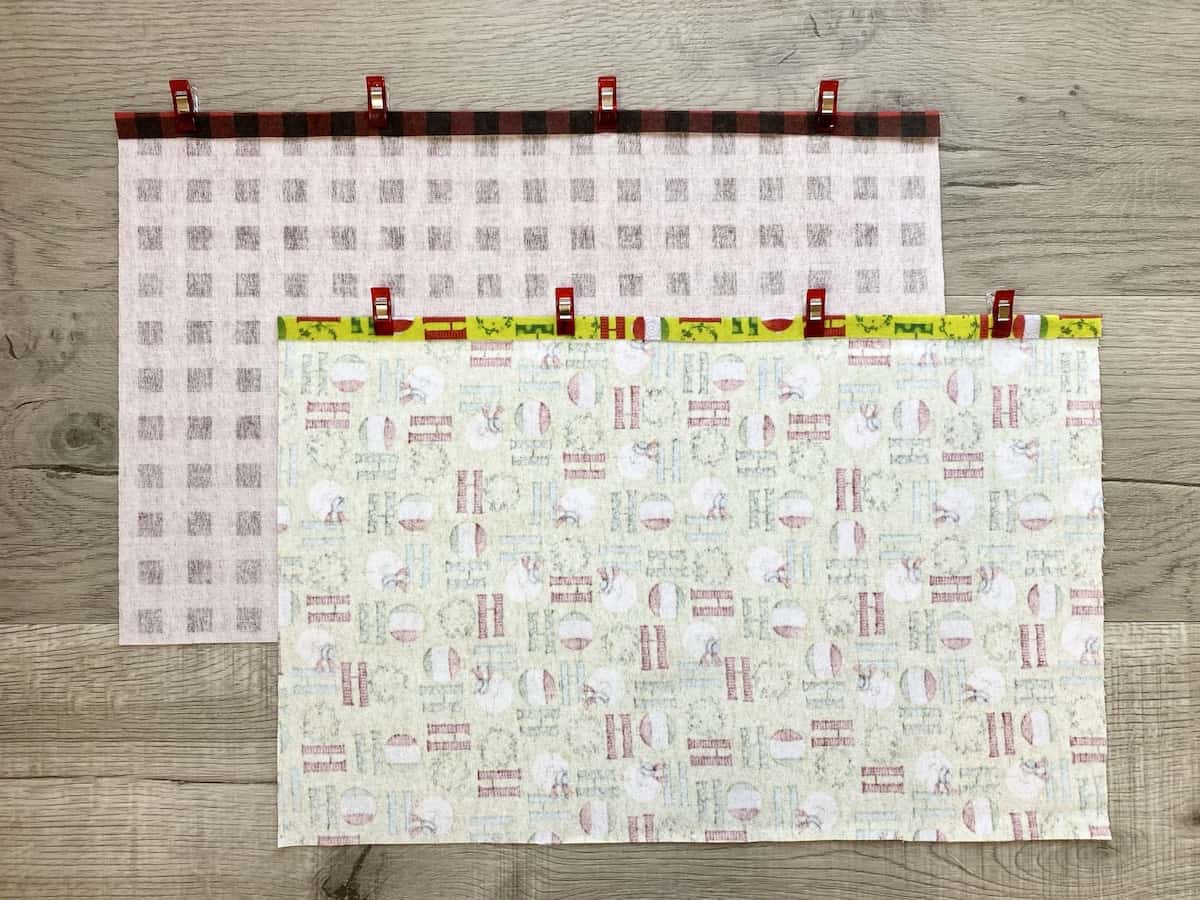
Sew across the fold with a ¼” seam allowance.

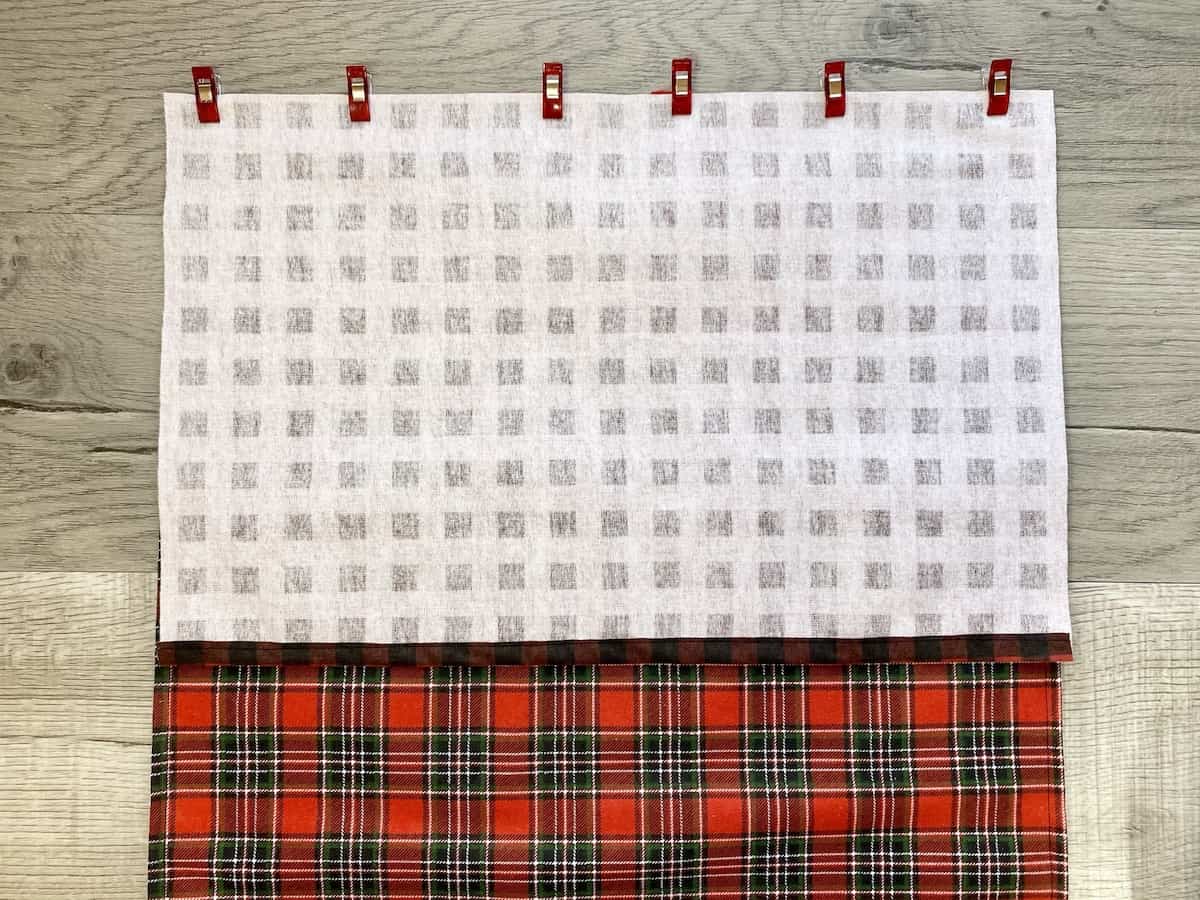
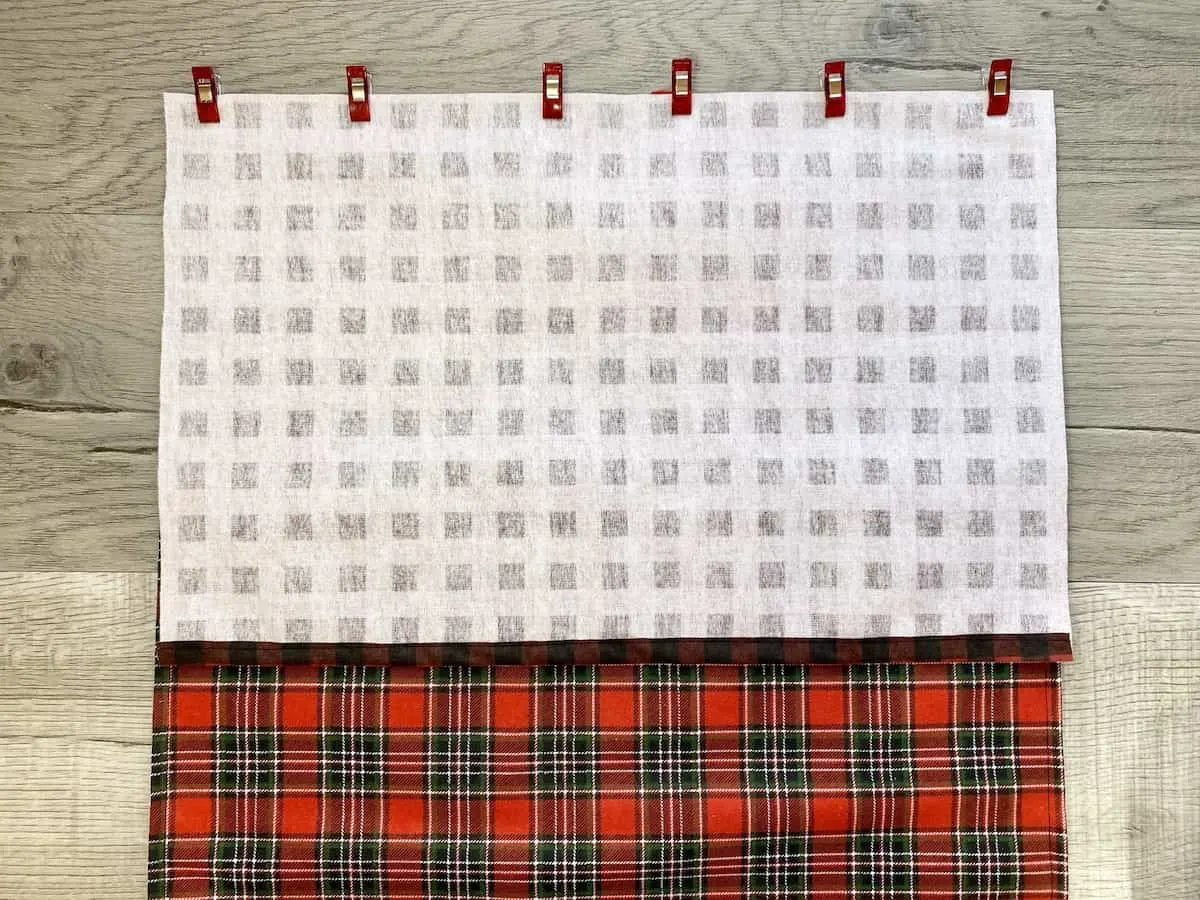
Step 10
Place one back fabric on top of the pillow front, top edges aligned with the right sides together. Clip the pieces in place to hold.
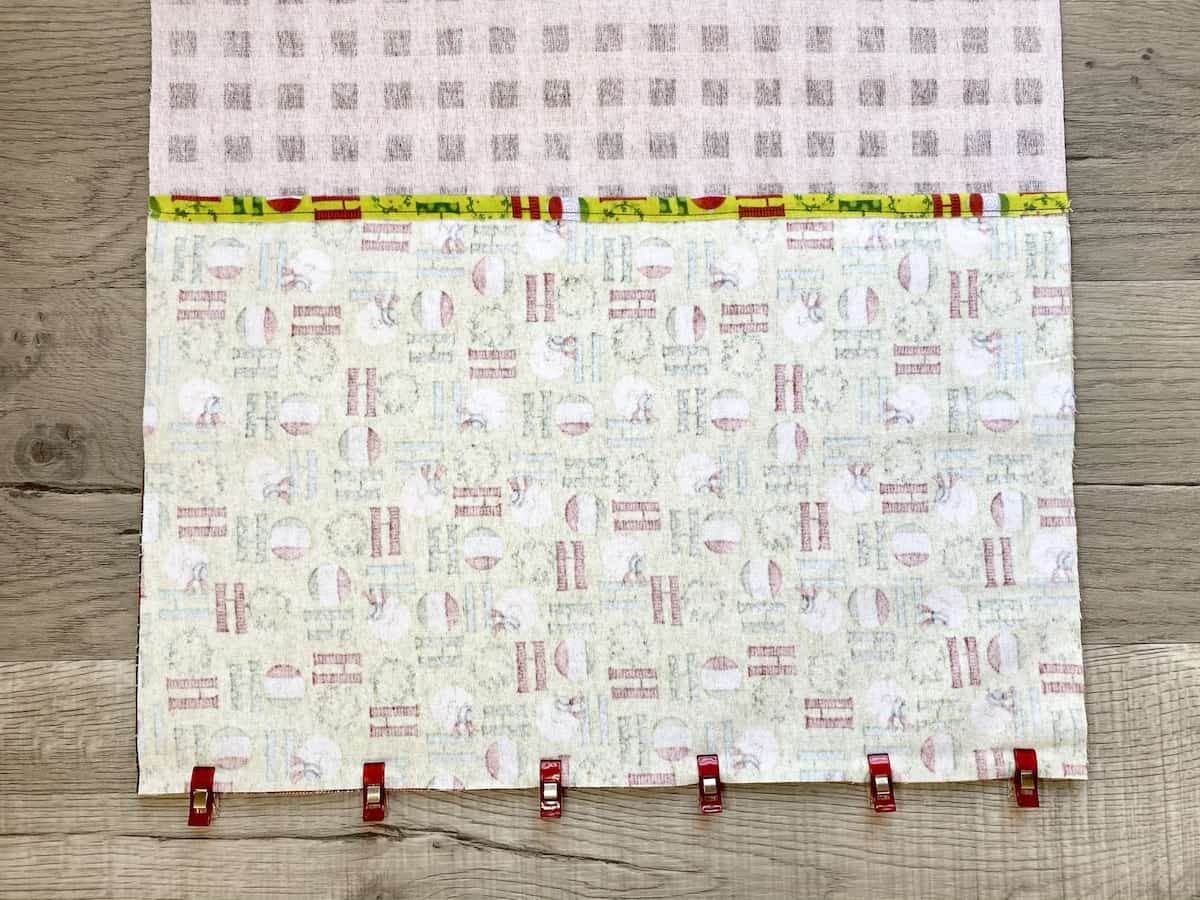
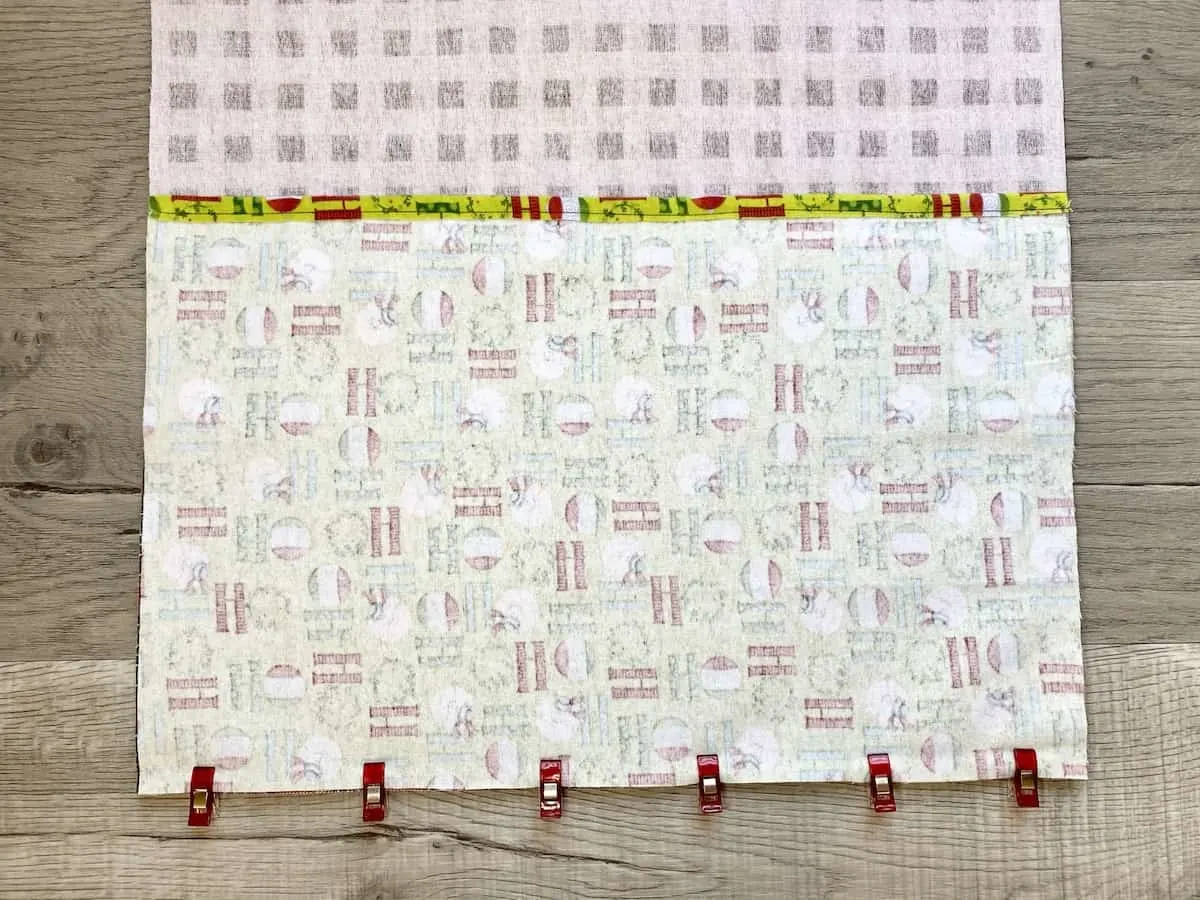
Step 11
Place the remaining back fabric on top of the pillow front with the bottom edges aligned, right sides together. Clip together.
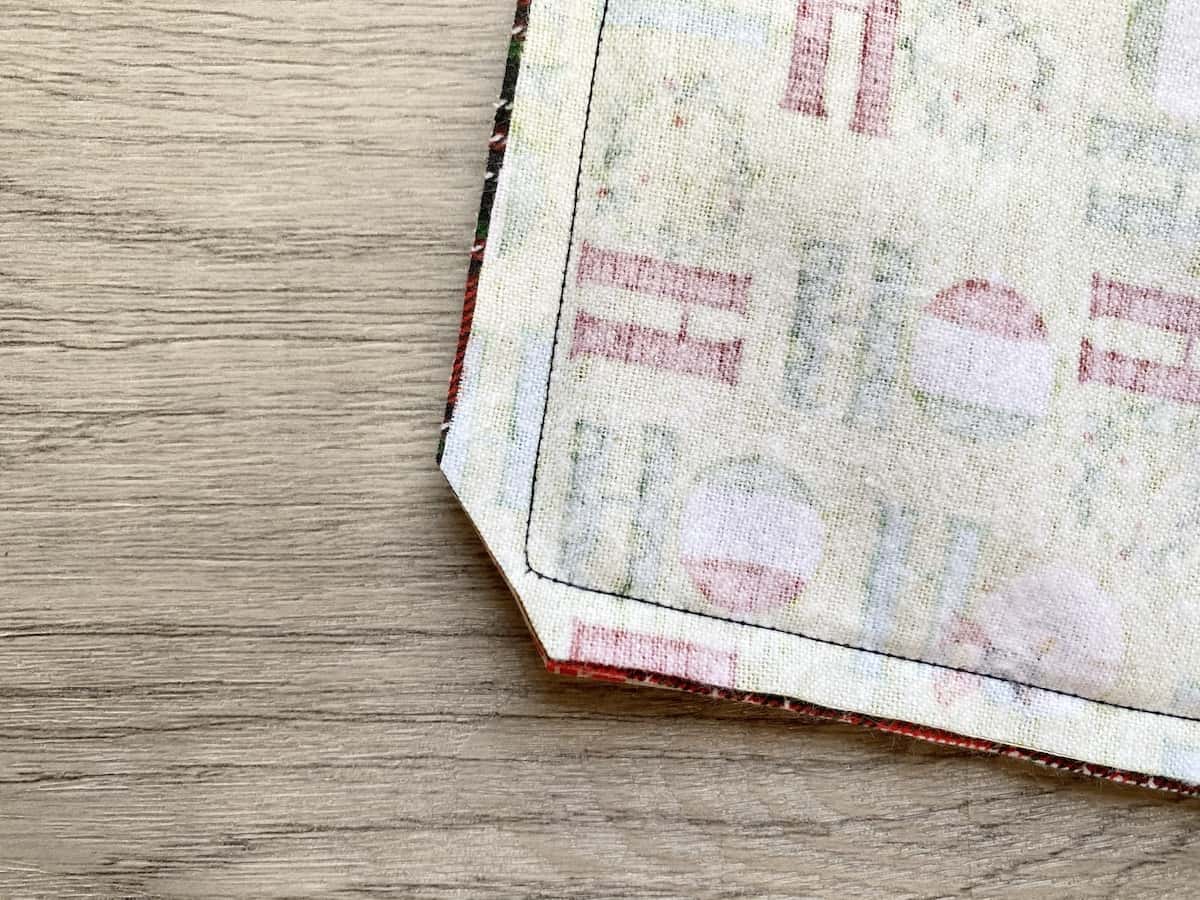
Step 12
Sew around the entire pillow perimeter with a ½” seam allowance.

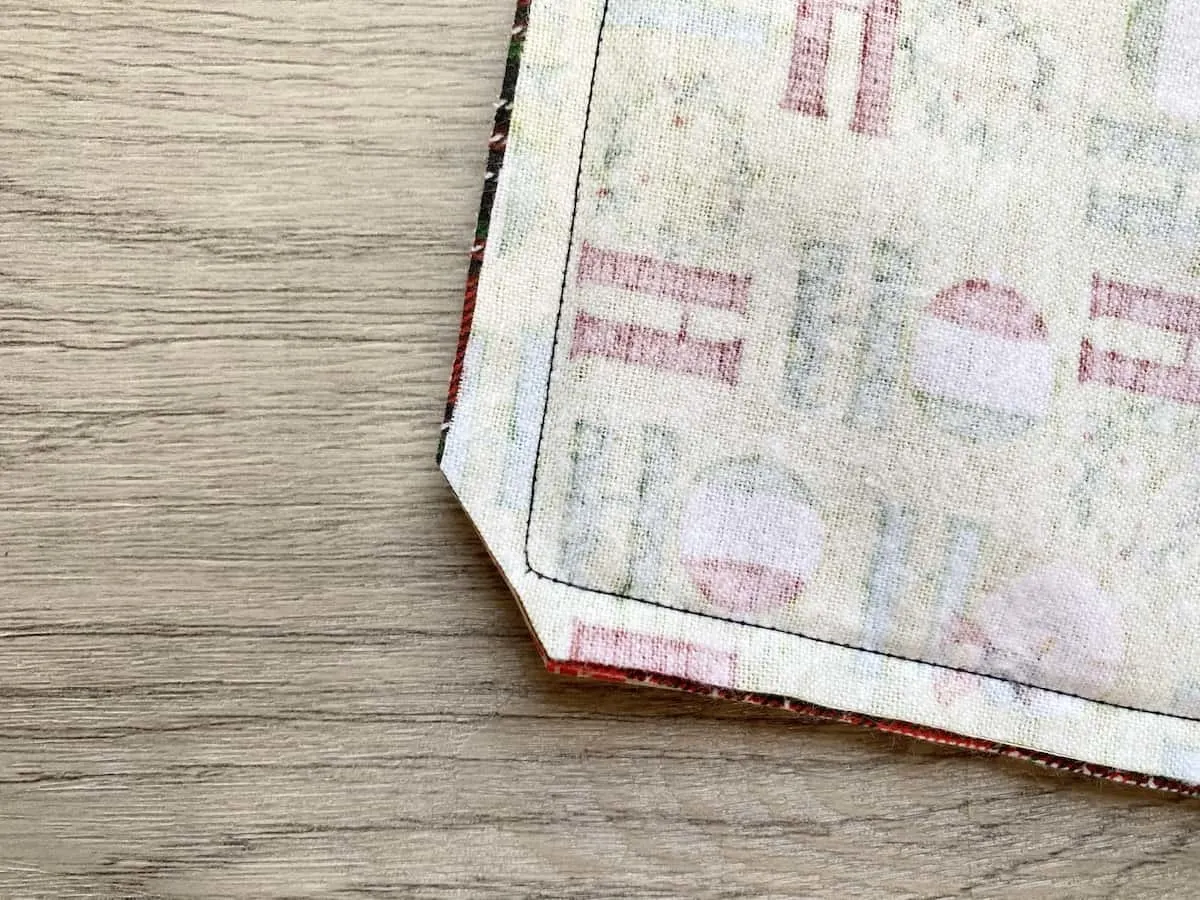
Step 13
Cut the corners across the edge to reduce bulk of fabric. Be sure not to cut the stitching or cut too close to the corner stitching!
Step 14
Turn the pillow right side out. Poke out the edges with a pencil, if needed, to get the corners completely pushed out.
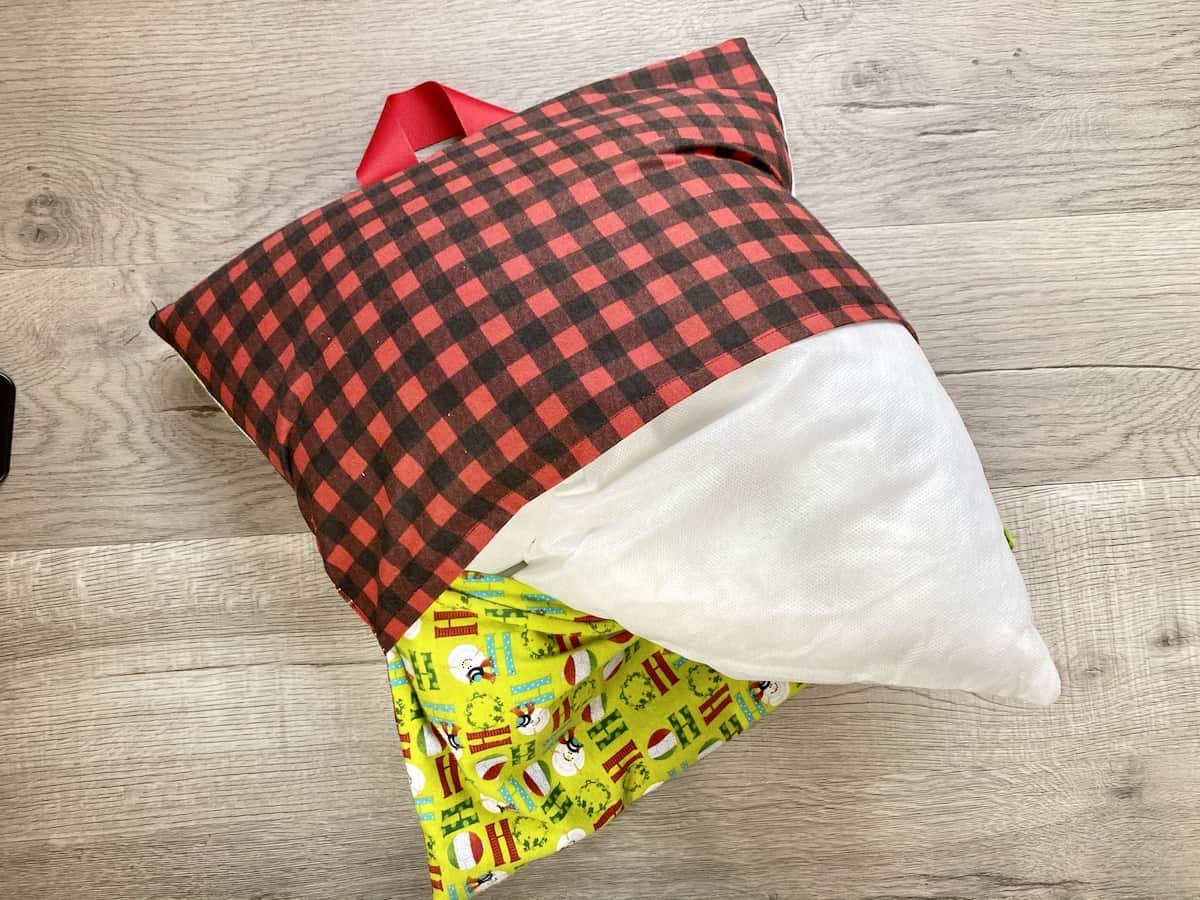
Iron if needed.

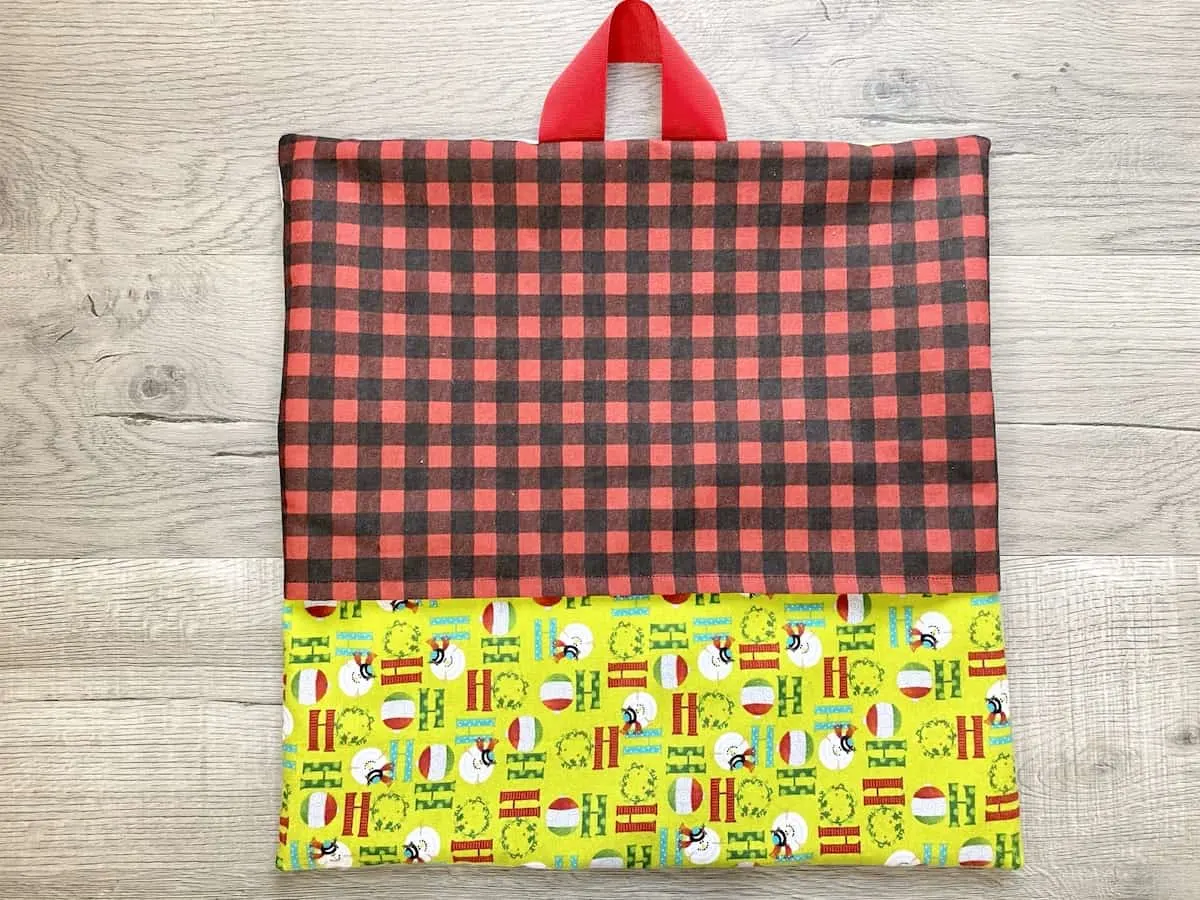
Insert the pillow form into the cover.


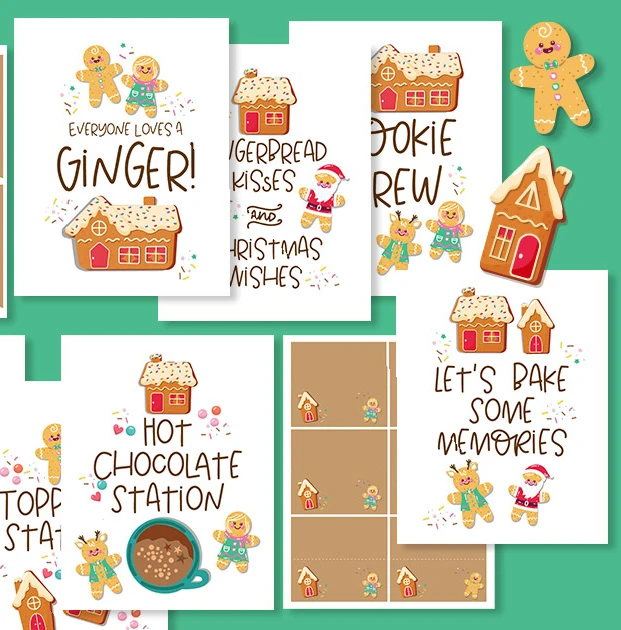
Gingerbread Decorating Printables
Love cute Christmas printables? Then be sure to get our fun gingerbread decorating signs, gift tags and cookie banner!
See more details of this cute party pack in the Single Girls DIY library!
If you like learning how to sew a reading pillow, be sure to see all of my other sewing crafts and easy things to sew.

Carol
Thursday 7th of December 2023
Great idea! I love the step by step tutorial and want to sew one now! Thank you!
Karen
Sunday 26th of October 2025
@Carol, I know right!!!
Kimberly
Thursday 7th of December 2023
Thank you, Carol! If you make a reading pillow, I hope you love it!!