
This “Home for the Holidays” sign is a surprisingly easy woodcraft DIY to make. The festive Christmas wall hanging can be glued together with inexpensive craft plywood to make stunning artwork that is perfect for your farmhouse decor or to give as a gift.


Want more DIY Christmas signs? Check these out:
- Christmas Scroll Frame
- Big Christmas Gift Tag Sign
- Farmhouse Blessed Christmas Tree sign
- Christmas Shutters with Plaid Mittens Decoration
How to Make a Home For the Holidays Sign
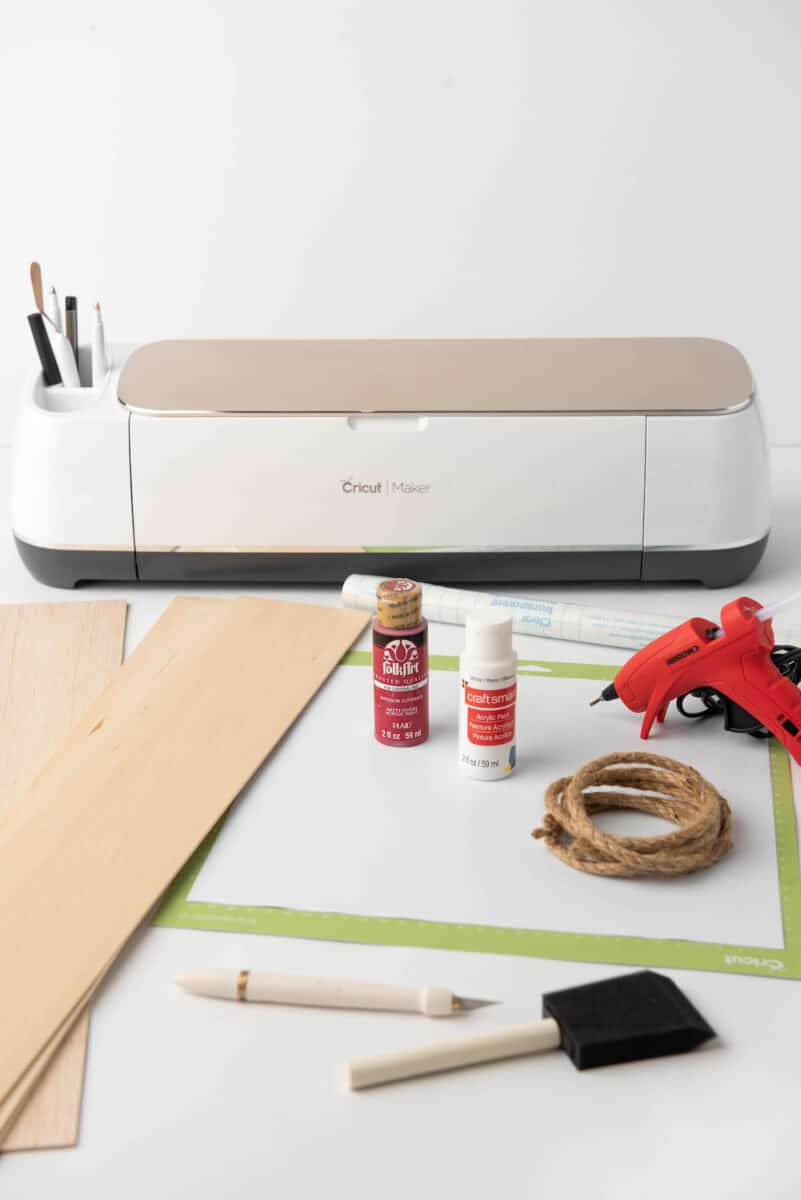
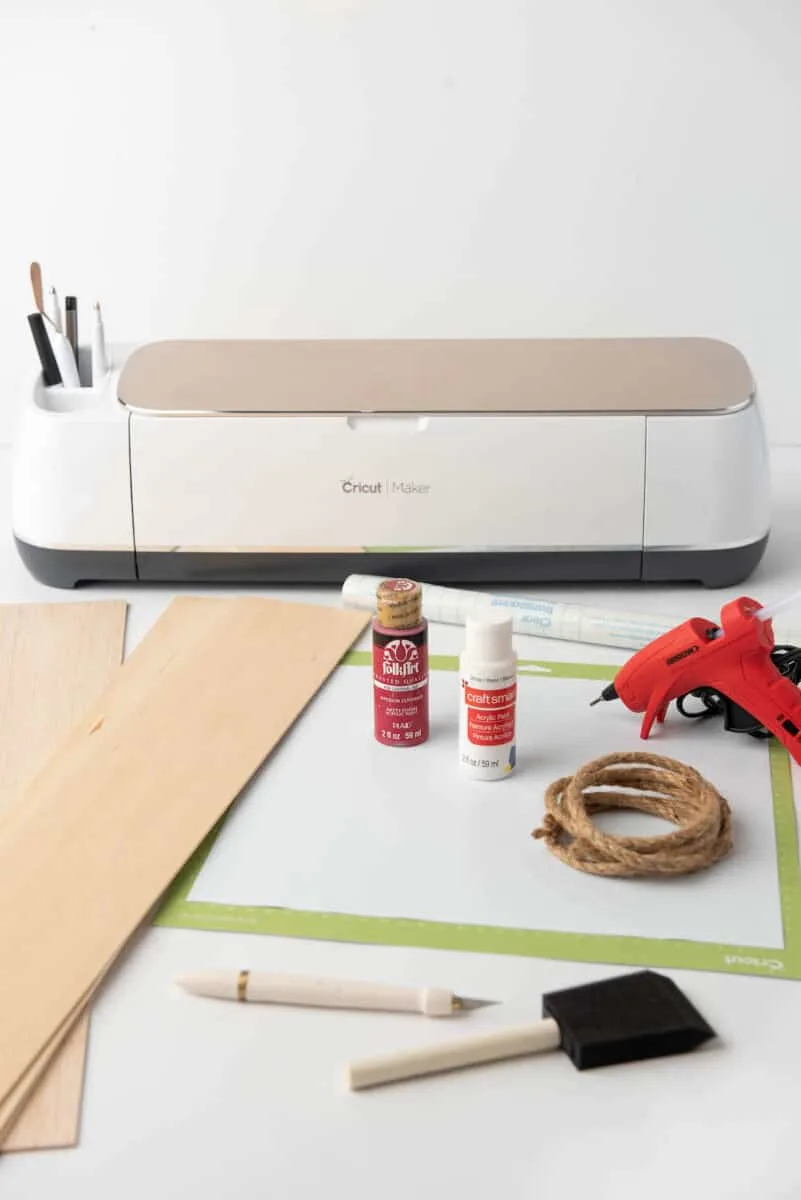
Supplies
- Free Home for the holidays SVG file
- Craft plywood (6 pieces) ⅜” x 4 x 24” (for the Back) and (1piece) ⅜” x 6” x 24” (for the Face)
- Wood craft knife or utility knife
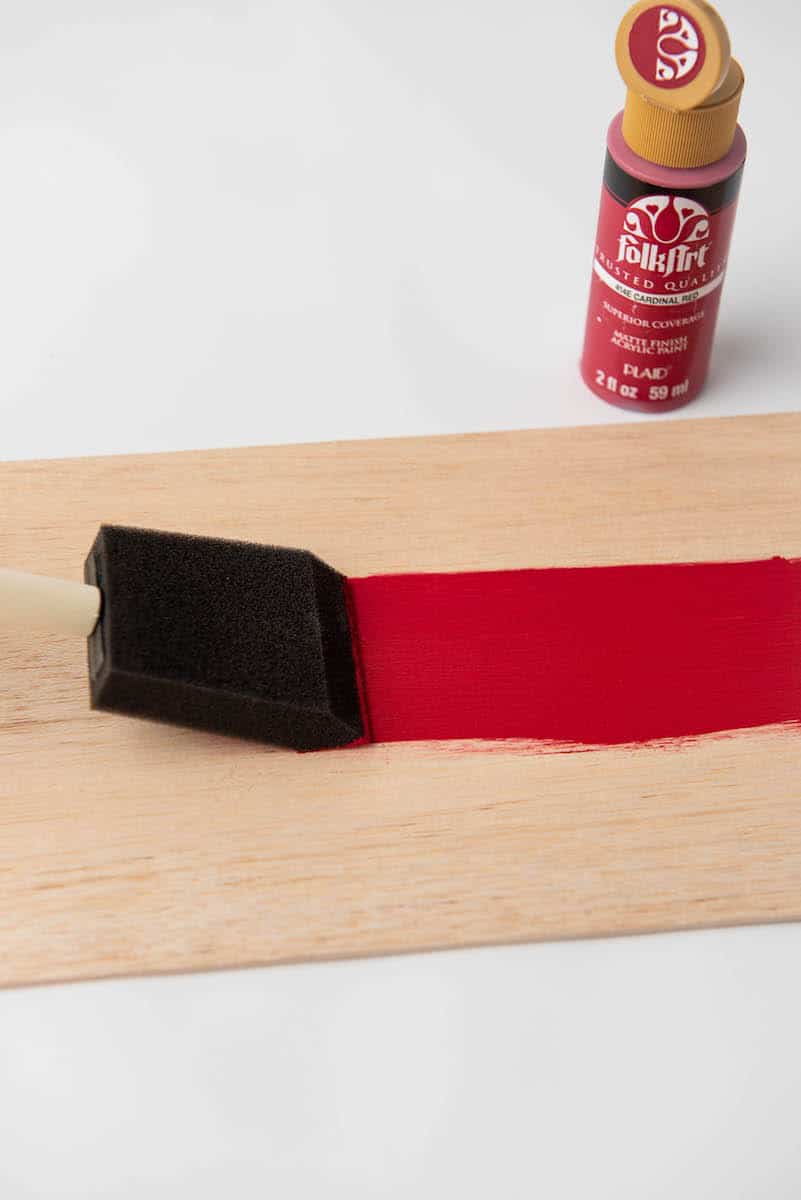
- Paint (I used FolkArt 414 Cardinal Red and Craft Smart White Acrylic paint)
- Paint brush
- Cricut
- Cricut blue light or green standard grip mat
- ORACAL 651 vinyl (I used white)
- Transfer tape
- Weeding tool
- Cricut scraper tool
- Hot glue gun (or E6000 or wood glue)
- Twine
- Christmas floral or greenery, bells, etc.
Directions
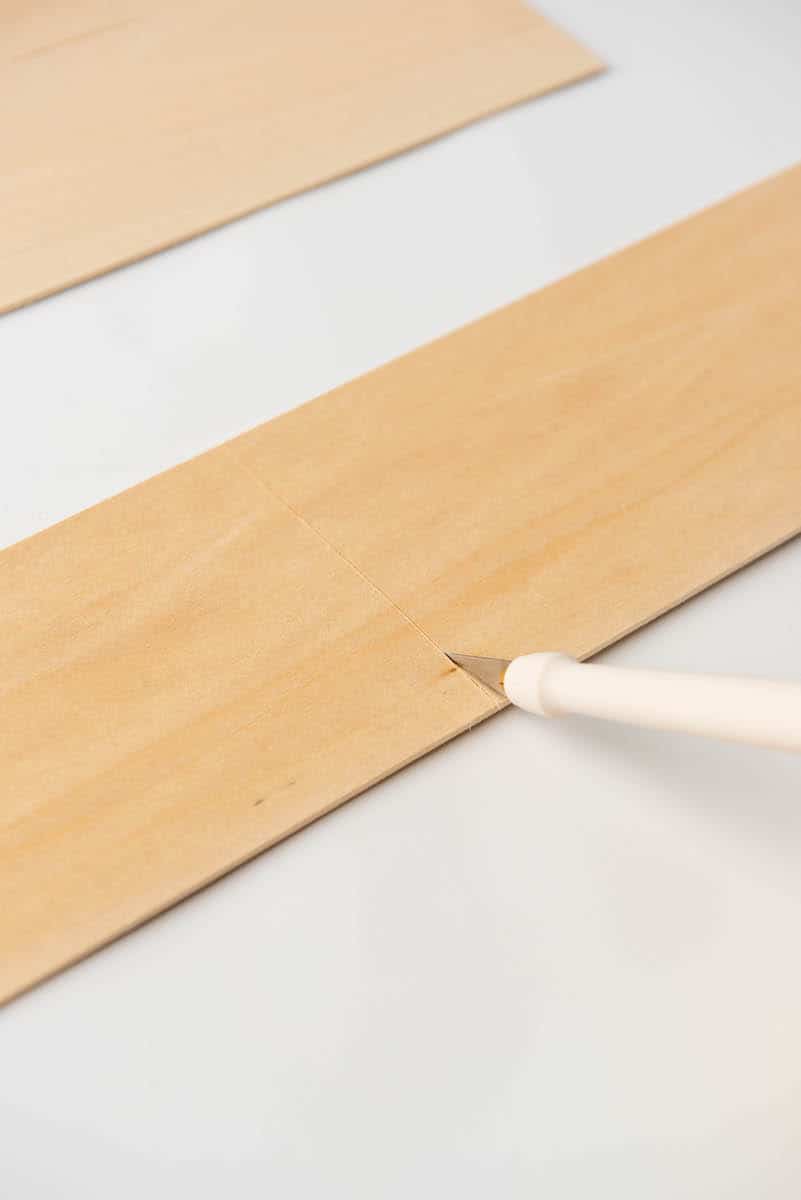
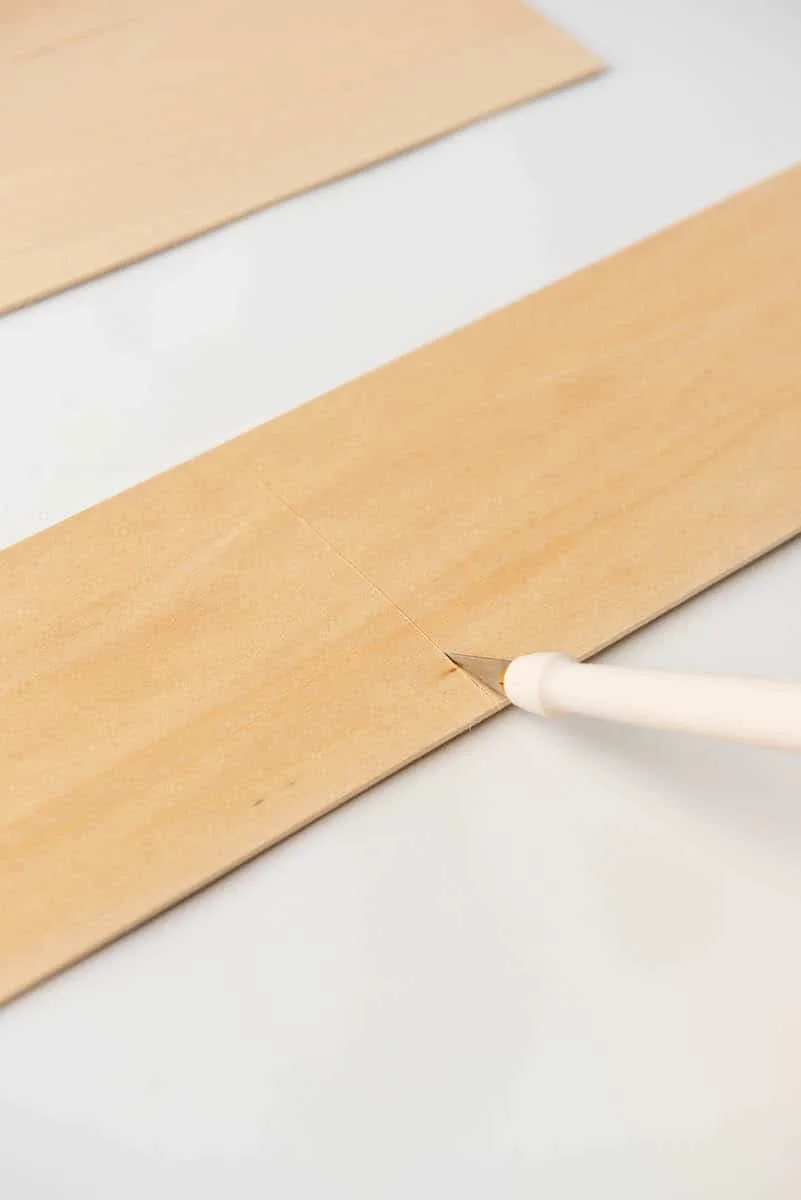
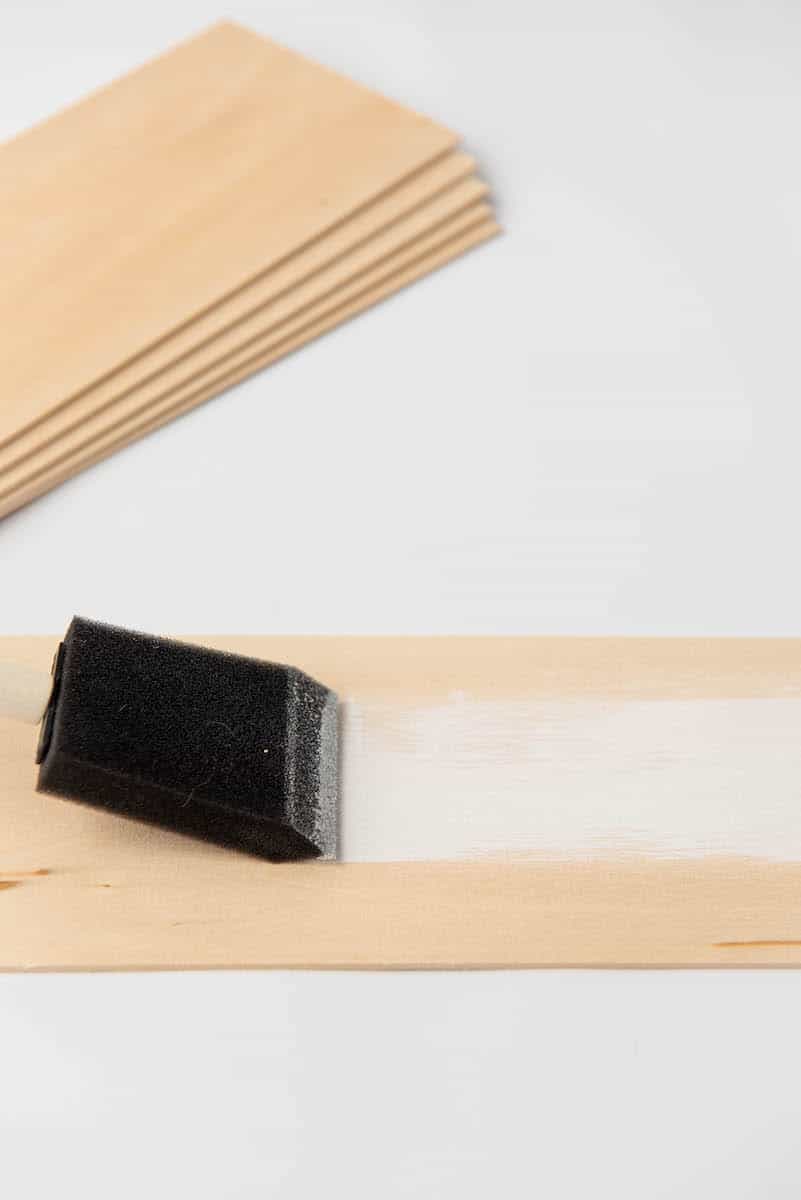
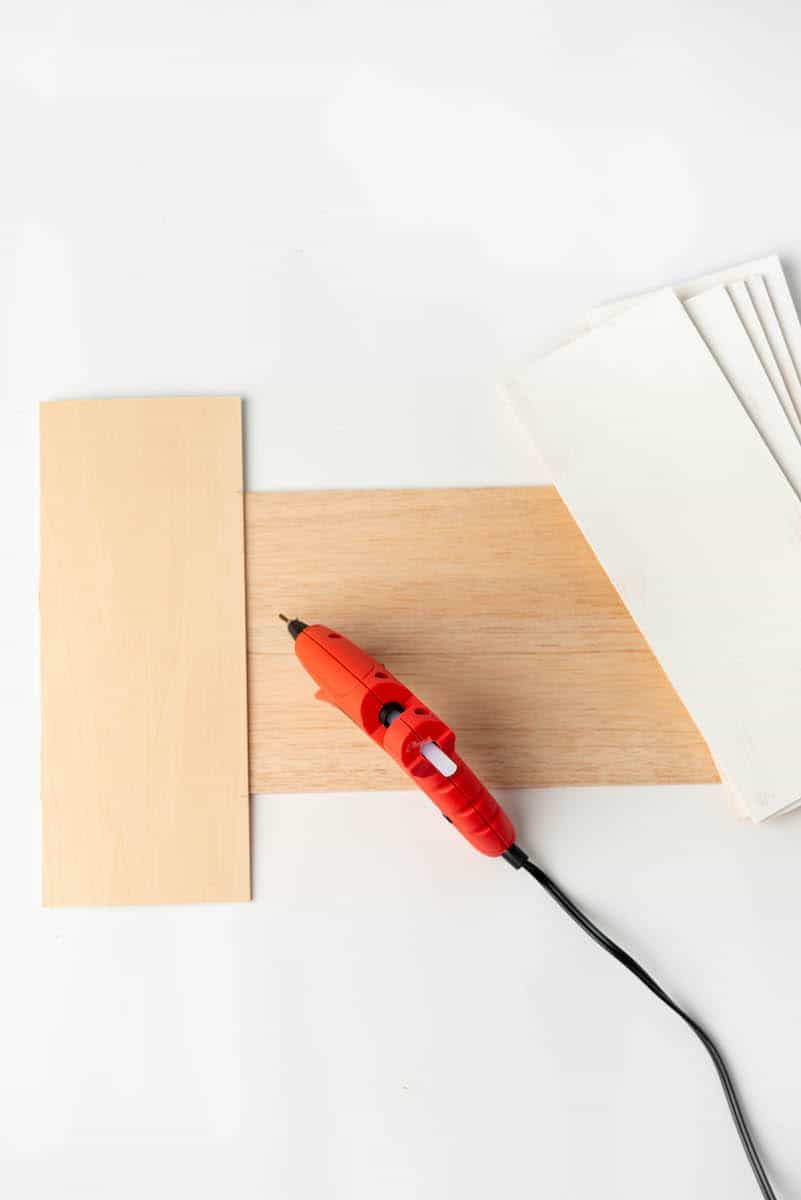
Cut the wood to size, if needed. Thin craft wood can be cut with a wood knife or utility knife, or use a hand saw or automatic saw.
Paint the wood. You only need to do one side with color. The face wood was painted in red, and the back wood pieces were painted white.


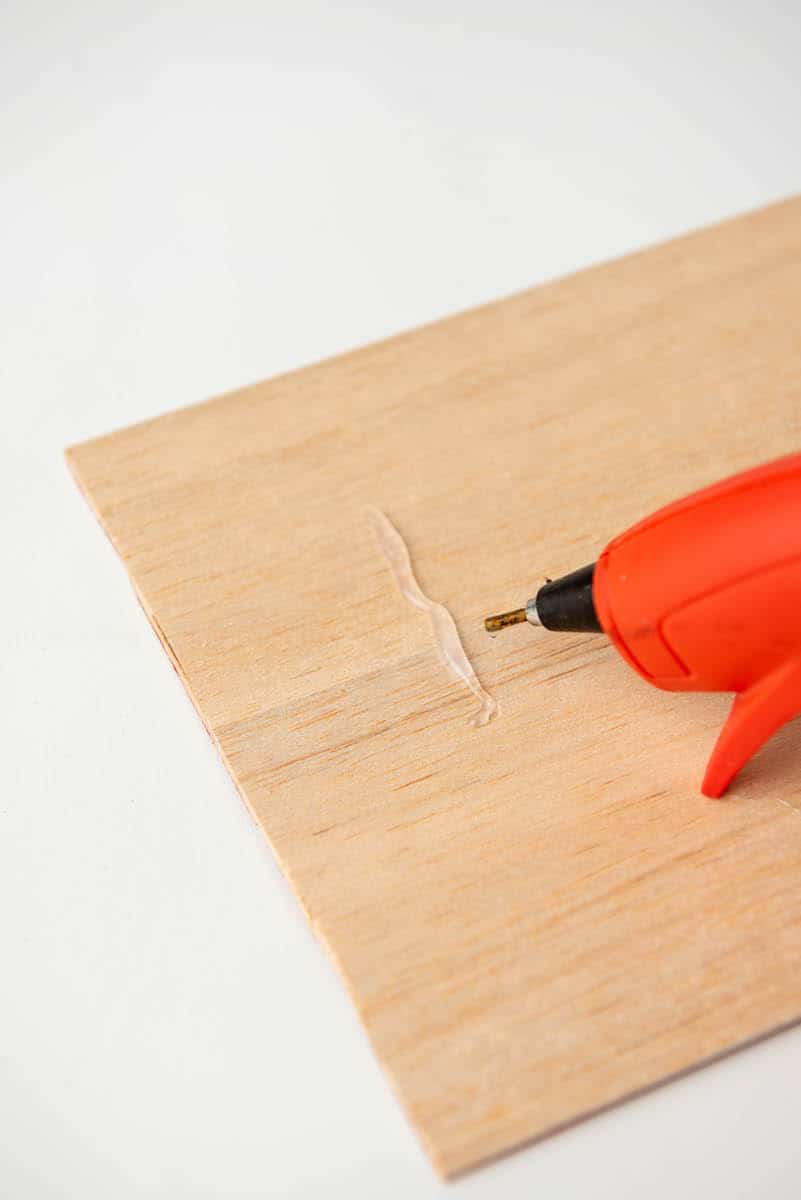
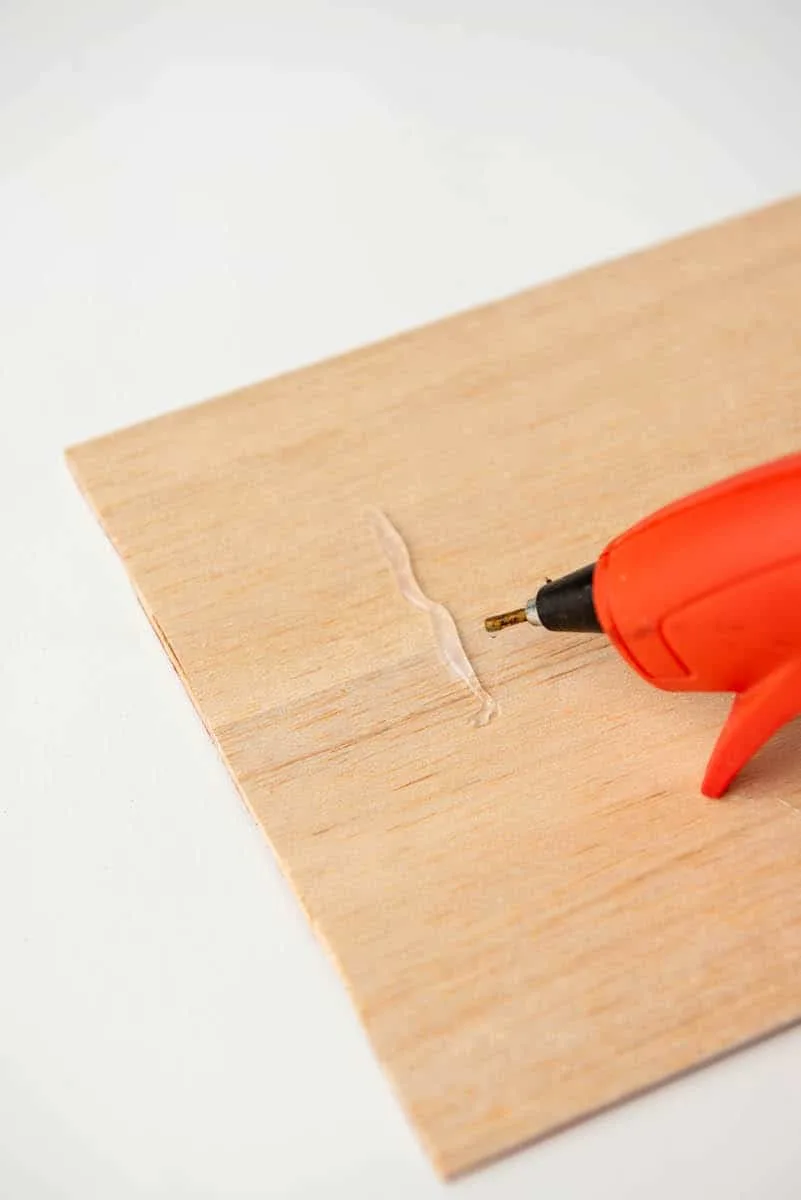
Put the face piece of wood flat on a surface, with the paint side down.
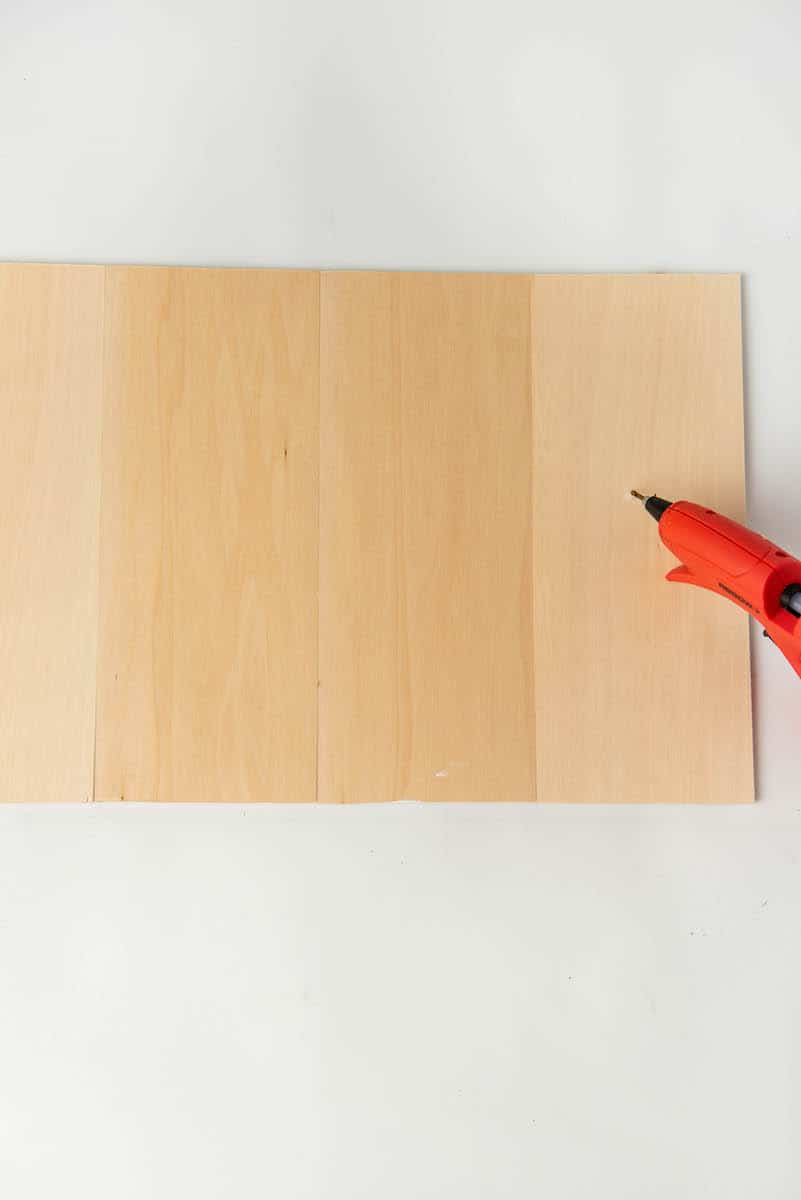
Take the back pieces and glue them to the back of the face, edge to edge. You want the paint side to be down (so that it shows behind the painted side of the face piece). Find the center of the face piece, and then lay a back piece on each side. Continue outward from there.


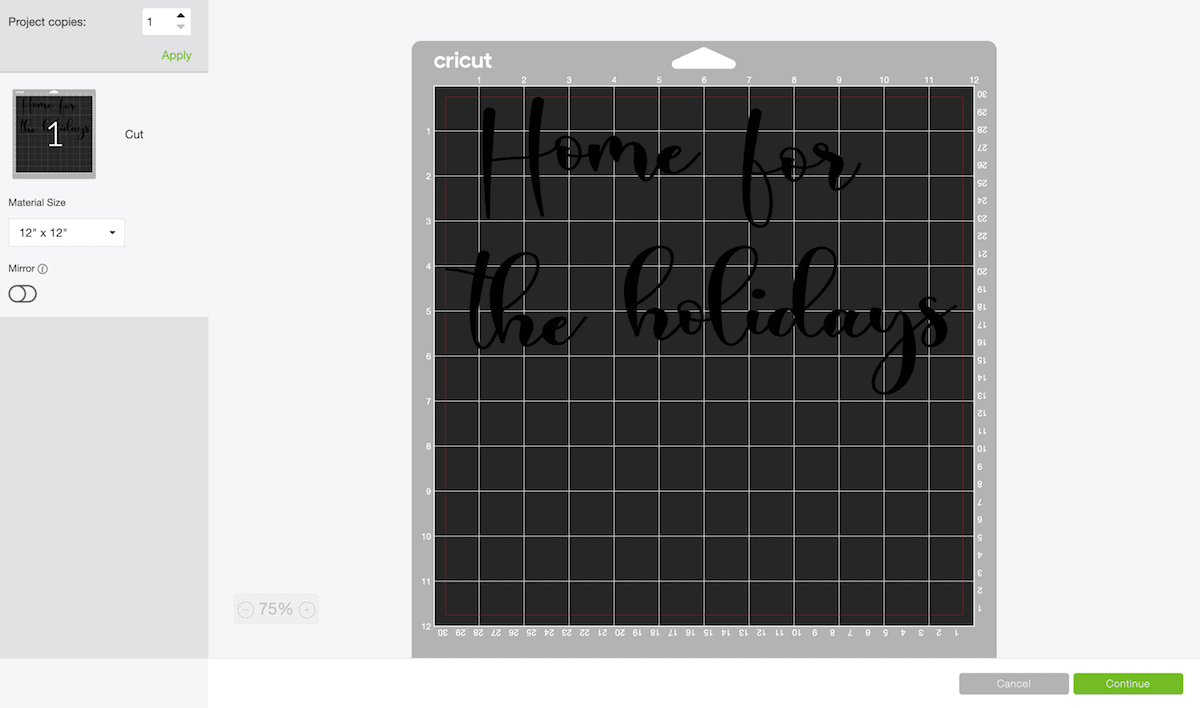
Now load the SVG file in Design Space.
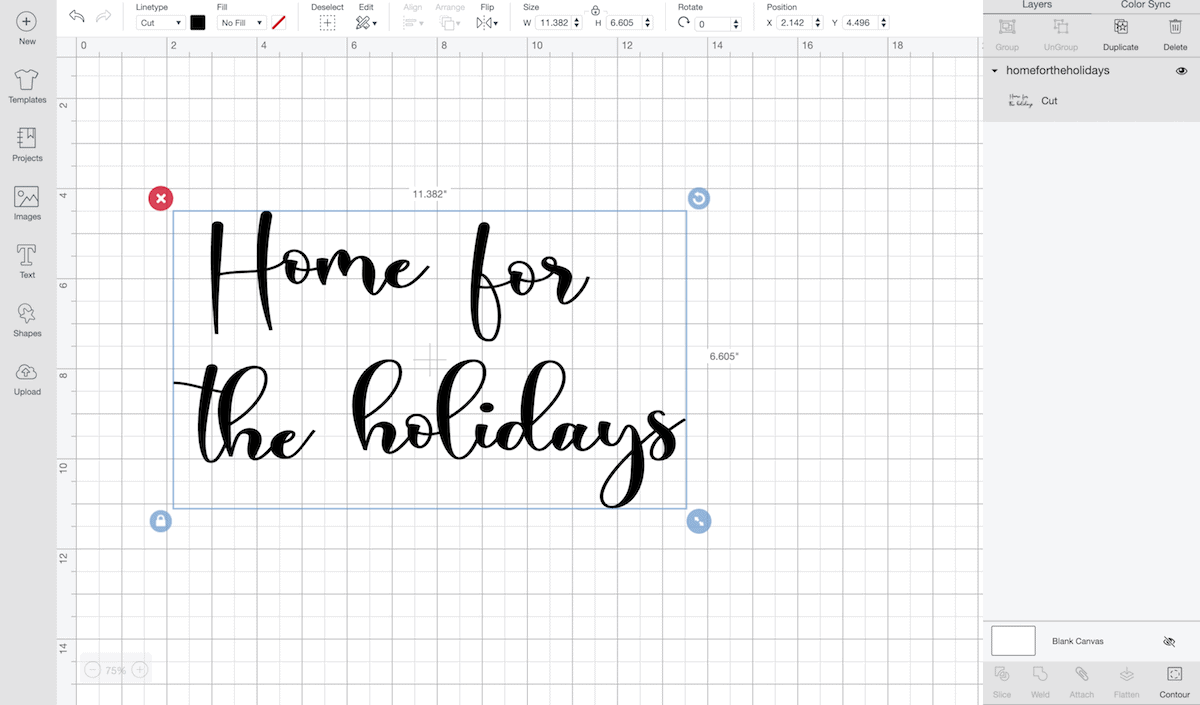
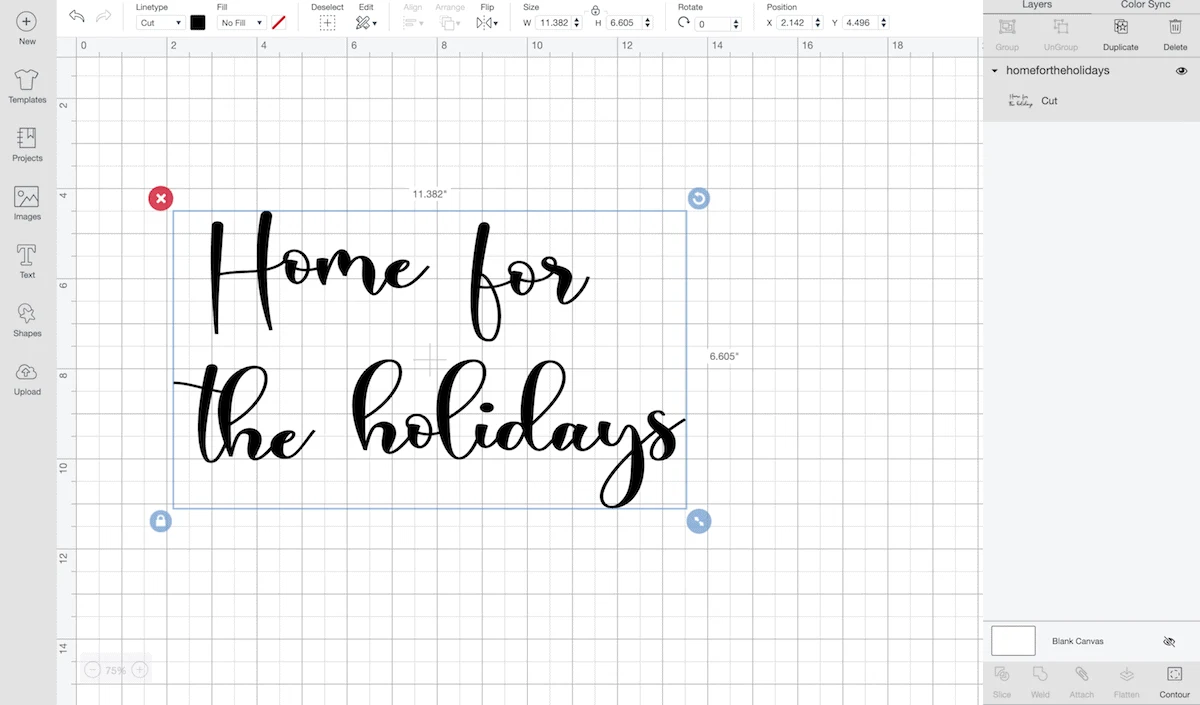
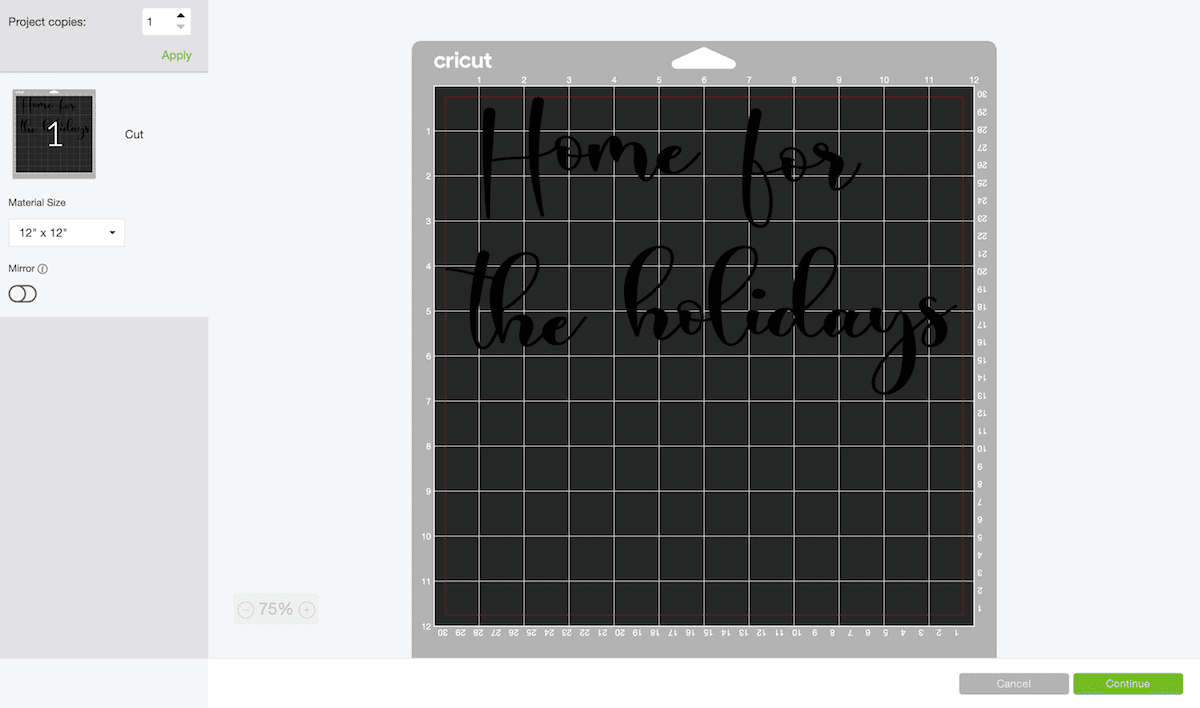
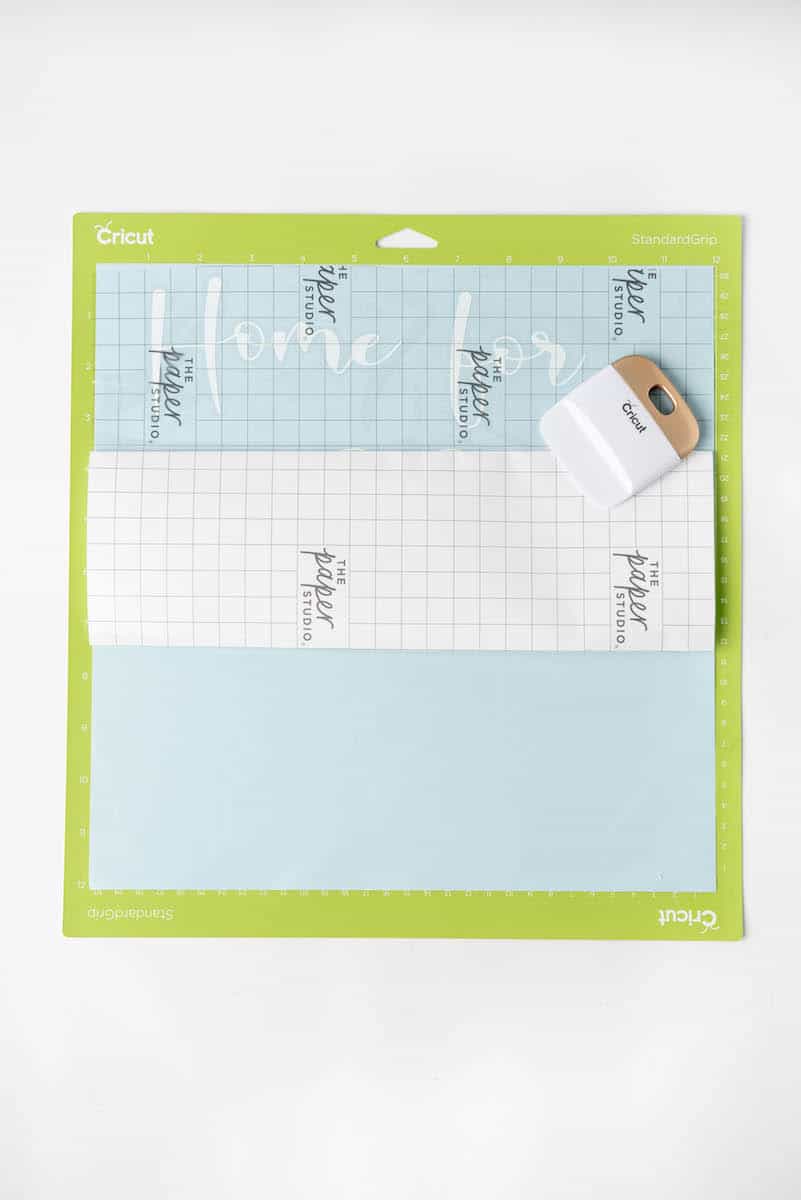
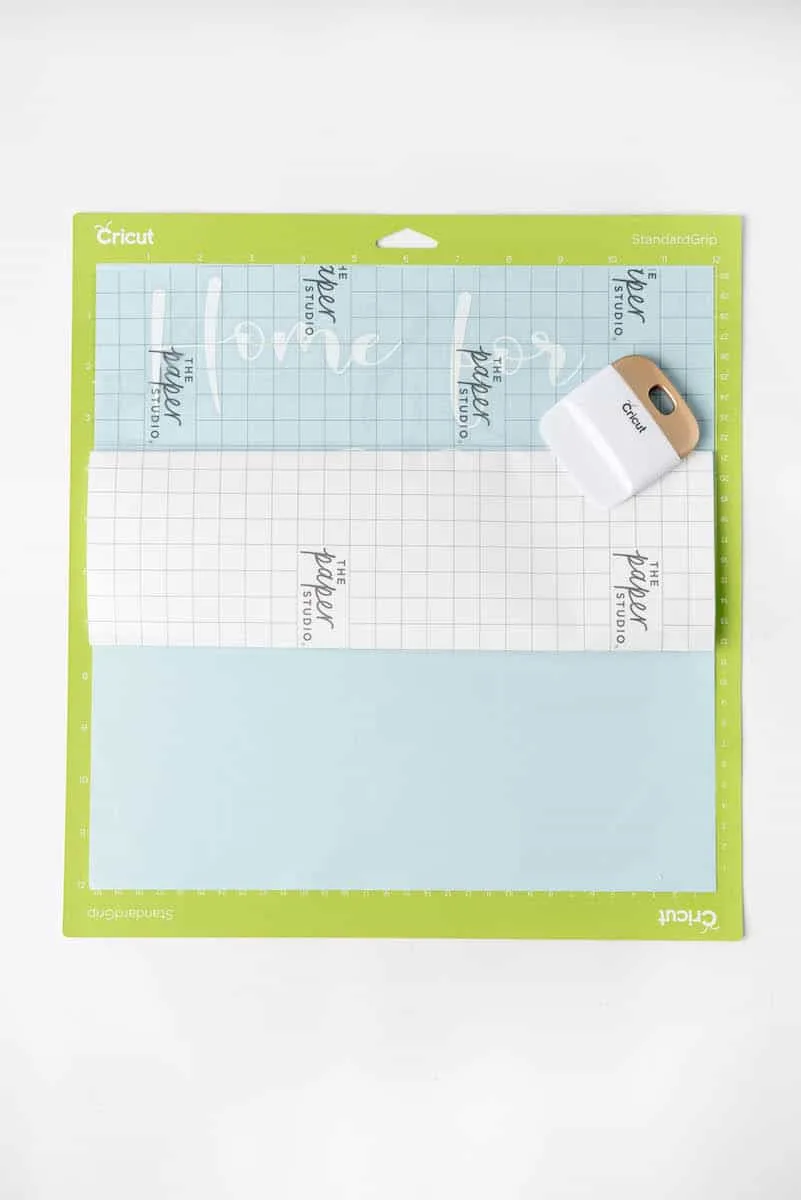
Hit the make it button. Put the vinyl on a cutting mat and load into the Cricut.
After it has been sized correctly, adjust your machine’s setting or material dial to vinyl.
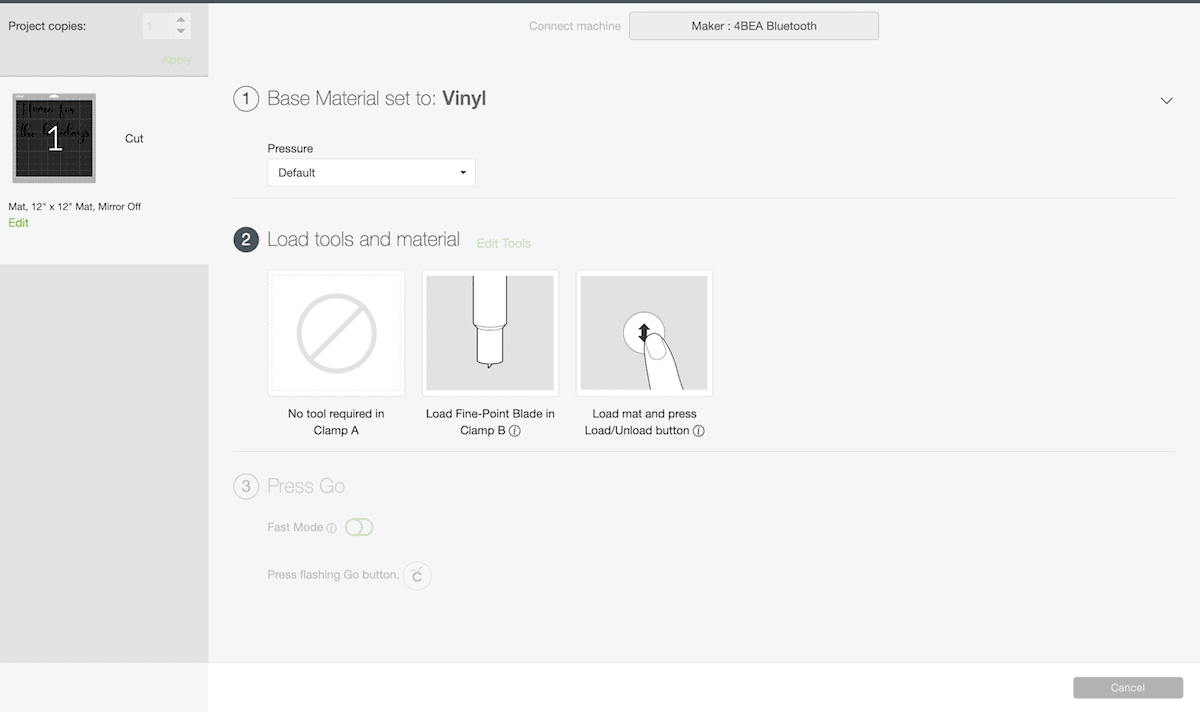
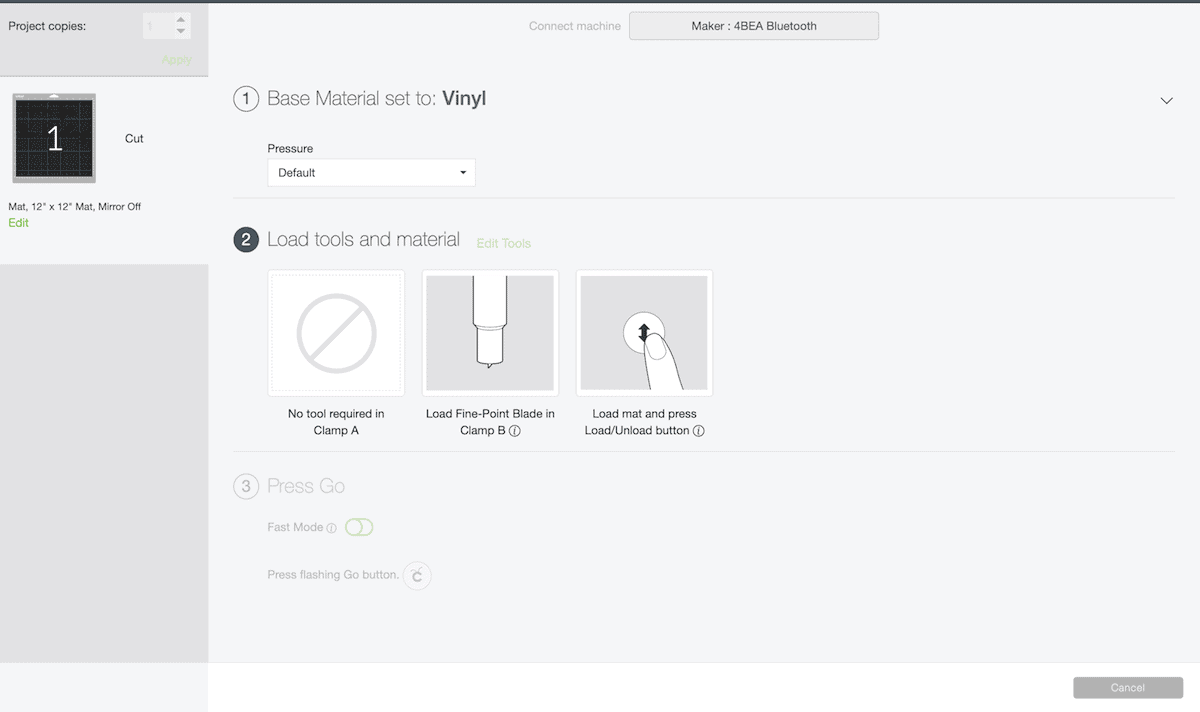
Hit “go”.
Once completing with the cutting, weed off the excess vinyl with your weeding tool.

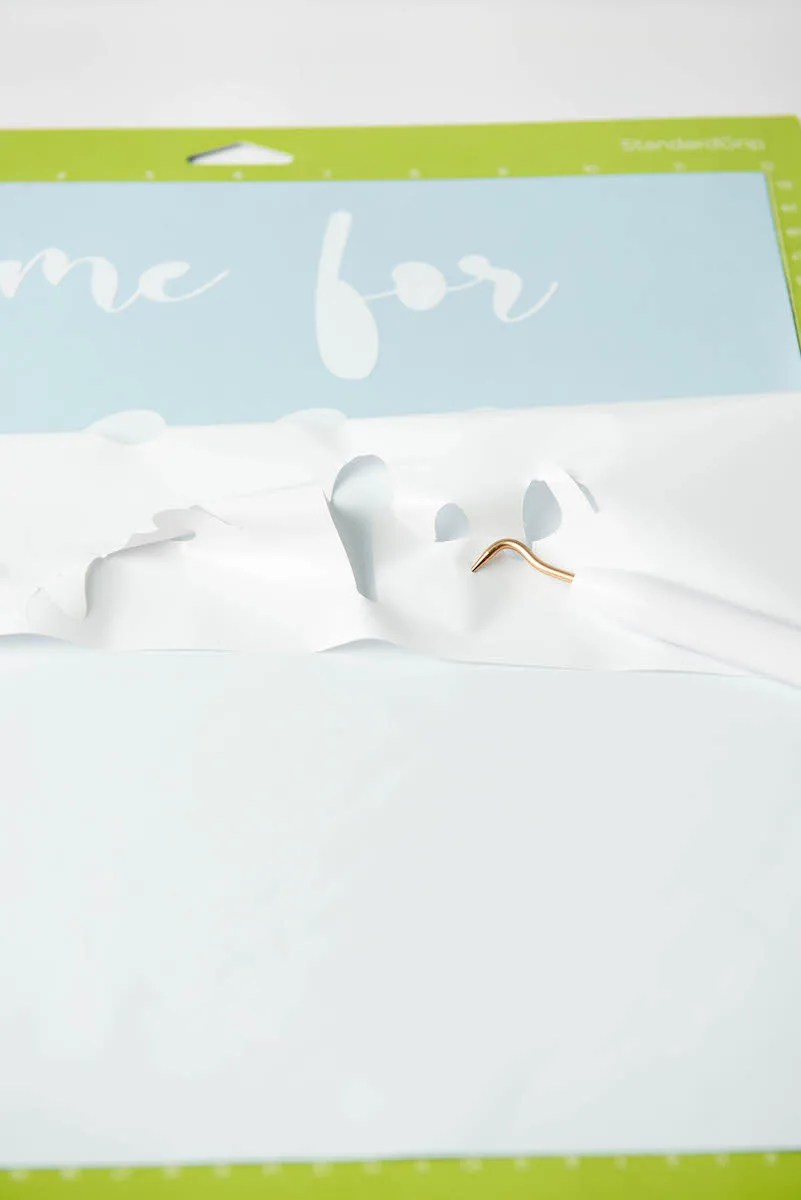
You’ll need to cut the vinyl into two separate pieces, with “Home for” as one full piece, and “the Holidays” as another separate piece.
Cut two pieces of transfer paper and apply to the vinyl.
Place the entire design facing downwards and begin to gently pull the transfer paper off.
Start thinking about the placement of the vinyl. Keep in mind, you have two different vinyls that both need to fit on the face board of the sign.
“Home” should begin roughly 1 ¾ inches from the left edge. “Holidays” should stop roughly 1 ¾ inches from the right edge.
Apply the vinyl and gently add pressure for it to stick to the wood. Once done, slowly remove the transfer paper.
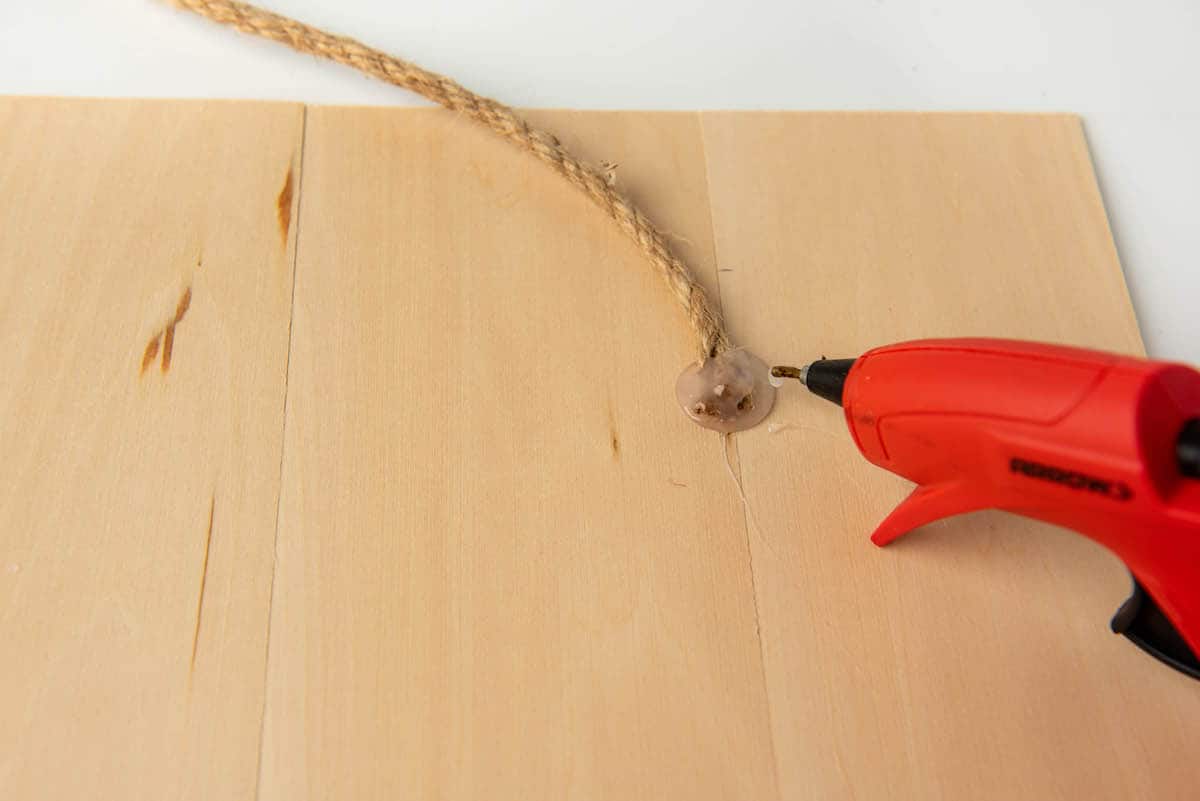
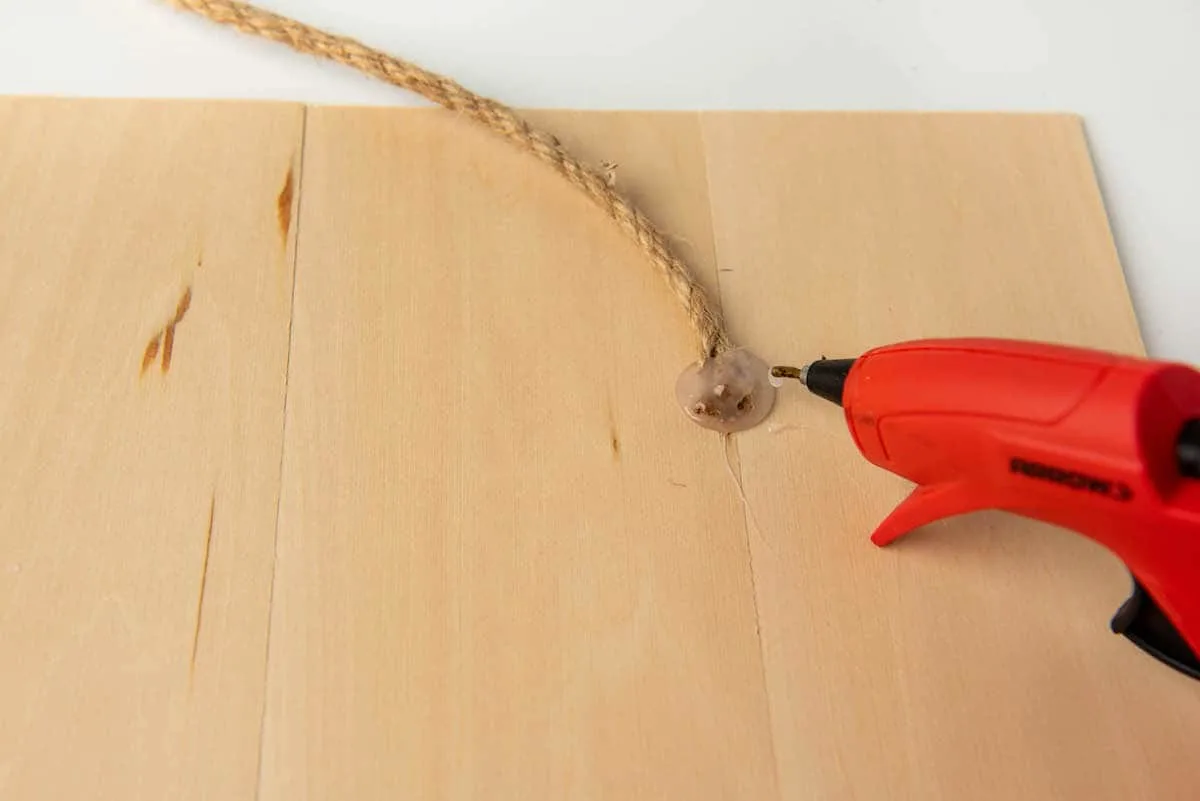
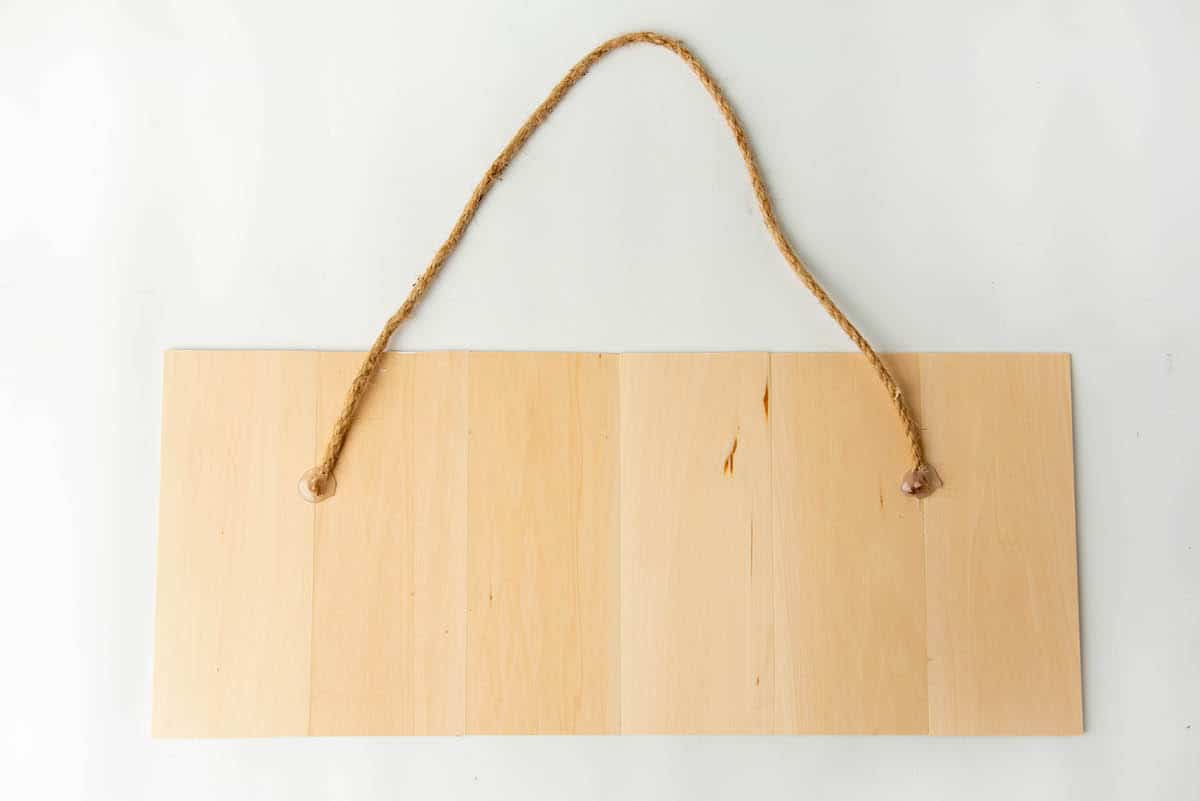
Measure a piece of twine or jute rope for a hanger, depending on how big you want the hanger to be.
Glue each end of the rope to the back side of the completed sign (I did each end about 6 inches from the edge. Make sure you have enough of a hook to hang where you need to.

Glue Christmas decorations to the center of the top of the face part of the sign.


Christmas Patterns and SVGs!
Want more fun holiday SVGs for crafting and creating this season? I’ve got a fun 4-pack of patterns perfect for DIYs!
Visit the Single Girls DIY library for more details and to get your downloads!
If you like this easy DIY Home for the Holidays sign, be sure to see more of our fun Christmas crafts!
