
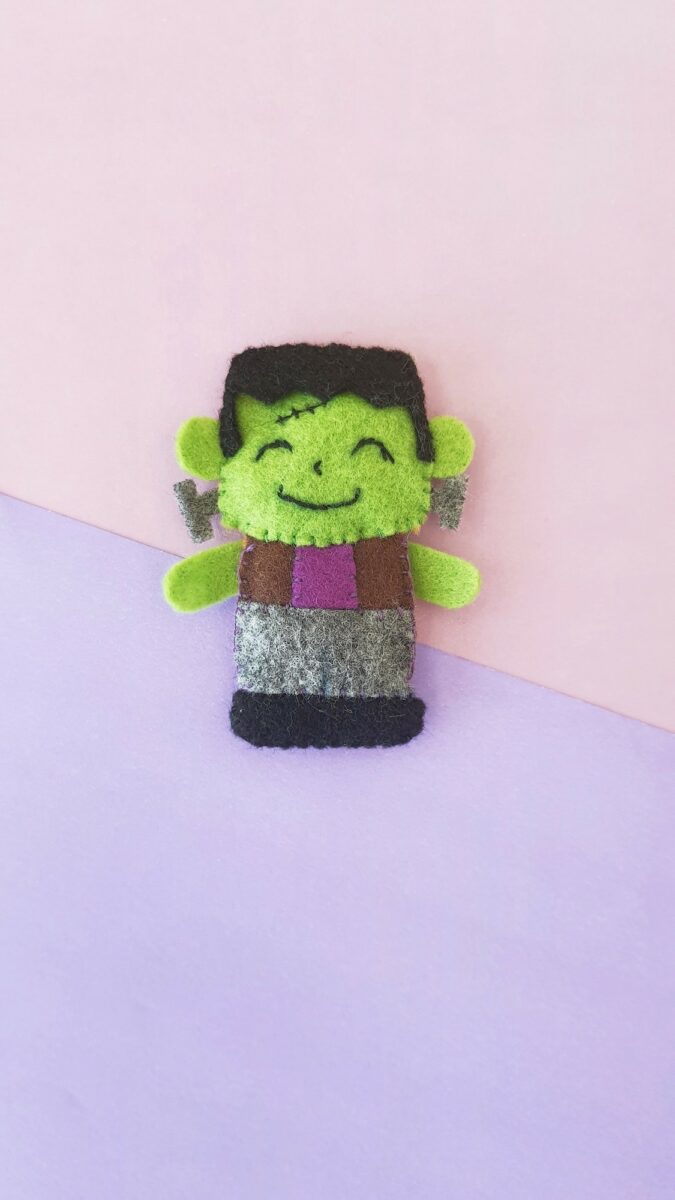
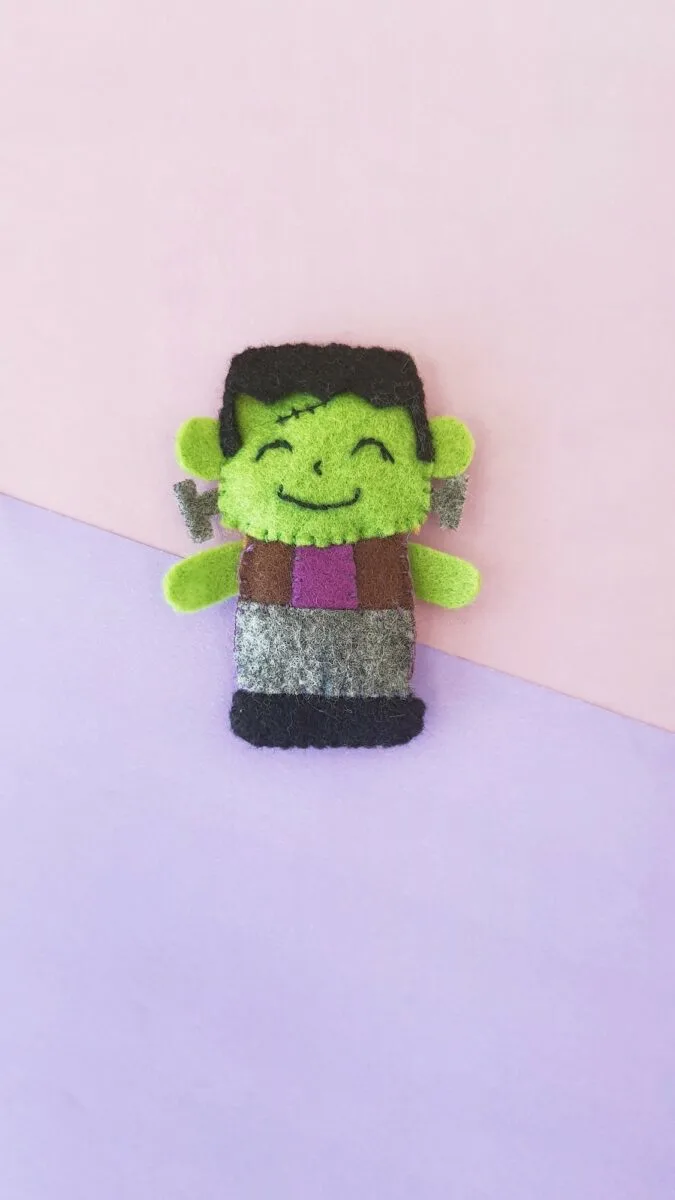
This handmade Frankenstein plush is so much fun to make for Halloween! It’s the perfect little plushie to decorate a small space in a room, give as party favors, or sew one and turn it into a magnet for the refrigerator.
Using our free Frankenstein plush pattern, you can easily make this Frankenstein plushie using small felt scraps.
This DIY project uses a needle and thread to sew. It is great for beginner sewists, including kids who are learning how to stitch.
If you really didn’t want to use a needle and thread, you could hot glue the pieces together in the same order that you would sew them together.
You will also want to see our easy to make Frankenstein candy bags using felt, as well!
This is just one in a series of small Halloween plushies that we share free patterns for. Be sure you also see these tutorials:
How to Make a Frankenstein Plushie
Supplies
- Colored Felt Fabrics
- Needle
- Threads to Match the Felts
- Cotton Fill, such as Polyfill
- Sharpie or gel pen
- Free Frankenstein Plush Pattern
Directions
Step 1
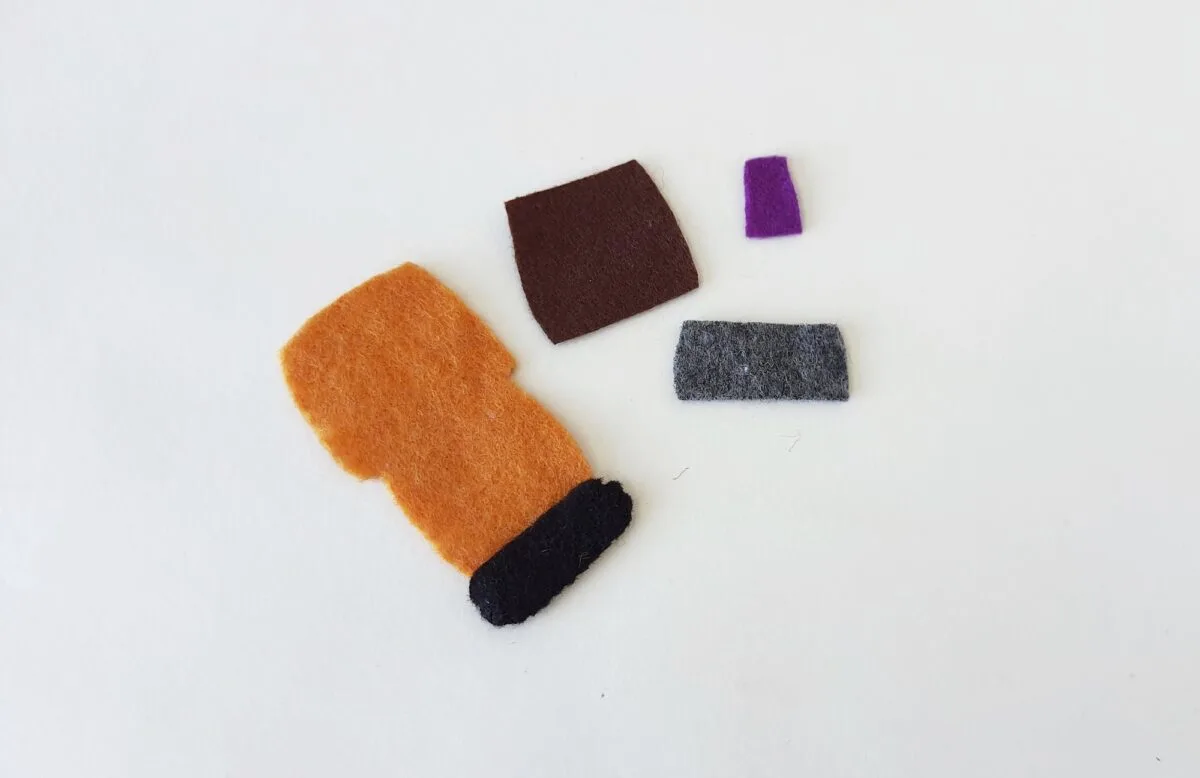
Print out the Frankenstein pattern and cut out the pattern pieces.
Trace the pattern pieces on the felts that match what you are making. The templates include:
- Frankenstein body base (Orange)
- Head (Green)
- Hair (Black)
- Ears (Green)
- Bolts (Grey)
- Pants (Grey)
- Shirt (Purple)
- Jacket (Brown)
- Shoes (Black)
- Arms (Green)

Step 2
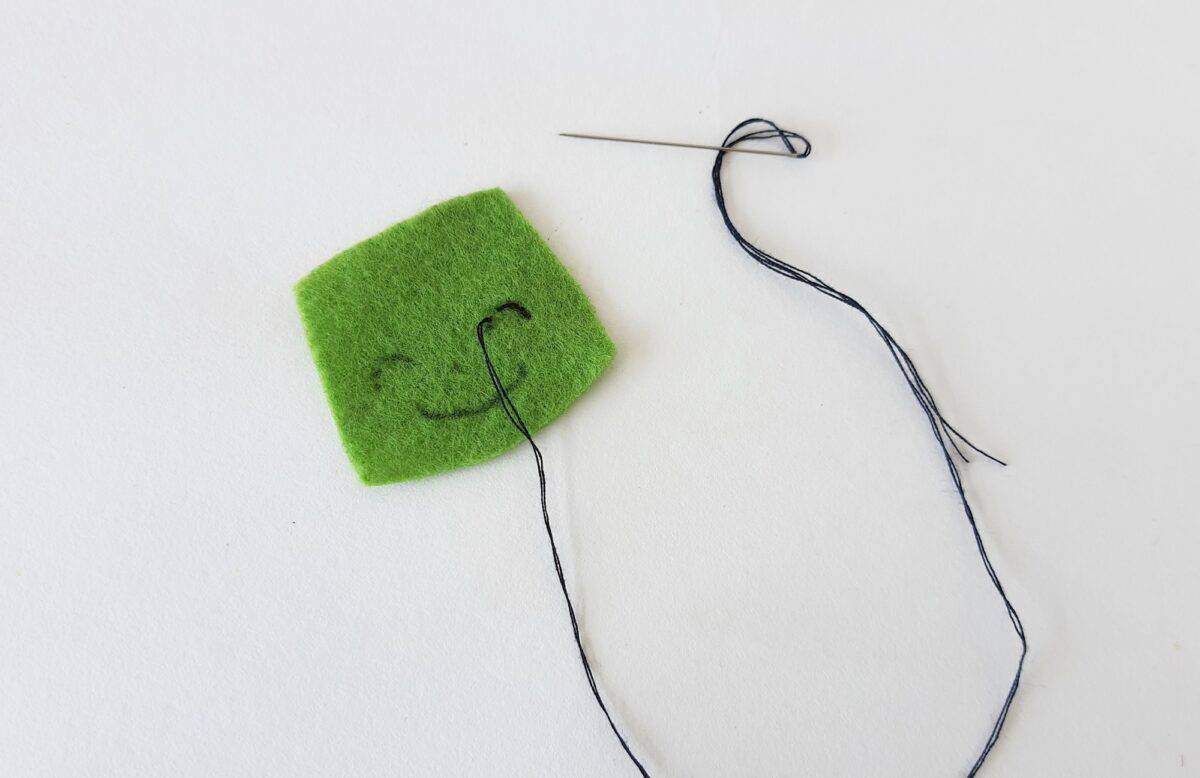
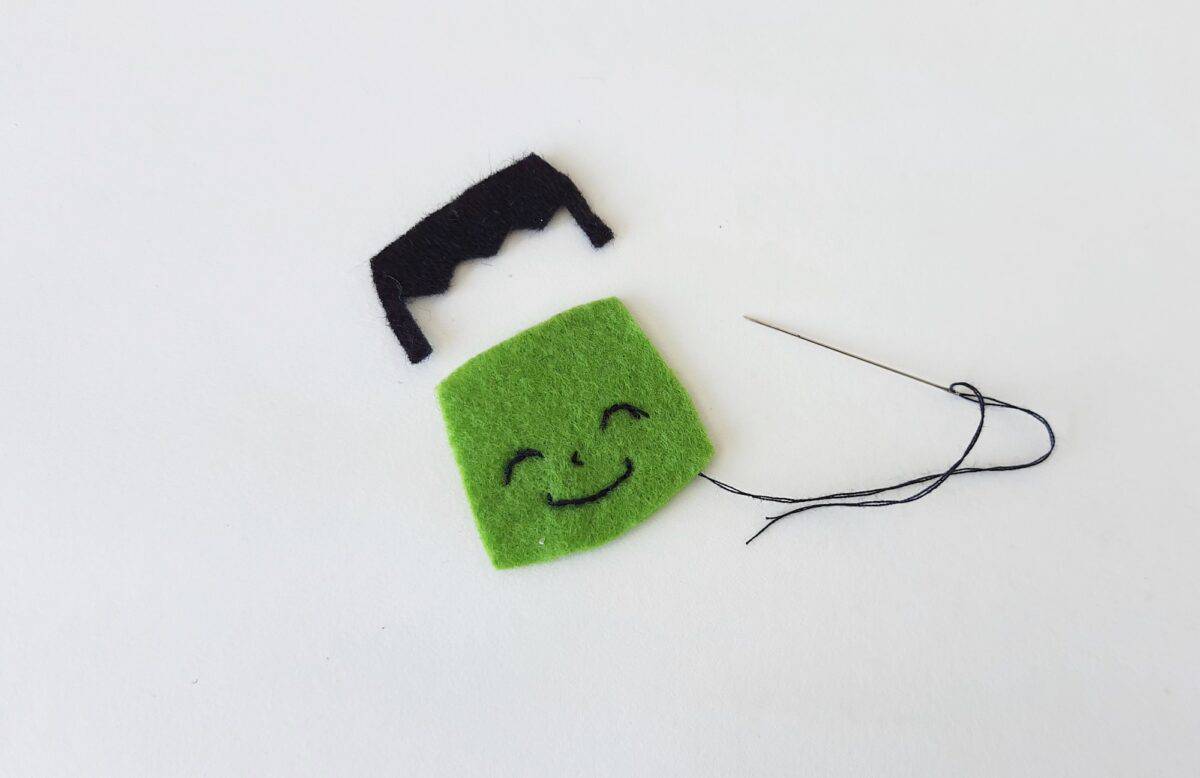
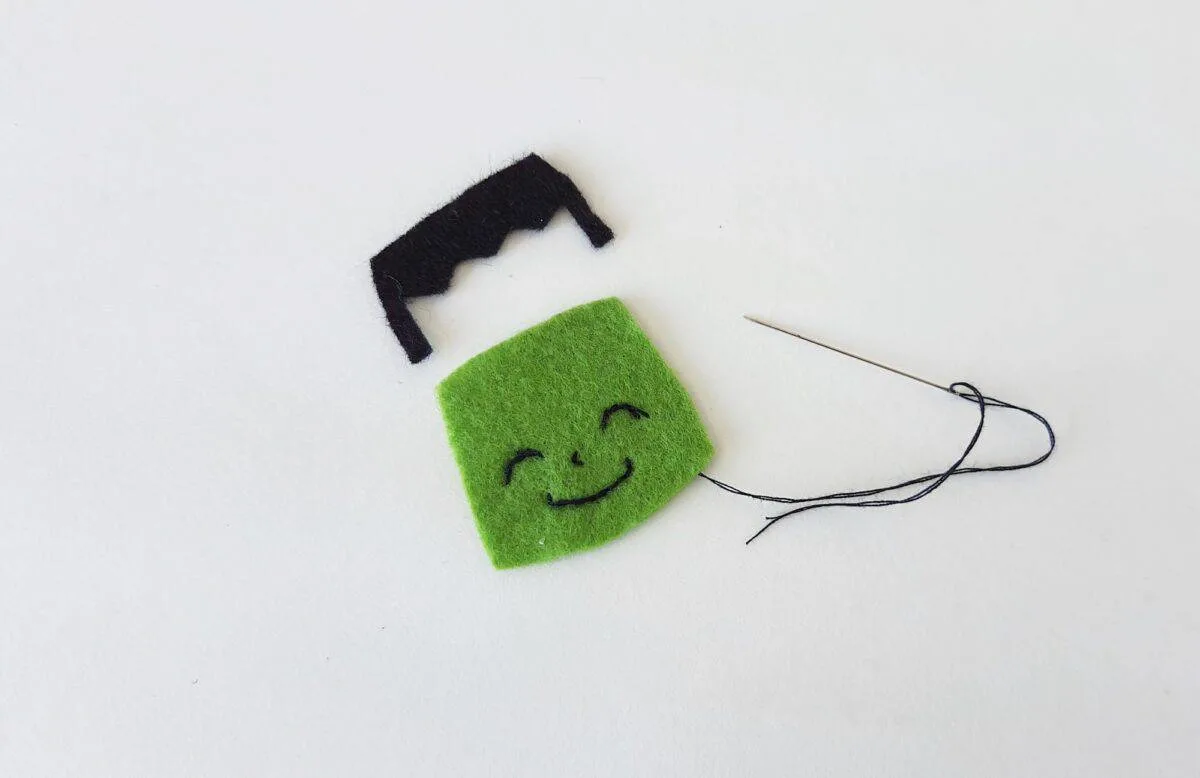
On the head cutout, use a Sharpie or a pen to trace the eyes, nose, and mouth-lines of the felt Frankenstein pattern.
Step 3
Using black thread, stitch along the traced eyes, nose and mouth-line with small stitches.

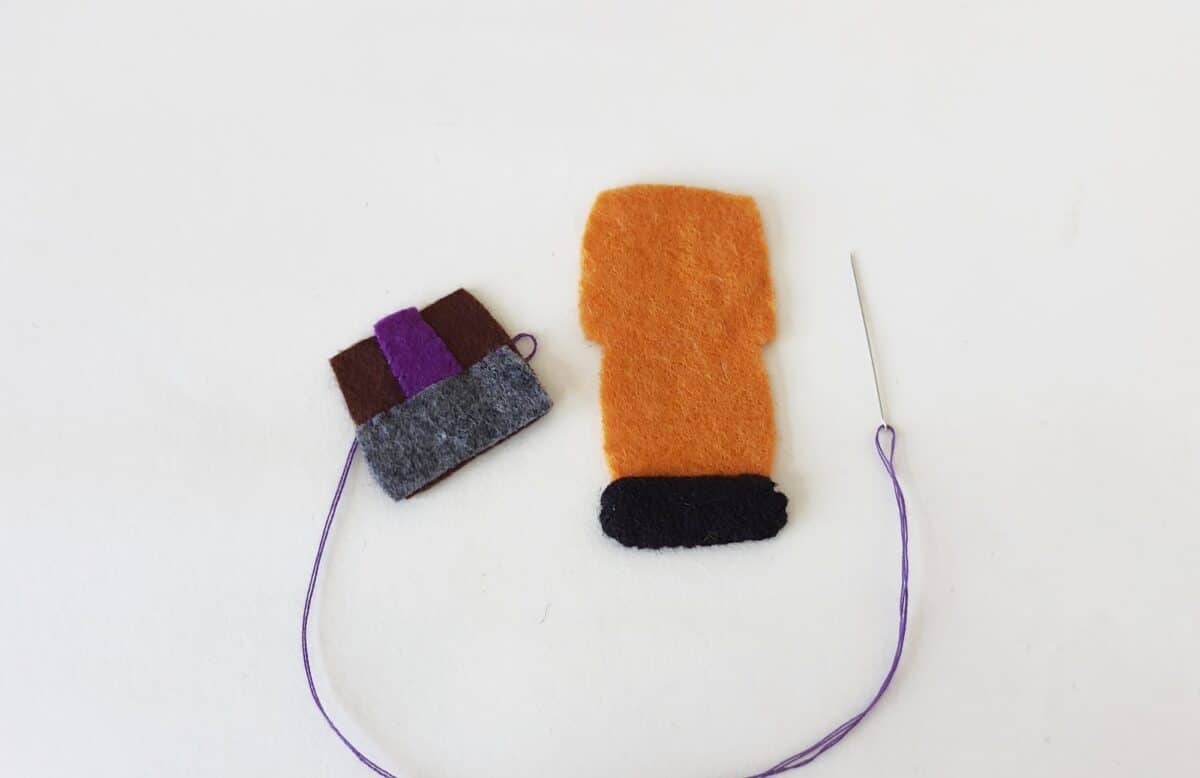
Step 4
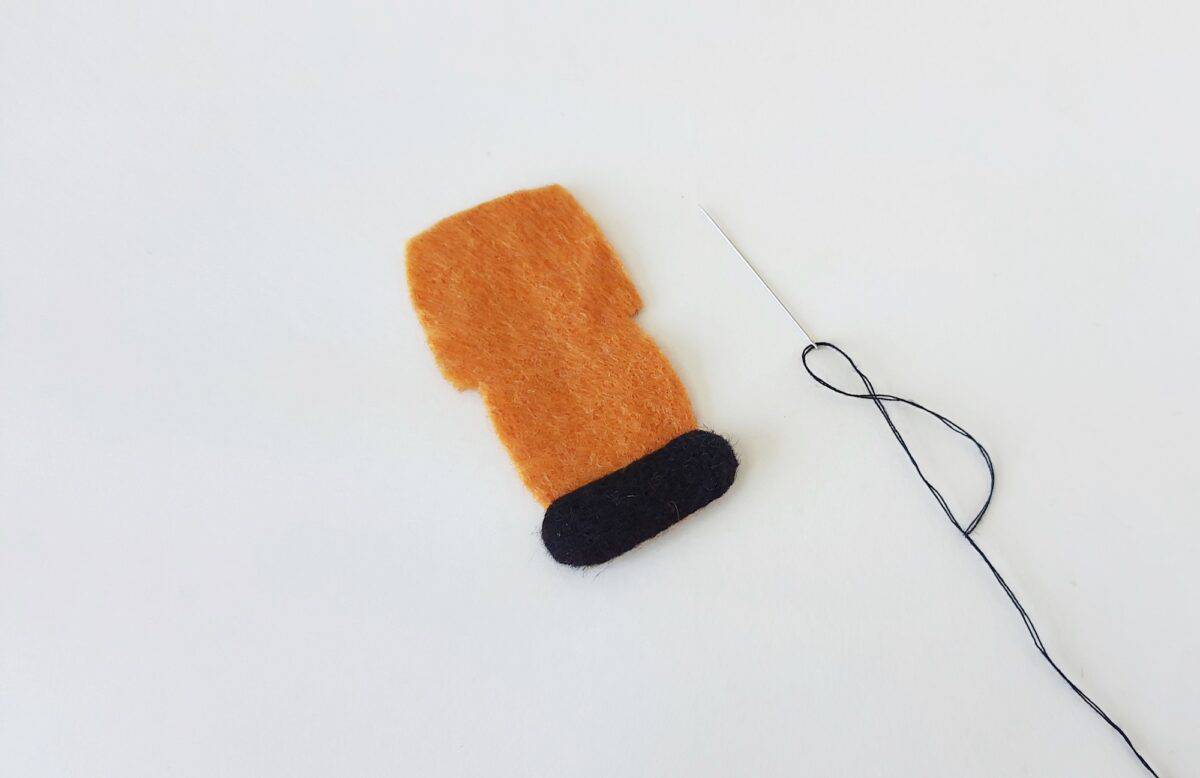
Put the shoe cutouts on the bottom part of the base cutout and stitch together with black thread.

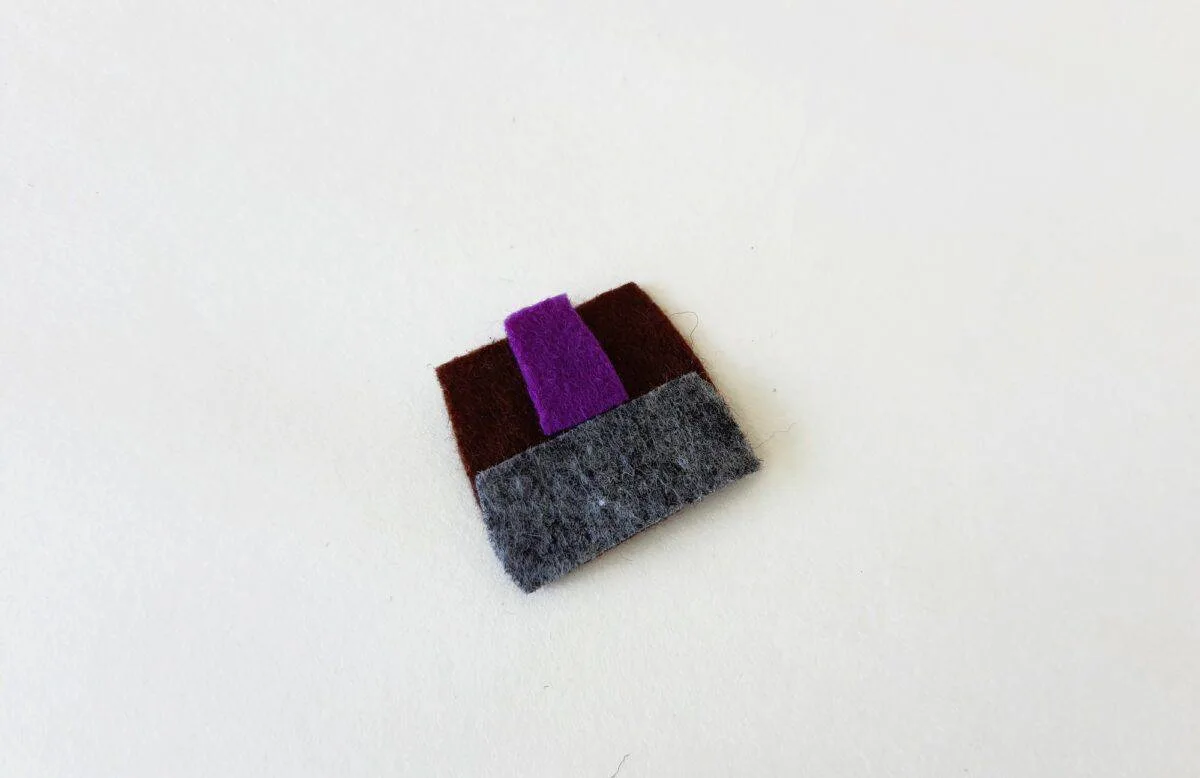
Step 5
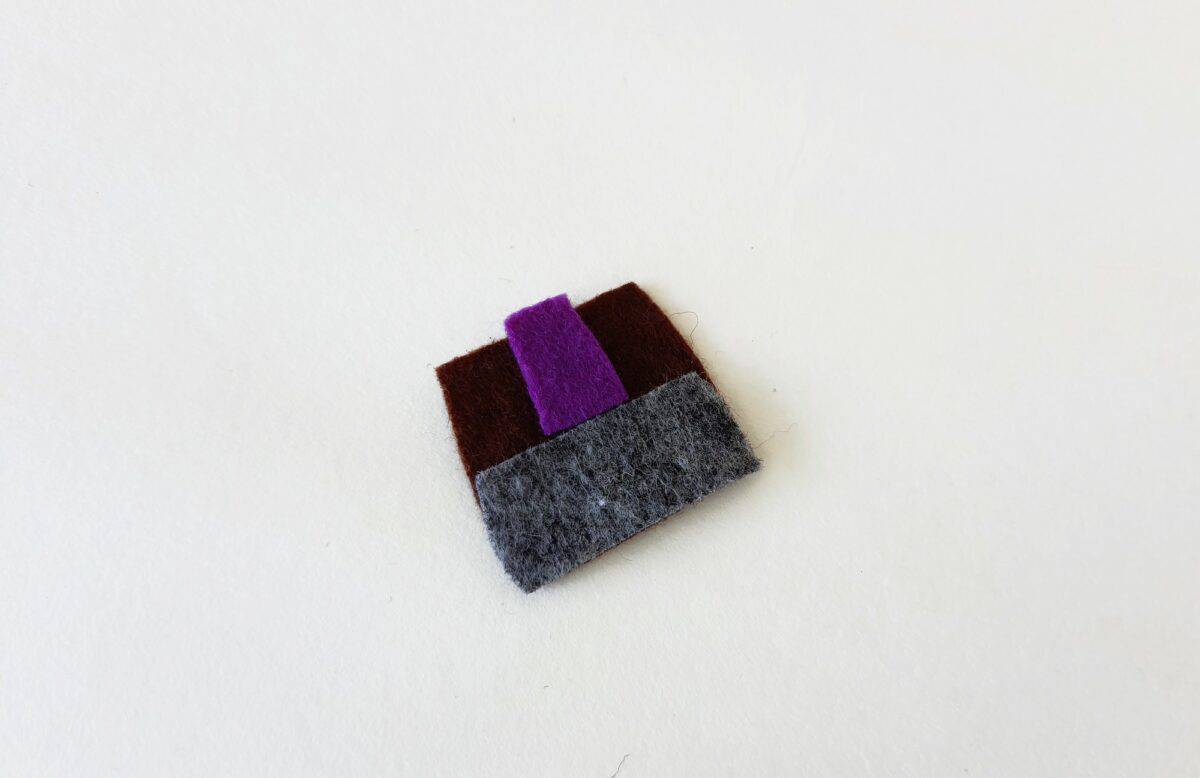
Place the jacket pattern piece on the table. Lay the pants piece on top, towards the bottom. Then put the shirt pattern piece in the middle above the pants.
Stitch around the pattern pieces to keep them together.
Step 6
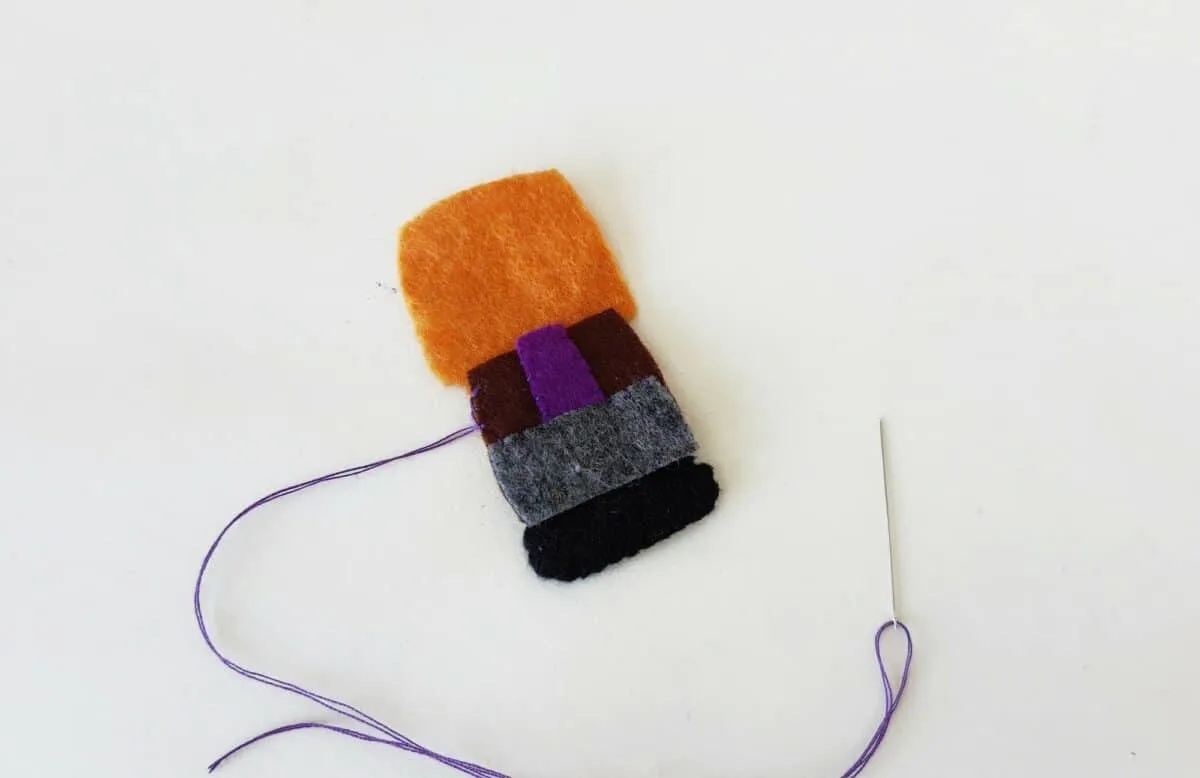
Lay the pieces on top of the Frankenstein body base. Then stitch together the jacket piece to the body cut out.
You will stitch around the base of the jacket pattern piece and on the sides. Keep the top of the pattern open for now.


Step 7
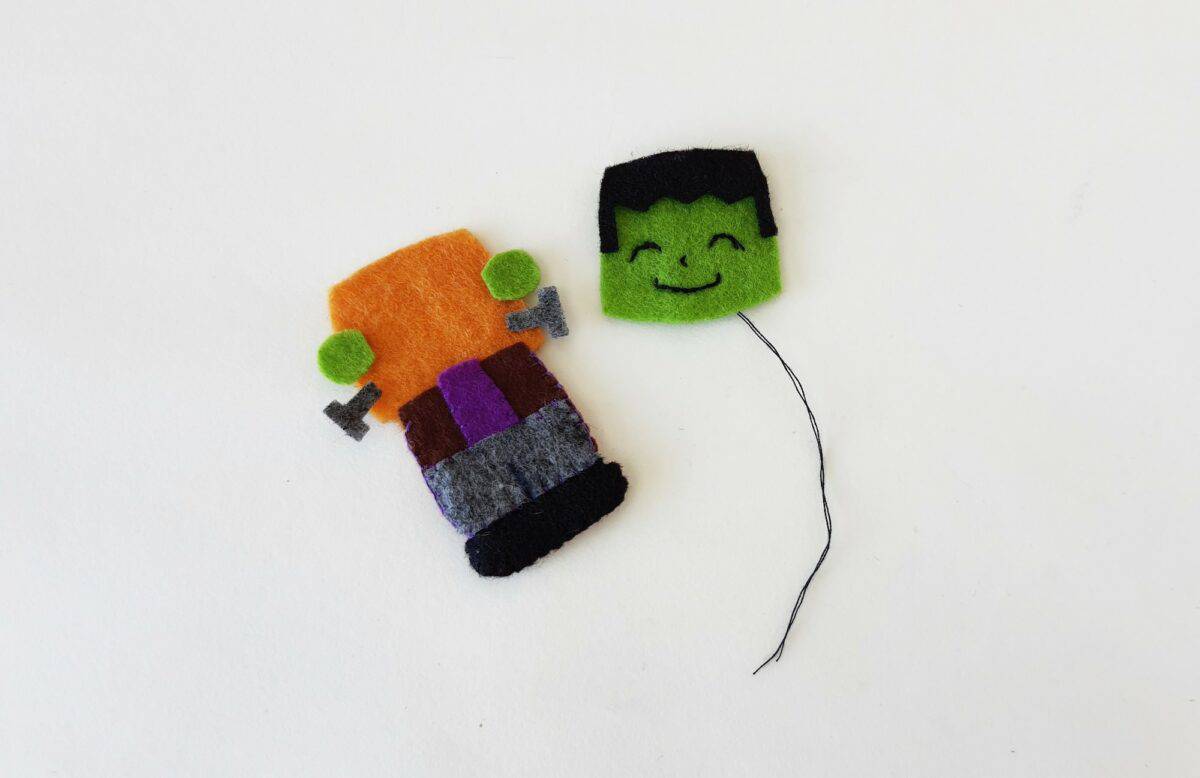
Put the hair cutout on top of the head pattern.
Now, place the ear and bolt cutouts on both sides of the head on the base. Have the ears and bolts mostly hanging over the sides of the head, but leave enough overlapping on the base to stitch through.

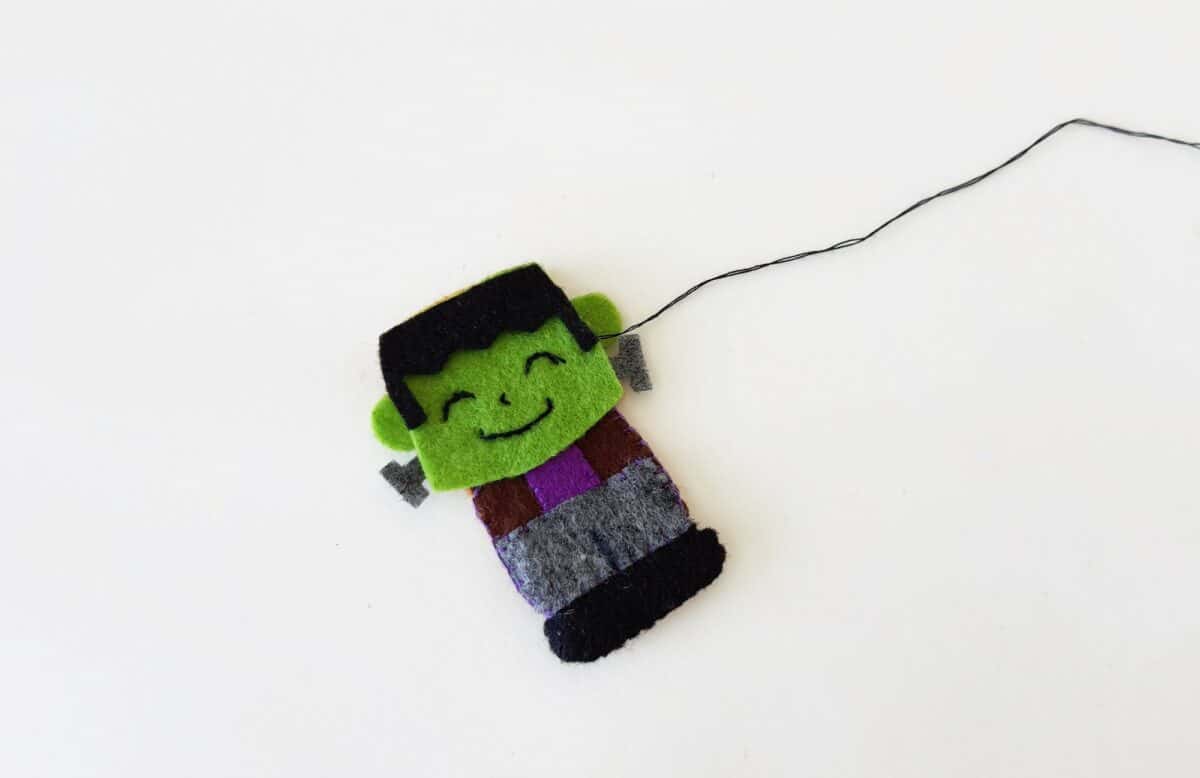
Step 8
Place the head pattern on the head part of the base. Be sure that the ear and bolt cutouts don’t move between the head and base layers. You might want to use a pin to keep them in place.
Now sew around the head along the sides and the top of the head. Keep the bottom of the head pattern open for now.
Be sure to stitch through all layers, including the hair, the ears and the bolts.
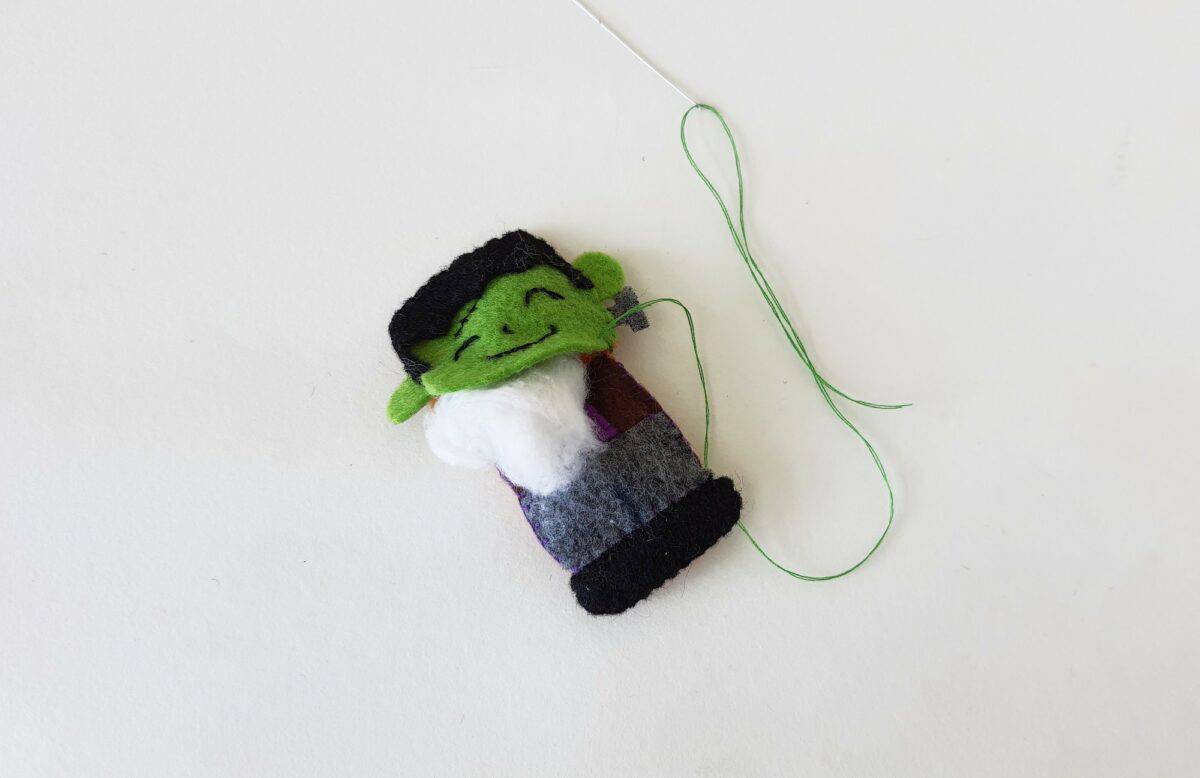
Step 9
Use a little bit of cotton or Polyfill to stuff the felt Frankenstein plush. Stick some cotton in the head and in the body. You can use a pencil or chopstick to gently push the stuffing into the tiny corners and spaces of the plushie.

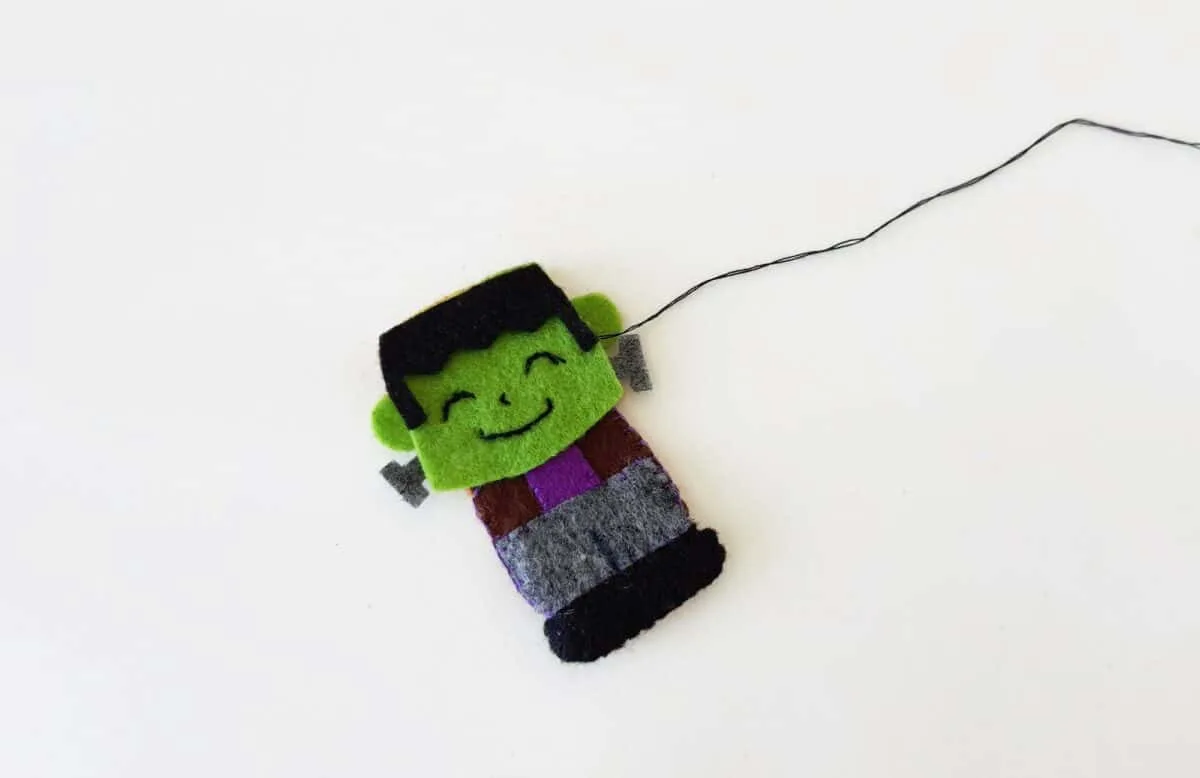
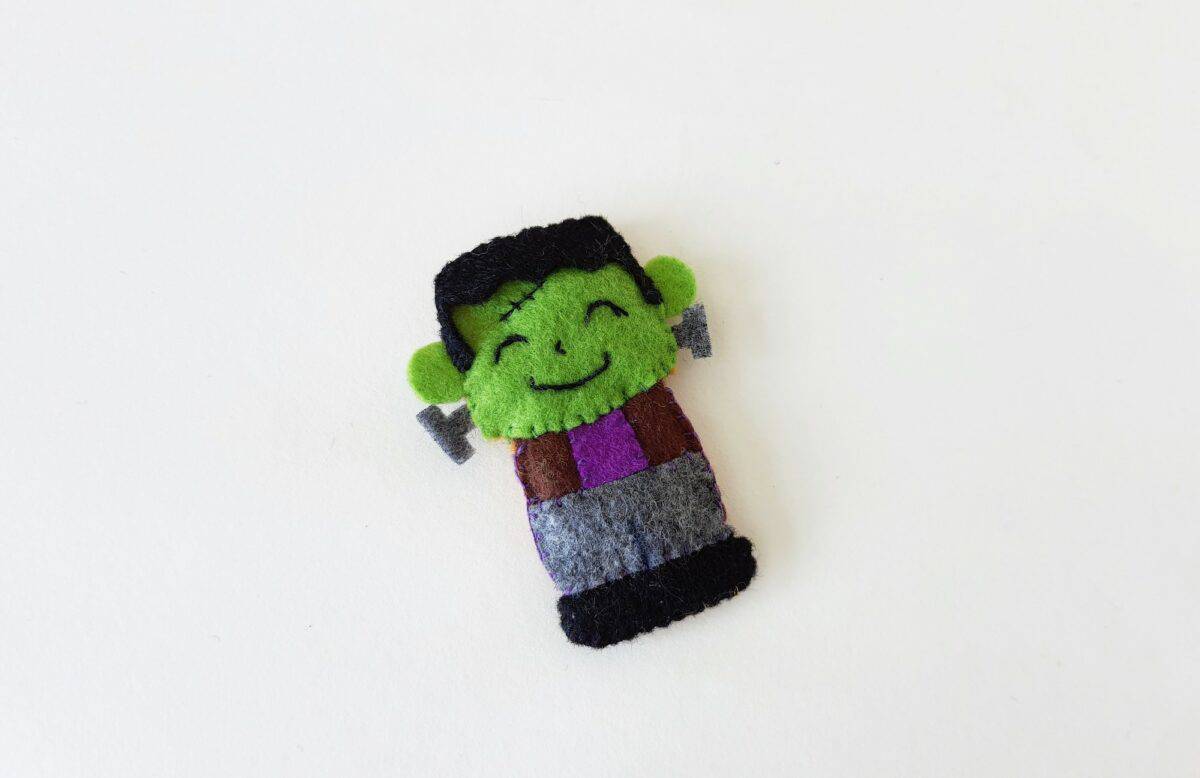
Step 10
Overlap the bottom side of the head on top of the jacket. Close the openings together by stitching the overlapped parts.

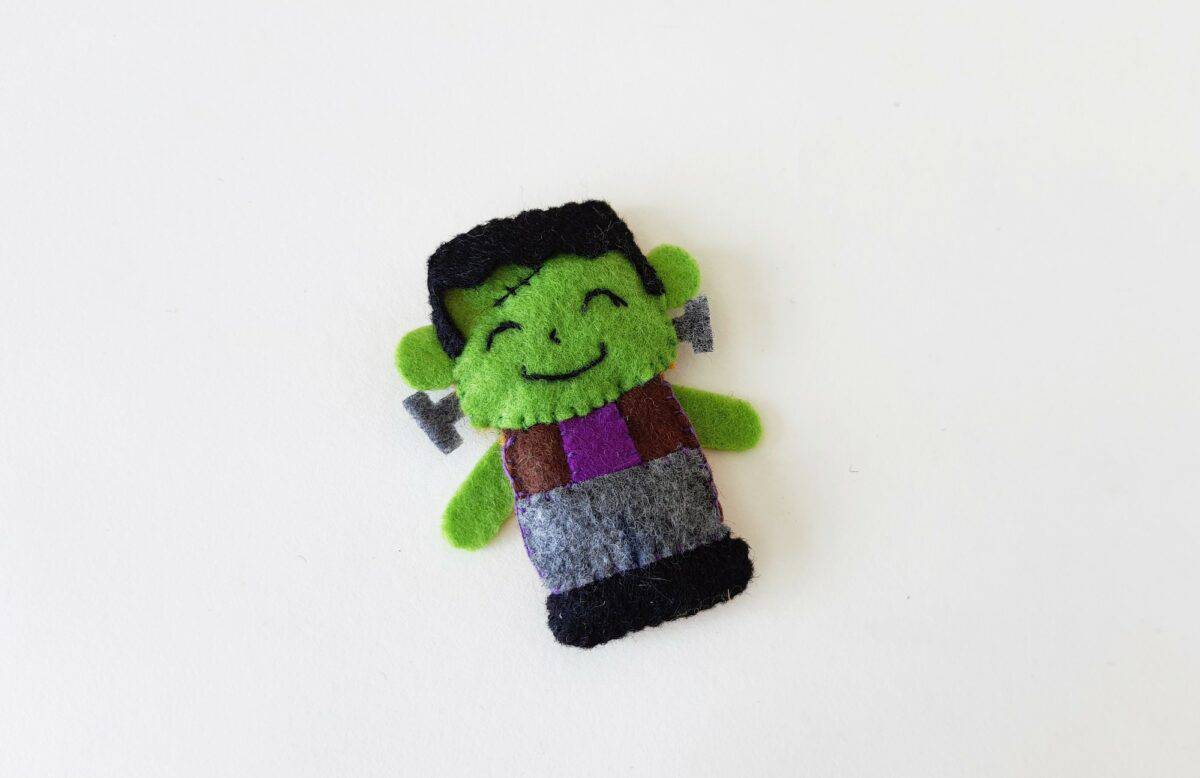
Step 11
Stitch the arm cutouts on both sides of the base, in the back.
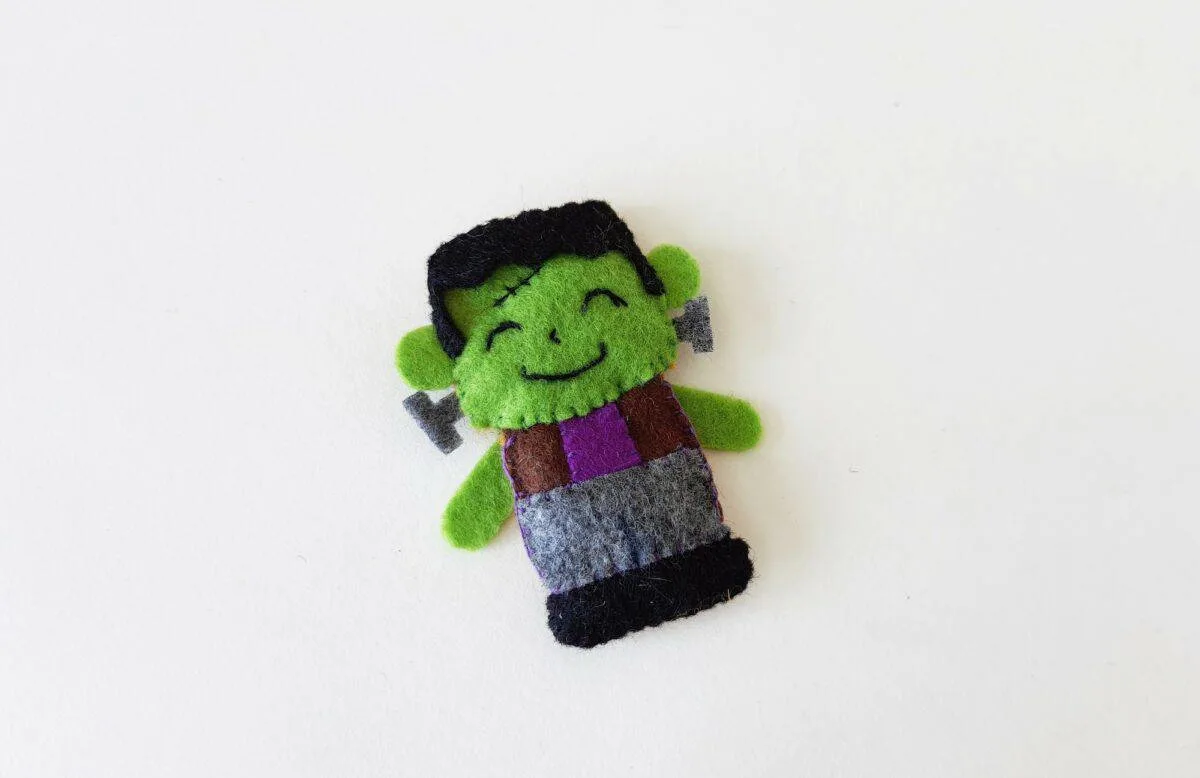
If you like this easy sewing project for how to make a Frankenstein plush, you might also like our Nightmare Before Christmas felt plushies, including a Sally doll, Oogie Boogie and Zero dog.
