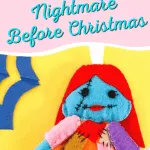
Sew your own Sally plush doll from the Nightmare Before Christmas movie with our free pattern to download and easy instructions.
This plushie can be made as an ornament for your Halloween or Christmas tree. Or leave off the hanger if you just want the Sally plush without hanging it.
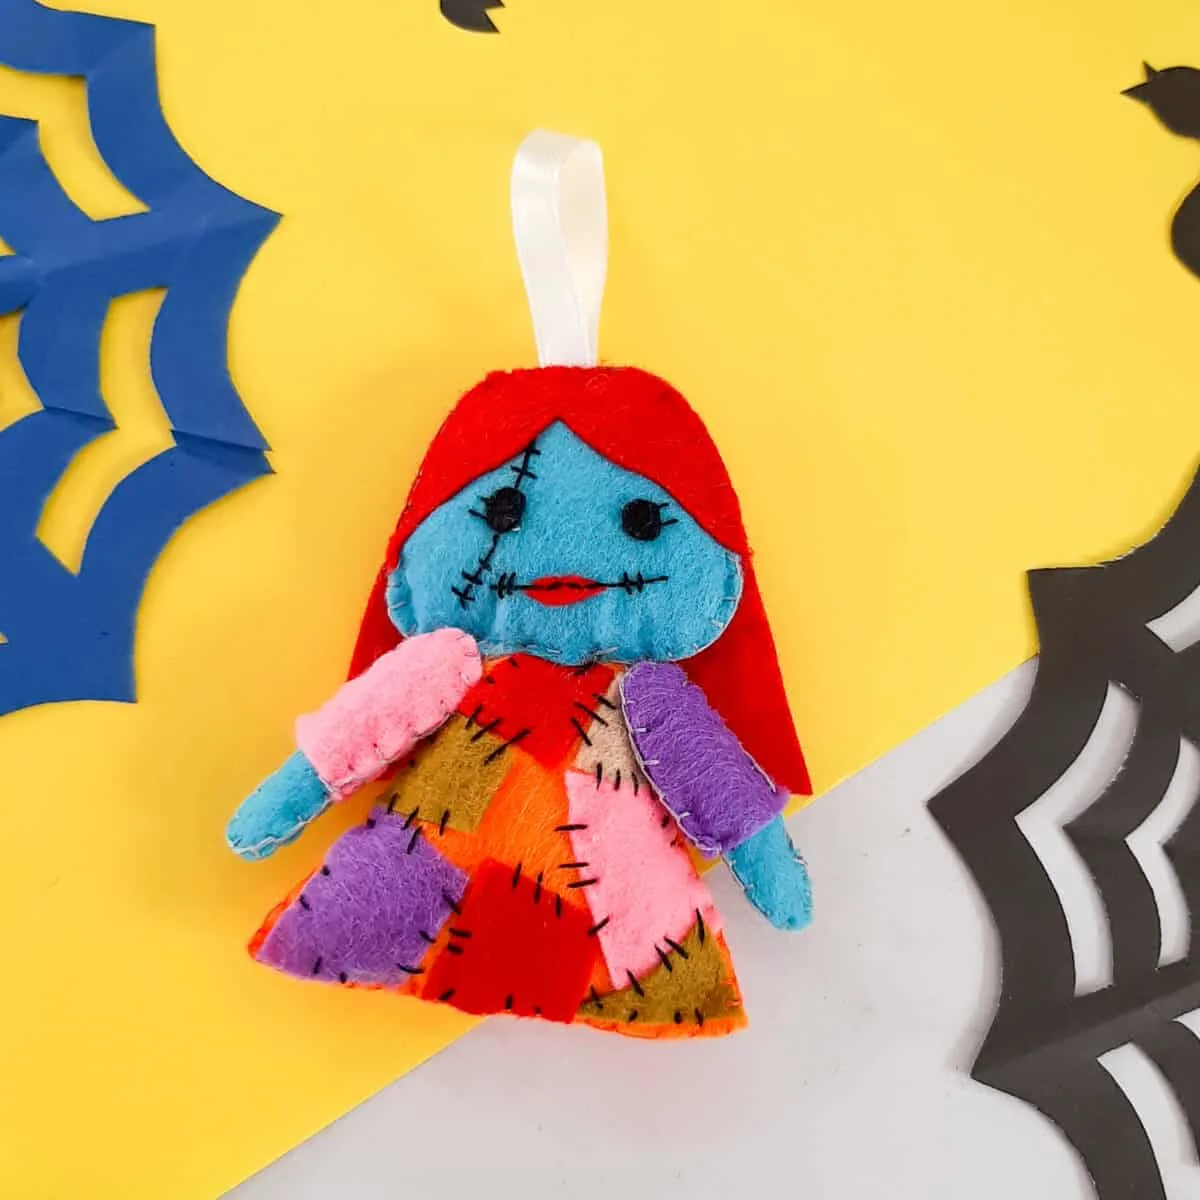
I get that not everyone likes to sew like I do! So don’t worry – you can simply hot glue these pattern pieces together instead of sewing.
This Sally plush is a little more complicated than my other Nightmare Before Christmas crafts. Be sure to check those out if you want something a bit more simple:
I value your time and mine, so you won’t find a lot of fluff in my tutorials and you’ll get free patterns! In return, I’d appreciate if you shared these easy crafts on Facebook or save it to Pinterest! That’s helps me out a lot!
How to Sew a Sally Plush Doll Ornament from Nightmare Before Christmas
Variations: You can hot glue all of the items together instead of sewing. You can use a permanent black marker to draw on the mouth, eyes and scar instead of stitching.
Supplies
- Sally Pattern (click on the link to go to the page where you can download)
- Craft felt in a variety of colors (scraps are great to use!)
- Ribbon for the hanger
- Thread in black, red, and white
- Poly-fil Stuffing
- Needle
- Scissors
- Hot glue gun
Directions
Step 1
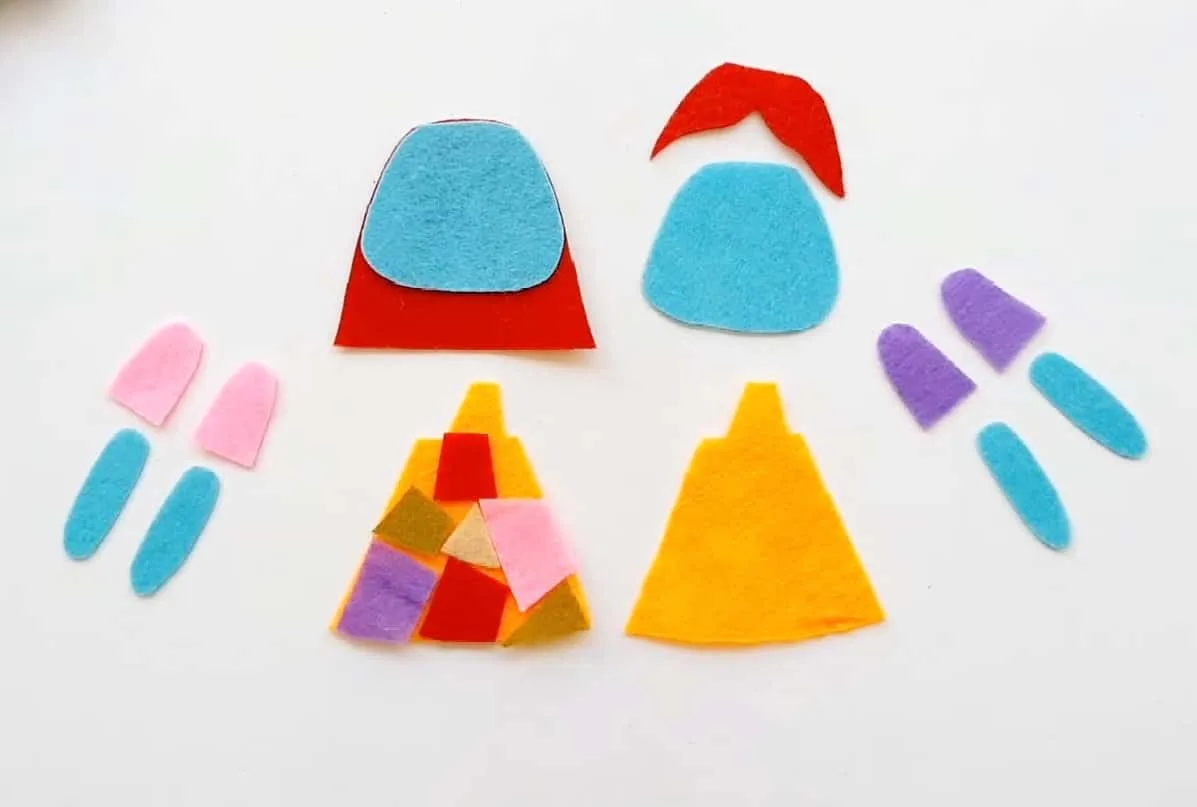
Print out the Sally pattern. Cut out the individual pieces. Use these patterns to trace on the felt and cut out the pieces.
Step 2
Sew the eyes and the mouth pieces to one head piece.
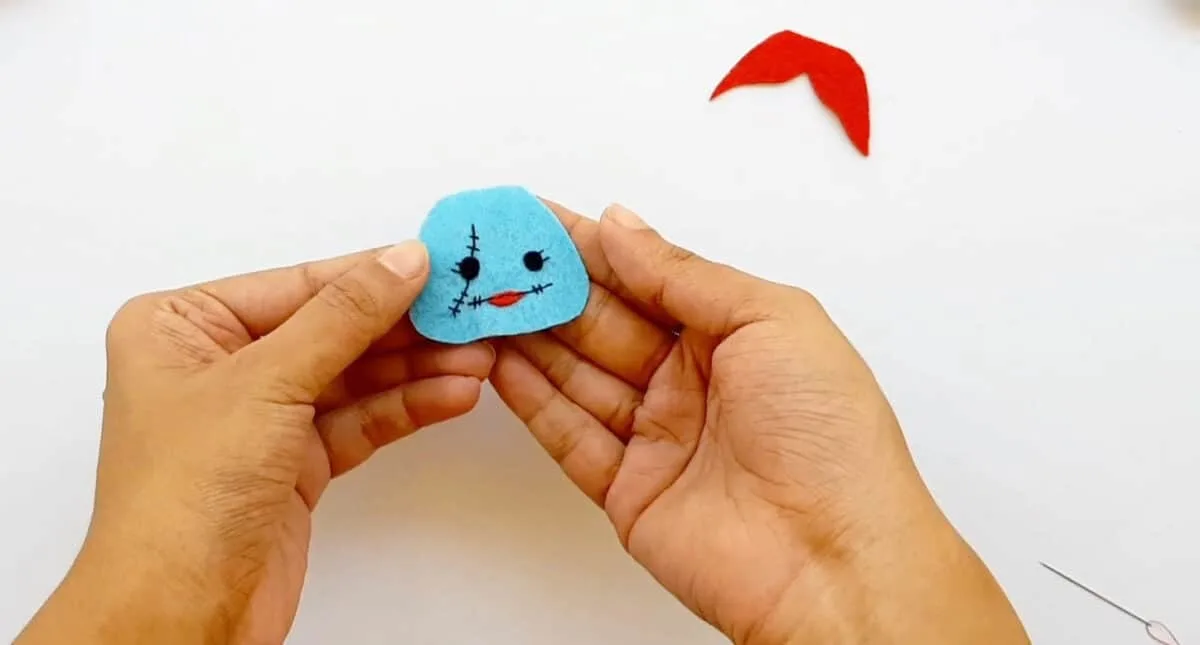
You can use red thread to sew on the mouth. Or you can use your black thread to make the stitching accents, as seen above, and just attach it that way under the stitching.
Use black thread to make the scar, eye lashes and other accents as you see in the photo.
Step 3
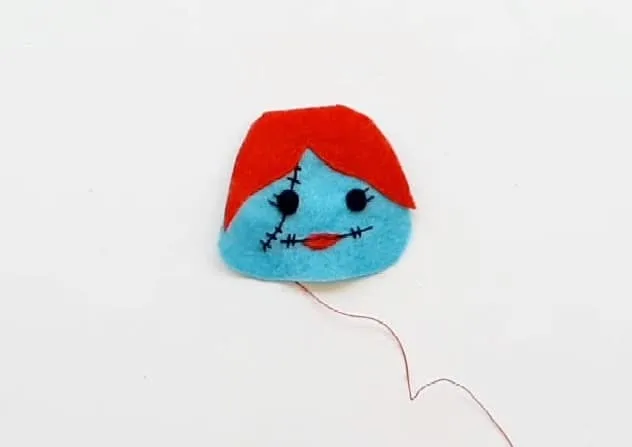
Sew the red bangs onto the head piece with the eyes and mouth.
Step 4
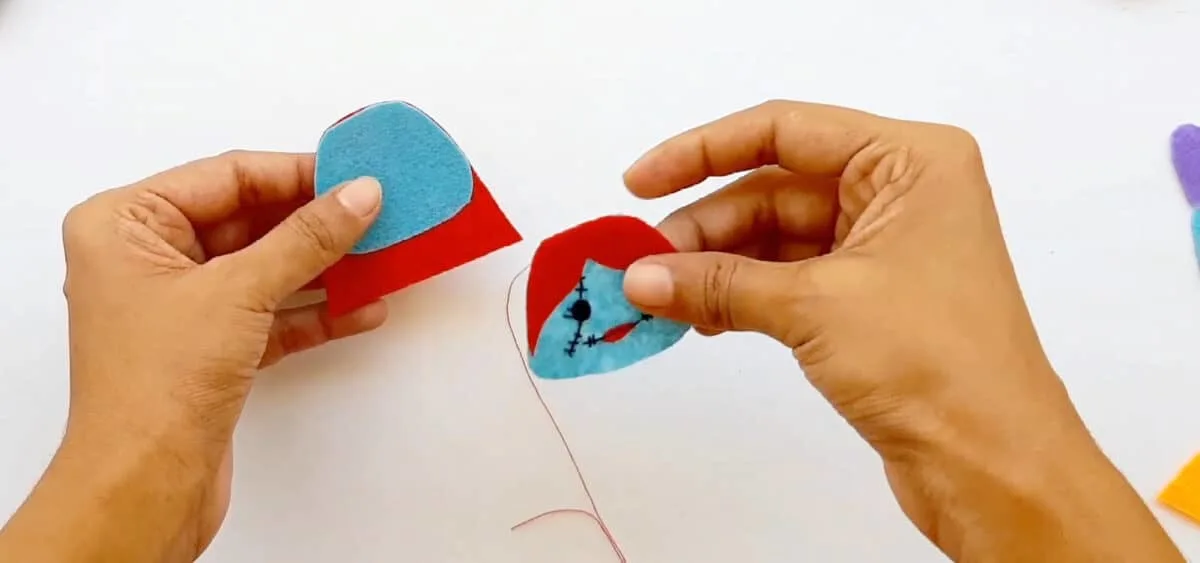
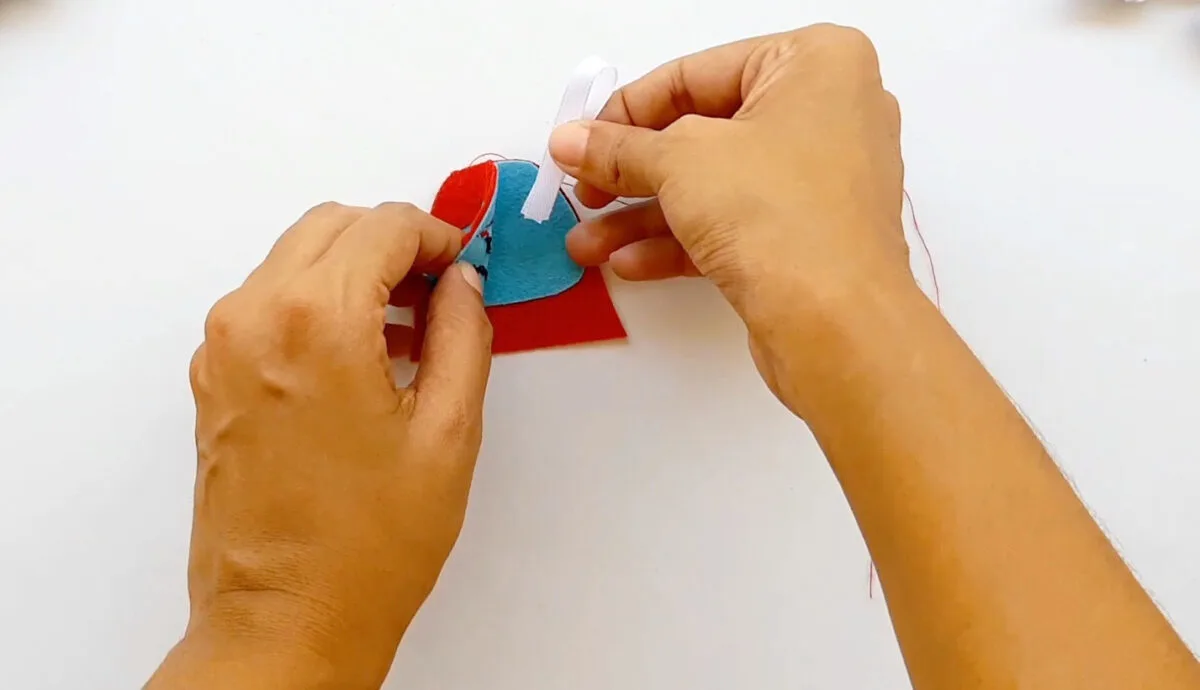
Place the second head pattern piece (without the eyes and mouth) on top of the back hair piece. Then place the head piece with the face and bangs on top of those pieces.
If you would like to make this plush an ornament, loop a piece of ribbon and insert the cut ends in between the two head pieces.
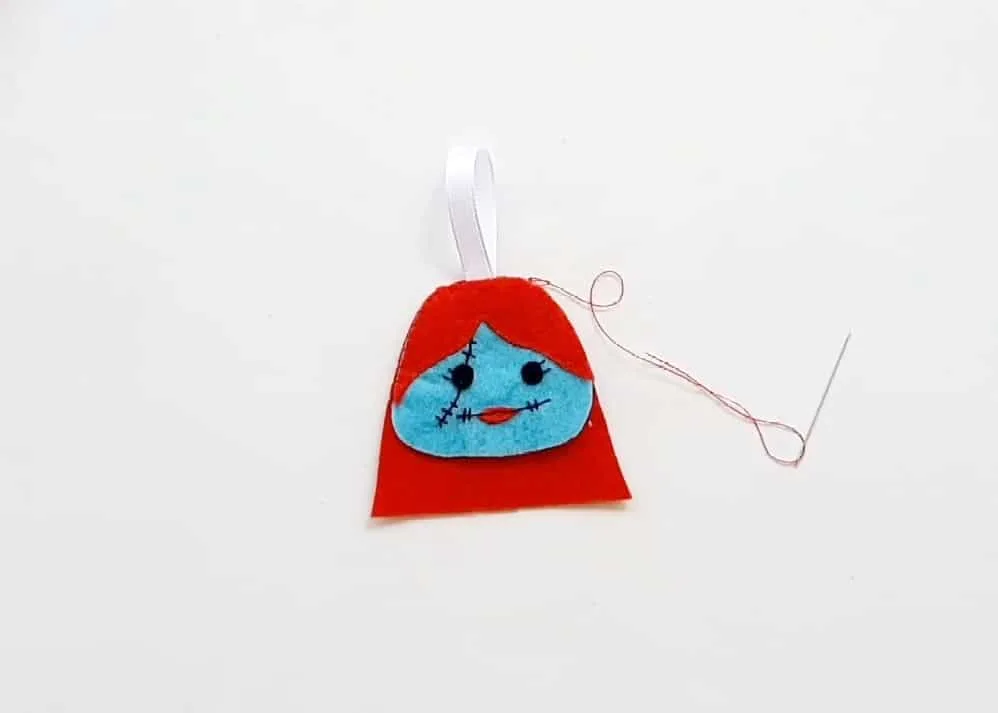
Sew the four pattern pieces together, but sew only along the top of the head, from the edge of the left bangs to other edge of the bangs on the right side. If you inserted ribbon to be a hanger, be sure that you sew enough stitches over the ribbon to secure it.
Step 5
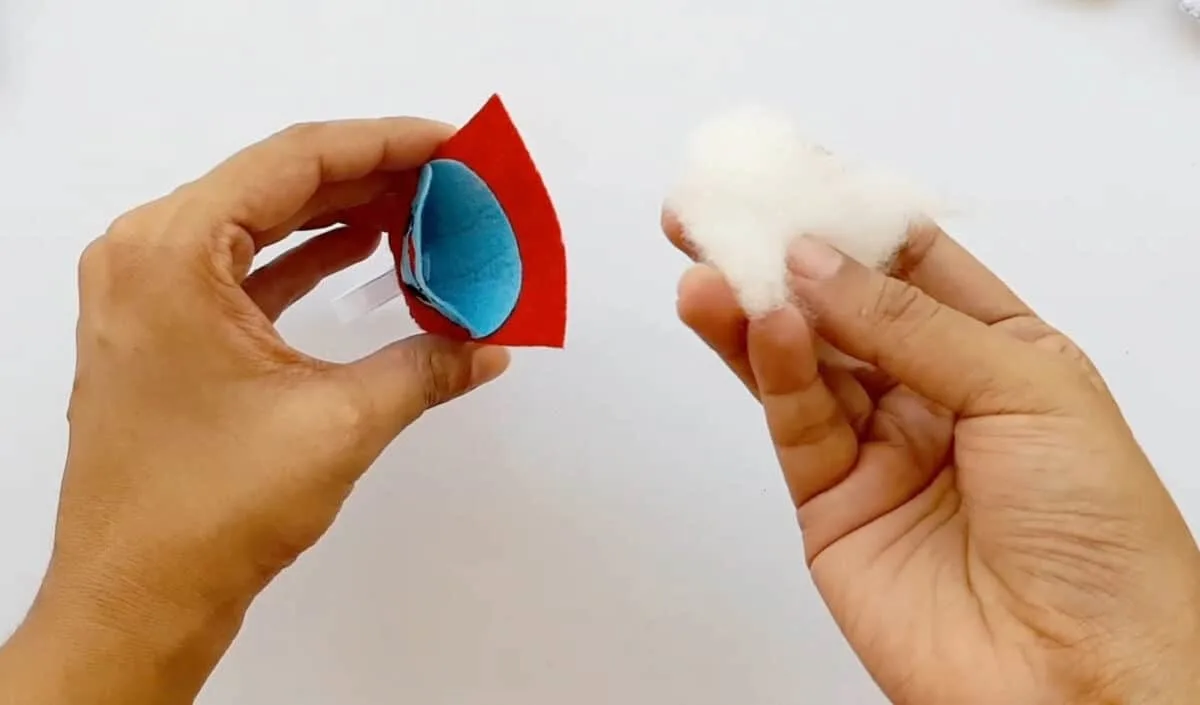
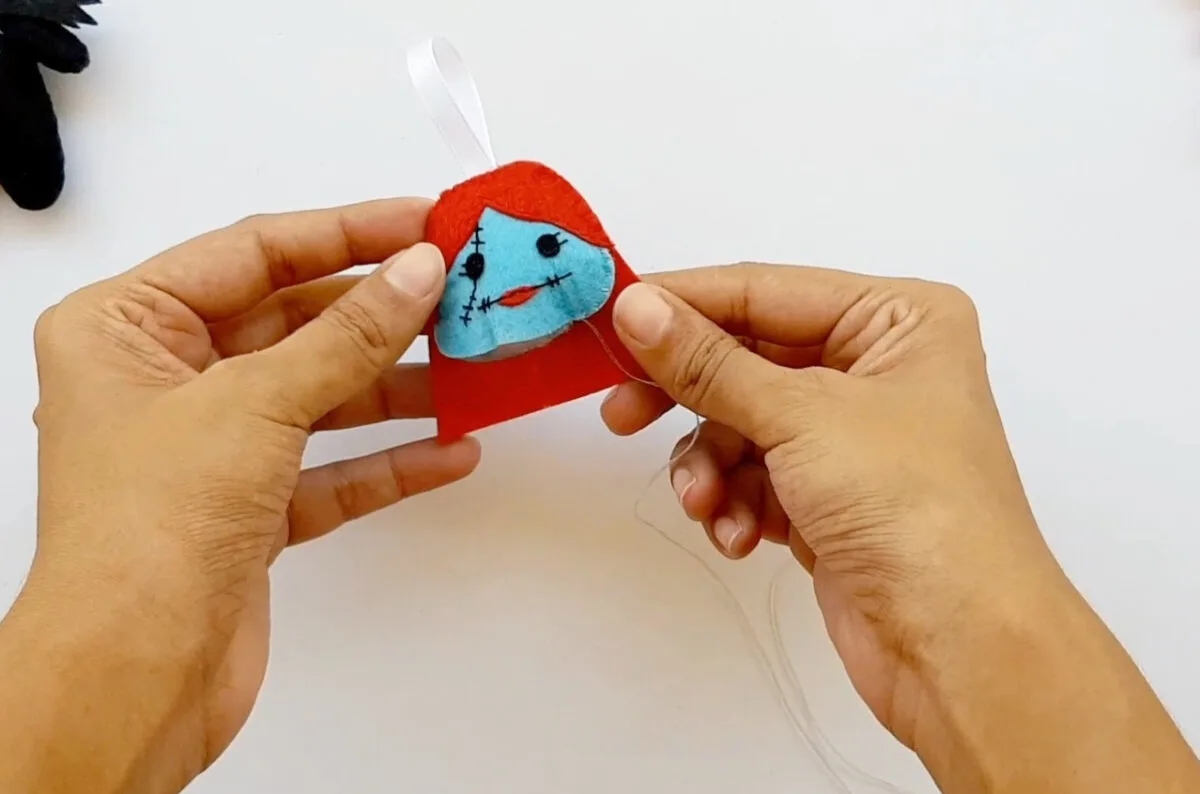
Add stuffing into the head piece from the bottom. Then sew the head pieces together. However, only sew the two blue head pieces together, do not sew through the hair.
Also, you want to leave an opening at the base of the had to insert the neck/dress later.
Step 6
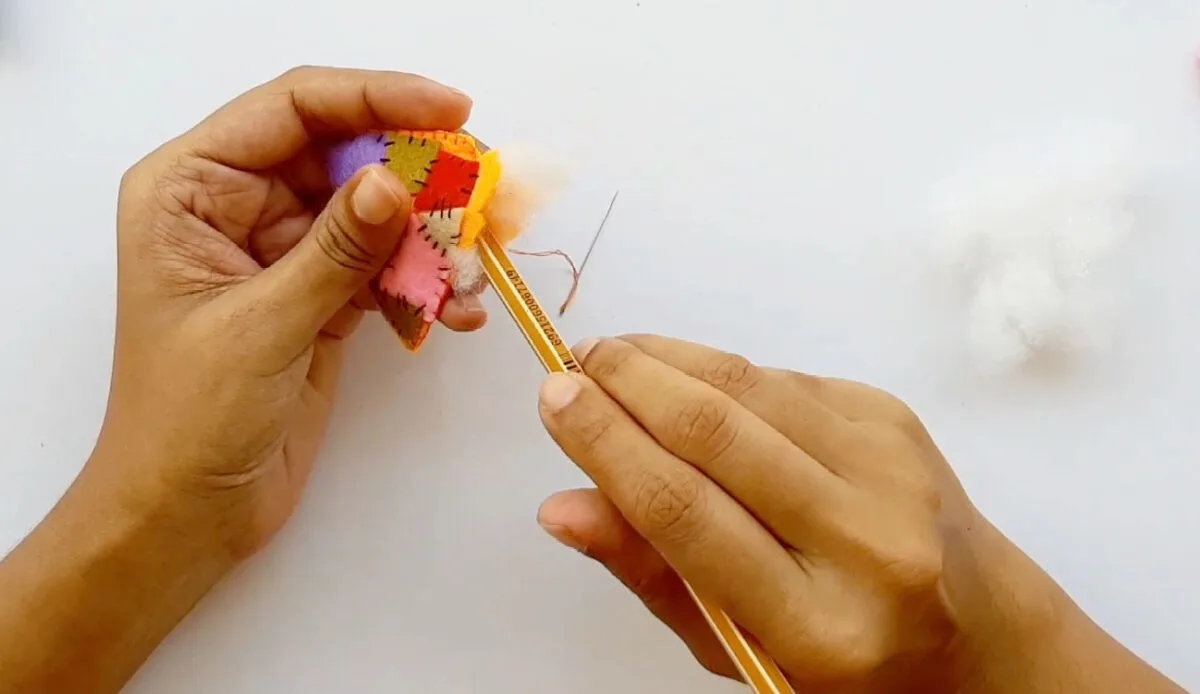
Now start sewing the arms. Sew the blue arm pieces together, leaving a small gap after most of the arm is sewn and adding a little bit of stuffing inside. You might need to use a pencil or chopstick to get the stuffing in the small arm. Then finish your stitching and knot it to secure. Do the second arm in the same way.
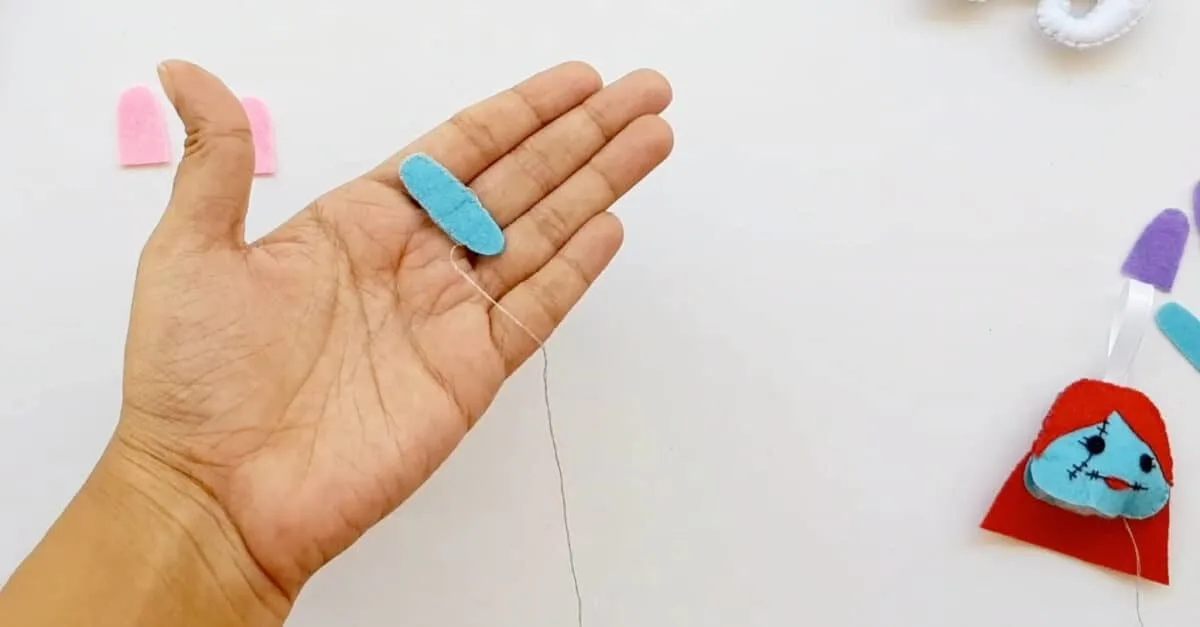
Next, place the arm in between the two sleeve patterns (shown in pink). Sew the sleeve pattern pieces together, with the arm inside. Repeat for the second arm with the purple pattern pieces.
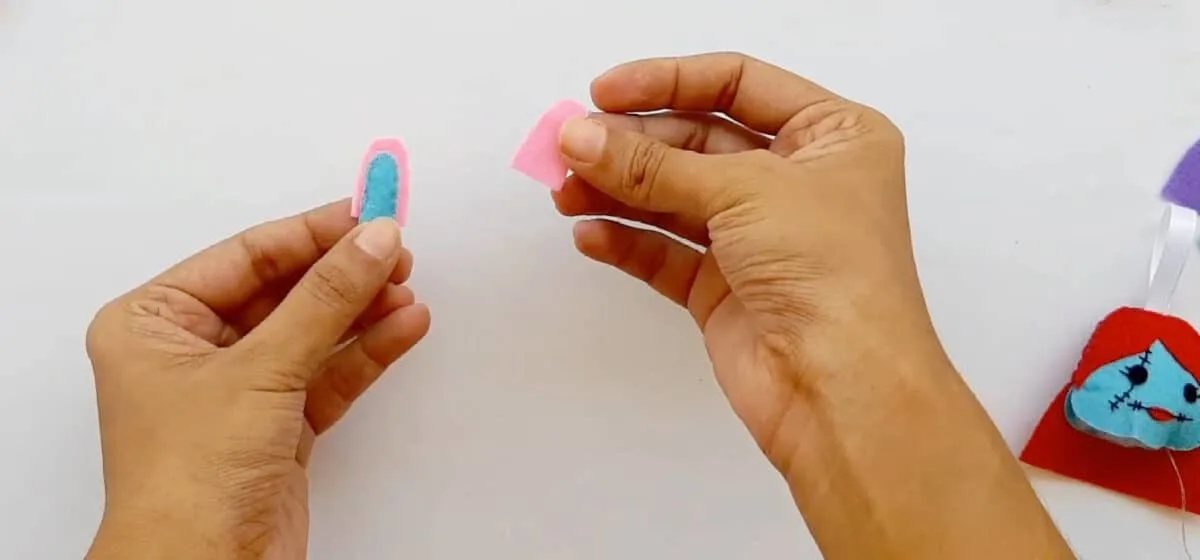
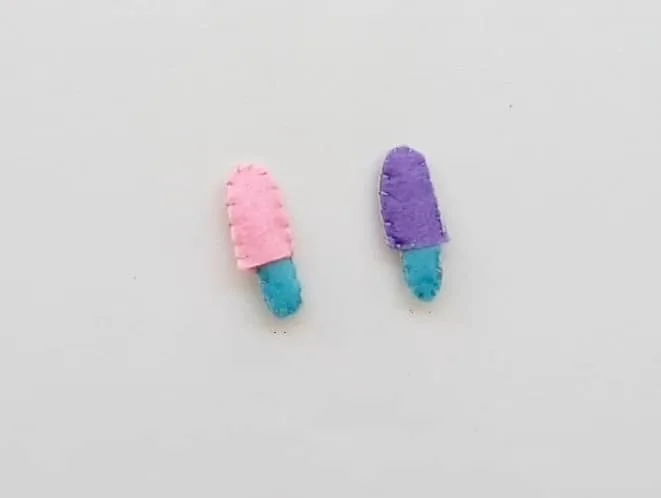
Step 7
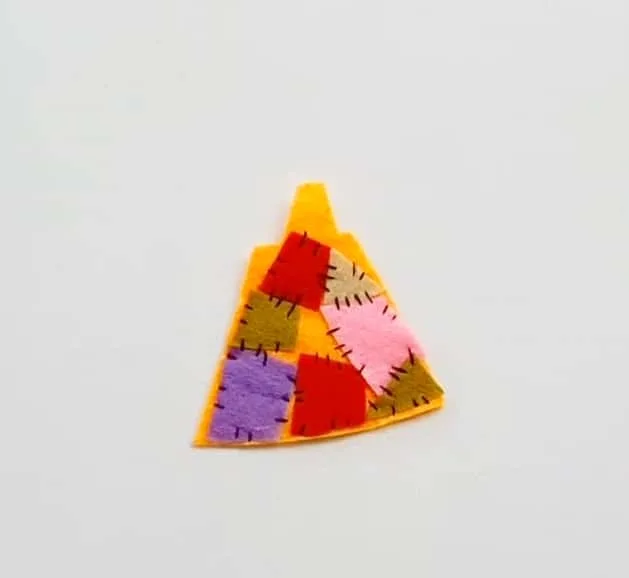
Cut a variety of small scrap pieces from a variety of colors to use on the dress. Arrange them on the base felt dress pattern until you like the design, then sew onto the base dress pattern using simple stitches in black floss.
Step 8
Sew the front dress piece (the one with the patches) to the back dress piece. Leave a small gap to put some stuffing in. Then finish sewing the dress and knot the thread to secure.
Step 9
Insert the neck piece on the dress into the Sally head piece. Sew together.
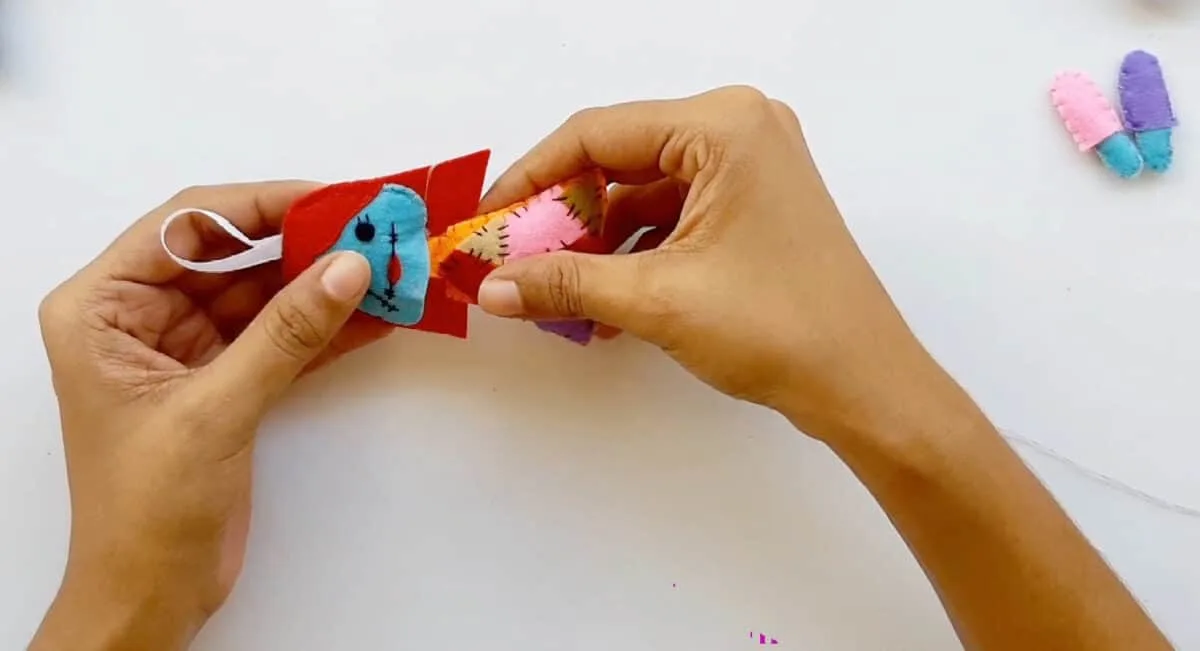
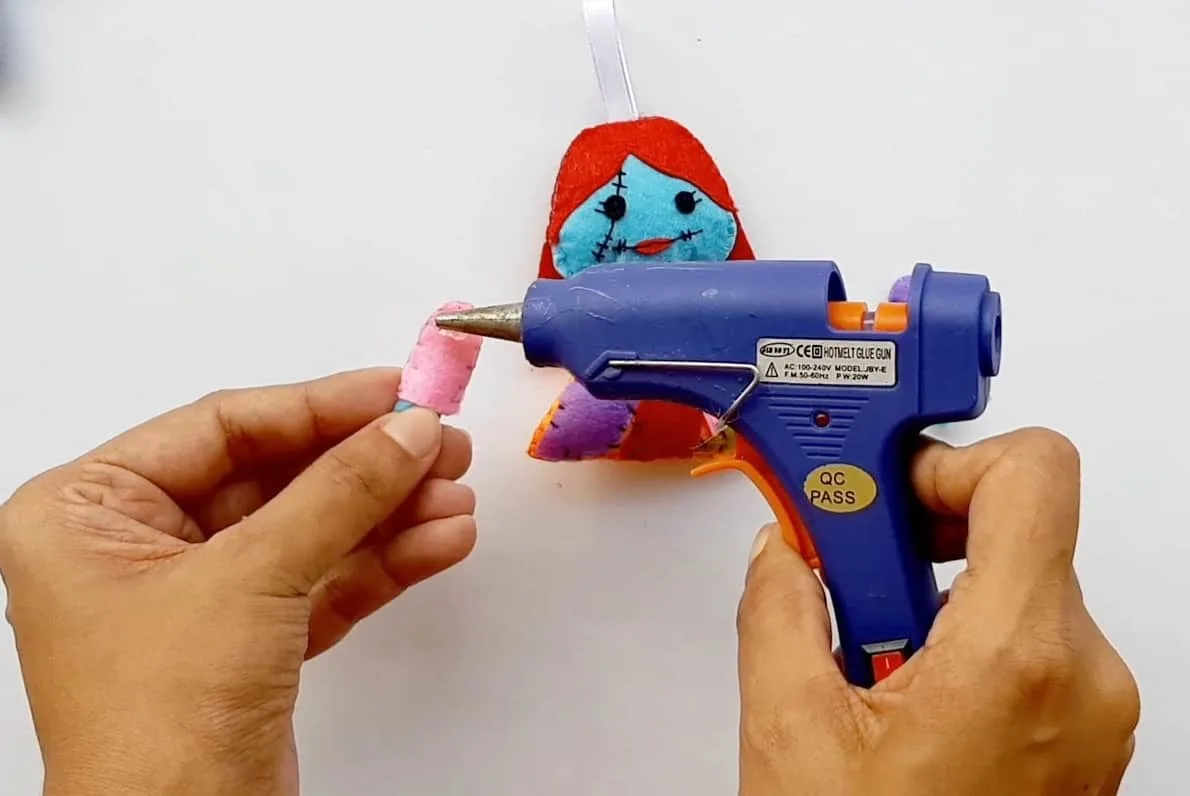
Then hot glue the arms onto the body.
Hurry! Get Your Halloween Printables Pack Now!
This fun Halloween printables pack has banners, signs, treat bags and cupcake toppers. Don’t miss out!
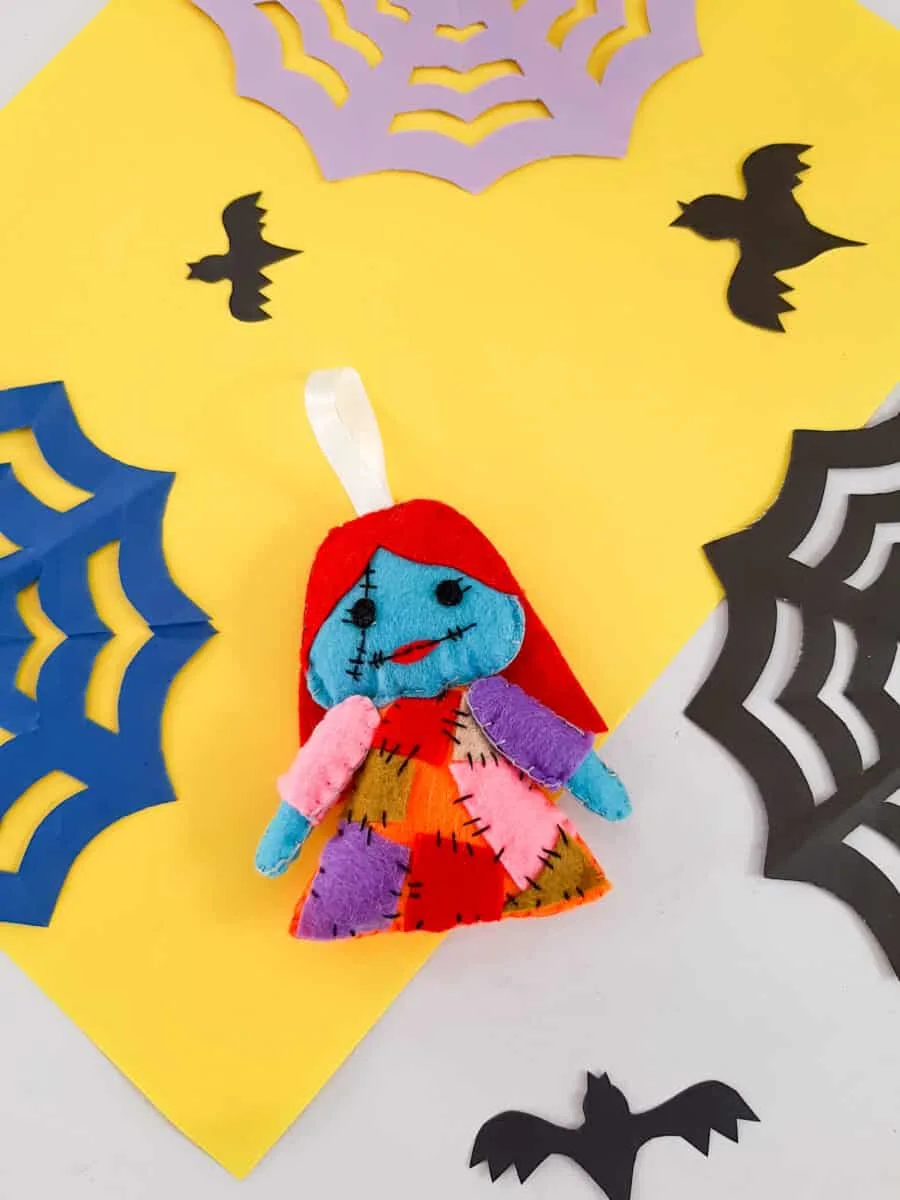
If you like this Sally plush doll ornament, be sure to check out all of my other sewing crafts, including this Halloween Frankenstein candy bag and our cute Frankenstein plushie.

