
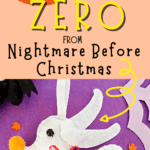
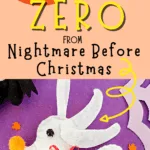
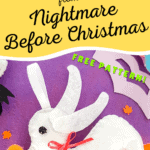
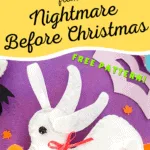

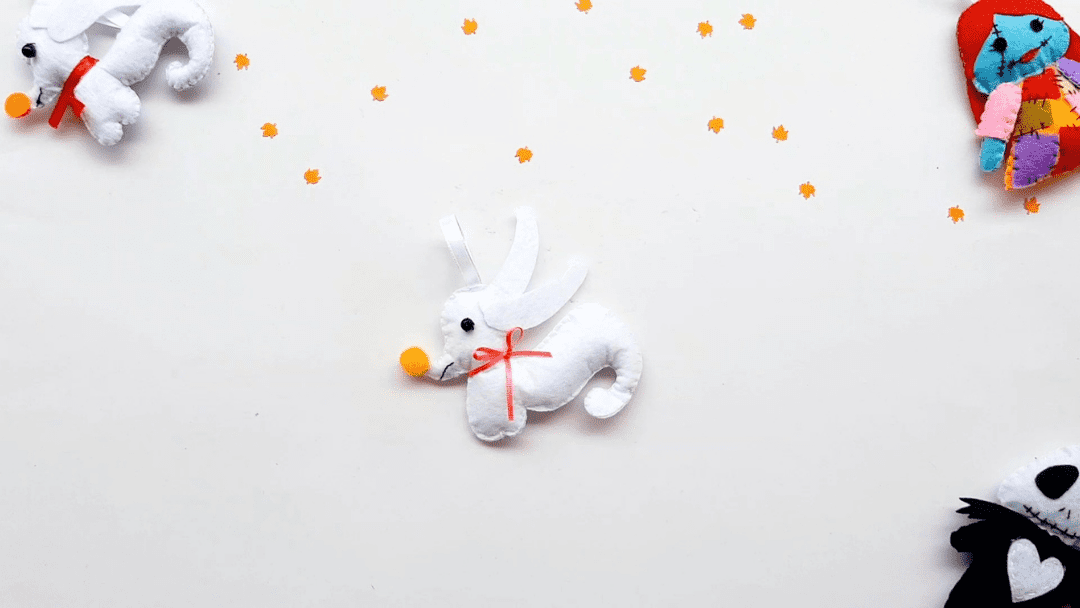
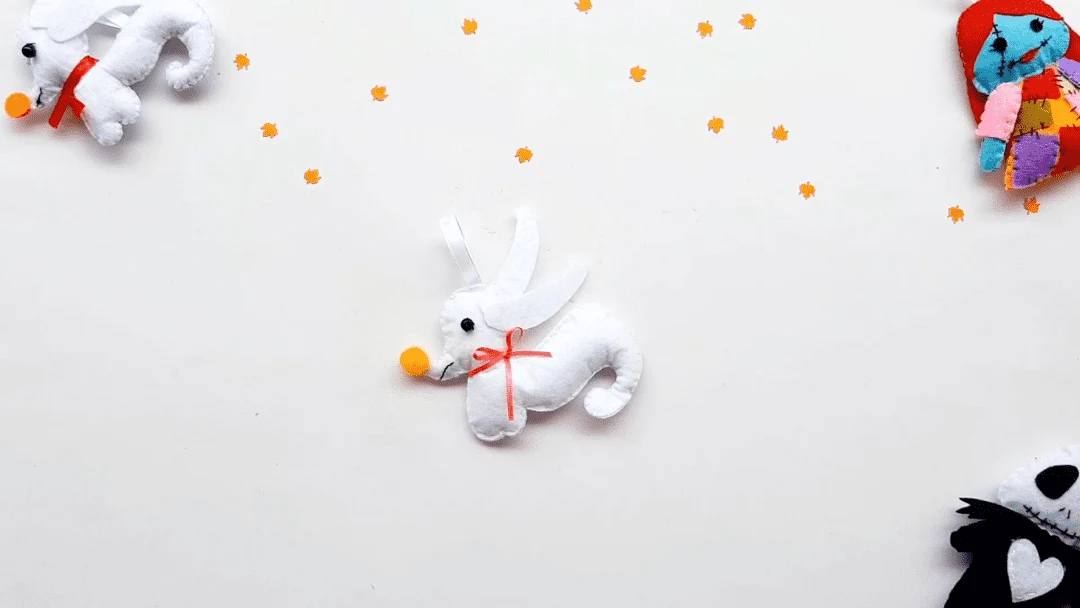
If you are a fan of the Nightmare Before Christmas movie, then you will love this easy tutorial of how to make a Zero plush with a free pattern to download.
This plushie can be made as an ornament for your Halloween or Christmas tree. Or leave off the hanger if you just want the Zero plush without hanging it.

I get that not everyone likes to sew like I do! So don’t worry – you can simply hot glue these pattern pieces together instead of sewing.
You will also want to see our other Nightmare Before Christmas crafts:
I value your time and mine, so you won’t find a lot of fluff in my tutorials and you’ll get free patterns! In return, I’d appreciate if you shared these easy crafts on Facebook or save it to Pinterest! That’s helps me out a lot!
How to Sew a Zero Dog from Nightmare Before Christmas
Supplies
- Zero Dog Pattern (click this link to go to the free download)
- White felt
- Black bead or button
- Orange mini pom pom
- Ribbon: white for the hanger and thin red ribbon for neck
- Embroidery floss: white and black
- Poly-fil Stuffing
- Embroidery needle
- Scissors
- Hot glue gun
Variations: You can hot glue all of the items together instead of sewing. You can use a permanent black marker to draw on the mouth and eye instead of stitching.
Directions
Step 1
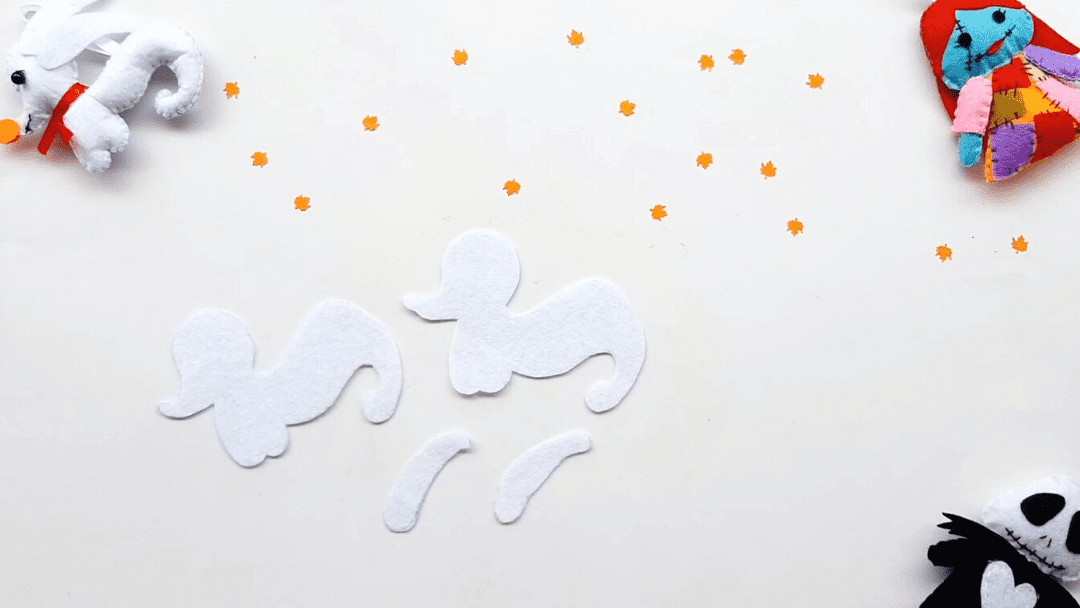
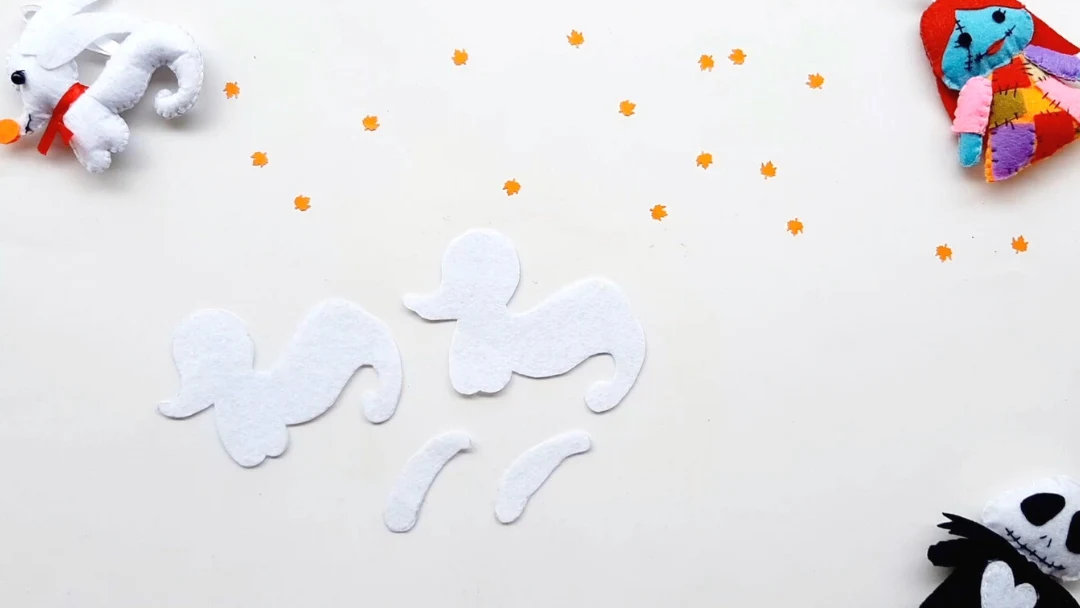
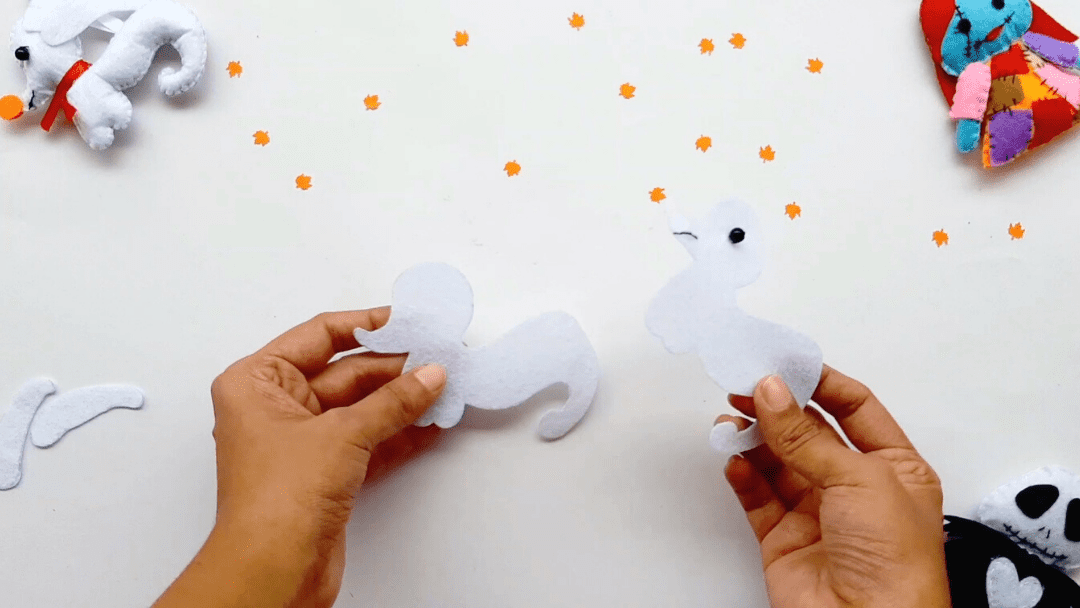
Print out the Zero dog pattern. Cut out the individual pieces. Use these patterns to trace on the felt and cut out the pieces.
Step 2
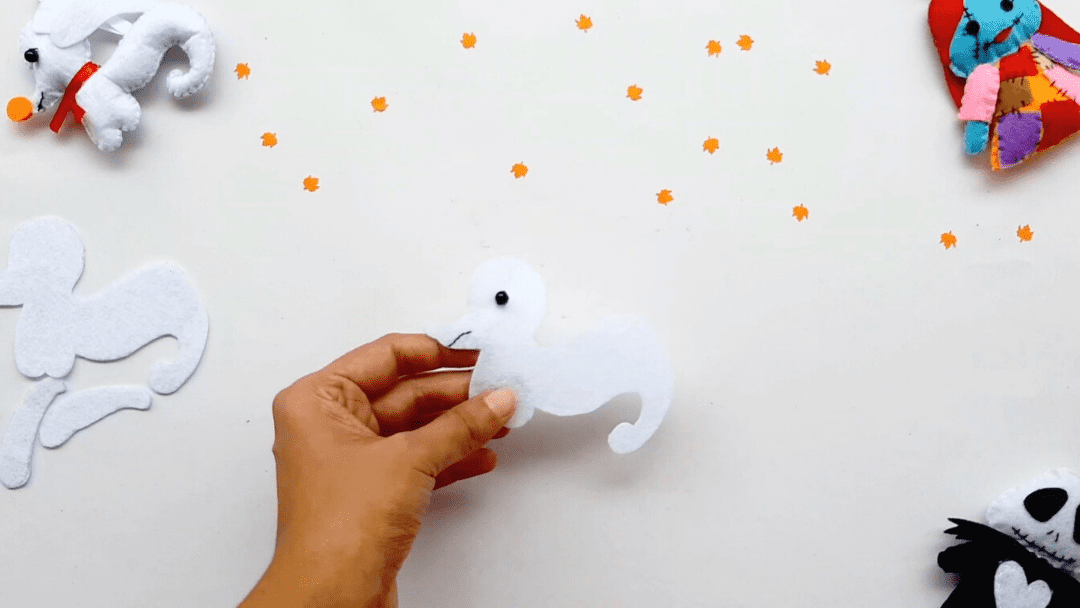
Sew on Zero’s mouth by using black embroidery floss. Do this with just some simple stitches across his face towards the bottom, slightly curving the stitching at the end.
Attach the black bead or button to one of the body pieces to make the eye.

Step 3
Sew the two body pieces together. A blanket stitch is what I used, but you can use any type of stitch you are comfortable with. Start at the armpit area of the dog near his two front legs, then go across his stomach and towards the tail.

Step 4
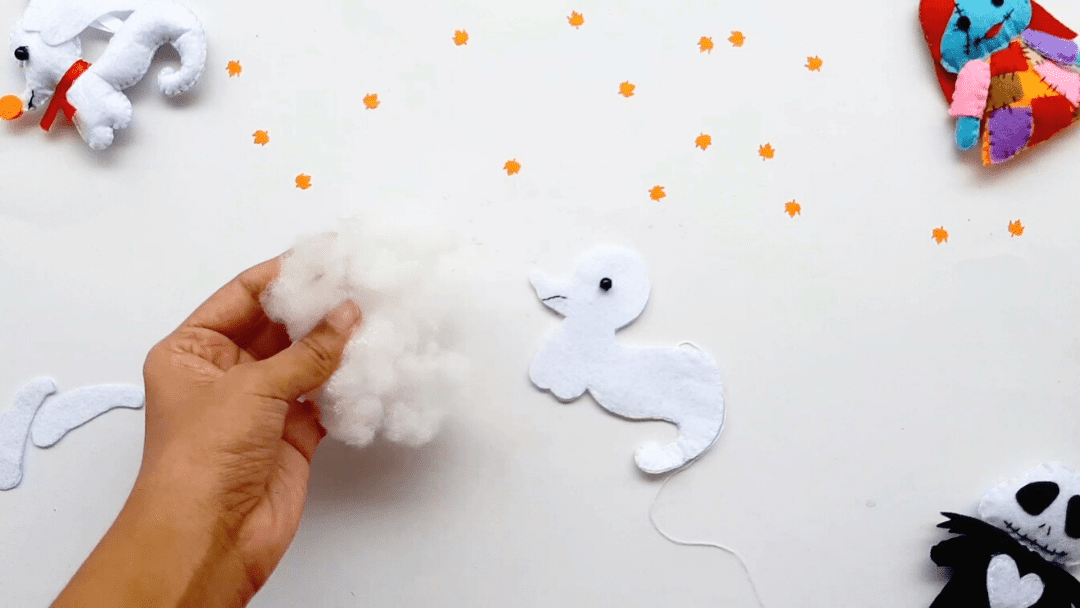
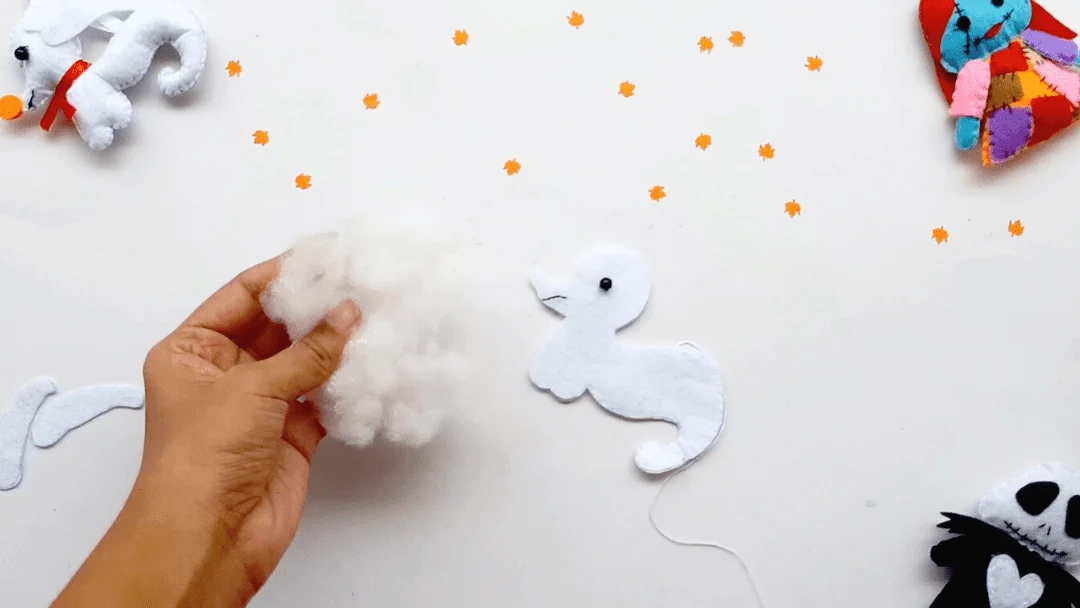
Continue stitching around the tail and just above the butt. Keep your needle on the thread, but stop stitching. Add some Poly-fill stuffing inside the body and tail. Then continue sewing the body pieces together up to the head.
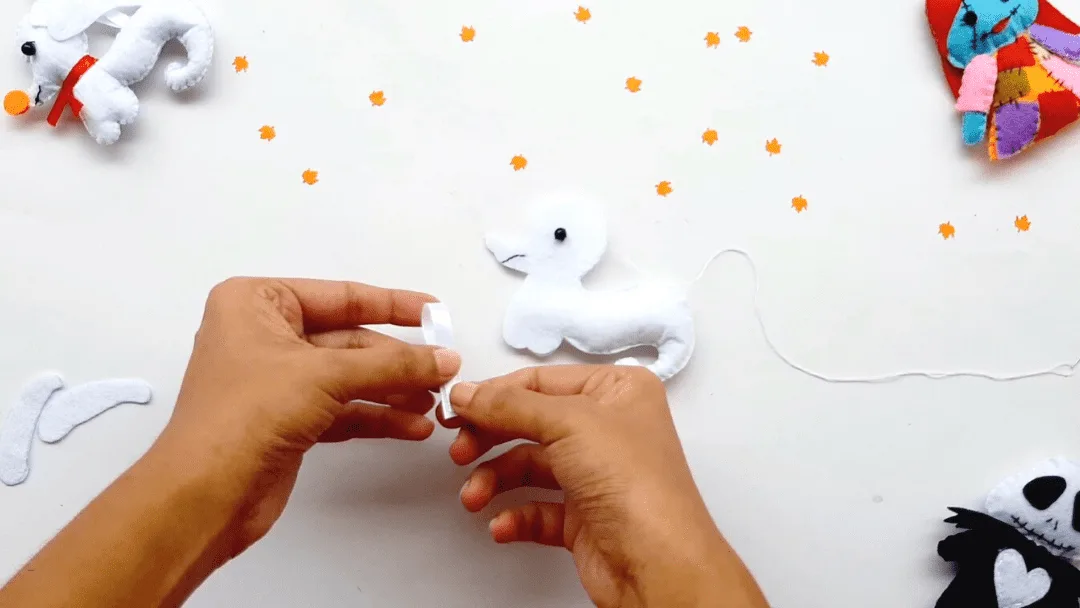
Step 5
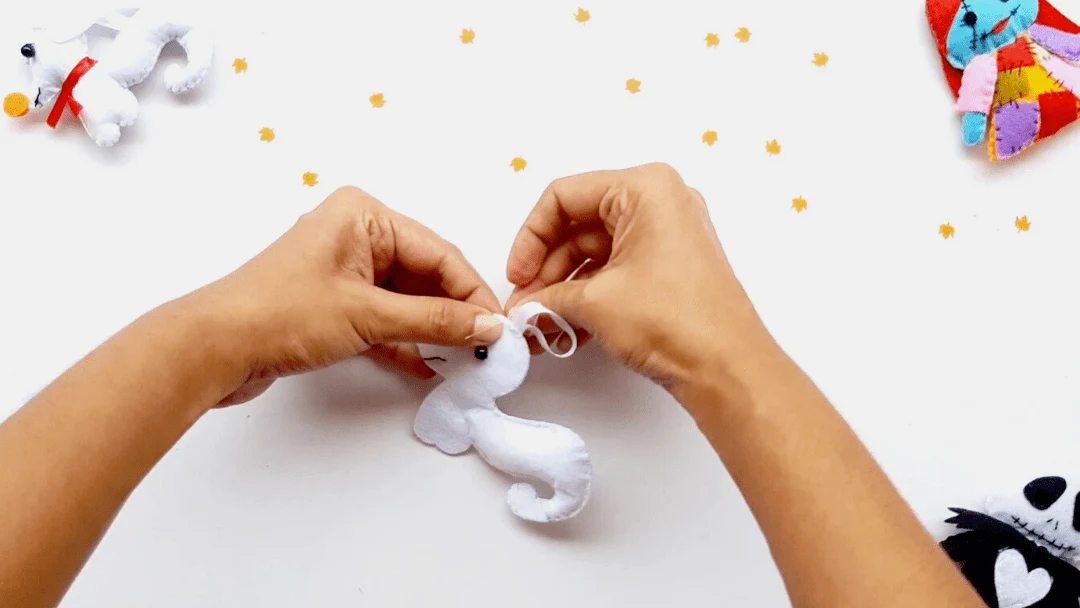
When you get to the head, fold the ribbon you want to use as a hanger in half. Keeping the loop on top, put the cut edges of the hanger inside the top of the head, with enough ribbon inside the plush so that the hanger is secure and won’t easily become undone.
Then, continue sewing around the head, making sure that you sew over the pieces of ribbon so that they are secure.


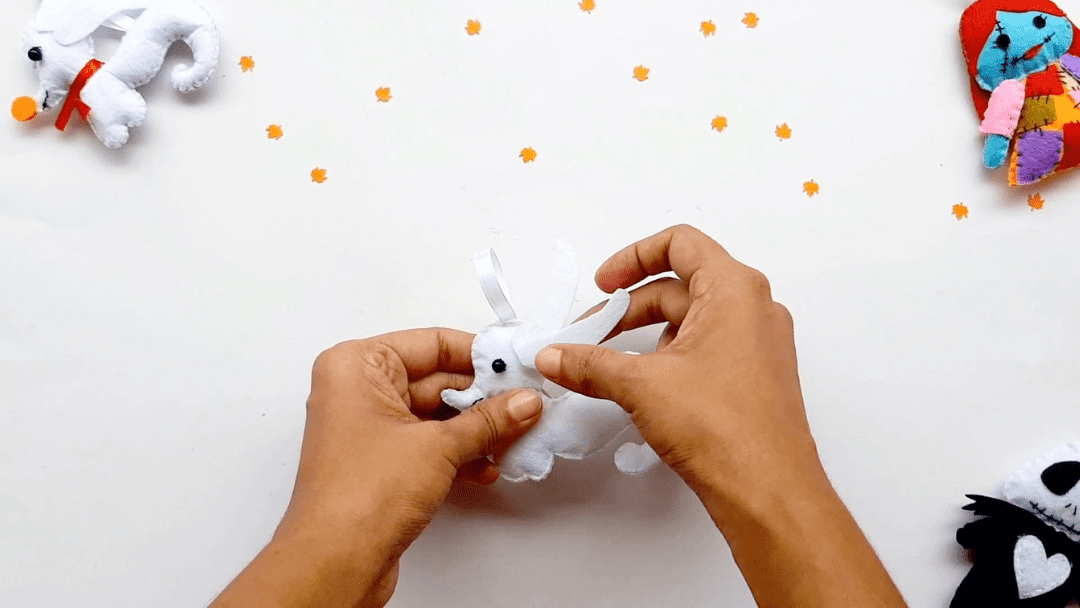
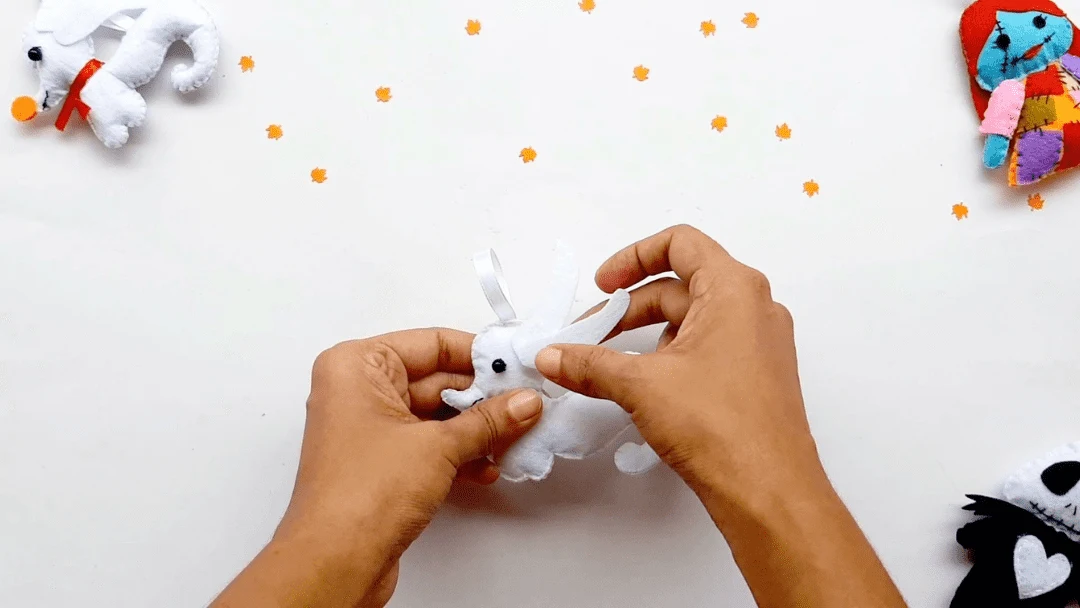
Step 6
Continue using a blanket stitch around the Zero dog, adding more stuffing in his head and the front of the body to make it plush. When you get back to your starting point, finish the stitching by creating a knot and securing the thread.
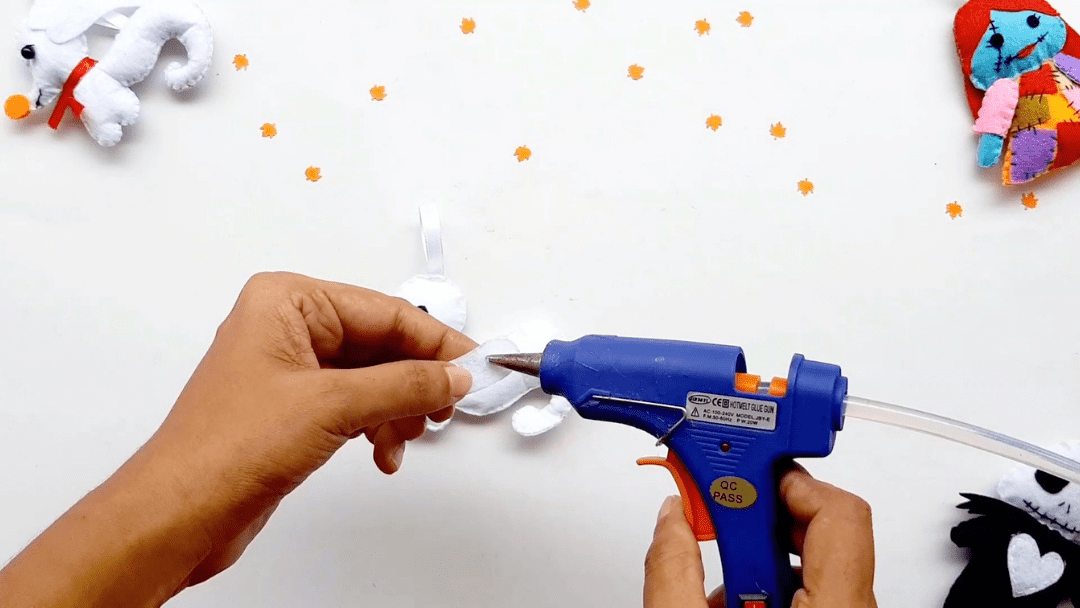
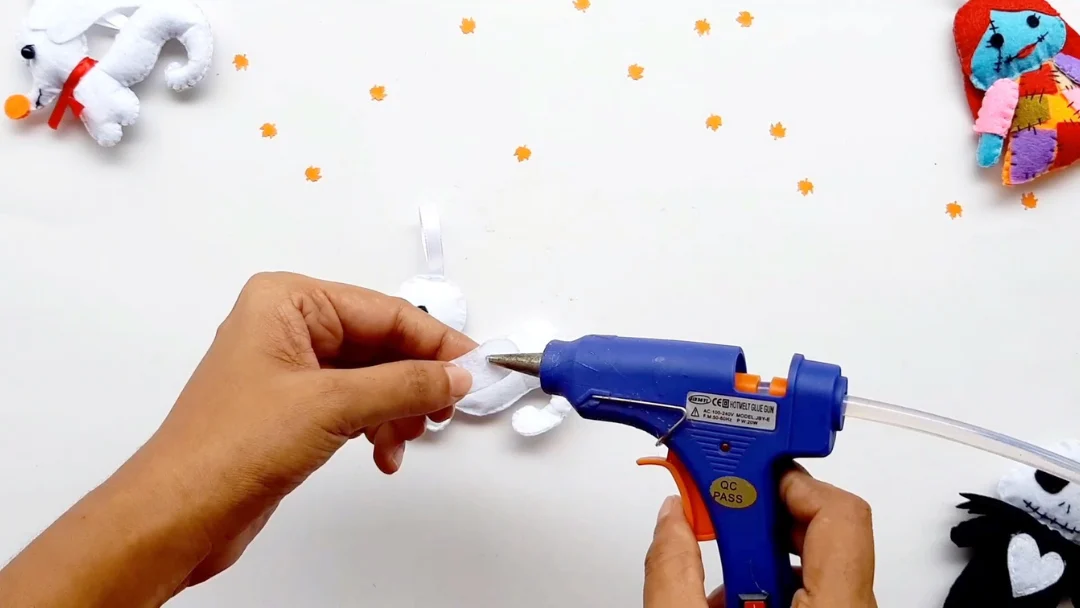
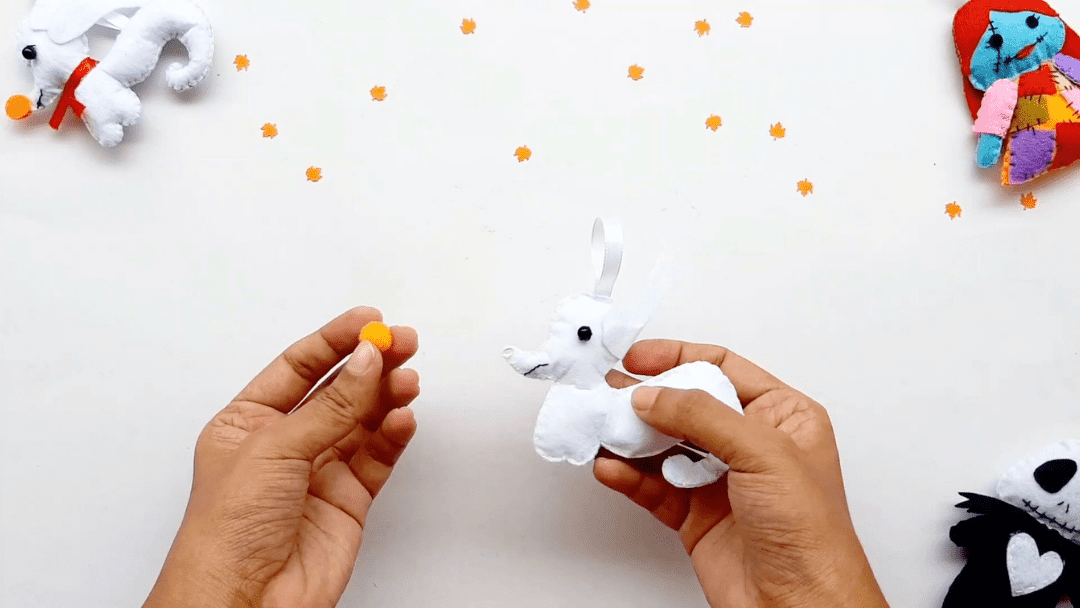
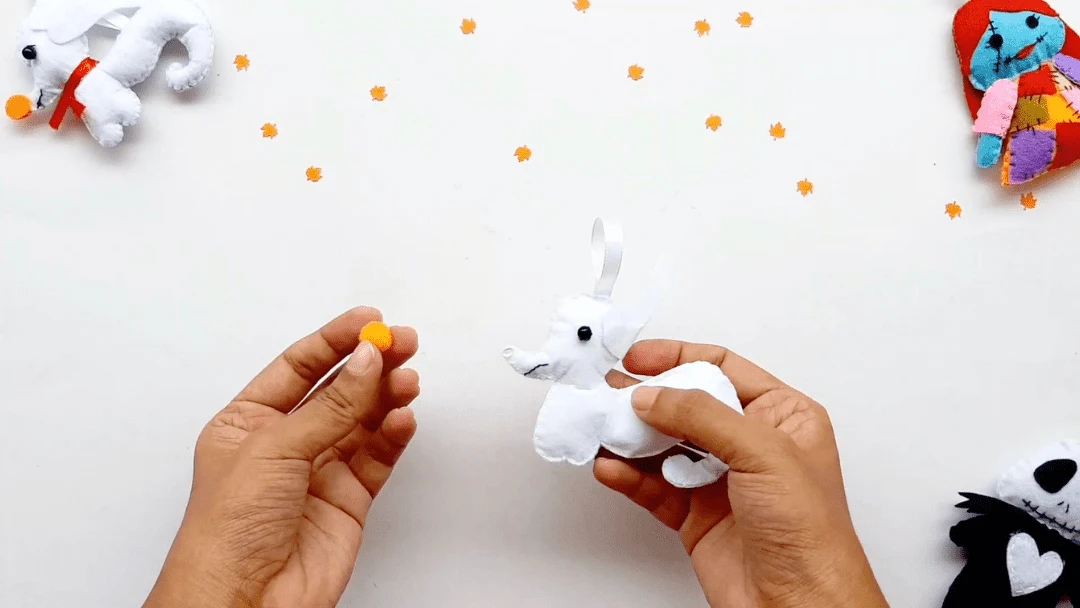
Step 7
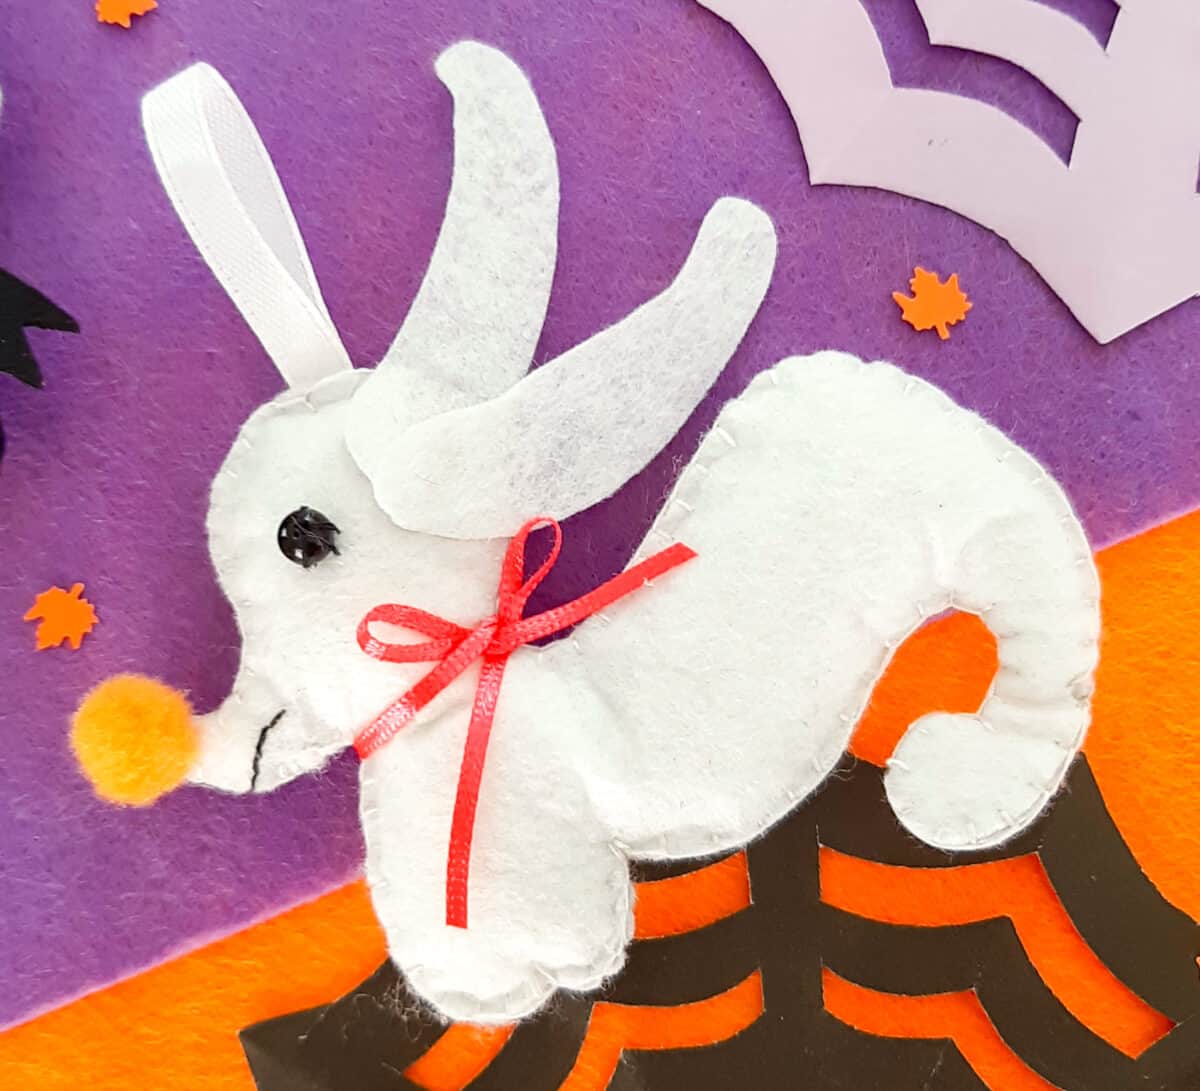
Glue on the ears and pom pom nose. You could stitch on the ears if you would like to.
Step 8
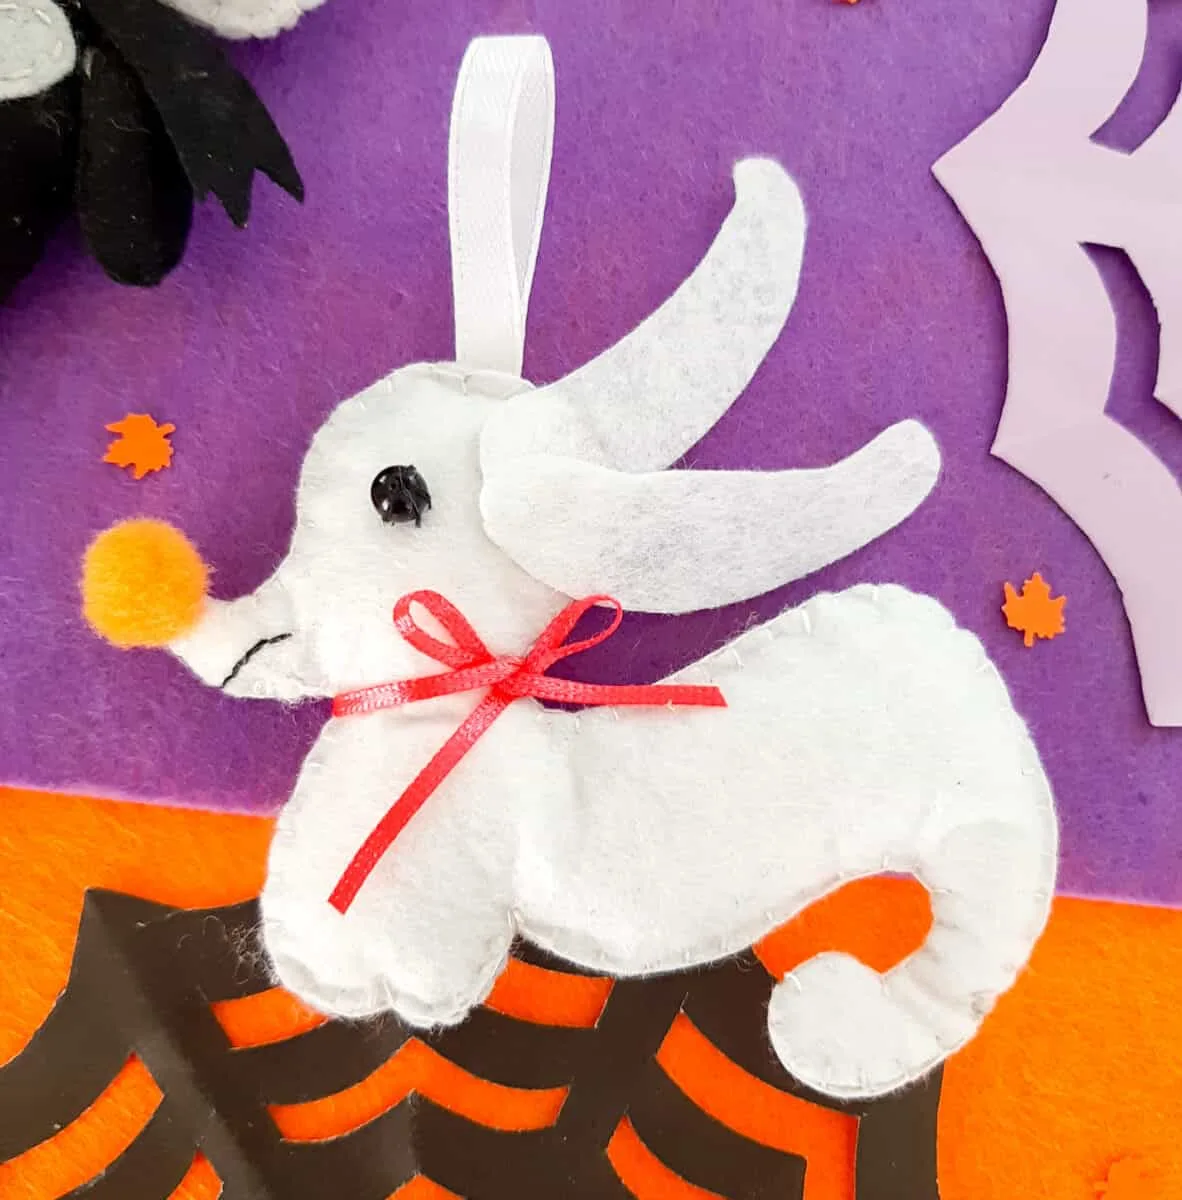
Tie the red ribbon around his neck into a bow.


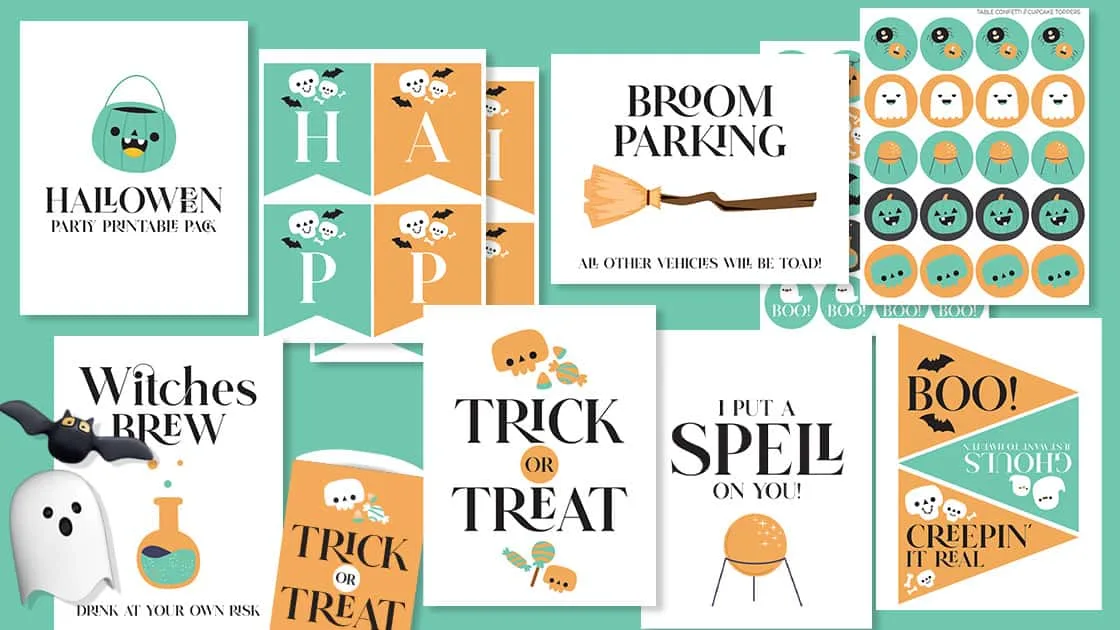
Hurry! Get Your Halloween Printables Pack Now!
This fun Halloween printables pack has banners, signs, treat bags and cupcake toppers. Don’t miss out!
You can also watch this Zero plush from Nightmare Before Christmas being made in my YouTube video below:
If you like this easy Zero Plush pattern from Nightmare Before Christmas, be sure to check out all of my other sewing crafts, including this Halloween Frankenstein candy bag and our cute Frankenstein plushie.
