
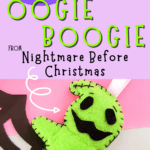
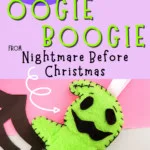
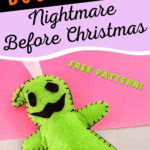
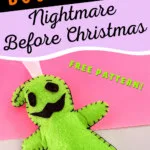
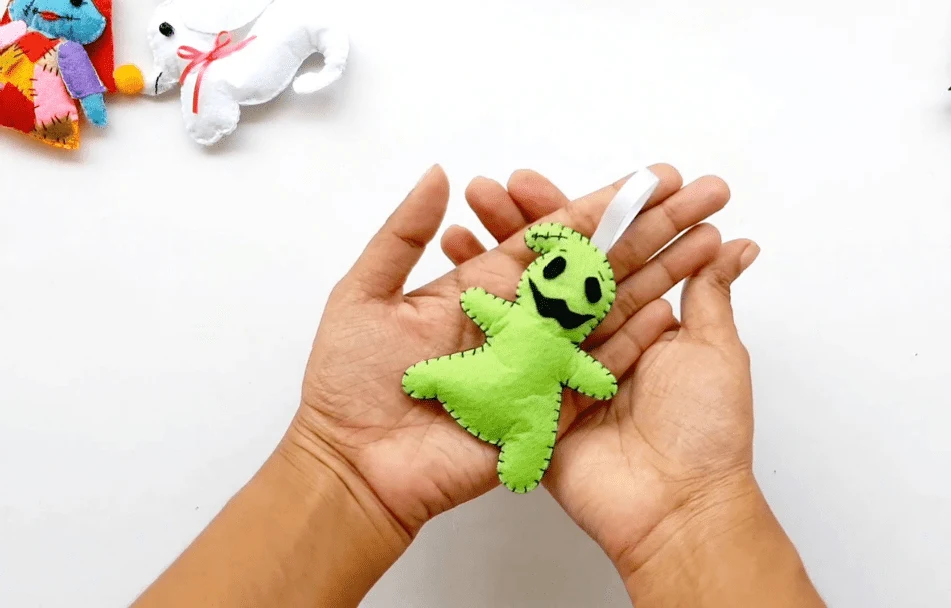
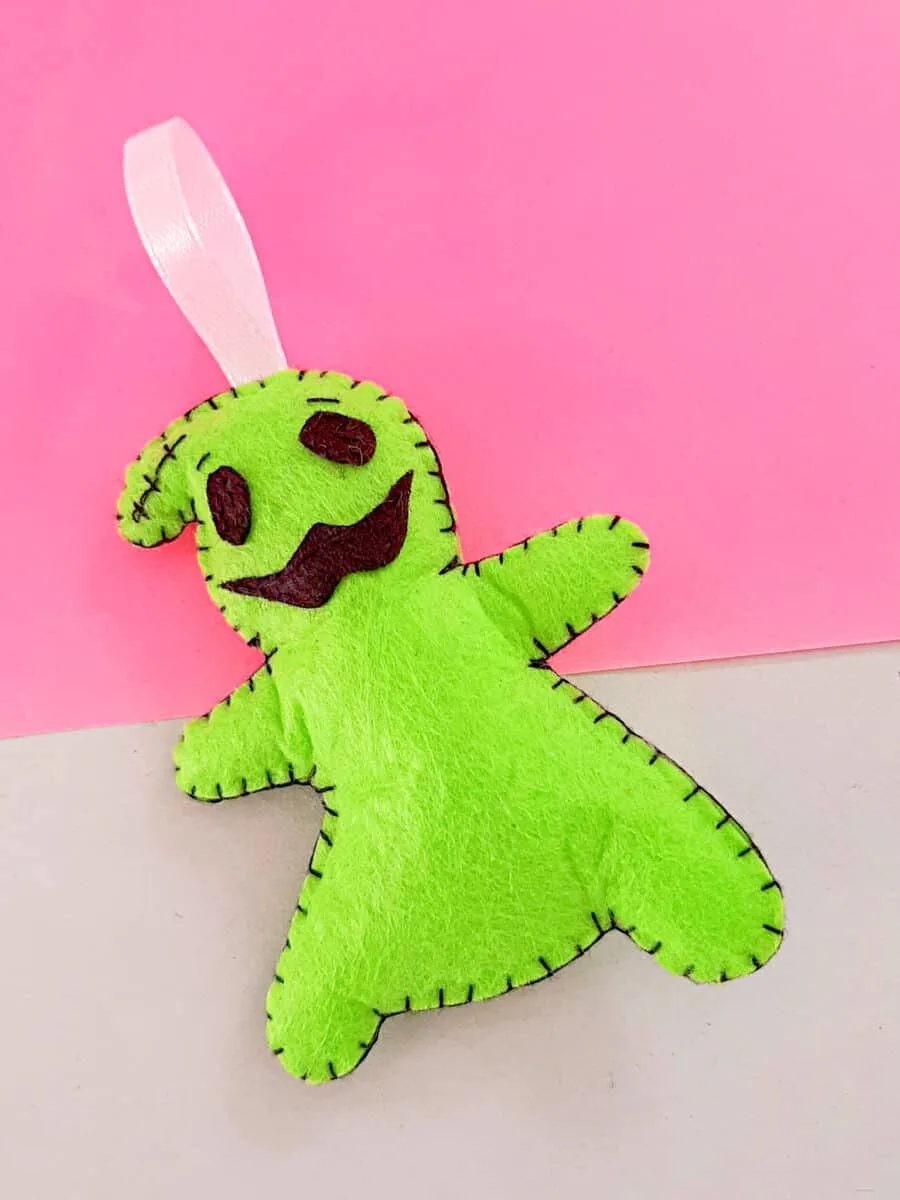
If you love the Nightmare Before Christmas movie, then you definitely will want to make this Oogie Boogie plush with a free pattern to download.
This plushie can be made as an ornament for your Halloween or Christmas tree. Or leave off the hanger if you just want the Oogie Boogie plush without hanging it.

I get that not everyone likes to sew like I do! So don’t worry – you can simply hot glue these pattern pieces together instead of sewing.
You will also want to see my other Nightmare Before Christmas crafts:
I value your time and mine, so you won’t find a lot of fluff in my tutorials and you’ll get free patterns! In return, I’d appreciate if you shared these easy crafts on Facebook or save it to Pinterest! That’s helps me out a lot!
How to Sew an Oogie Boogie Plushie from Nightmare Before Christmas
Variations: You can hot glue all of the items together instead of sewing. You can use a permanent black marker to draw on the mouth and eye instead of stitching.
Supplies
- Oogie Boogie Plush Ornament Pattern (click on this link to go to the download page)
- Craft felt: both green and black
- Ribbon for hanging
- Black Embroidery floss
- Poly-fil Stuffing
- Needle
- Scissors
Directions
Step 1
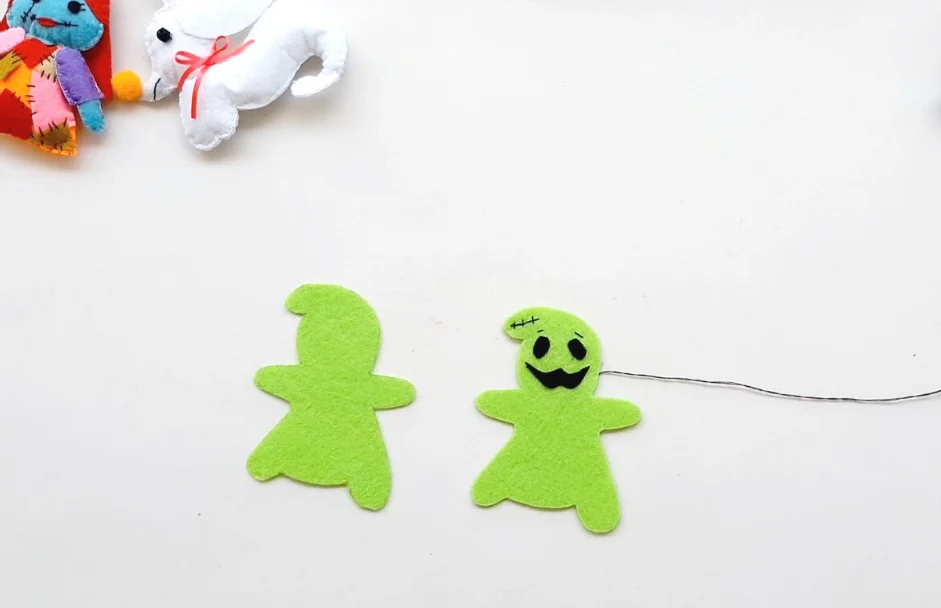
Print out the Oogie Boogie pattern. Cut out the individual pieces. Use these patterns to trace on the felt and cut out the pieces.
Step 2
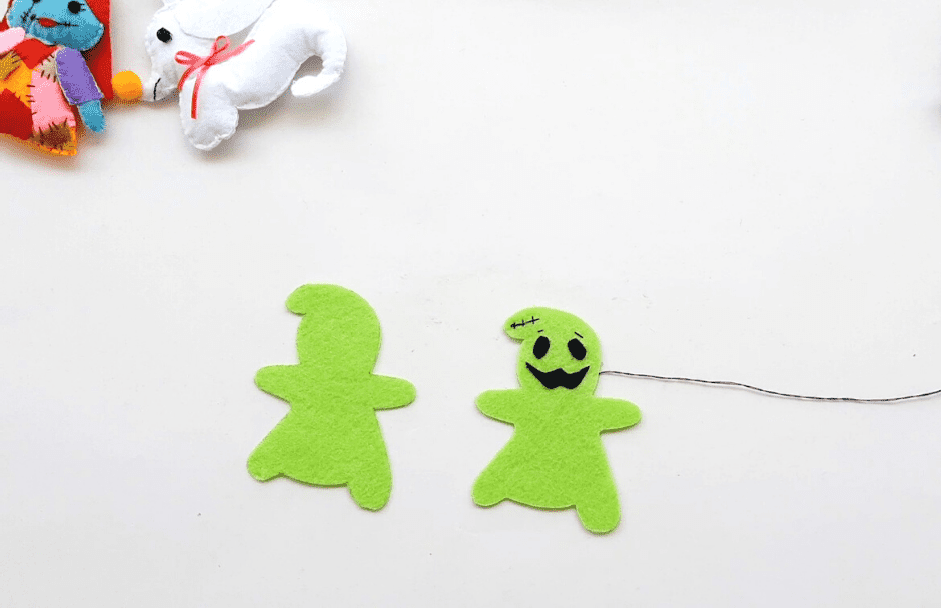
Sew the mouth and eyes pattern pieces on the face of one of the Oogie Boogie body pattern pieces.
Step 3
Sew on Oogie Boogie’s eyebrows and scar by using black embroidery floss. Do this with just some simple stitches, nothing fancy. Only sew the face on one body piece.
Step 4
Start to sew the two body pieces together. Lay the two pieces on top of each other, keeping the face on the outside and showing. If you need, you can use pins to keep the pieces together.
Use whatever stitch you would like, but I used a blanket stitch.
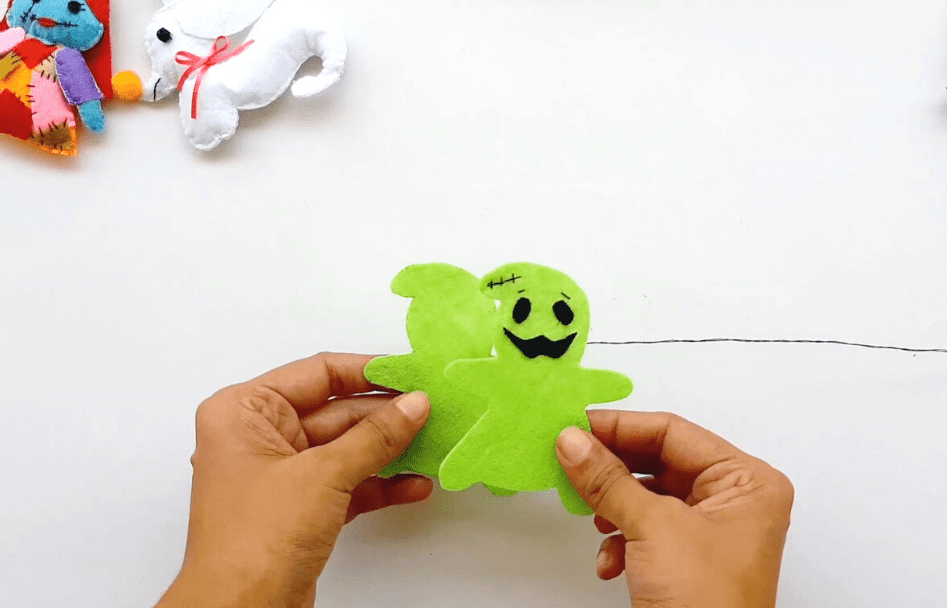

I suggest starting to sew around the neck and then continue up towards the head.
Step 5
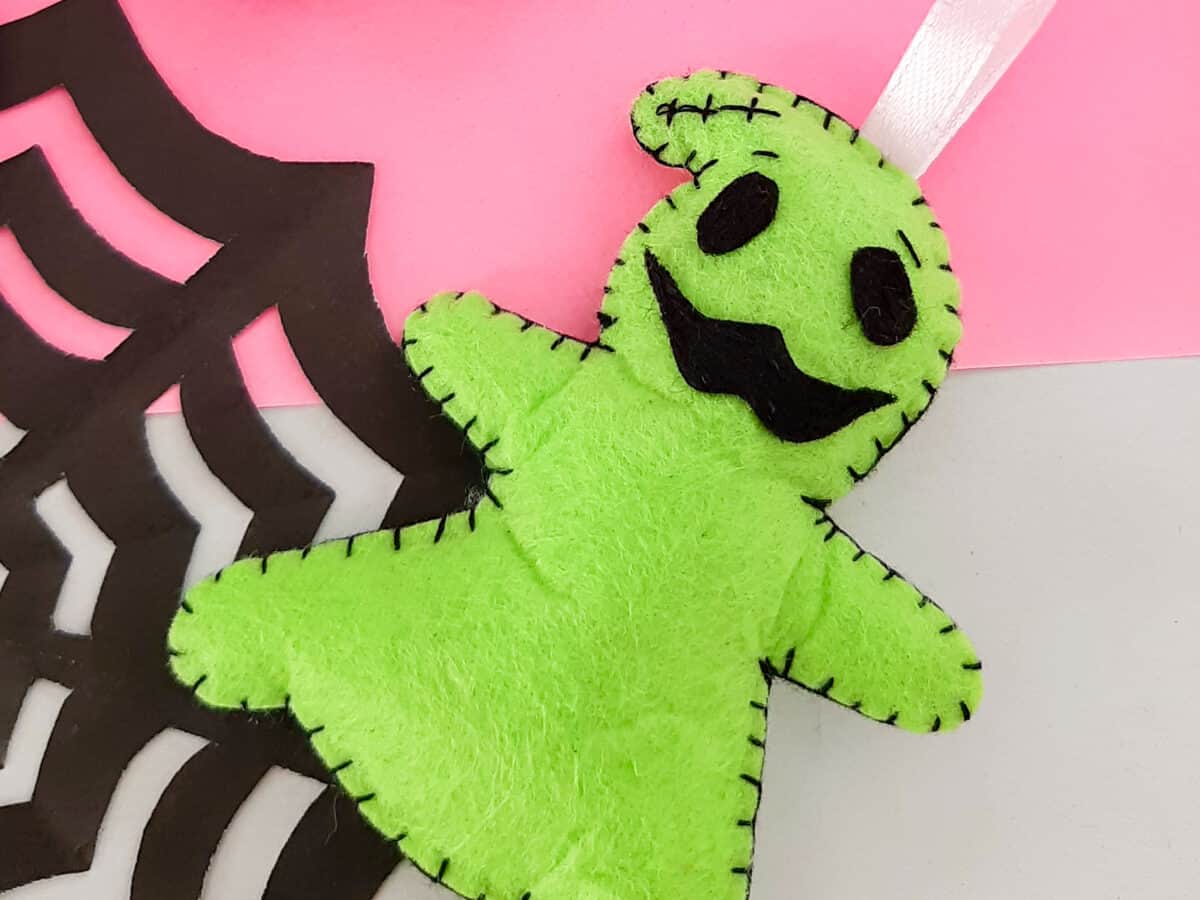
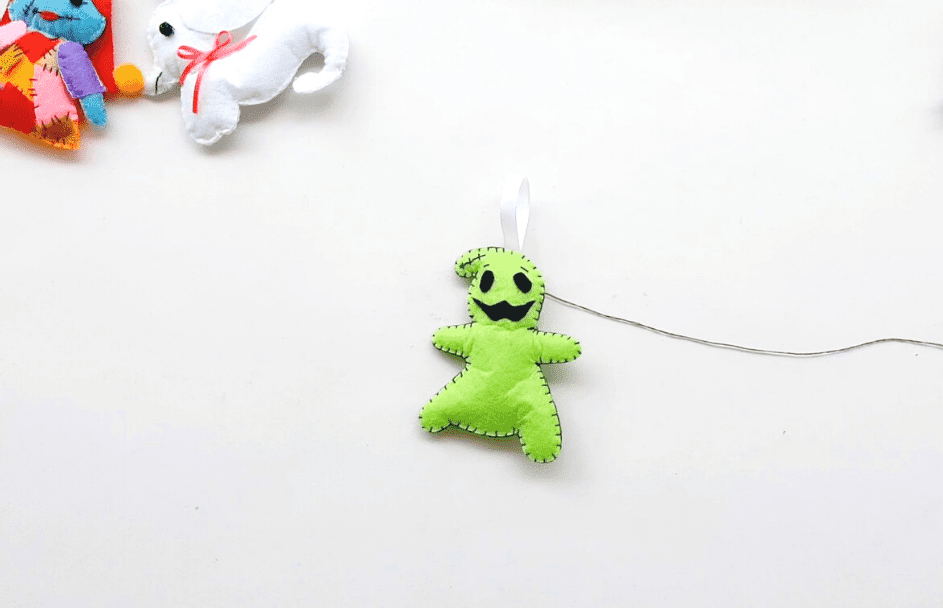
Before sewing the head pieces together, loop your ribbon and insert the cut edges between the two head pieces. I usually leave about ¼ inch or more of ribbon inside the pattern pieces just to make sure the ribbon doesn’t fray and come out. This creates the ornament hanger.
Be sure to sew a few stitches over the felt and ribbon to secure the hanger and keep it from slipping. Continue sewing around the pattern.
Step 6
Once you have sewn most of the body together, add some stuffing inside.
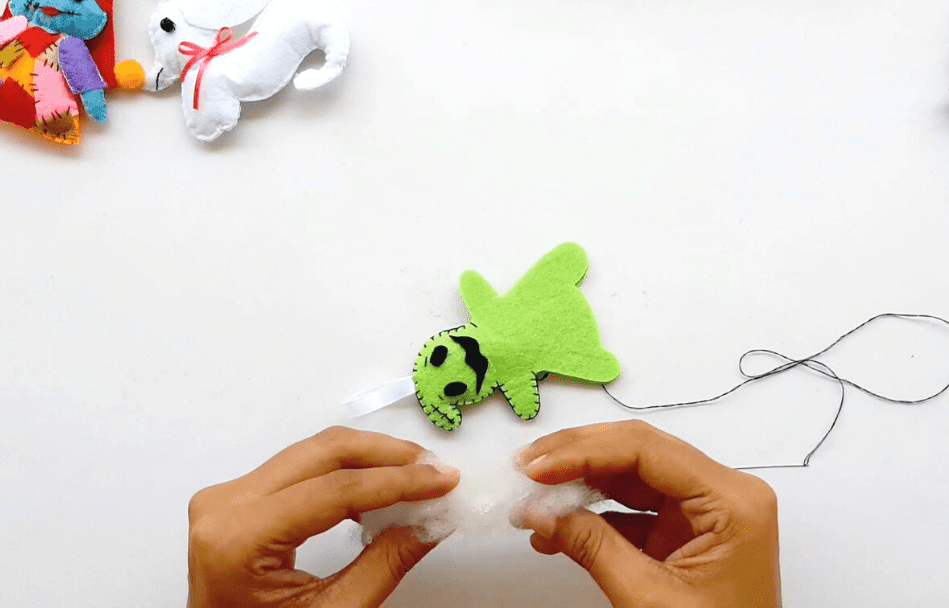
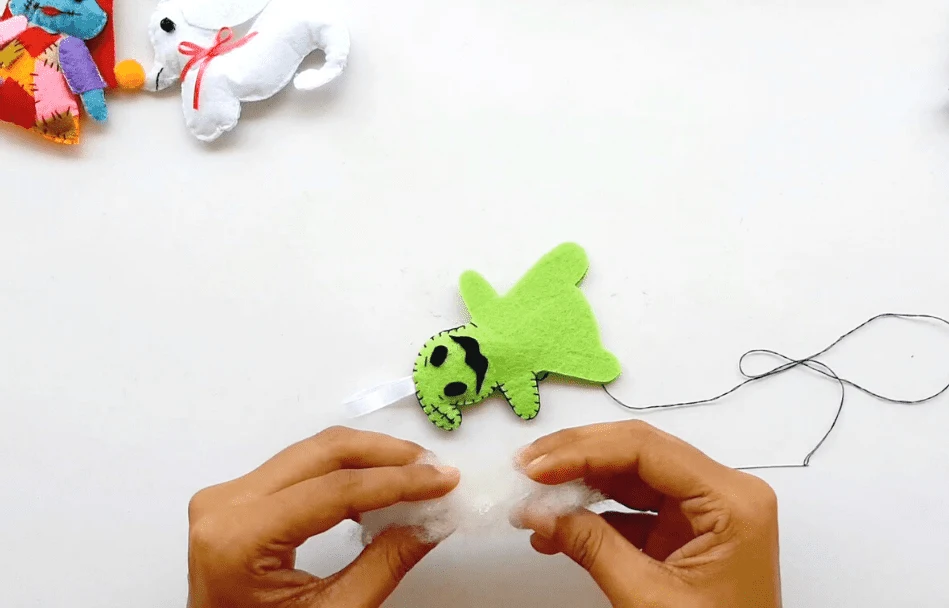
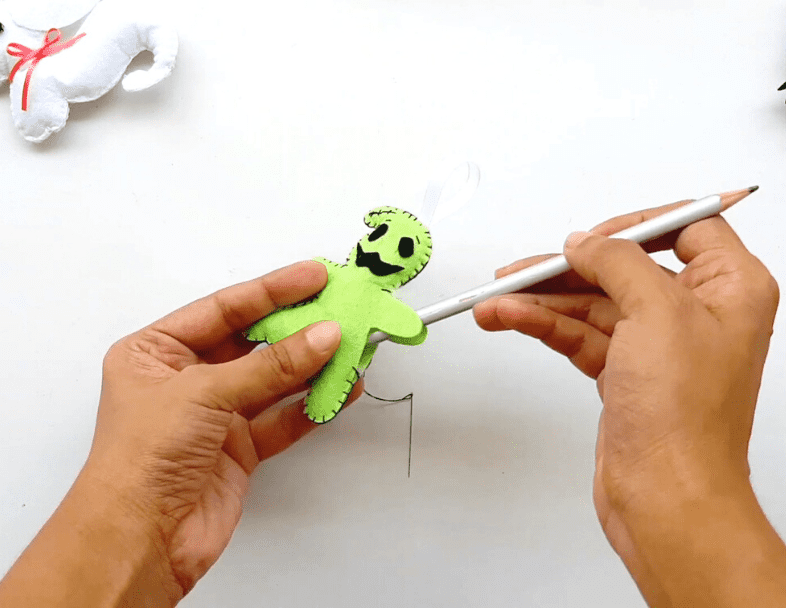
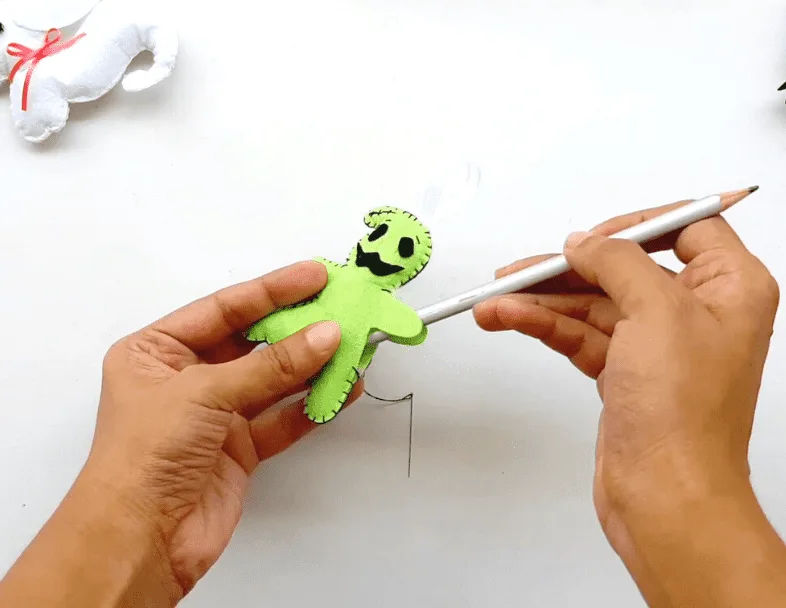
Step 7
Continue sewing around the pattern and adding stuffing when you can. I suggest using a pencil or corner turner to stuff the Poly-fill into the small spaces such as the arms and top of his head.
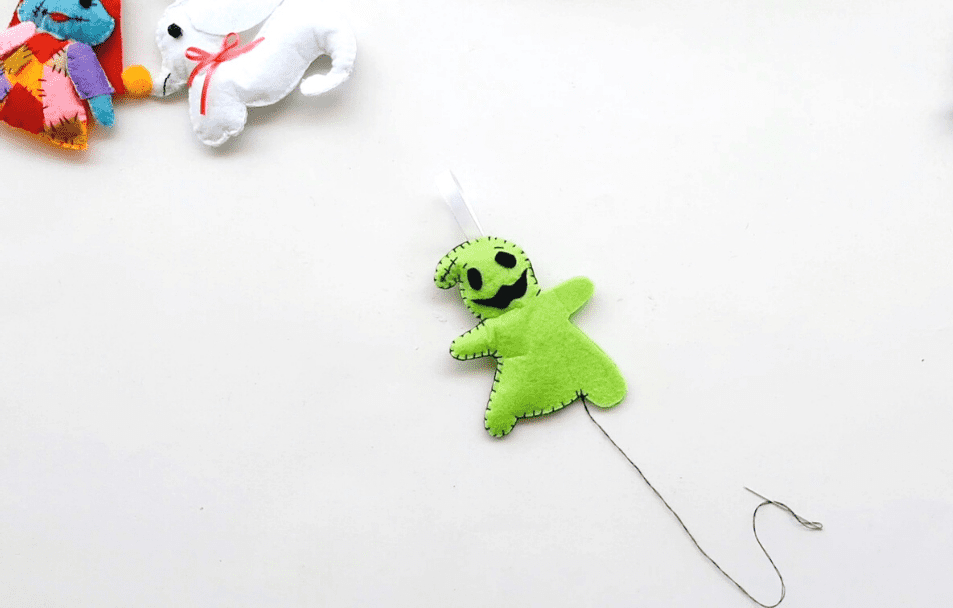
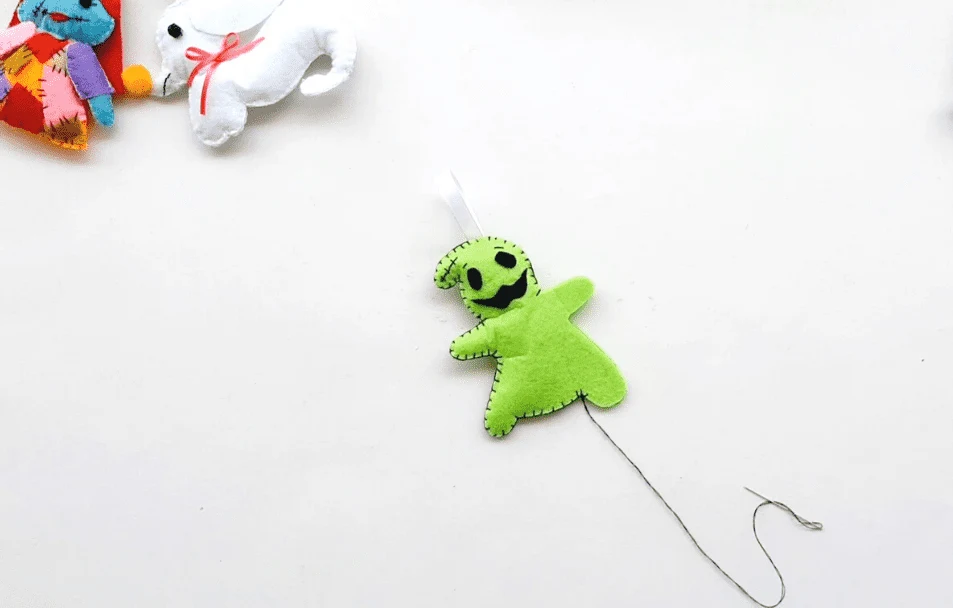
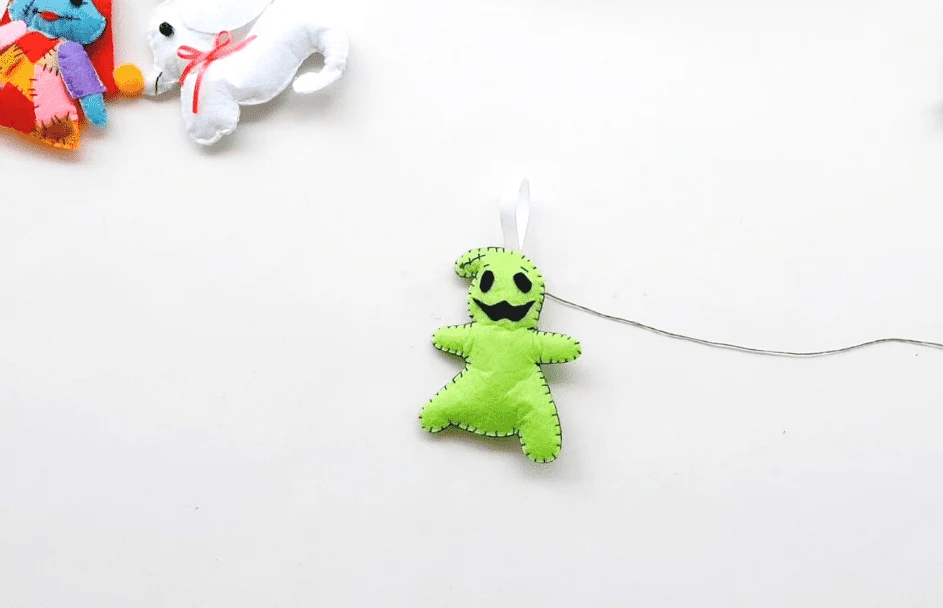
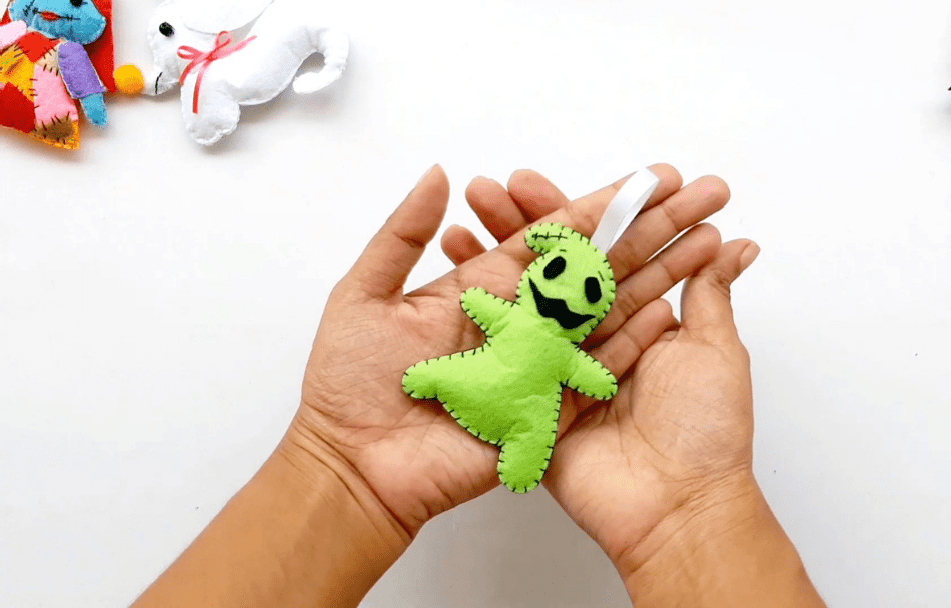
Step 8
When you get to where you started, finish off the stitching and tie a knot.

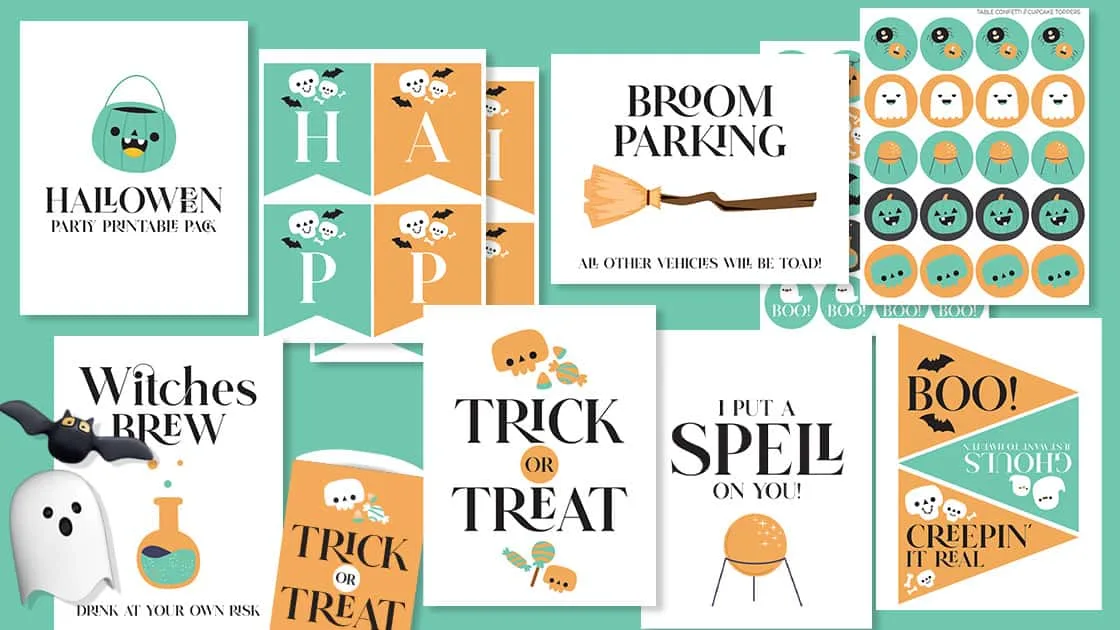
Hurry! Get Your Halloween Printables Pack Now!
This fun Halloween printables pack has banners, signs, treat bags and cupcake toppers. Don’t miss out!

You can also see our video of how to sew an Oogie Boogie plush:
If you like this Oogie Boogie plush, be sure to check out all of my other sewing crafts, including this Halloween Frankenstein candy bag and our cute Frankenstein plushie.
