

Do you keep all of the wine corks from bottles that you open and enjoy? I know I do, but at some time you start wondering what you are going to do with all of those corks?
Our wine cork bunny craft is the perfect way to repurpose those wine corks and make an adorable Easter decoration.
If you don’t drink wine or haven’t been saving corks, you can buy corks on Amazon.
The thin wire used for this cork rabbit is also used in these crafts, too:
Be sure to see all of our fun Easter crafts!

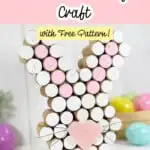
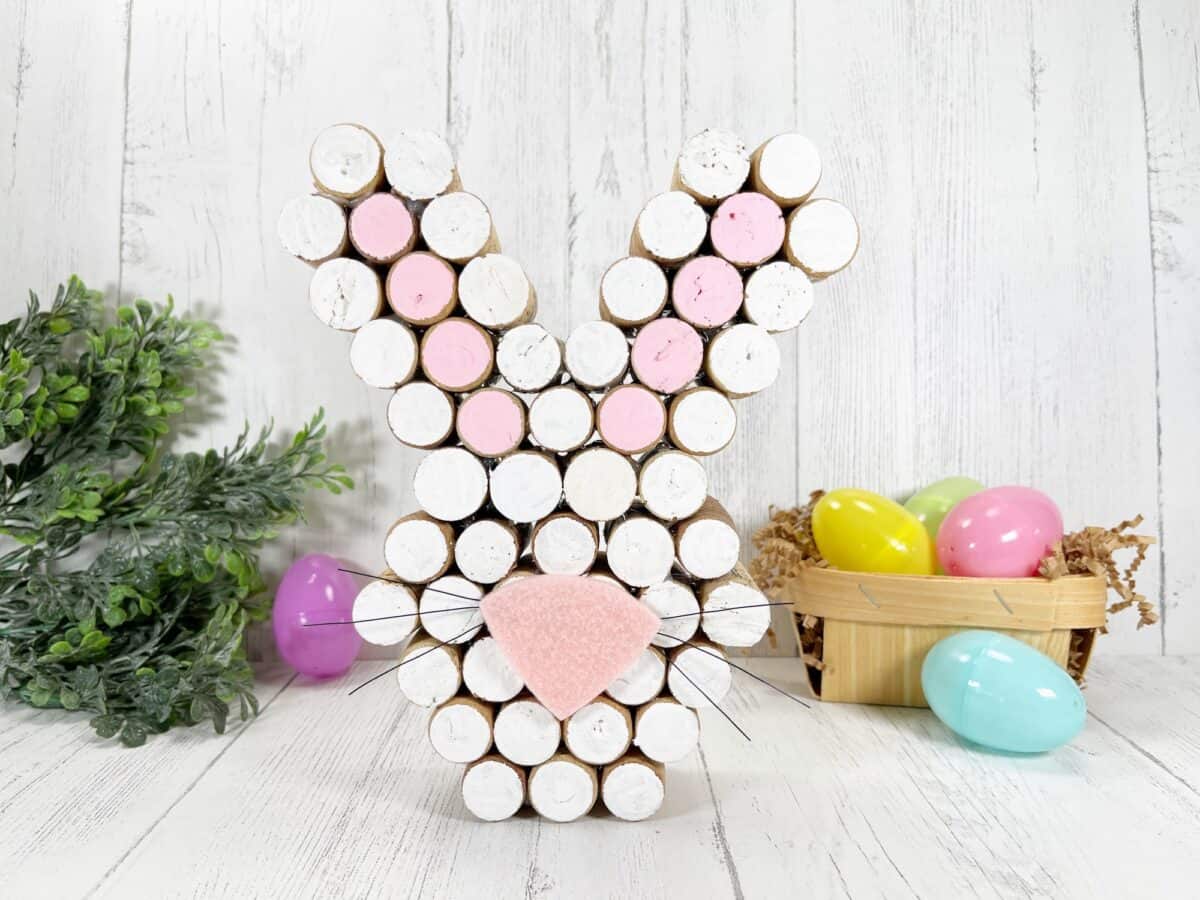
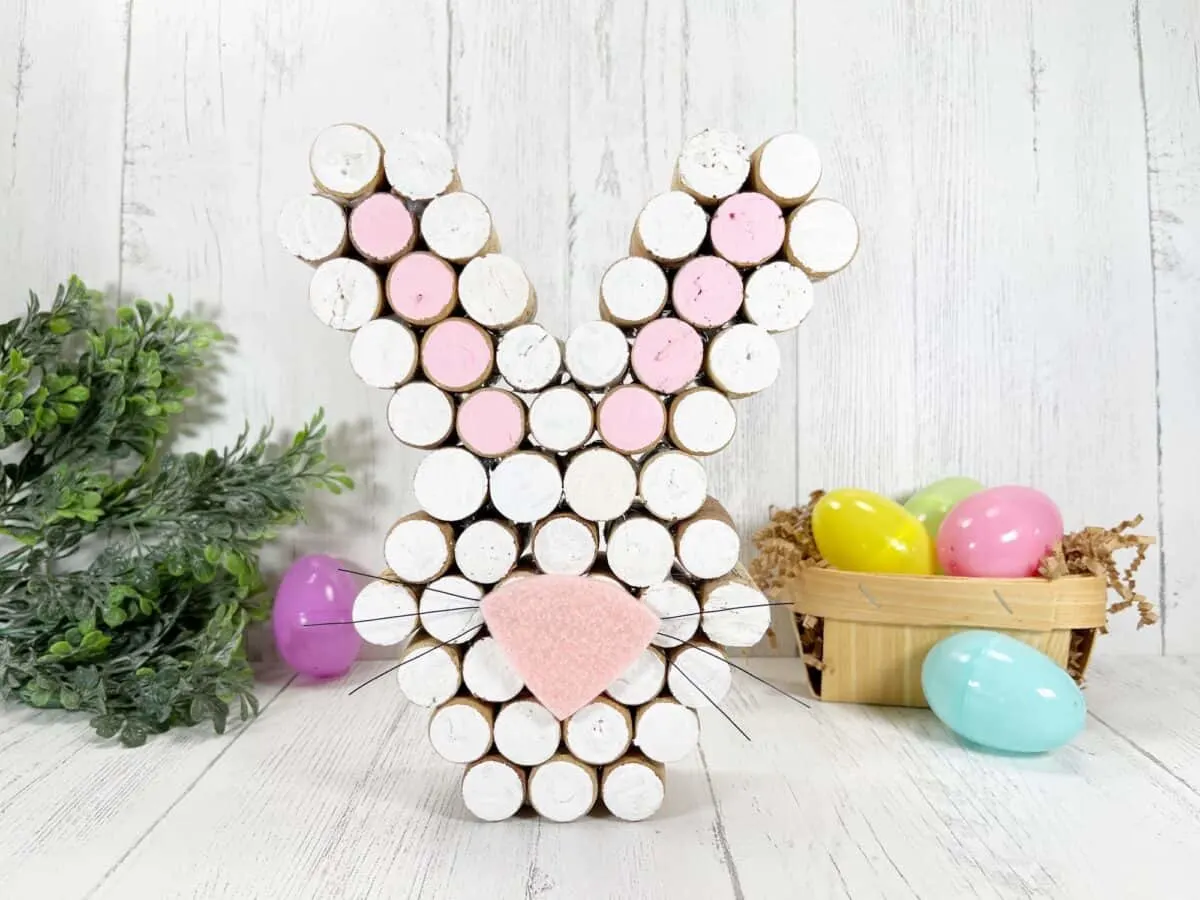
Recycled Wine Cork Bunny Craft
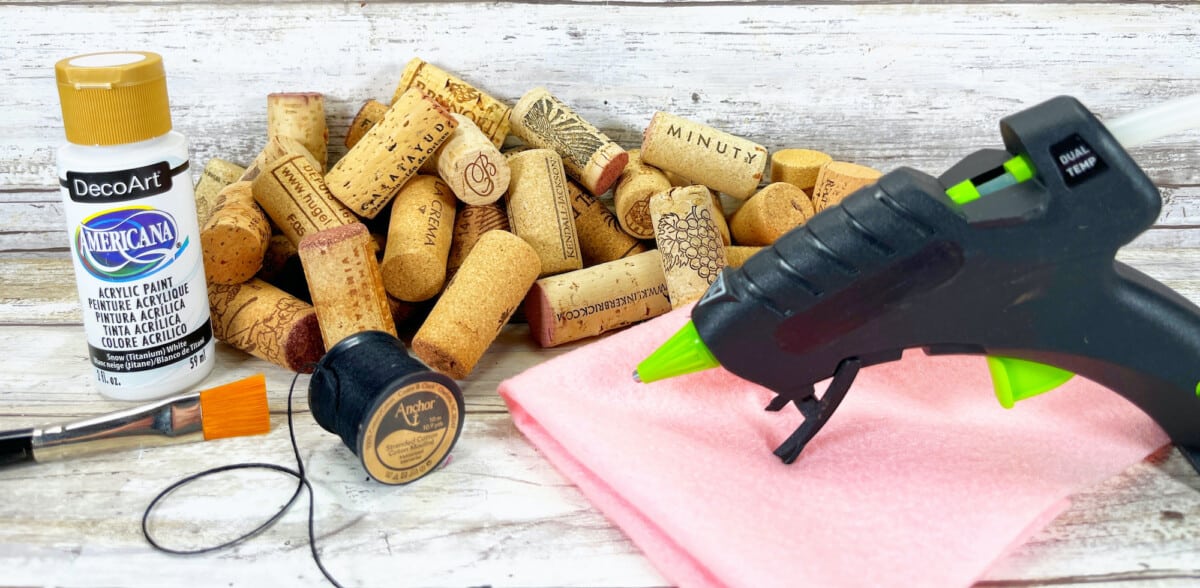
Supplies
- 54 Recycled Wine Corks
- Acrylic Craft Paint (White and Light Pink)
- Light Pink Craft Felt
- 22 Gauge Black Wire
- Glue Gun
- Scissors
- Paint brush
- Wire Cutters
- Free Wine Cork Bunny Pattern

Directions
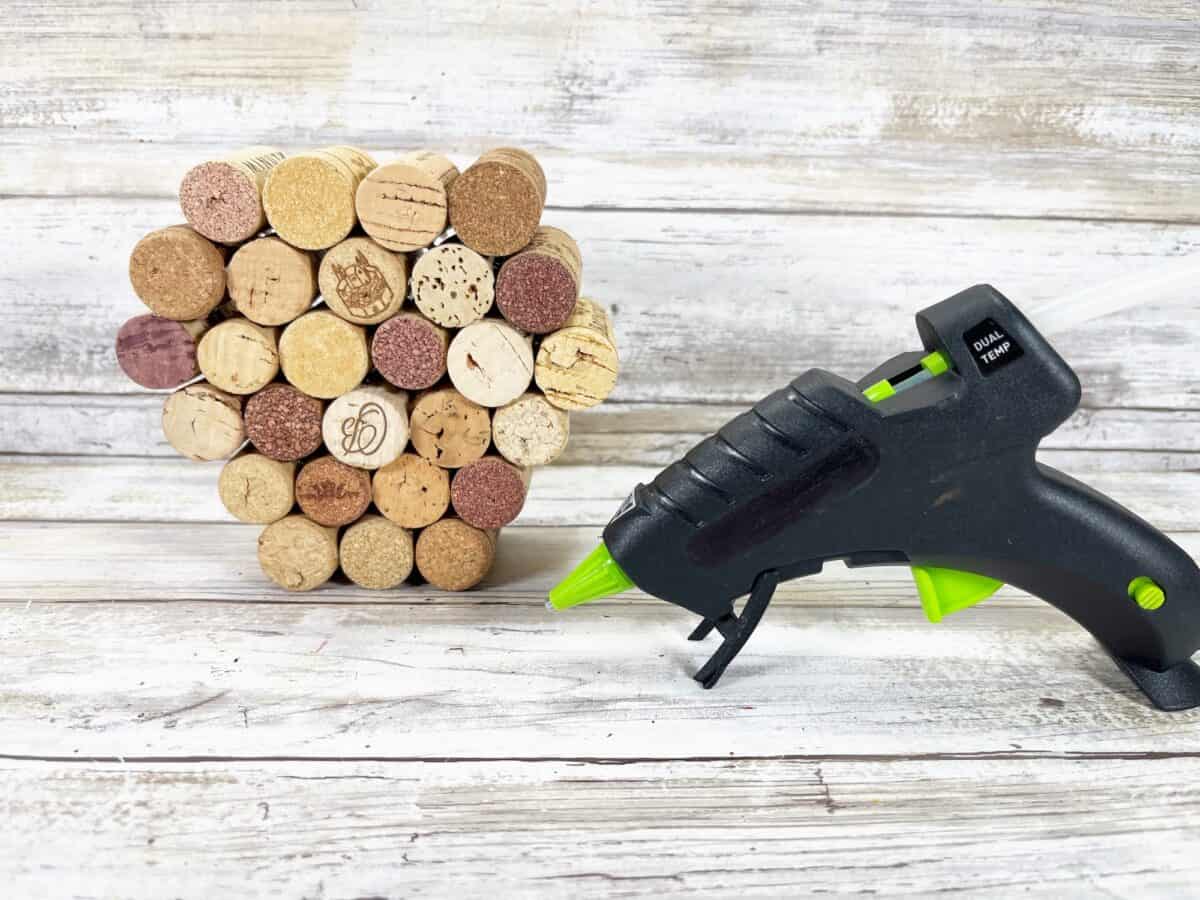
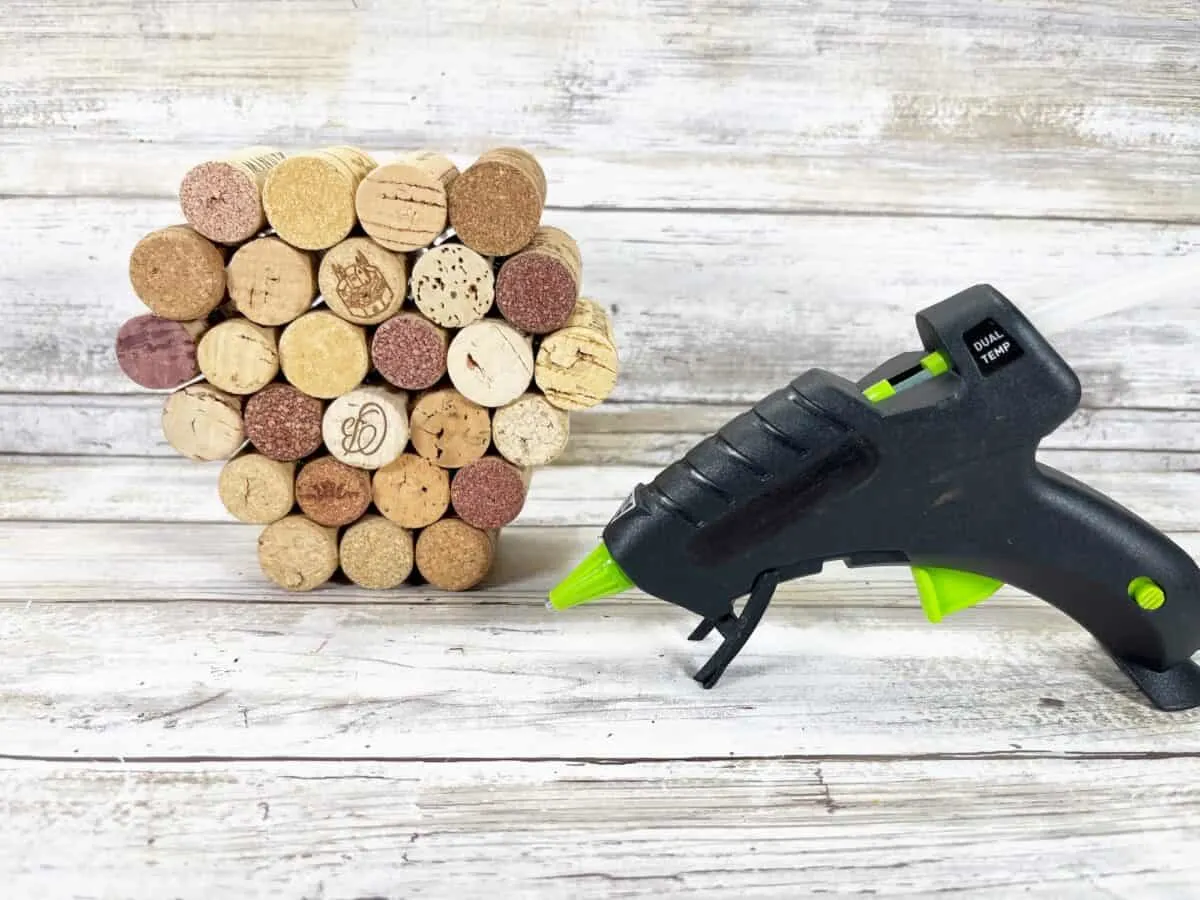
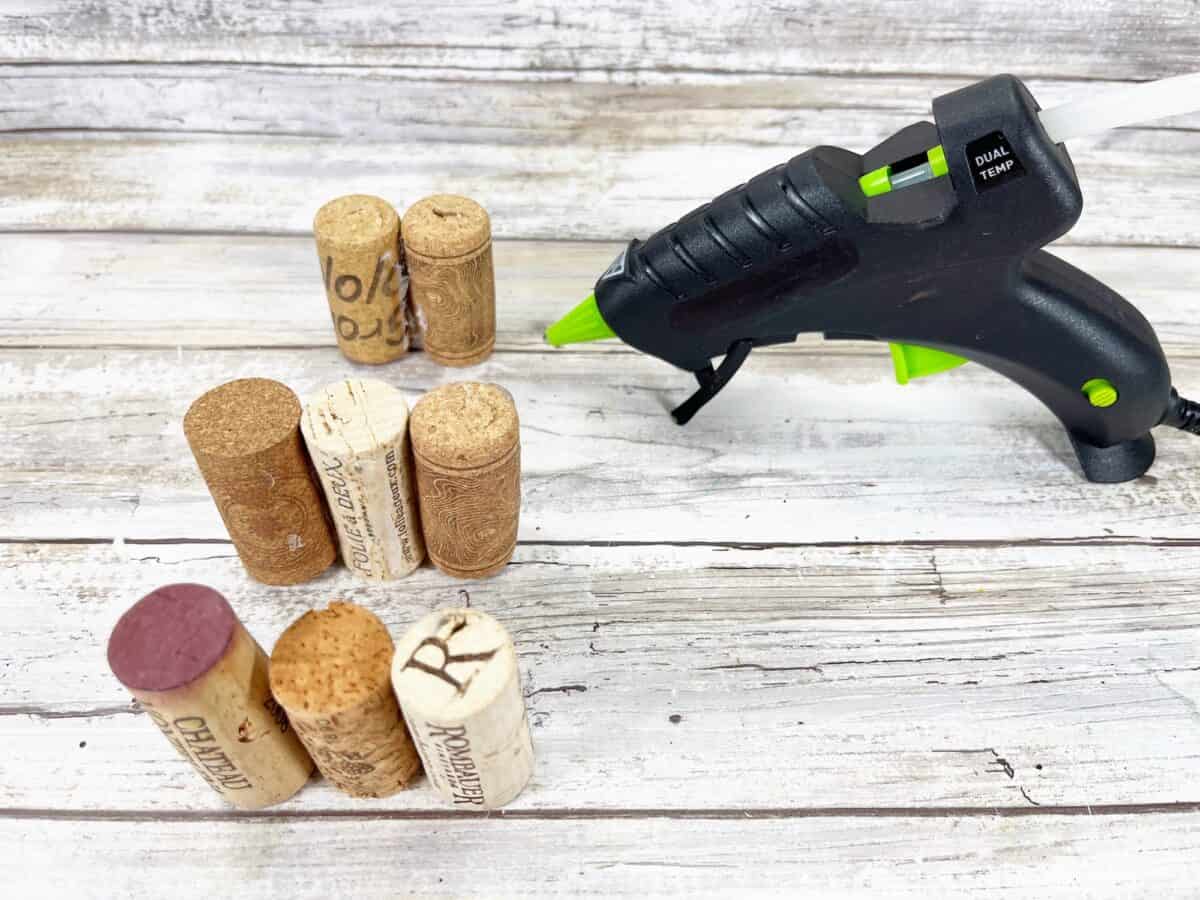
Lay out 27 corks on the table in the following pattern, stacked on top of each other from bottom to top:
- 3 corks
- 4 corks
- 5 cork
- 6 corks
- 5 corks
- 4 corks

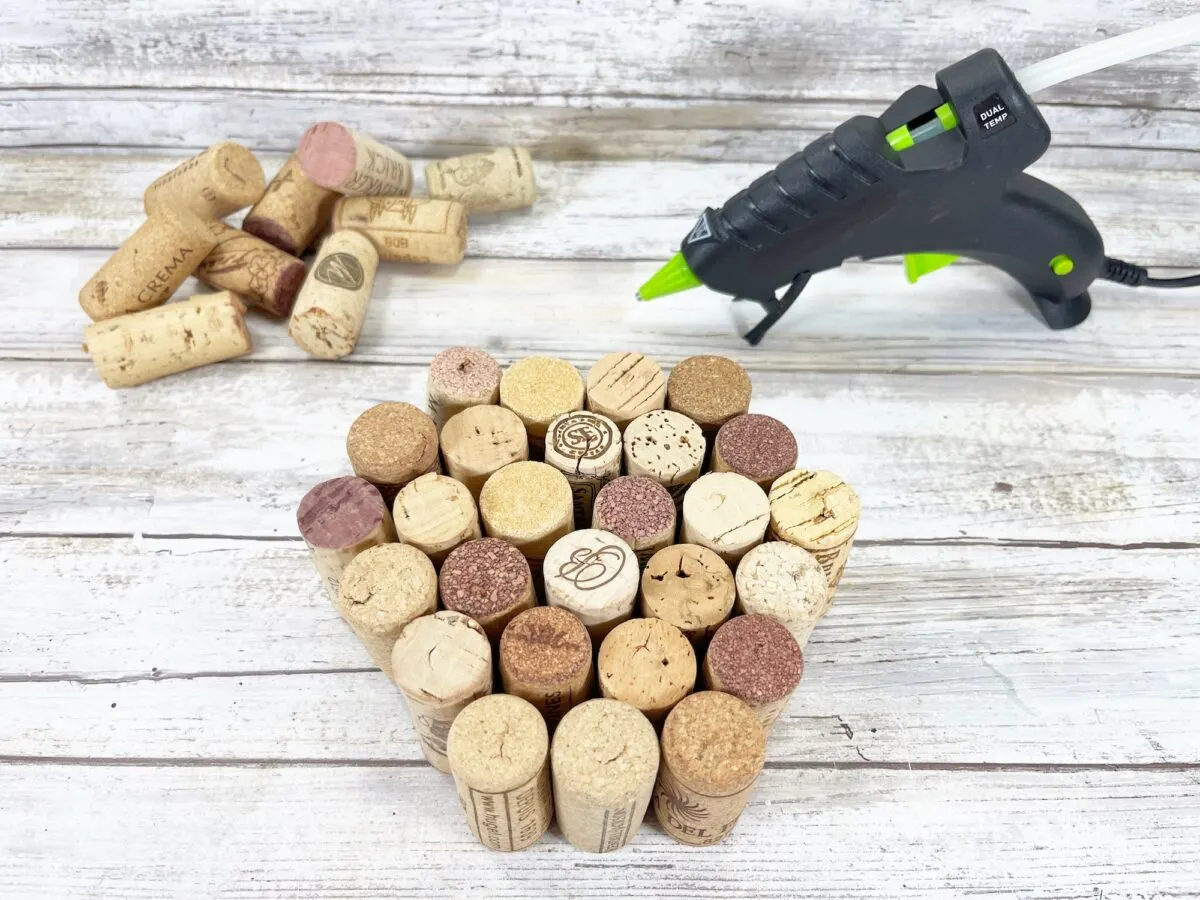
After you have the arrangement that looks like the photo above, glue the corks of each individual row together. Glue the corks side by side, with the glue about mid-way down the cork so that you do not see hot glue globs on your bunny face.
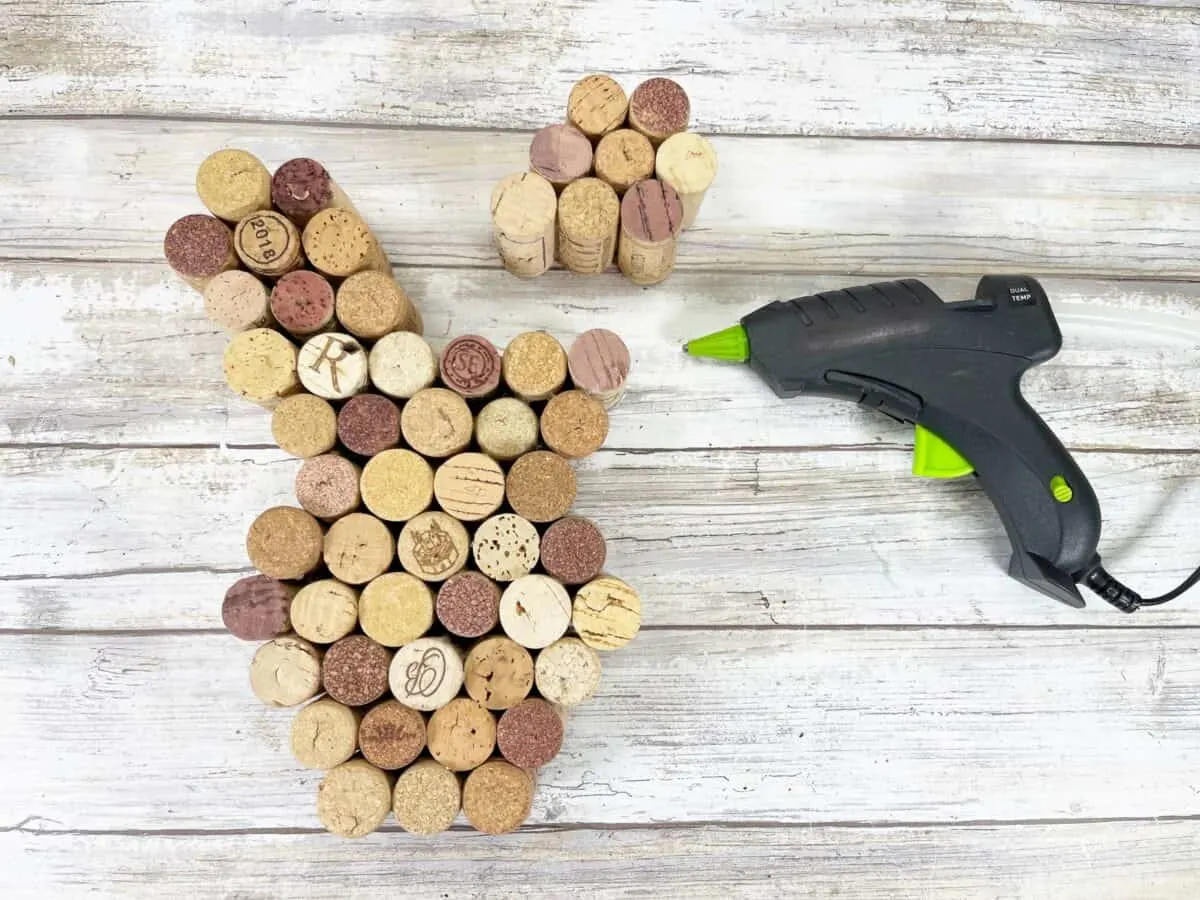
Then, glue the rows together to form the bunny.
Now it is time to create the top of the bunny’s head. Using the remaining wine corks, lay two rows of corks:
- One row with 5 corks
- Second row with 6 corks
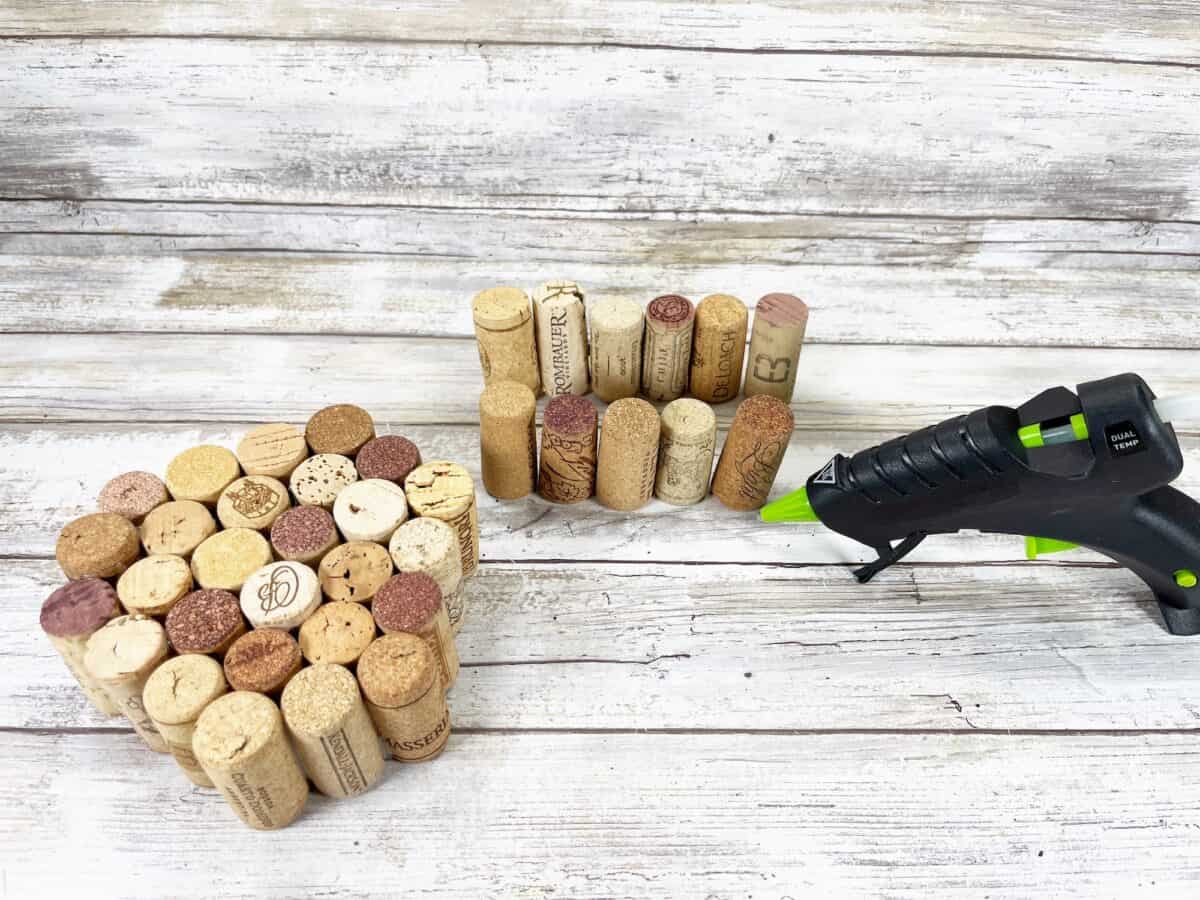

Attach the corks together in rows with hot glue. Then stack and glue the row of 5 corks on top of the row of 4 on the bunny face. Then glue the row of 6 on top of the row of 5 corks.

For each of the bunny’s ears, lay out eight corks. You will want to stack them in this combination:
- 3 corks
- 3 corks
- 2 corks
As in previous steps, glue the corks of each row together first, then glue the rows together.

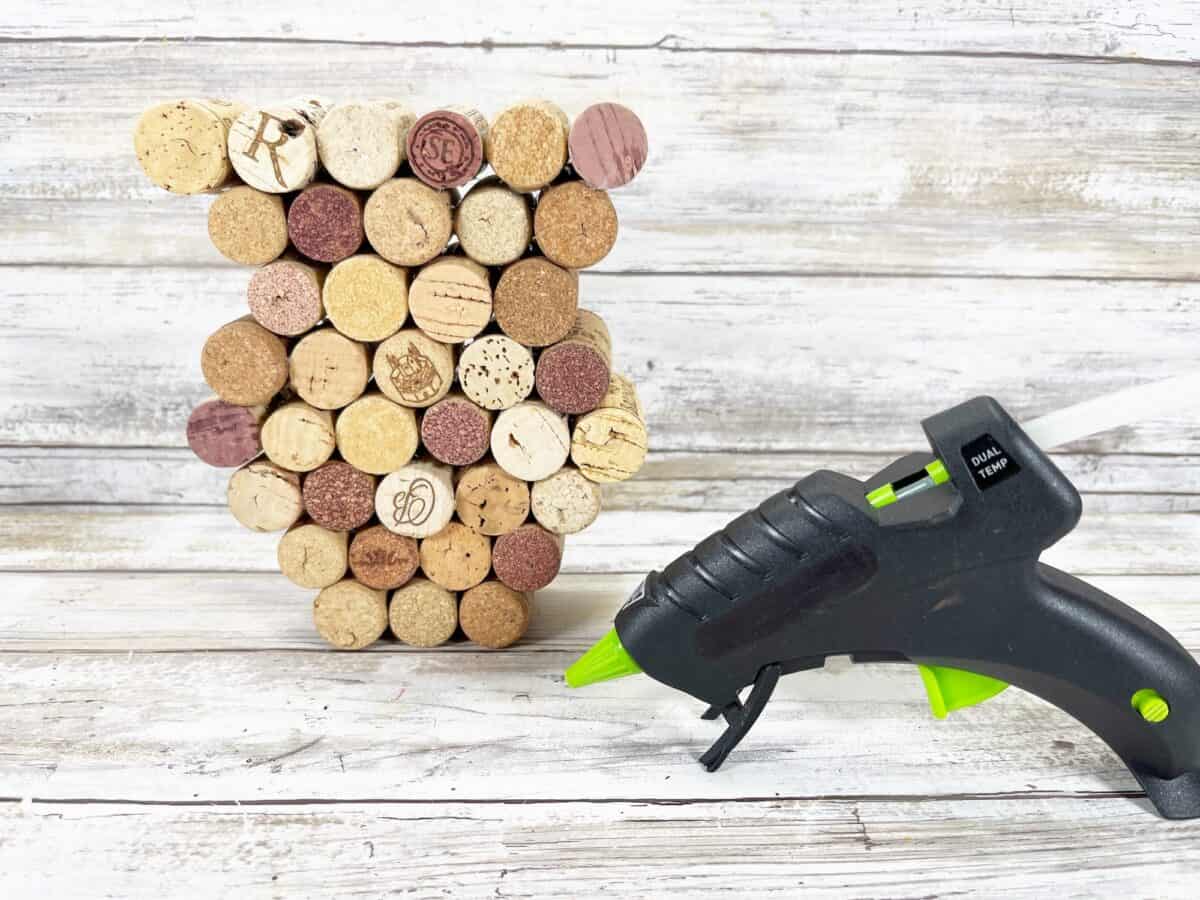
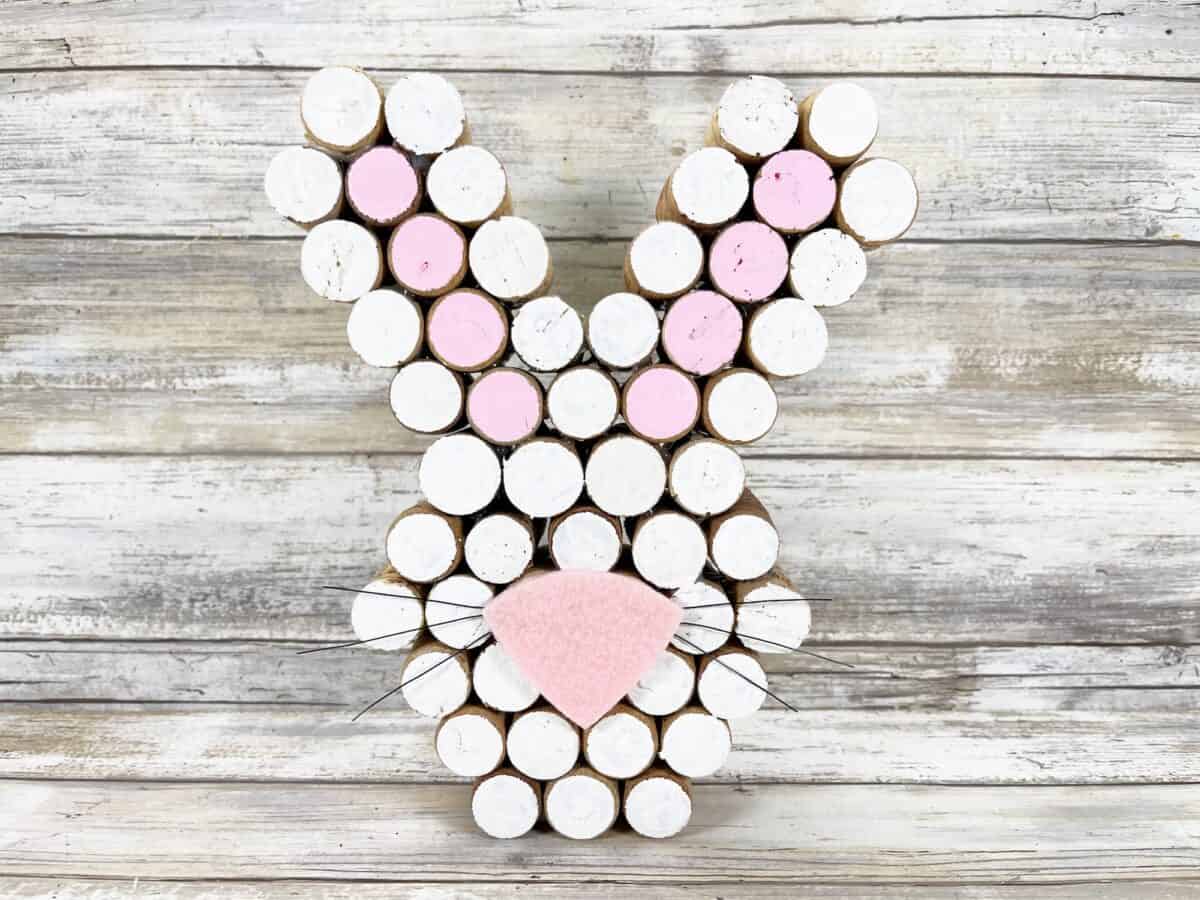
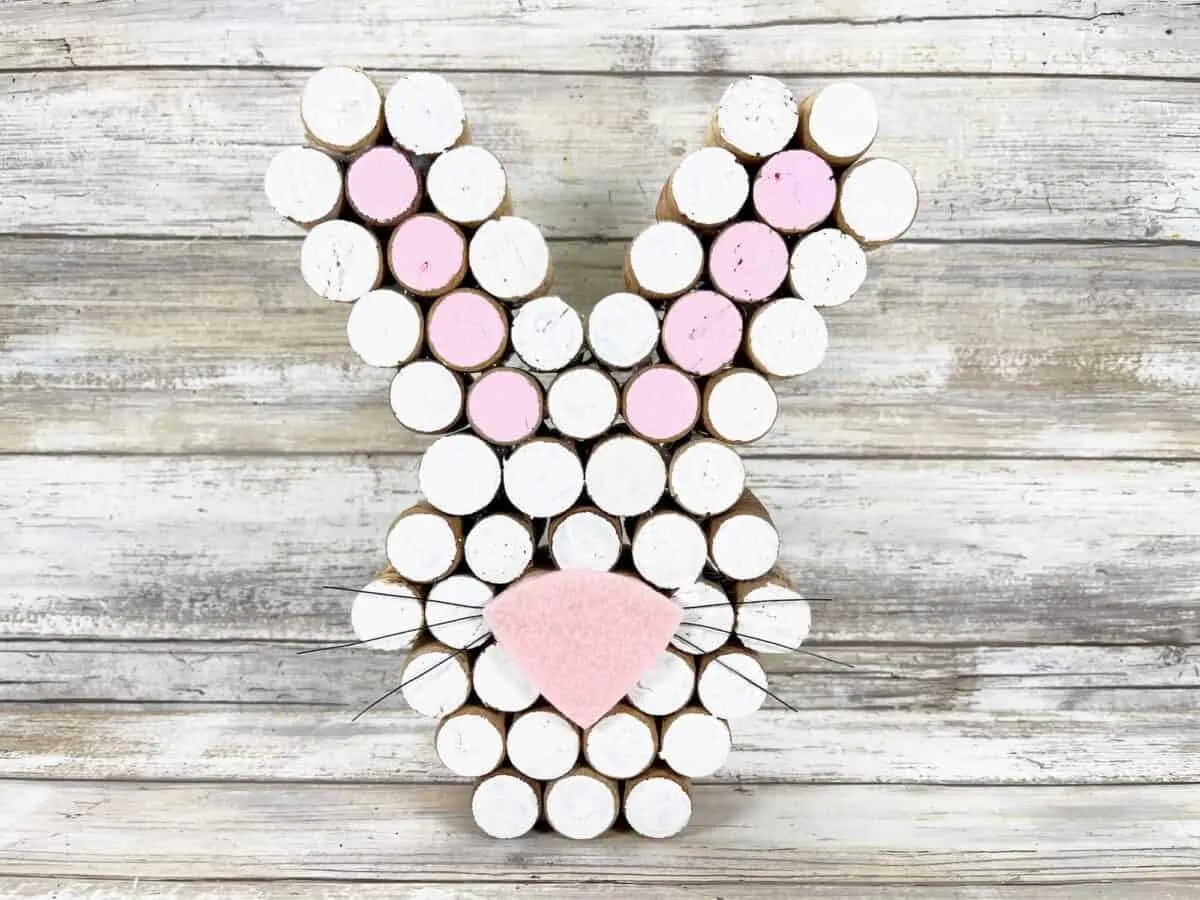
Position the bunny ears slightly angled on top of the bunny face. Glue to the top of the bunny head on each side.

Paint the inner part of the bunny ears with pink paint. You will want to paint the tops of the four corks in the middle of the ear with pink paint. See the photo as your guide.
Then paint all of the remaining cork tops with white paint.
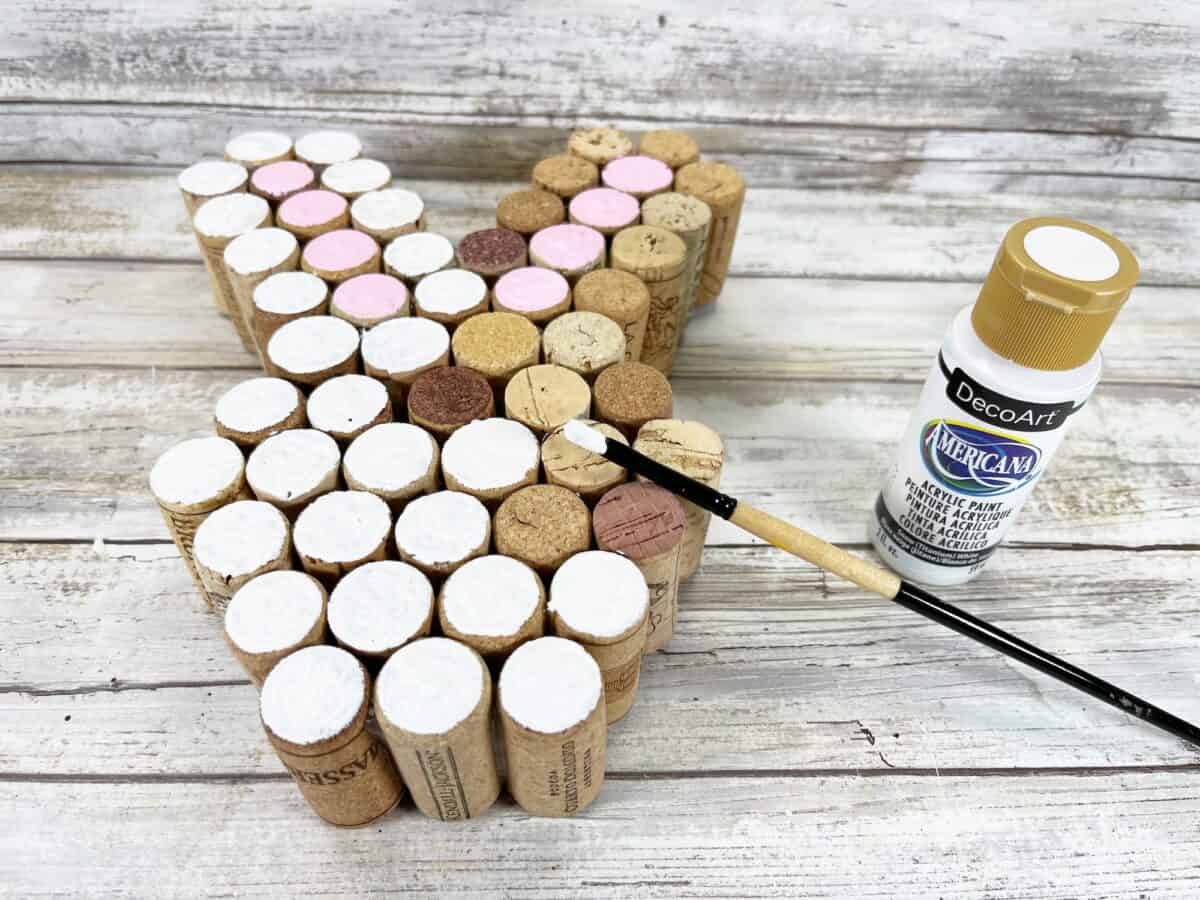
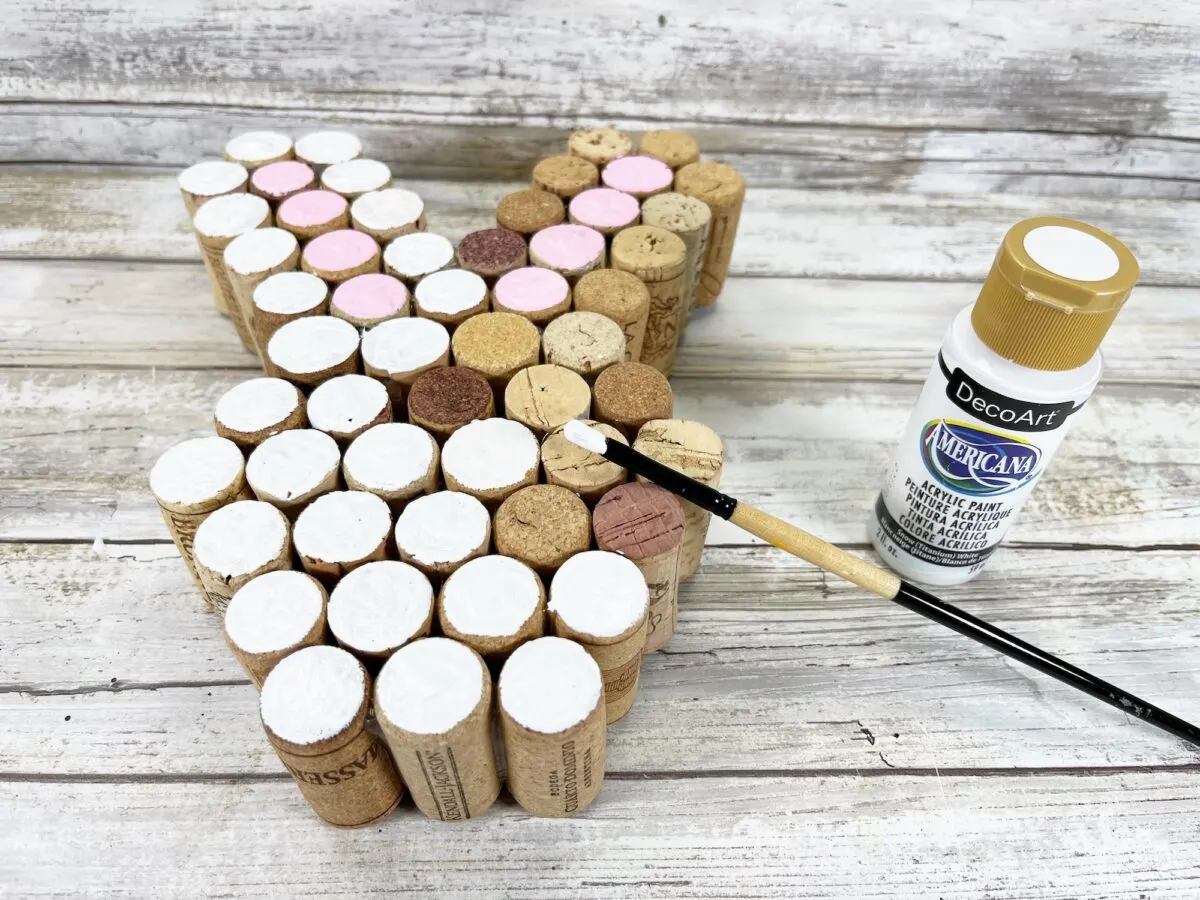
Let dry, and apply a second coat, if necessary.
Trace the bunny nose shape on pink craft felt and cut it out.
Measure three 6” long pieces of the black wire and cut with wire cutters.
On the back side of the felt bunny nose, glue the wires in a crisscross pattern.
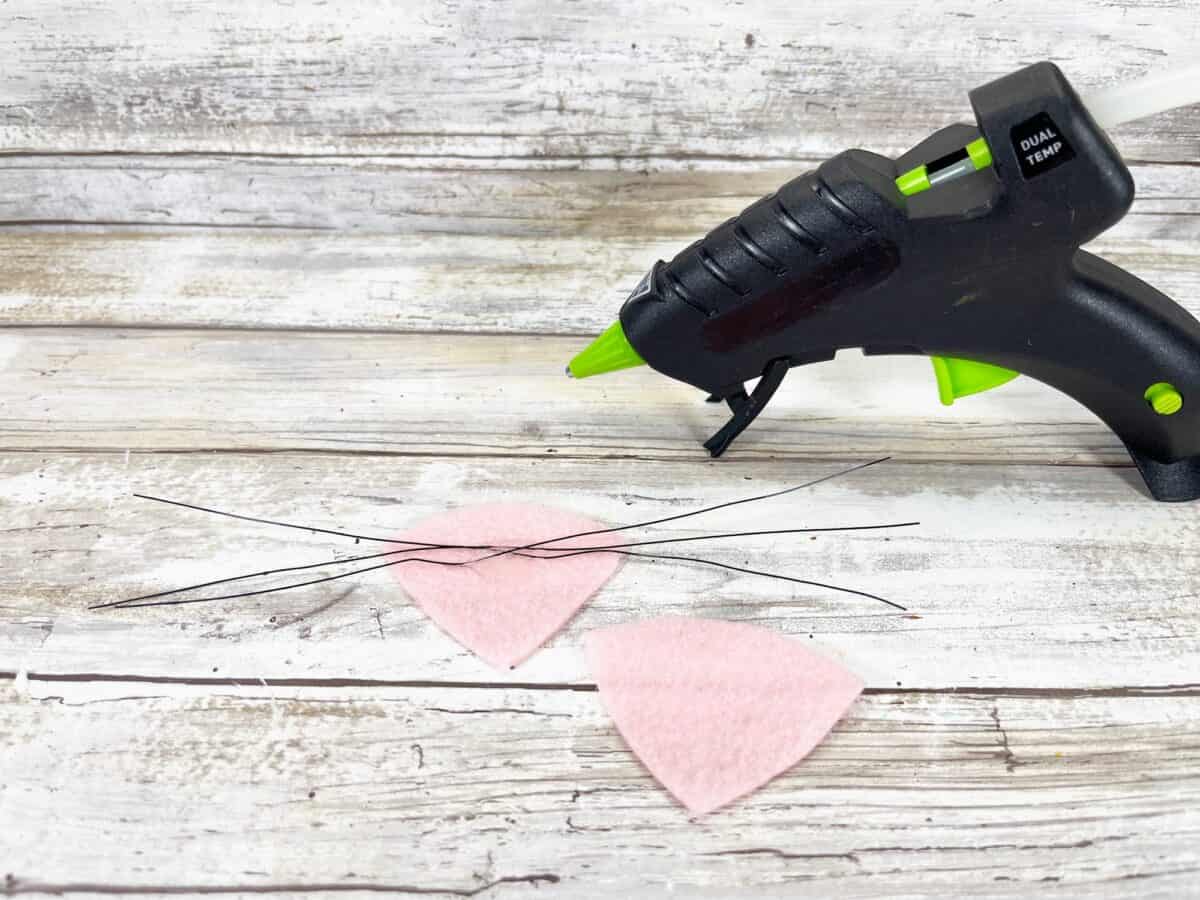

Glue the bunny nose and whiskers to the top of the wine cork bunny.
Want more cork craft ideas? Check out these fun DIY projects:

Sandi
Saturday 7th of March 2026
Great project! Thanks for including the directions.
Kimberly
Saturday 4th of April 2026
You are very welcome!
Janet
Saturday 9th of March 2024
Great directions for this easy craft. I used pink chenille sticks for the whiskers and added google eyes as well as a ribbon bow. I made her nose a heart shape. I loved that I used stuff from my craft stash instead of going out and buying things.
Kimberly
Thursday 14th of March 2024
Sounds cute, Janet! Great idea!