We love repurposing items from the Dollar Tree to make cute crafts. And this cutting board scarecrow craft is a perfect example!
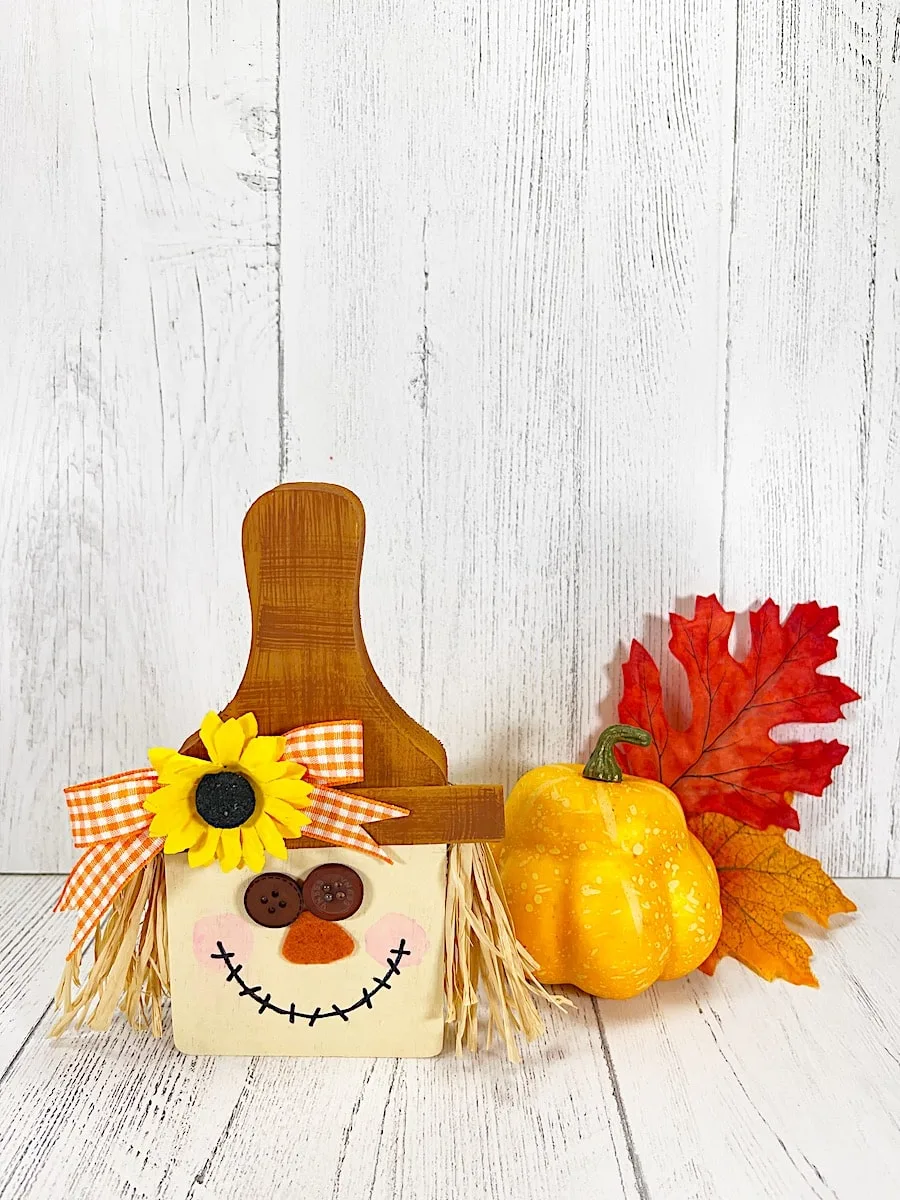
If you like cutting board crafts, be sure to see our DIY Cutting Board Witch and cute Cutting Board Elf, too!
This is just one of many Dollar Tree crafts we have! Be sure to see some more ideas!
How to Make a Cutting Board Scarecrow
All materials, other than the paint, were purchased at the Dollar Tree.
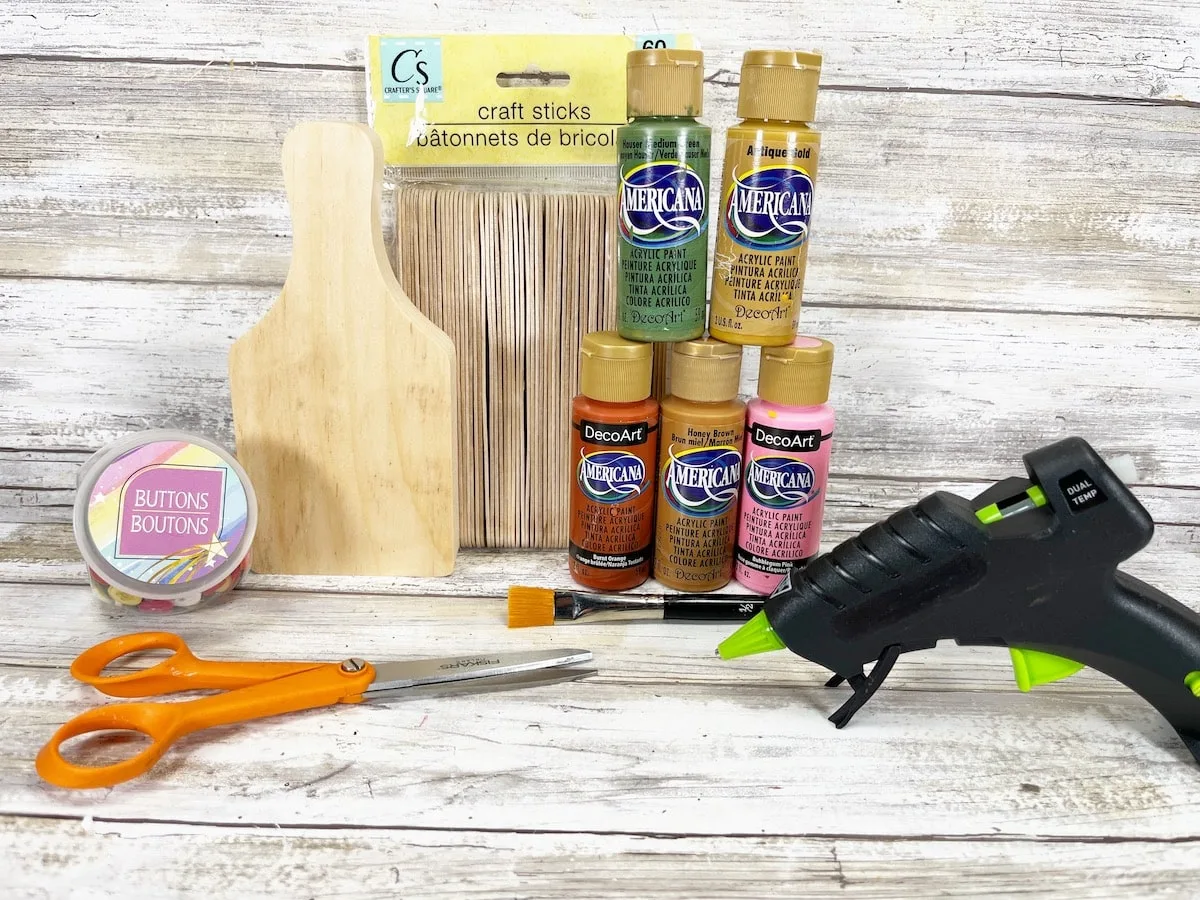
Materials
- Jumbo Craft Sticks
- Unfinished Wooden Cutting Board (these are similar and a great price if you are making several of these)
- 2 Brown Buttons
- Gingham Ribbon
- Jute Twine
- Silk Sunflower
- 8 inches Raffia
- Burnt Orange Craft Felt
- Acrylic Craft Paint (Off White, Light Brown, Medium Brown, Pink)
- Glue Gun and Glue Sticks or Craft Glue
- Paintbrush
- Cotton Swab
- Permanent Black Marker
Instructions
Step 1
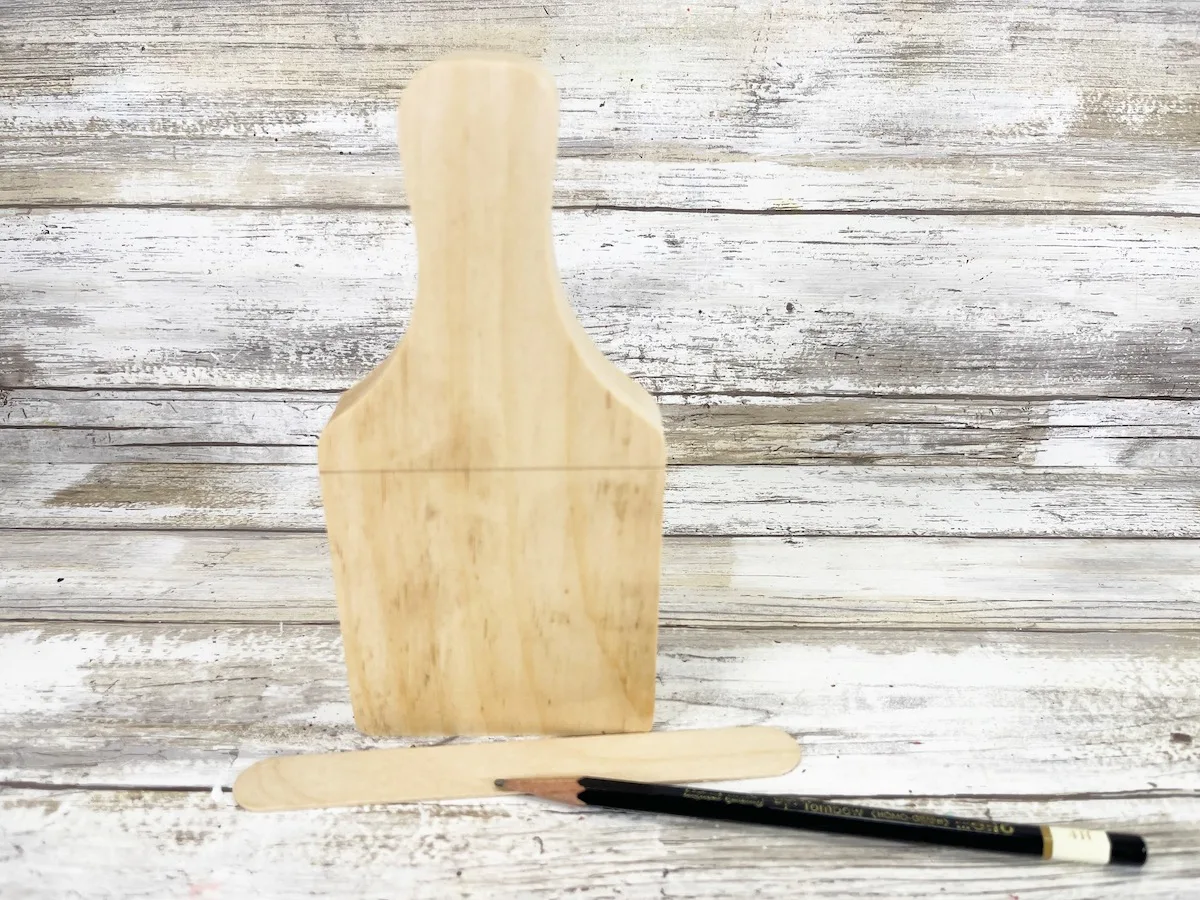
Lay the jumbo craft stick across the top of the cutting board and draw a line with a pencil on the board.
Step 2
Paint the top half of the cutting board and the jumbo craft stick with the light brown acrylic craft paint.
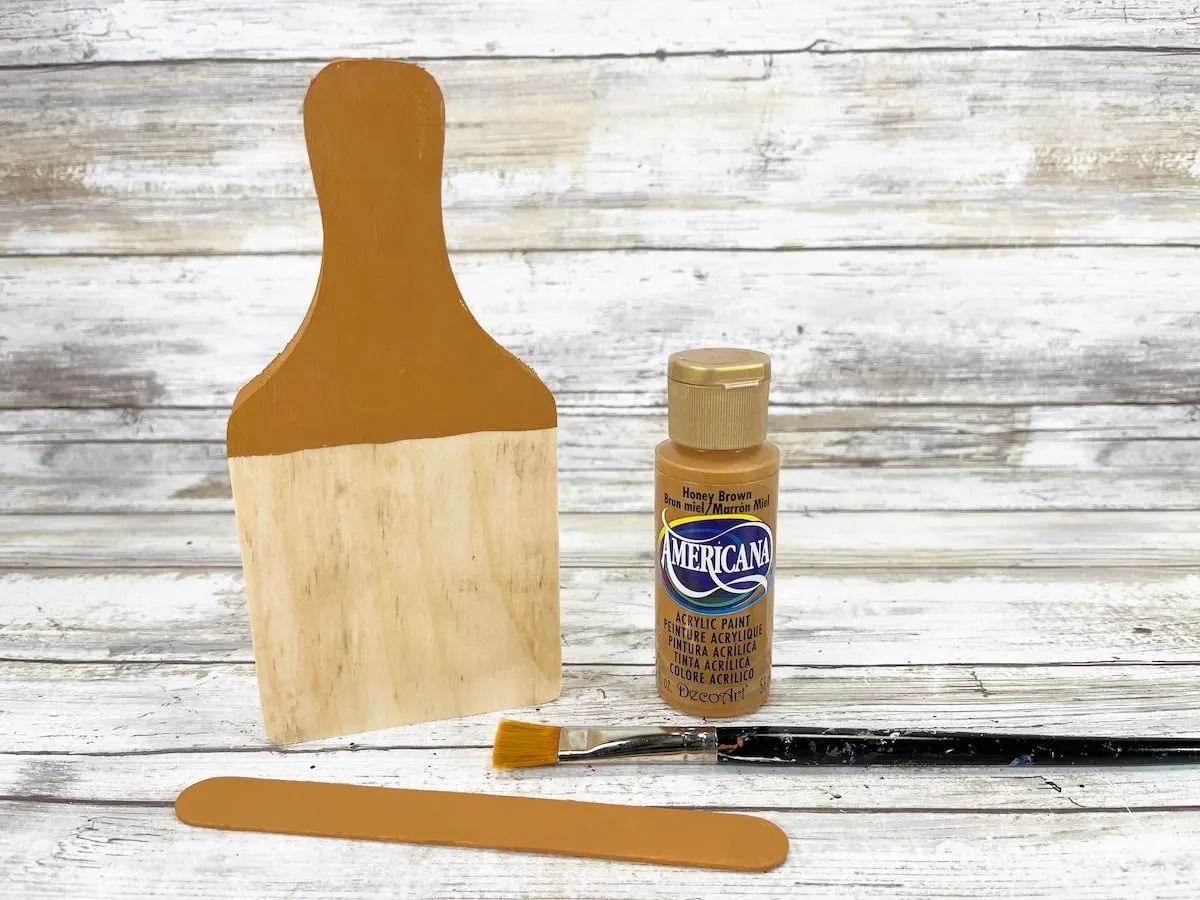
Allow to dry and apply a second coat, if needed.
Step 3
Paint the bottom half of the cutting board with off-white acrylic craft paint.
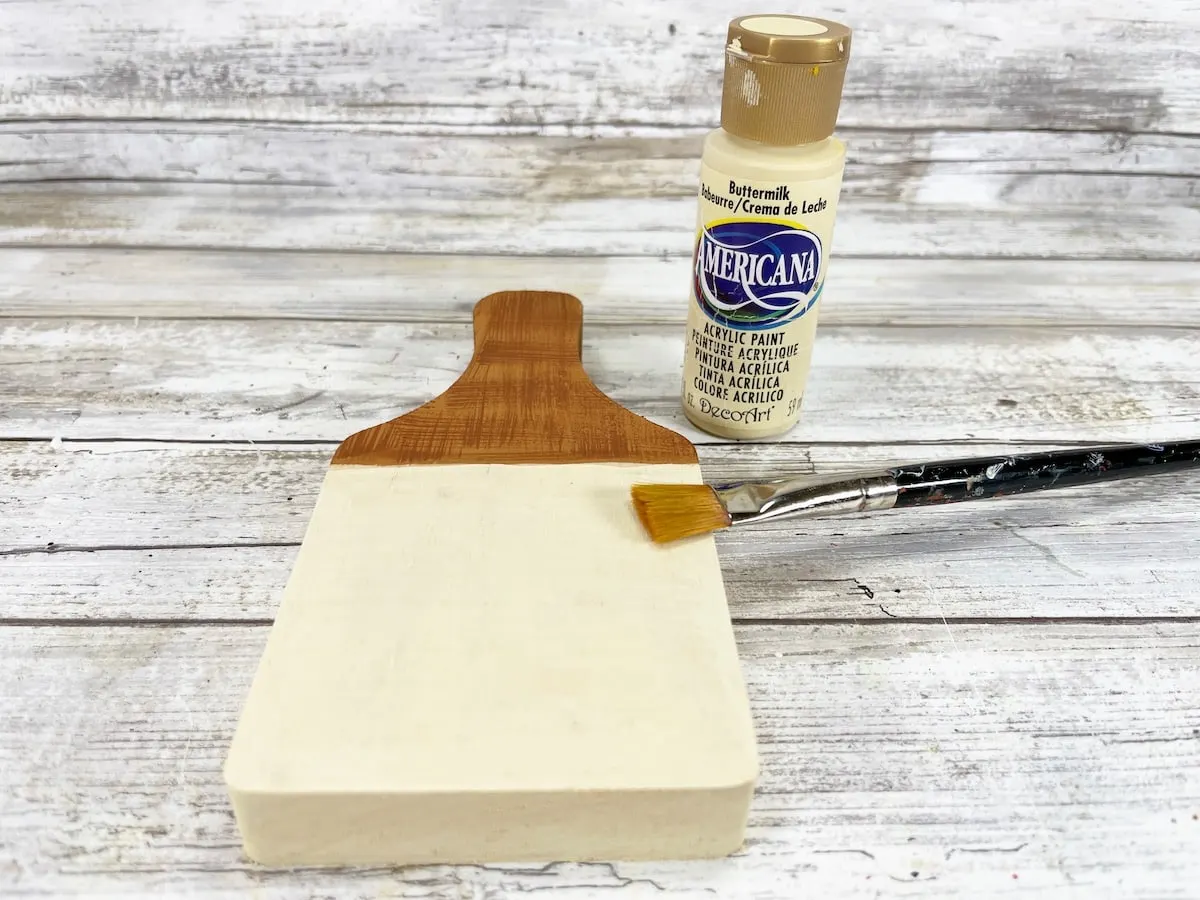
Allow to dry and apply a second coat, if needed.
Step 4
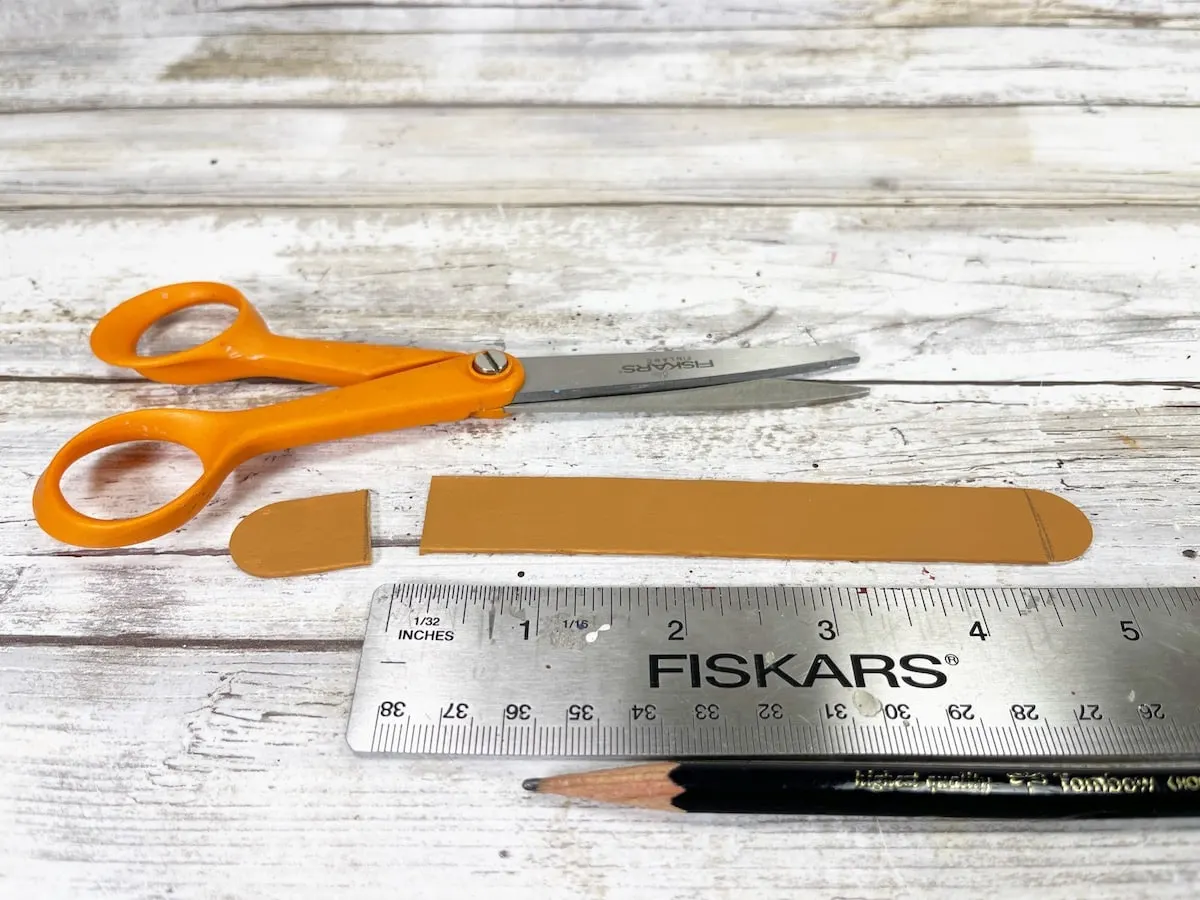
Measure the craft stick to 4.5” long in the center of the stick (no rounded edges) and mark the length. Trim the rounded ends of the craft stick off with scissors or a craft knife.
Step 5
Using the medium brown paint, add a cross-hatch pattern over the light brown paint areas.
Use a cross-hatch pattern, meaning brush up in a vertical line and then go across that with a horizontal brush mark.
You want the paint lines to look like burlap.
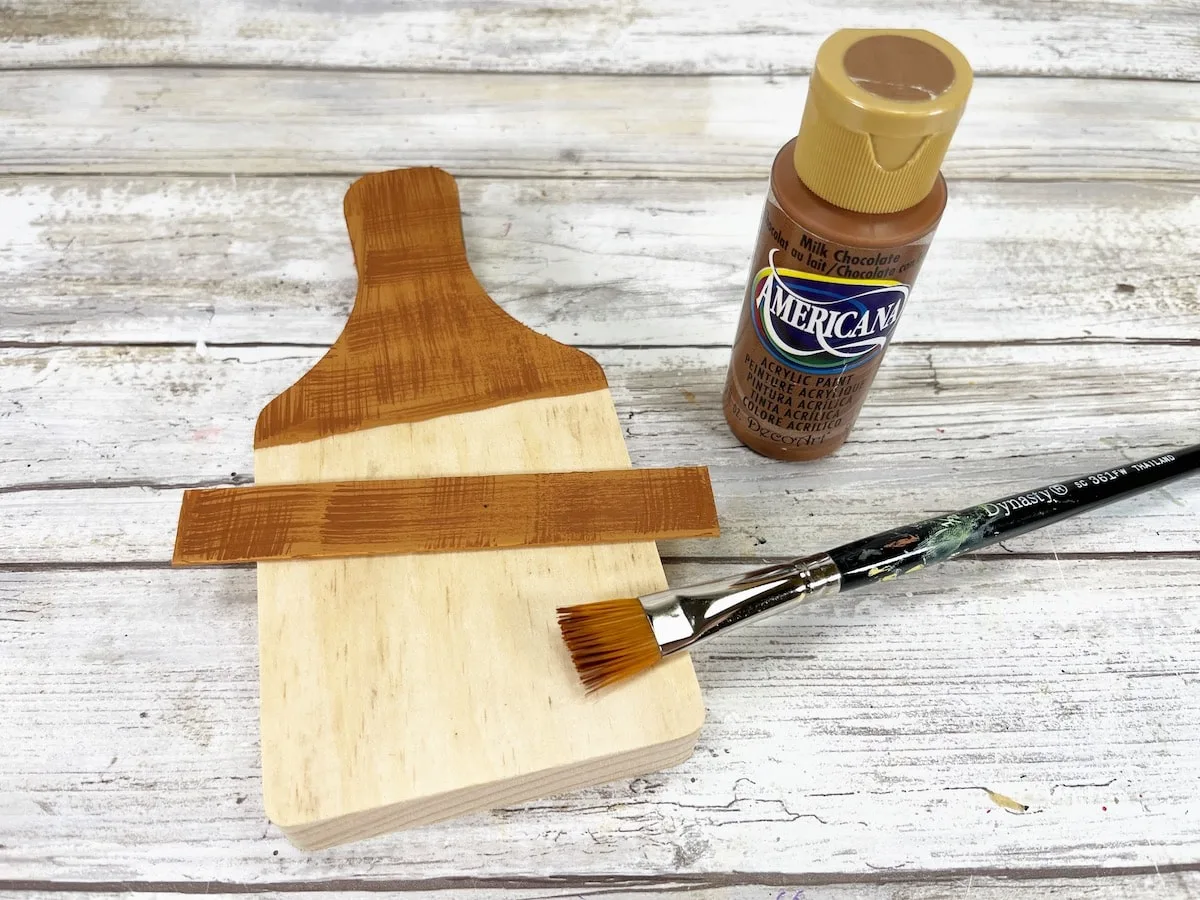
Allow to dry completely.
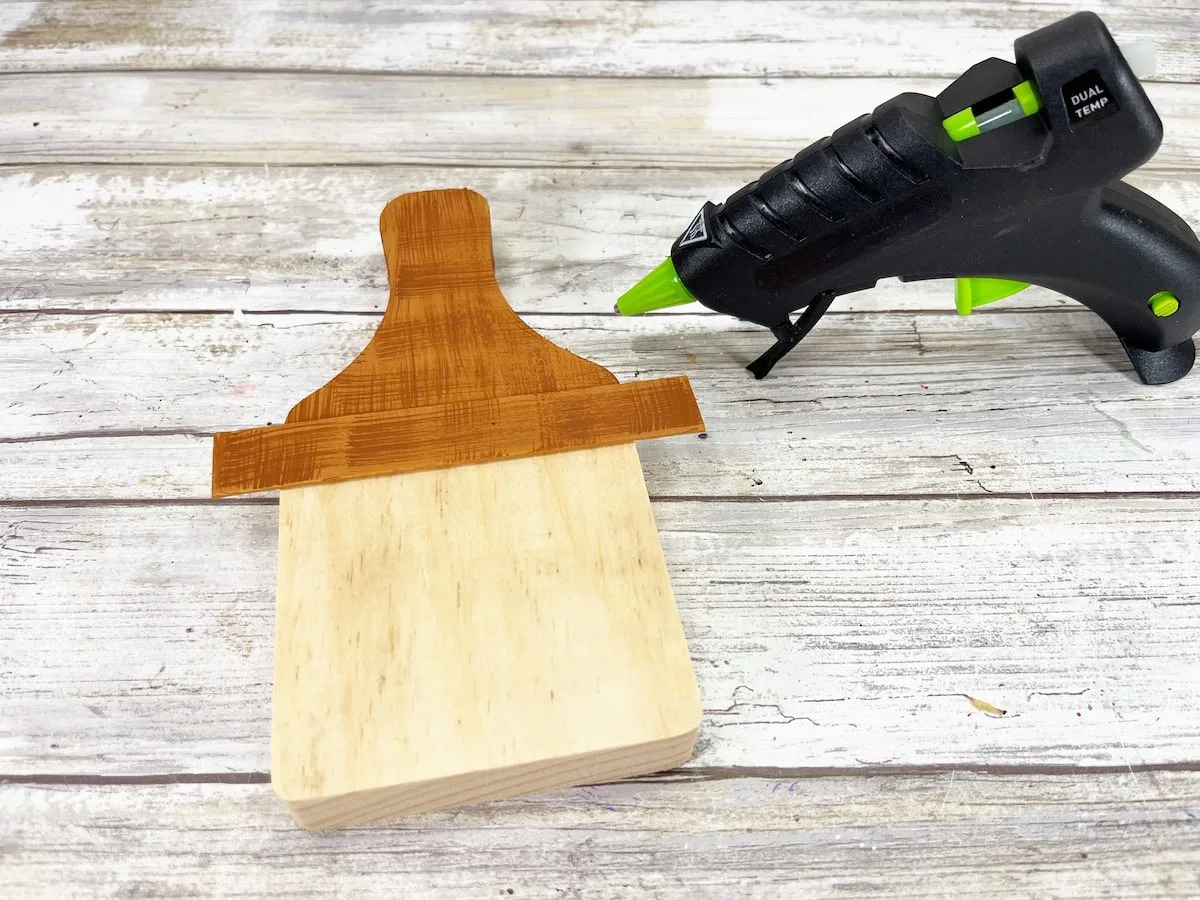
Glue the craft stick hat brim to the to the scare crow on the front.
Step 6
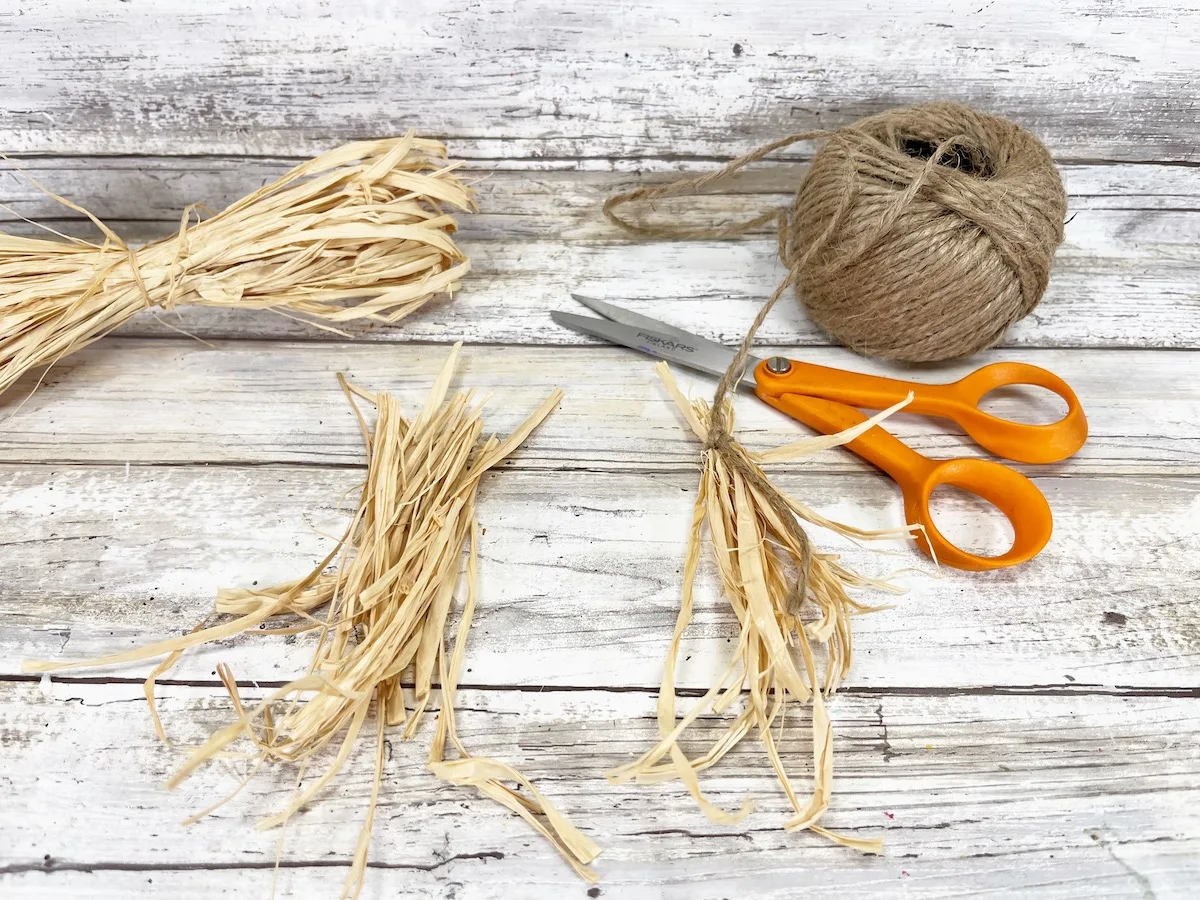
Cut an 8-inch section of raffia with scissors. Then cut that section in half.
Using the twine, tie the top of each bundle tightly, securing with a knot.
Step 7
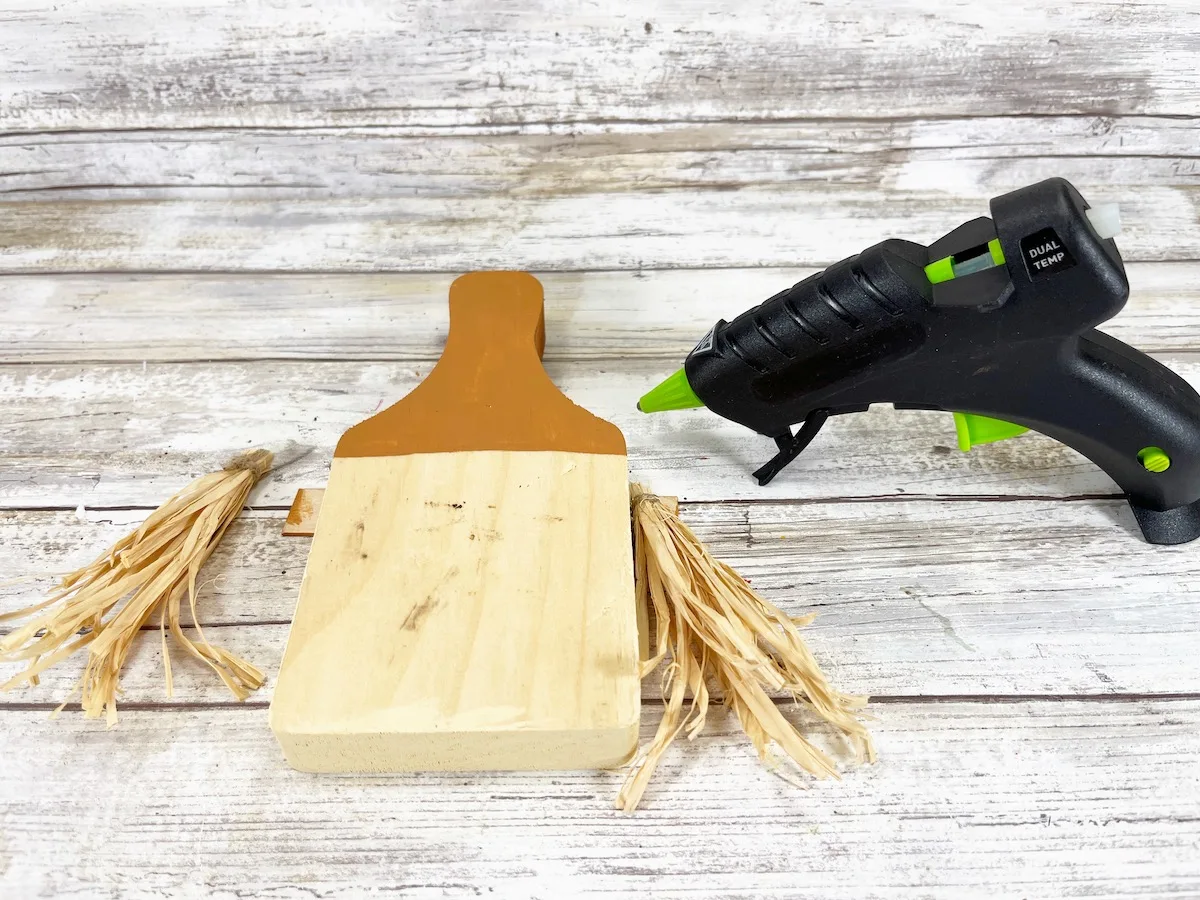
Glue the raffia bundles on either side of the cutting board around the area where the brown paint meets the off-white paint.
Glue the raffia on the back of the scarecrow, attaching to both the side of the cutting board and the back of the hat brim.
Step 8
Cut out a large triangle of orange craft felt to make a nose.

Step 9
To create the scarecrow’s face, glue the two brown buttons for eyes and the felt nose to the front of the board underneath the hat brim.
Add cheeks by swirling a cotton swab in pink acrylic craft paint and then adding circles on either side of the nose.

Step 10
Tie orange gingham ribbon into a bow. Glue the bow to the scarecrow’s hat.
Then glue a silk sunflower in the center of the bow.
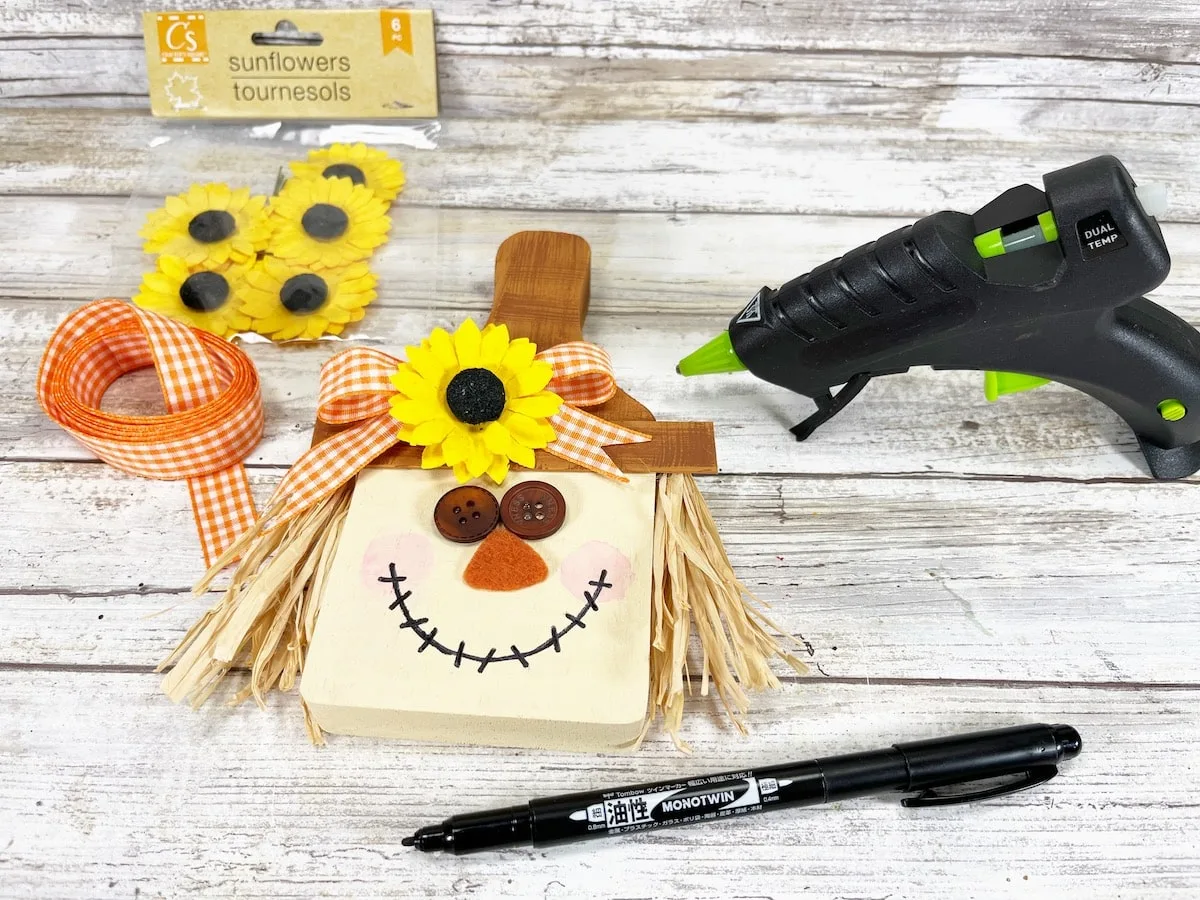
Draw a smile from cheek to cheek with a permanent black marker, then create vertical stitches.
Be sure to Pin This cutting board scarecrow to save for later!

Love scarecrow crafts? Check out these DIY projects:


Ashley
Wednesday 15th of October 2025
Would craft glue work for the things that need to be hot glued
Kimberly
Monday 27th of October 2025
Yes, craft glue usually works the same as hot glue. You just need to spend more time waiting for it to dry.