
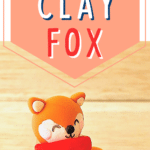


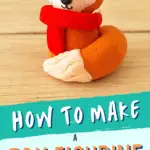


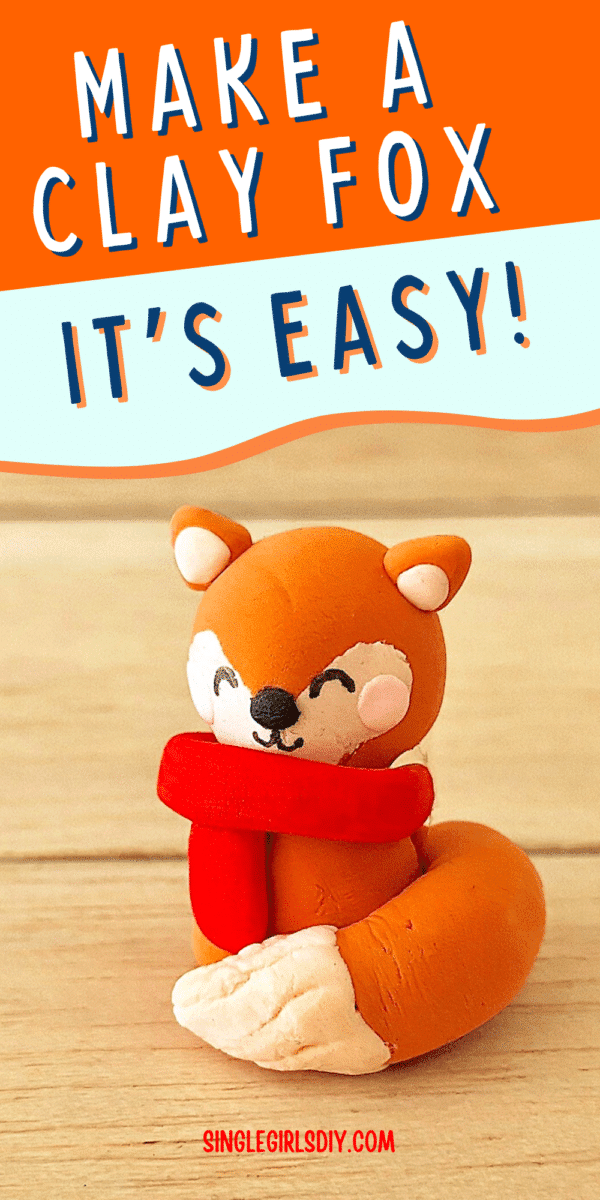
Our cute clay fox is easy to make with either air dry clay or modeling clay. While we made miniature fox figurines, you can make larger versions using this same step-by-step guide.
These forest animals are perfect to addd to a tiered tray, tuck on a shelf, bookshelf or window sill, or add to the top of a present as a gift topper.


How to Make a Clay Fox
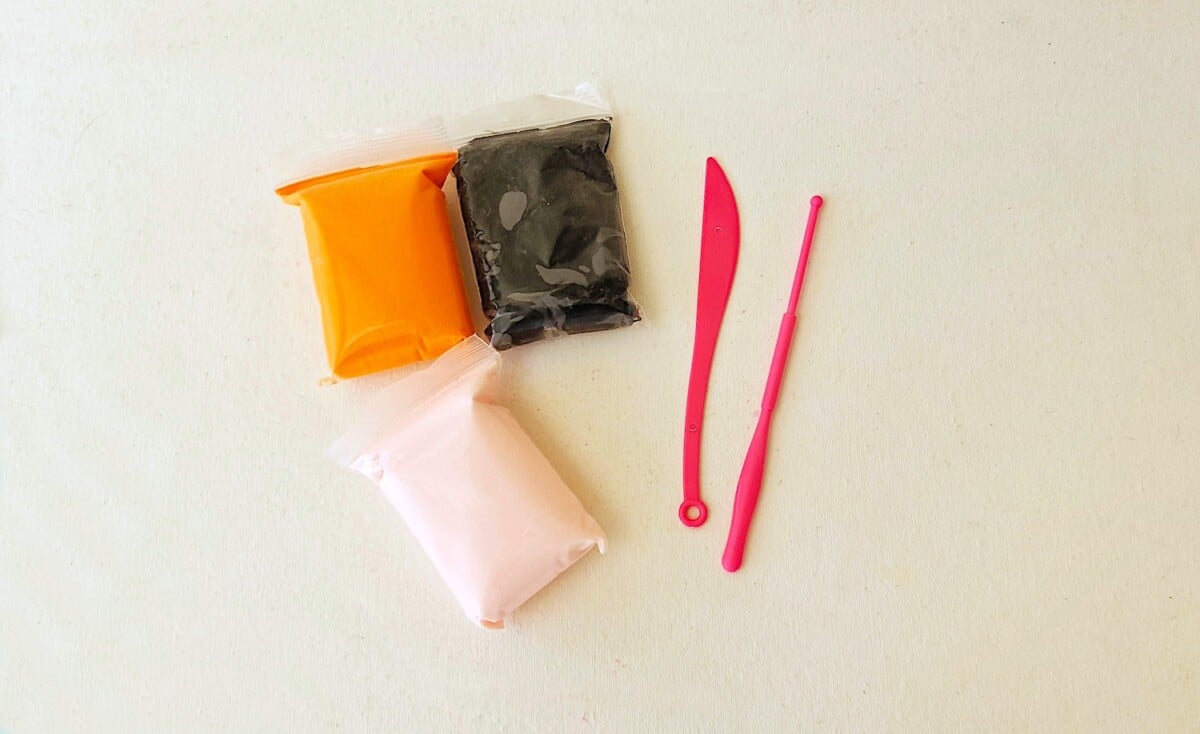
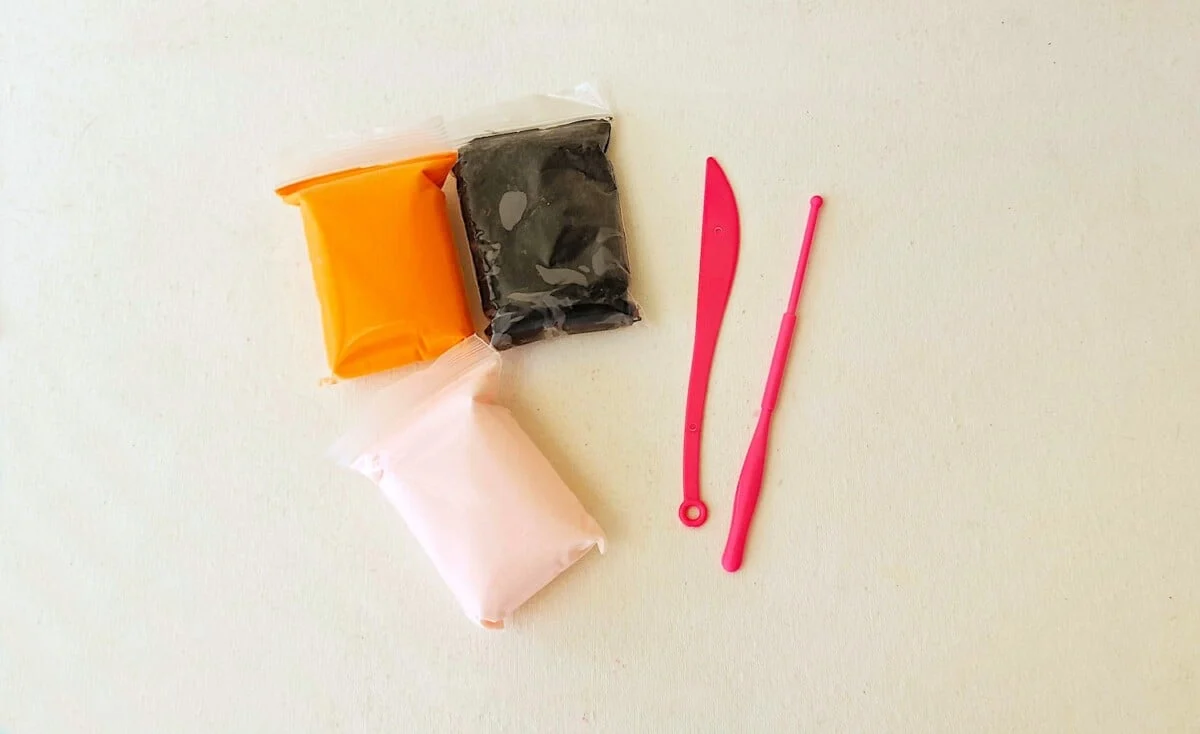
Supplies
- Air Dry Clay or Foam Clay (white, orange and red)
- Clay craft tools
- Black Clay or Black Sharpie
Materials
Step 1
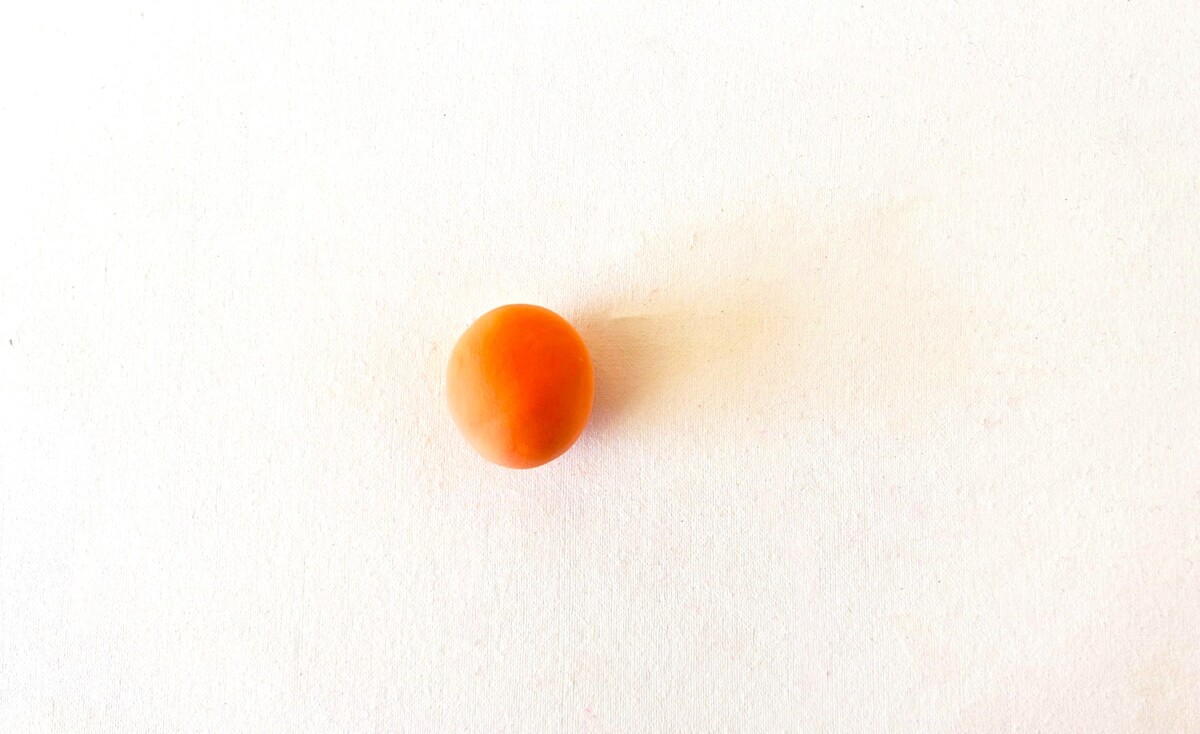
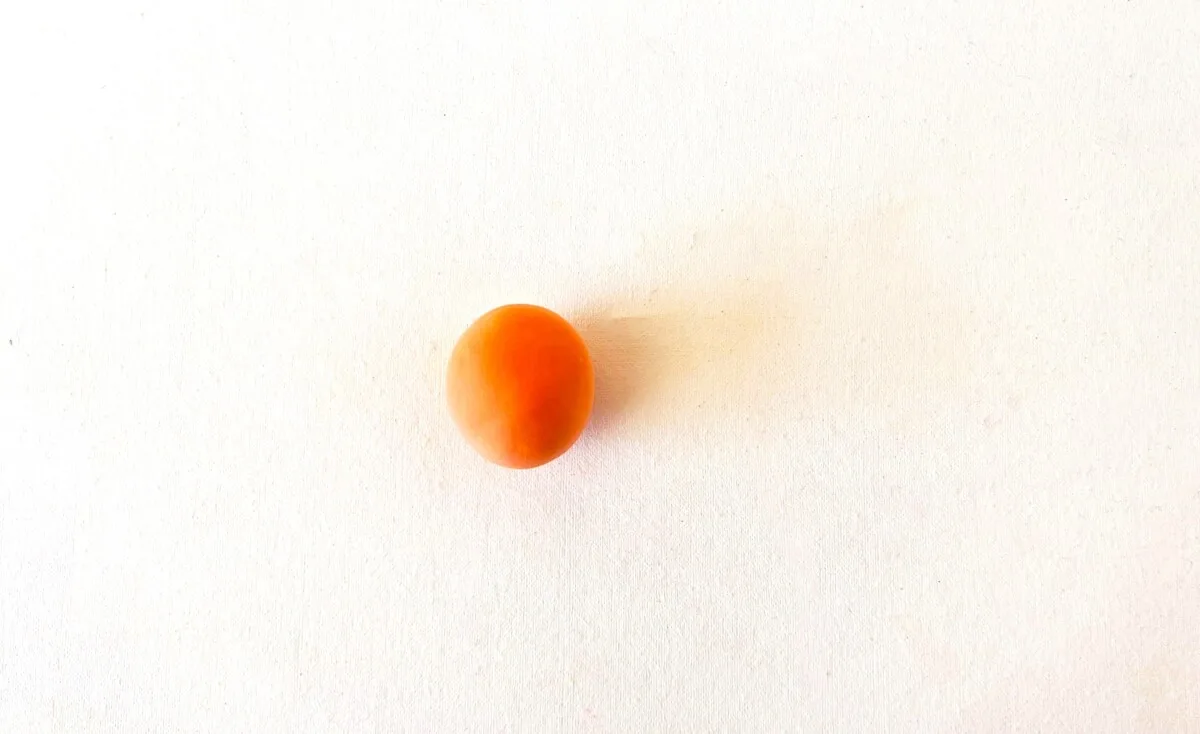
The amount of clay you need will depend on how big you will make the fox.
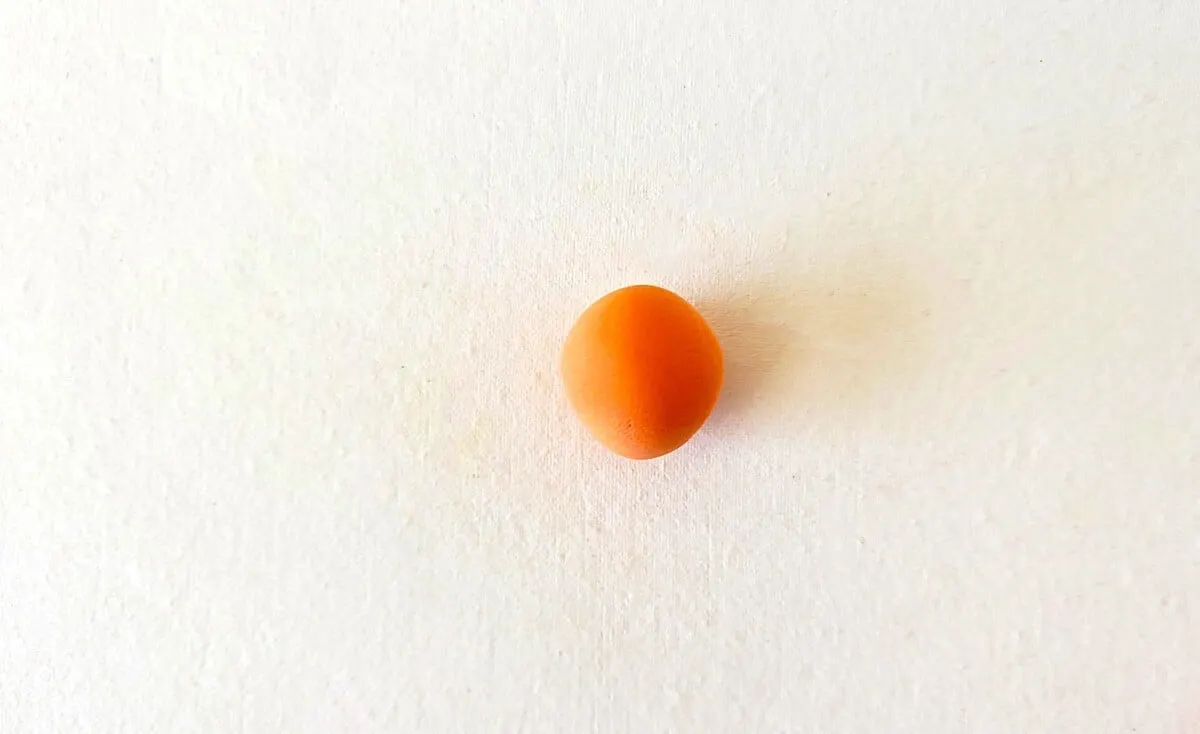
Pinch off a piece of orange clay big enough to make the head, body and tail.
Roll the clay into a smooth ball shape.
Step 2
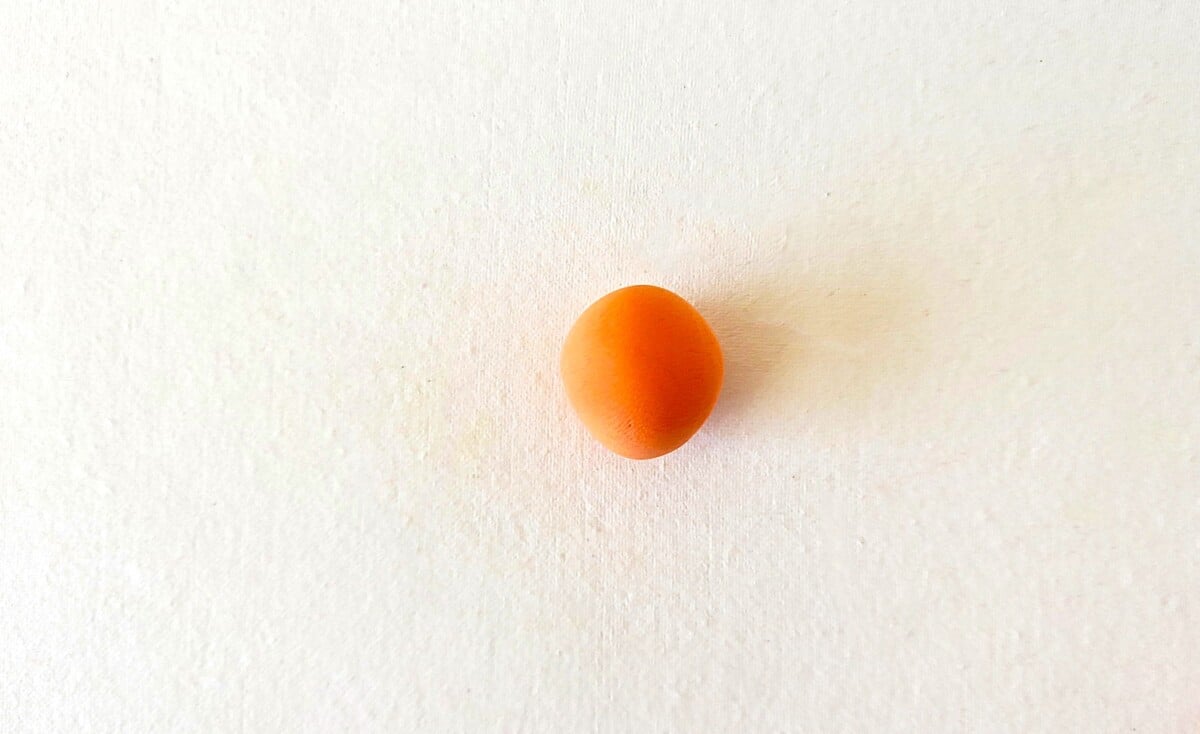
Divide the clay ball into 3 equal parts by cutting with a clay tool or a knife.
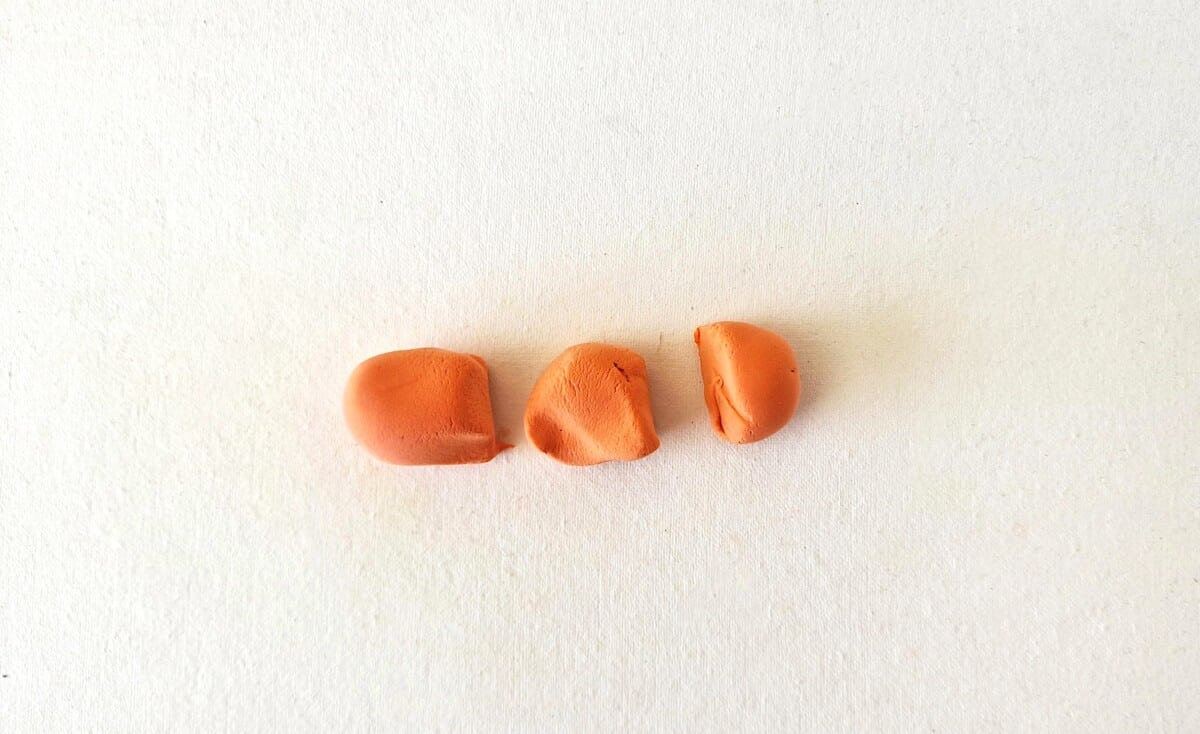

Roll one clay part into a ball shape.
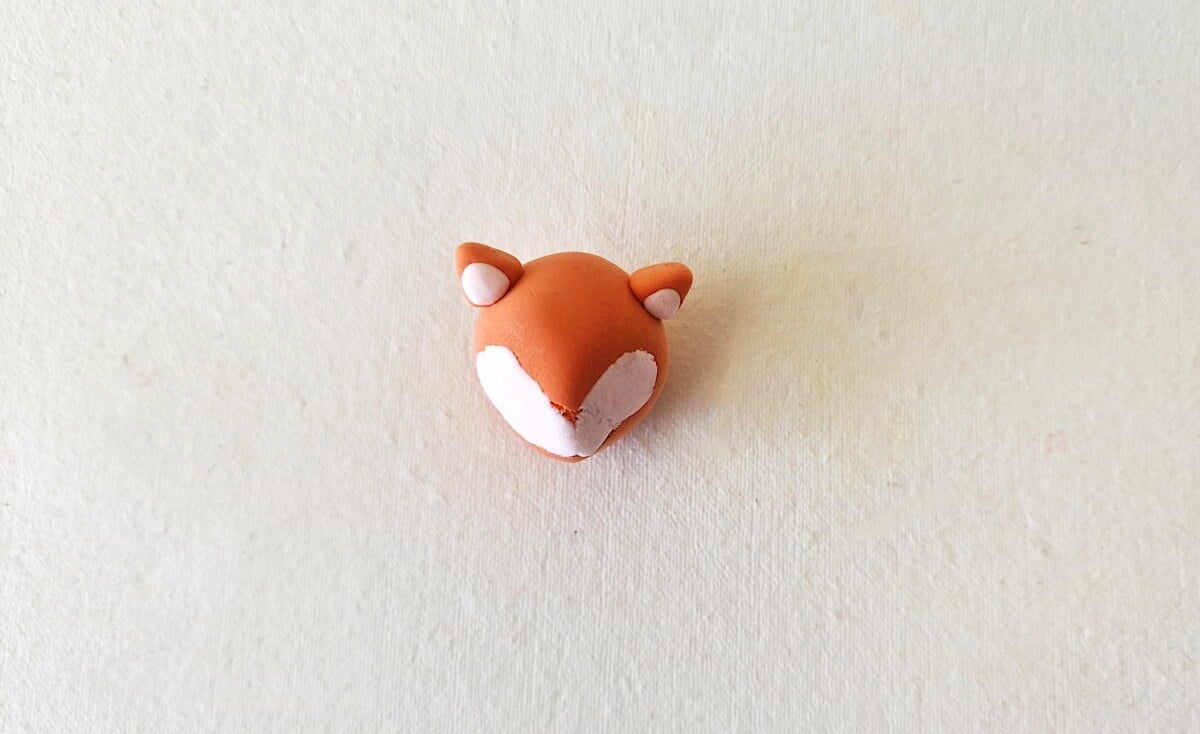
Step 3
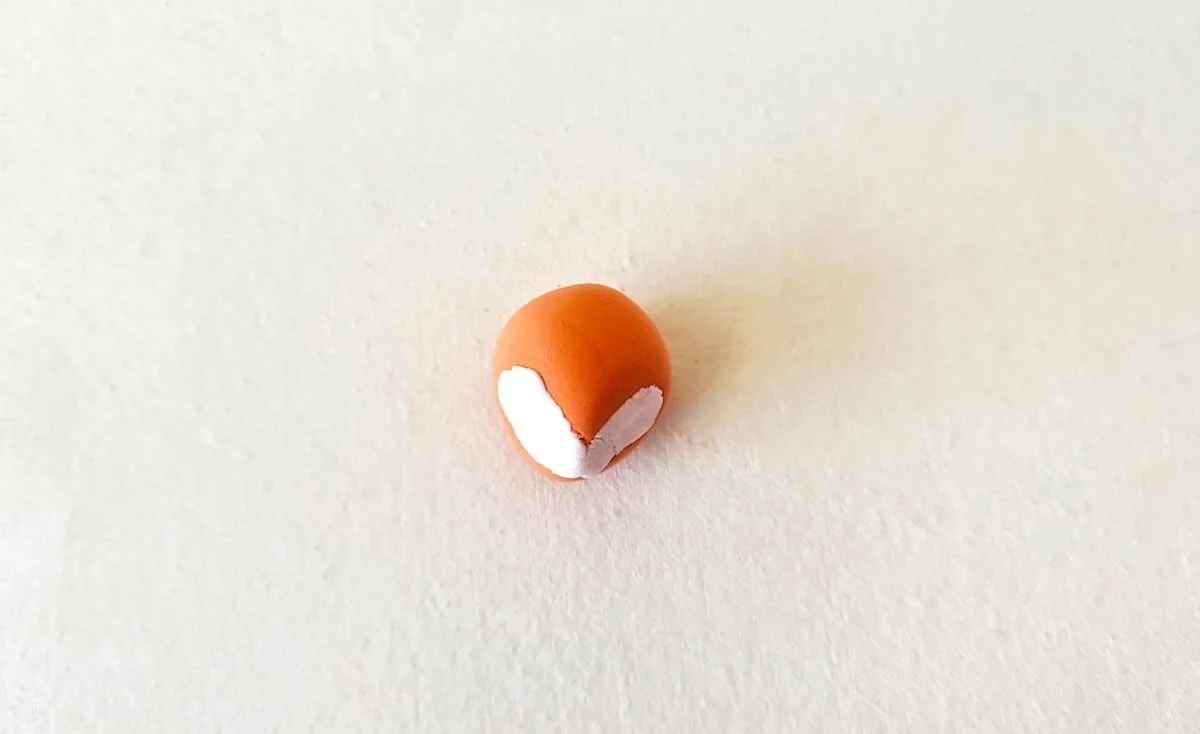
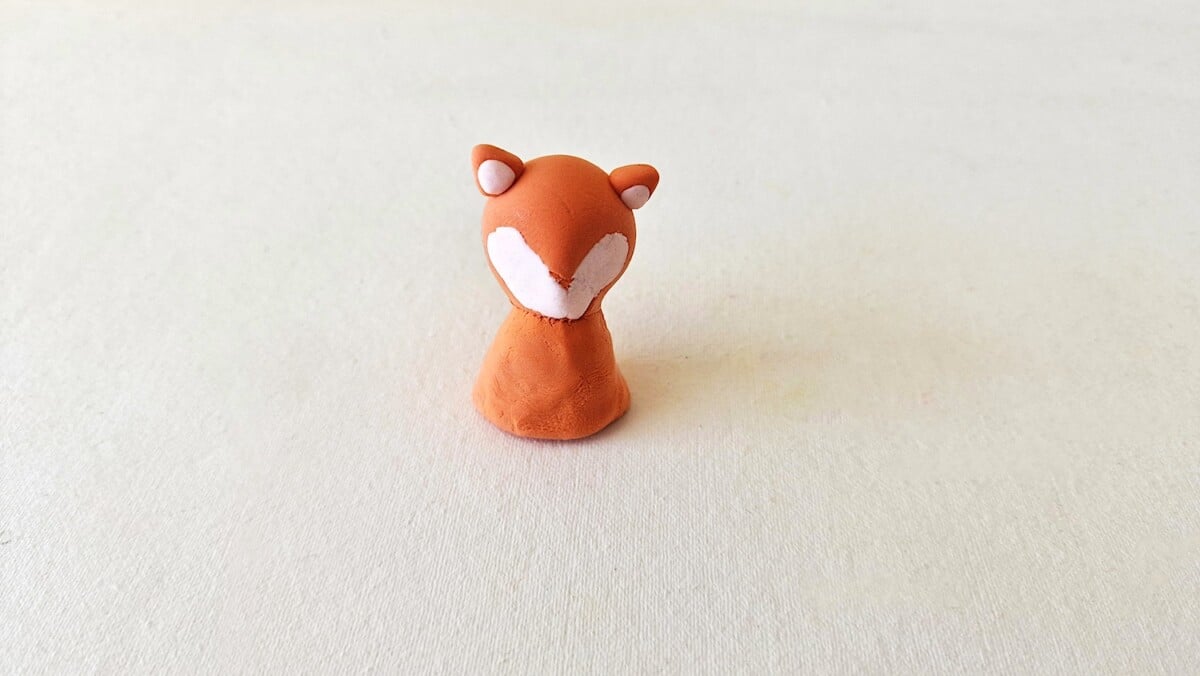
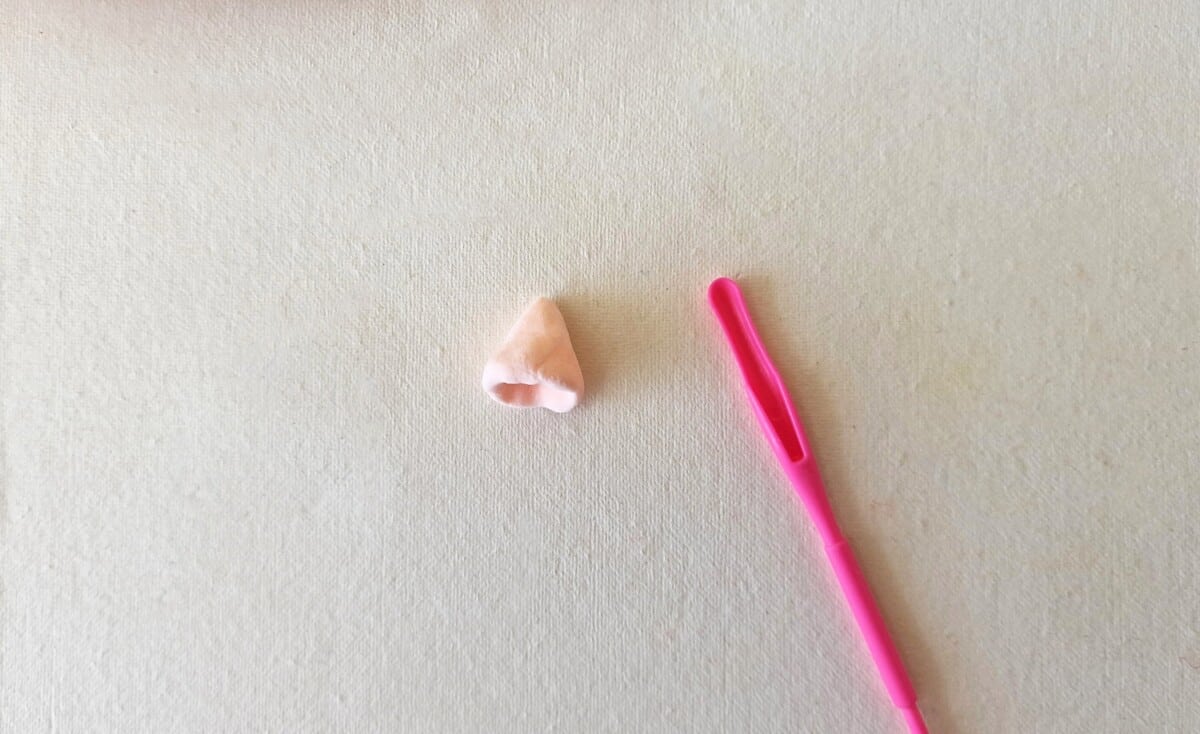
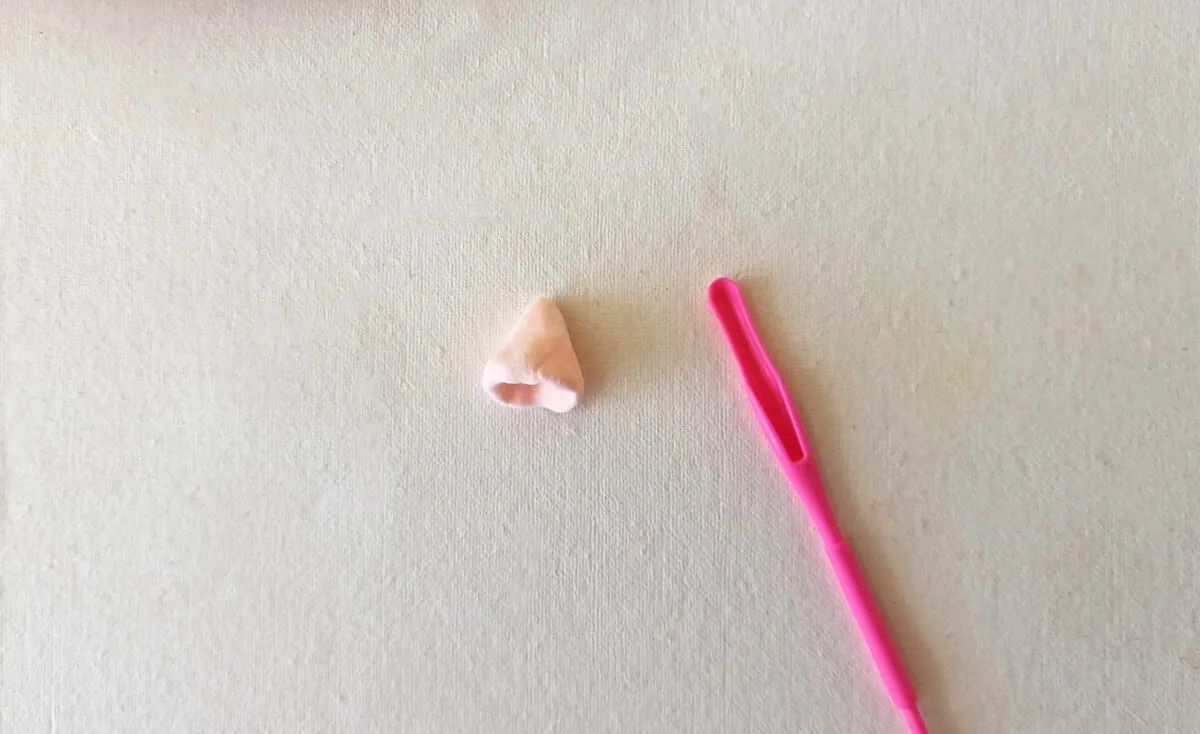
Take a small amount of white clay and make a flat long shape with round edges.
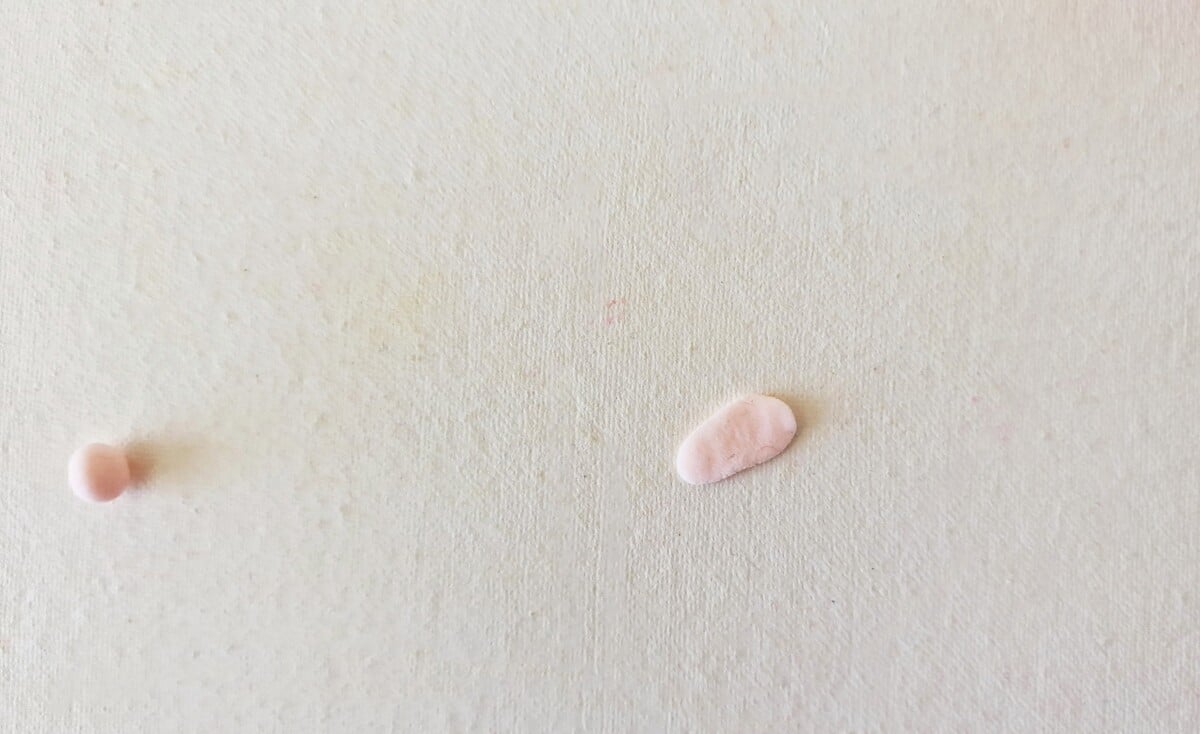

Press the white part on the round head. Adjust the round edges and make them facing upwards. This will be the white part of the face.

Step 4
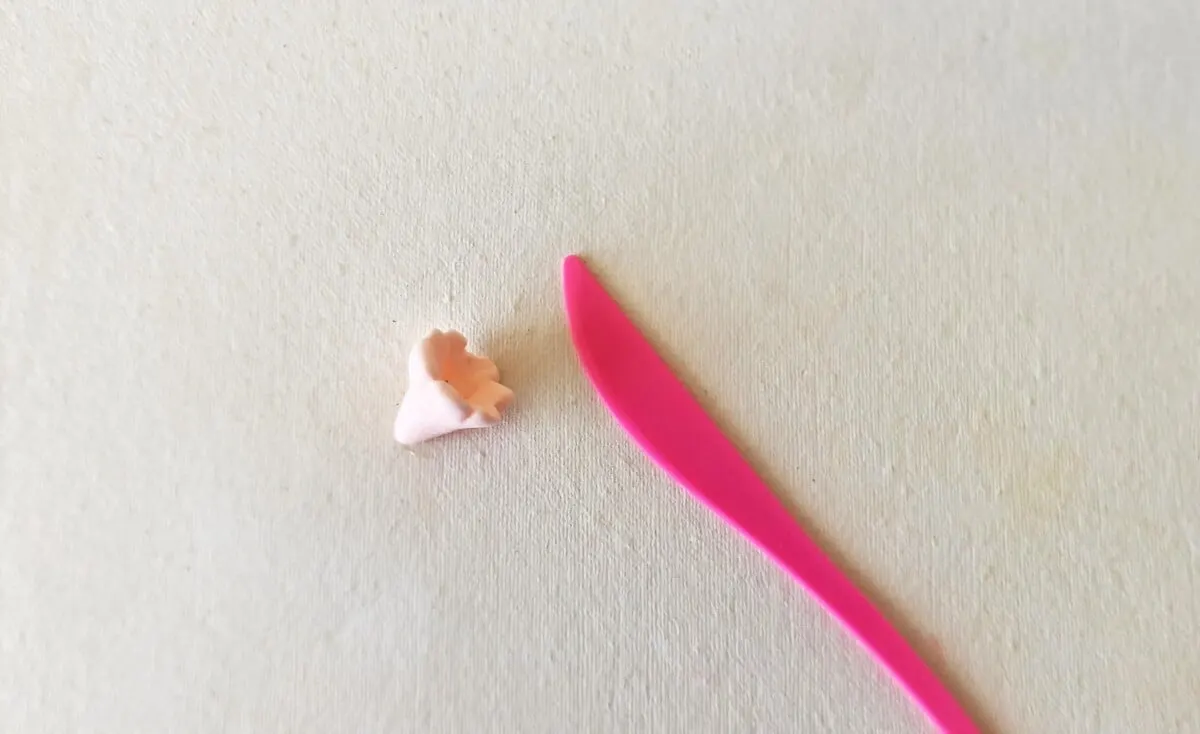
Take another small amount of orange clay for the outer ear parts. Then take a smaller amount of white clay for the outer ear parts.
Mold the shapes of the clay ears into small triangles.
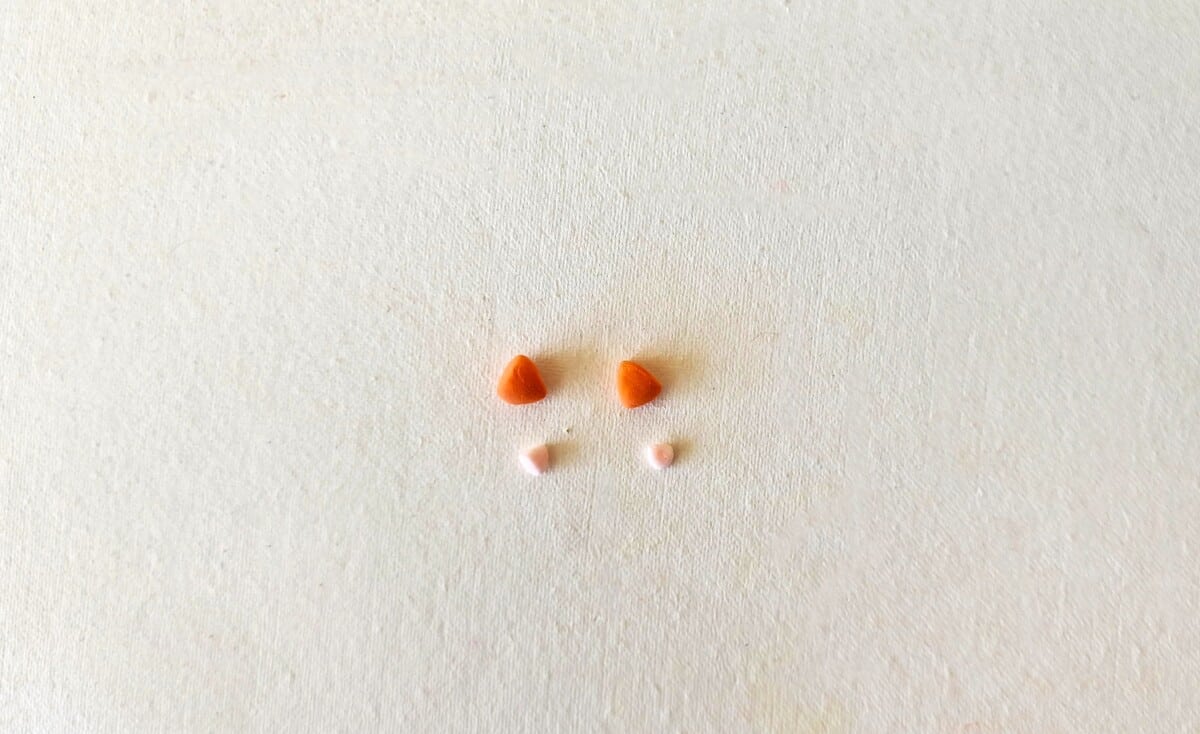
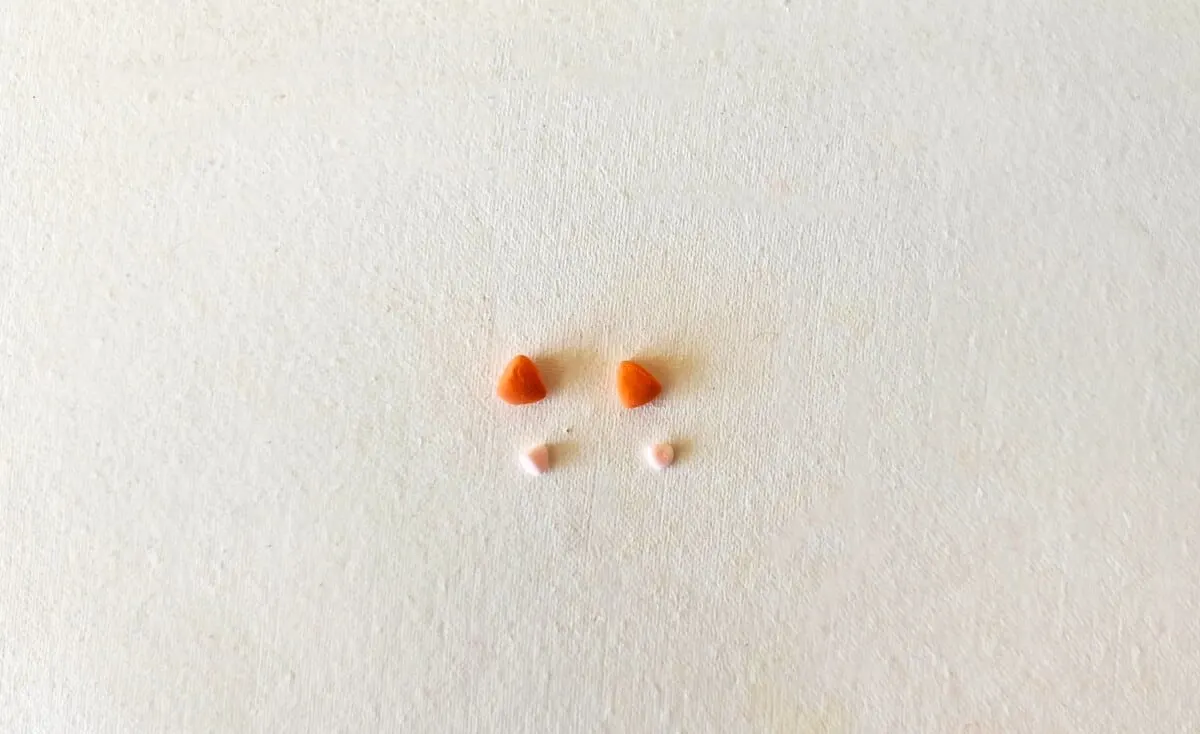
Attach the white parts on the orange ear parts. Press the clay ears on either side of the top of the head.

Step 5
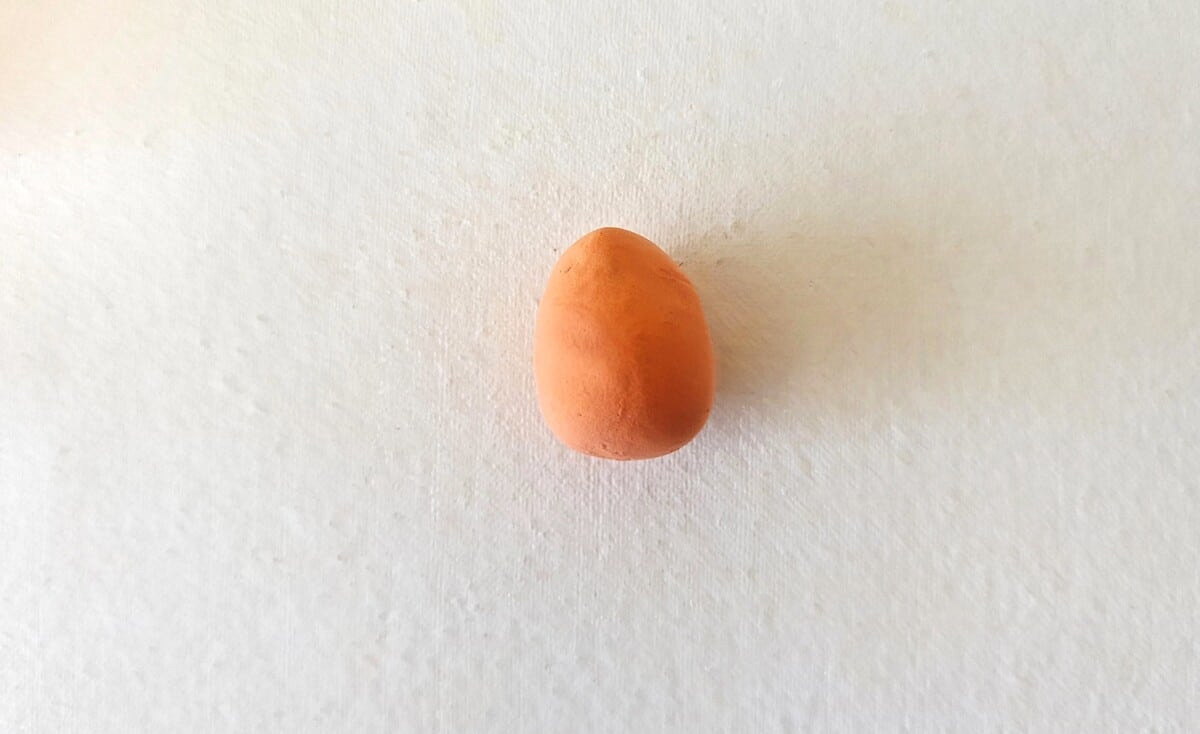
Using one of the two orange clay parts you made in Step 2, roll it into a cylinder-like shape.
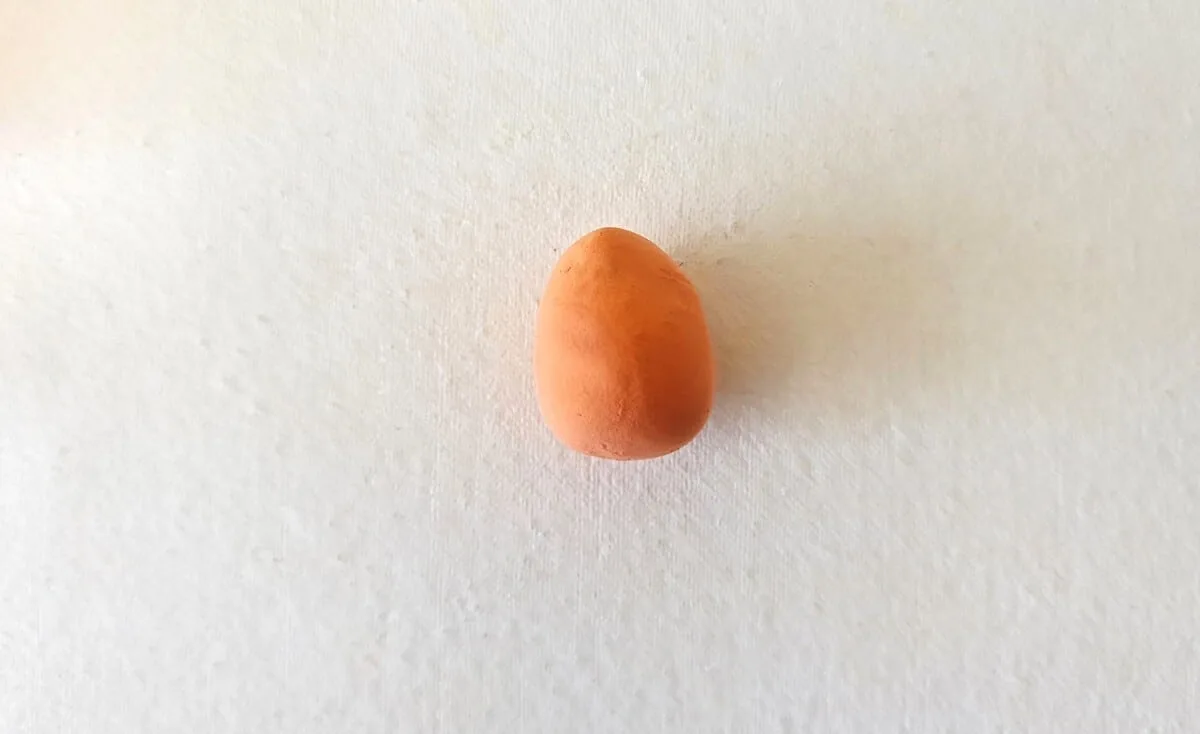
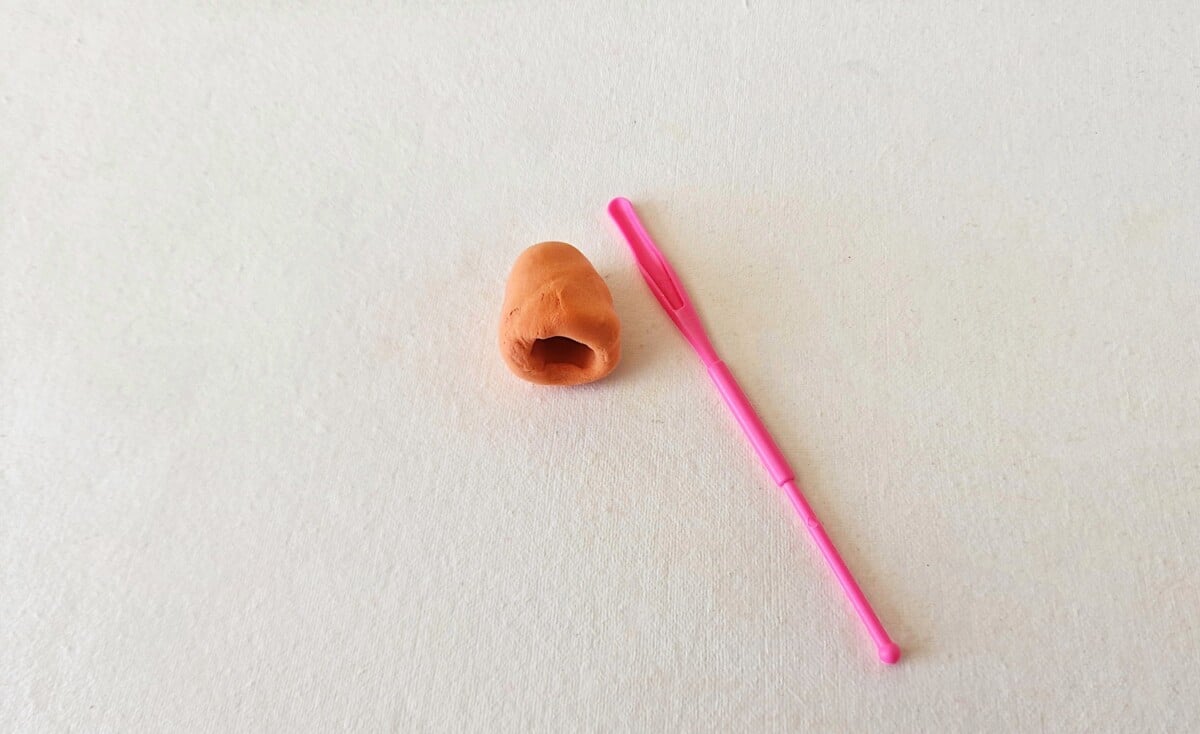
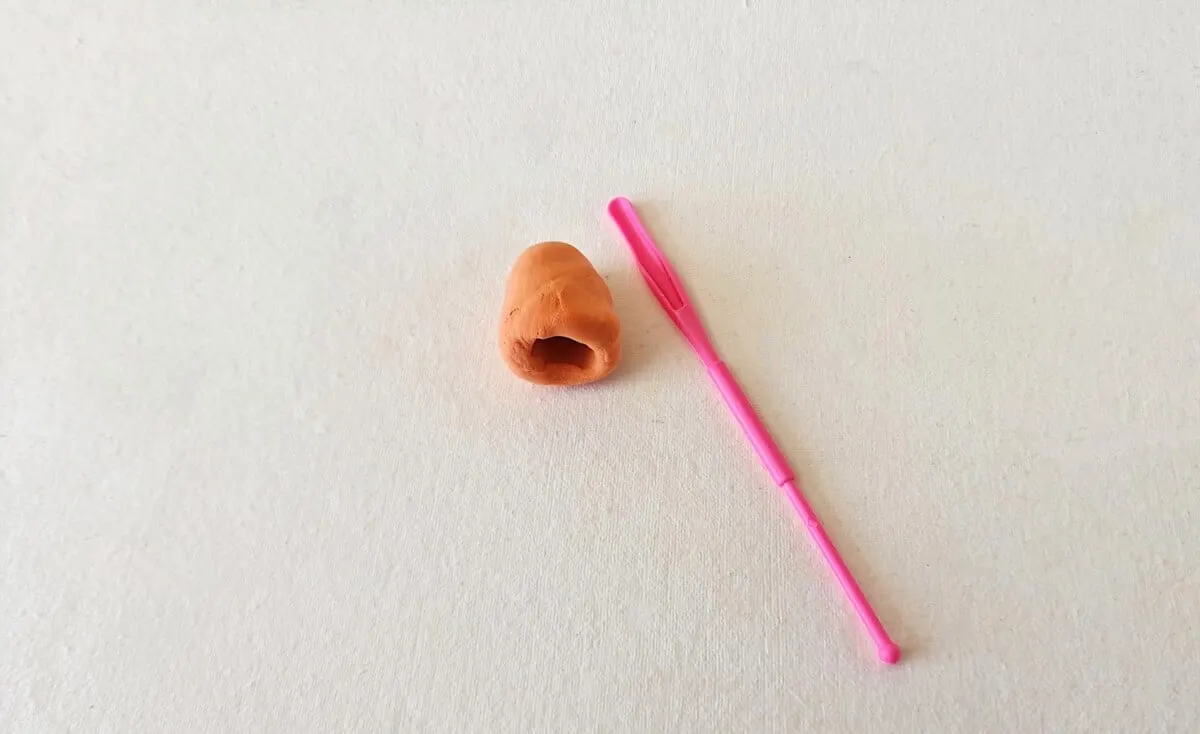
Step 6
Use the round clay tool to make a small hole at any one end of the cylinder-like clay shape. Then flatten out the edges. This will be bottom side of the clay fox.
The hole at the bottom side will help the clay fox stand upright.
Step 7
Press the clay head on top of the body.

Step 8
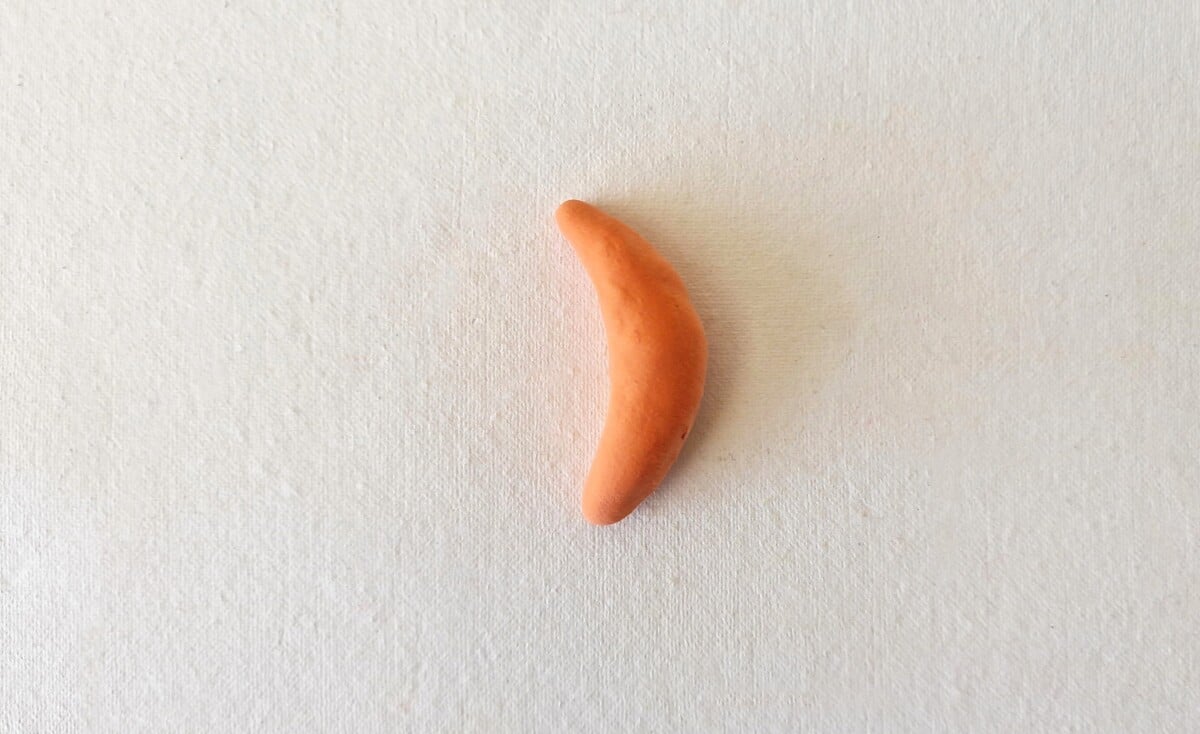
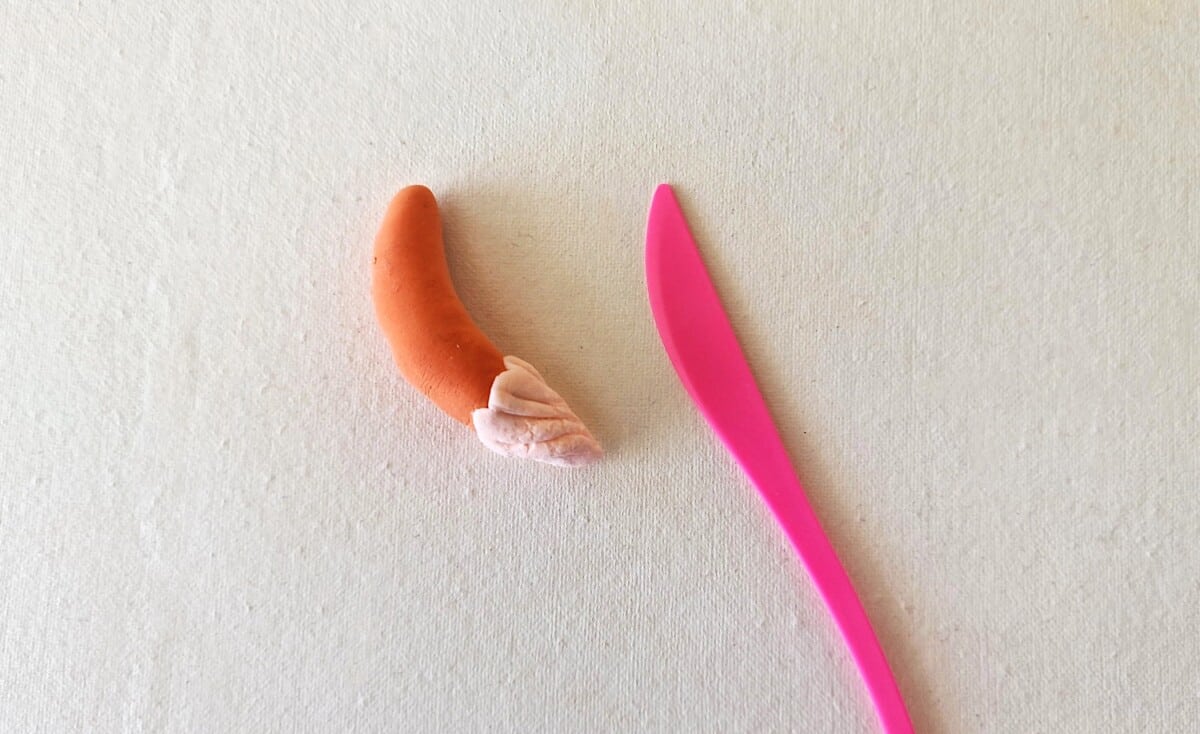
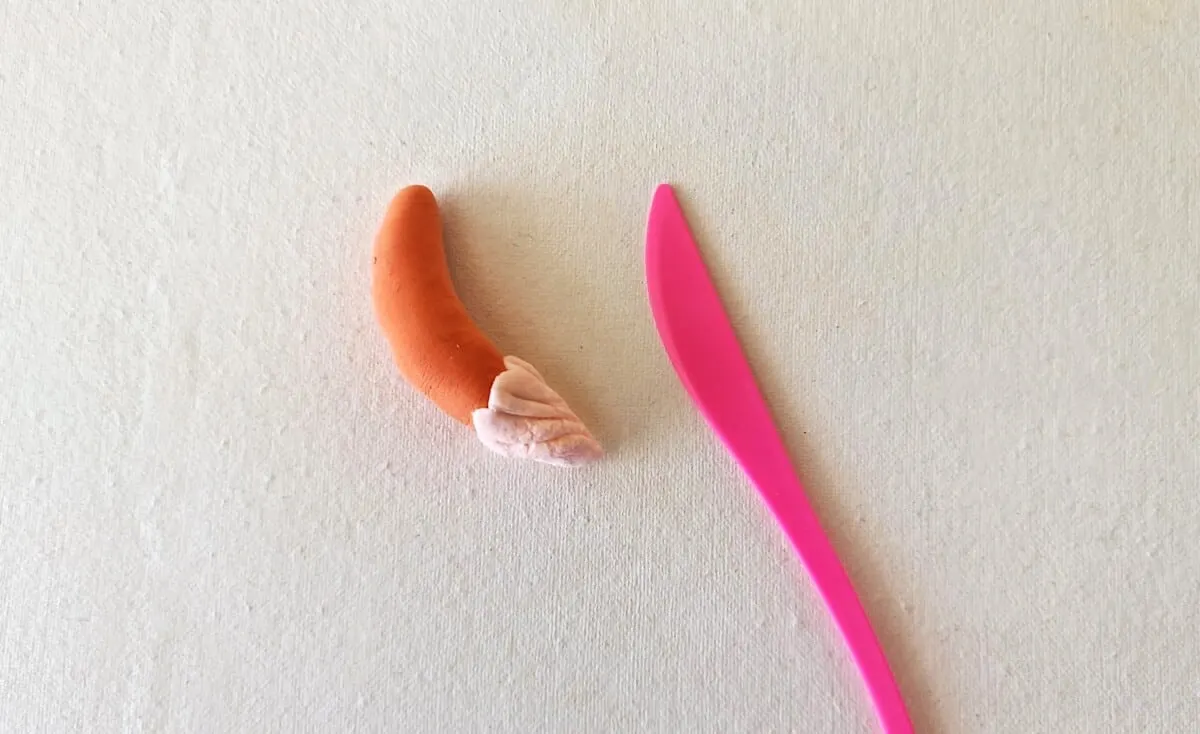
Using the last piece of orange clay cut in Step 2, roll the clay into a fox tail shape.

Step 9
Using a small amount of white clay, make a cone shape that will fit over the end of the tail.
Use the clay tool to make indents around the wide, open end of the cone shape.

Step 10
Attach the clay cone at the end of the tail shape, pressing it to secure to the orange clay tail.


Step 11
Use the clay tool to make indents on the tail tip.
Step 12
Attach the clay tail to the clay fox from the backside of the body. Then bend the fox tail and bring the white tip to the front.
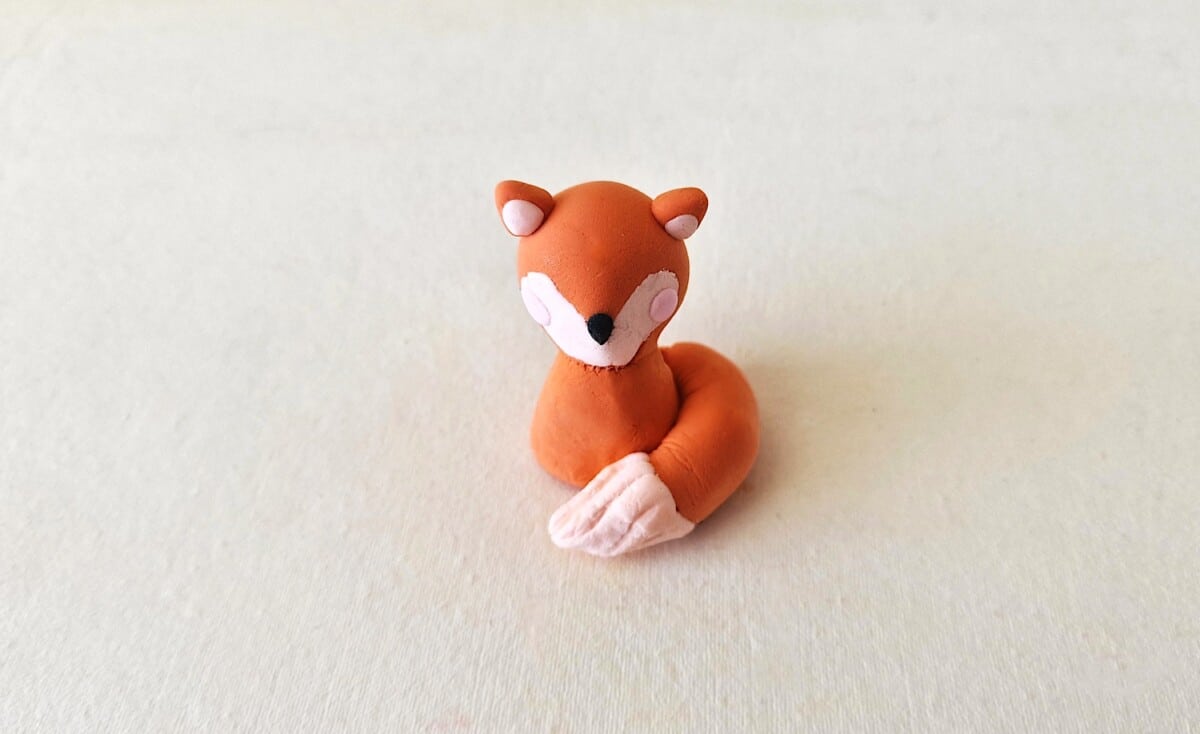

Step 13
You can either use small amounts of black clay or a black Sharpie to make the facial features.

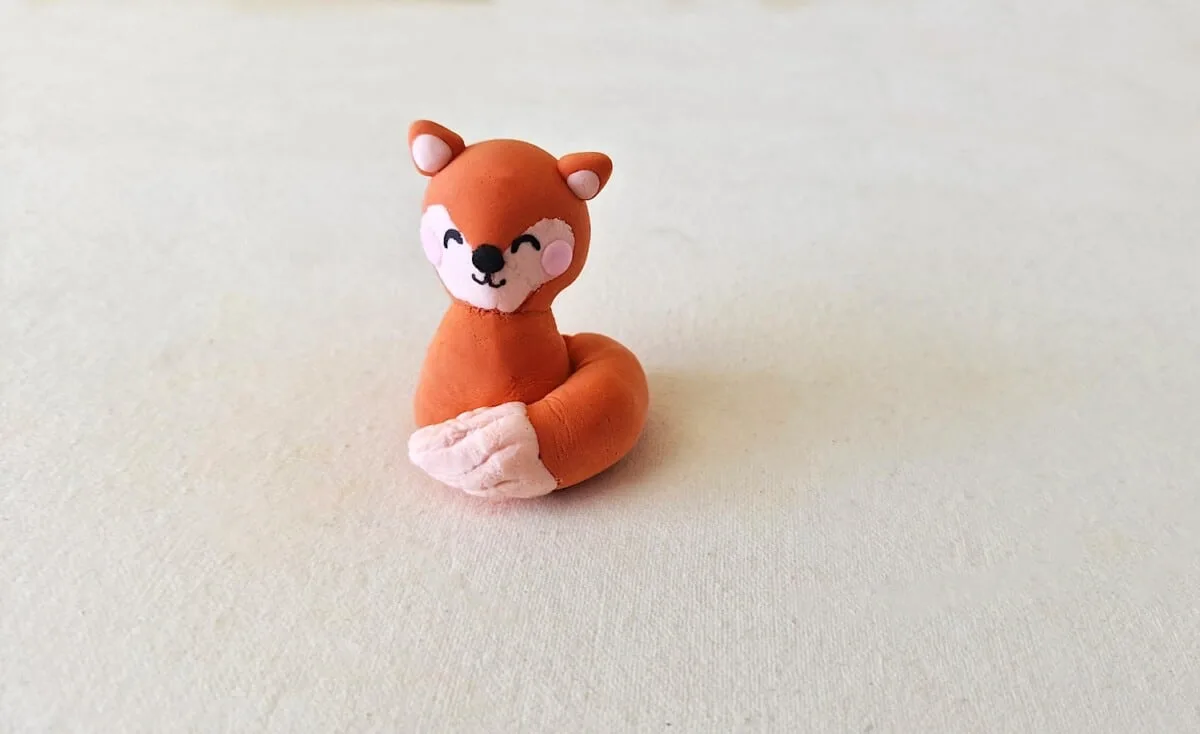
Step 14
Add more details to the clay fox if you want to. We made a red scarf out of clay.
Want to save this tutorial? Be sure to Pin It or share on Flipboard!

This is just one of the easy clay crafts we have tutorials for. Be sure to see these ideas next:
- DIY Clay Sunflowers
- Clay Cherry Earrings
- DIY Clay Penguins
- Clay Flower Earrings
- DIY Clay Gnome
- Clay Leprechaun Gnomes
- How to Make a Clay Jewelry Dish
