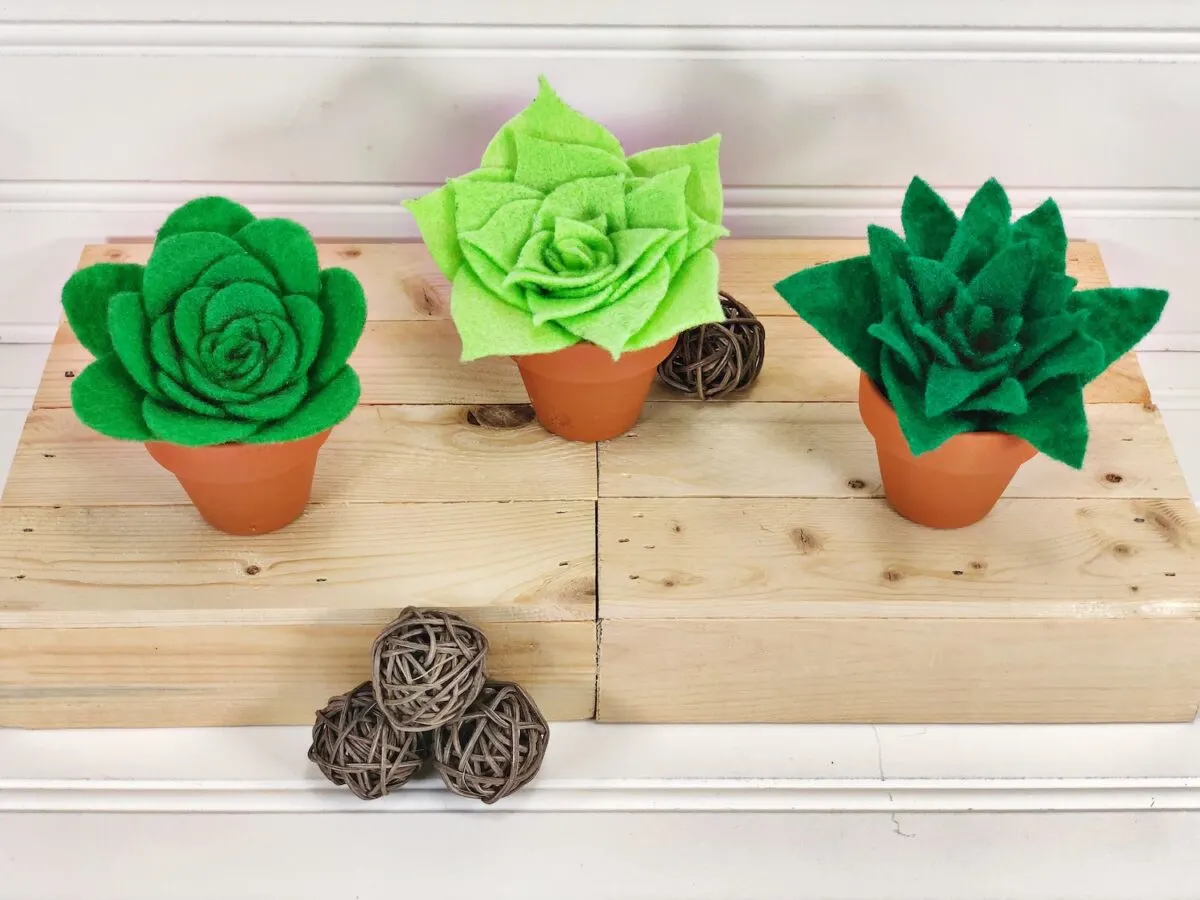
If you love plants, but you kill them easily, these DIY miniature felt succulents are for you!
Even though everyone says that succulents are hard to kill, I find that I kill those plants more easily! Real succulents do not work in my home! But these cute fake succulent plants will!
This DIY project is super easy to make. You just need to cut out the felt patterns, then glue together. That’s it!
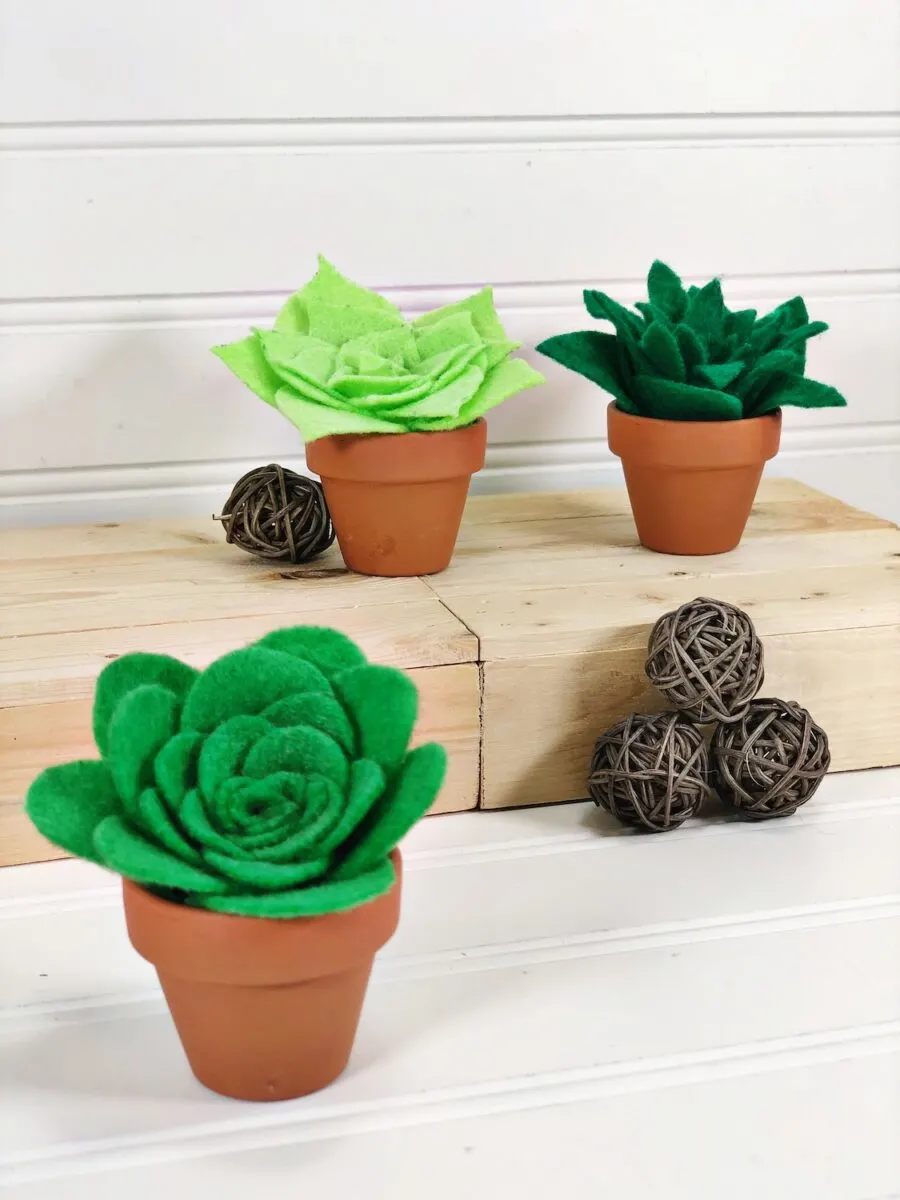
Make a few of these to tuck into spaces on your shelves, or on window sills. They look great on trays, too.
Use these DIY wooden pedestals to elevate these little flower pots on tiered trays or shelves. Or make these larger display pedestals with Dollar Tree supplies.
If you don’t want to add them to individual pots, you could make quite a few succulents and put them in a larger shallow succulent dish. I think that would be beautiful, too!
If you would rather use faux plants to decorate your home, see our easy popsicle stick cactus and paper cactus terrarium crafts, too.
You might also like these easy Dollar Tree DIY Terrariums with Faux Plants.
How to Make Felt Succulent Plants
Supplies
- Free Felt Succulents Pattern Sheet
- 3 Pieces of Green Felt – I used Kunin Classic Felt in Neon Green, Apple Green, Pirate Green. However, the greens in this inexpensive felt pack are pretty, too!
- 3 Mini Terra Cotta Flowerpots, 2” in diameter
- Hot Glue Gun and Glue Sticks
- Scissors
- Black Marker or Pen for tracing
Directions
Step One
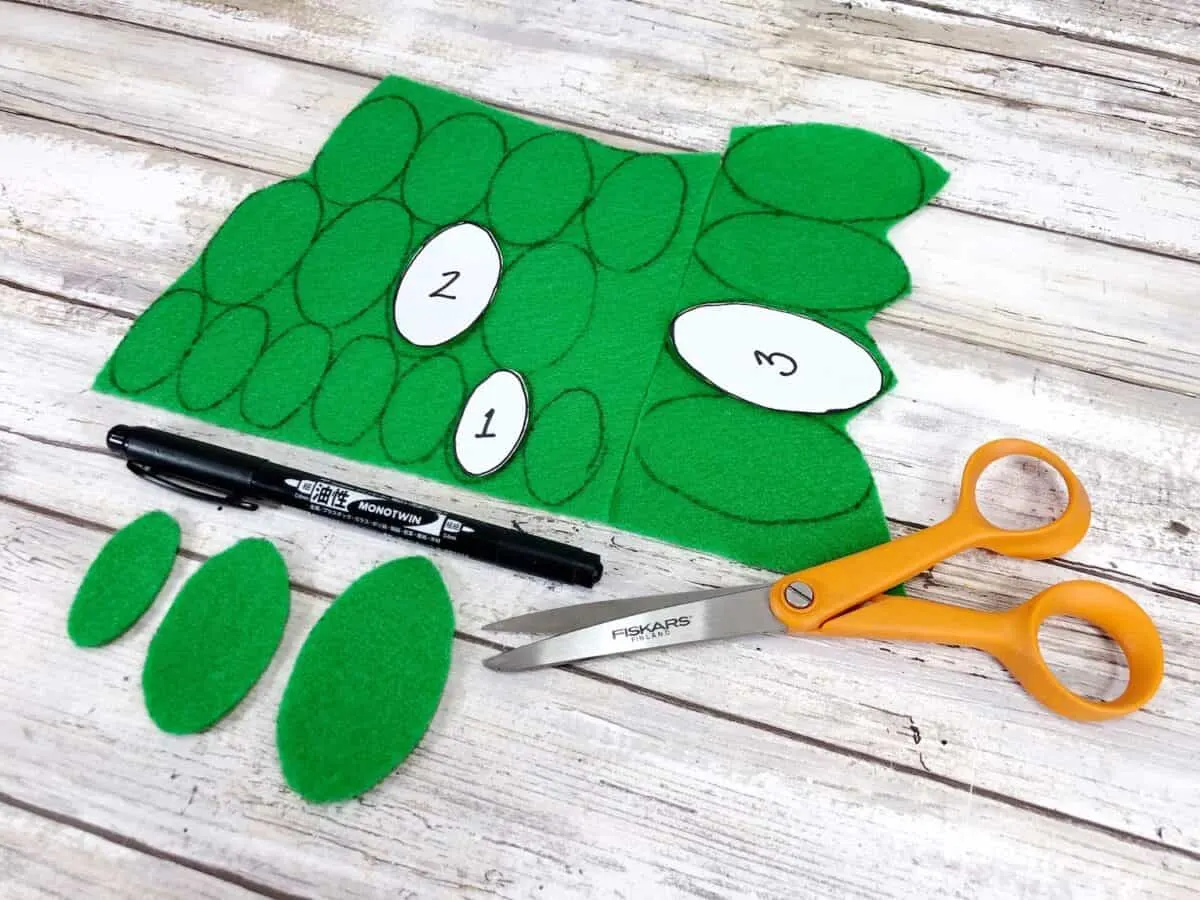
Print out your succulent pattern. Trace one pattern on each color. Cut out the shapes from the felt pieces.
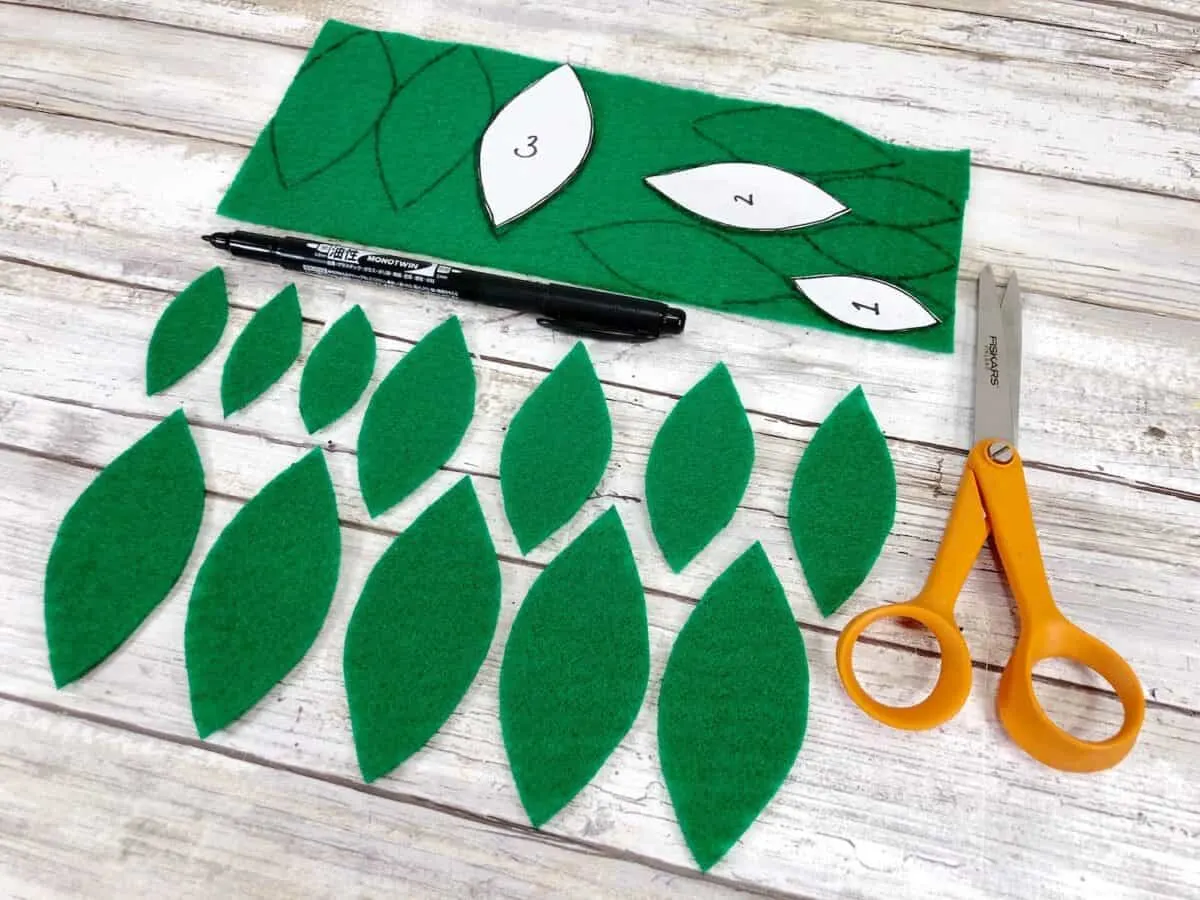
Helpful Tip: To add even more dimension to your faux succulents, use chalk along the outer edges of the plant leaves to add some color. With white or pink chalk, gently draw along the outer edge of the leaf before starting to glue the leaves together.
Step Two
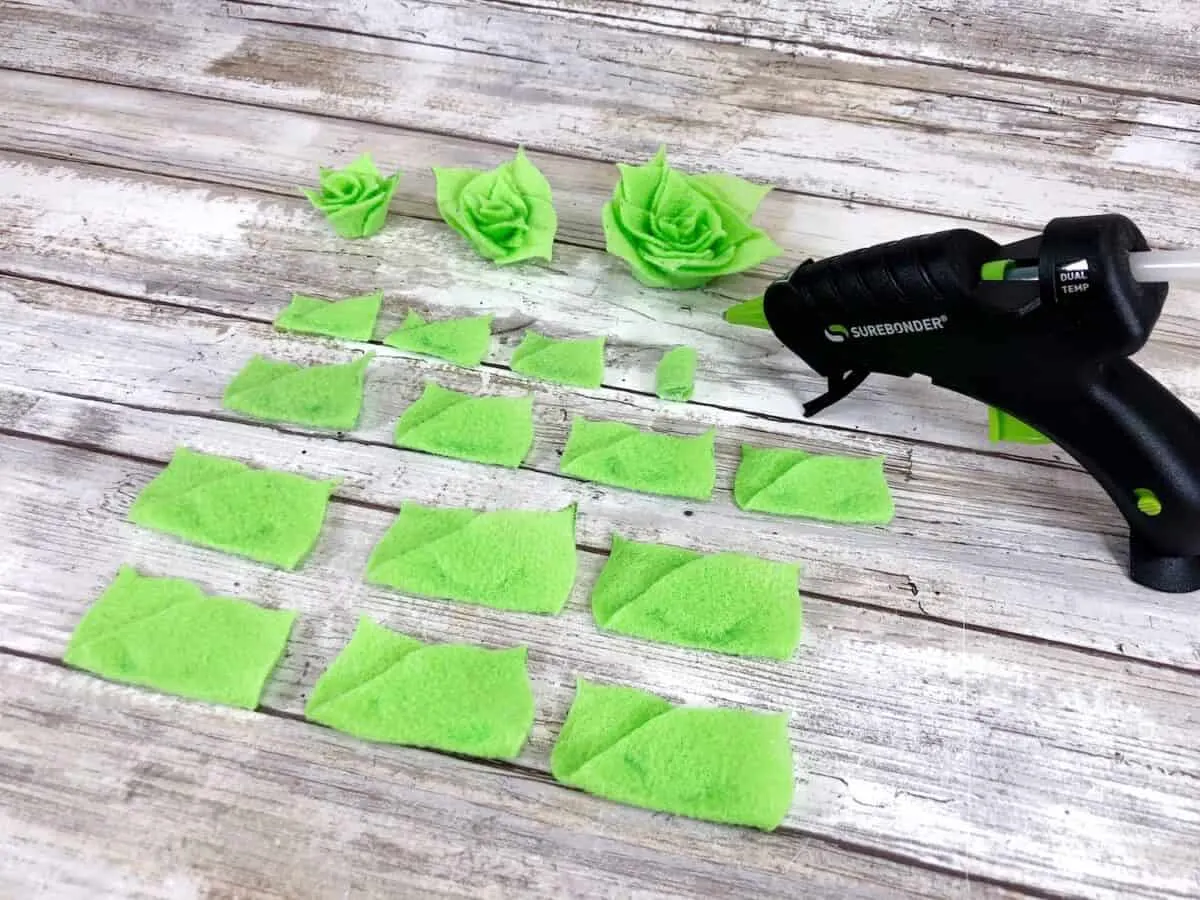
With one of the smallest succulent leaves, put a large drop of hot glue in the center of the leaf. Fold the leaf in half, at an angle so that the leaf point is opposite the other leaf point, not on top of it. (See photos for an example.) Hold together until the glue dries.
Now, add some more hot glue to the folded edge of the leaf. Roll it in your fingers to become the tightly rolled succulent leaf for the center.
Step Three
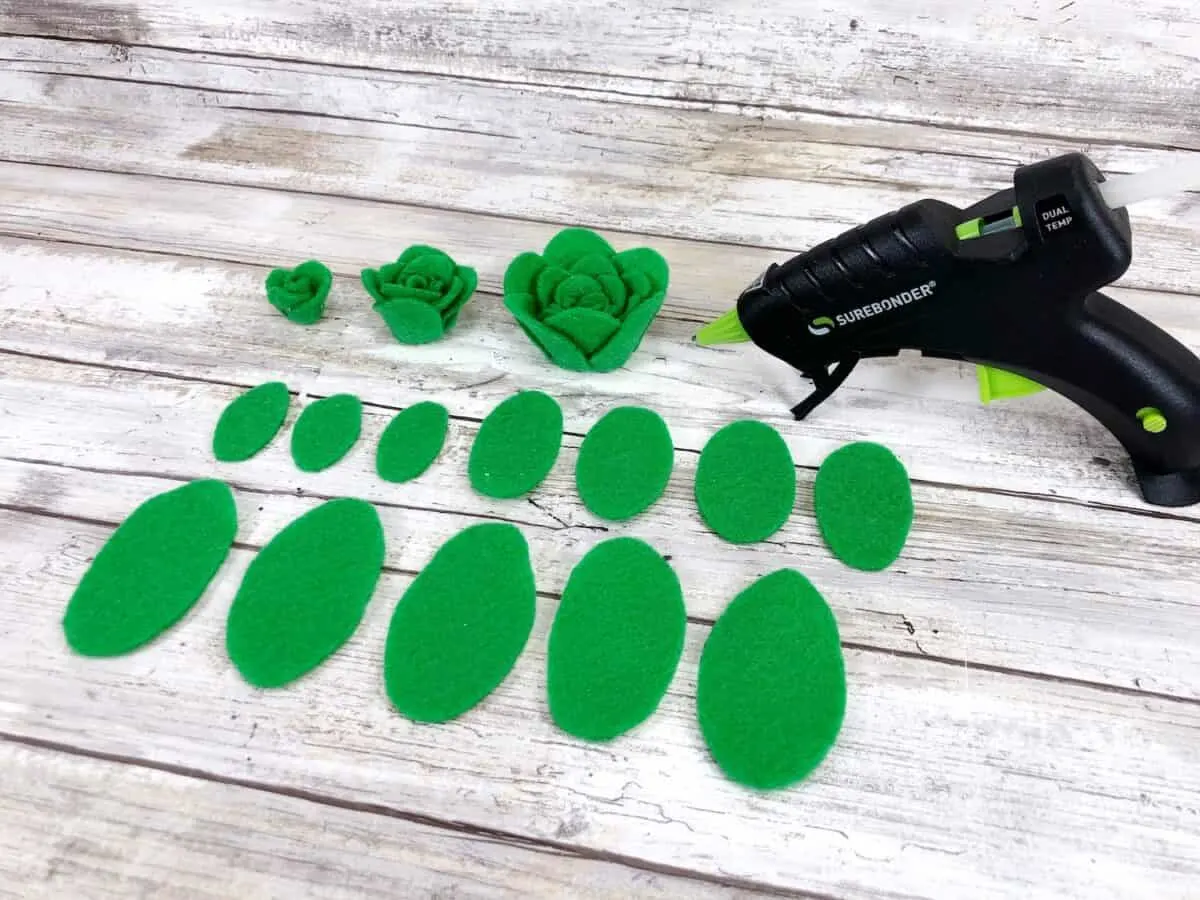
For the rest of the petals, add a line of hot glue across the center of the leaves. Fold the leaves in half, again with the same angle as you did for the smallest succulent leaf. Once dried, add a few dots of hot glue along the folded edge and layer around the center of the center succulent petal in a circular pattern.
You will want to start with the smallest leaves first (#1), adding them towards the center of the succulent plant. Then add the medium size leaves (#2), then the largest leaves (#3).
Step Four
Add to a small terra cotta flowerpot. The felt succulent should tuck in tightly in the opening of the flower pot. Just push it down a little bit until it stays.
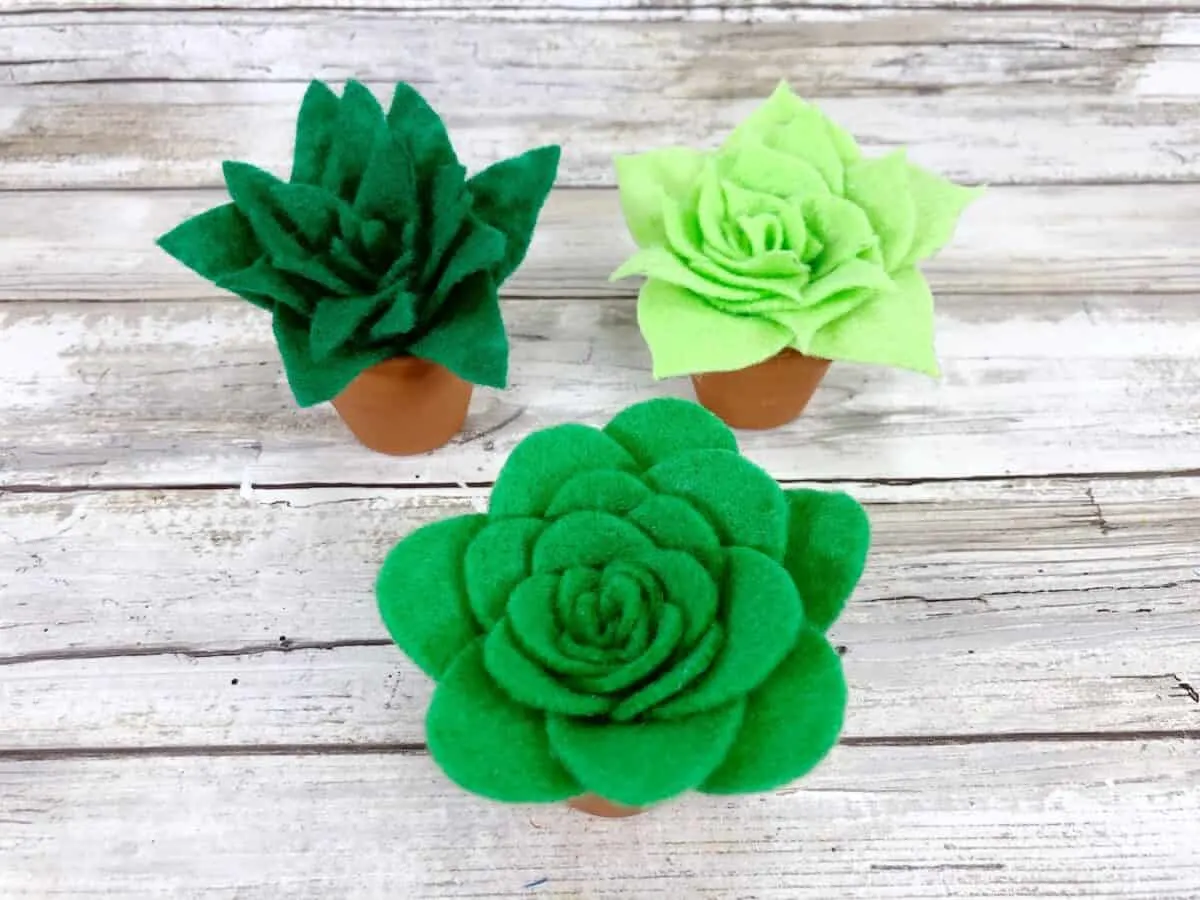
If you’d like, add a few pennies or small pebbles to the bottom of the pot first. This will give the tiny pot some weight, and be less likely to fall over.
We have a lot more easy felt crafts! Why not use some of your felt and make these fun felt cactus pencil toppers, too? Or these easy no-sew felt flowers.

