Have you ever wondered how to make a snow globe without water? It can be done! Here’s how to upcycle a jar to create a fun waterless snow globe for Christmas!
I made two different types of waterless snow globes. One with a mason jar and one with a recycled plastic bottle.
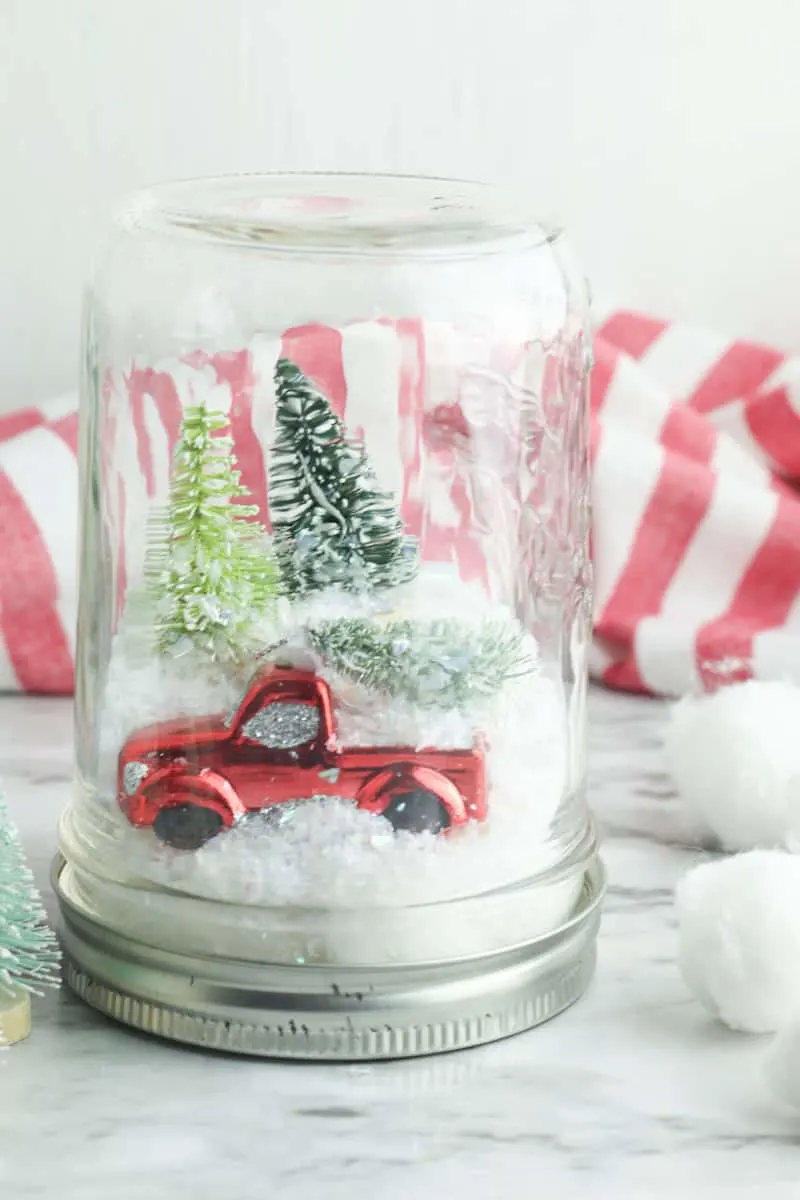
I love that I can make several of these DIY Christmas snow globes from jars of all shapes and sizes. I can collect plastic jars and glass jars (or even buy some) to make unique snow globes as a fun gift.
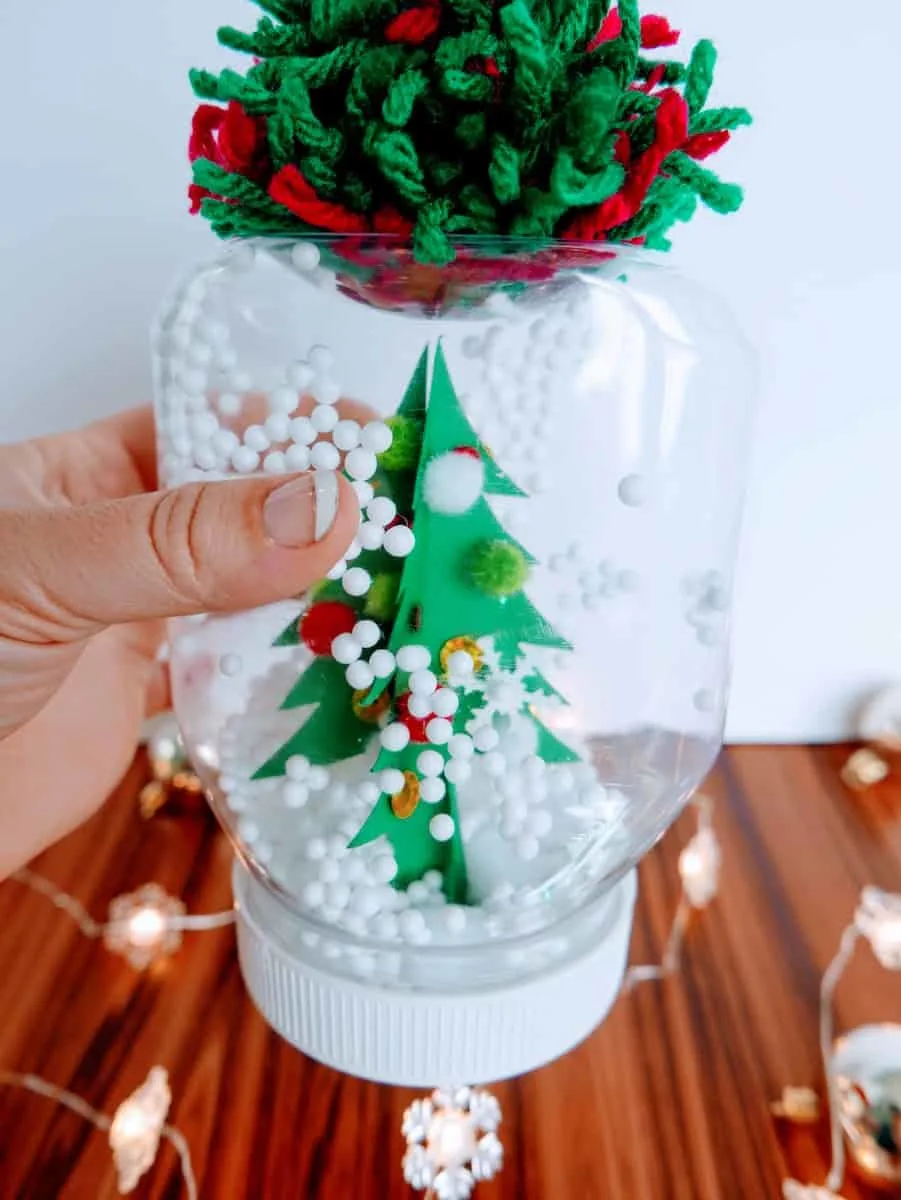
These DIY snow globes are just one of my quick and easy Christmas crafts that you can make with little time.
Also check out my easy DIY snowglobe pedestal candle holder!
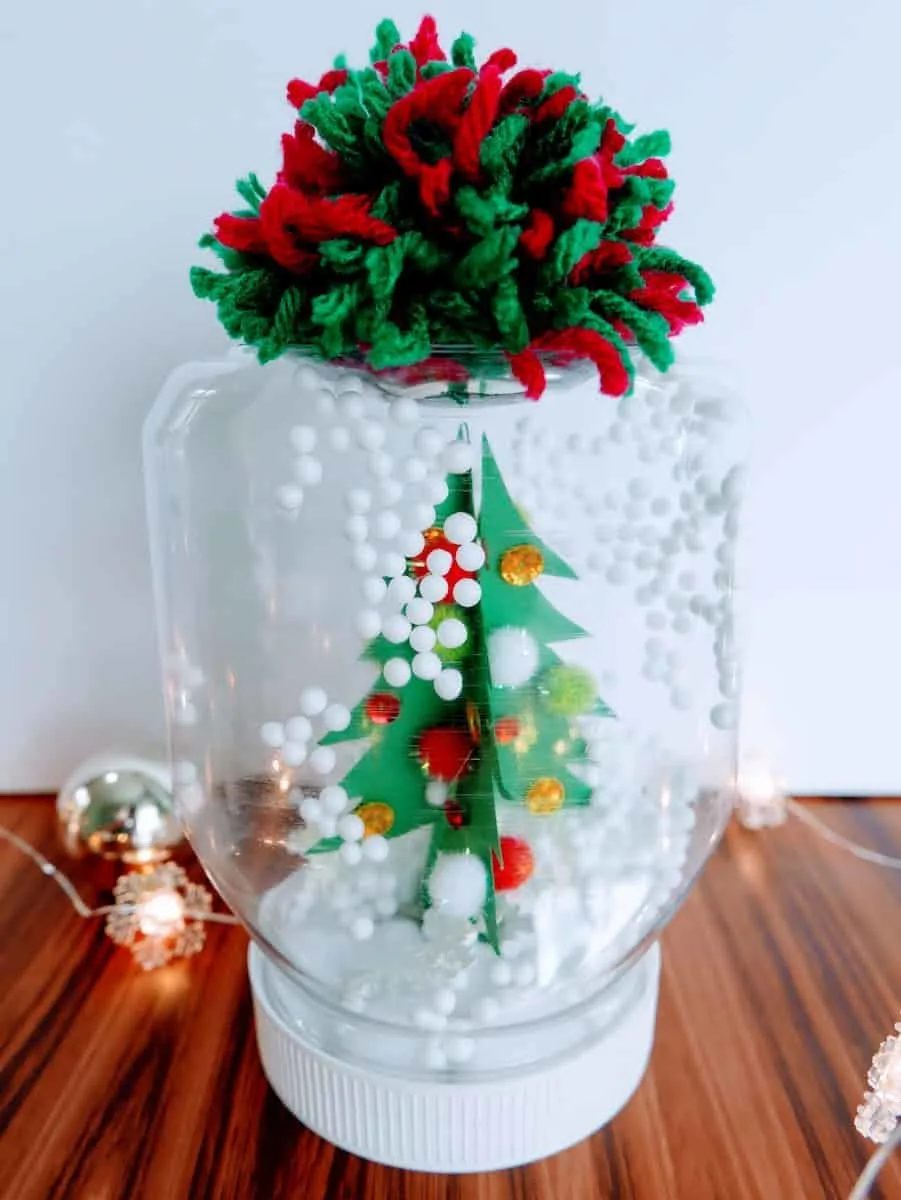
Feel free to customize the look with different colors of paper for the trees, or different pom pom and sequin colors. I think it would be fun with pastels and hot pink colors, too!
Don’t have time to make this craft now? Just Pin it to your Christmas or Crafts boards on Pinterest!
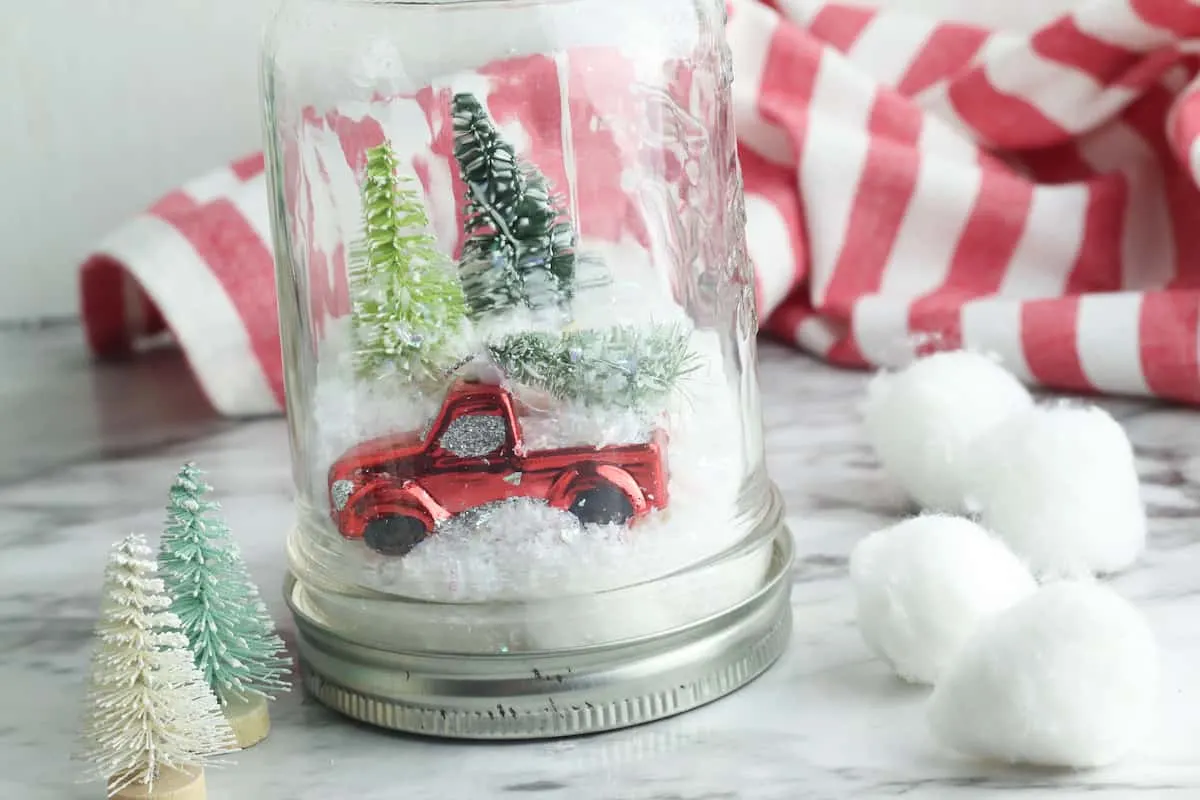
How to Make a Snow Globe in a Mason Jar
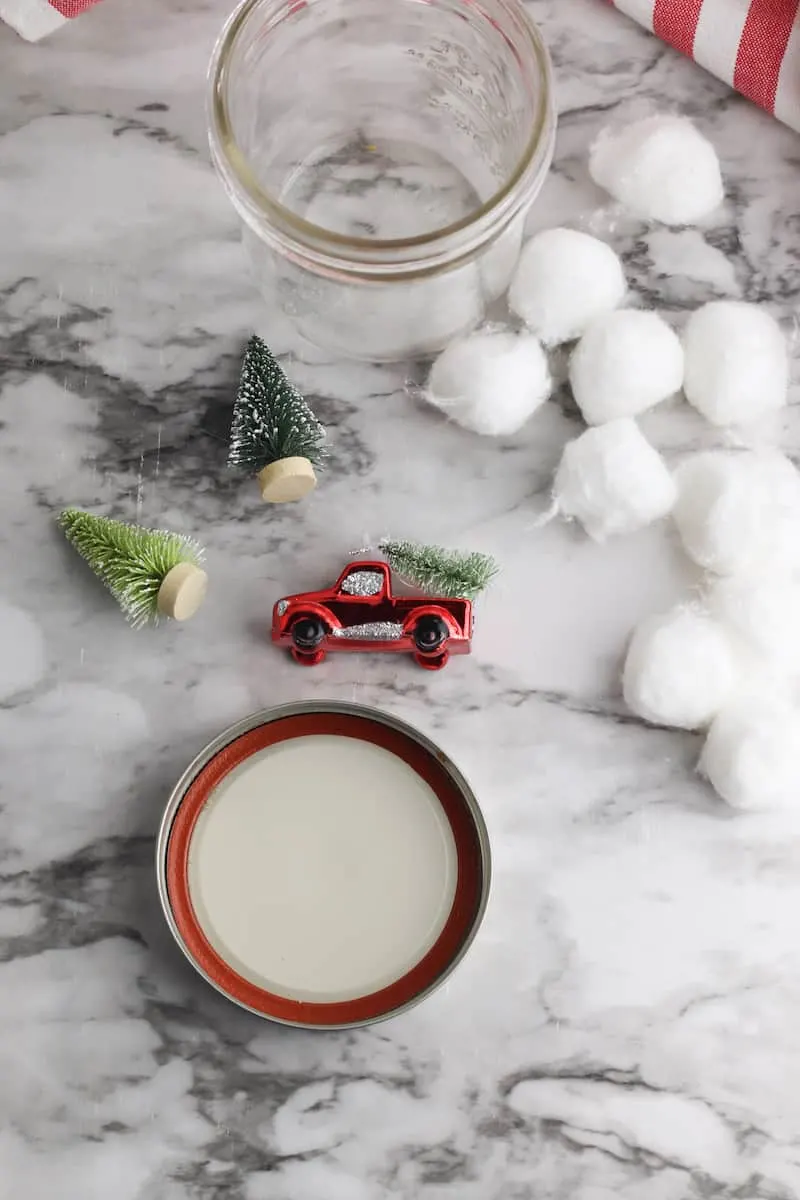
Supplies
- Wide mouth mason jar with lid
- Cotton balls
- Mini red truck ornament (I purchased at Wal-Mart)
- Mini trees (This 56-piece set is a great value!)
- Hot glue gun
- Faux snow
Instructions
Step 1
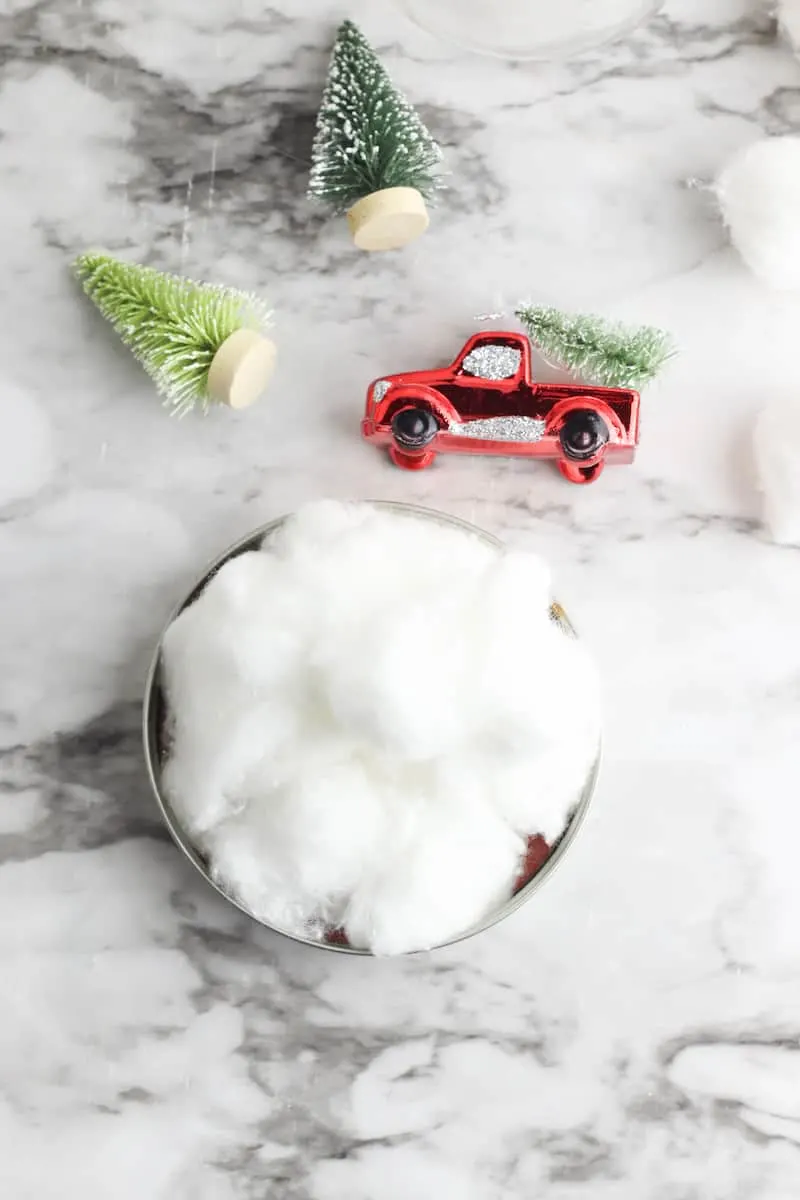
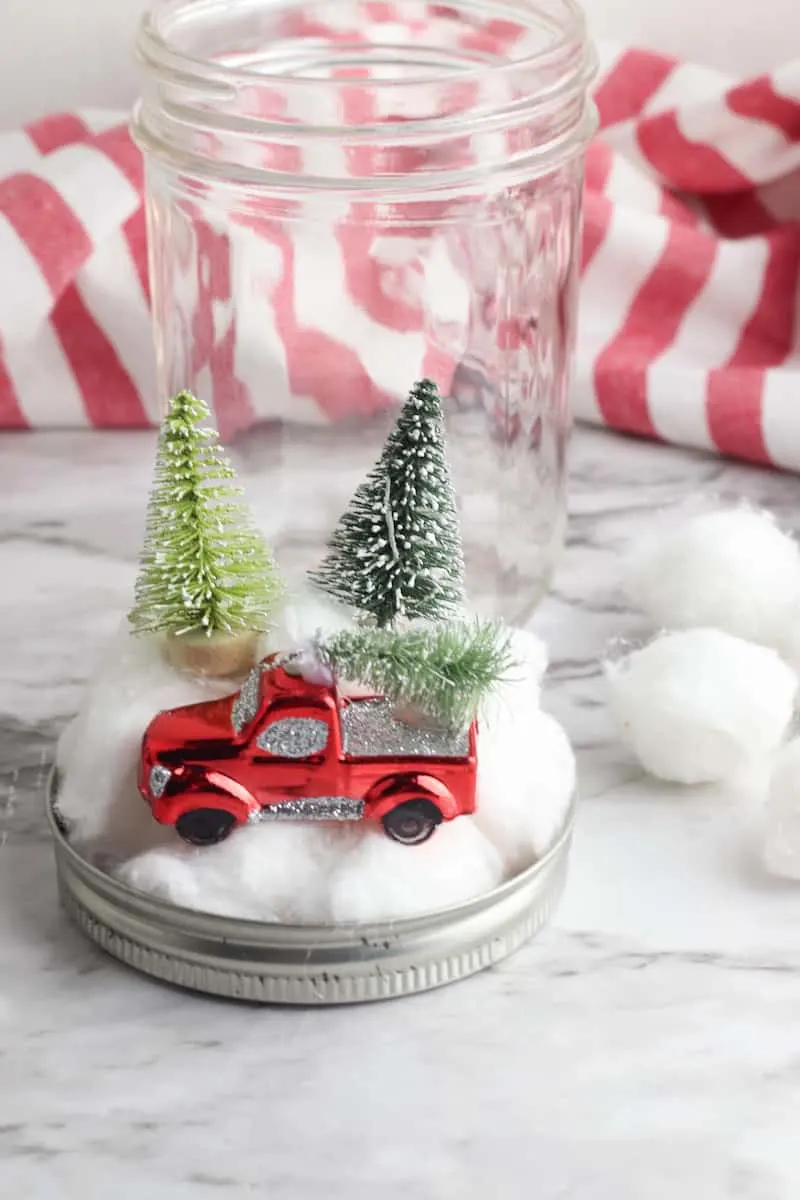
Glue the cotton balls to the inside of the mason jar lid to create a snowy base.
Step 2
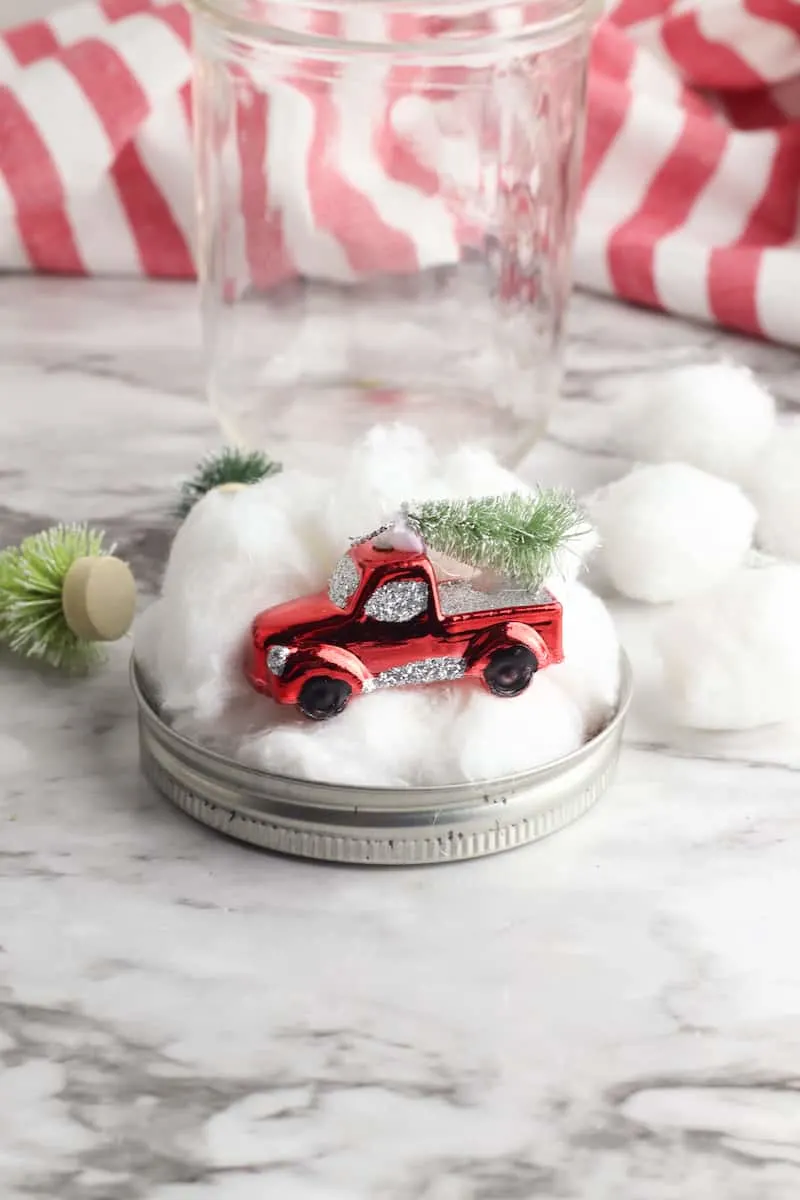
Glue the red truck ornament and trees on top of the cotton balls.
Step 3
Add a small amount of faux snow to the inside of the jar.
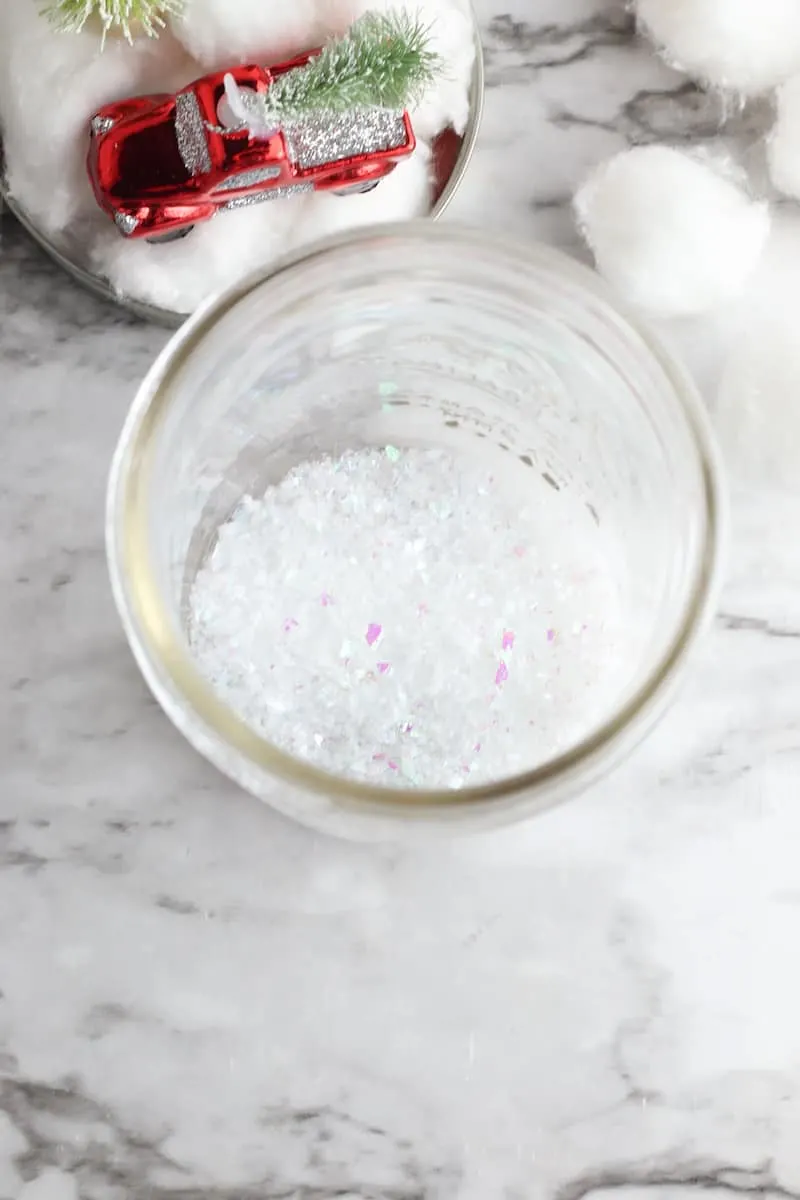
Screw the lid onto the jar and flip the jar upside down. Shake the jar to move the snow around.
DIY Christmas Snow Globe
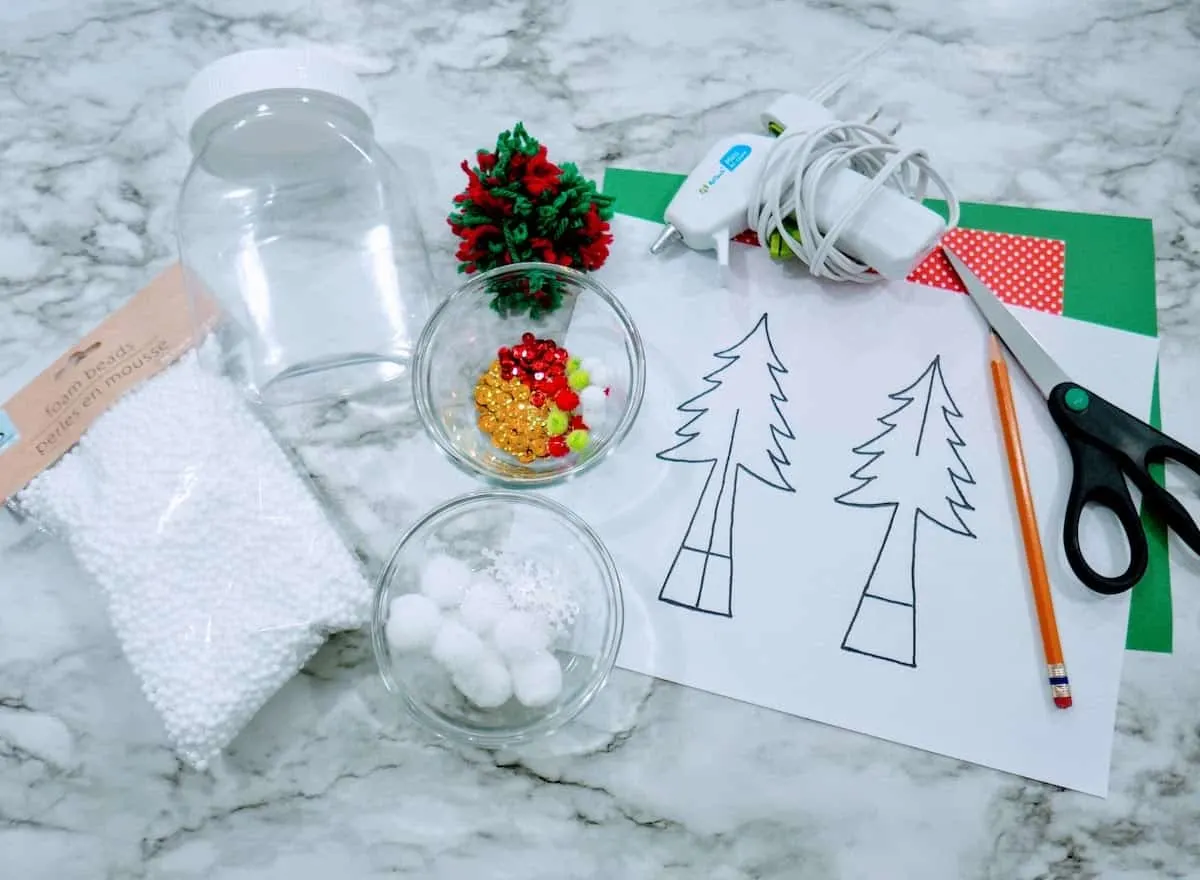
Supplies
- Empty, clean Nutella jar with label removed (or another jar)
- Green cardstock, 8 ½ x 11
- Red and white polka dot cardstock
- Red and green yarn pom pom (I made this one)
- White pom poms, size medium
- Snowflake confetti
- Red and gold sequins
- Red, green, and white pom poms, size small
- Hot glue gun and glue sticks
- Pencil
- Scissors
- Free Christmas Trees Template
- White foam beads
Directions
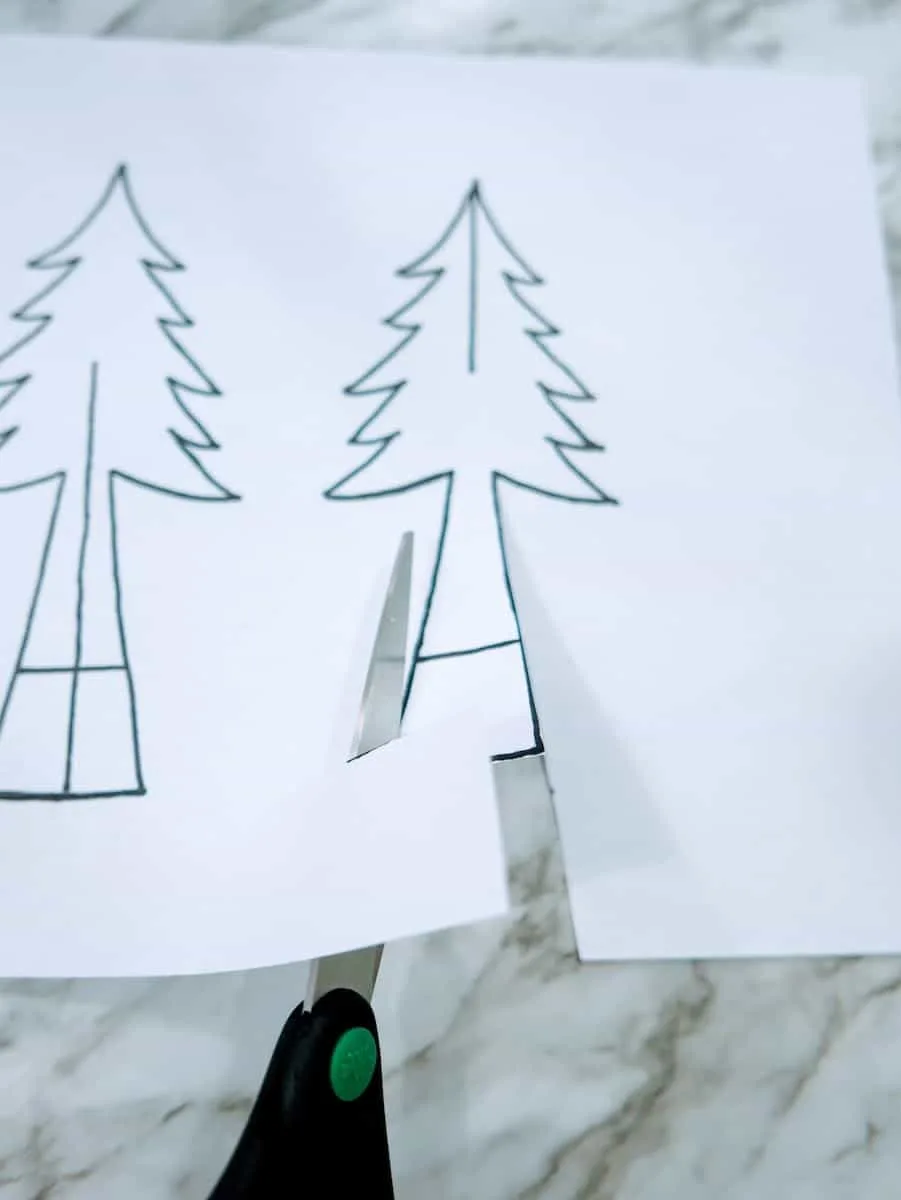
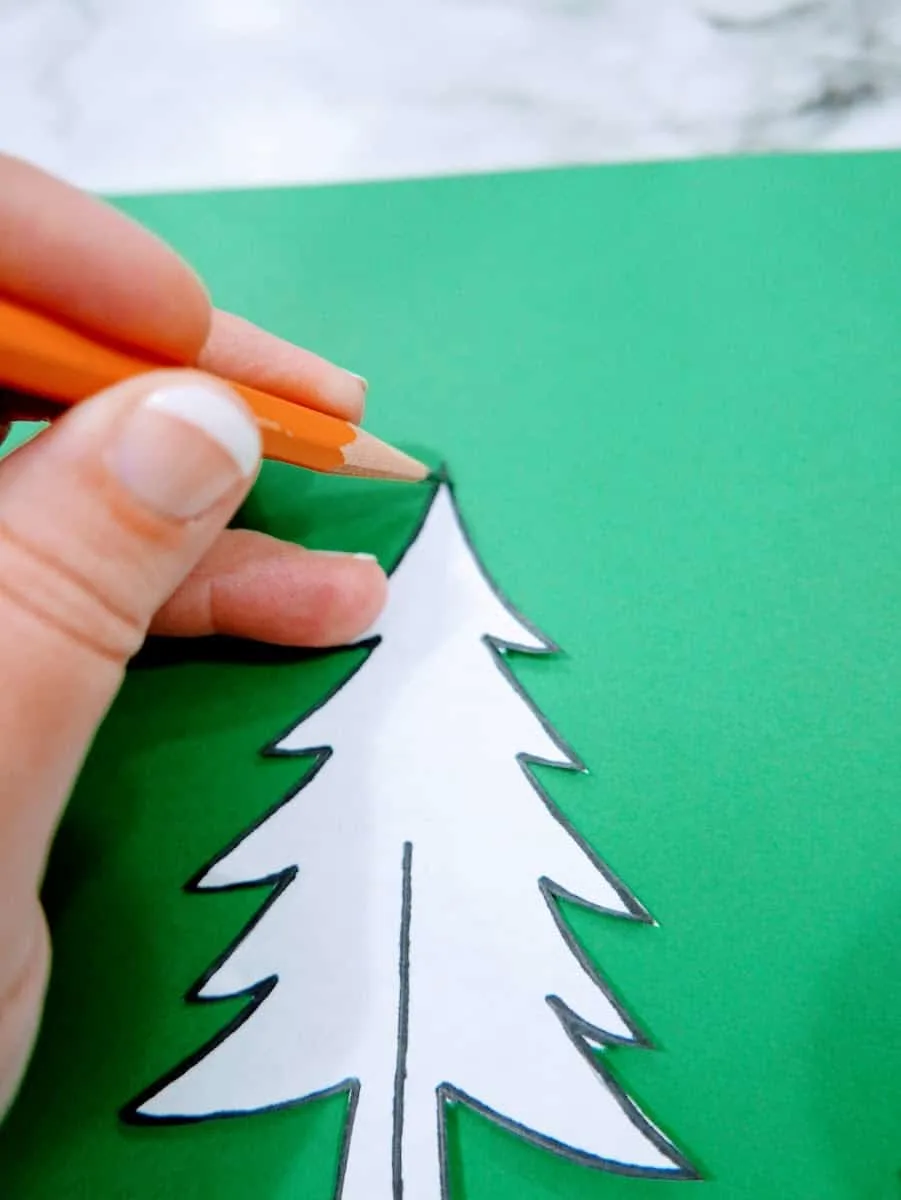
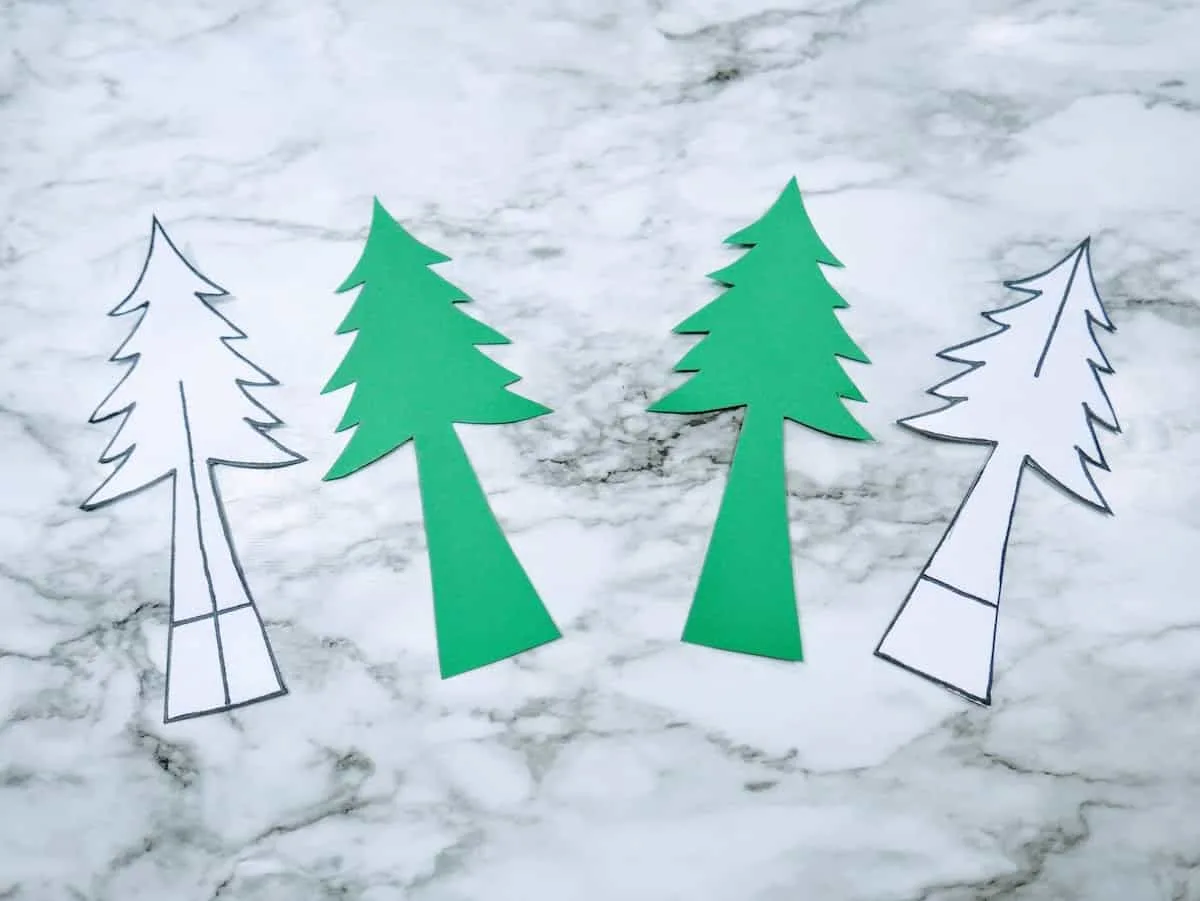
Cut out the Christmas Trees Templates. Trace the templates onto the green cardstock. Cut out the trees.
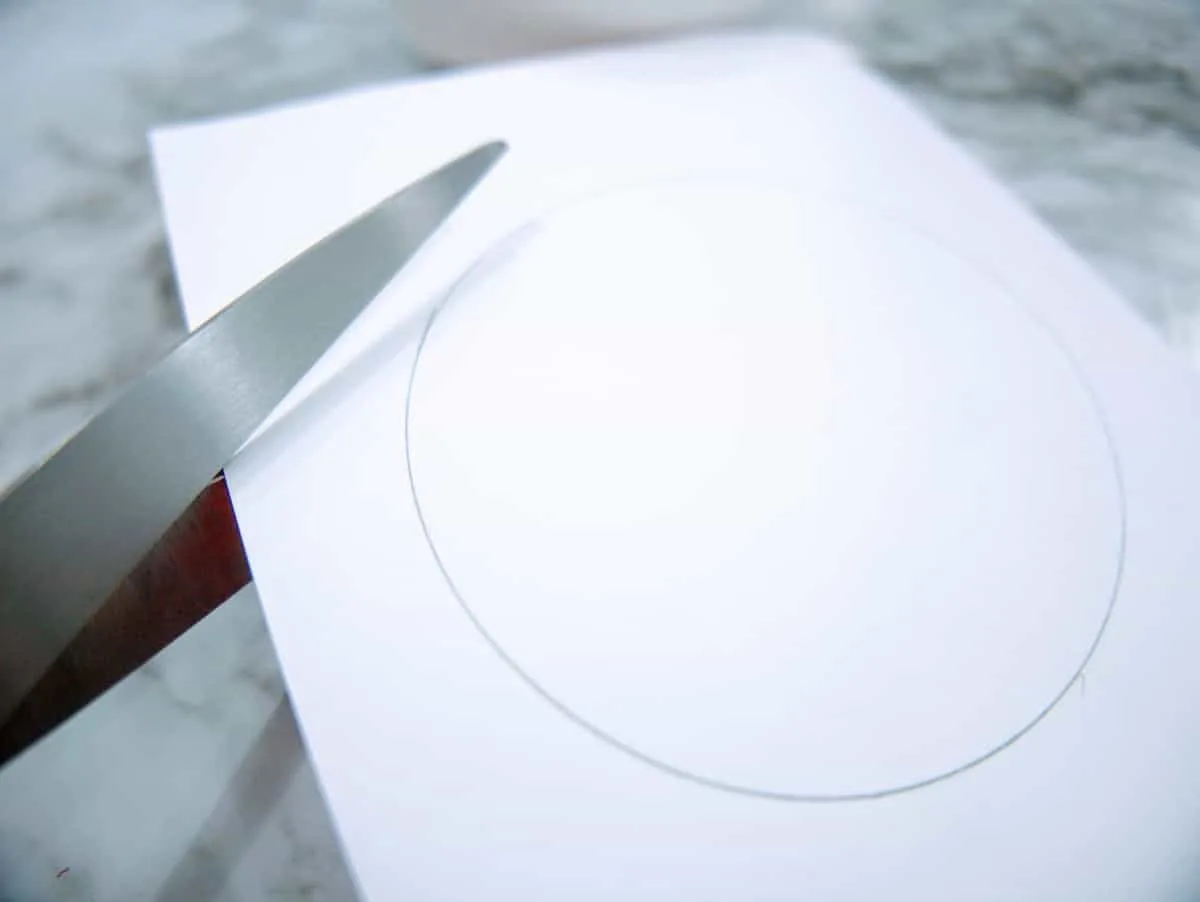
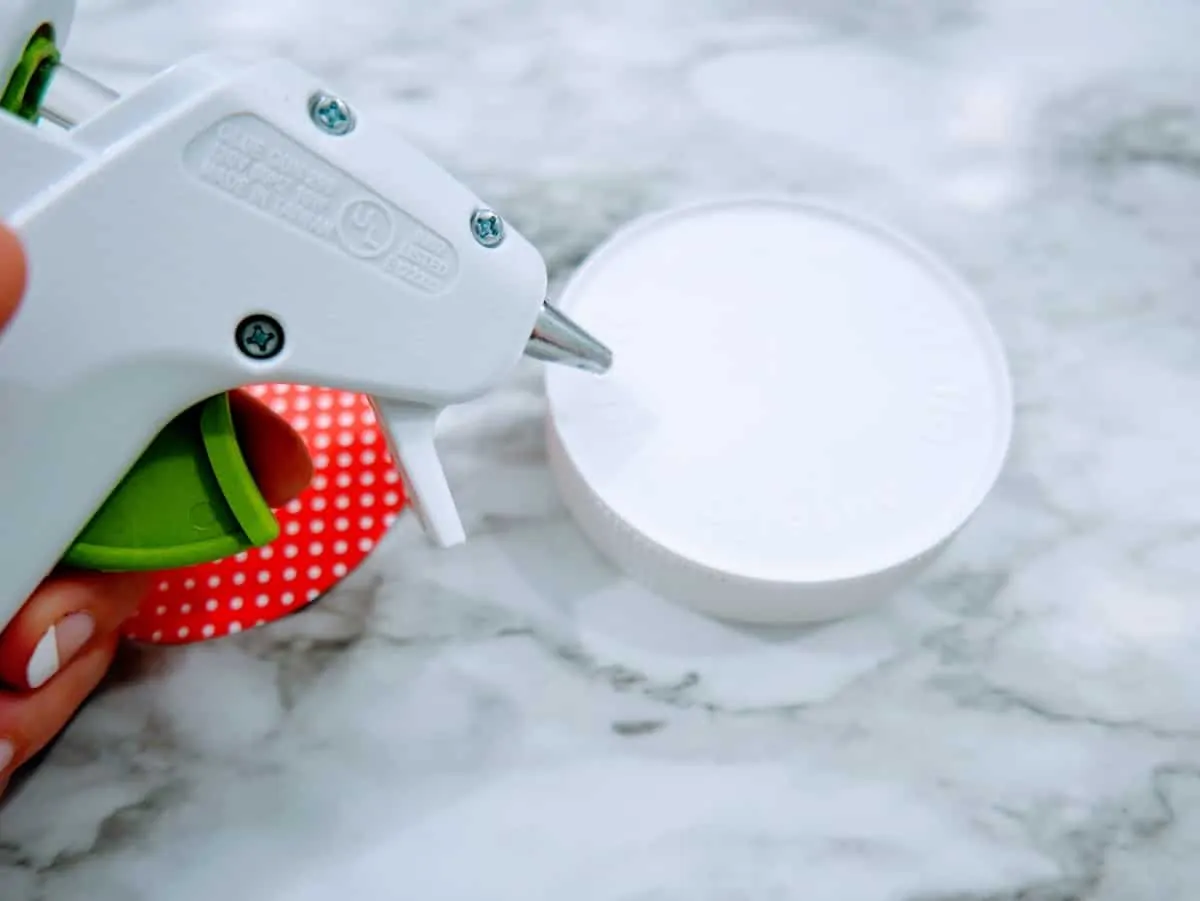
Place the Nutella jar lid on the red and white polka dotted cardstock and trace around the lid. Cut out the circle. Hot glue it to the top of the lid.

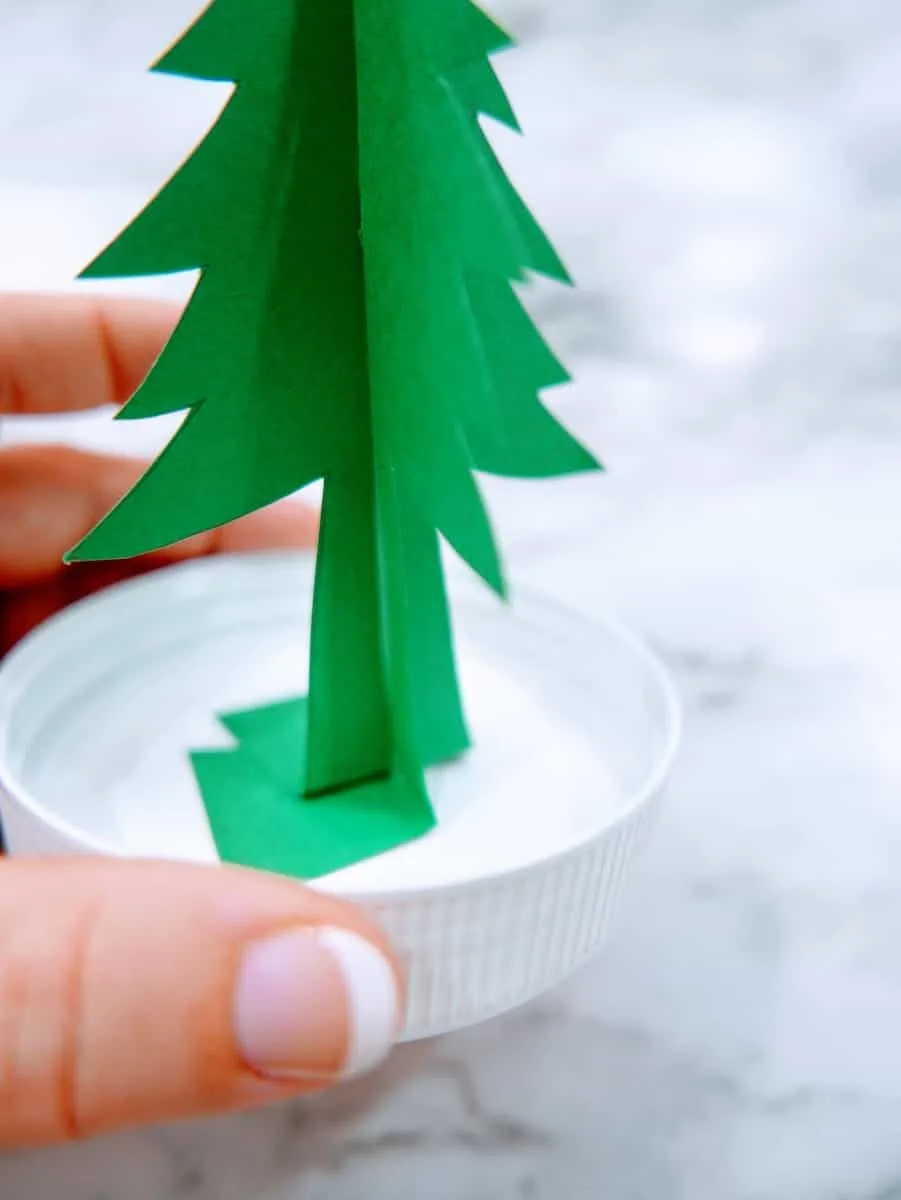
Place the Christmas Trees templates back on the green trees. Cut on the lines in the middle of the trees,and then fold along the line on the trunk of the trees.
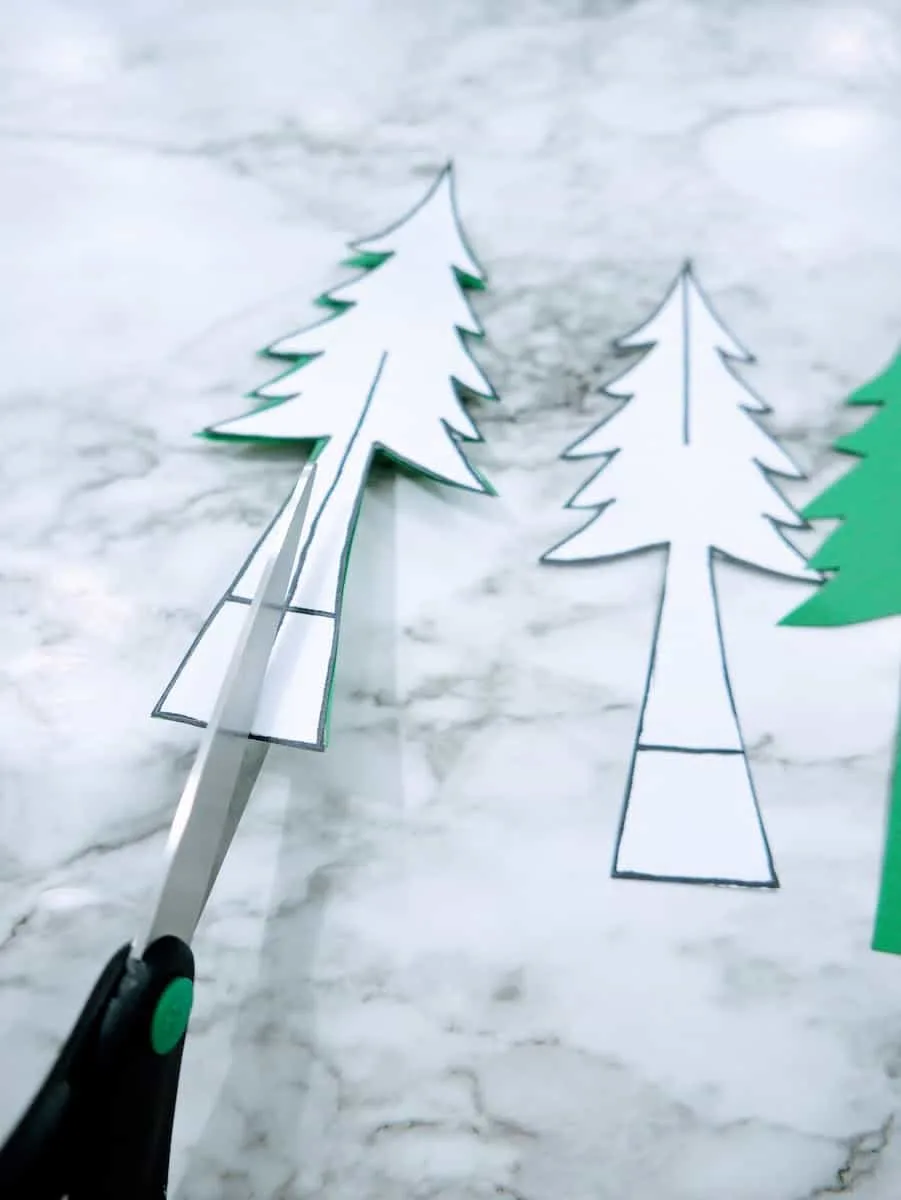
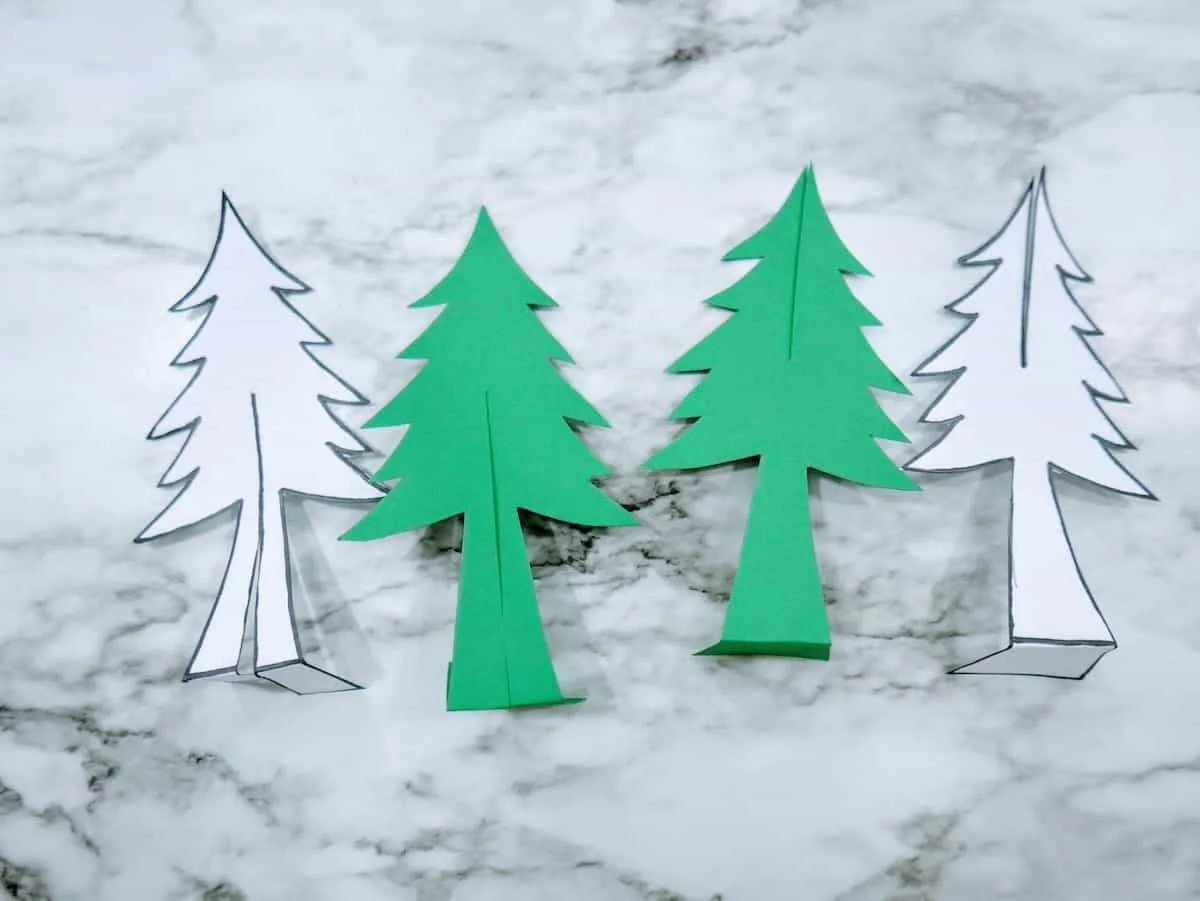
Slide the trees together, with the tree with the line cut from the bottom fitting on top of the tree with the line cut from the top. Straighten the trees until they are perpendicular to each other.
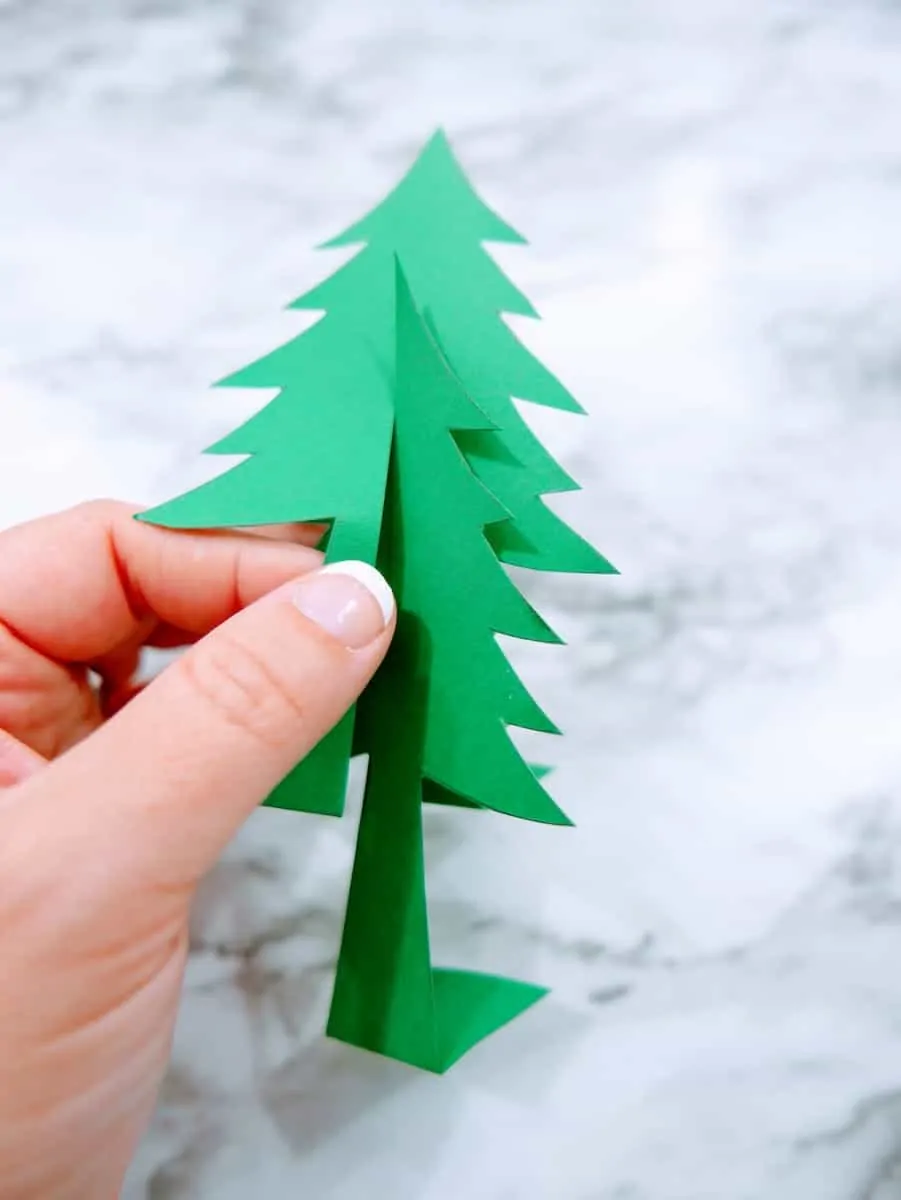
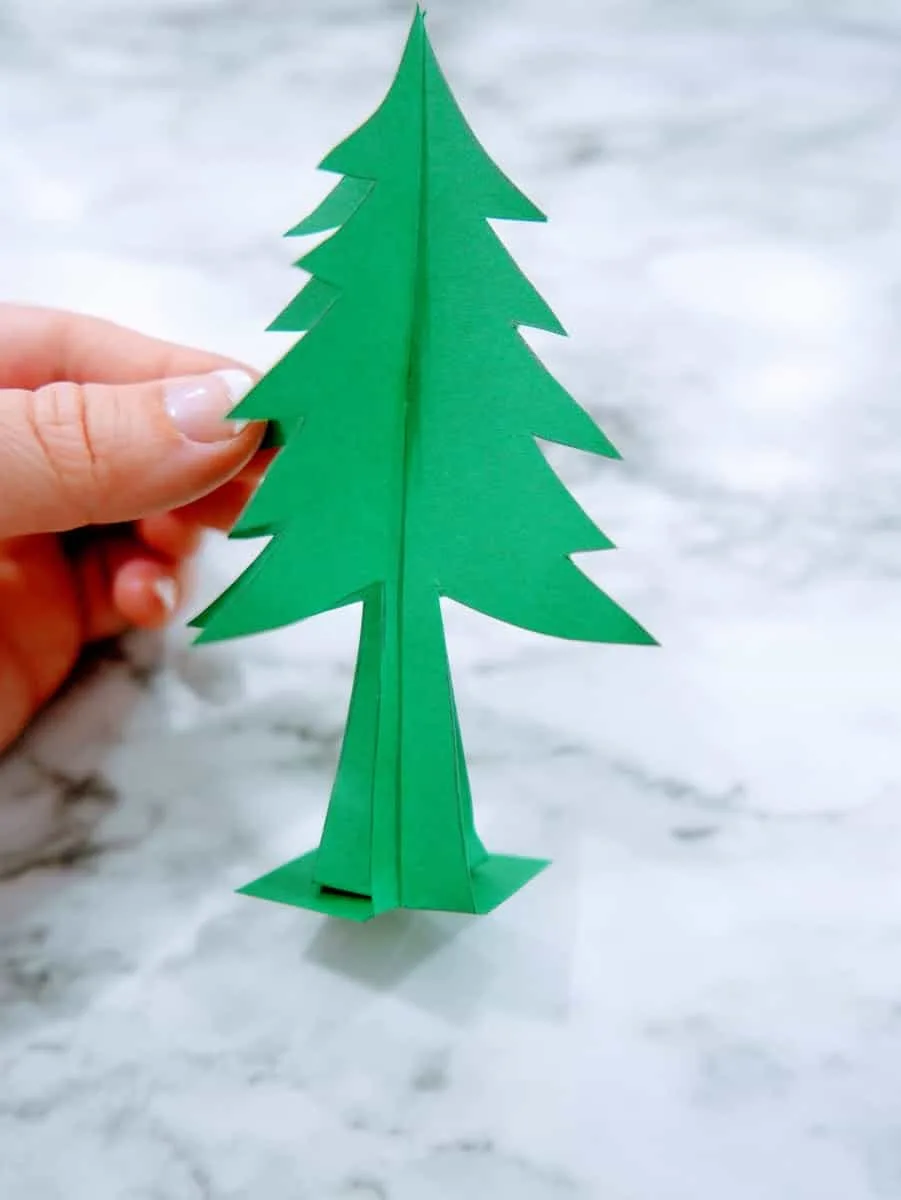
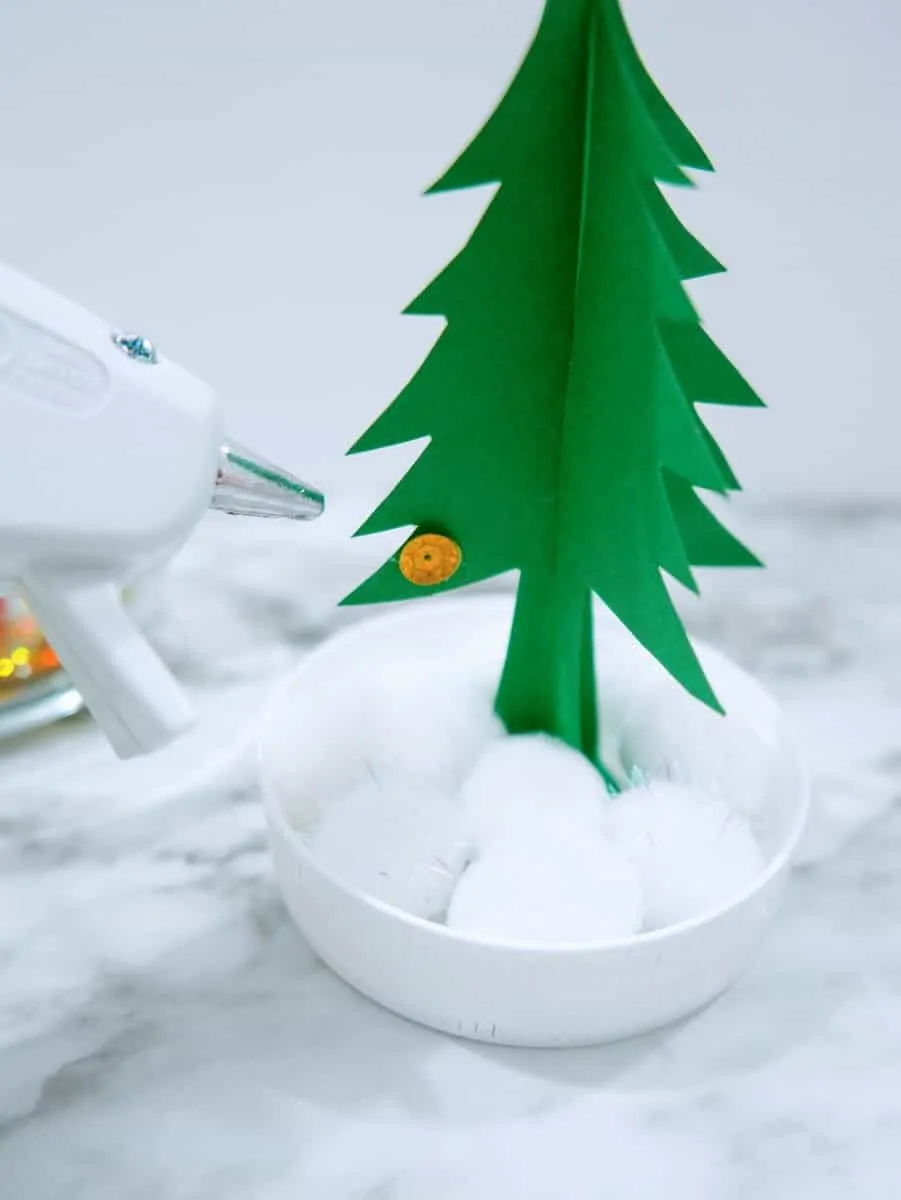
Hot glue the tree to the inside of the jar lid, then hot glue the medium sized white pom poms around the base of the tree.
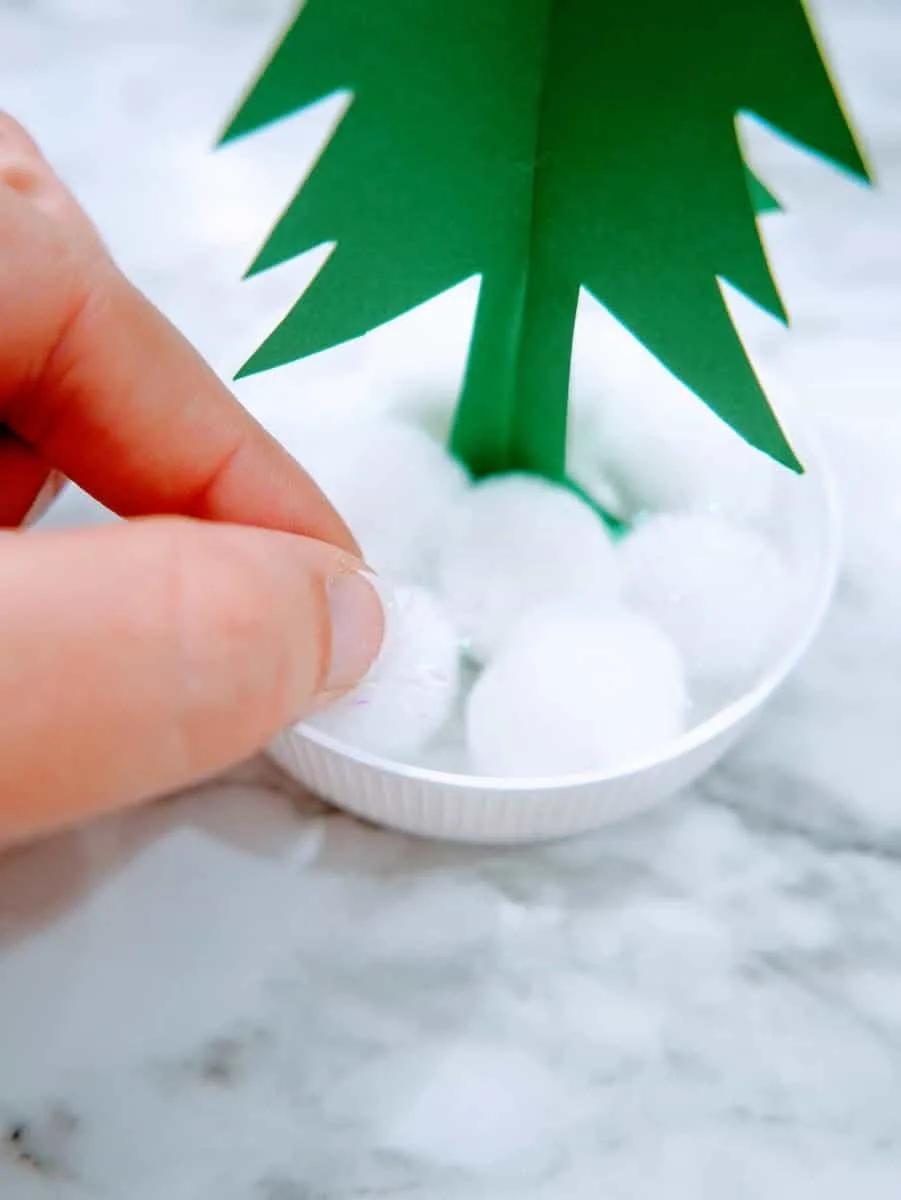
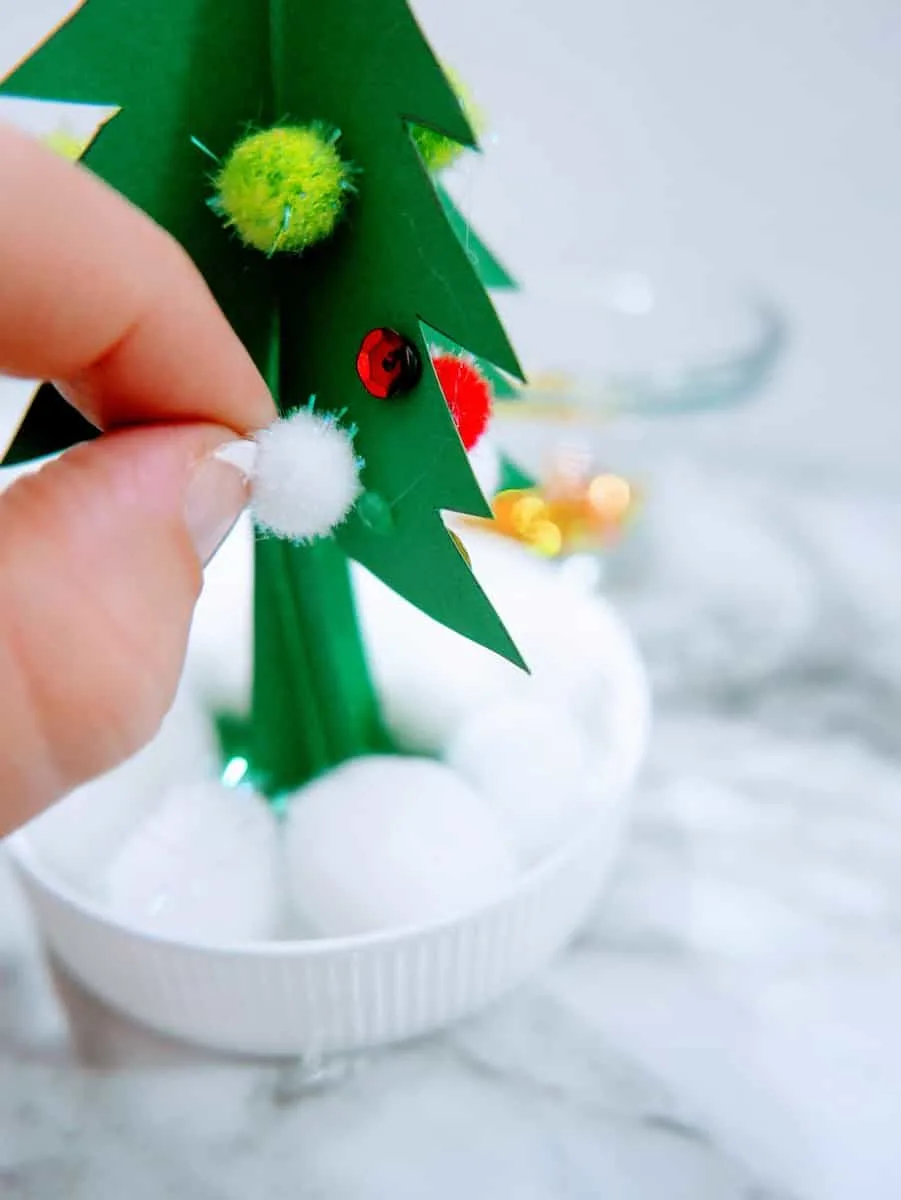
Hot glue the small red, green, and white pom poms along with the red and gold sequins to the tree, until all sides of the tree are decorated.
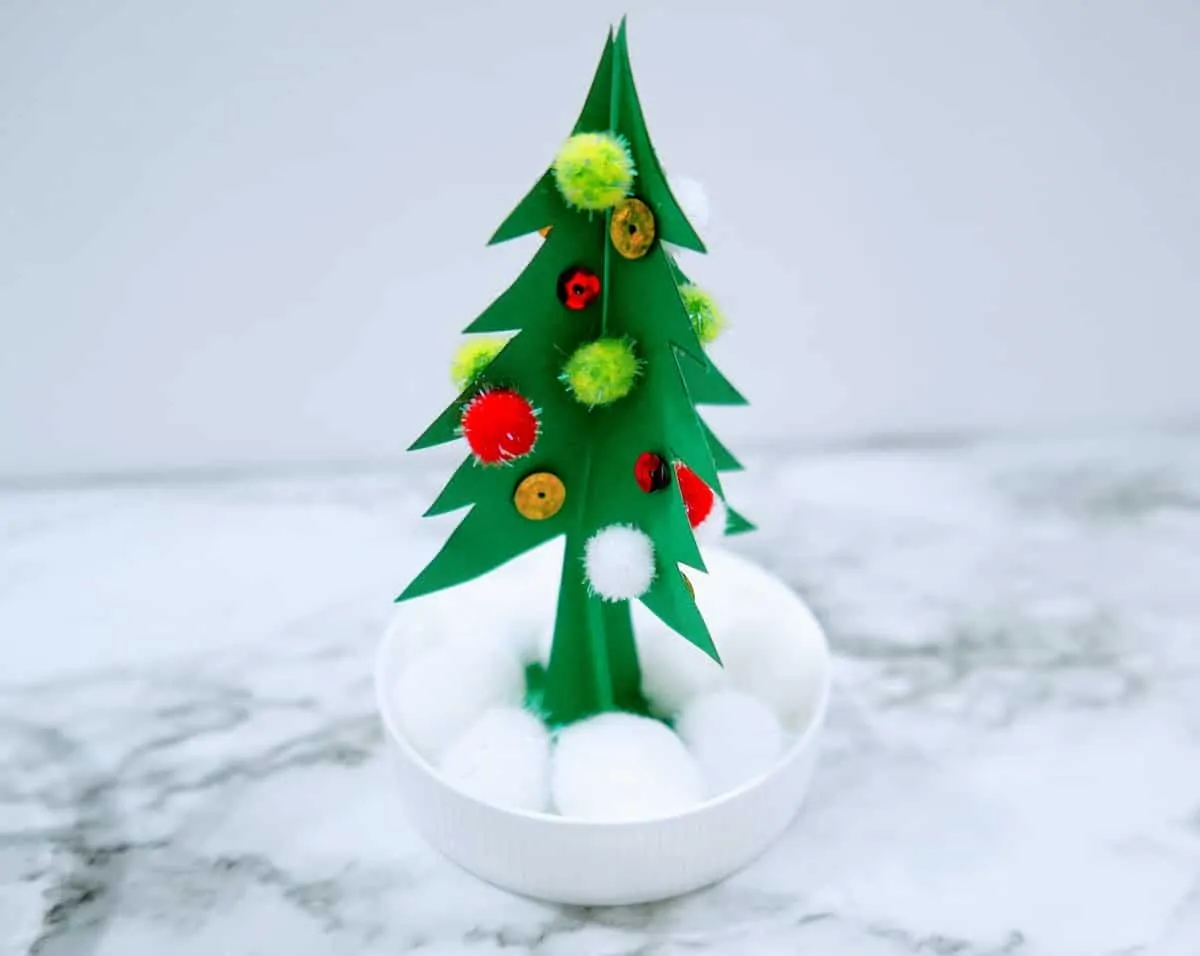
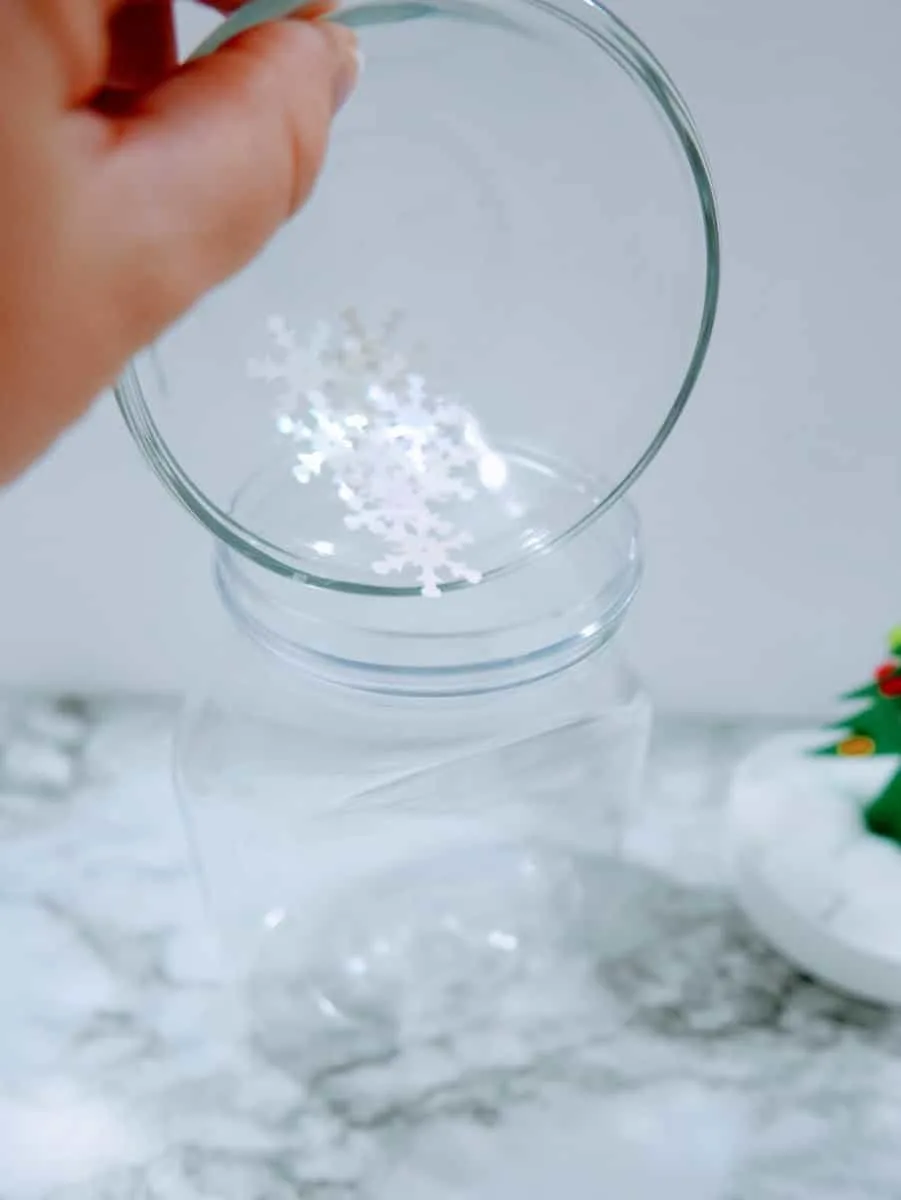
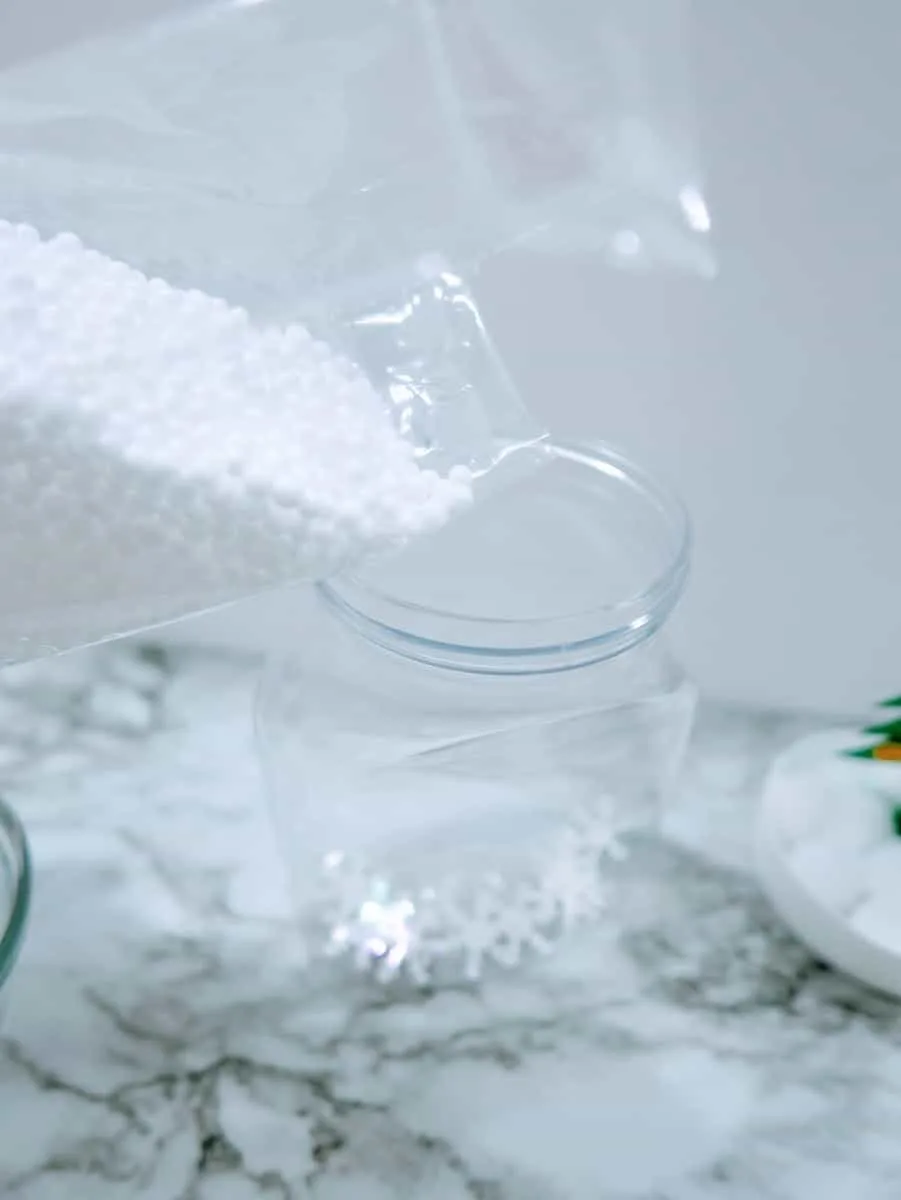
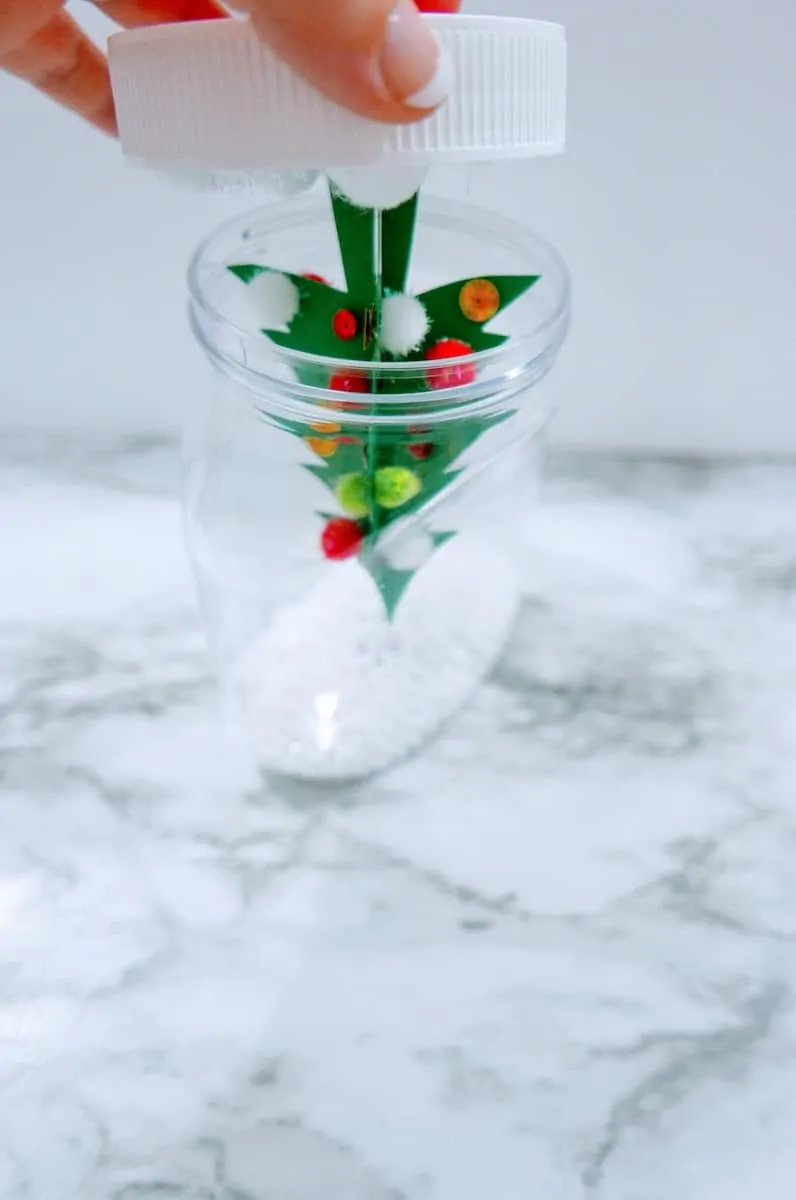
Pour the snowflake confetti and white foam beads into the empty jar. Screw the lid with the tree attached onto the jar.
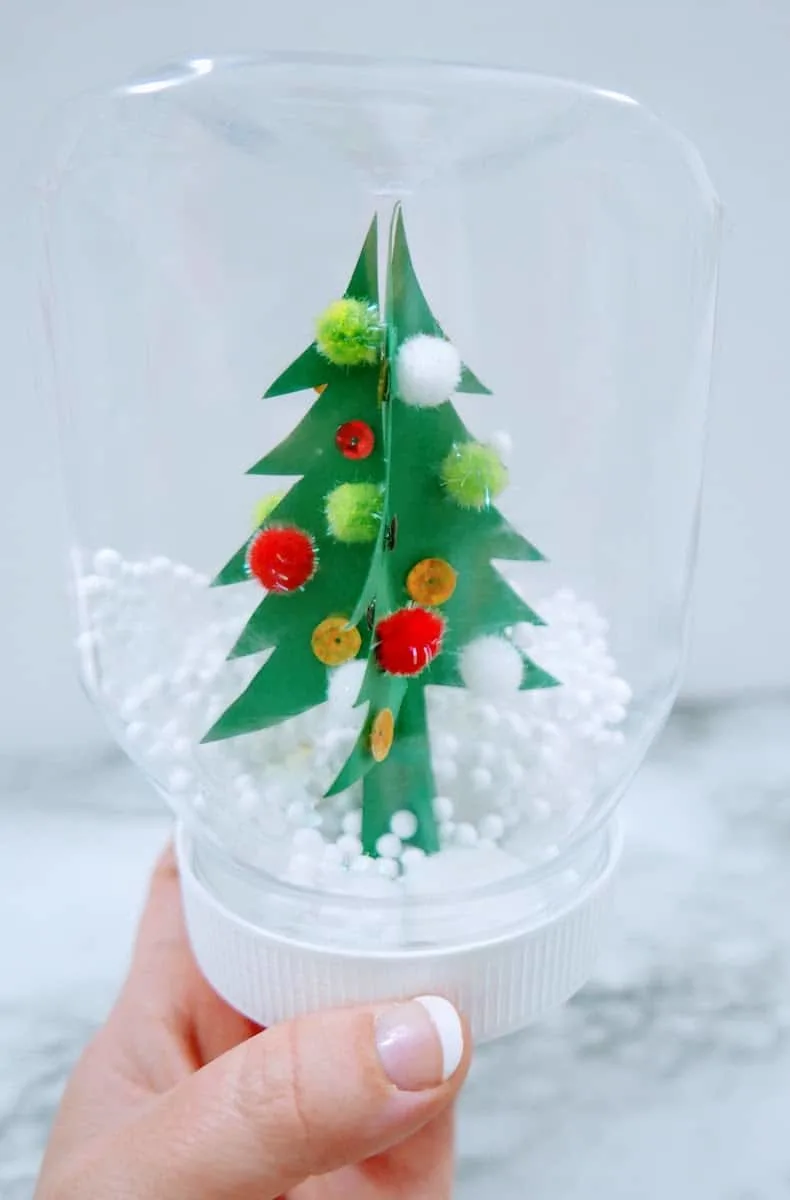
Hot glue the red and green yarn pom pom to the bottom of the jar (which is now the top – without the lid).

Shake whenever you want to see a winter wonderland snow globe!
Helpful Tips
- If your foam beads do not stick to the inside of the jar, rub around the inside of the jar moving in the same direction all the way around the jar to create static electricity.
- You can use any type of jar for the waterless snow globe. A mason jar, spaghetti jar, peanut butter jar, etc.
- Add some iridescent glitter if you want even more sparkle in your snow globe.
Like upcycled Christmas crafts? Check out how to turn toilet paper rolls into snowman Christmas crackers.

