
Our easy Dollar Tree Egg Tray wreath is a quick Easter craft that can be made in less than an hour! Use a plastic egg tray from the dollar store as a wreath base for this colorful Easter wreath.


We love this wreath because all you need to do is glue items together and tie bows. Nothing complicated!
This is just one of our DIY wreaths perfect for Easter time. Be sure to see our Bunny Butt wreath and Hula Hoop Spring wreath, too!
DIY Egg Tray Easter Wreath
All of the items can be found at a dollar store or Walmart. I purchased the egg tray at Dollar Tree, however there are different varieties available at other retailers.
Supplies
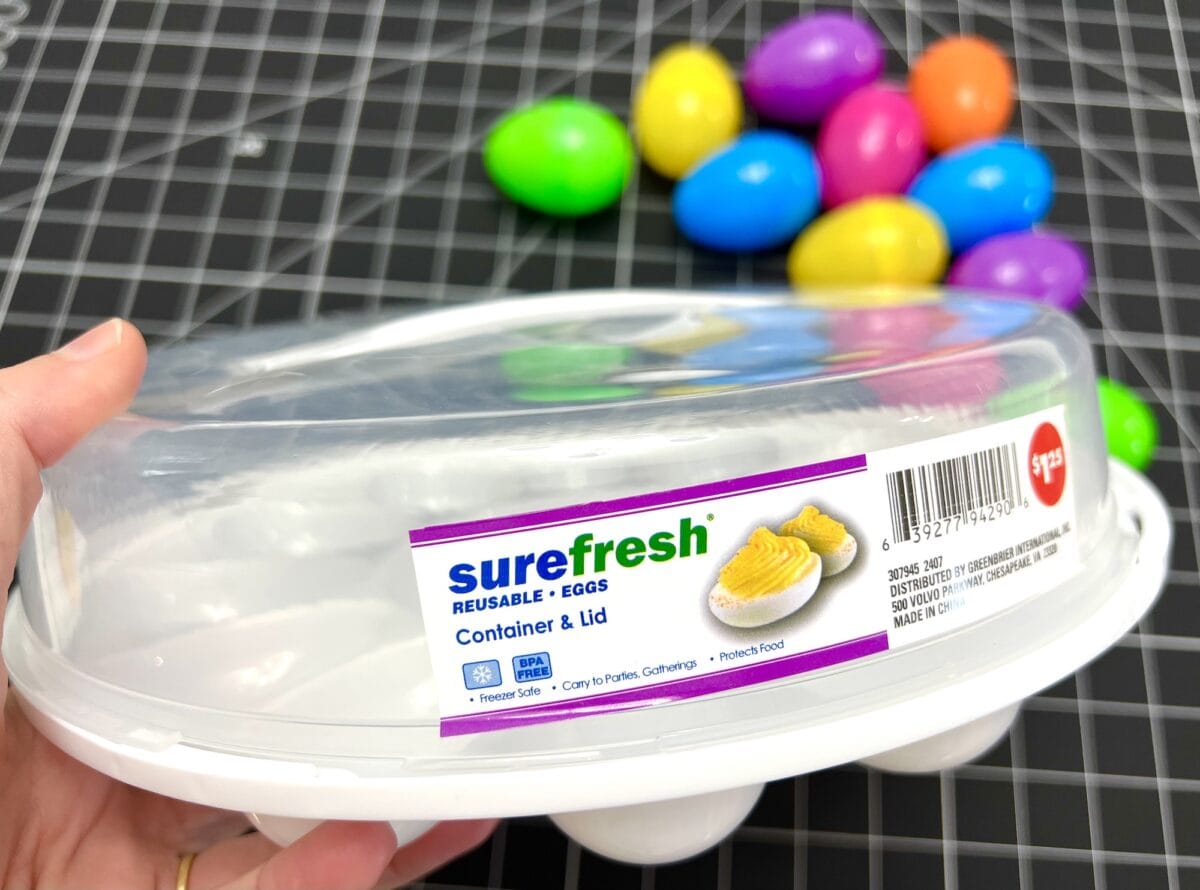
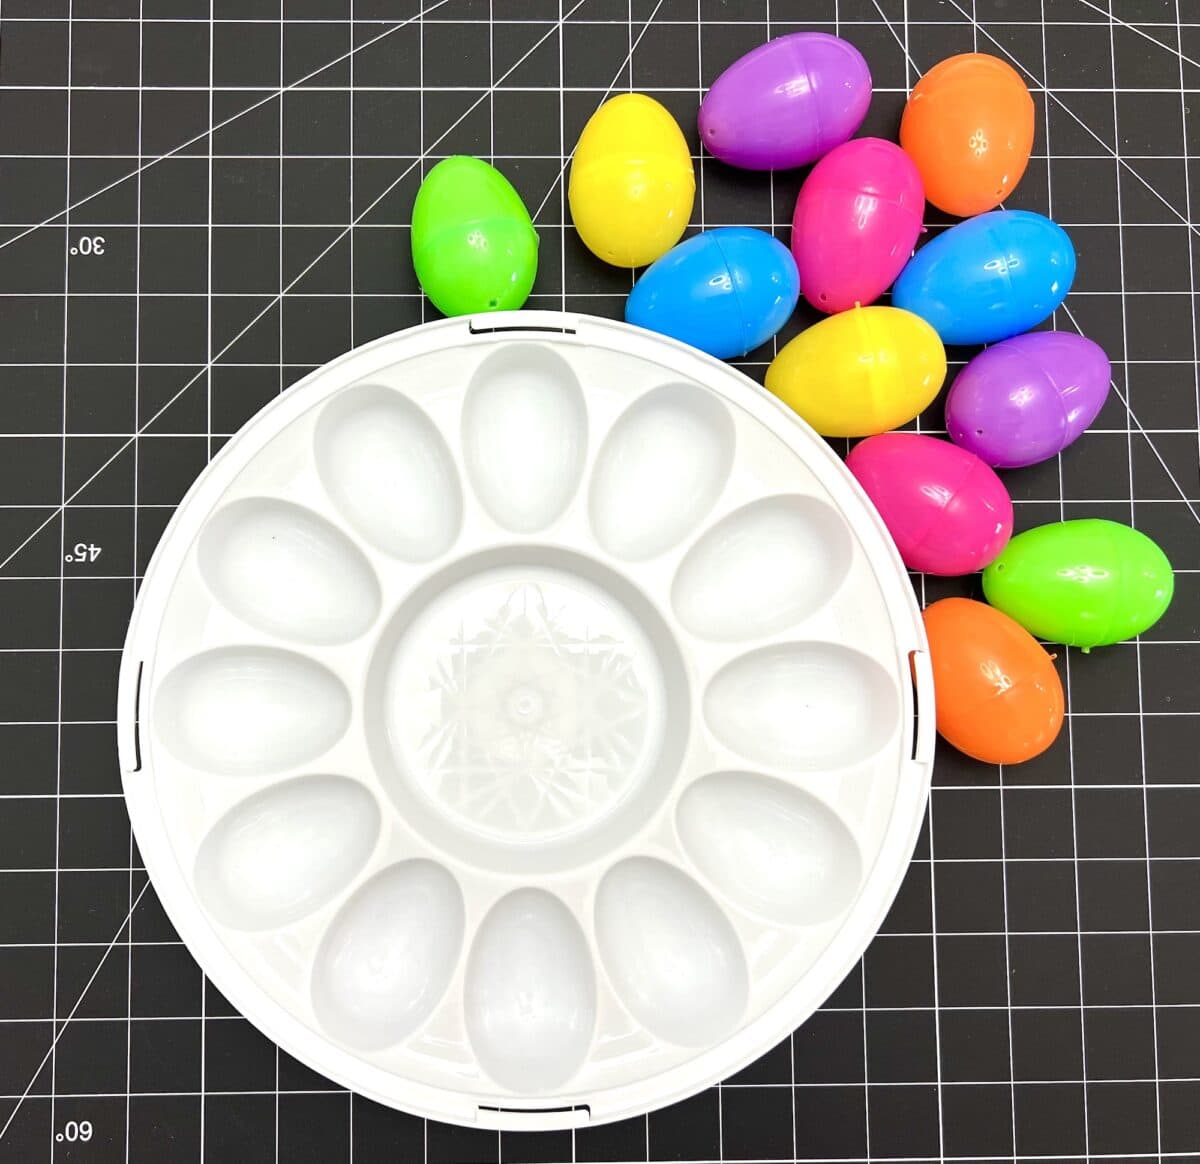
- Plastic Egg Tray Carrier (you only need the base)
- Free Hello Easter Printable
- 12 Plastic Easter eggs
- Plastic or Paper Easter Grass (the paper grass is a LOT less expensive at Walmart!)
- Ribbon (I used 1 ½ inch wired ribbon)
- Hot glue gun (low-temperature glue is best)
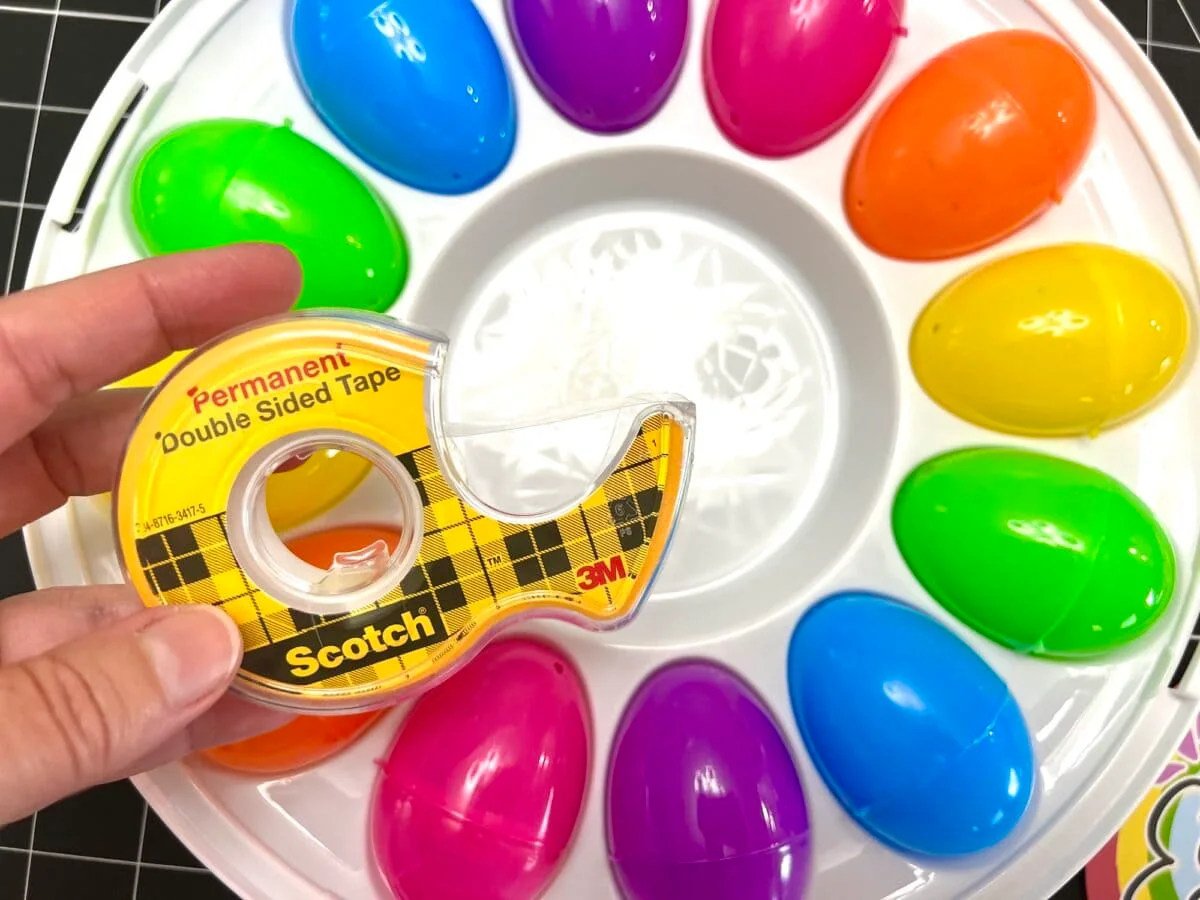
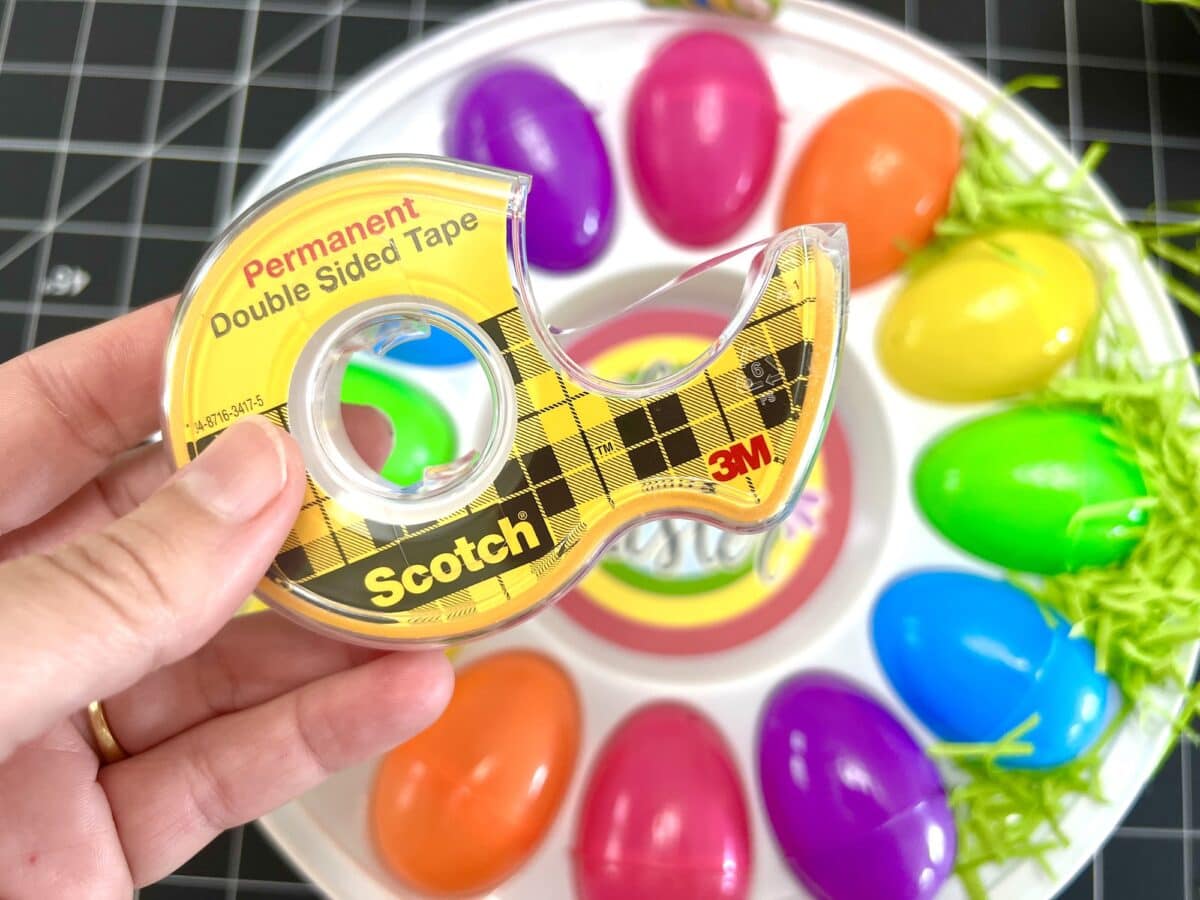
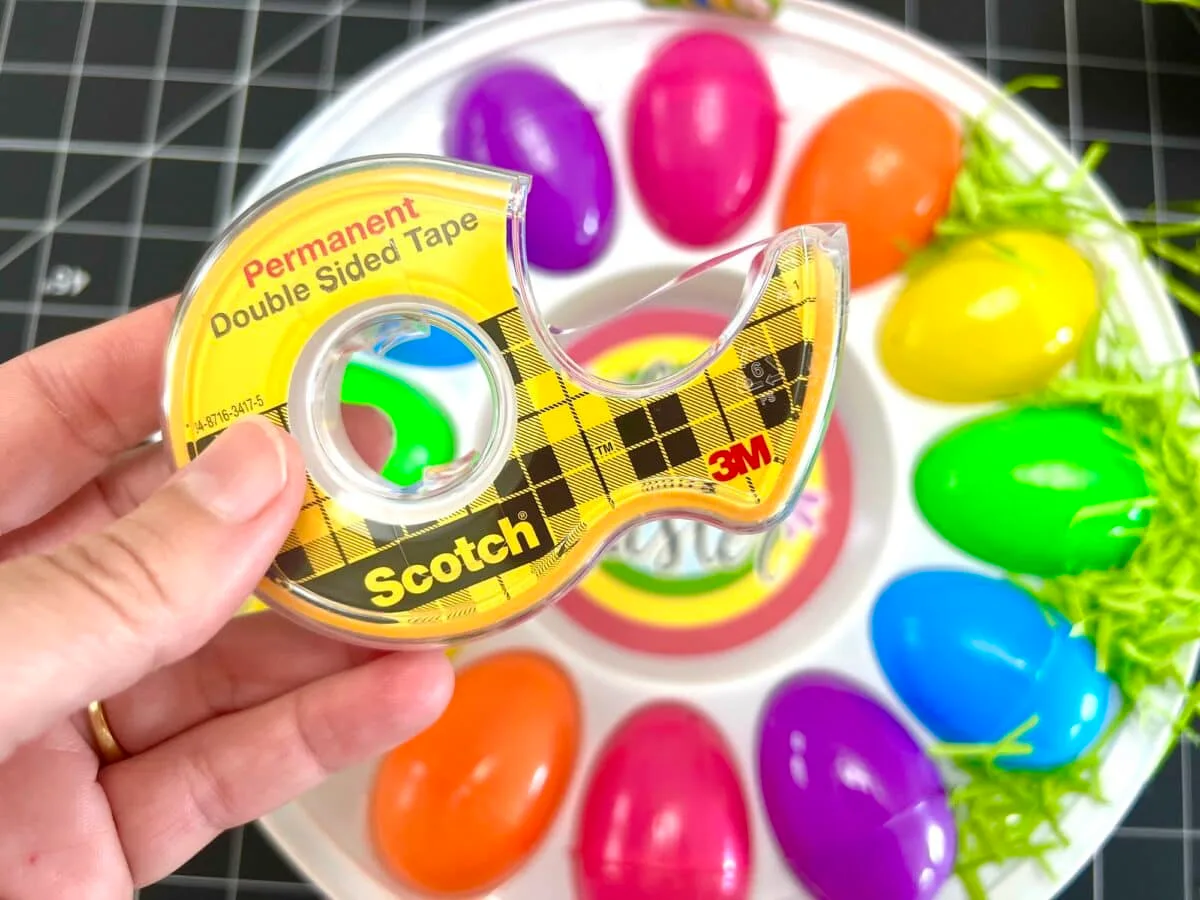
- Double-sided tape (I have seen this at the Dollar Tree, too)
Instructions
Remove the lid from the plastic egg tray carrier. Keep for another craft project or use to cover a plate of food.

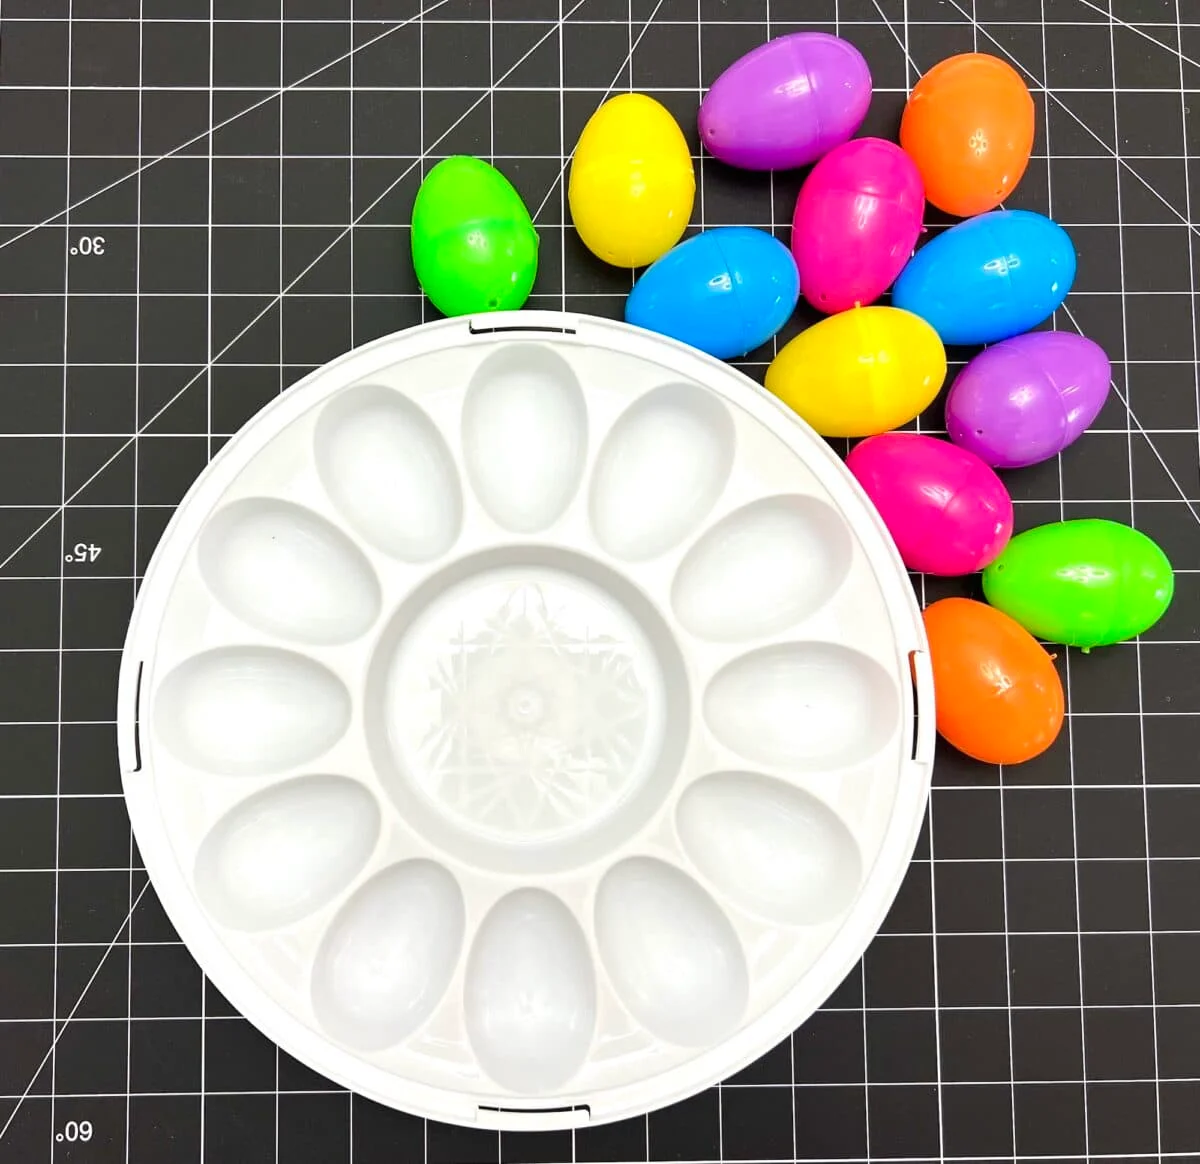
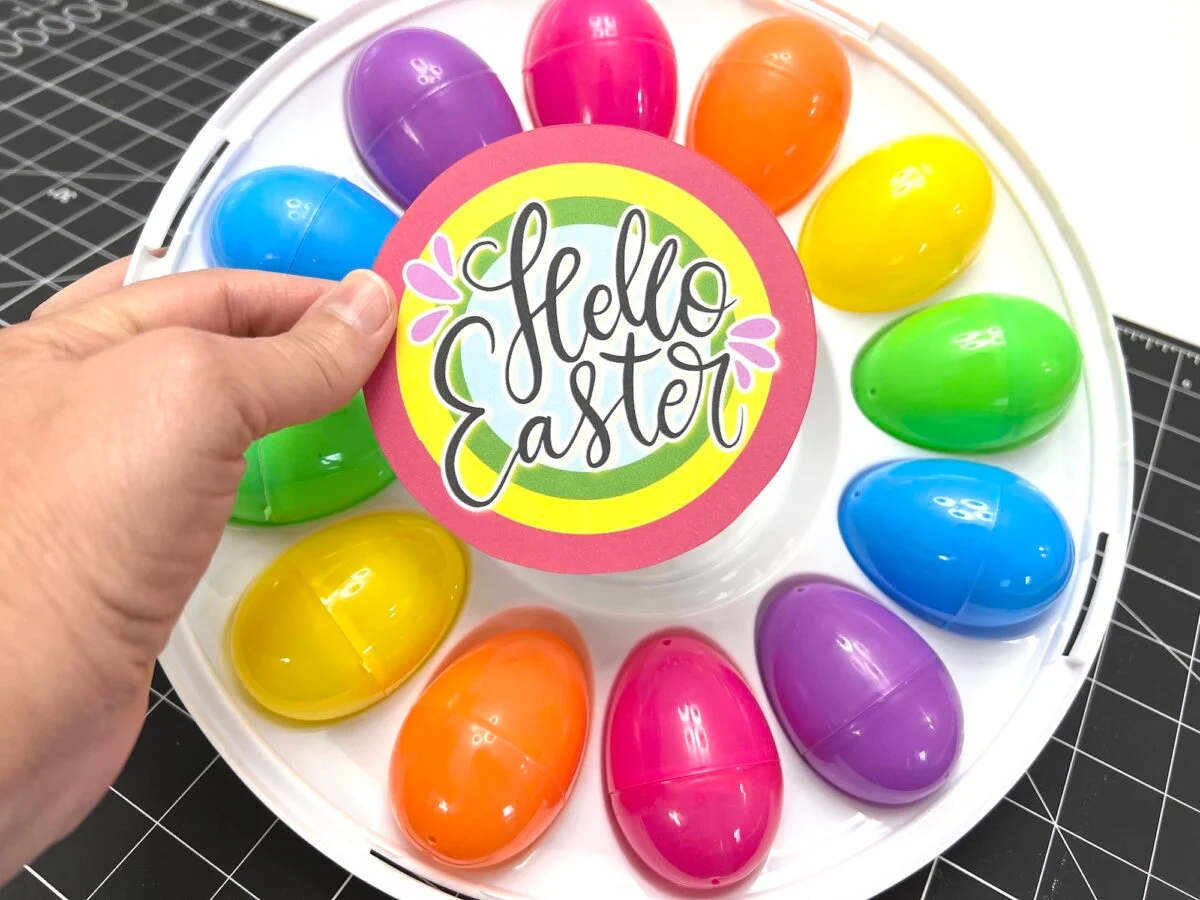
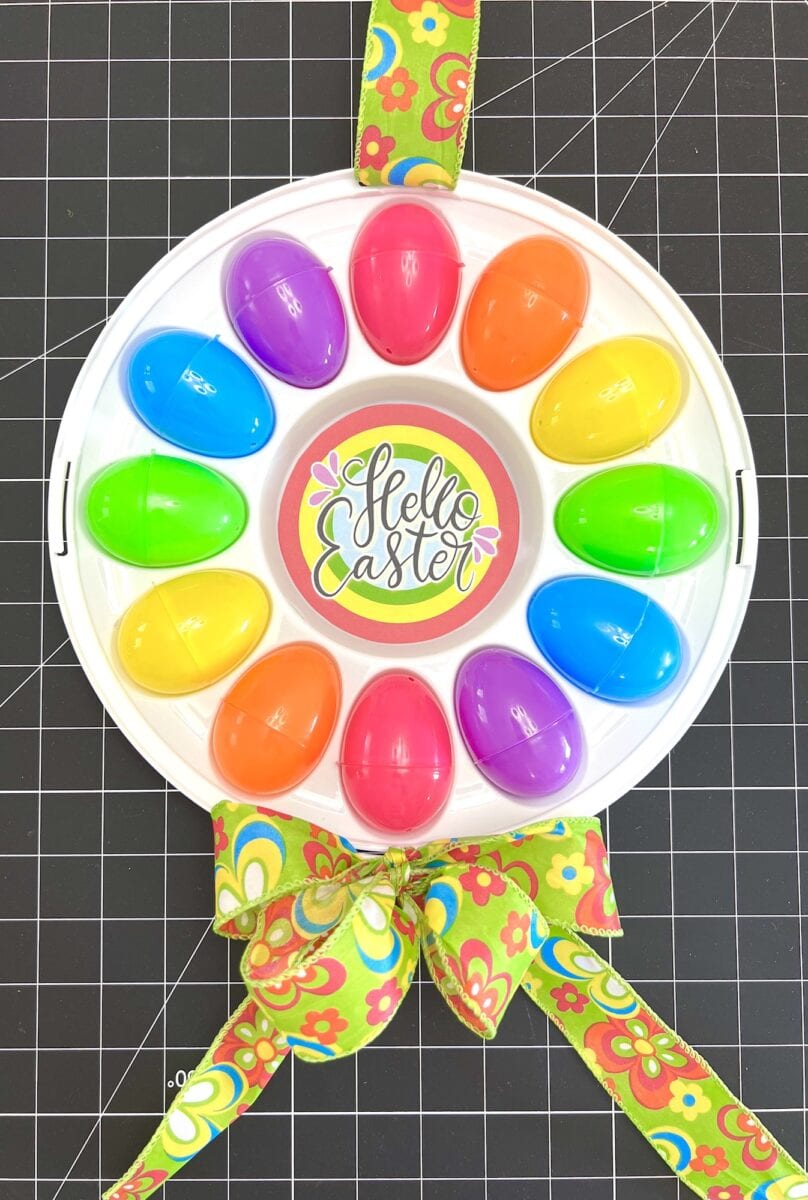
Decide how you want to arrange the plastic Easter eggs. I chose to do the colors of the rainbow, starting with the hot pink at the top.
The top of the wreath will be where one of the openings is around the tray’s edge. Choose which opening you want to be the top, and then place the eggs, printable and ribbon accordingly.
Glue one egg in each compartment on the plastic egg tray. The hinge of each egg (where it attaches to both sides) should be placed outside of the compartment otherwise the eggs won’t lay completely flat in the indentation.
A low-temperature hot glue gun is best for this, but I used a regular hot glue gun and it was fine. You could alternatively use craft glue, E6000 or double-sided tape.
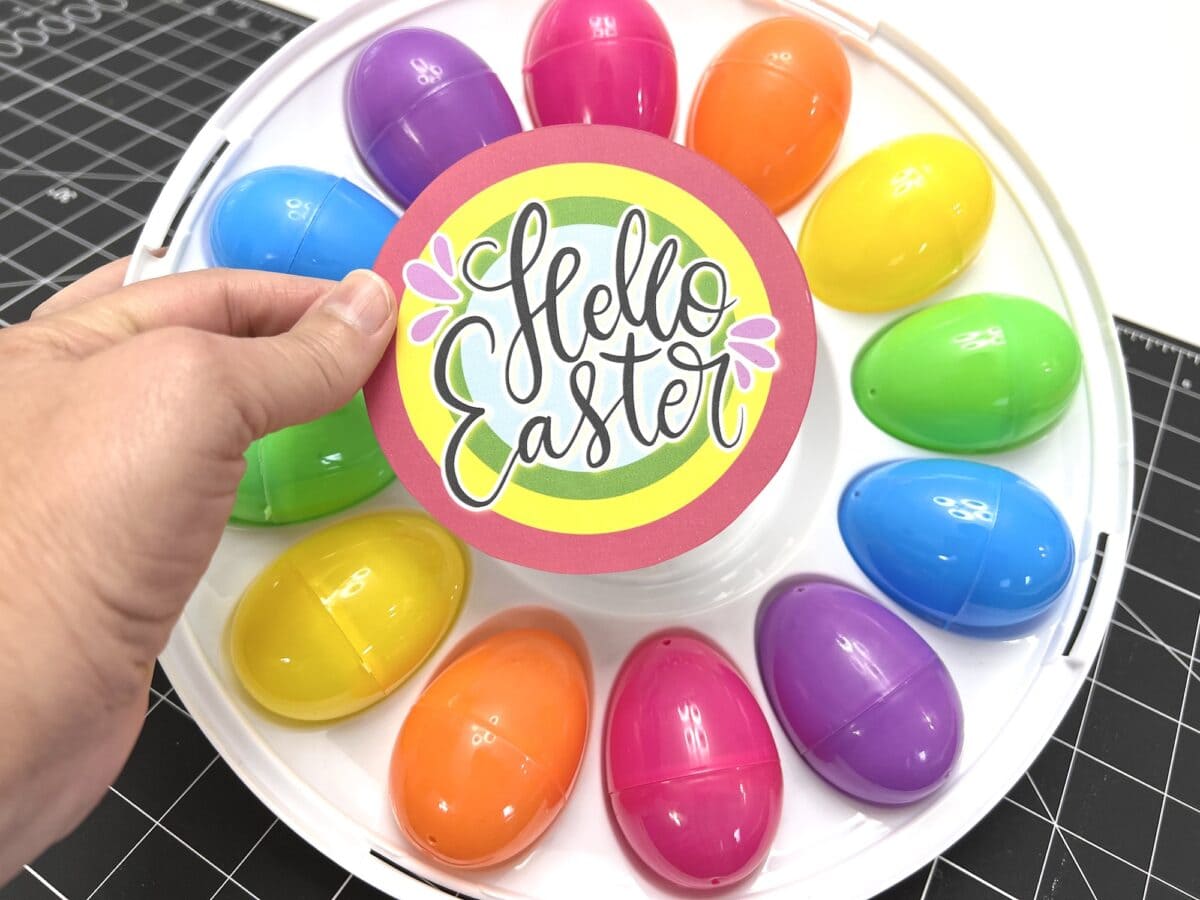
Download, print and cut out the free Hello Easter printable.

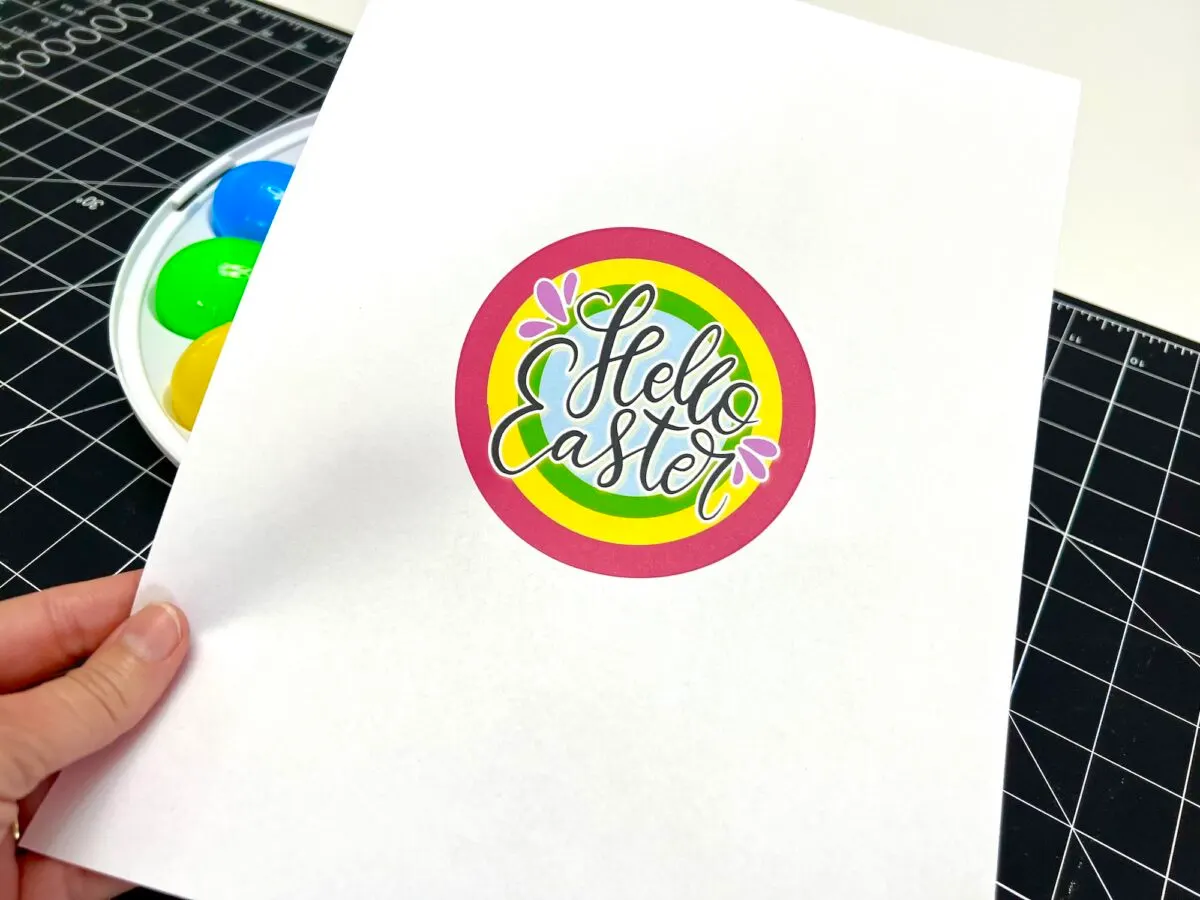
Place double-sided tape on the inner circle of the egg tray.

Lay the Hello Easter printable on top of the tape, making sure to line up the image correctly so that it looks right when you add your ribbon loop to the top of the wreath in the next step. (I placed mine down the first time without thinking about the top of the wreath and had to reprint another one.)
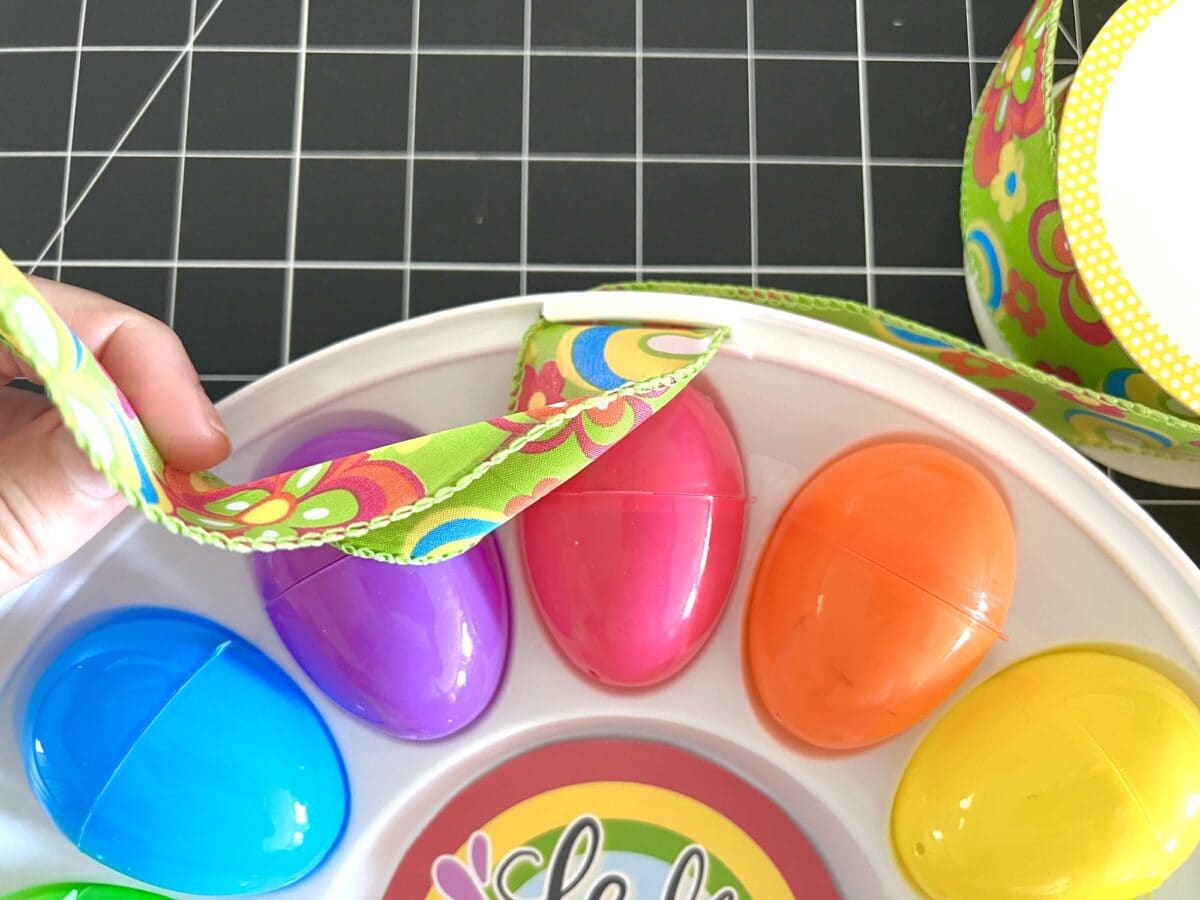
Now it is time to add the ribbon loop and bow.
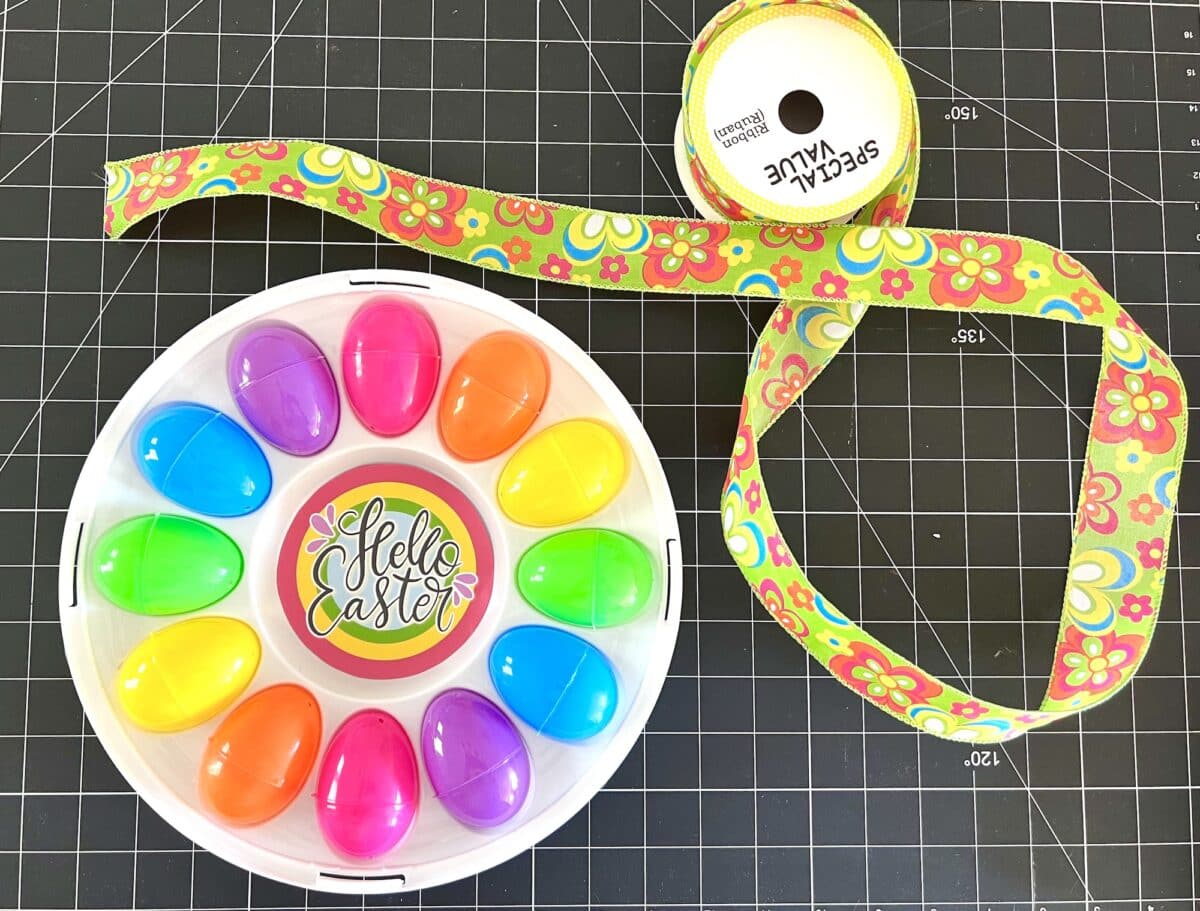

Bring the ribbon through the top of the wreath through the opening. I folded my ribbon in half to get it to go through the opening easier, then opened it up after it had been threaded through.
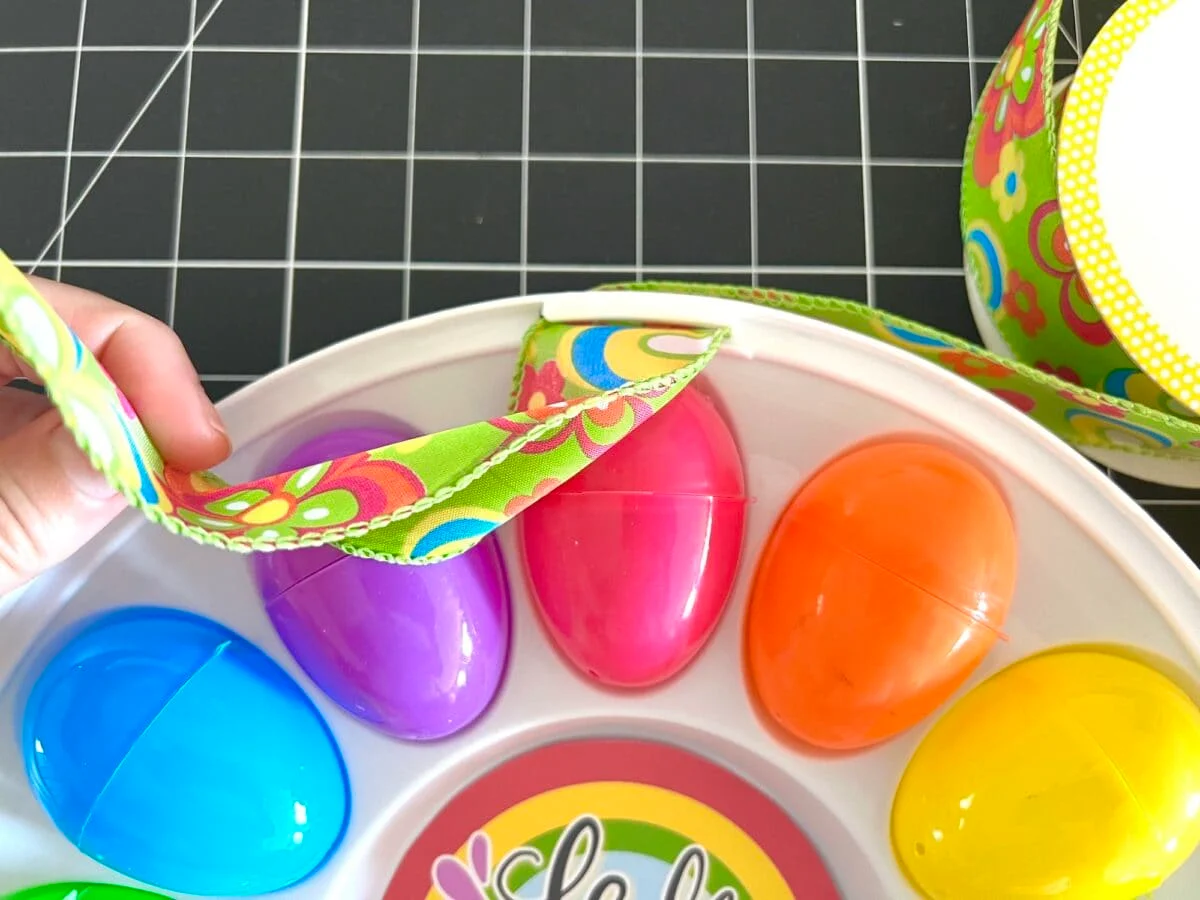
The size of the ribbon loop is up to you depending on where you will hang your wreath and how long you want the hanger to be.
Fold a knot in the ends to secure.
Now tie a bow on the bottom of the wreath by bringing the ribbons through the lower opening and then tying a double bow. I tied one normal bow with big loops then tied another bow with small loops.

If you would like a fancier wreath bow, see our tutorial on how to make a bow with wired ribbon or how to make a multi-layered bow for a wreath.
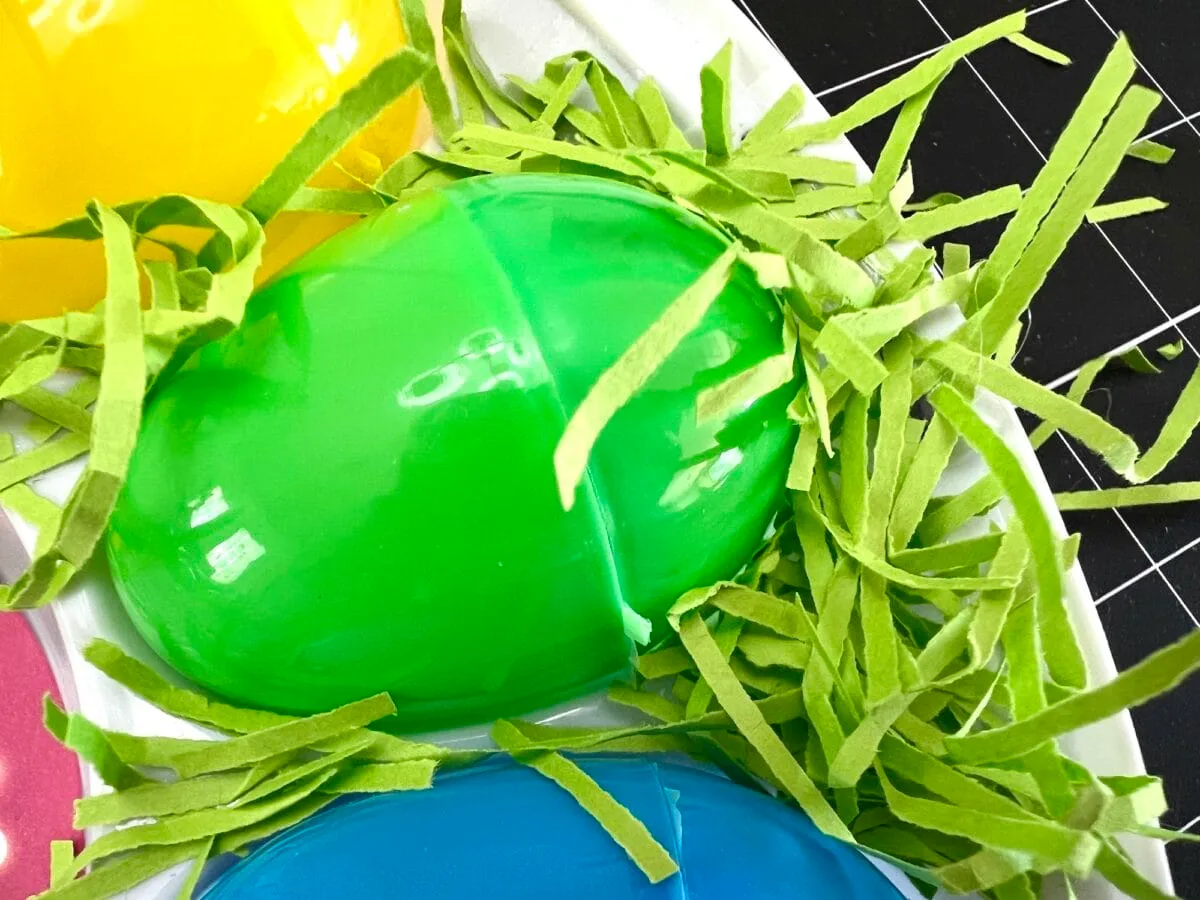
Now it is time to add Easter grass. I used a paper grass, but plastic would work, too.
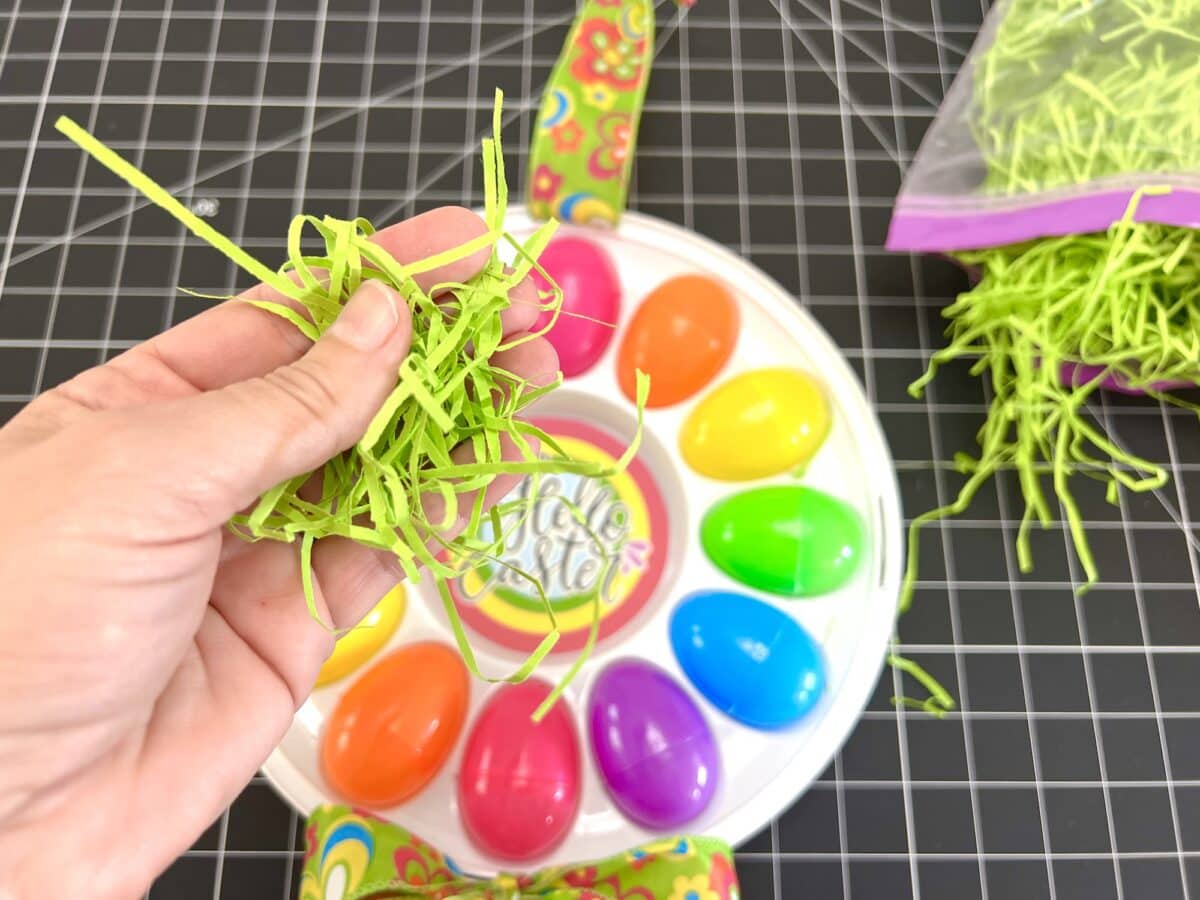
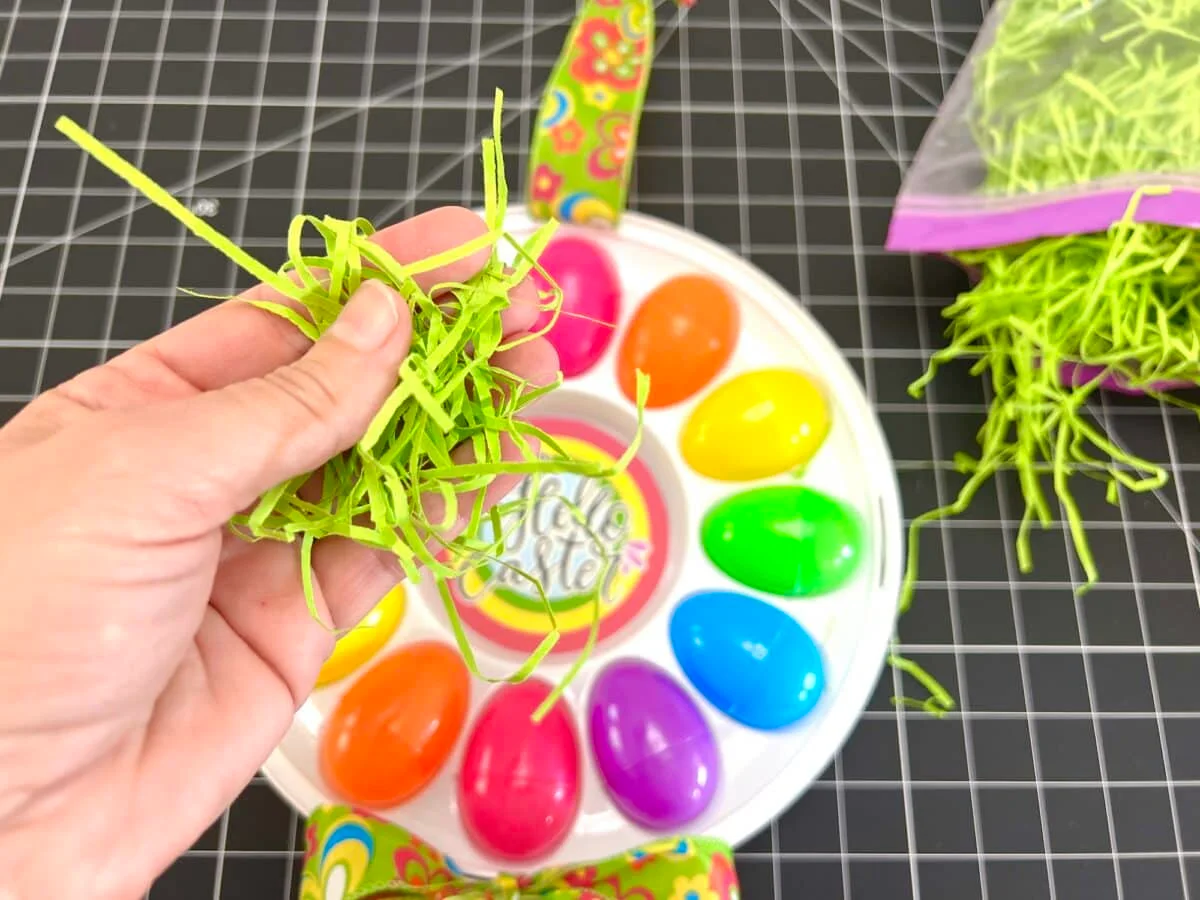
Cutting or tearing the grass into smaller strips makes this step a lot easier. Most grass is long strips of plastic or paper and is a bit too big for this wreath.
Place a small piece of double-sided tape in between the eggs on the top and the bottom of the eggs. Hot glue would also work, too.
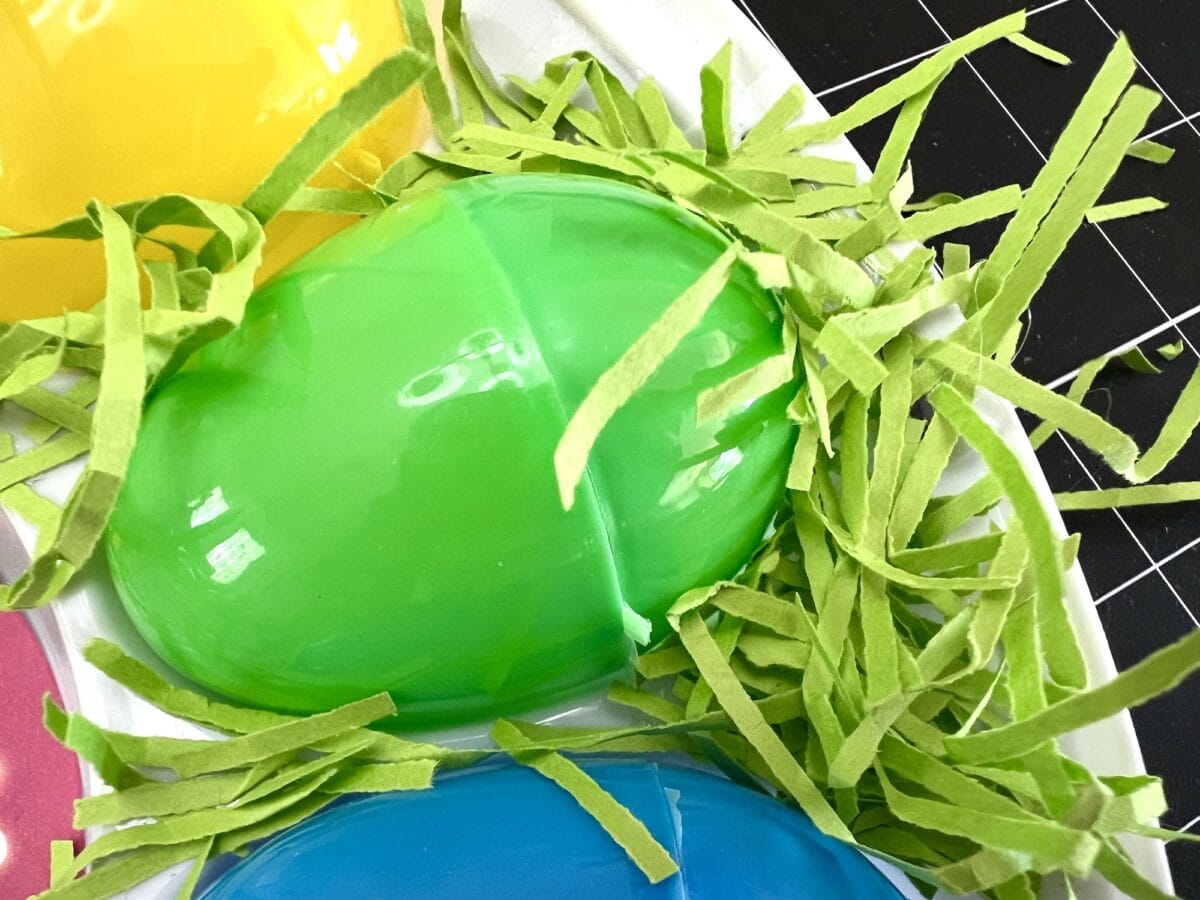
Add clumps of grass on top of the tape, pushing down slightly to secure. Not all of the grass will stay on the tape, and that is fine.
Pay special attention to the openings on each side, adding more tape and grass to cover the gaps.
Pick up the egg tray and turn it over to allow some of the Easter grass that didn’t attach to fall off. If needed, go through and add more pieces of grass to fill in the gaps.
You can watch me make this wreath in our YouTube video below:
Pin this idea to save for later!


If you want more easy Easter crafts and Easter recipes, see these ideas next:
