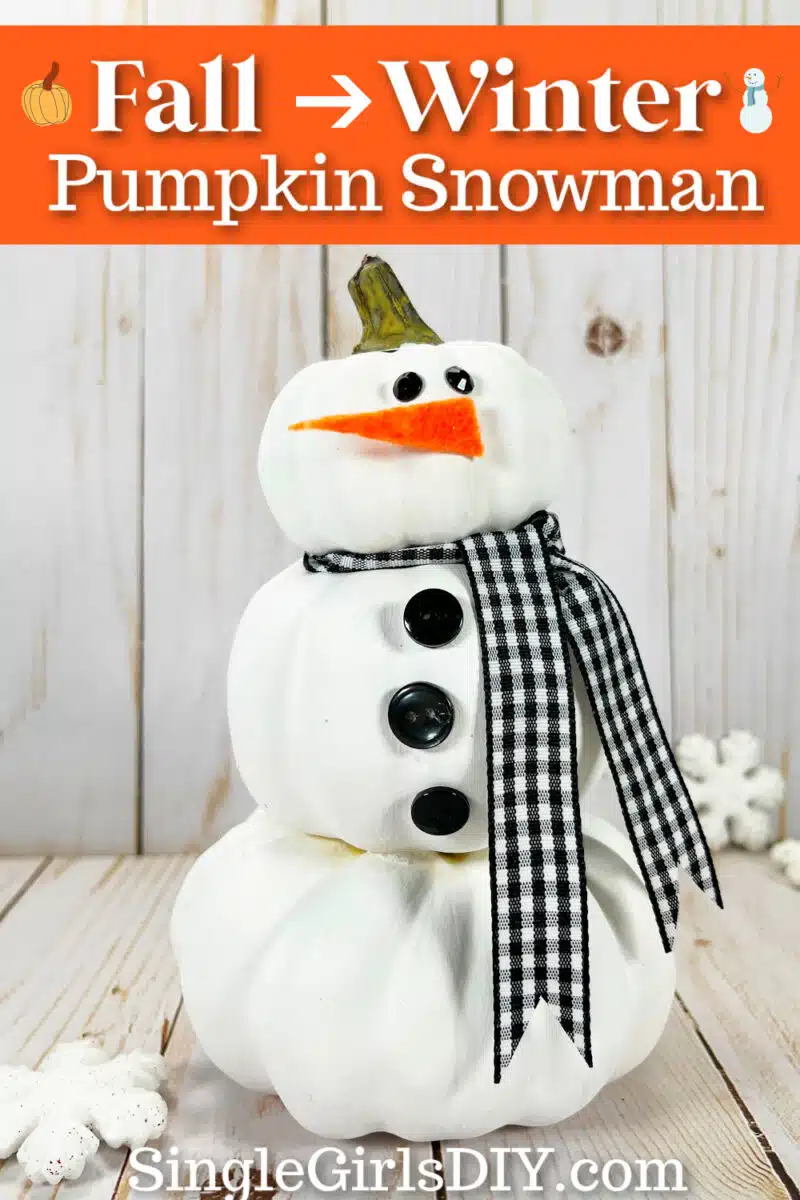
Repurpose your autumn pumpkins to create a cute snowman for winter decorating. This easy DIY project is a great upcycle for your Halloween decorations to transition to Christmas.
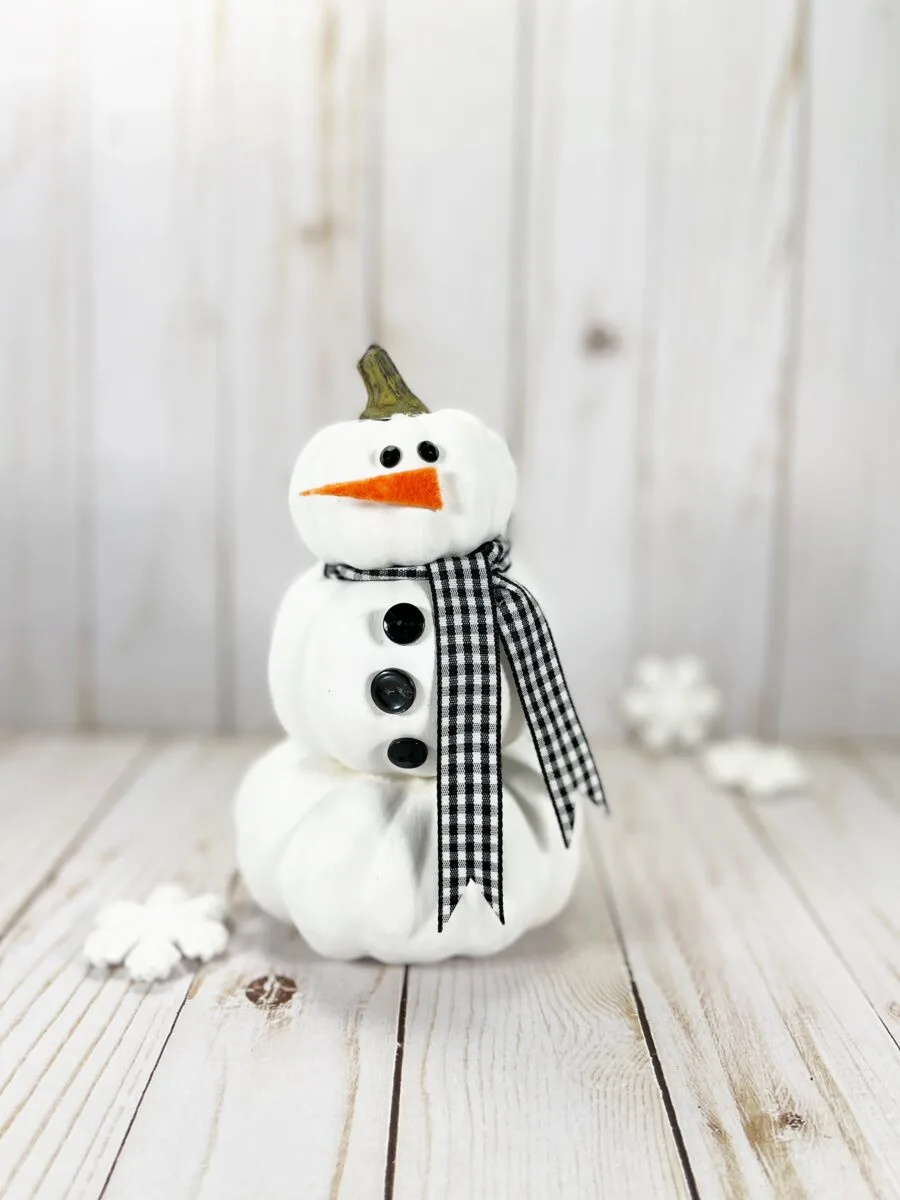
We used a pre-made faux pumpkin stack but you can glue three faux pumpkins of different sizes on top of each other. Just make sure that the stem is showing on the top pumpkin.
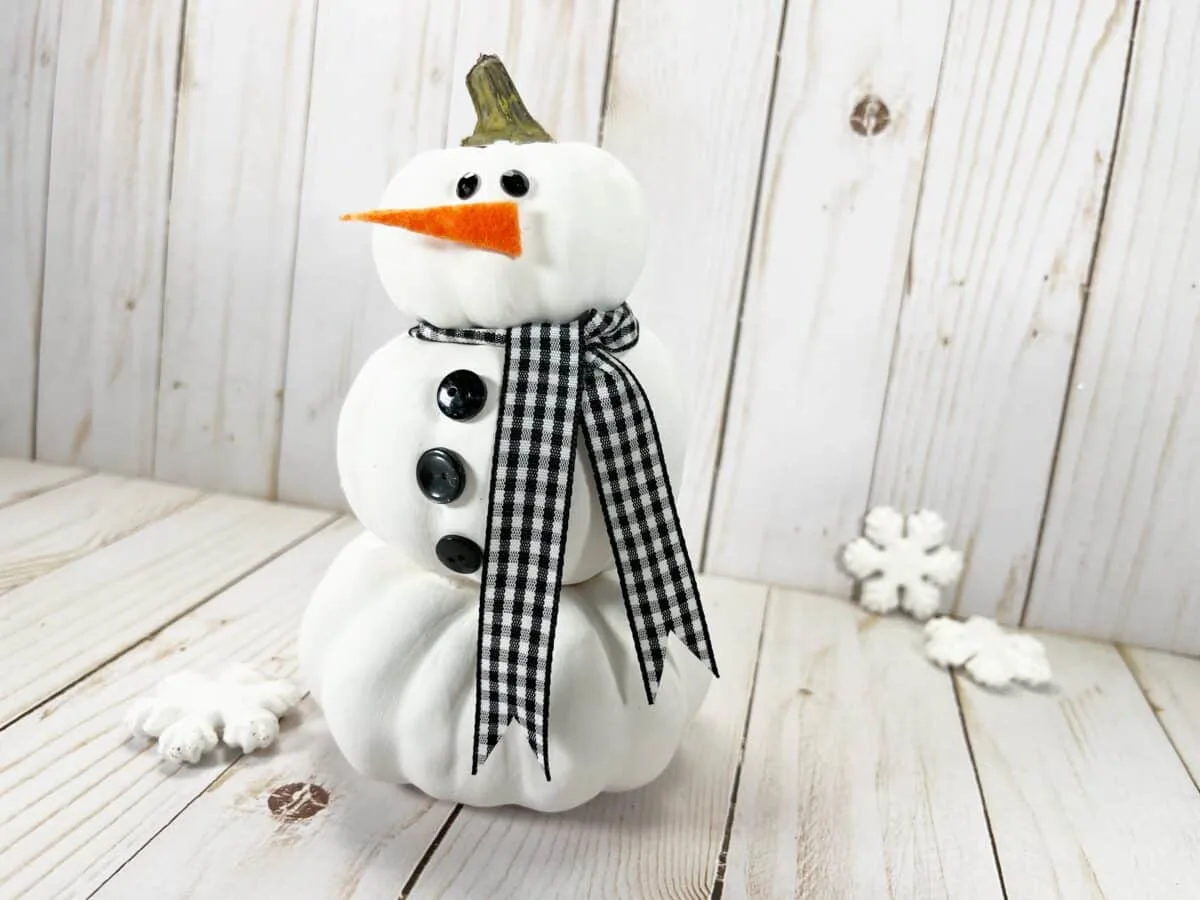
How to Make a Pumpkin Snowman
Supplies
- Triple Stacked Pumpkin (I bought mine at Michaels, but you can get similar stacked pumpkins on Amazon or in craft stores)
- 3 Small Black Buttons
- 2 Black Rhinestones (Self-Adhesive)
- Black and White Gingham Ribbon
- Hot Glue Gun or Craft Glue
- White Acrylic Craft Paint
- Orange Felt
- Paintbrush
- Scissors
Directions
Step 1
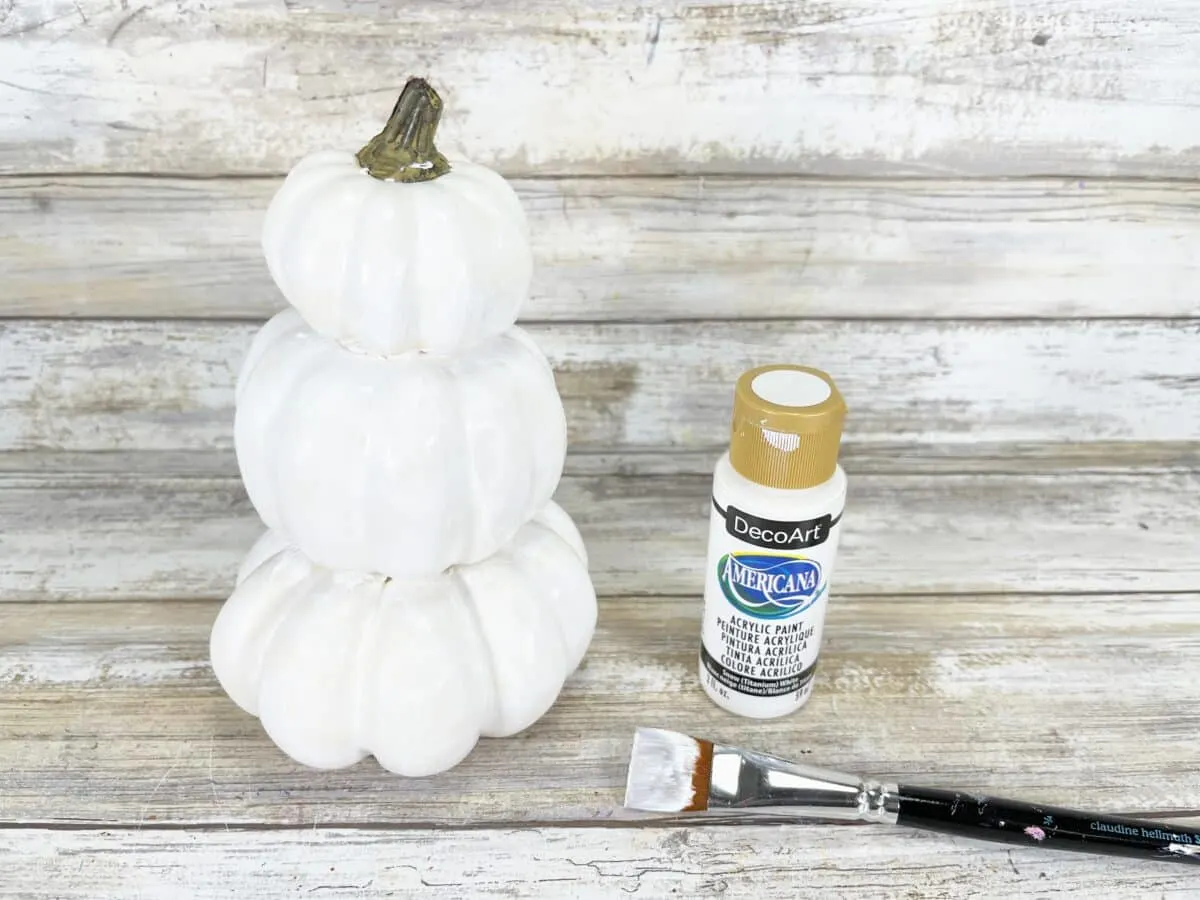
Paint the triple stacked pumpkins with white acrylic craft paint.
Let dry. Apply a second and third coat, if needed. (I used three coats of paint.)
Step 2
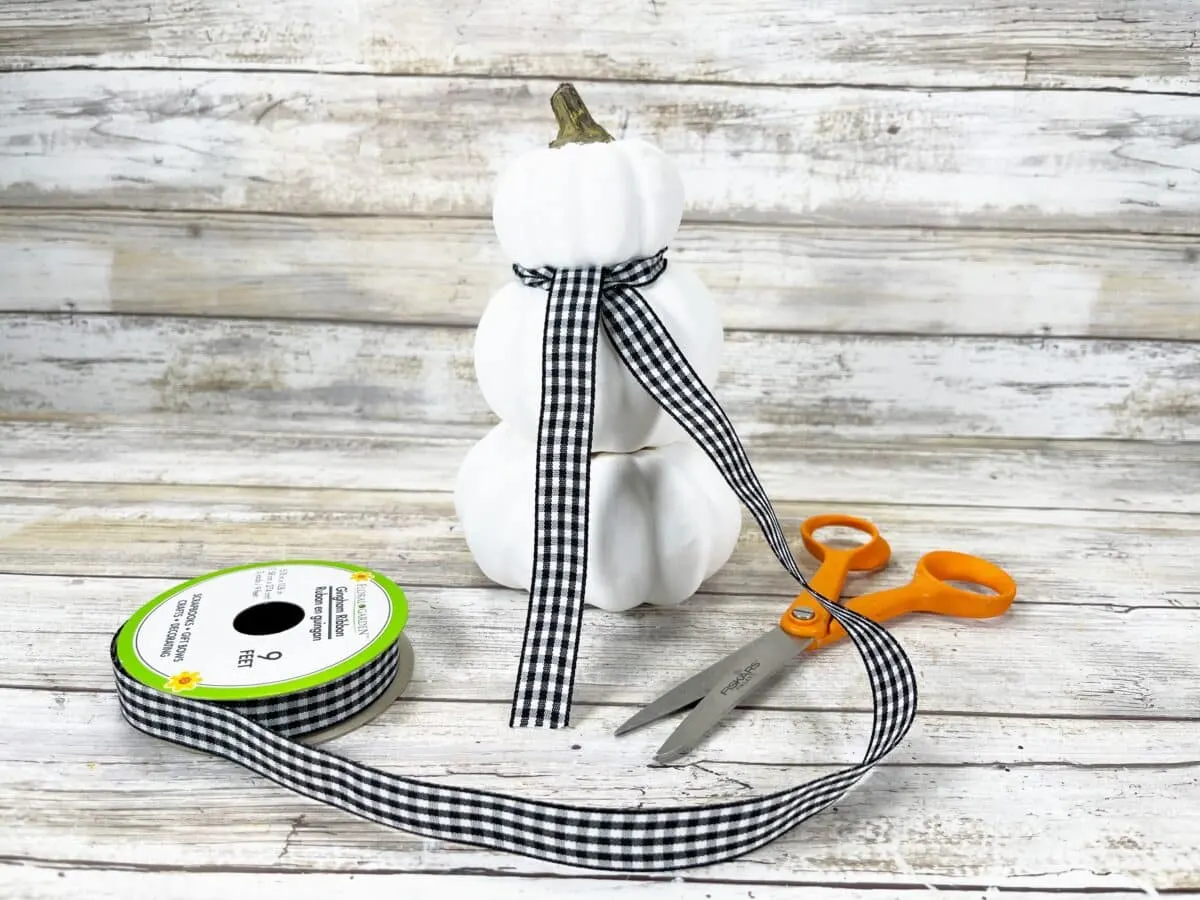
Cut a 12-inch length of black and white gingham ribbon. Tie around the Snowman’s neck, securing with glue.
Trim any long ends into a notch with scissors. Notching the cut end of ribbons not only makes it look pretty but also prevents fraying.
Step 3
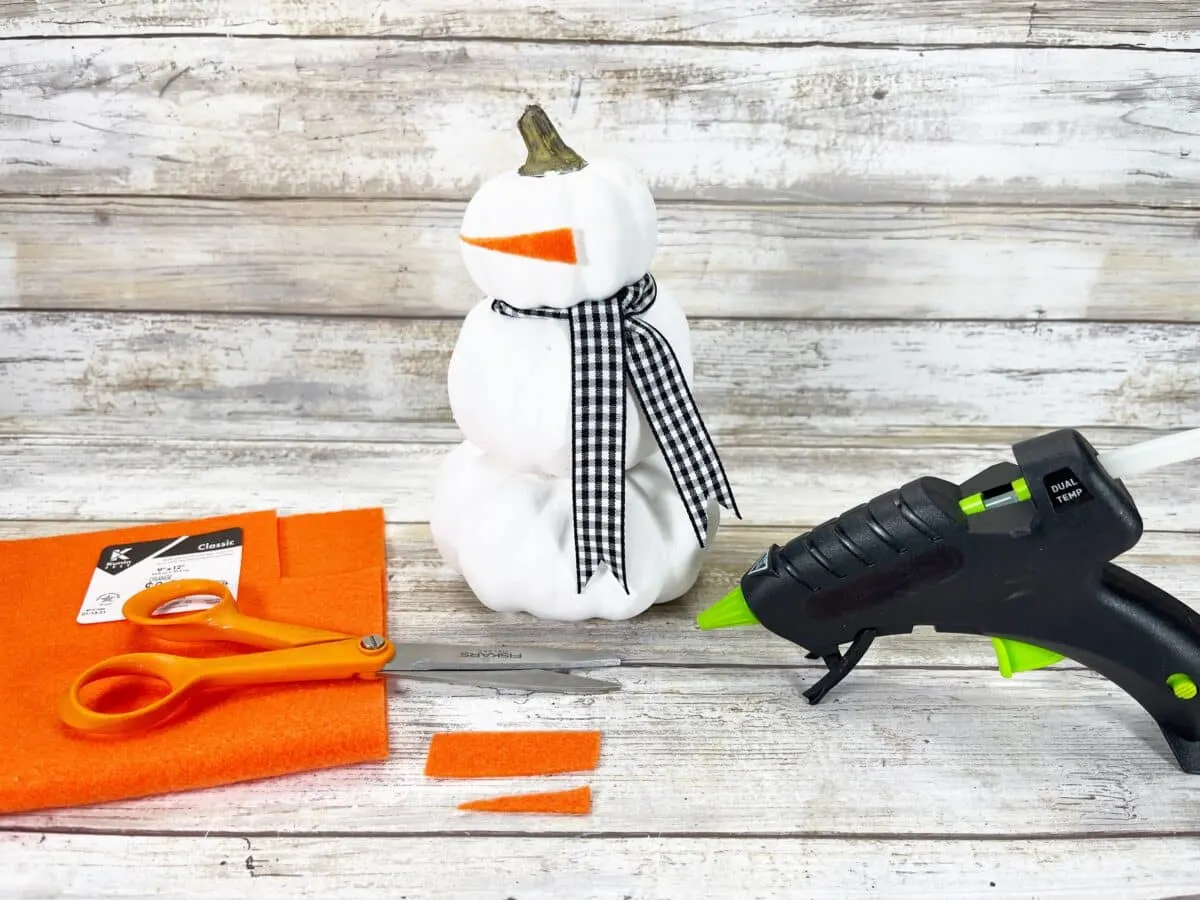
Cut a small triangle from orange craft felt.
Glue to the snowman face. Alternatively, you could use orange craft foam or a scrap of orange fabric.
Step 4
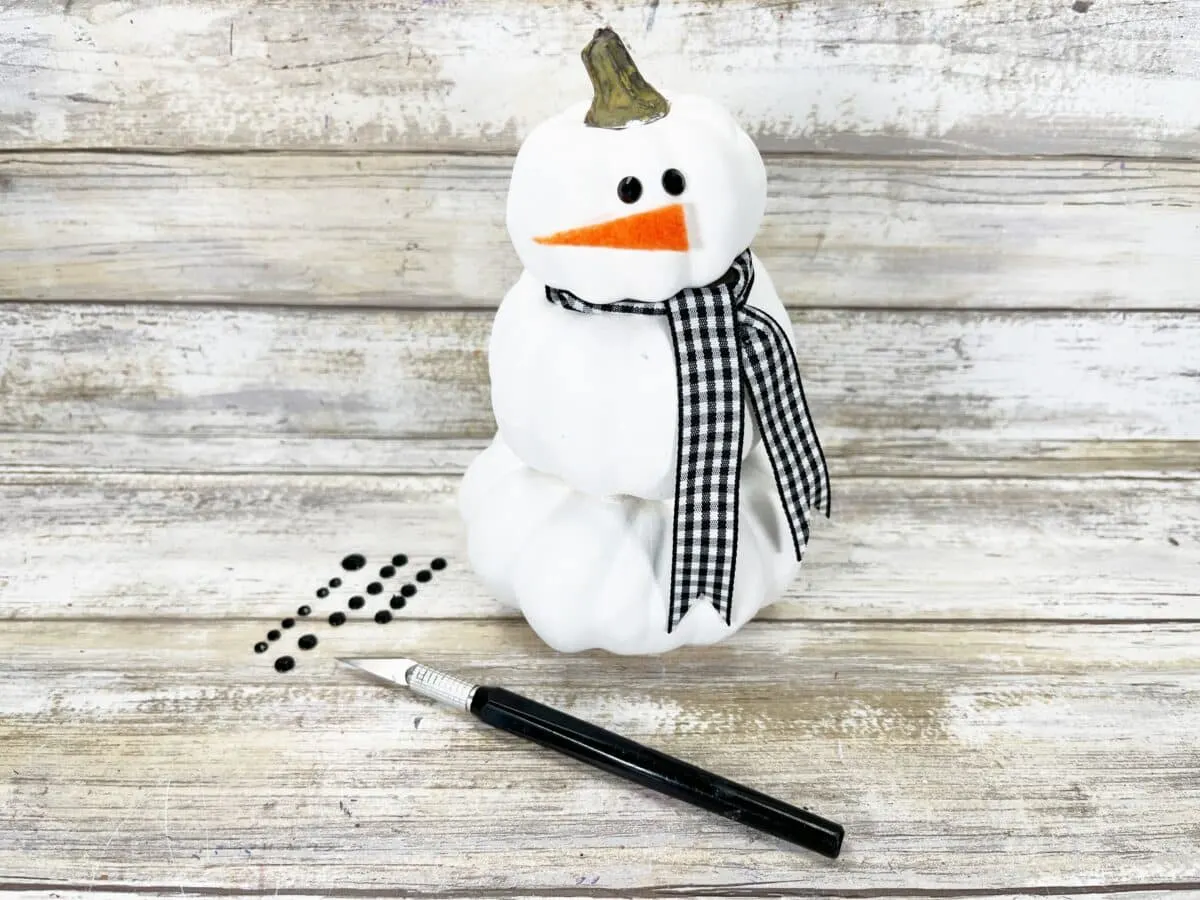
Attach two small black self-adhesive rhinestones for the eyes.
Step 5
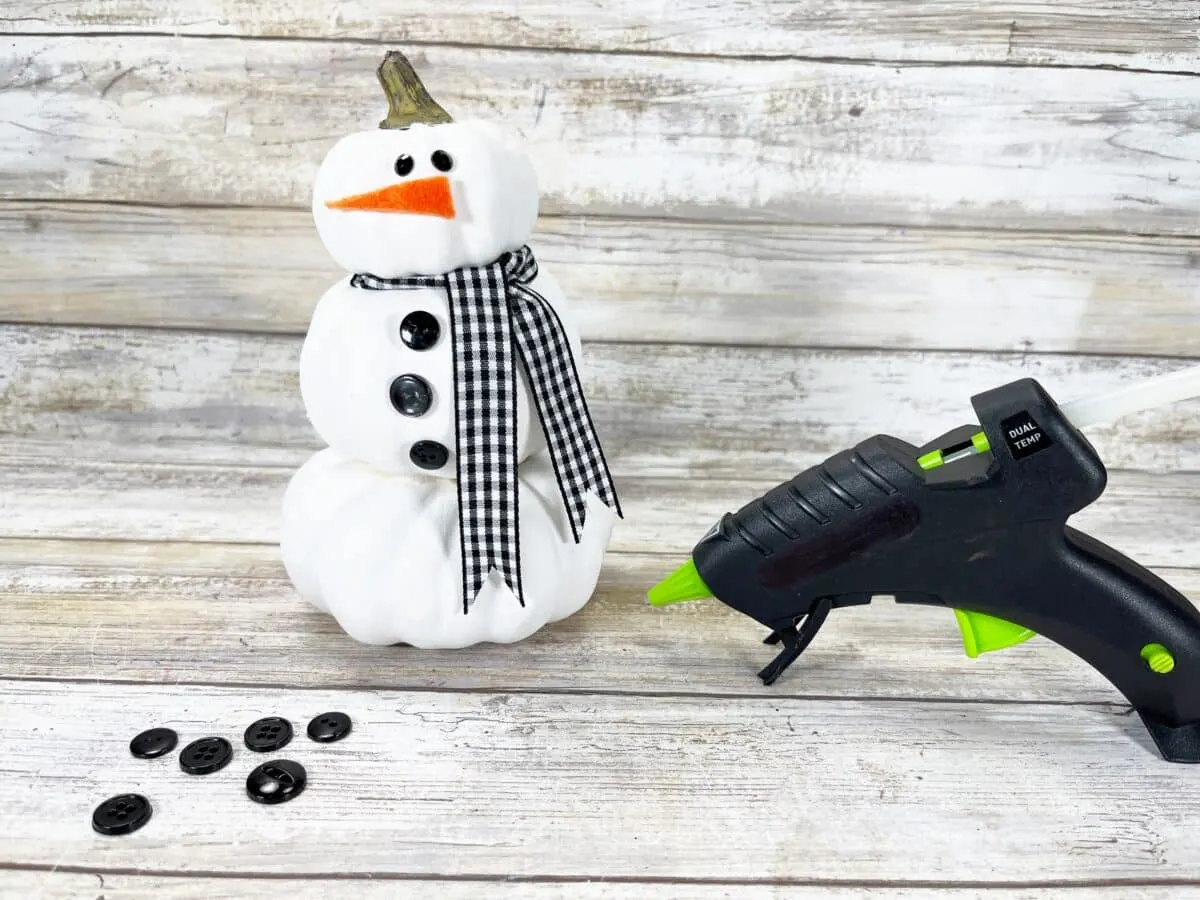
Glue three small black buttons down the front of the snowman.
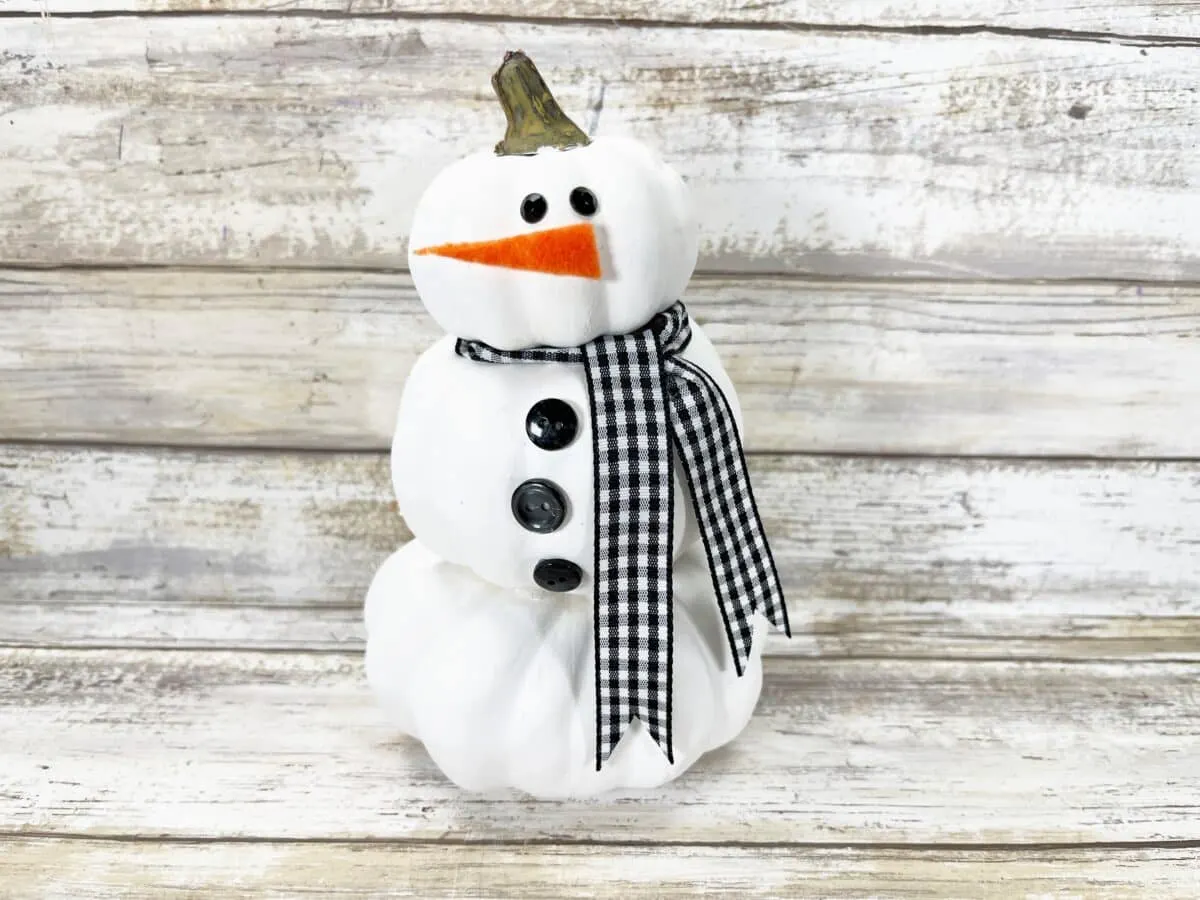
For variation, you could use any color of ribbon. Or mix and match the sizes and colors of the buttons.
Want to save this idea for later? Pin It or Flip It on Flipboard.
Love snowmen? Check out these snowman crafts next:
- Reversible Wood Block Snowman
- Snowman Vase
- Snowman Bookmark
- Tumbling Tower Snowman
- Foam Dice Snowman
- DIY Snowman Bracelet
- Snowman Wreath


