
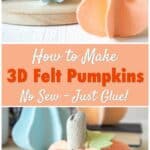

Easy 3D Felt Pumpkins are put together with glue. No sewing needed!


My favorite decorations are ones that I can use year after year. When I fall in love with Fall decor, I certainly don’t want to have to get rid of it just a few weeks after I put it out.

Which is why I’ve fallen in love with these simple no-sew felt pumpkins. Using just pieces of felt and a branch, they are easy crafts that will last from Halloween through Thanksgiving.
After you put the pumpkins away, check out my 3D no-sew felt Scandinavian trees!

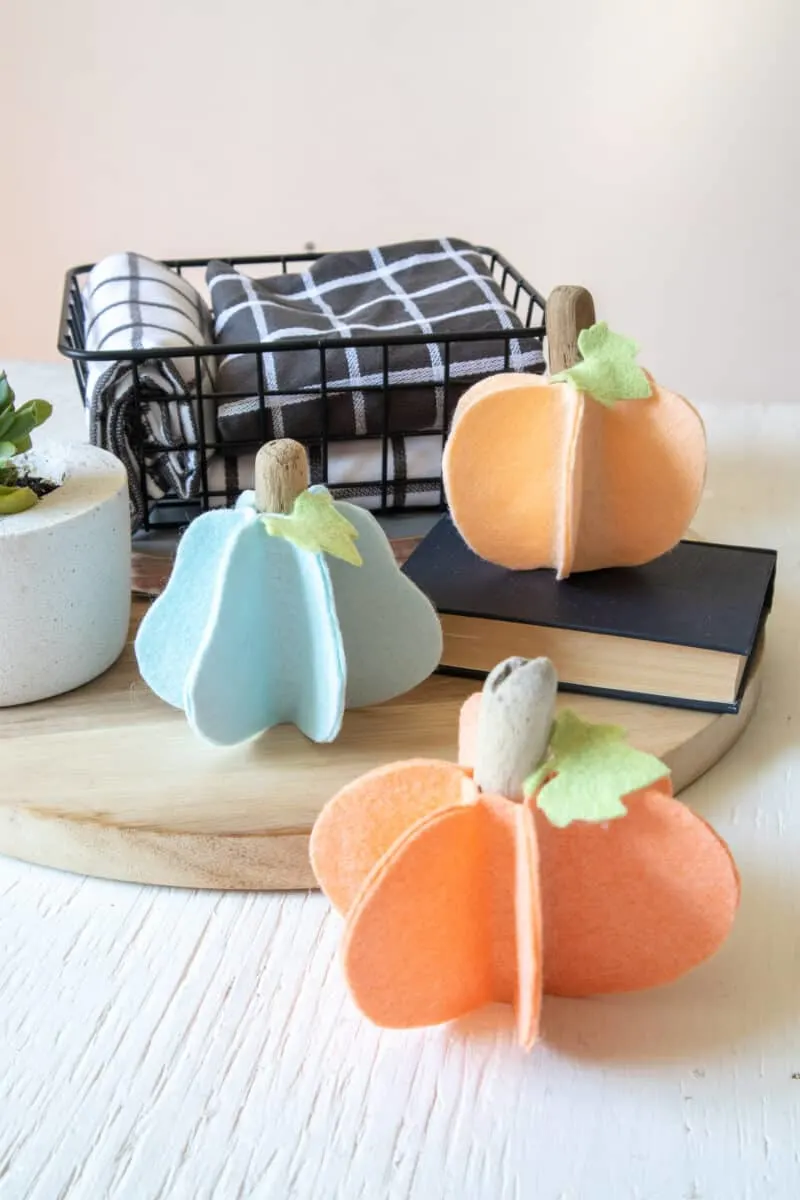
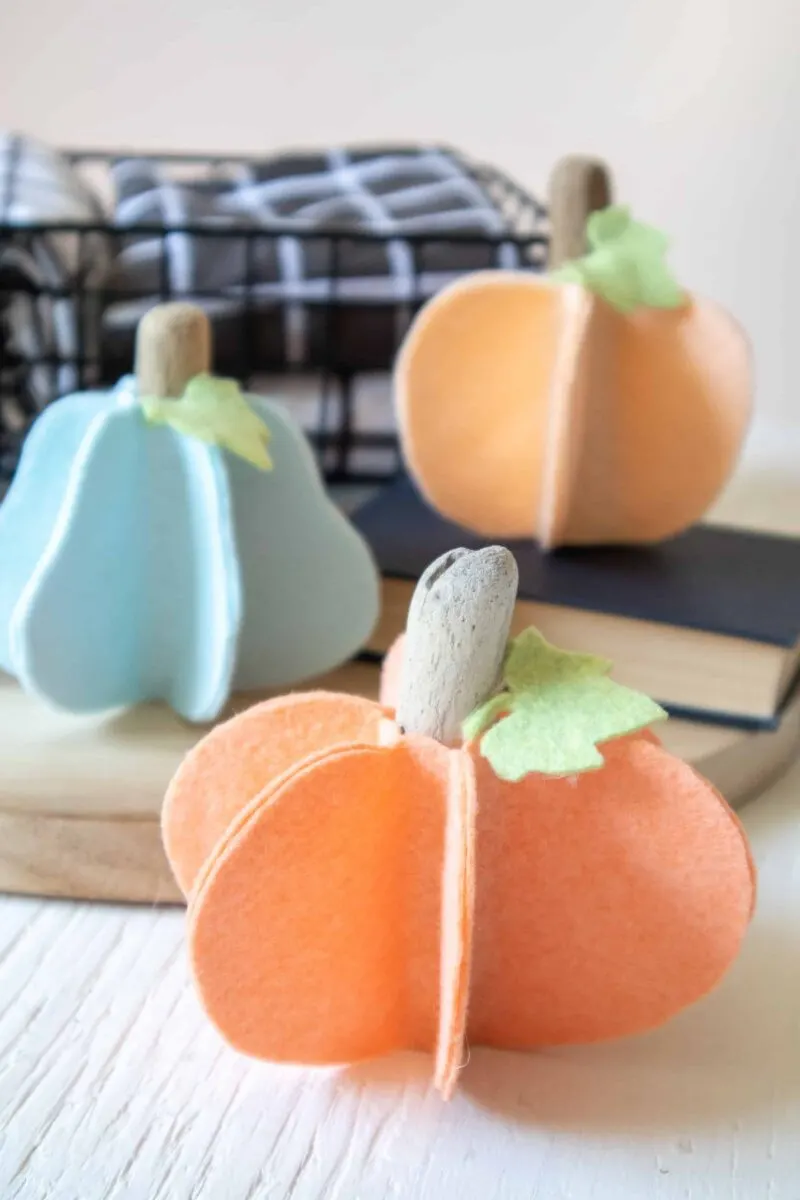
I especially love the pastel color palette that isn’t quite as bold and harsh as some pumpkin oranges. I feel that these colors (listed below) are soothing yet festive.
They easily add an autumn touch to areas in my home where primary colors wouldn’t look as great.

Of course, if you like bold oranges, browns and yellows, feel free to use the colors that you love! Or even alternative Halloween colors, such as pink or purple.
This felt pumpkin craft is all about you and your customization to fit your home.
I think these would be cute as table decorations for Fall or Thanksgiving dinners. You could even give them to guests afterwards as party favors.
If you are creating a beautiful Autumn tablescape, be sure to see my easy DIY pumpkin napkin rings and DIY pumpkin place card holders.
Get Your Fall Gratitude Journal Now!
Fall is a time to rest, reflect and be grateful. This printable planner and journal pack will help you capture your memories, and plan for the busy season ahead.
Easy 3D Felt Pumpkins
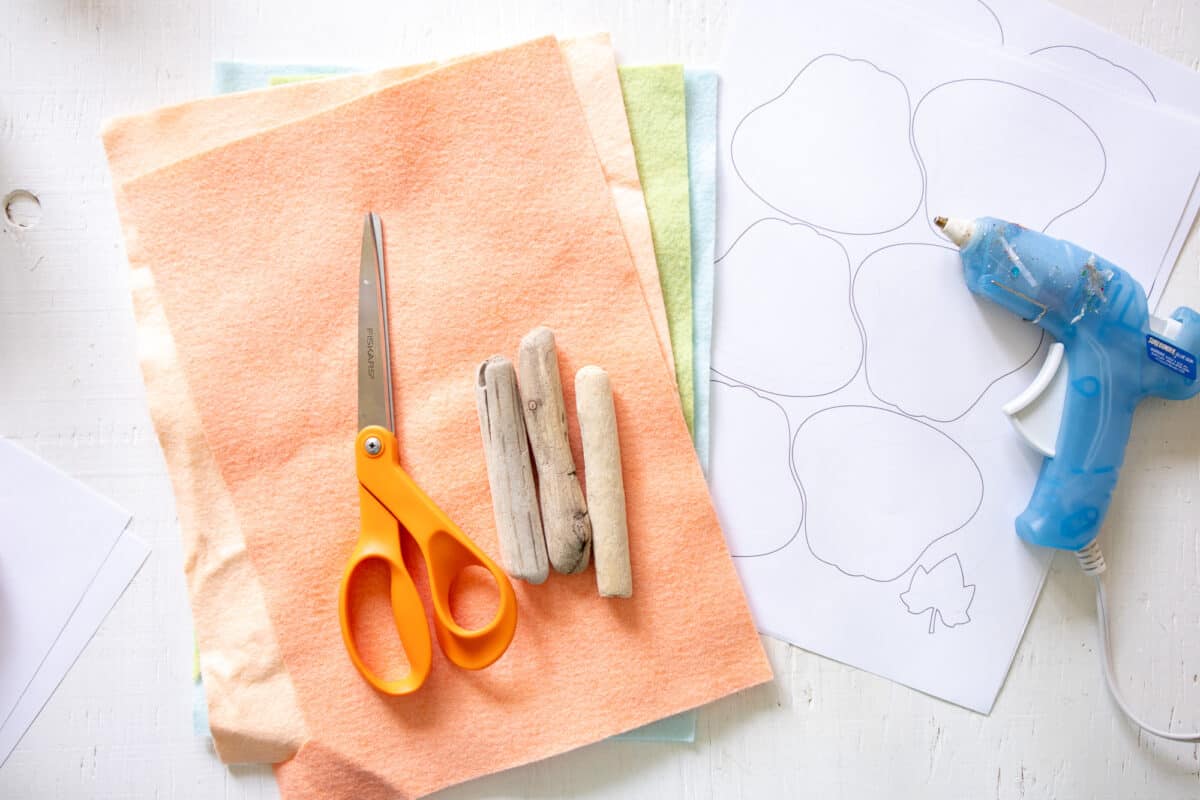
Materials
- Felt Pumpkin Pattern (either PDF or SVG)
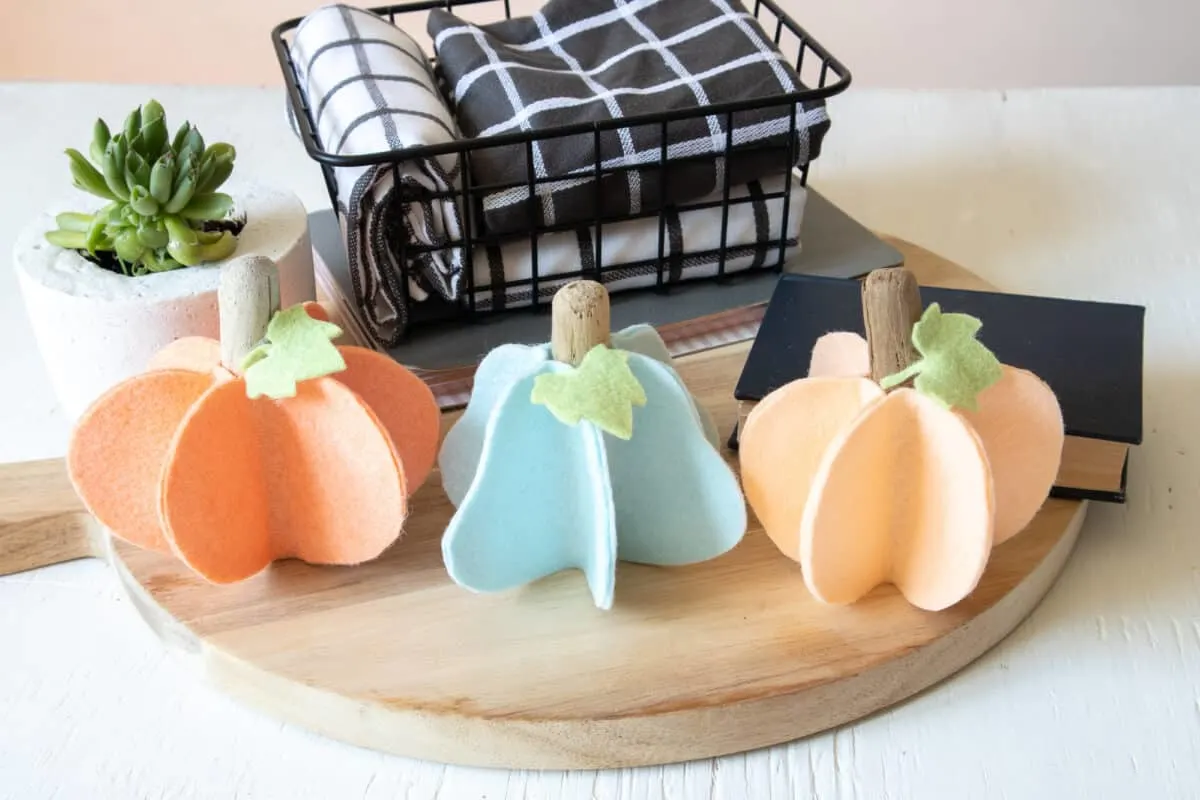
- Felt sheets in 3 coordinating pale colors. In chose Peach, Guava, and Icicle (this is the brand I used)
- Fabric scissors
- Hot glue gun and clear craft glue
- Branches or driftwood pieces about 4” long

Instructions
Print off the pattern template on 8.5 x 11 sheet of paper. Cut out the pattern pieces.
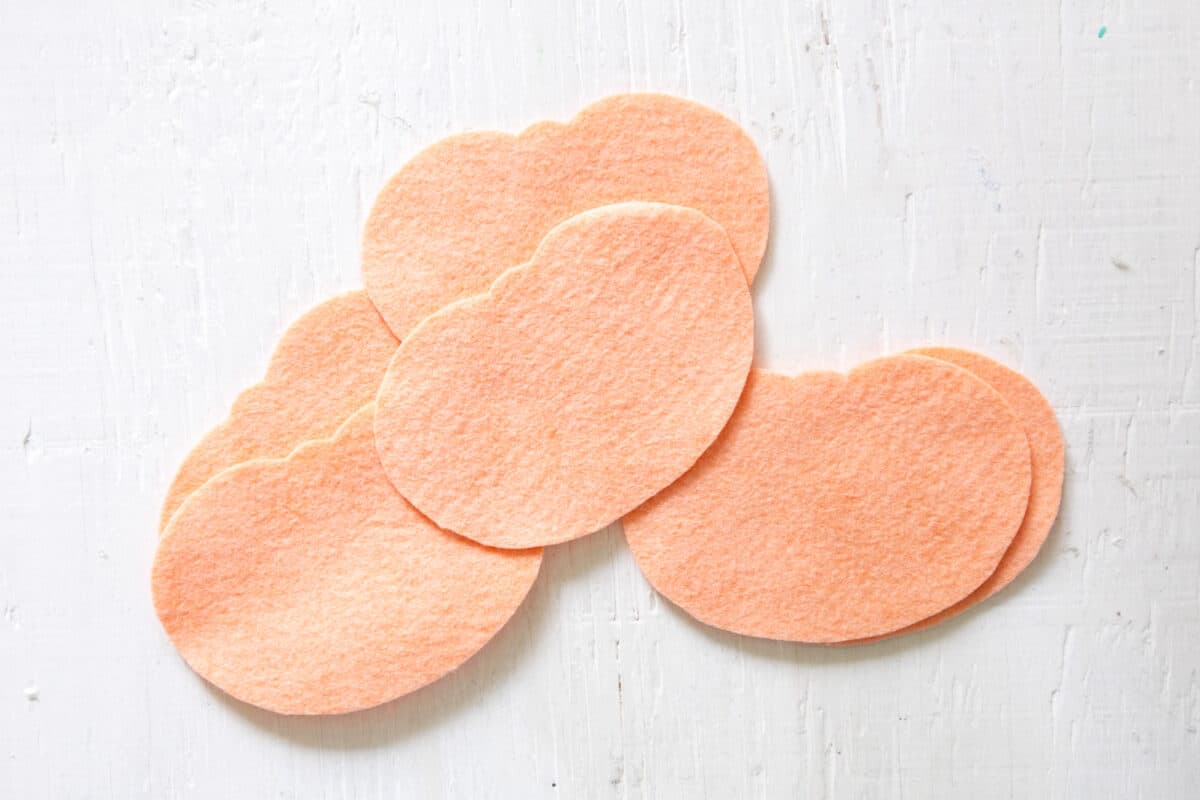
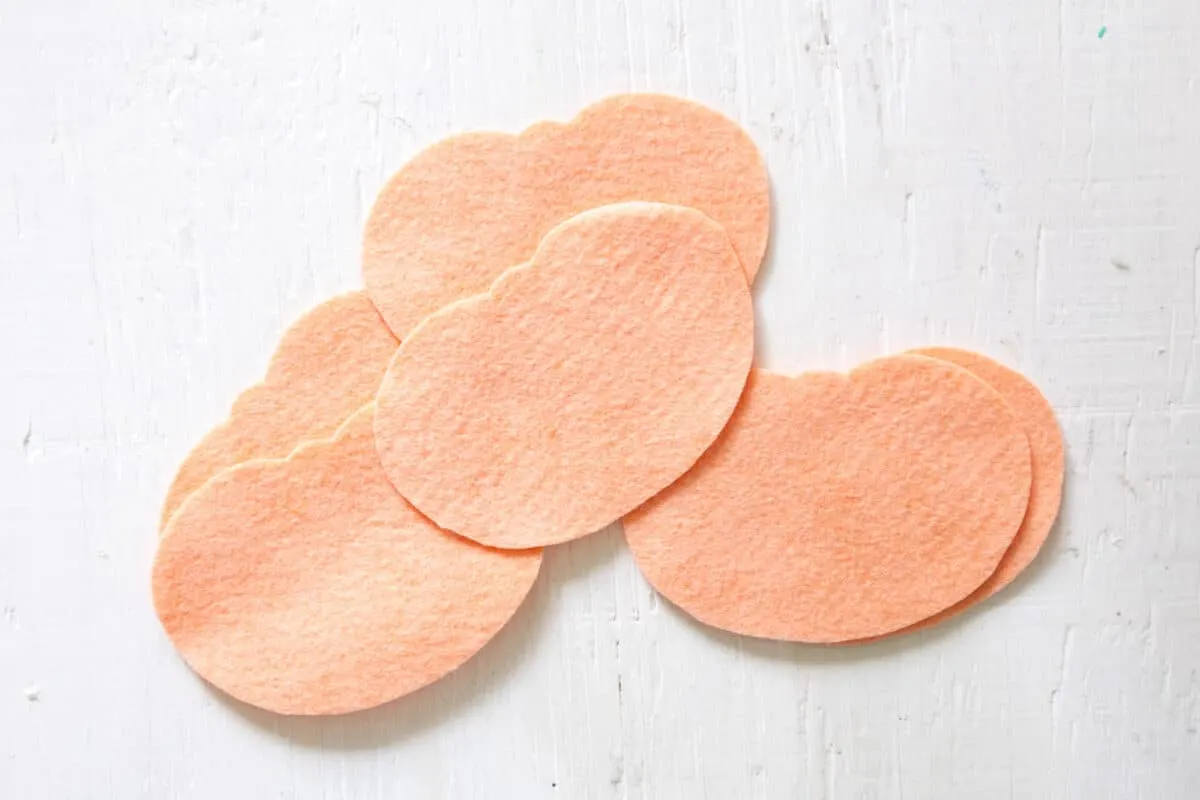
Cutting out one pumpkin at a time, place the pumpkin pattern on top of the felt sheet in desired color. Using a pair of fabric scissors, cut out the pumpkin shape along the solid line.
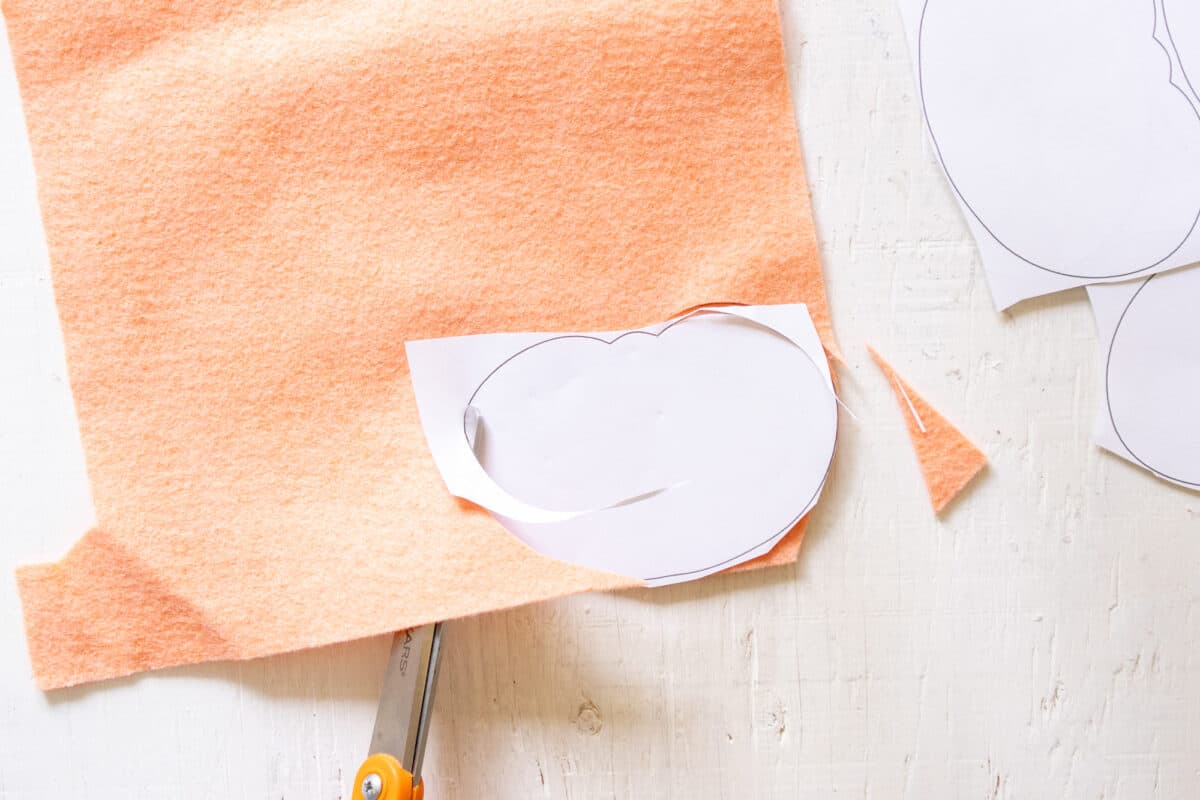

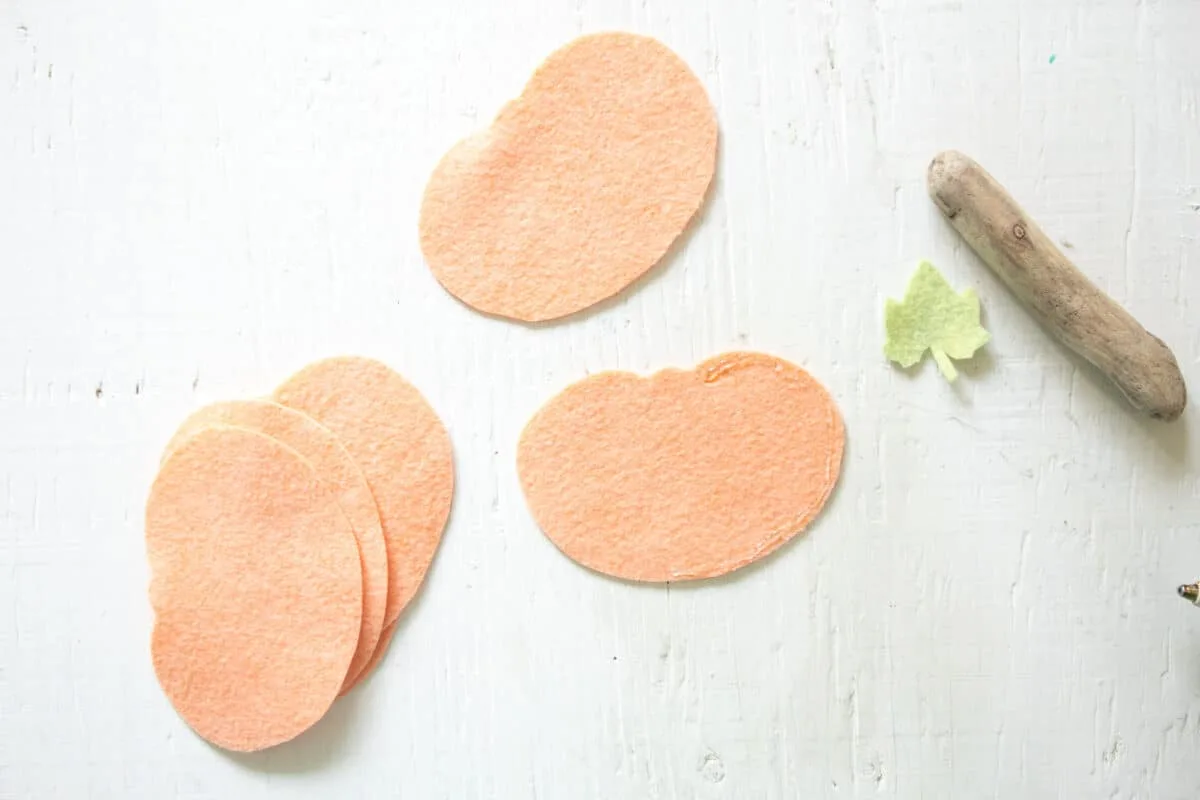
Cut 6 pieces of each pumpkin. Repeat for the remaining pumpkin patterns.
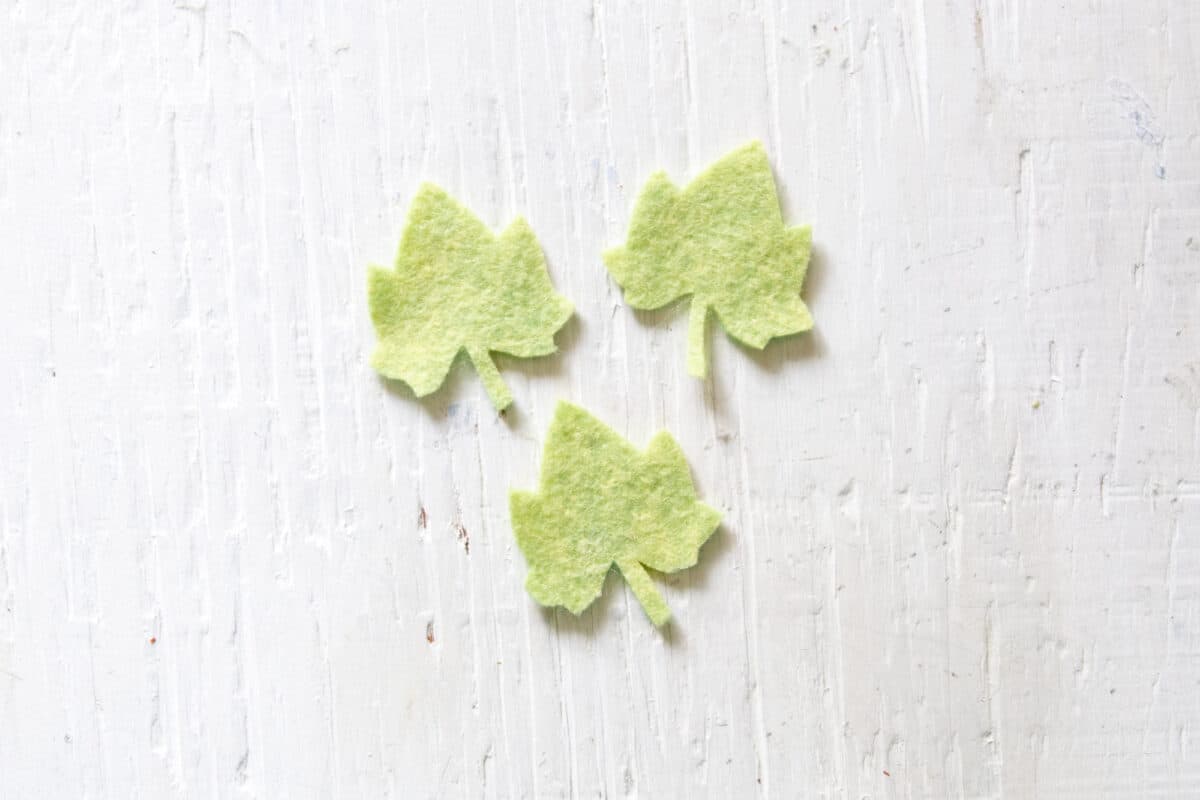
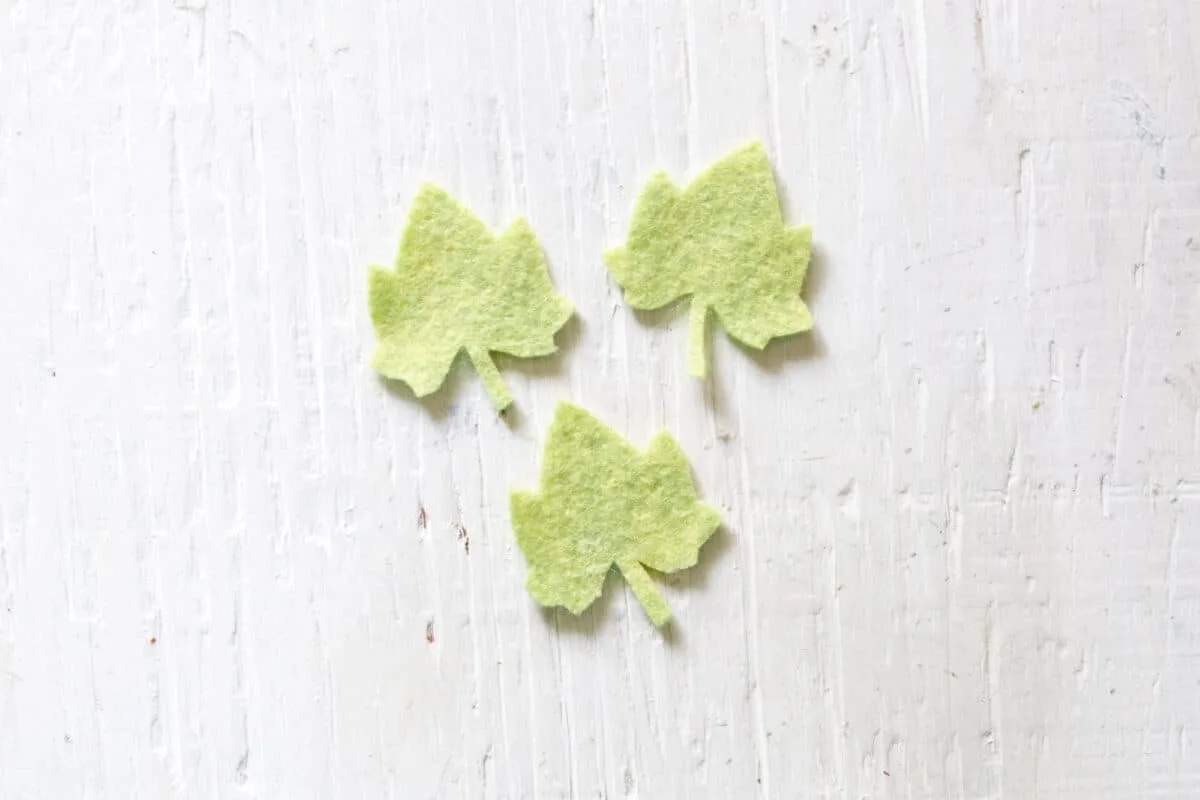
Cut out the pumpkin leaf in a coordinating green felt sheet color.
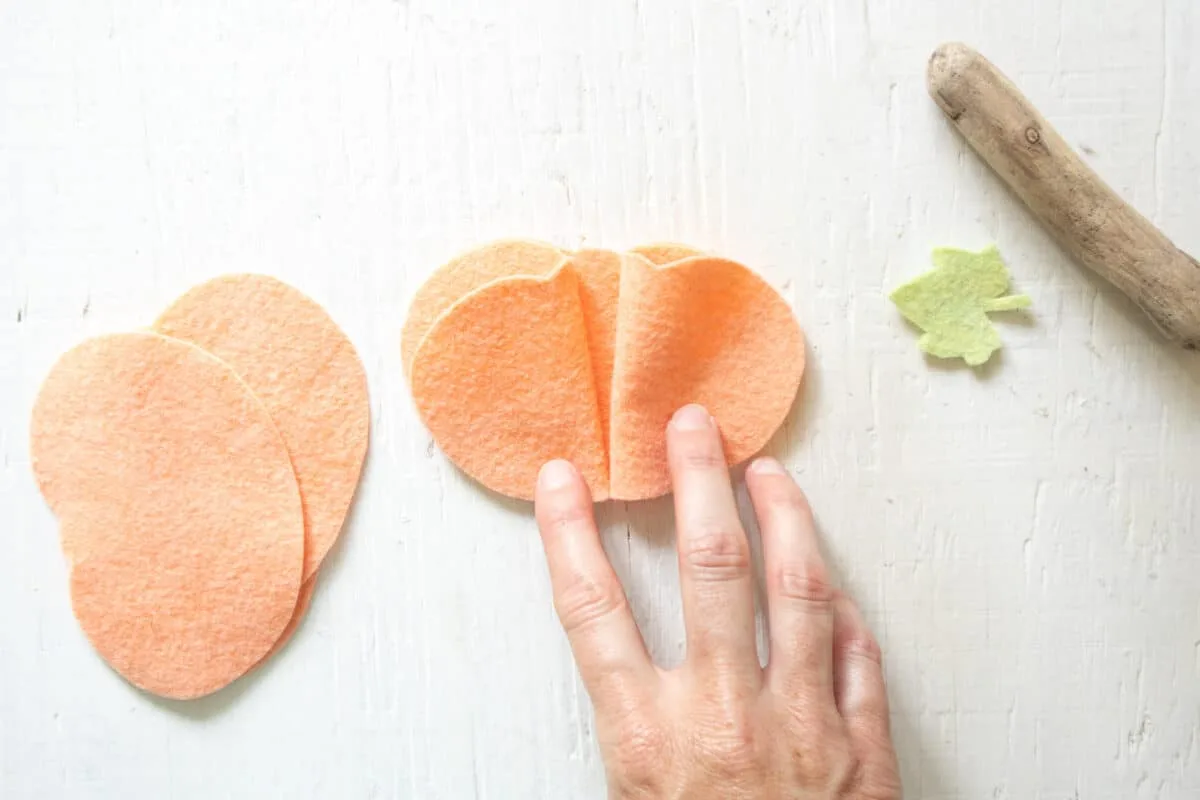
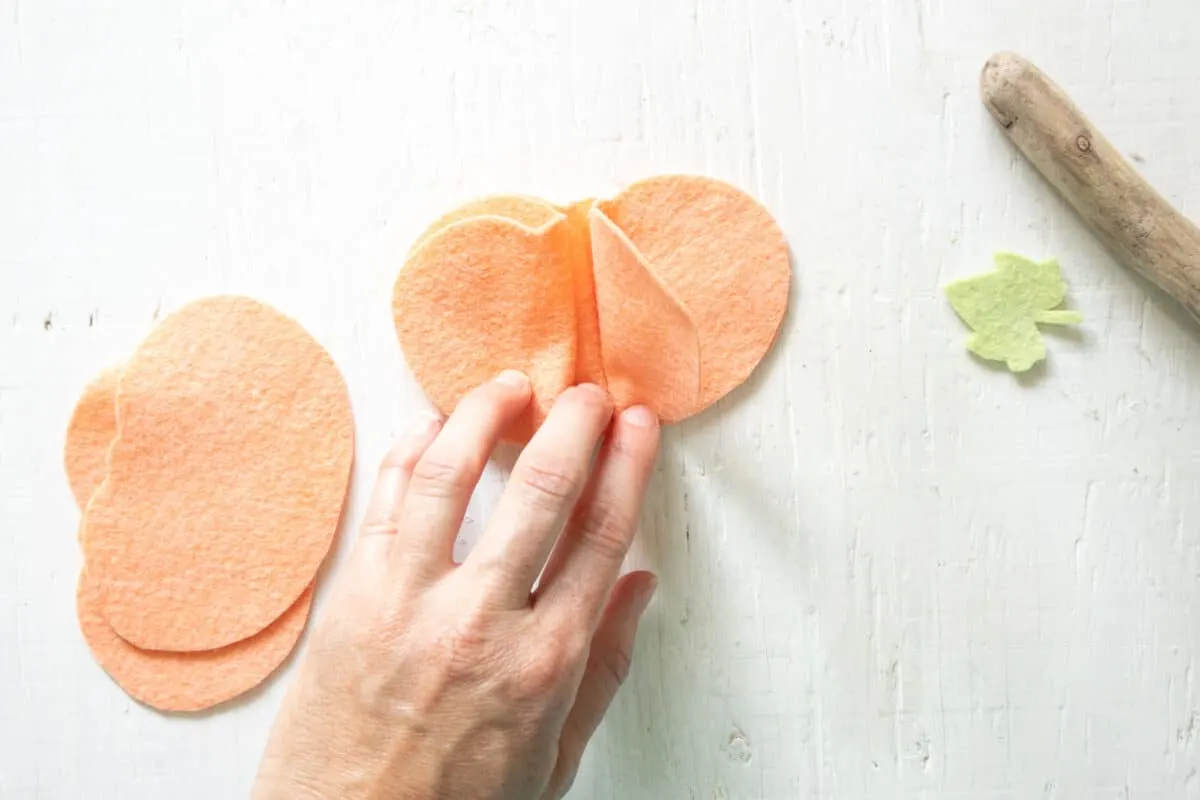
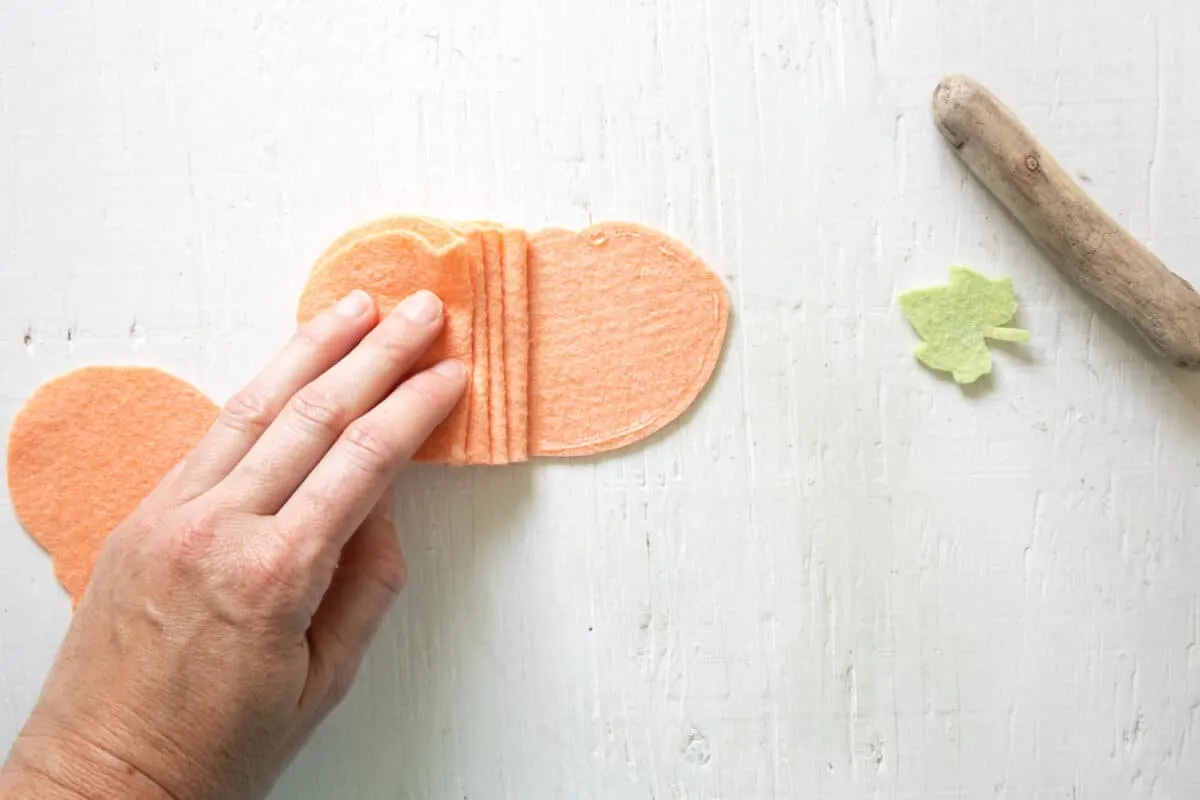
Place one pumpkin piece on top of another pumpkin piece. Lift the one side and apply a bead of glue along the outer edge.
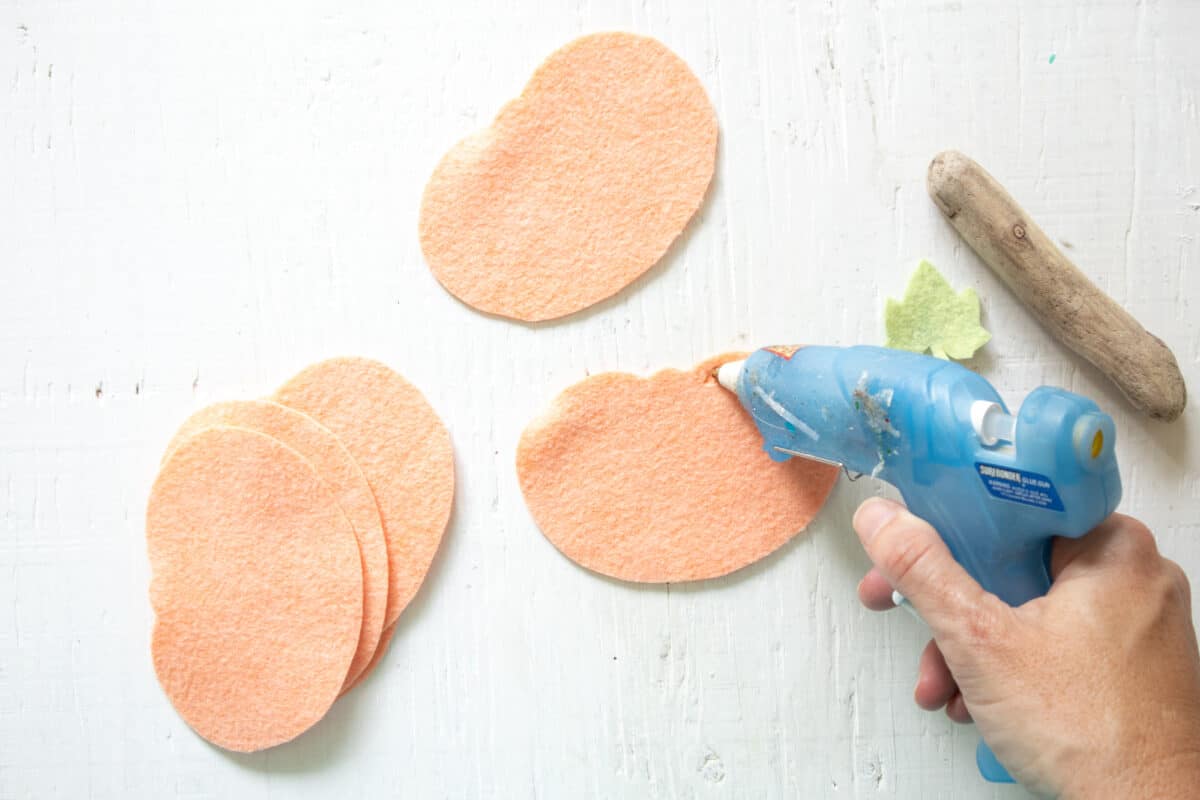
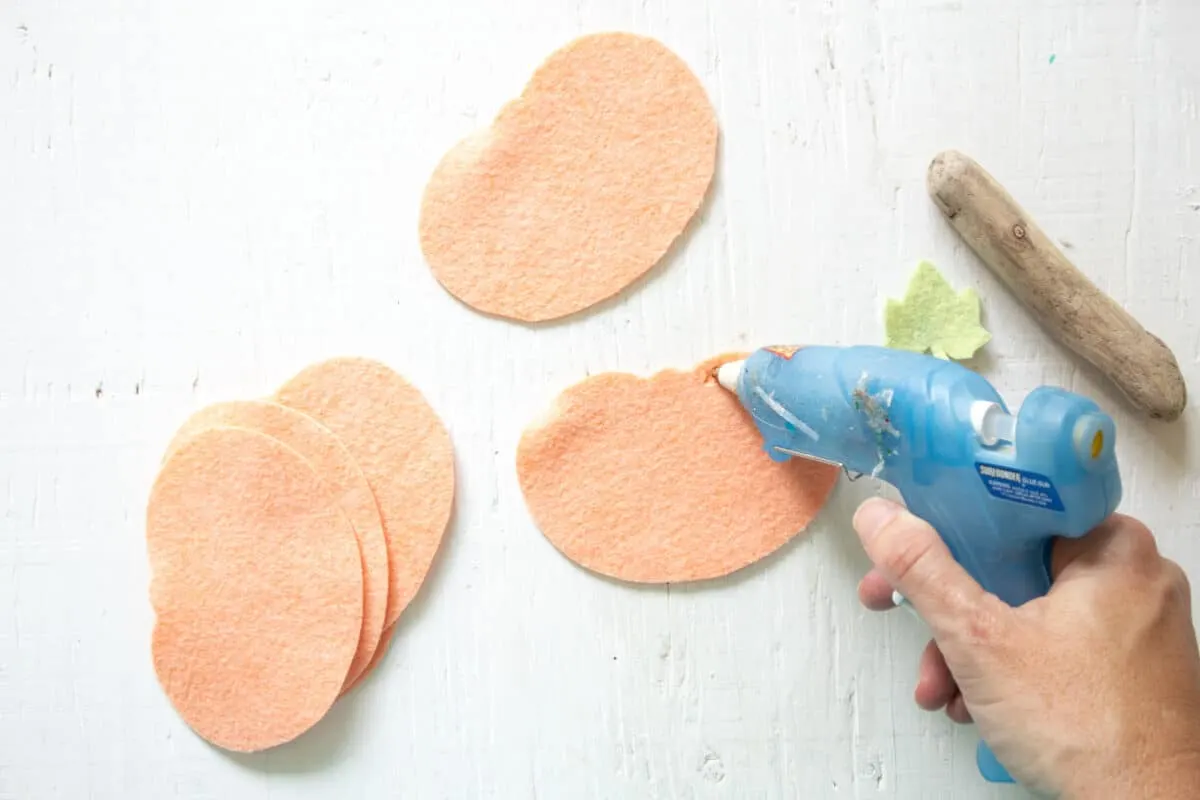

Press the other pumpkin piece down on top to glue together.

In order to leave space in the center for the branch, avoid gluing the center of the pumpkin, start and end the bead of glue about ½” from the center on all sides.

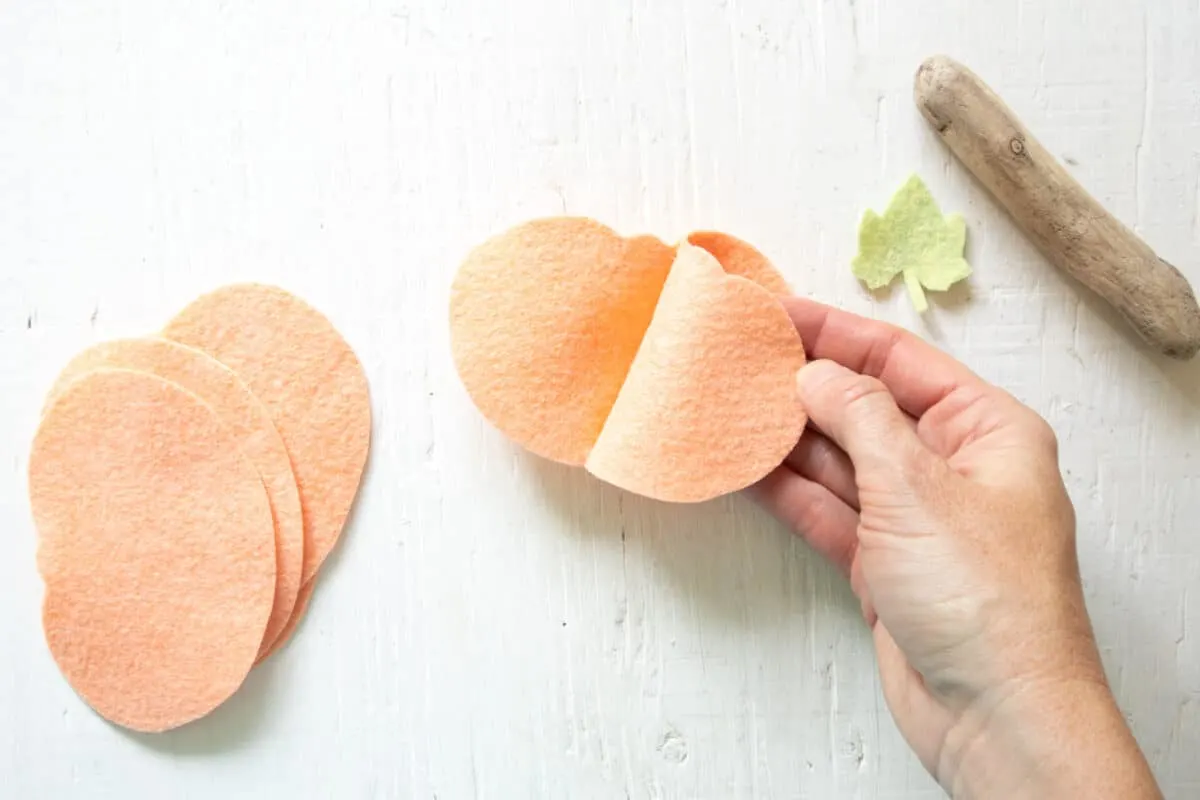
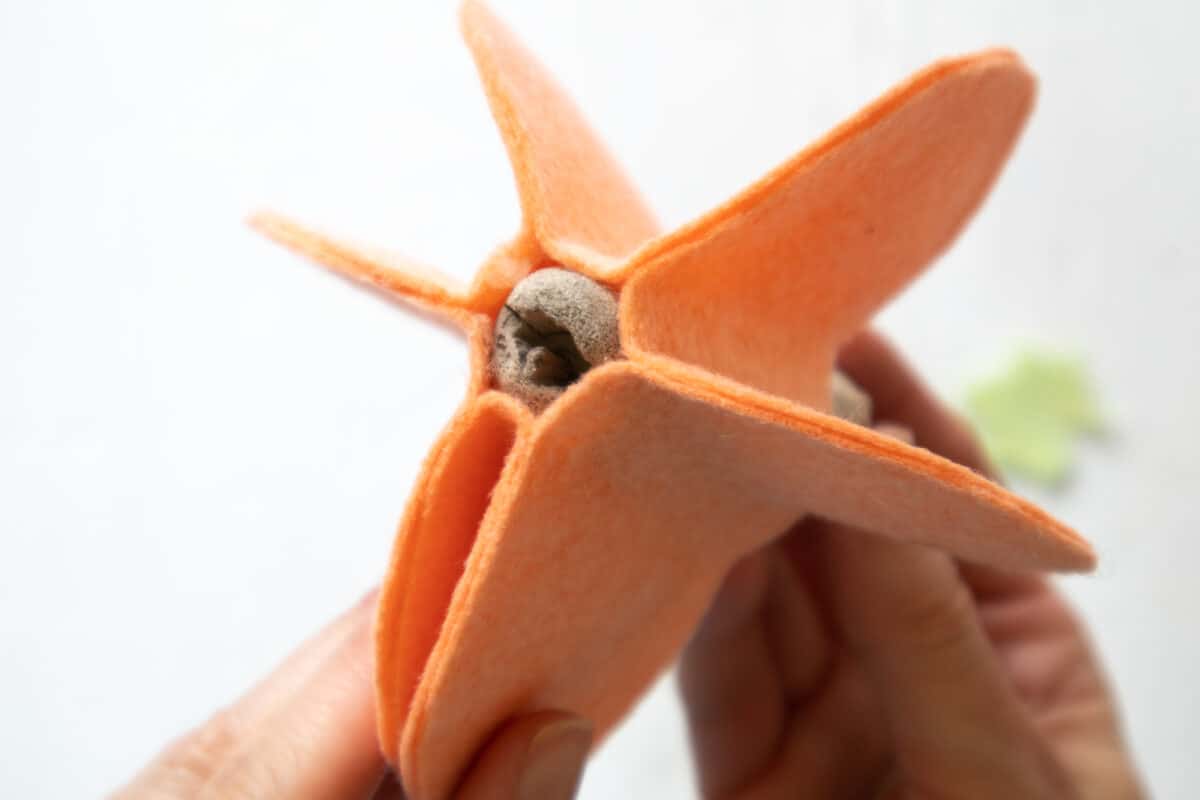
Repeat with the other pumpkin pieces. Fold each pumpkin piece outwards and glue the inner edge together with the inner edge of the pumpkin piece next to it.
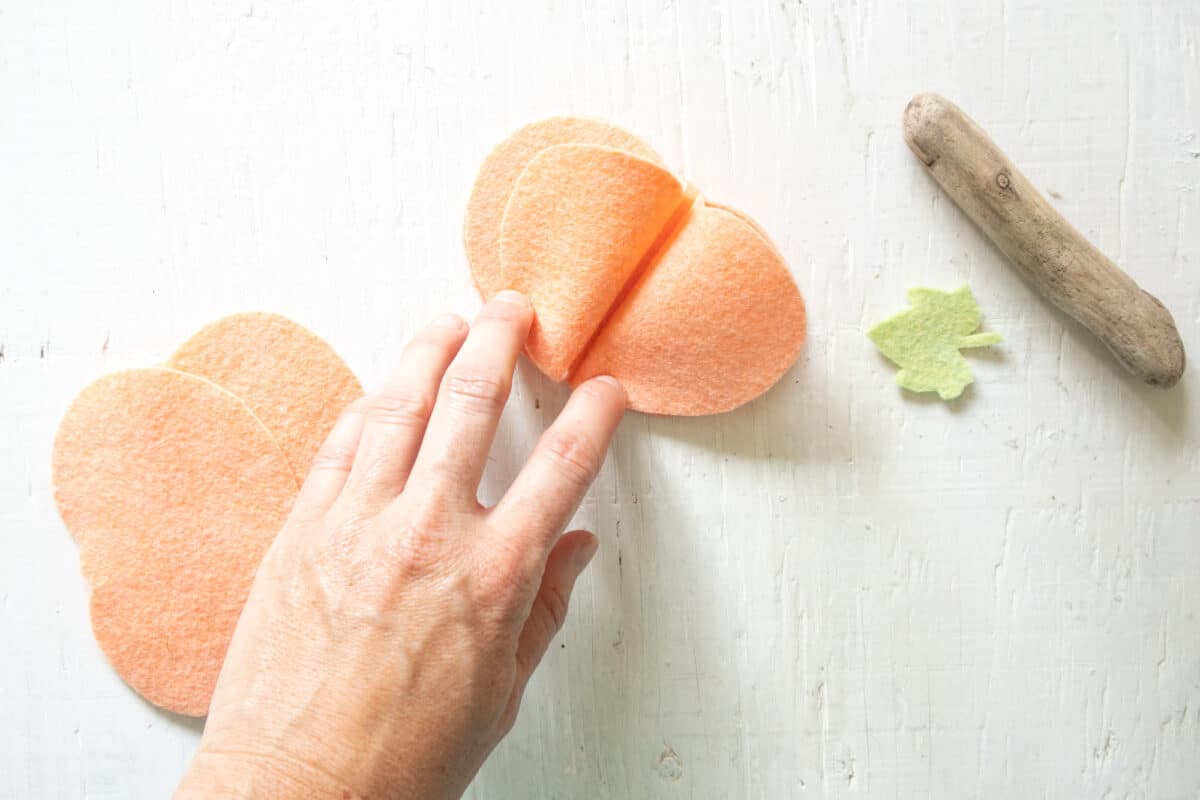

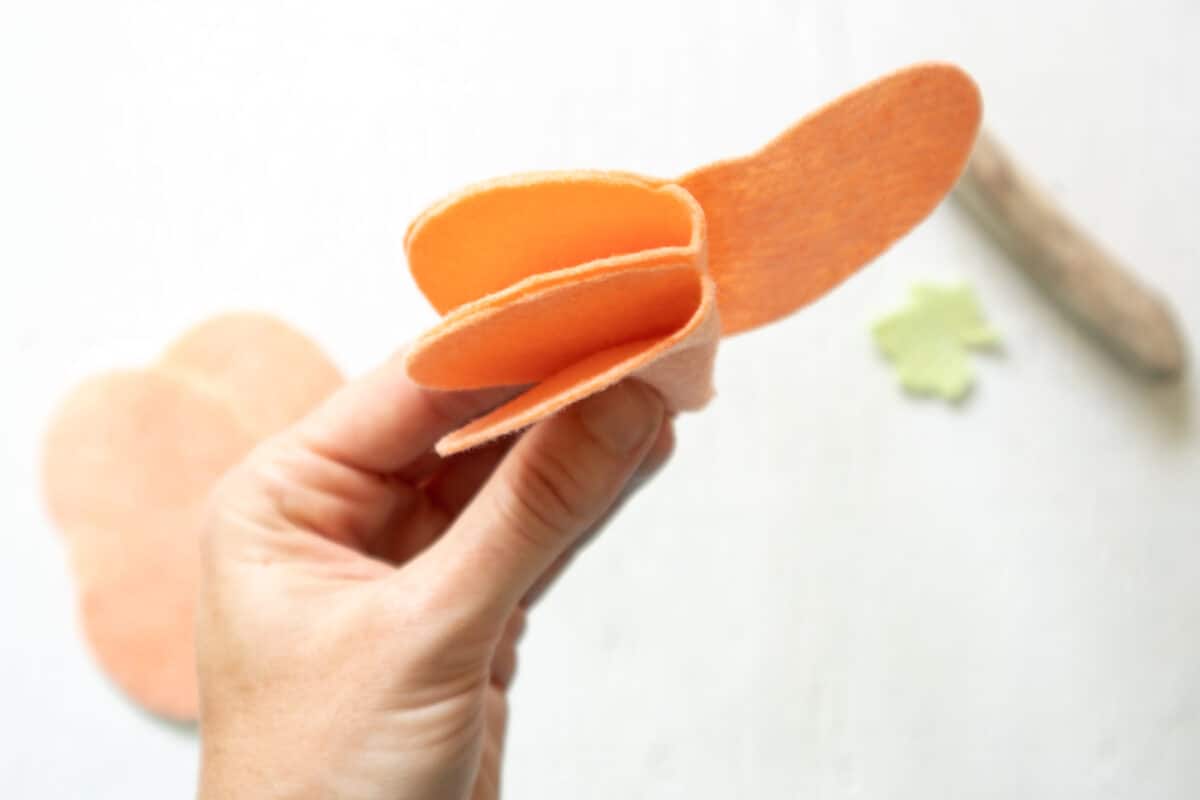

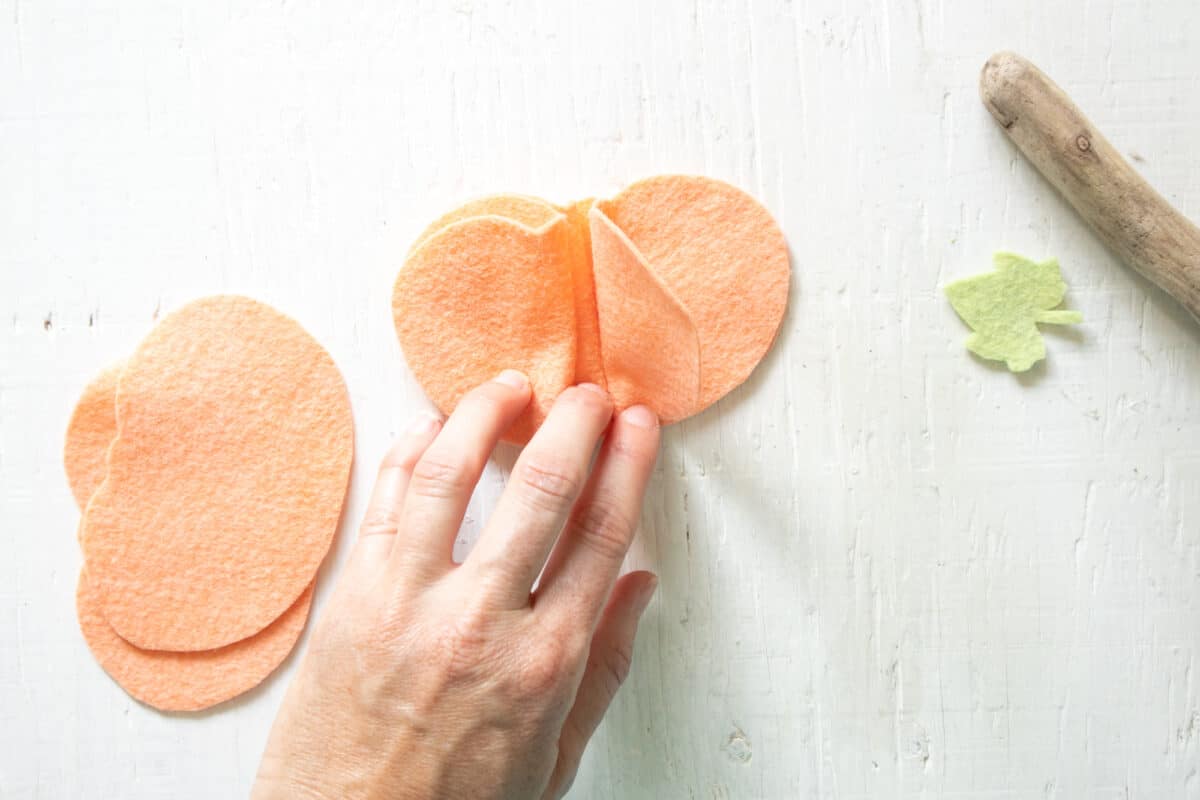
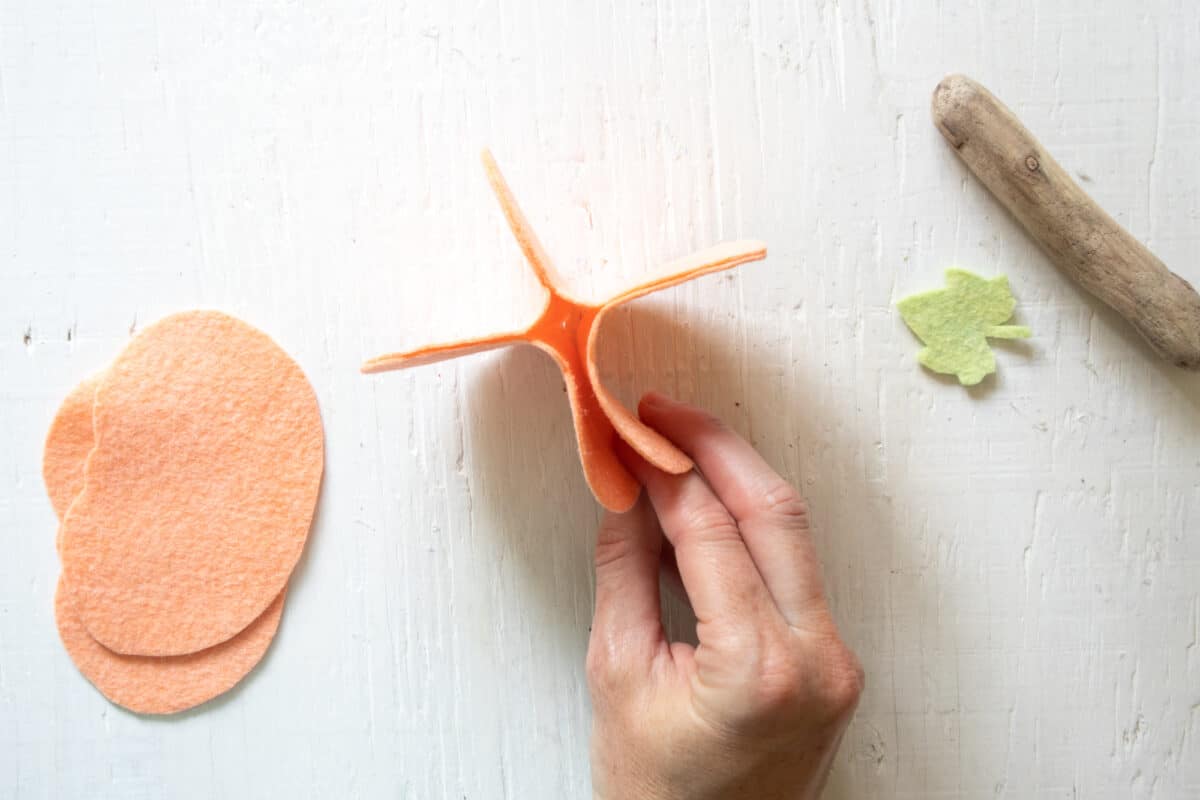


Continue until all 6 pieces are glued together.
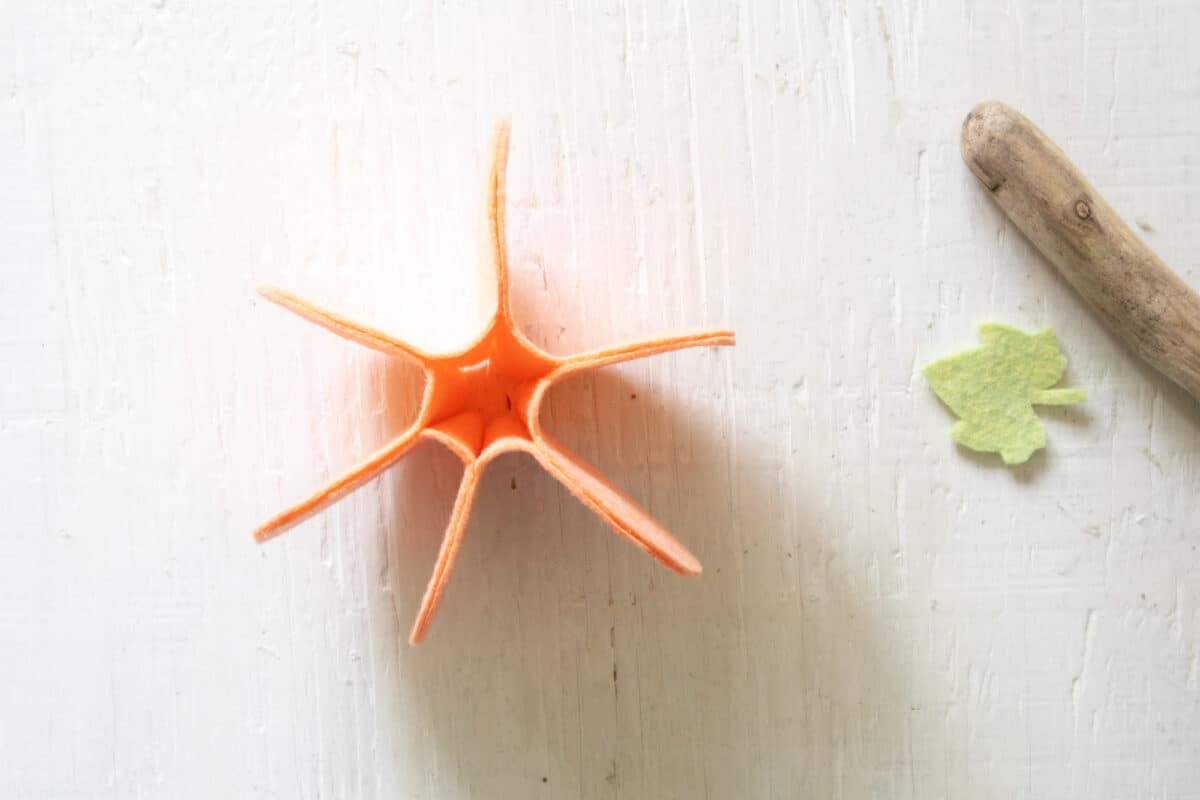

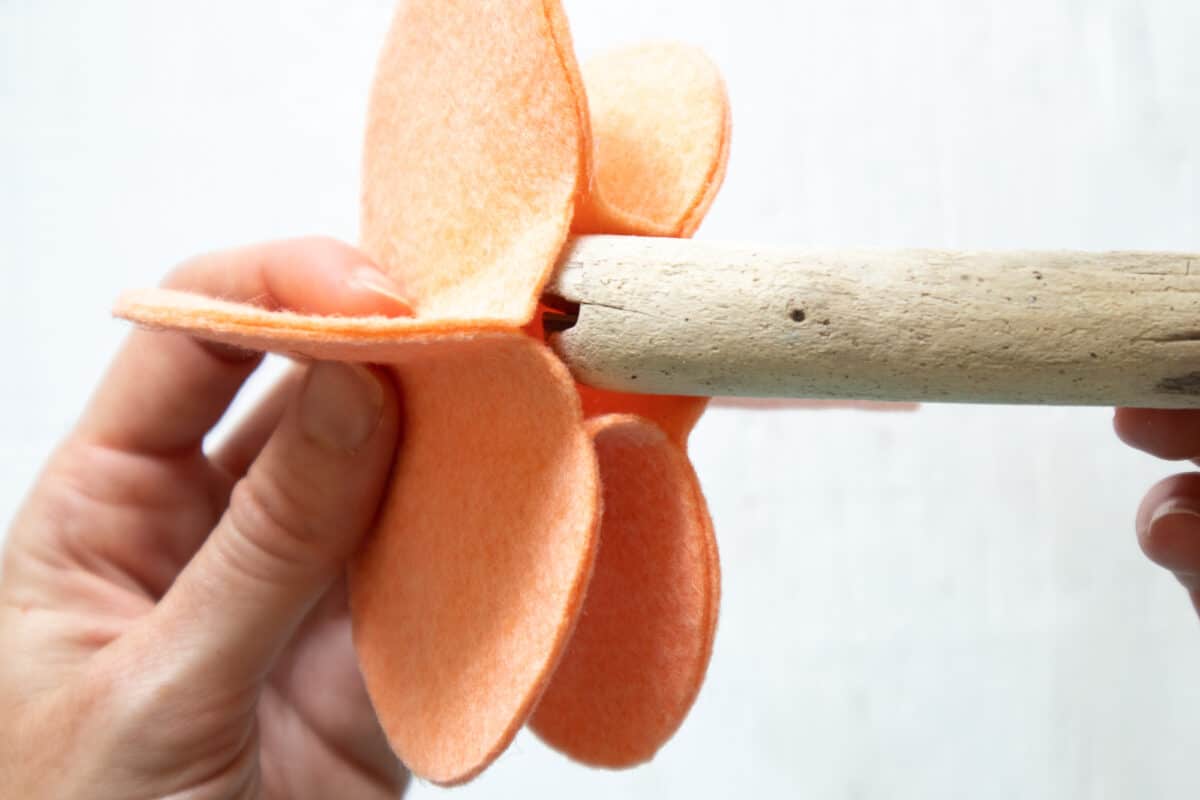
Insert the branch into the center opening and push it down to the bottom. If the opening is too big, glue it some more to make it smaller.


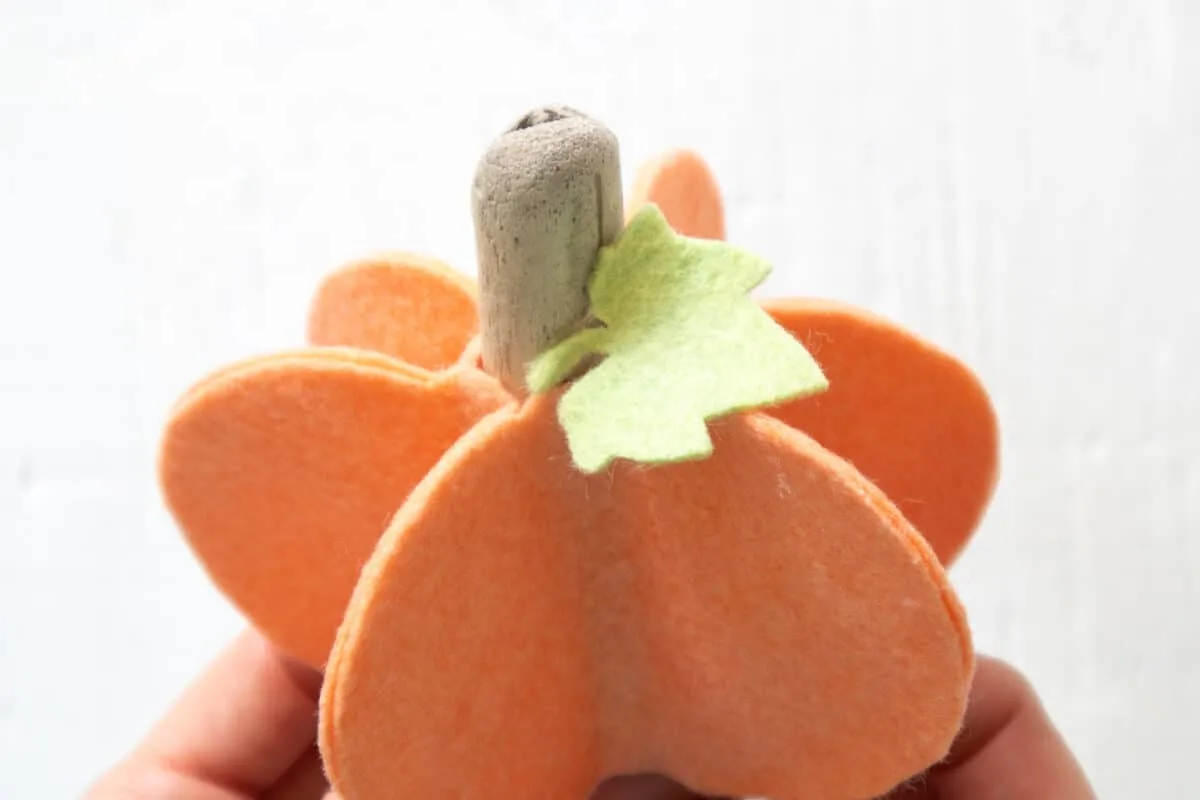
Add a bit of glue to the felt leaf and press that against the inserted branch.
Repeat for the other 3D felt pumpkin shapes.


Love making easy crafts like these felt pumpkins? Me, too! Here’s more fall decor crafts:
- Thrift store fall porch makeover. It cost less than $30 for everything!
- Rae Dunn Inspired Dollar store pumpkins
- Autumn Favorites tea towel

Jen
Saturday 16th of December 2023
We did this craft for adults at the library. So cute and easy! For those who couldn't make it to the event I made up to go bags. Those flew away and everyone enjoyed it! Inspired me to make more easy to go crafts for grownups to enjoy on their own time.
Kimberly
Sunday 17th of December 2023
Jen, I love hearing this! I think those crafting bags are so important for your community and for spreading joy. I think we are all wanting to do more crafting but might not have the time to attend a class. Creating grab and go bags is brilliant!
Scarlet
Friday 21st of August 2020
I love this felt craft project. These 3d felt pumpkins are so super cute, they look professional. I mean you could sell this DIY home decor. Pinning now.
SingleGirlsDIY
Friday 21st of August 2020
Thank you so much! I really love them, too!