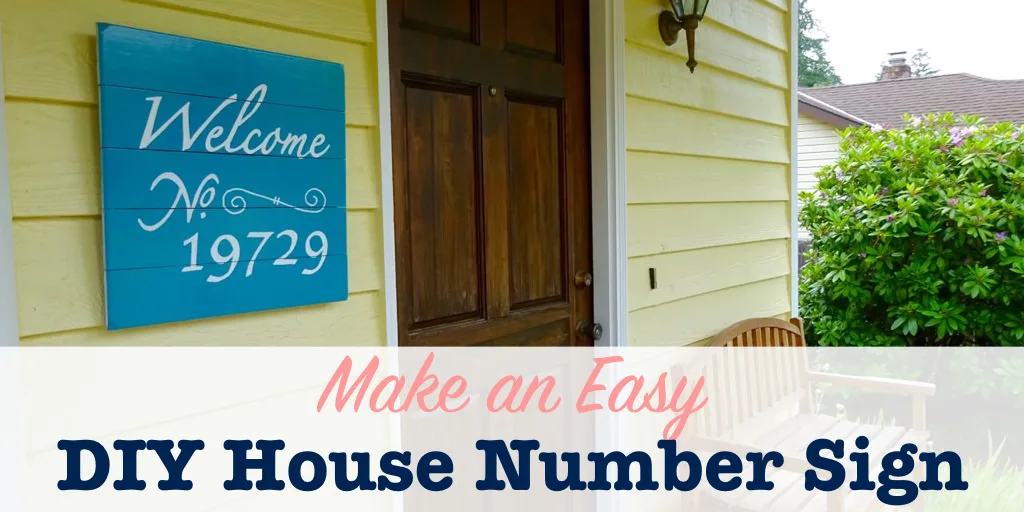
This DIY house number sign was inspired by one of my neighbors. As I go for walks through my neighborhood, I like to get ideas from other people’s homes. Some have pretty gardens that I want to copy, or fun outdoor decor ideas.
One house I walk by regularly has the house number painted on the front door, and I always admire how classy it looks. Given the amount of sun my front door gets, painting it would not be a good idea.
So, I made a sign with my address number to hang next to my door instead.
Here’s how you can make your own DIY house number sign for your own home.

MAKE AN EASY DIY HOUSE NUMBER SIGN
MATERIALS TO MAKE YOUR OWN ADDRESS NUMBER SIGN
- Sign board (I got mine at Goodwill)
- Spray paint
- Paint pens
- Computer and printer
- Chalk
- Tape
1. Paint the background color
You can buy sign boards at any craft store. You’ll have so many options to choose from, it might even be a little overwhelming.
I got my sign at Goodwill. It was nothing special to look at when I bought it, but I knew I could do something great with it. To start, I painted the whole thing one of my favorite blue colors.
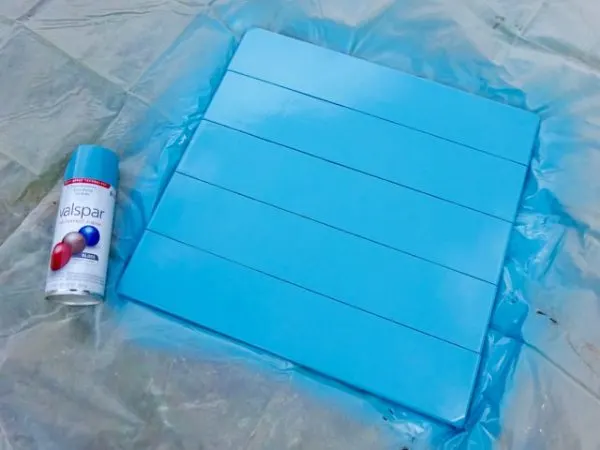
Take your sign board outside on a dry day, when there is little or no wind, and apply a couple coats of spray paint to your sign.
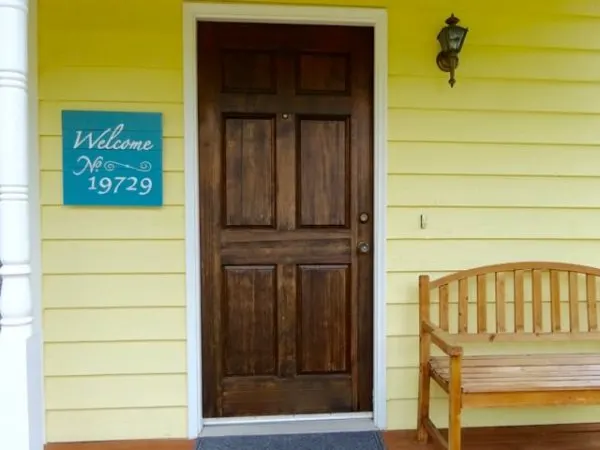
Be sure to choose a color that complements your house paint color. (This blue looks great with my yellow house.)
2. Design the sign lettering
I used Keynote on my Mac to design the sign lettering and numbers. (PowerPoint is the Microsoft equivalent.)
To start, I made the slide size the same size as my sign board. Then I played around with words and fonts until I had a look I liked.
My fonts were:
- Zapfino – Letters
- Apple Chancery – Numbers
I also downloaded a scroll design from OpenClipart.com
3. Transfer lettering to the sign
Once you’re happy with your design, print it out full size. Mine took several sheets of paper, which I taped together.
Color over the back of the paper with chalk. You can use any color of chalk that will show up on your background color.
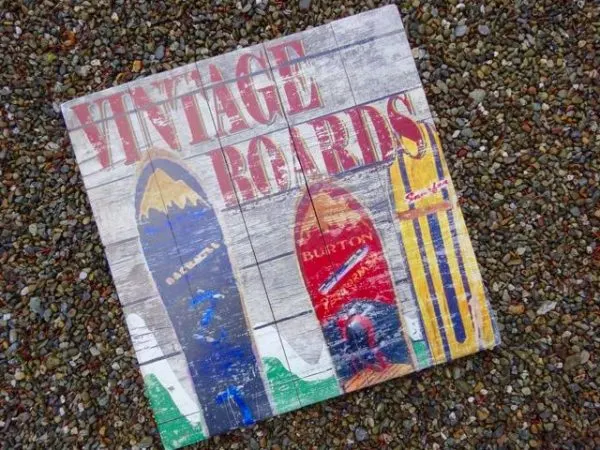
*You can also use a pencil, like I did for this silhouette artwork, but it will take longer.
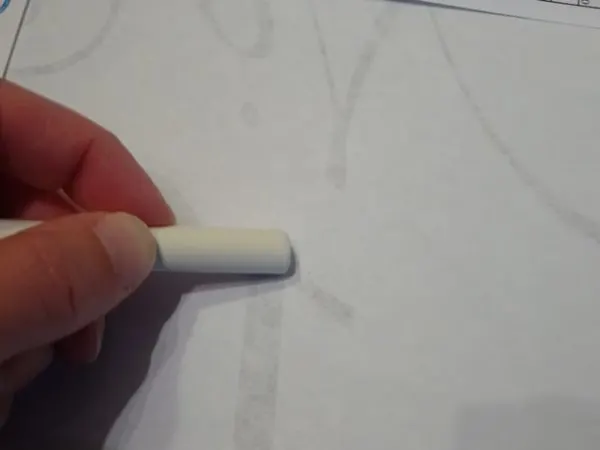
Once the whole address number sign pattern is covered with chalk, position it onto your sign board, and tape it in place. Then trace the outlines of the letters and numbers with a ballpoint pen. This will transfer a chalk mark to your sign.
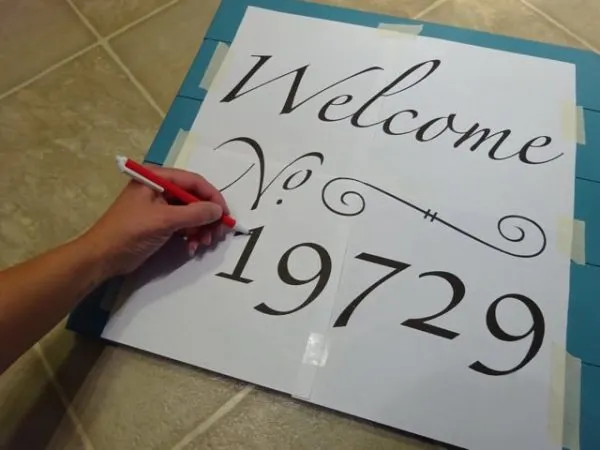
4. Paint the letters and numbers
Using the chalk marks as a guide, you can now fill in the lettering. The easiest way to do this is with paint pens. Simply trace the outline, and color it in.
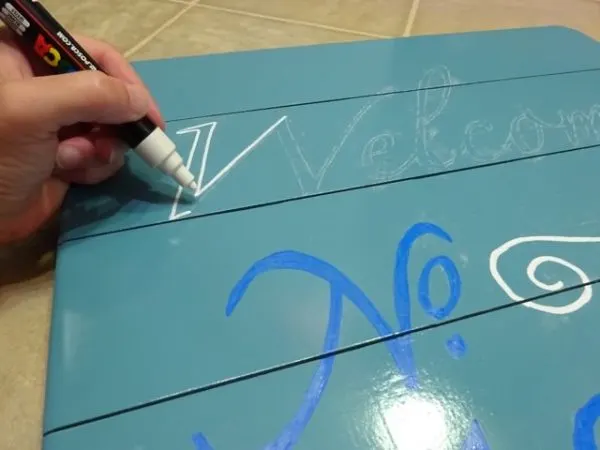
I initially used two different colors for my house numbers and letters on the sign. They were also two different types of paint pens. The blue was a Sharpie paint pen, which I got frustrated with. The color didn’t match the cap, and the paint didn’t flow smoothly.
The white Uni Posca pen worked much better. I ended up going back over the blue letters with the white paint.
5. Display your address number sign
Hang your beautiful new hand painted house number sign next to your door. Not only does it look pretty, but it helps guests find your home.
More DIY sign projects you might like
You can use this same technique to make any sign design you want, in any size. It’s fun and easy. Let your creativity run wild.
If you like reusing thrift store items, check out this pretty way to upcycle old canvas art.
I also have a few other sign projects you might like to try. You can follow my basic instructions to make a simple hand lettered sign.
And, you can download a free template to make this cute dog sign.


