
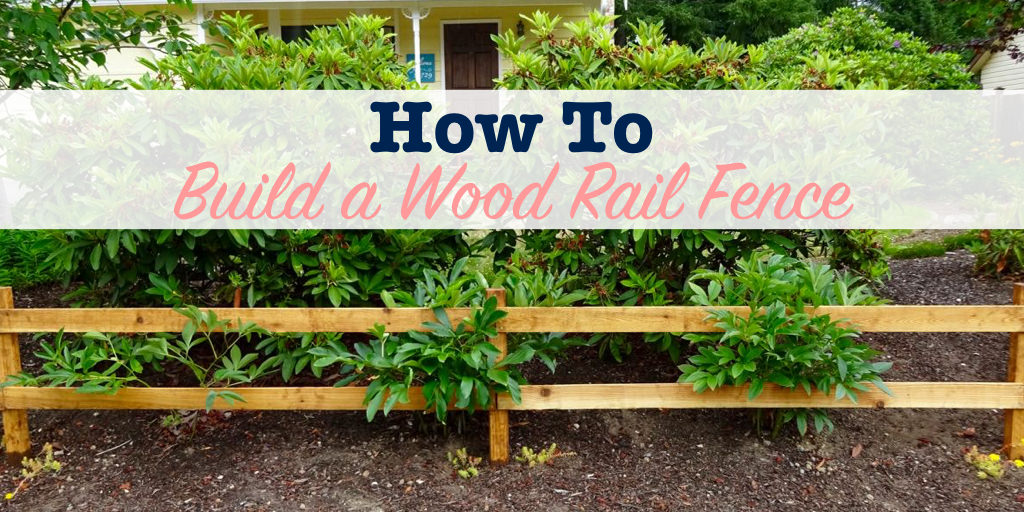
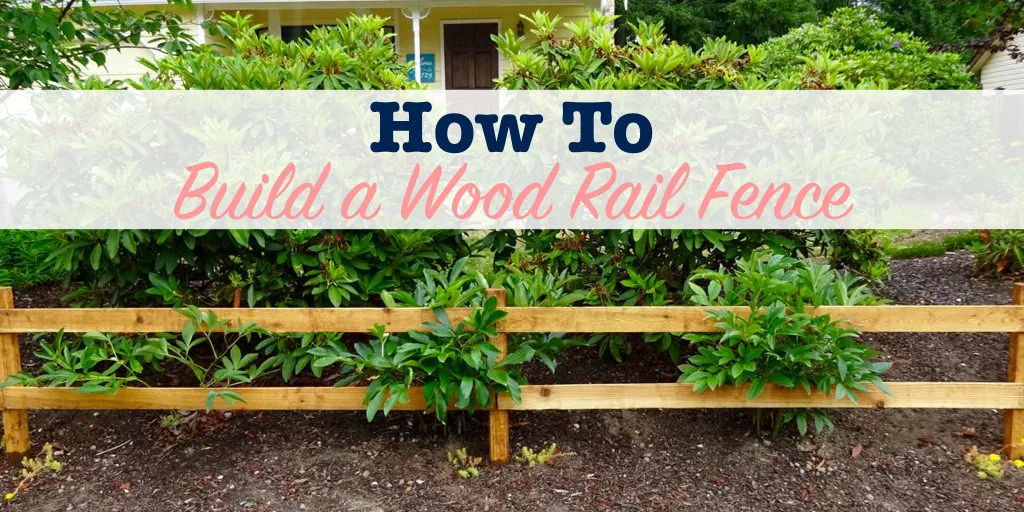
Building a fence along my front garden has been on my to-do list for a while. For one thing, I wanted a tidy and simple way to support my beautiful peonies. Also, I needed to keep out the neighborhood pets. (I love dogs, just not when they’re making a mess in my flower beds.)
So, after a lot of thinking and planning, I decided to build a simple two-rail wooden fence. With help from my mom, it took less than half a day to build, and only cost me $25.
If you’re looking for an easy fence solution, check out these step by step instructions.


HOW TO BUILD A WOOD RAIL FENCE
TOOLS & MATERIALS TO BUILD A FENCE
- 4″ x 4″ treated wood posts – I used 36″ long posts to build a 24″ tall fence
- ⅝″ x 3.5″ fence rails – I used 6′ long boards
- Post hole digger
- Crowbar
- Hammer & nails
- Screw driver
- Carpenters level
- Measuring tape
- Wood preservative
- Waterproofing sealant
Right up front, I need to make the disclaimer that I was able to spend just $25 to build this fence because I got my fence posts for free (you can, too).
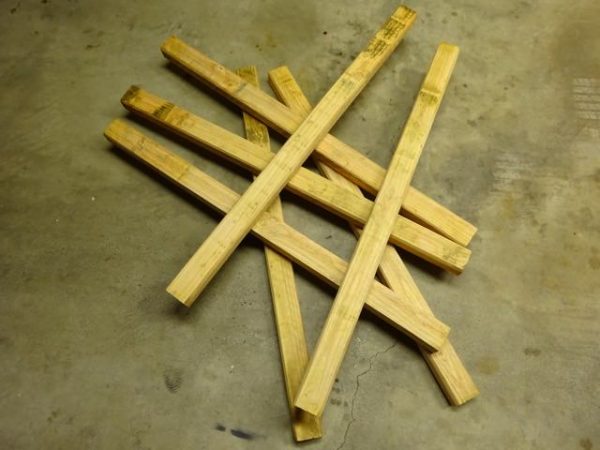
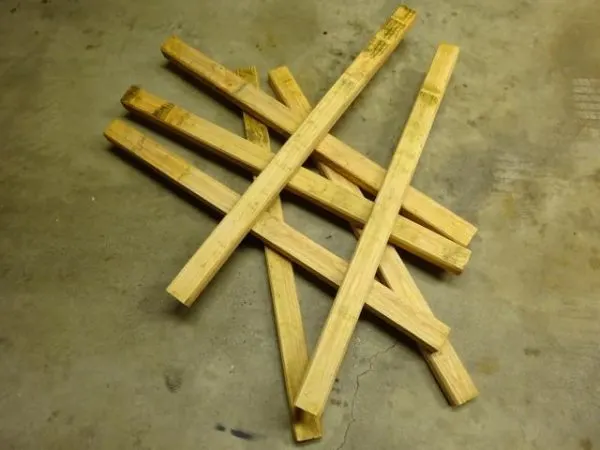
I was going to buy six-foot long treated 4″ x 4″ posts and have the store cut them in half for me to make homemade fence posts. While I was shopping in the store, I spotted some scrap wood that I thought would be perfect for my project. The kind folks at Home Depot let me have them for free!
1. Purchase fence materials
Start by measuring the length of the space you want to fence, to determine how much material you need.
For example, my front garden is 36′ long. I decided to use six-foot long rails, because it divides evenly into 36 (six times). Since I wanted a two rail fence, I knew I would need to buy twelve fence rails (two boards every six feet).
I would also need a post every six feet. Including the starting post, that makes a total of seven posts I used for my project.
You may need to adjust your board lengths slightly, if your distance doesn’t divide evenly. If you are fencing more than one side, repeat this calculation for each side.
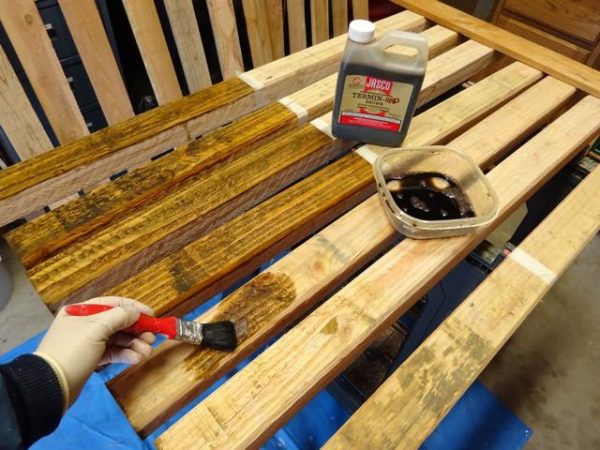
2. Weatherproof the DIY fence posts and rails
A few days before starting to build the fence, I applied a weather proofing treatment to all of the wood pieces. This allowed it some time to cure before going outside.
Since I made my fence posts from scrap wood that was untreated, I started by applying a coat of a wood preservative to the section that would go in the ground.
Once this was dry, I applied an additional waterproofing sealant to the posts and the rails on all sides.

3. Dig the post holes
I wanted my fence set back slightly from the street. After deciding where I wanted the first post to go, I measured the distance from the sidewalk to the post. For every future hole, I made sure it was set the same distance from the sidewalk as the first post.
Use a post hole digger to make your holes. You might be able to rent a post hole digger or borrow one from a neighbor, however they can be so inexpensive (about $25) it makes sense to buy a new one and own it.

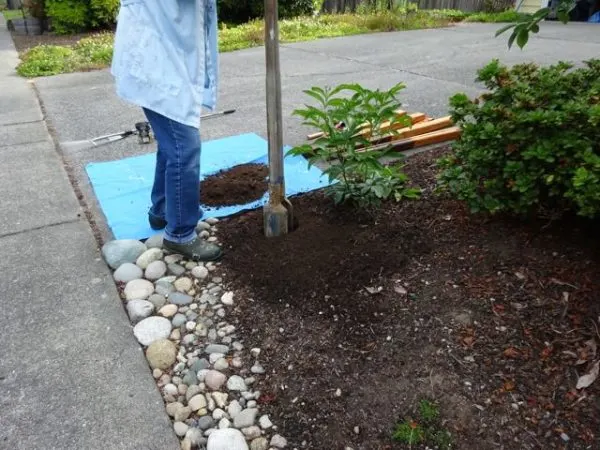
If you have rocky ground like I do, you may need an extra tool like a crowbar to help loosen the rocks as you dig. This 3-piece crowbar set is around $11. It’s a great investment for saving you time and frustration.

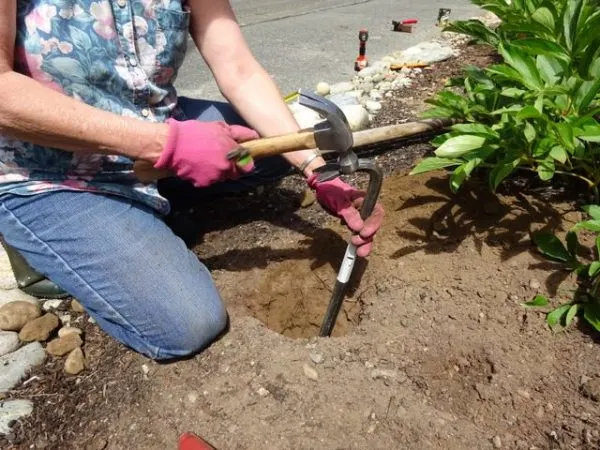
We sunk our posts 12″ deep, and set them with dirt – no concrete. Since my fence is short, and not bearing any real load, this is sufficient. If you are building a taller, heavier post and rail fence, buy longer posts and dig deeper holes.
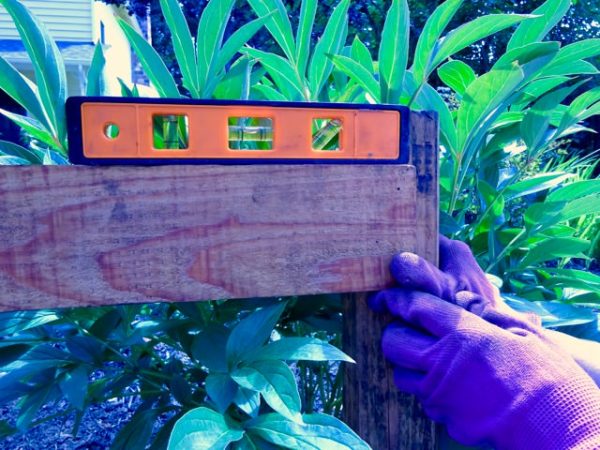
Once the first post was set, we used one of the rail boards to measure the distance to the next post hole. We also measured the distance back from the street. The post should be positioned so that the end of the rail is in the middle of the post.
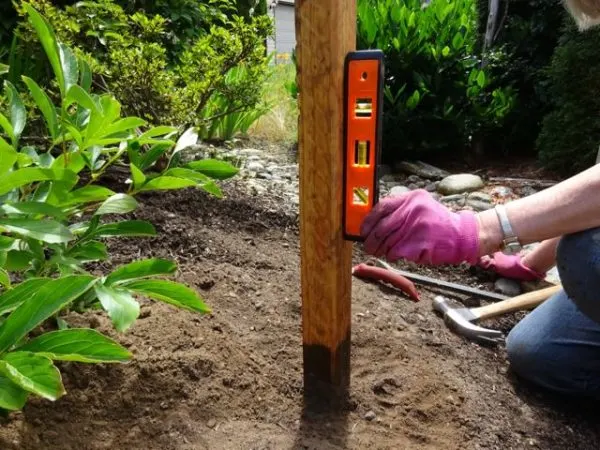
Make sure that the tops of all the posts are level to each other. You can either cut your posts to height after they’re set, or do what we did and adjust the hole depth for each post. (You can easily check if the tops are the same height by setting a board across the tops of two posts, and setting a carpenters level on the board.)
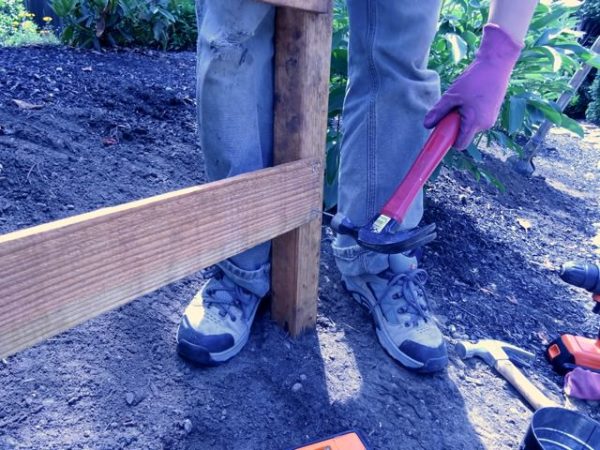
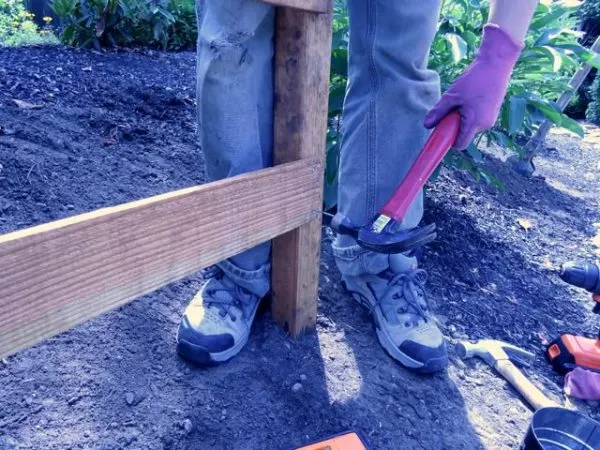
4. Set the fence post
Once the hole is deep enough, use a carpenters level to make sure the fence post is plumb in all directions. Set the level on the side, and the front or back of the post, and make sure the bubble is within the lines.

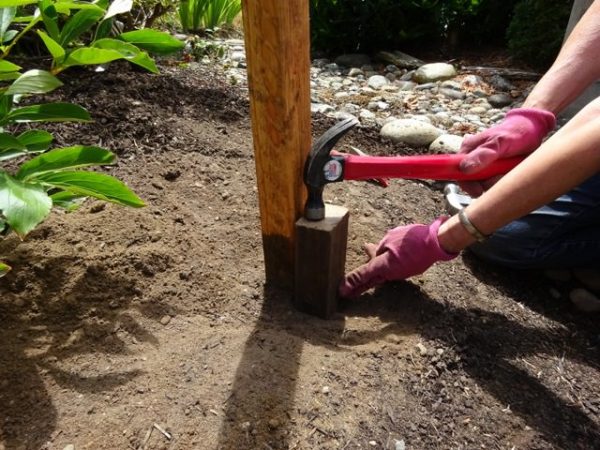
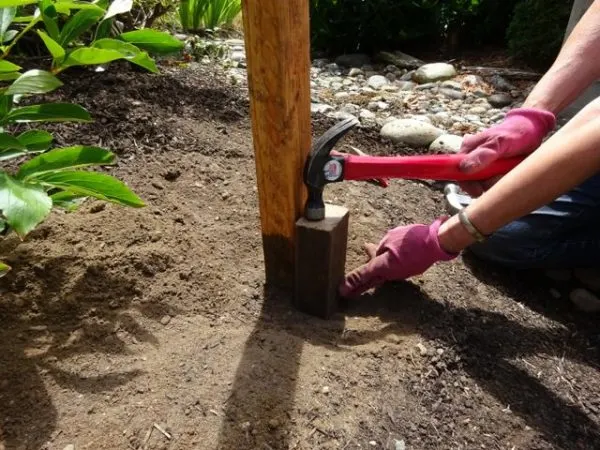
Start to backfill the hole with dirt. Press the dirt in firmly as you go, and keep checking with the bubble level to make sure the post doesn’t move as you set it. We used a scrap of wood and a hammer to help compact the dirt in the hole.
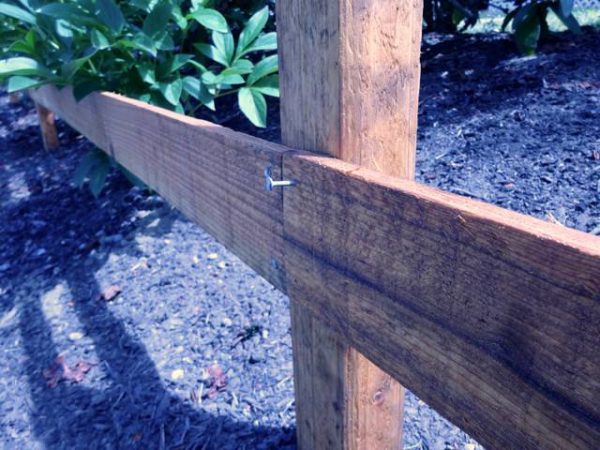
5. Attach the wood rails
To keep the thin fence rails from splitting, you should drill starter holes where the nails (or screws, if you prefer) will go.

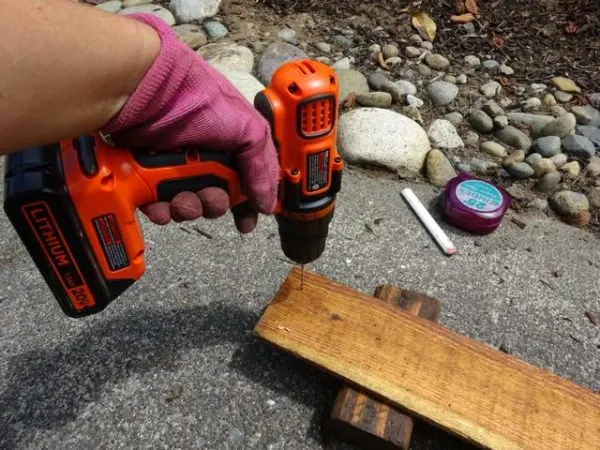
Tack one nail into one end of the board, to attach it to your first post. Leave the first nail little loose so you can adjust the other end, and make it level on the second post. Once you’ve leveled the rail, go ahead and nail it in firmly to both posts.


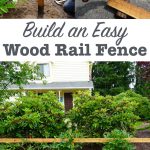
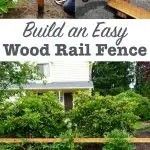
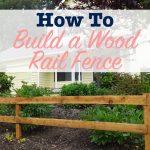
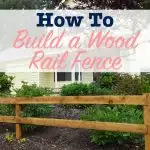
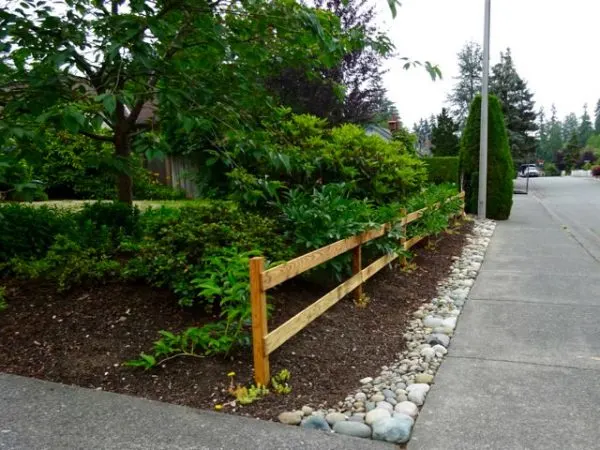
Admire your DIY wood rail fence
Just keep going with the digging, leveling, and attaching rails across your entire space.
Here’s how my fence looks finished. It creates the perfect border for my garden.
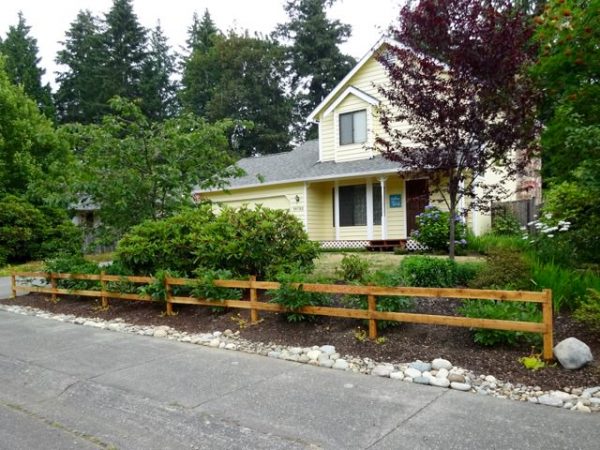

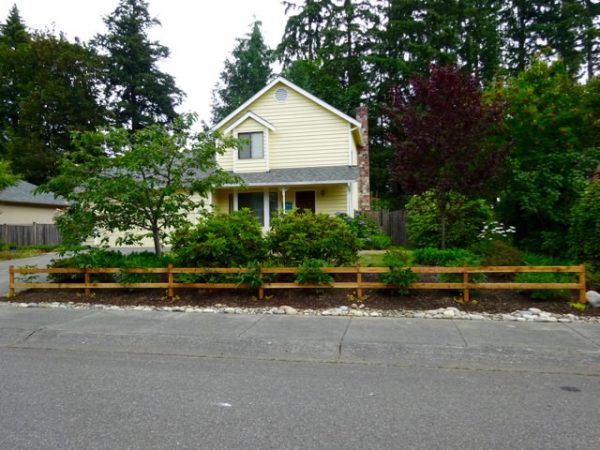

I’ve gotten lots of compliments from the neighbors. One even praised our “girl power” when I said my mom and I built it ourselves. Because you don’t need someone else to do it for you!

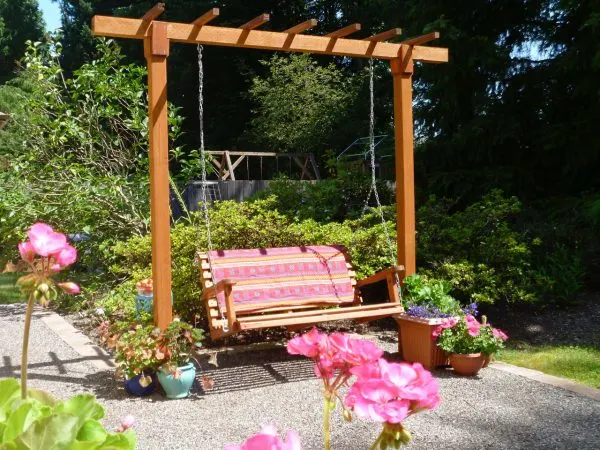
If you want to see one of our other best projects, be sure to check out this DIY pergola, with more step-by-step instructions. And also, get a free copy of our Outdoor Living Idea Guide.
SaveSave

Toni Harty
Monday 12th of February 2024
I did it!!! Thank you so much for your simple to follow plan! I built my 2ftx56 foot goose guard fence to keep my geese out of my garden but short enough for me to step over and not to block the view!
Kimberly
Thursday 15th of February 2024
YAY!!! I am so proud of you!!! Thanks for sharing :)
Farhan Ahsan
Thursday 28th of January 2021
Wow! Its so simple, easy and cheap to build this super rail fence!
Rich
Tuesday 5th of January 2021
Very nicely explained. A great decorative fence, just for looks. Just what Im looking for. Your dyi is very cost saving. If you would have gave the spacing for the rails, that would help. It can be figured out. Thanks for sharing.
11 Ways to Update Your Curb Appeal and Make Your Home Look Amazing – DIY Home Sweet Home
Monday 6th of July 2020
[…] Add a simple wood rail fence to your front yard. Single Girl’s DIY […]
Dan Drager
Wednesday 20th of November 2019
This look very nice! I love that look under the trees and bushes.