Hand stamped books bundles are a cheap and easy way to instantly add farmhouse decor to your home.
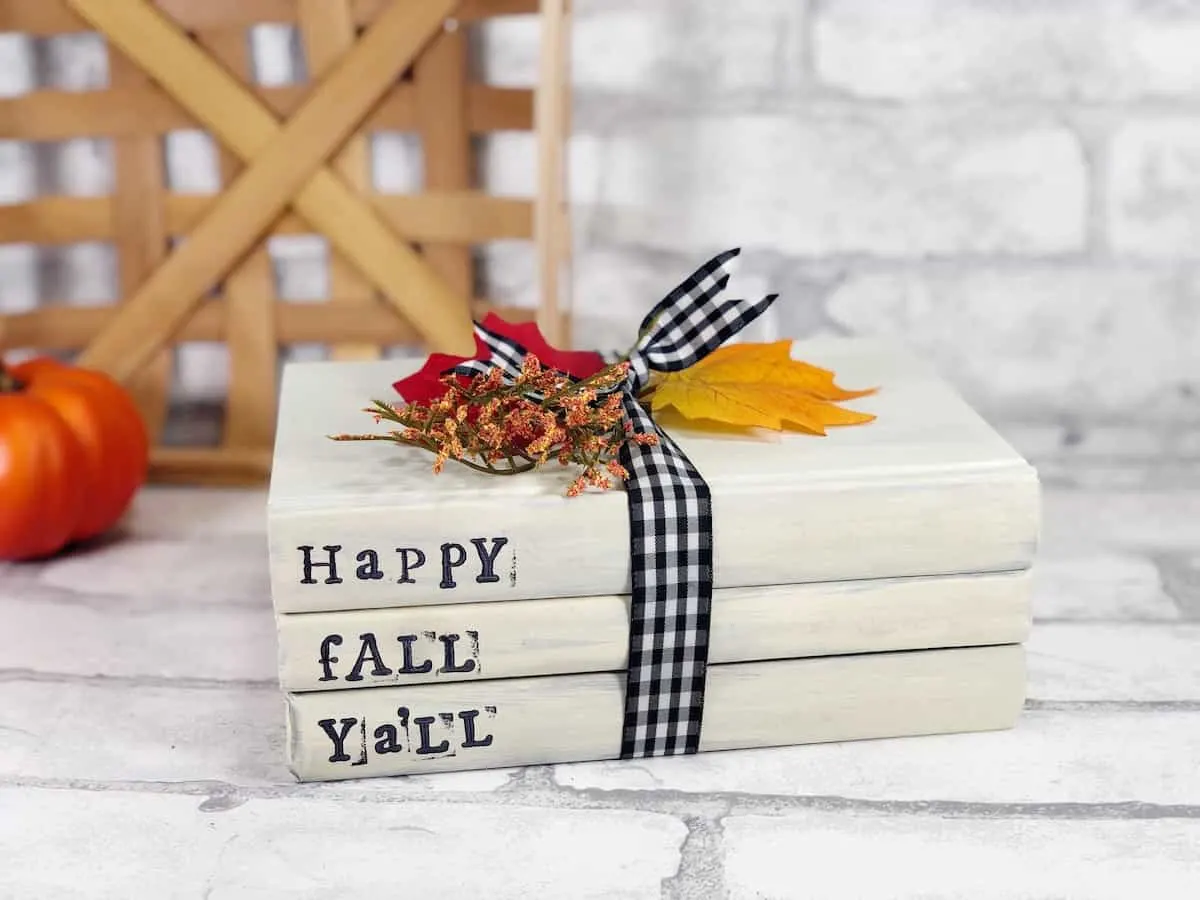
Why are stamped books a hot new decor trend? Because it literally is one of the easiest DIY projects you can make for your home!
They are also very inexpensive to make, can be personalized in many ways, and make great gifts!
What are stamped books? They are a collection of old books that you upcycle with paint and alphabet stamps.
Paint a book cover in a solid color, stamp the book spine with a word, and then stack the books on top of each other to display a message.
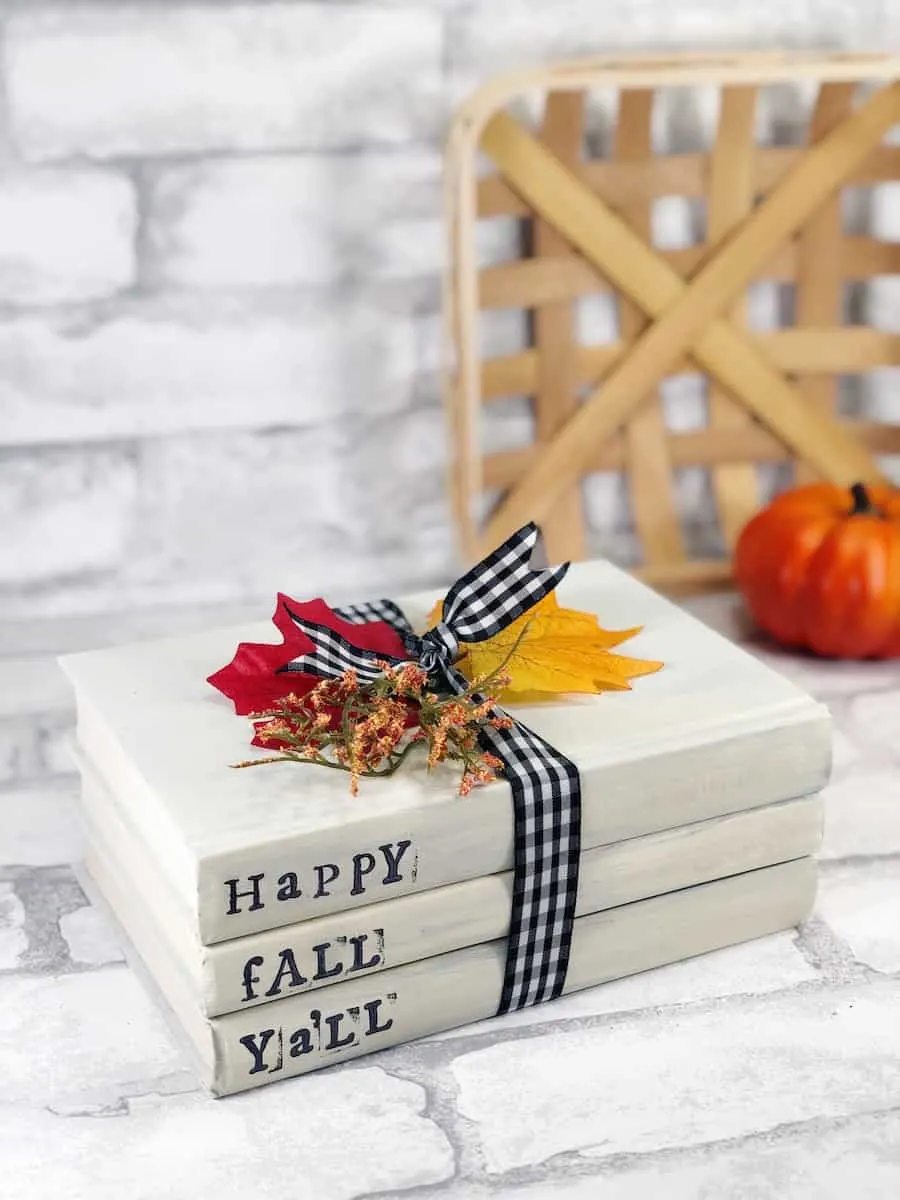
How to Make Hand Stamped Books Bundle
Supplies
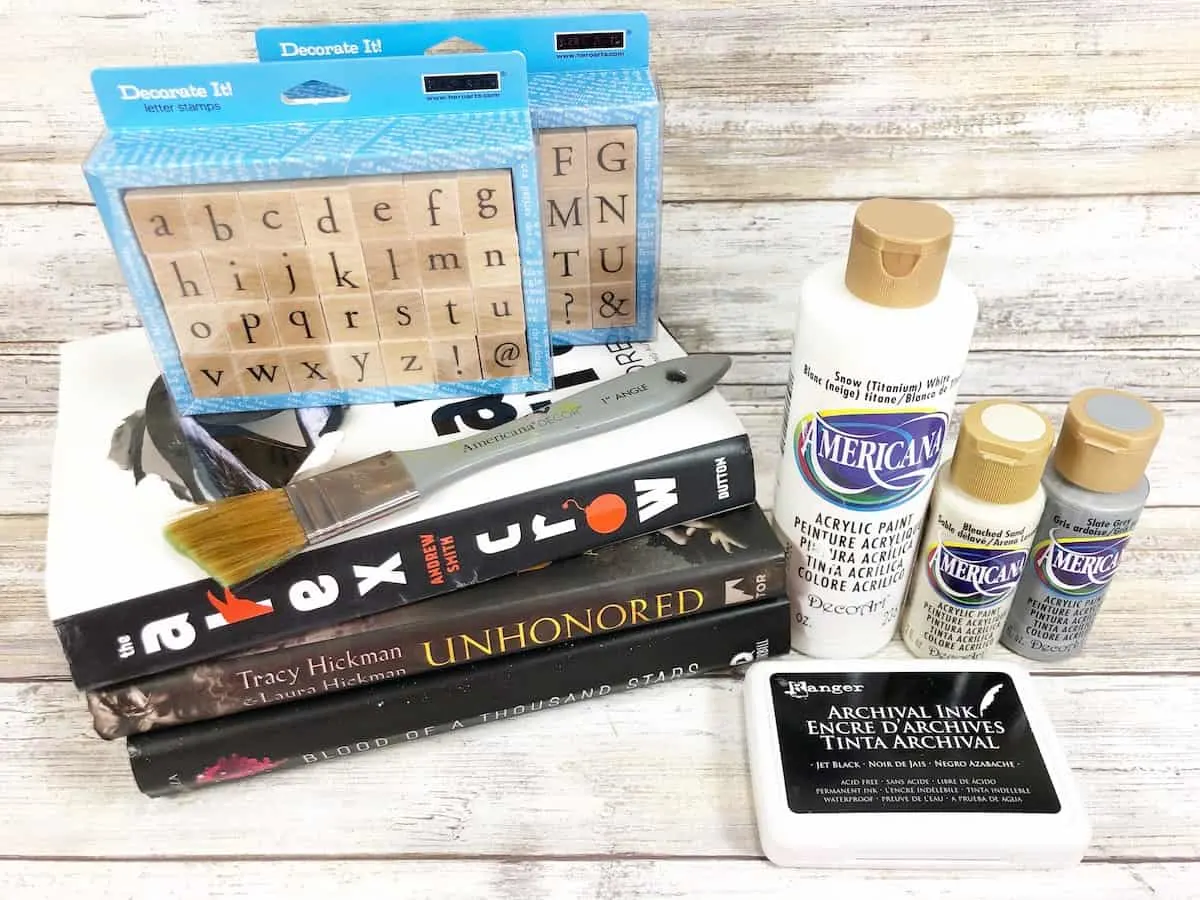
- 3 Hardcover books
- Silk flowers and leaves
- Ribbon
- Craft Paint – White, Ivory, Light Grey
- Alphabet Stamps – Upper and Lower Case
- Ink Pad
- Permanent Marker, Black
- Paintbrush
- Scissors
- Wire Cutters
Instructions
Remove the outer paper dust covers. Paint the canvas hardcover book cover underneath. It doesn’t have to be a perfect coverage. You’ll want some of the dark base to show through the paint.
Allow to dry.
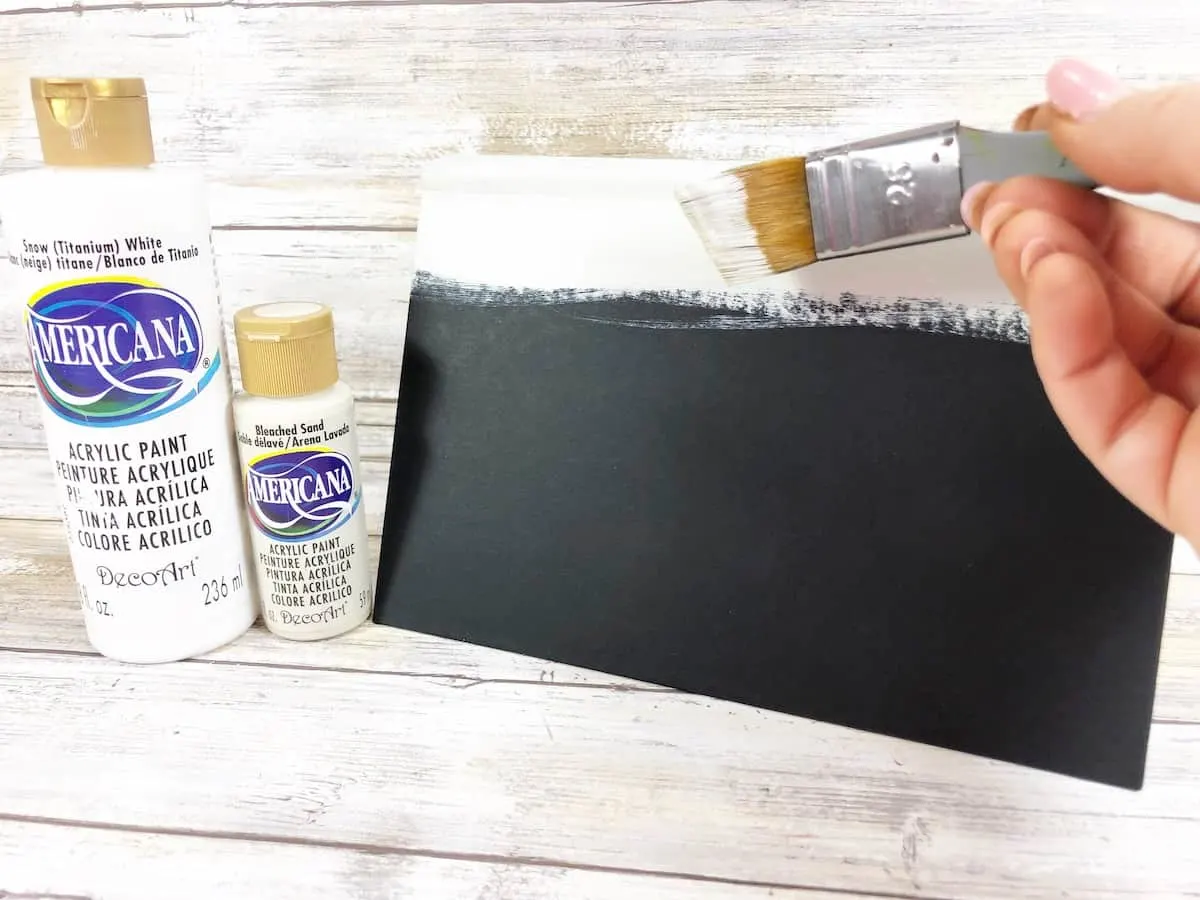
*Tip: I used a mixture of white and ivory craft paint to achieve this look. Don’t mix the colors too much together, though. You’ll want the color variations. However, you can always just paint one solid color, too.
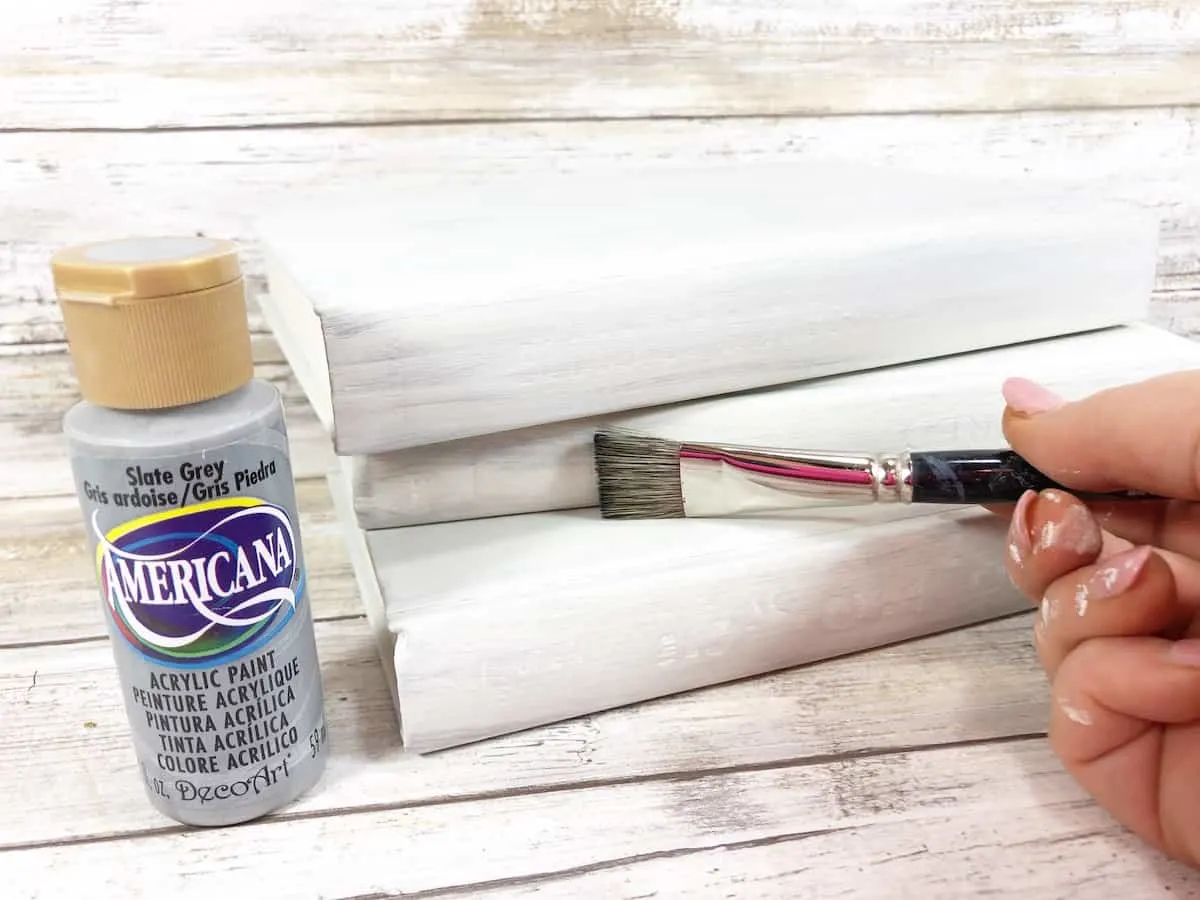
Lightly dry brush the light grey paint around the sides and edges of the books in places that would get worn down naturally. Allow to dry.
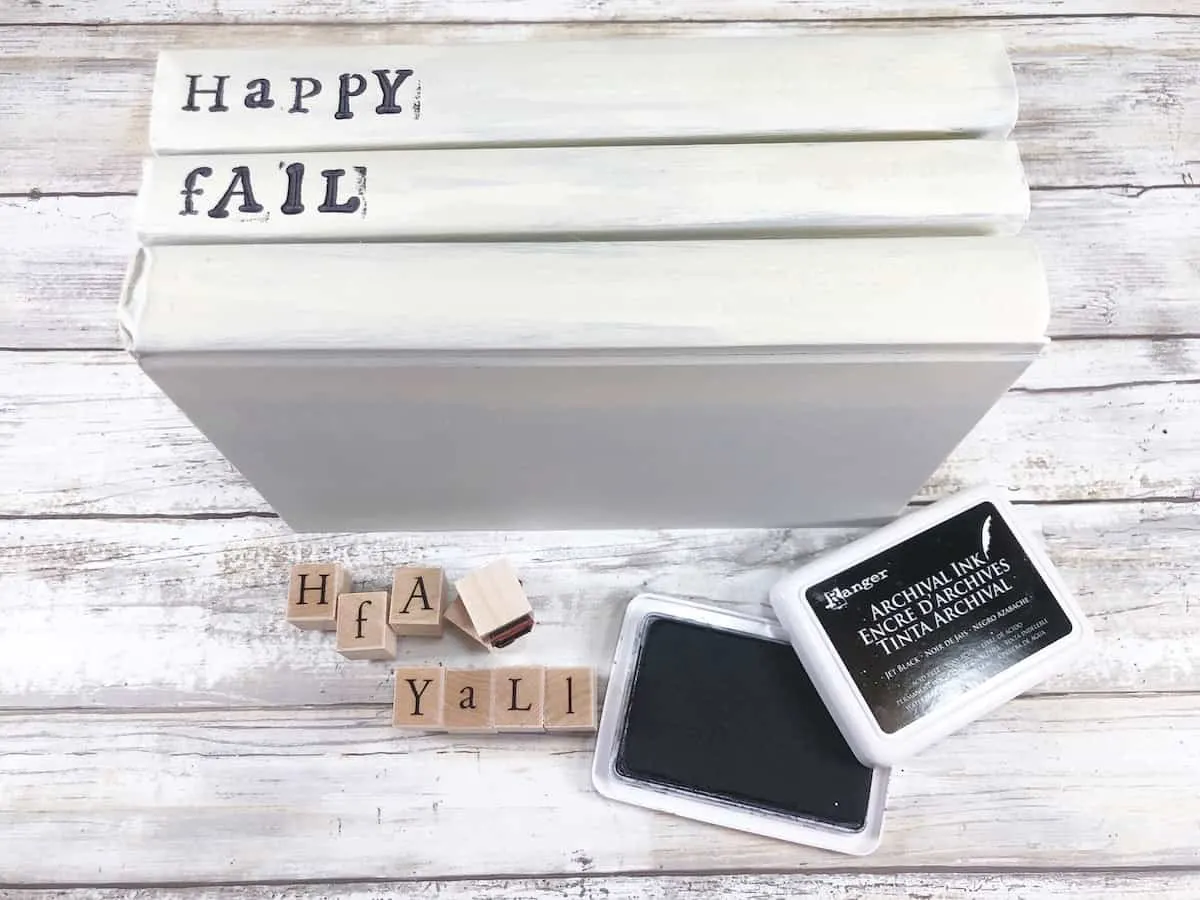
Select both upper and lower case stamps to create your message. Place the book on a table, with the spine up, for support. Press a stamp into the stamp pad, and then apply to the book spine.
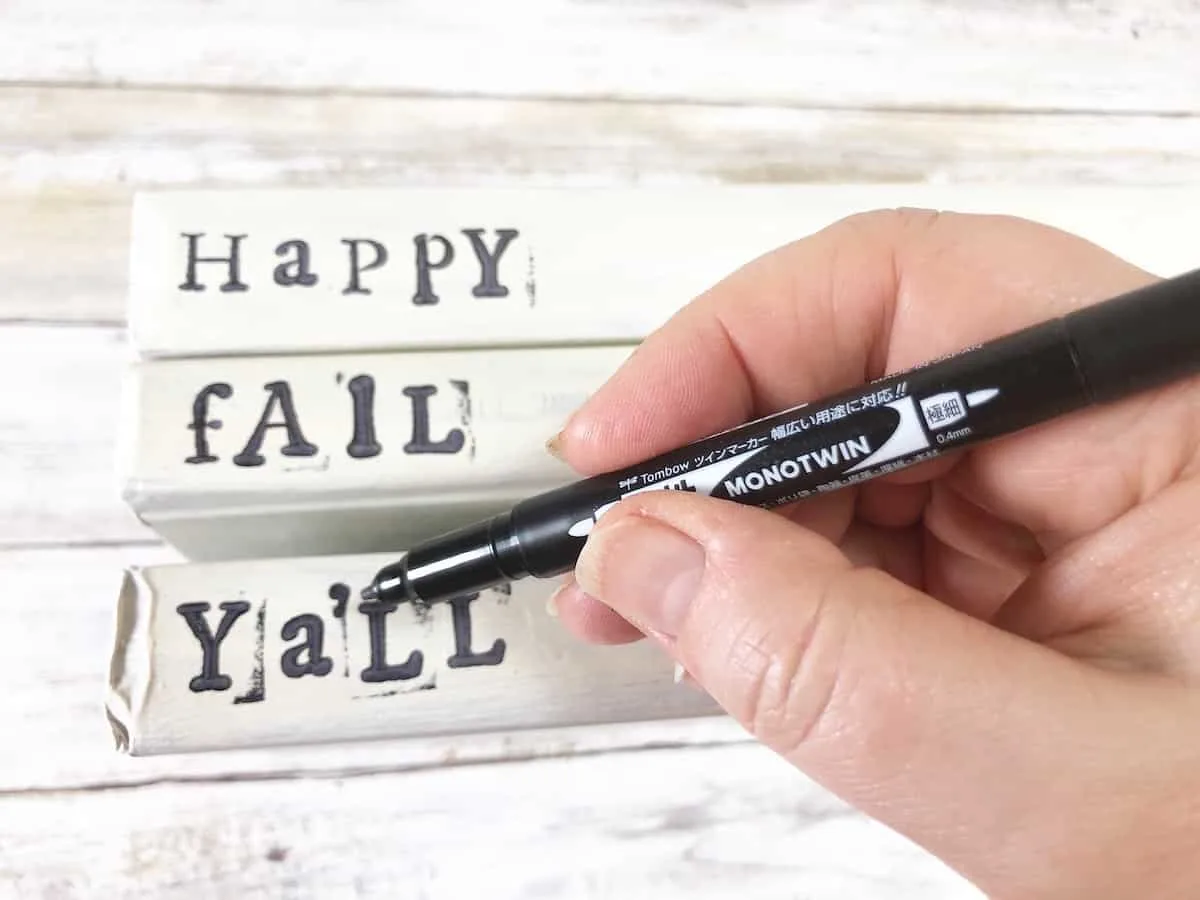
*Tip: For my Happy Fall Y’all message, I left space between the Y and A in Y’all to add an apostrophe using a black marker. If you have a stamp with the punctuation, feel free to use that.
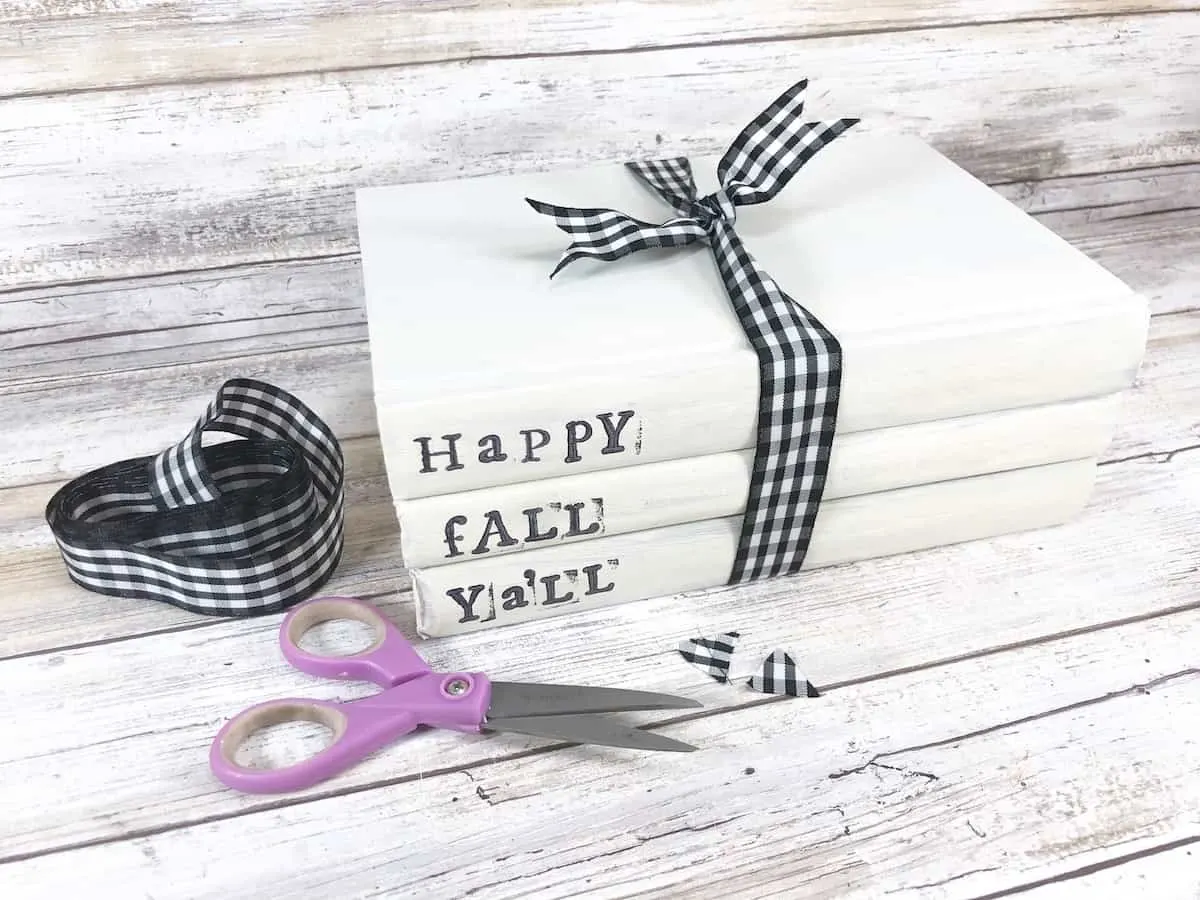
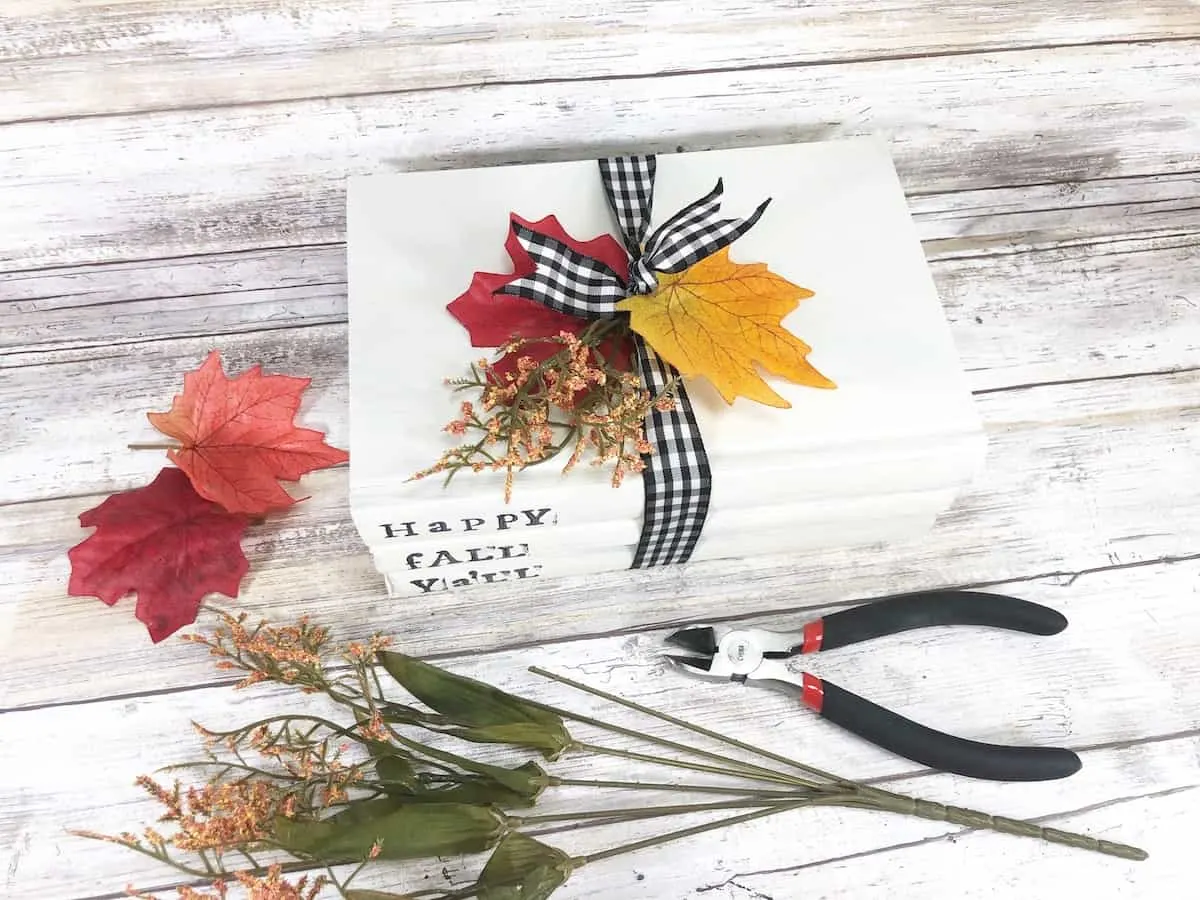
Stack the books together and wrap with ribbon. Tie a knot at the top and leave the tails of the ribbon as long as you would like.
Cut out a notch in the ribbon ends with scissors.
Select a few sections of silk flowers and leaves. (I cut a few off of a fall branch stem from the dollar store with wire cutters.) Slip the stems into or under the knot.
You can glue down the flowers and leaves if you will keep this book bundle for decoration every year.
Helpful Tips to Stamp Books
- Books can be bought at a dollar store. However, I’ve found them much cheaper at library sales. Or, just use books from your own library or that your friends or family are giving away.
- You will be removing the dust cover jackets. So it doesn’t matter if the paper covering is torn or not. Just look at the hardcover book underneath.
- Choose darker colored books. It will give the stack more depth with the paint on top.
- Your stamped letters don’t have to be perfect! Irregularity of the stamping is the charm of this farmhouse look!
- If you wanted your books’ message to be on the right hand side of the bundle, you will want to start stamping with the LAST letter of the word first! That way you won’t run out of room. Decide where you want the text to end, press a stamp for the last letter of the word there, and then work your way backwards up the book spine.
Want more dollar store craft projects? Check these out:
- DIY Jewelry Tray
- Decorative Wooden Spoons with Tape
- Faux Enamelware Decorative Plates
- Dollar Tree Tiered Shelves

