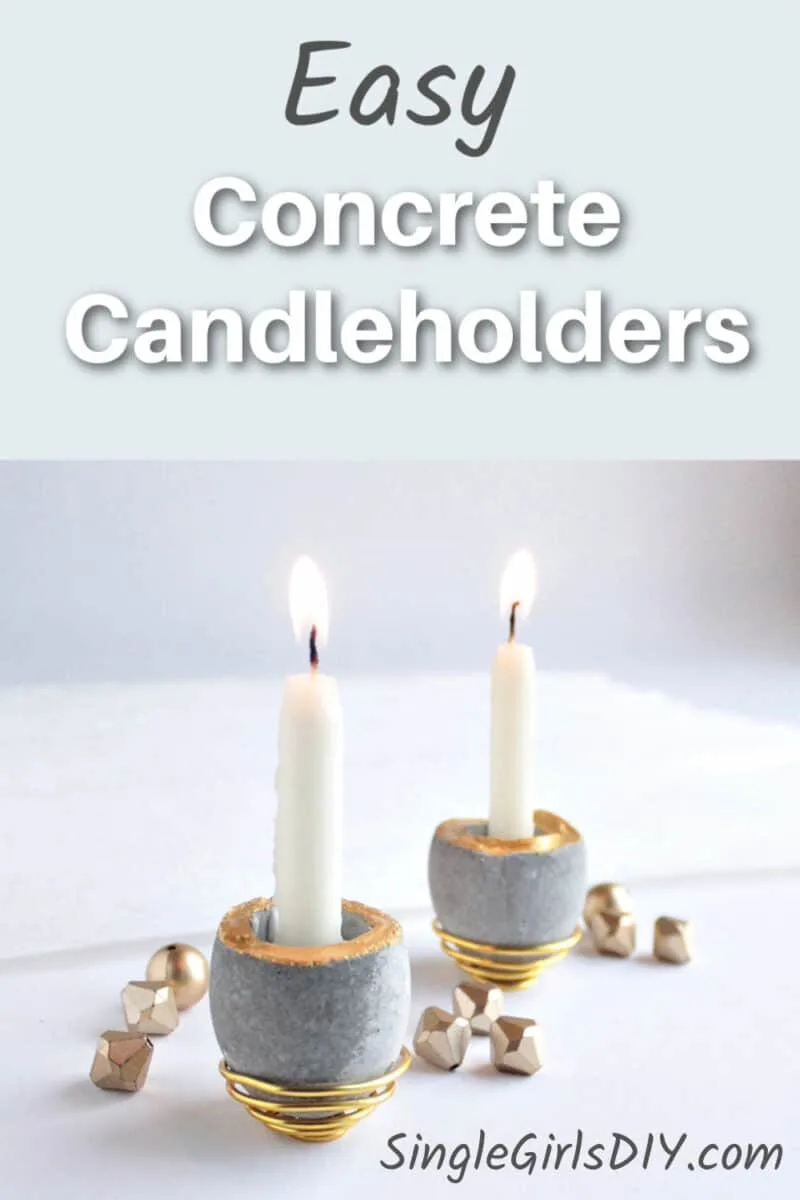
Candleholders are surprisingly easy to make. And they make some of the most thoughtful gifts to give to friends and family. It’s always fun when you can make a unique candle holder, too.
These modern mini concrete candleholders use egg shells to create a curved, cupped base for taper candles. Craft cement is easy to use, and the craft wire base is simple to make, as well.
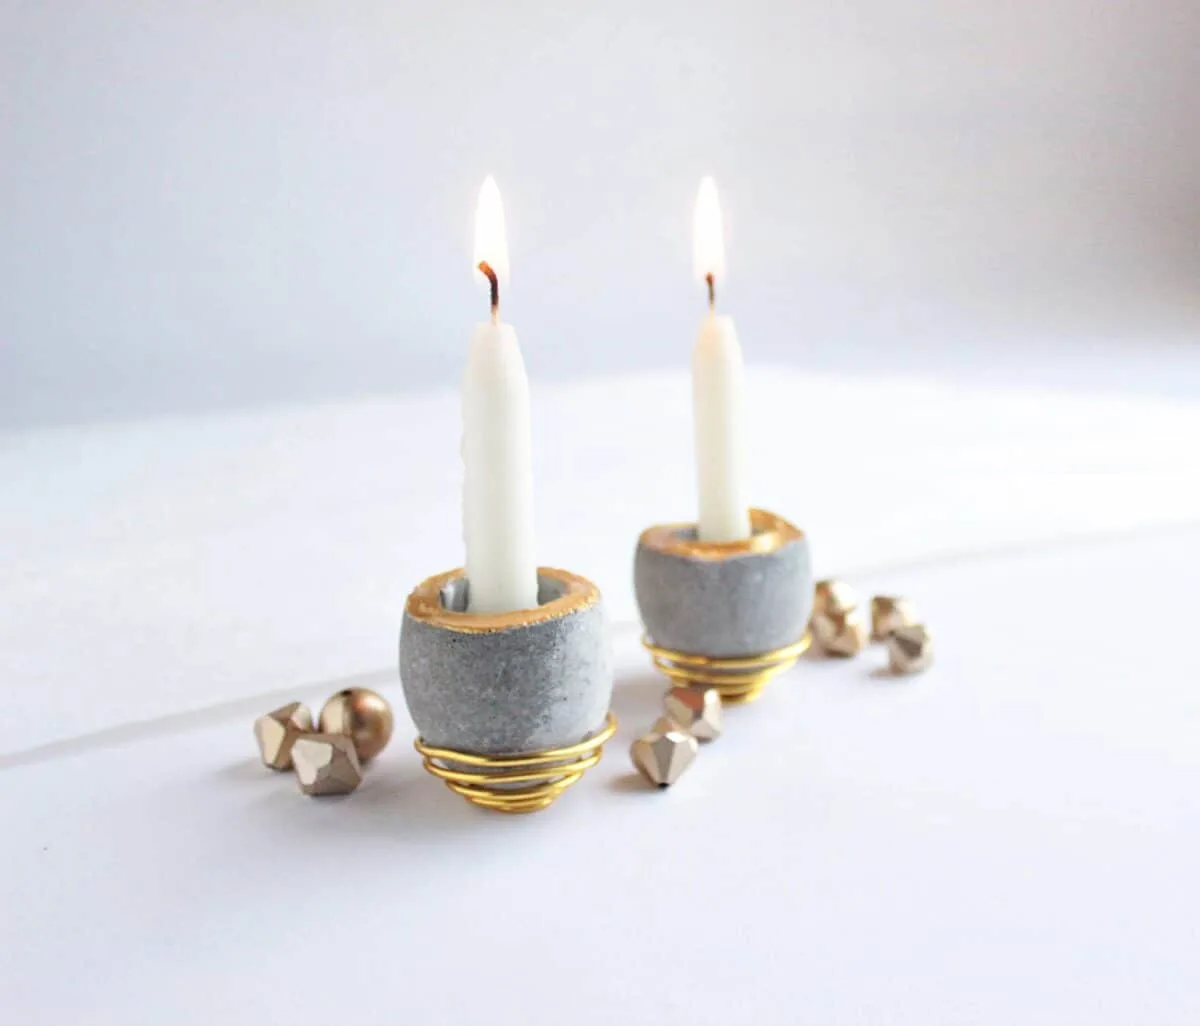
While I searched for a while to find the best concrete alternatives for my outdoor walkways, I enjoy making crafts with cement for small items such as this.
If you don’t make them for your own home, they are amazing handmade gifts! Think birthday gifts, hostess gifts, stocking stuffers, Easter gifts, thank you gifts and housewarming gifts.
You might also like my hand poured soy candles which also make great gifts. And these farmhouse candle holders are made with dollar store game pieces!
How to Make Concrete Candleholders
Supplies
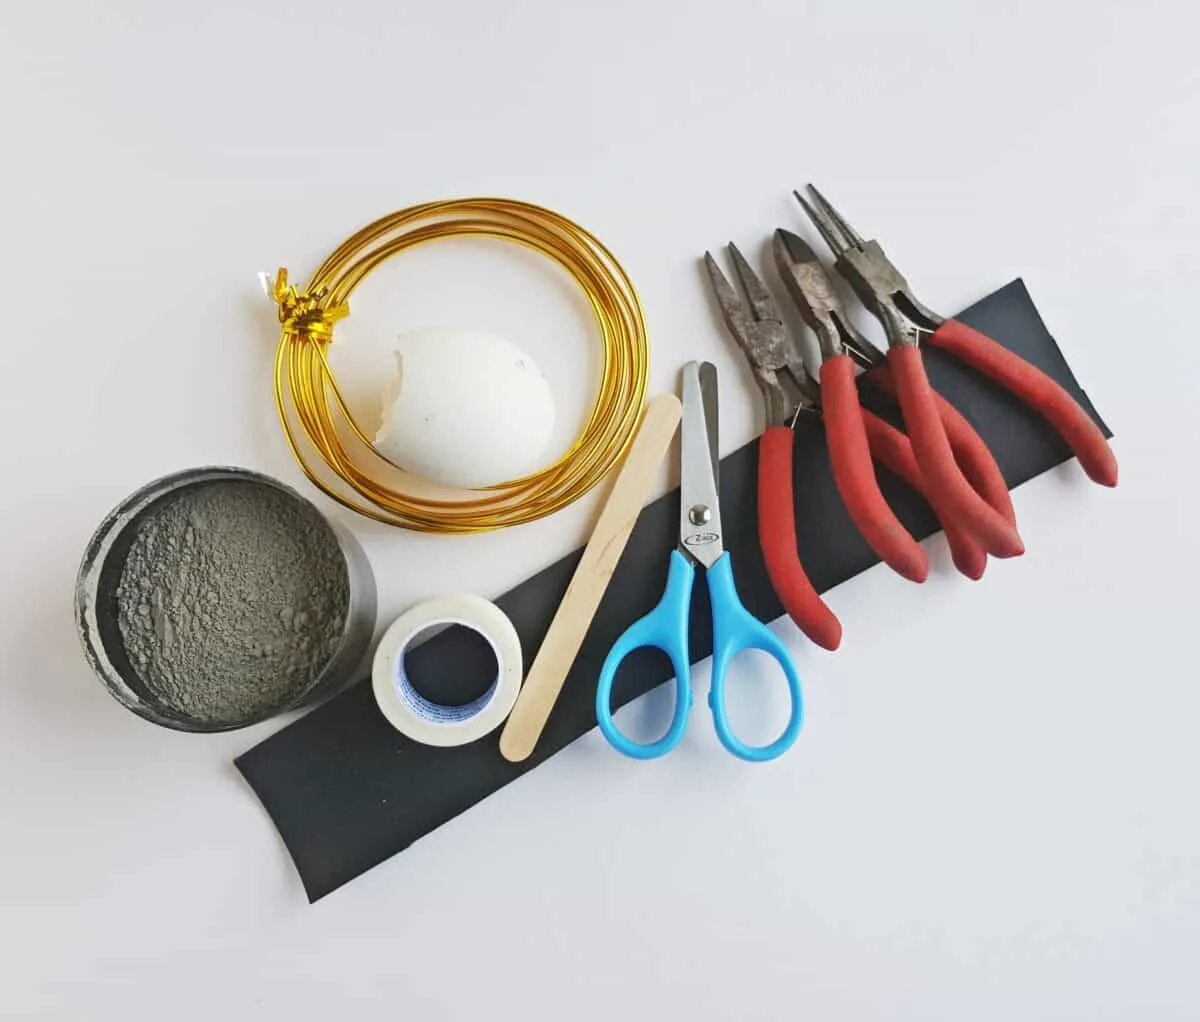
- Cement and sand mixture (50:50)
- Raw Egg (you will only use the shell)
- Cardstock paper
- Plastic bucket or pot to mix cement
- A stick, dowel or strong disposable spoon to mix the cement (with no dirt or debris)
- Scissors
- Adhesive tape
- Craft wire – 16 gauge
- Craft pliers – cutting, looping, flat nose
- Paint and brush (optional)
Instructions
Step 1
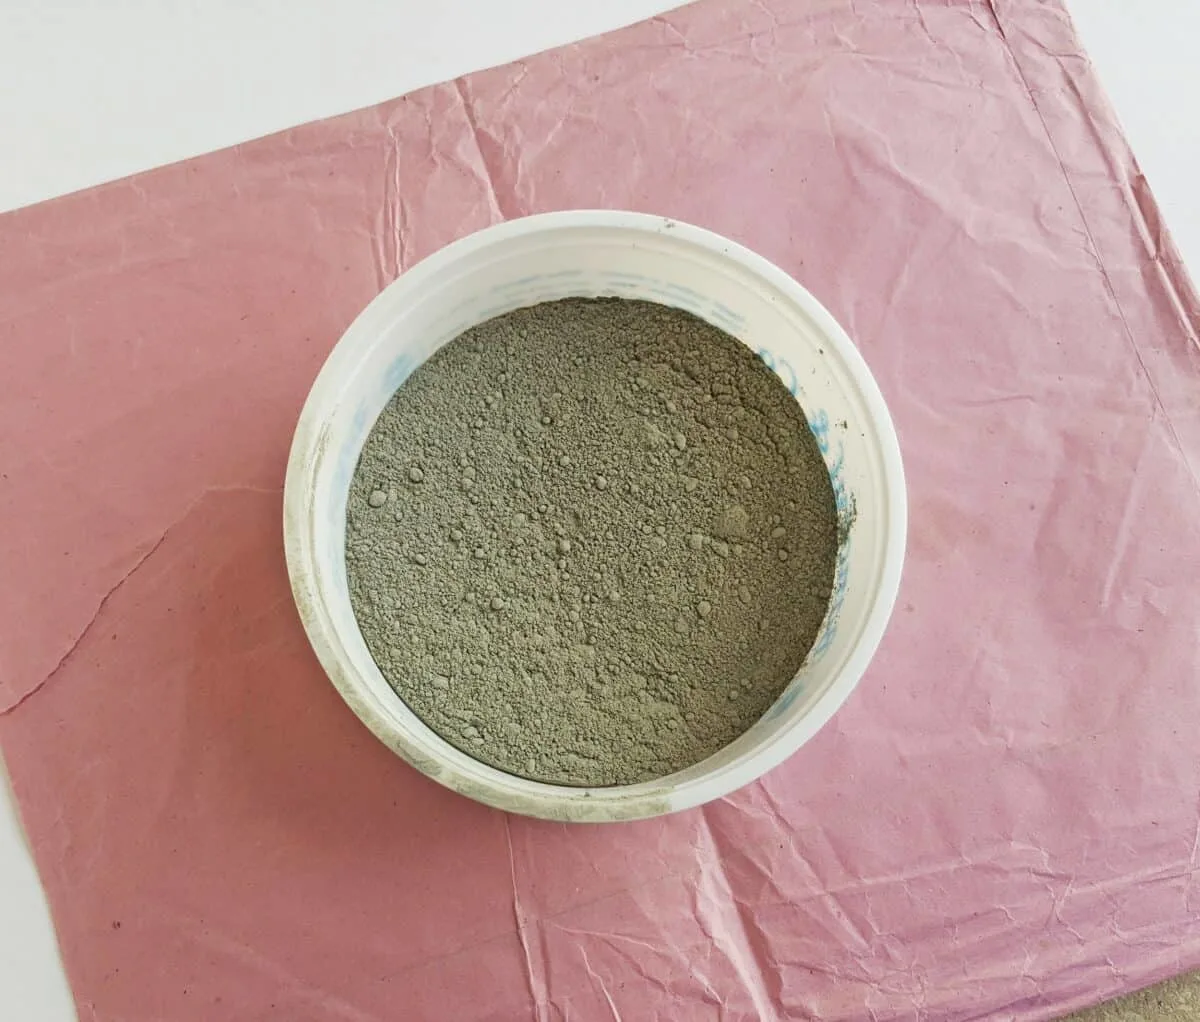
Add the cement and sand mixture to a plastic bucket or pot. Make sure that the ratio of cement and sand should be 50:50. Use a measuring cup if you’d like to measure the ingredients.
Step 2
Add water to the cement and sand mixture. The water to cement ratio should also be about 50:50.
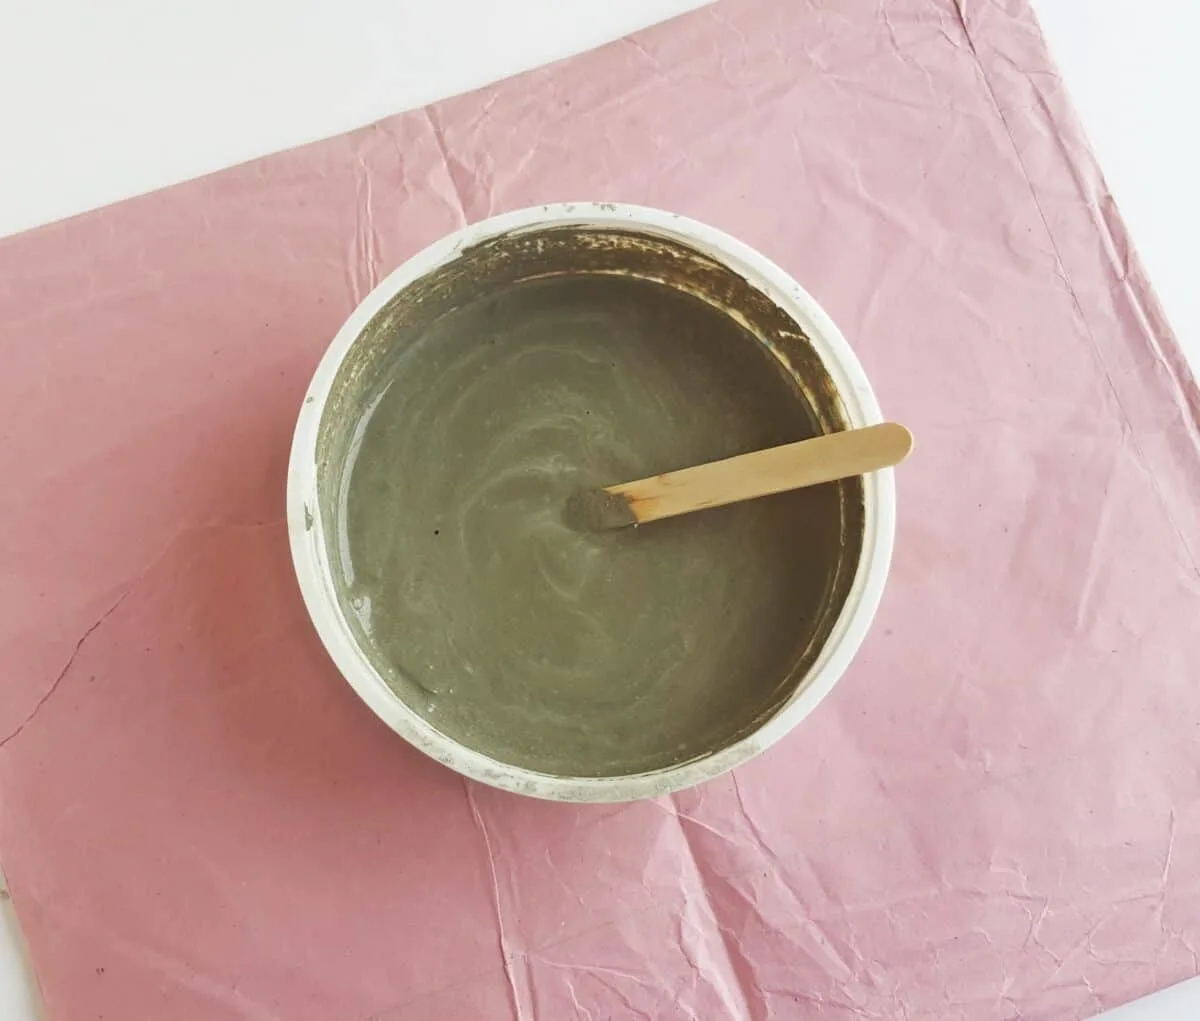
If you don’t use a measuring cup for precise measurements, just add a small amount of water at a time and mix.
Do not add too much water at once. Your goal is a thicker mixture, not a runny mixture. Less water means the mixture is stronger and will take less time to dry. Mix using a stick.
Step 3
Drain an egg by cracking the top side of a raw egg. Use a spoon to gently crack a small proportion of the egg at the top and then carefully remove the top shell.
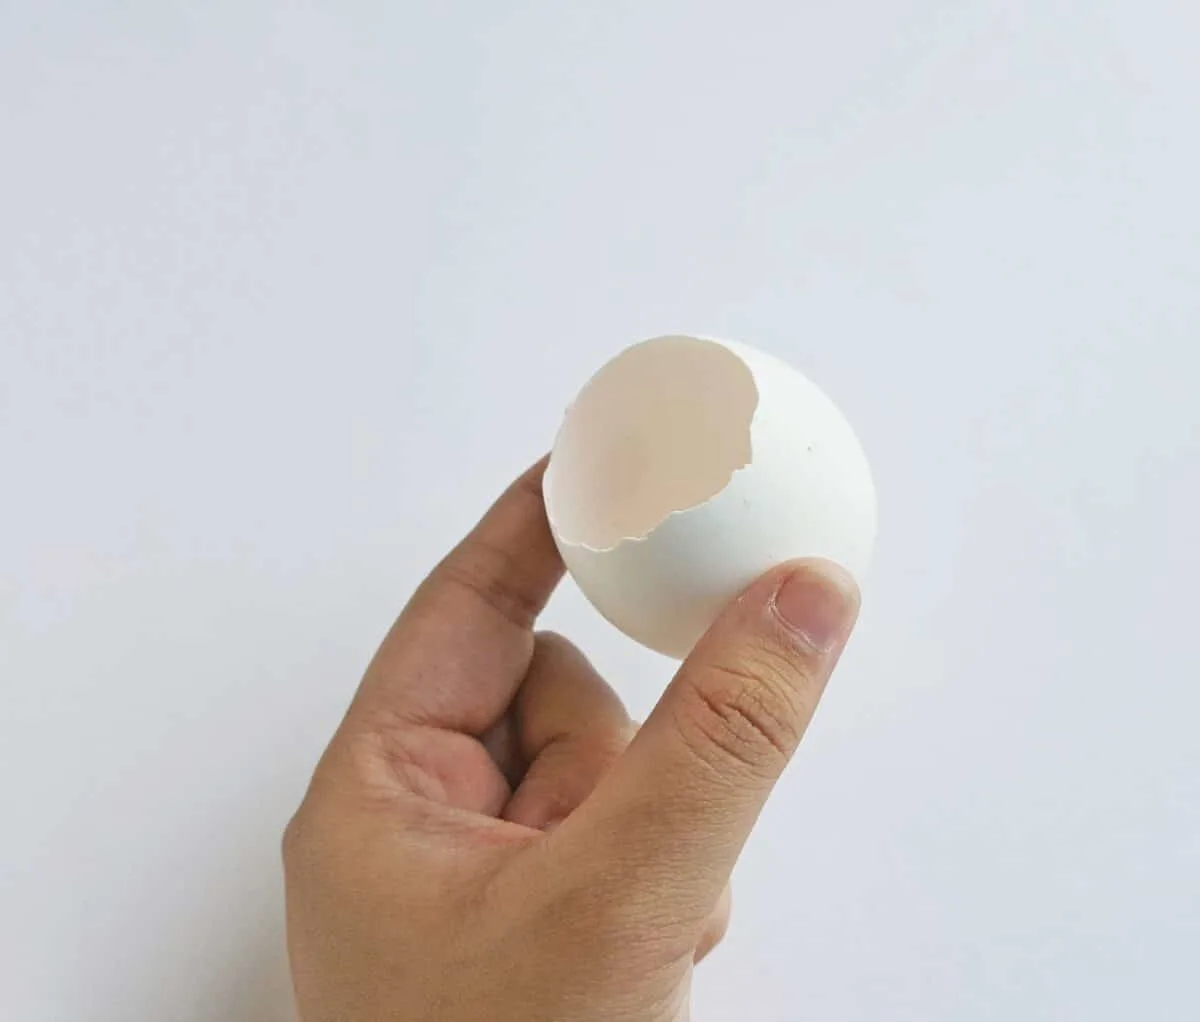
Try keeping at least one third of the egg shell intact. Clean the inside of the shell (rinse with hot water) and dry.
Step 4
Place the intact end of the egg shell on a stand so that it stays still.
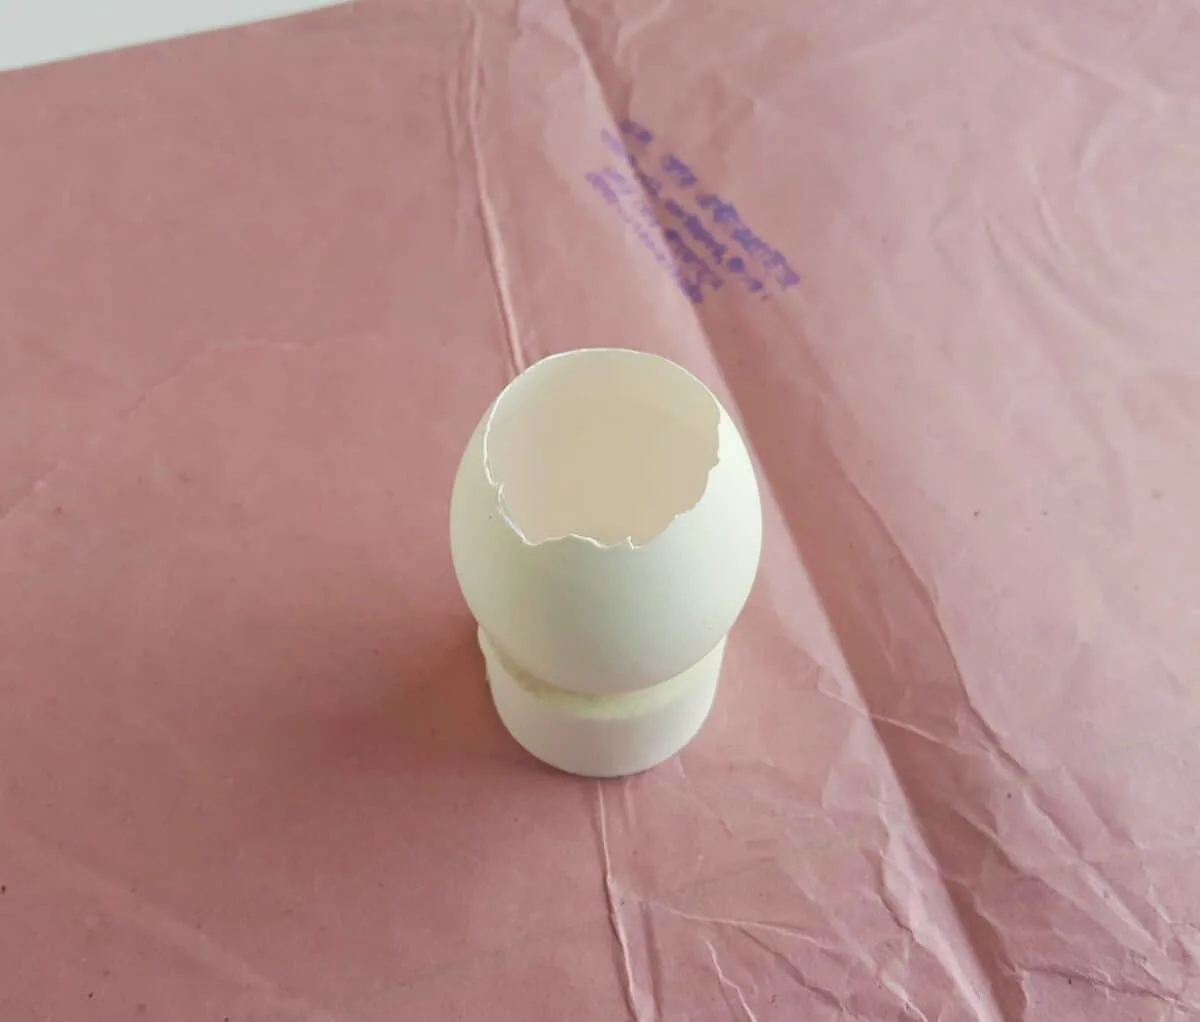
You can use a plastic bottle cap, which works great. Use adhesive tape to keep it still, if you need to.
Step 5
Use a long piece of cardstock paper or other sturdy paper (recycled paper would be great), about 2 inches wide. The length will depend on the size of the candle you’d like to use and the size of the egg.
You will want to roll the paper into a tight tube to be about the size of the width of the candle you want to use.
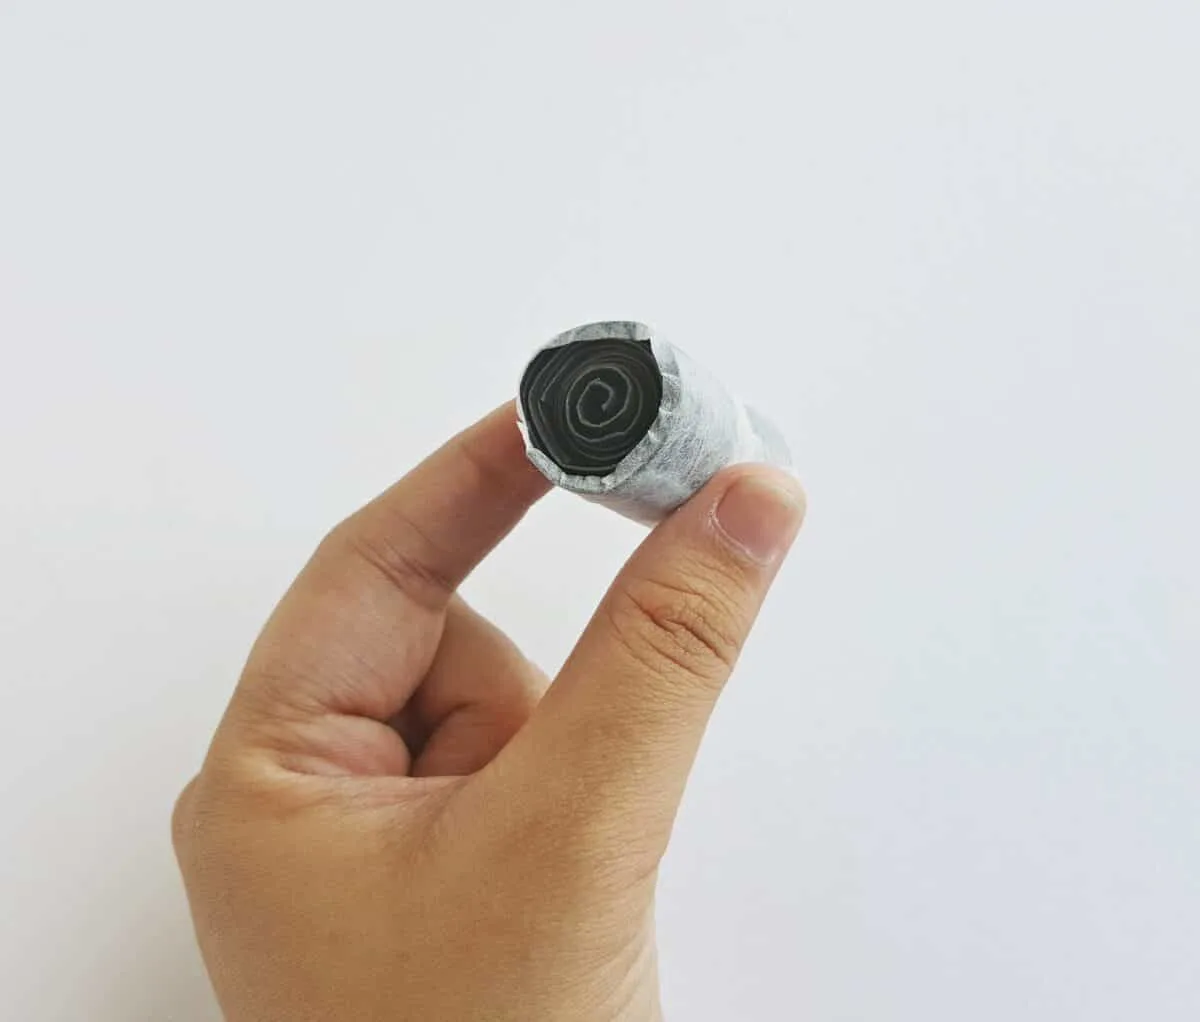
Start small and keep adding sections if you’d like. Hold the tube up to the end of a candle and see if they are the same width. Secure with tape to keep the paper rolled up.
Step 6
Add the concrete and sand mixture to fill up one third of the egg shell.
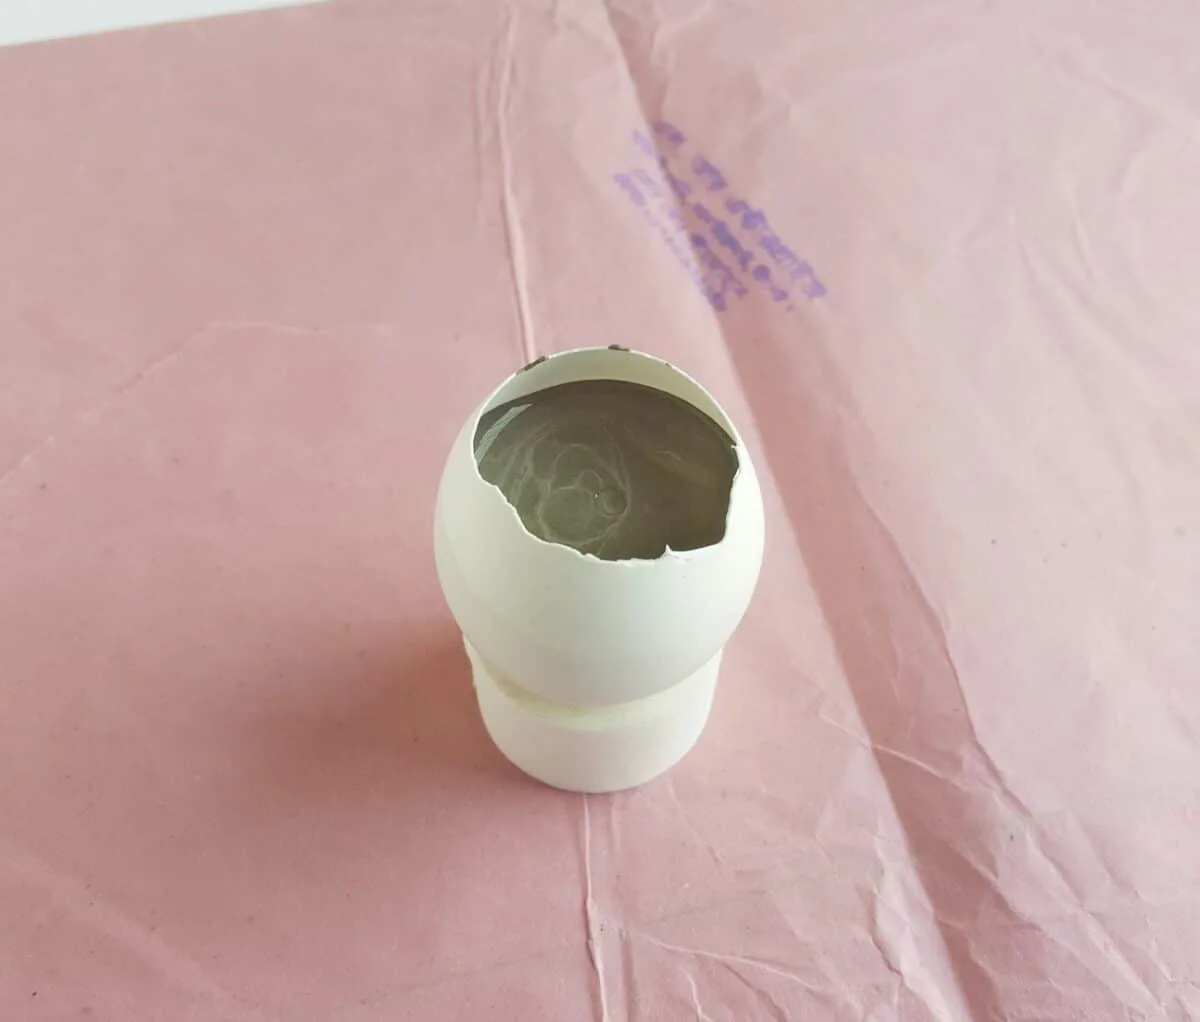
Step 7
Gently push the cardstock strip roll into the middle of the cement filled egg shell.
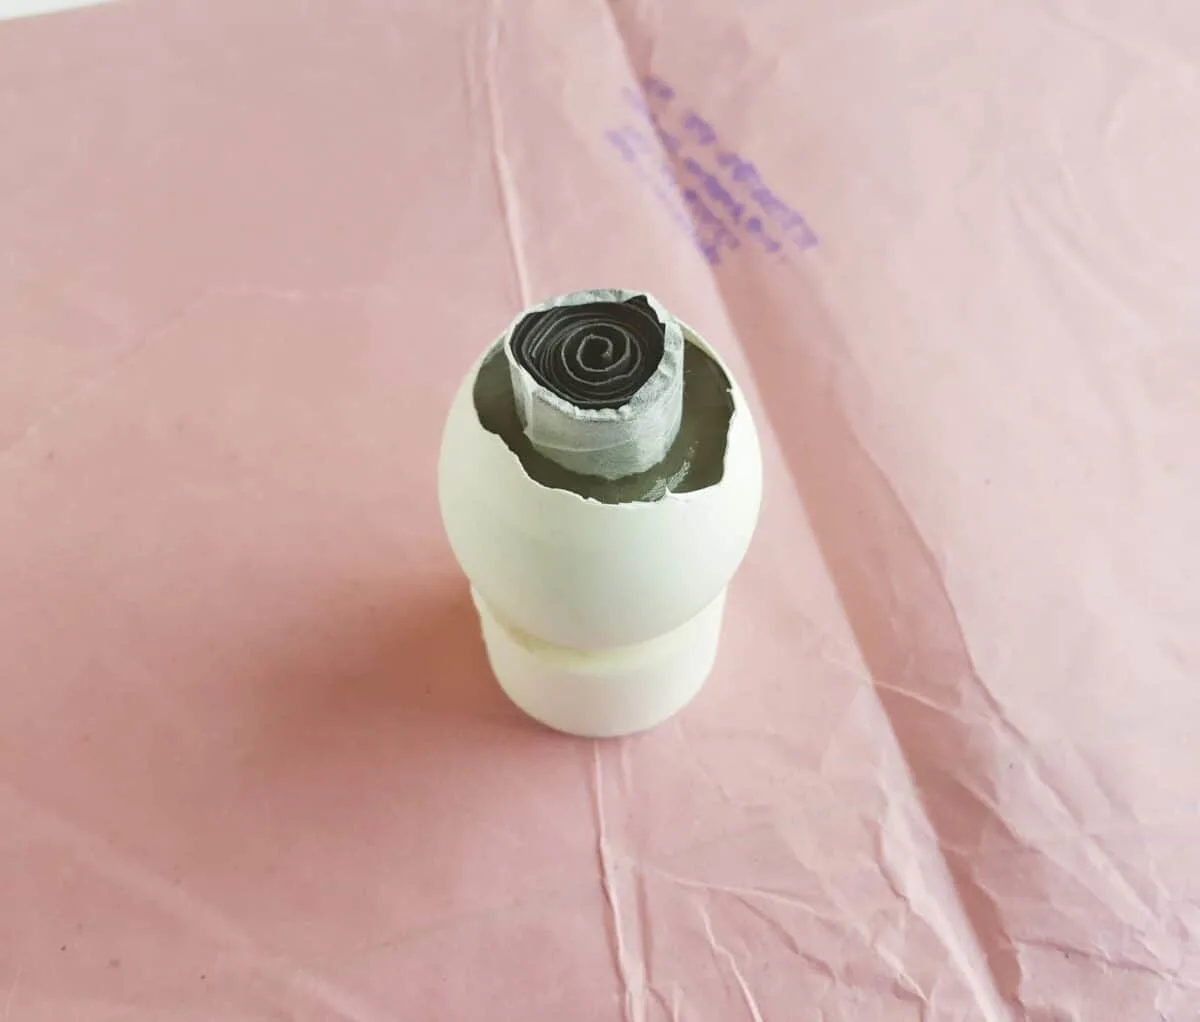
You don’t want the tube to go all the way down to the bottom of the egg shell. There should be at least half an inch gap between the bottom of the egg and the tube.
Allow the cement to dry overnight. Even better, let it dry for 24 hours.
Step 8
Remove the cardstock roll. Gently twist it from the top end and take it out.
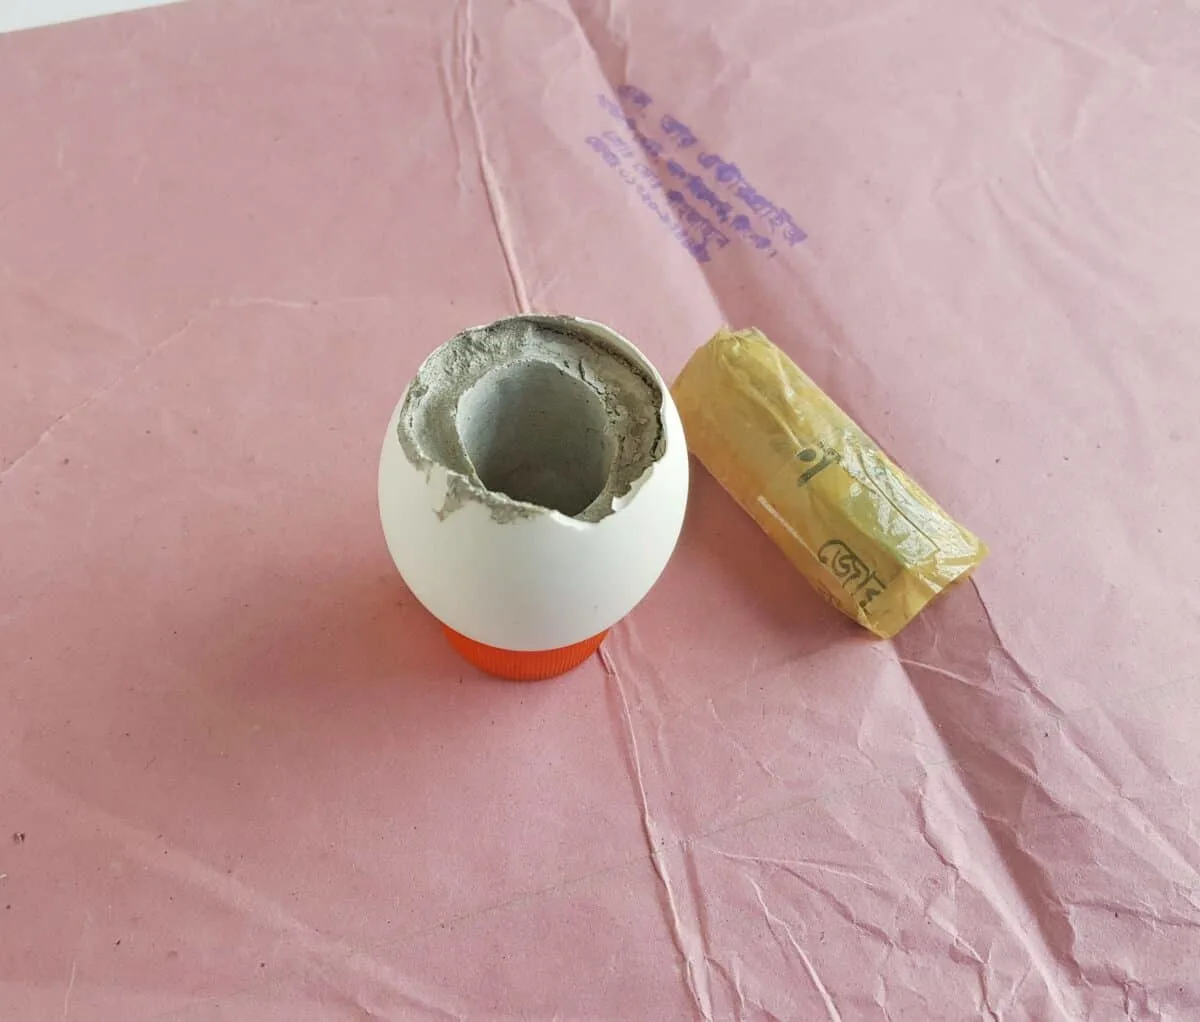
Step 9
Next, remove the egg shell carefully. Peel of the egg shell until all you see is the concrete candleholder.
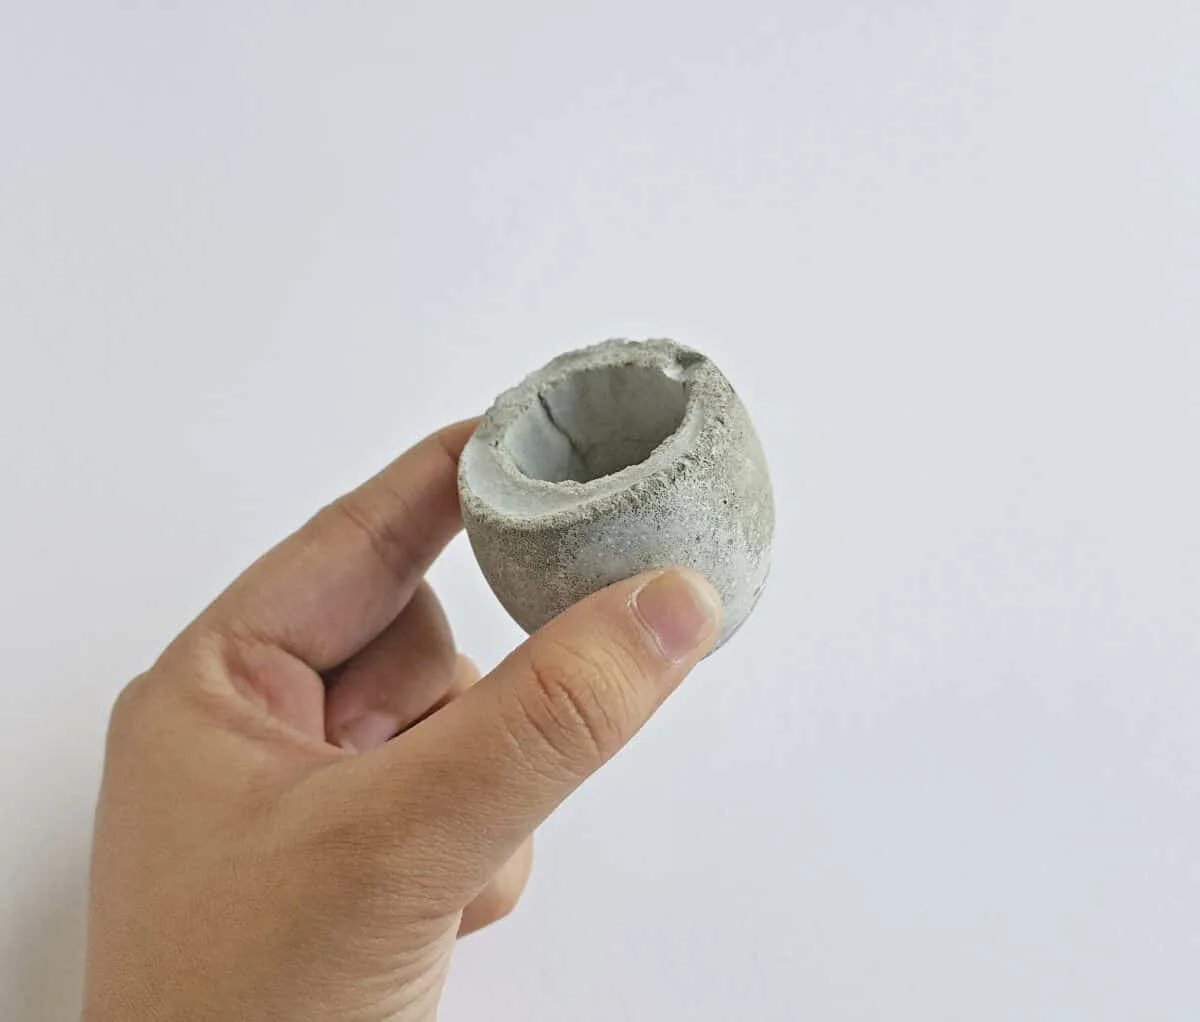
Step 10
Take the craft wire and make a small loop at the open end by using looping pliers.
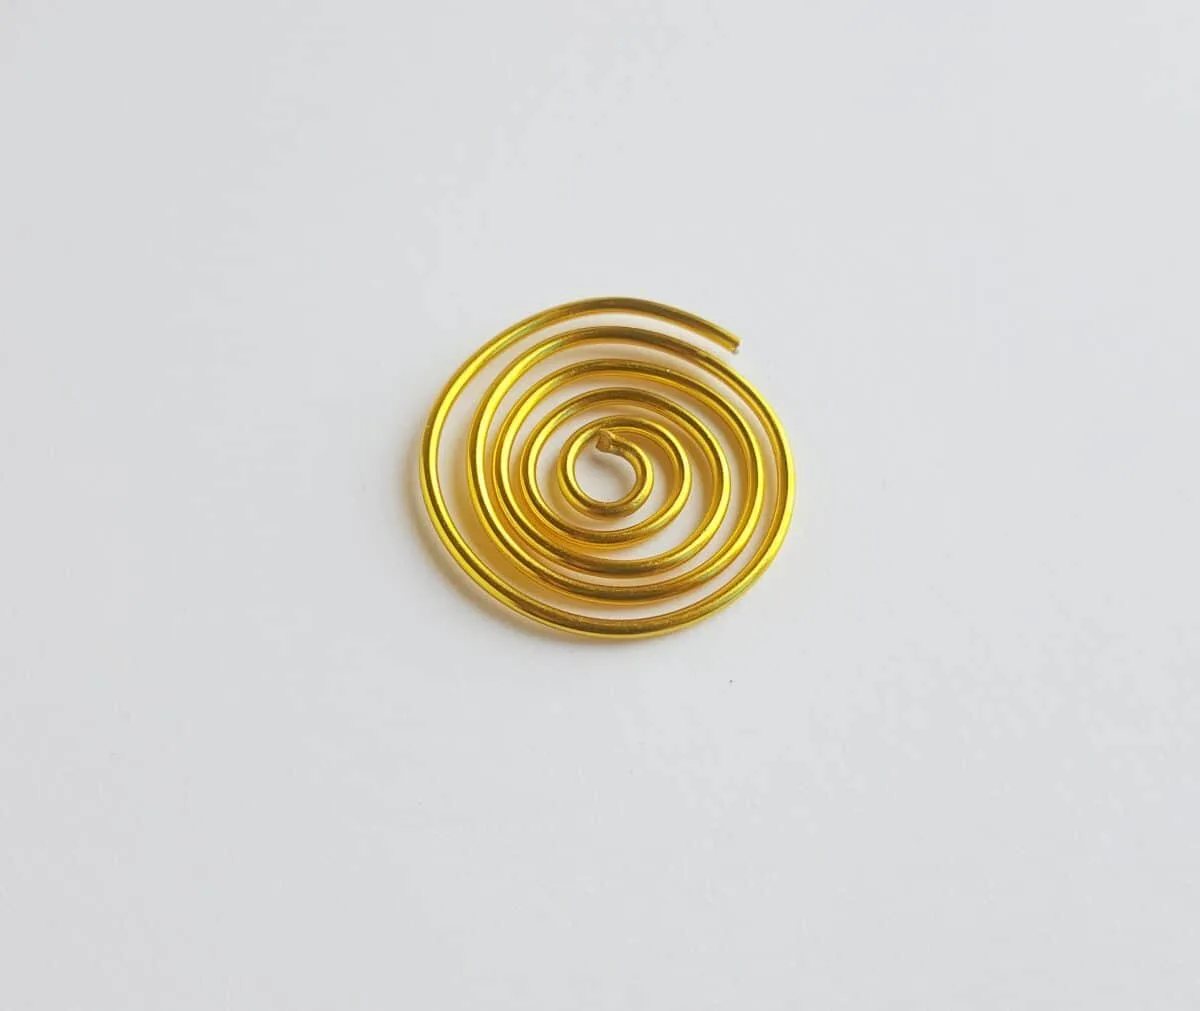
Wind the wire around the loop to create a twirl pattern. Stop winding the wire once it is as big as the widest part of the concrete egg.
Step 11
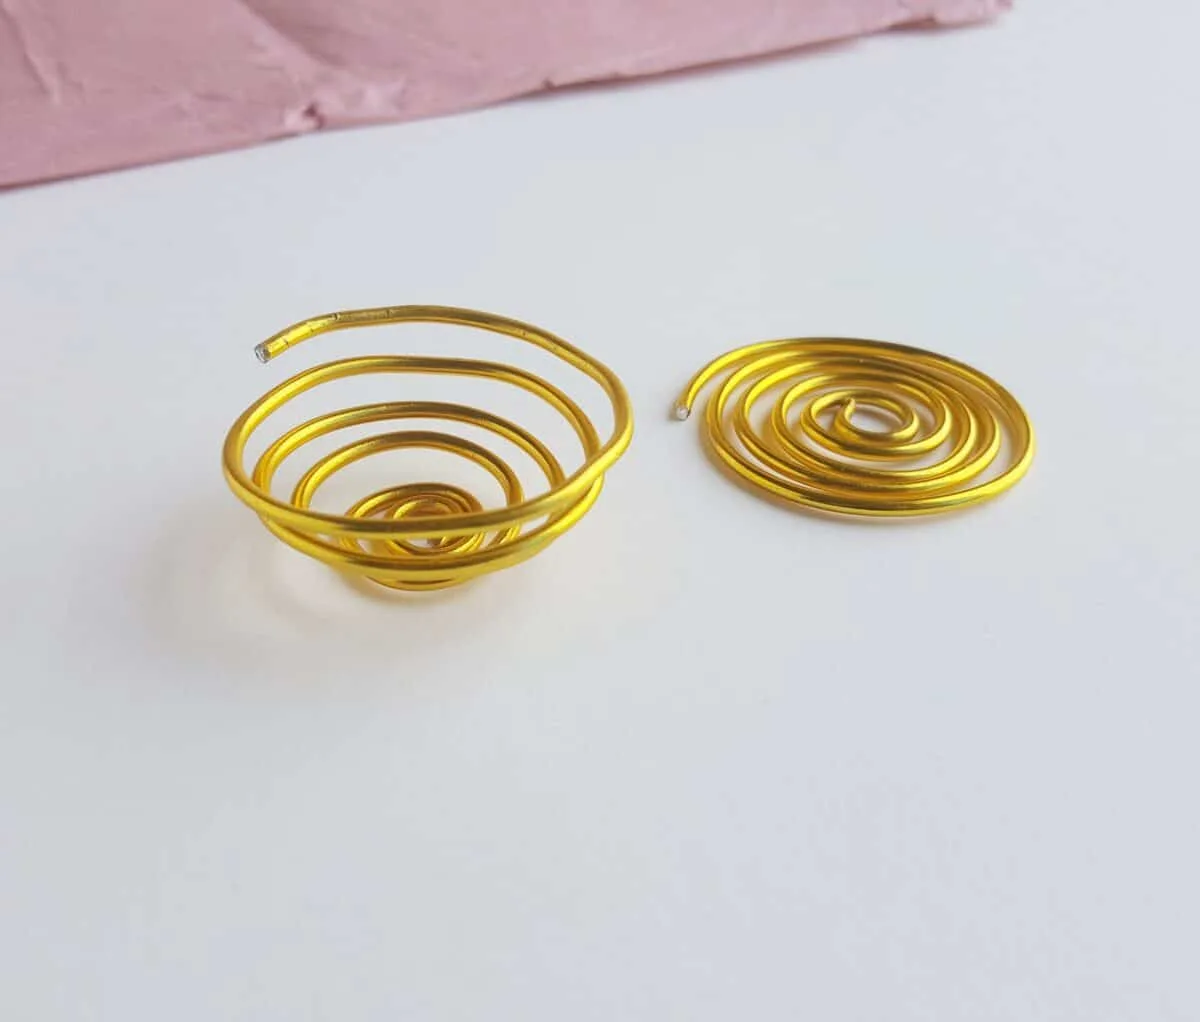
Pull the outer loops of the twirl pattern upwards, keeping at least 3 loops at the bottom flat. This will be the candle holder stand.
Step 12
Paint the concrete candleholder if you’d like.
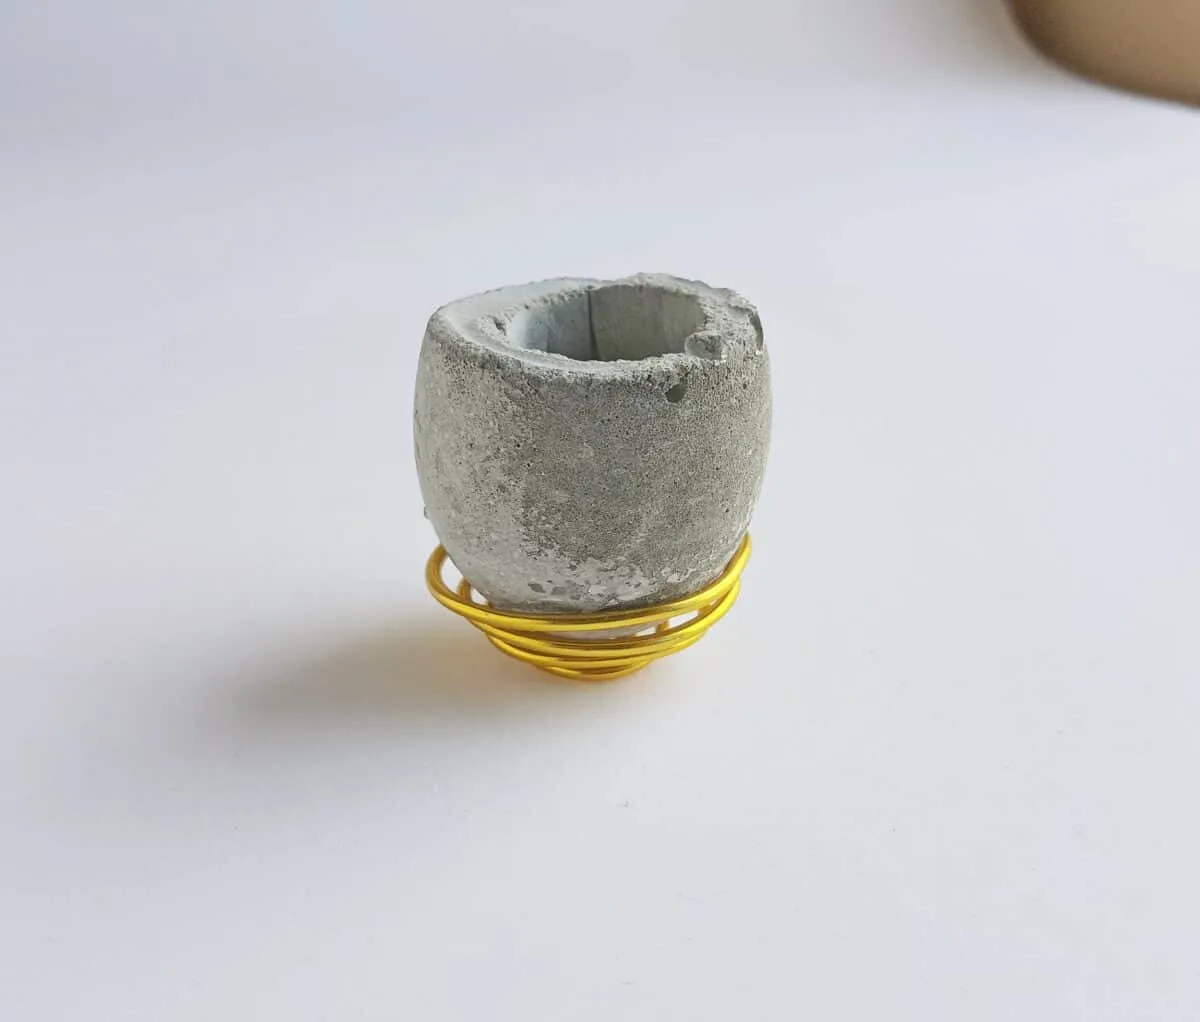
Nestle the candle holder on the wire stand. Place the candle in the holder and enjoy!
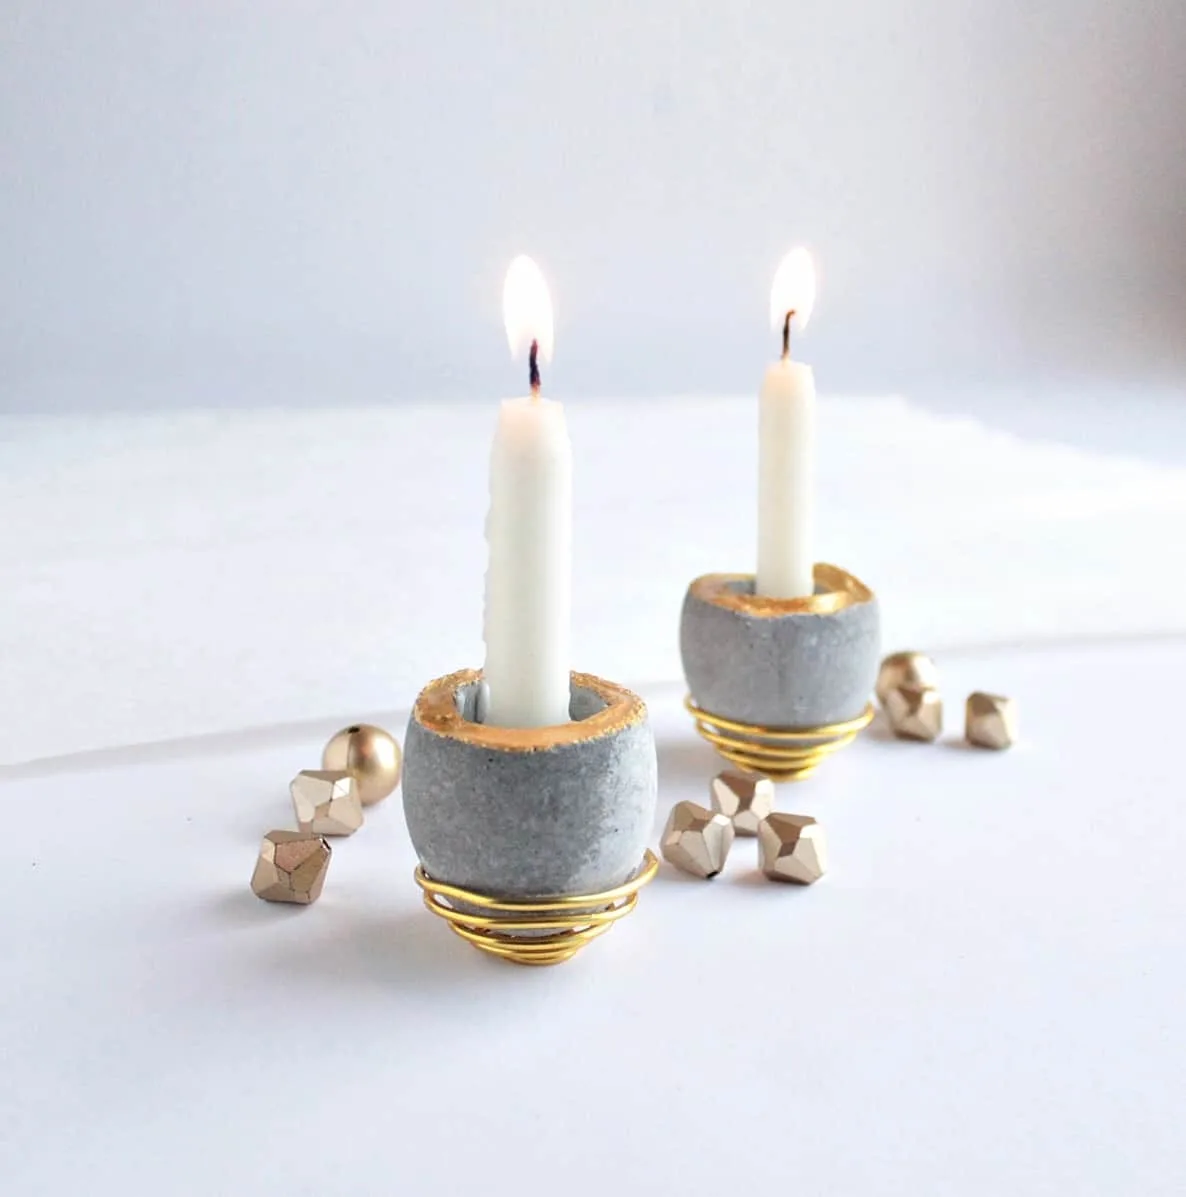
Think of all the little places you can tuck these candleholders into. These modern concrete candleholders are tiny, so you can cluster them together for a statement piece.
Be sure to Pin This project so that you remember it!
