
A classic and simple holiday DIY craft is Christmas string art. Make easy Christmas cards and artwork with these Christmas string art stencils.


Old-Fashioned Christmas Crafts
There’s something so nice about old-fashioned joys at Christmas. Especially with craft projects.
And we love simple crafts that don’t take a lot of technology or expensive gadgets.
Plus, the supplies are so cheap and easy to find! No need to special order anything online.
Just yarn and cardstock (such as poster board from the dollar store or a thick paper) is all you need. Plus a tapestry needle and scissors. And our free Christmas string art PDF stencil patterns.
Feel free to add embellishments for creativity, including:
- Pom poms
- Glitter
- Foam stars
- Stickers
- Sequins
- Beads
- Colored glue
- Twigs or sticks
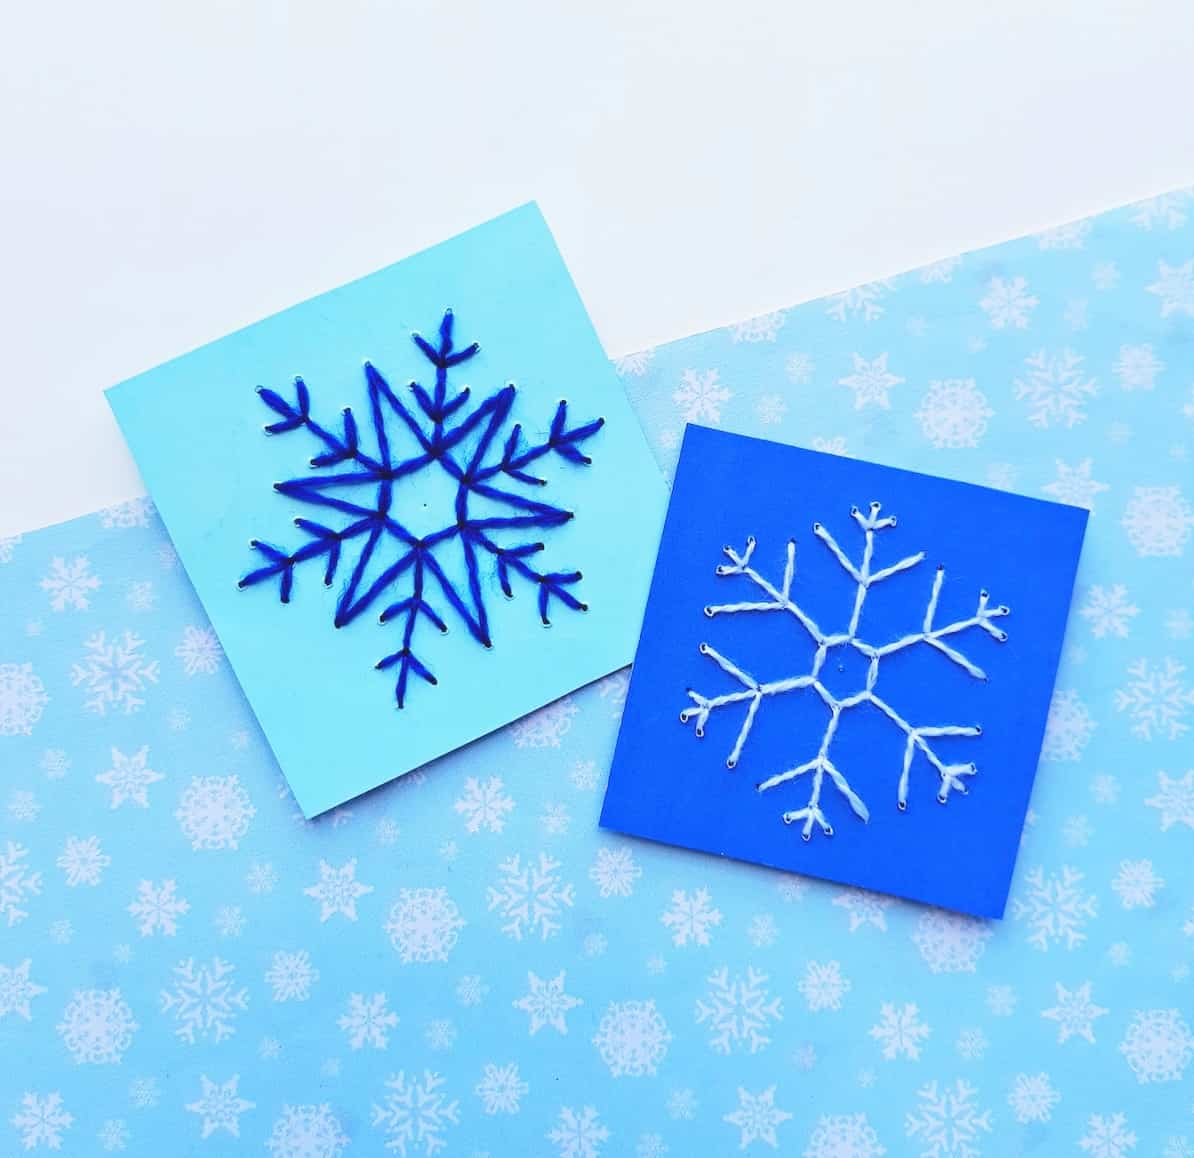
Christmas String Art Stencils Patterns: Tree and Snowflake
The way to make Christmas string art is simple. And pretty much the same for any design.
We give two sets of instructions below, because there are slight variations with the two patterns.
Otherwise, the concept is the same. Just choose the color of string and paper that you like.
Related DIY Projects:
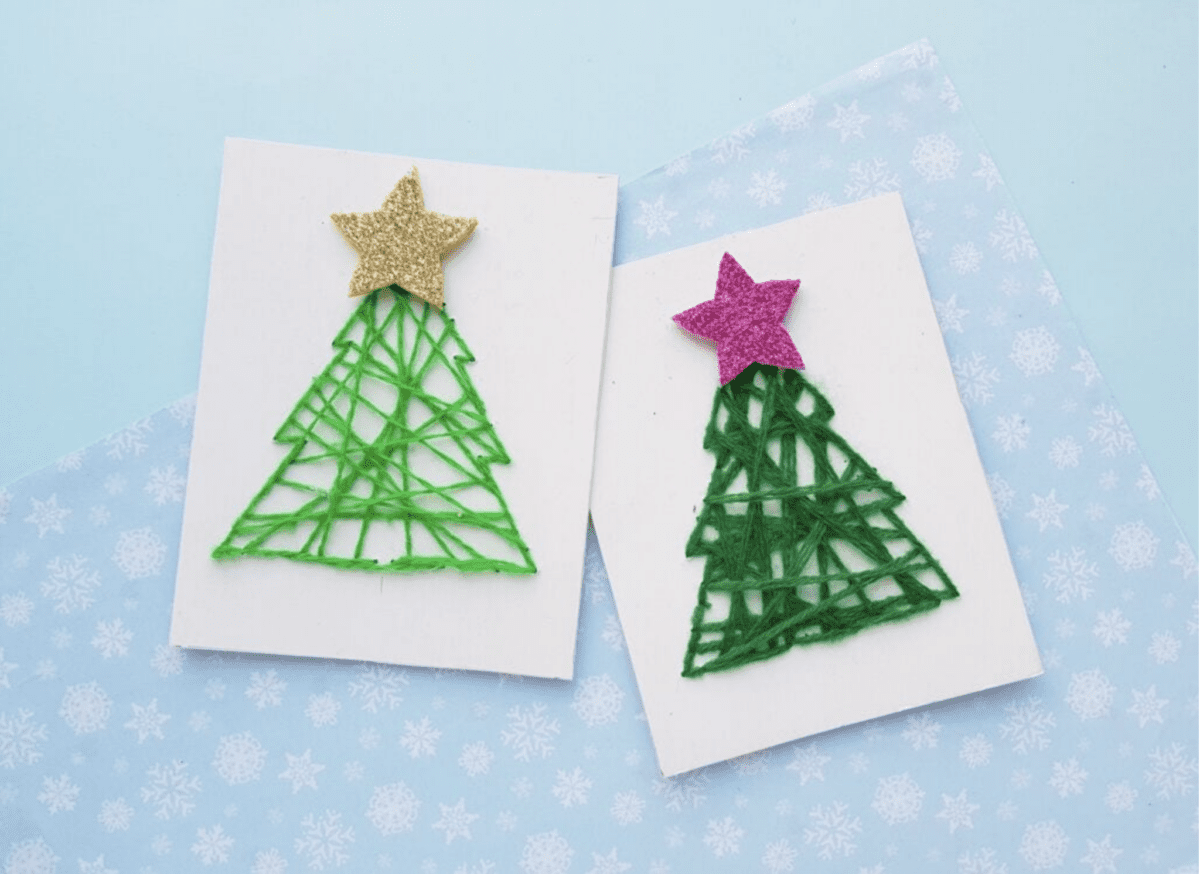
Christmas Tree String Art Craft
Here are the instructions for making Christmas tree string art:
- Cut a piece of cardstock for the size that you want. There are 4 different sizes for the tree pattern stencil, so one will fit for the size of paper that you cut.
- Print out the stencil pattern sheet.
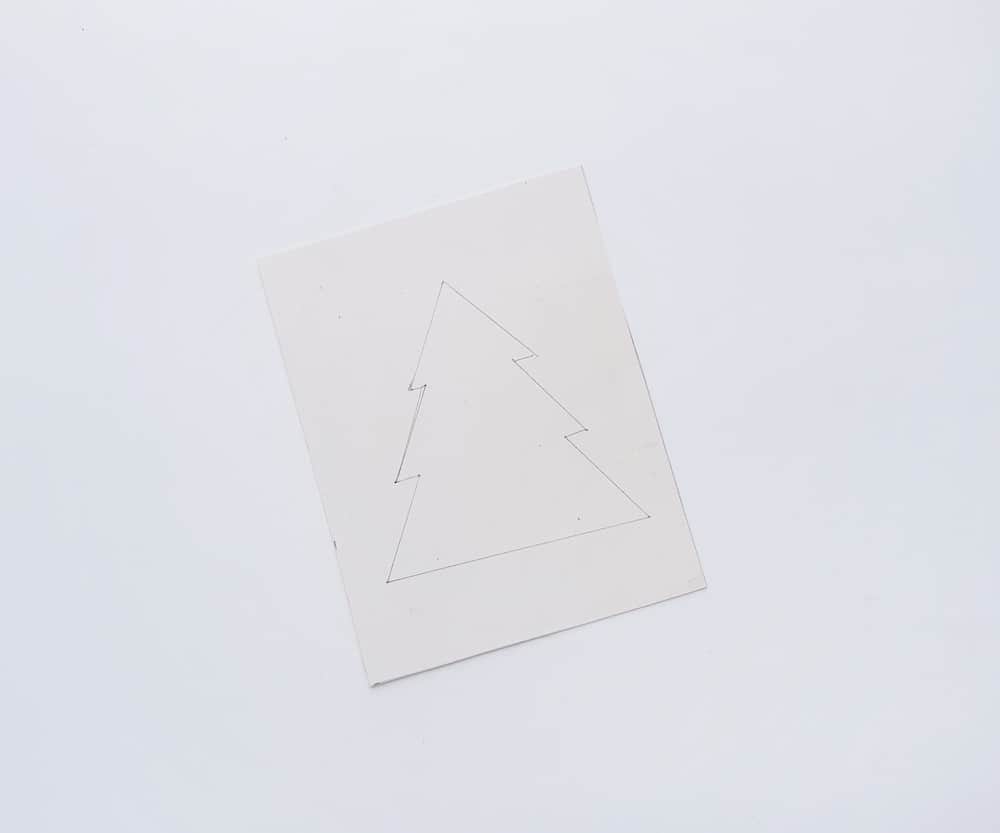
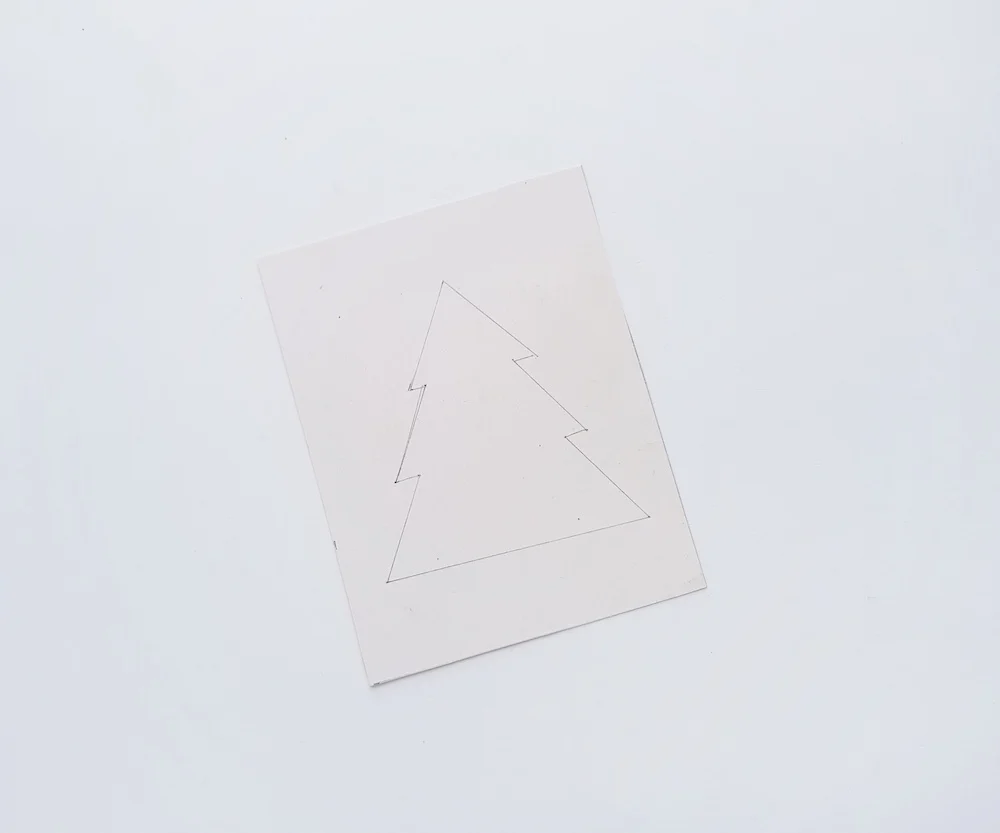
- Cut out the pattern you will use.
- Trace around the tree stencil pattern on the paper using a pencil.
- Use a needle (or a nail or thumbtack) to poke holes along the stencil outline of the Christmas tree. Try to evenly space the holes, but make sure they’re not too close together.
- Thread the needle with the yarn. Hint: Make sure you get a needle with a wide eye, otherwise you’ll never get yarn through a tiny needle eye.
- Knot one end of the yarn.
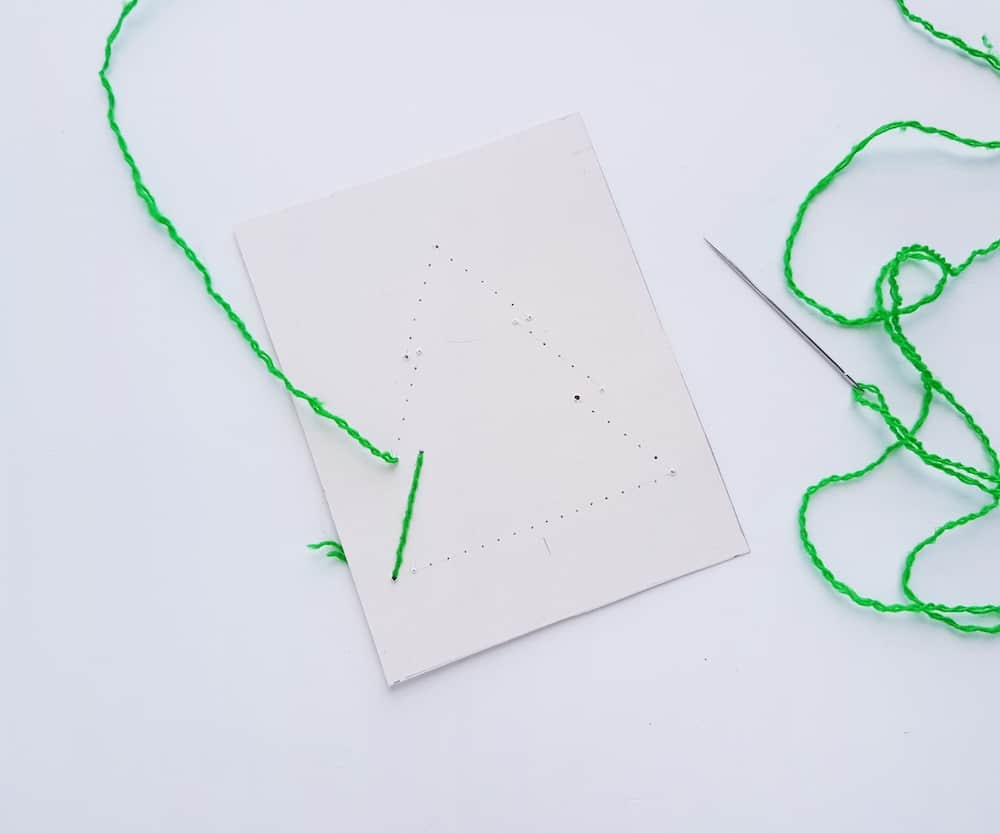
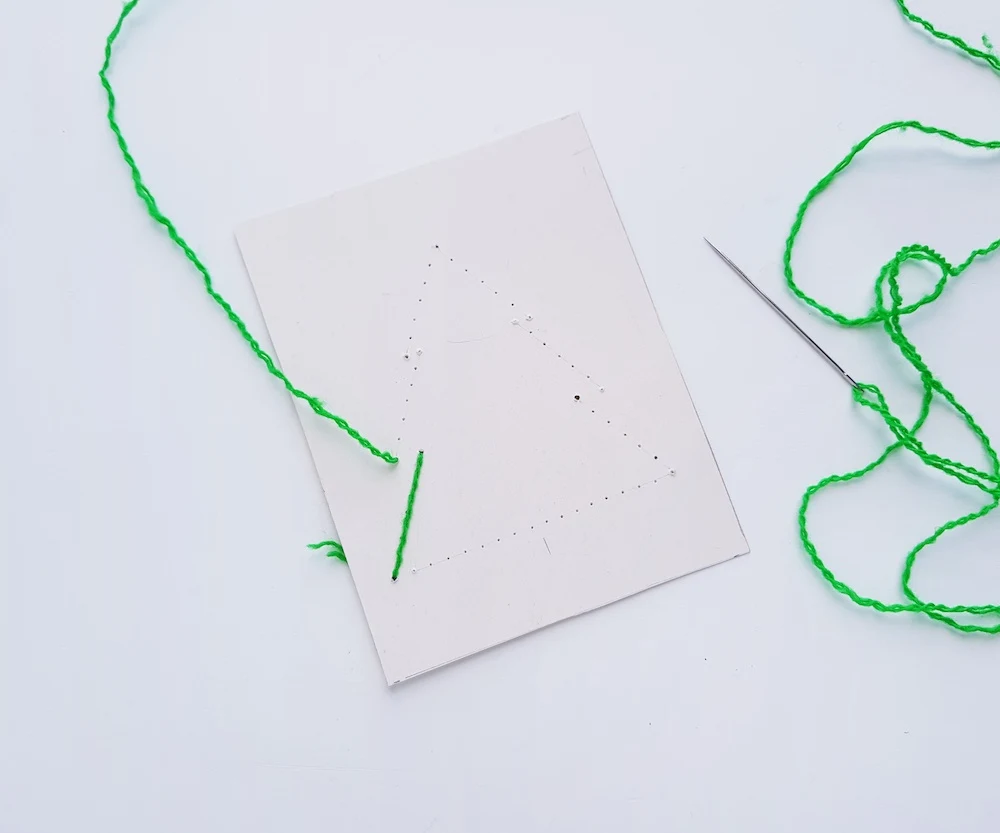
- Start threading the needle through any corner hole on the cardstock from the back side. Pull the needle from the back and bring it to the front, pulling gently all the way until there is no slack on the back.
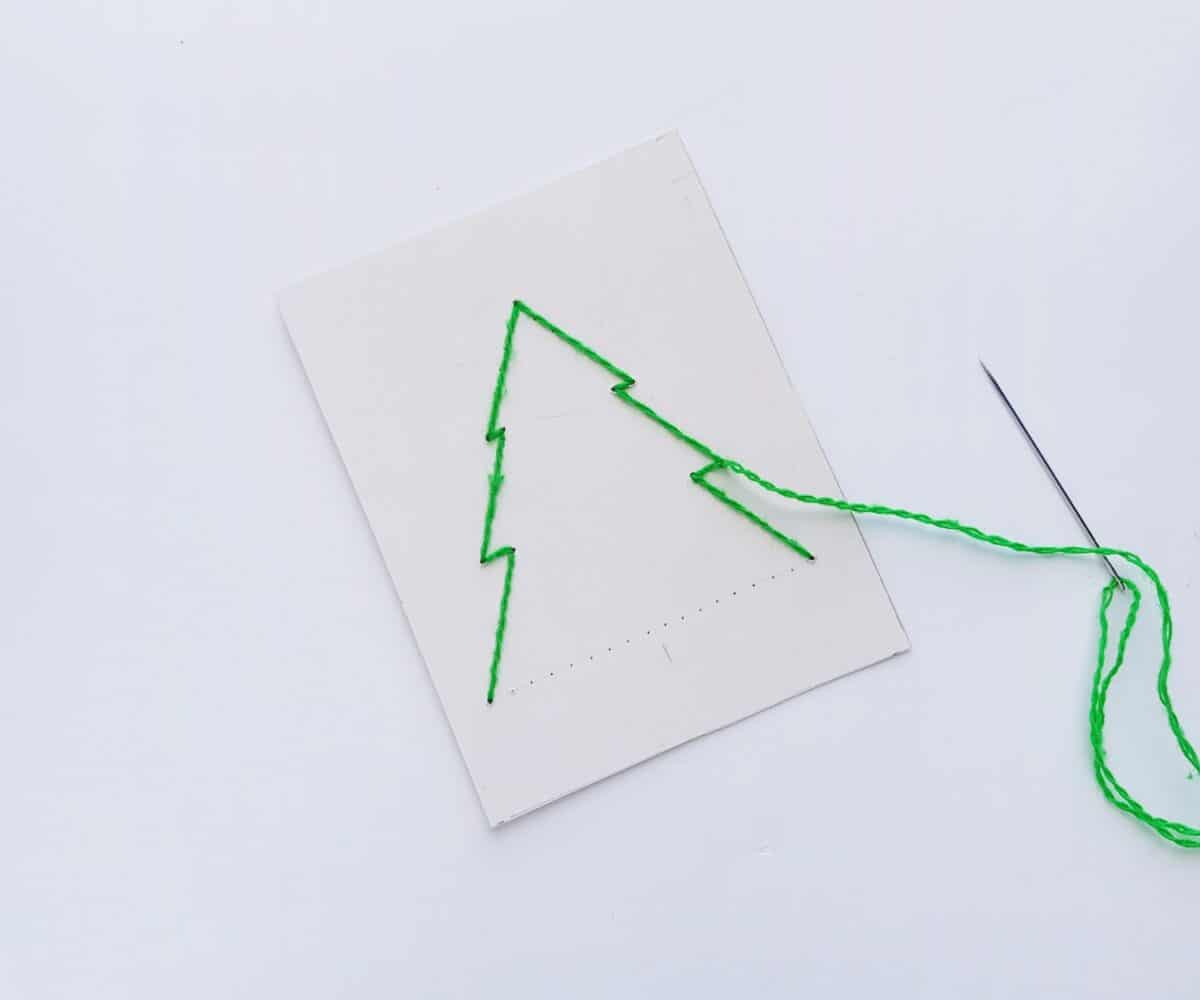
- Choose a hole to thread the needle through from the front to the back. At this point, it’s kind of like connect the dots. You want to make a distinct shape first. So follow the outline of the Christmas tree with stitches. You’ll probably need to go around the tree twice to fill in the gaps left with the running stitch pattern.
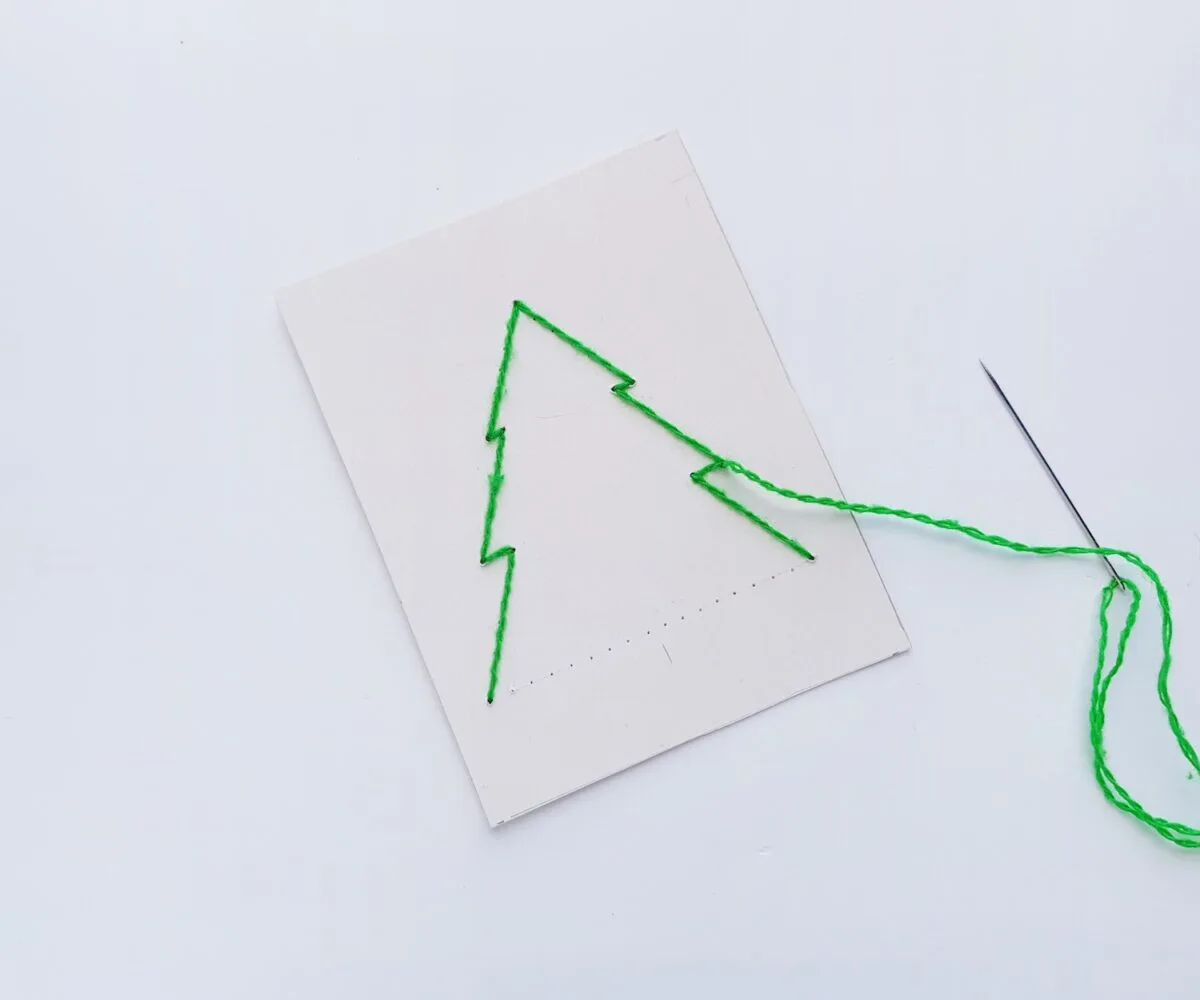
- Once the outline is completed with thread, start filling in the Christmas tree with string. Choose holes not in order to give a random string art look.
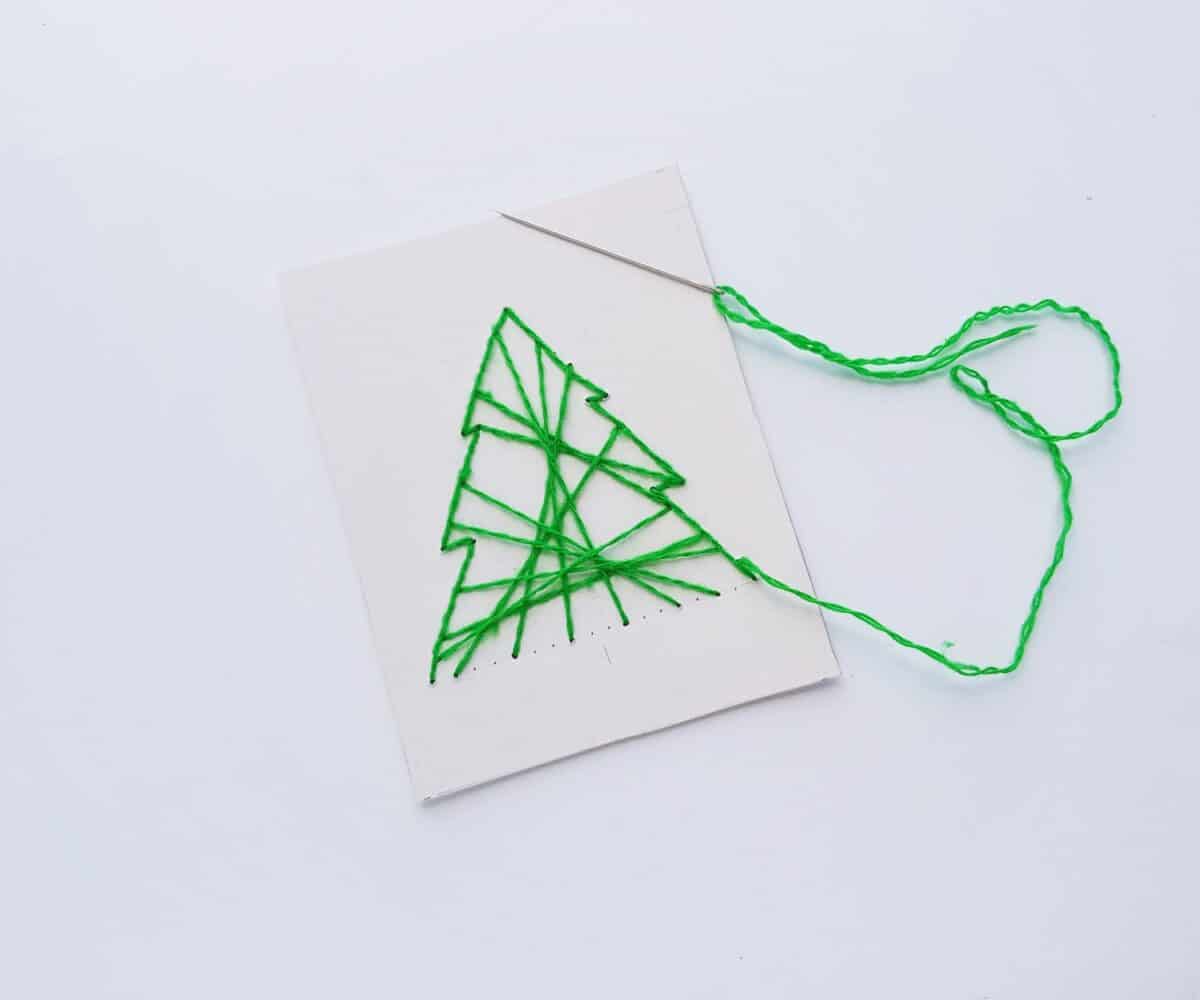
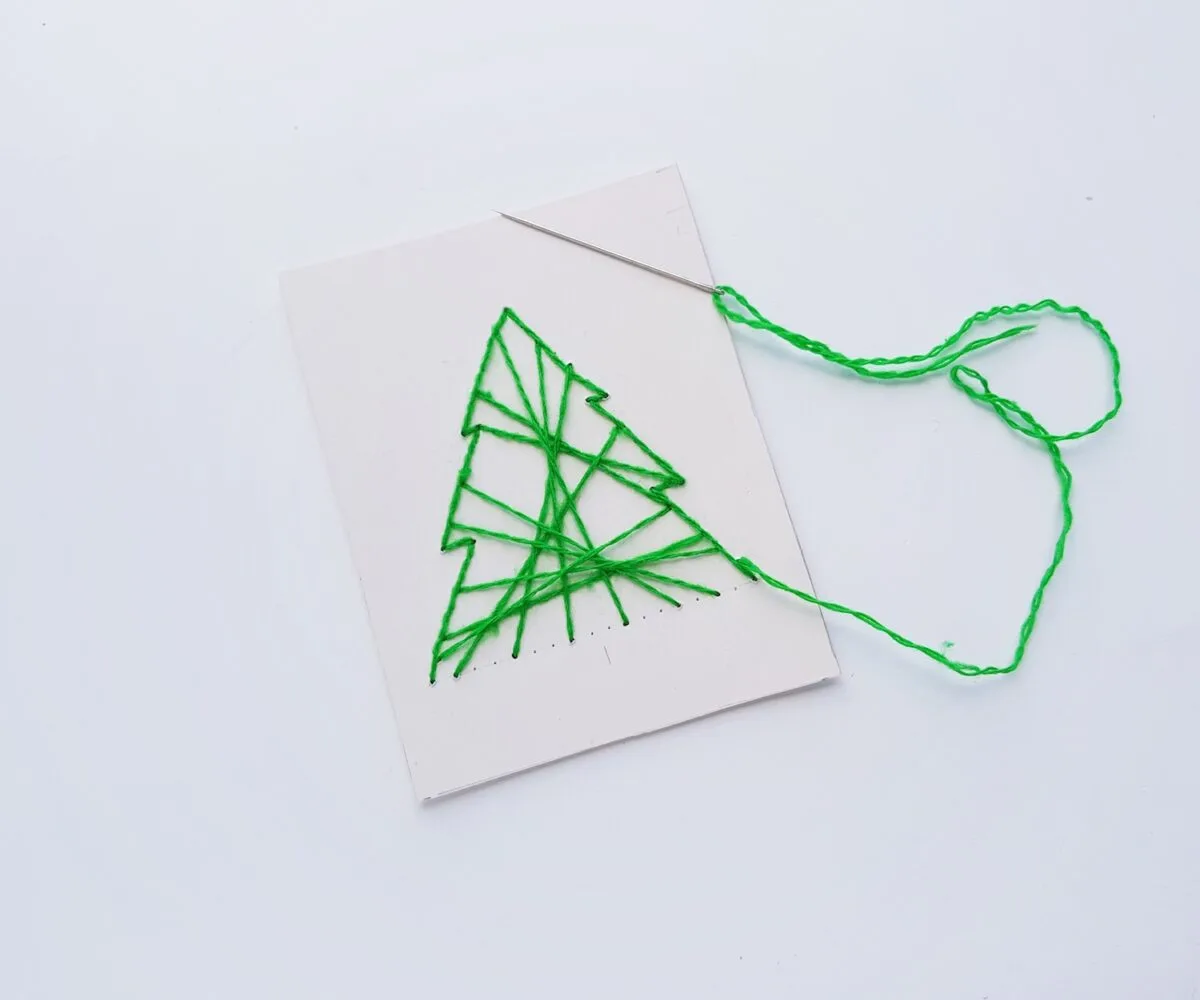
- After you are done stitching with yarn, bring the needle to the back of the cardstock. Tie a knot in the yarn. Cut off the rest of the yarn close to the knot to finish the project.
- Add accessories as you’d like.
Snowflake String Art Craft
Here are the instructions for making snowflake string art:
- Cut a piece of cardstock for the size that you want. You can always cut a large piece and then trim it down later after stitching.
- Print out the free string art pattern PDF for the snowflakes.
- Choose which snowflake pattern you will use.
- Cut the snowflake pattern out. You can leave white space around the snowflake stencil. You don’t need to cut on the holes.
- Lay the pattern on the cardstock where you want the stitched art to be.
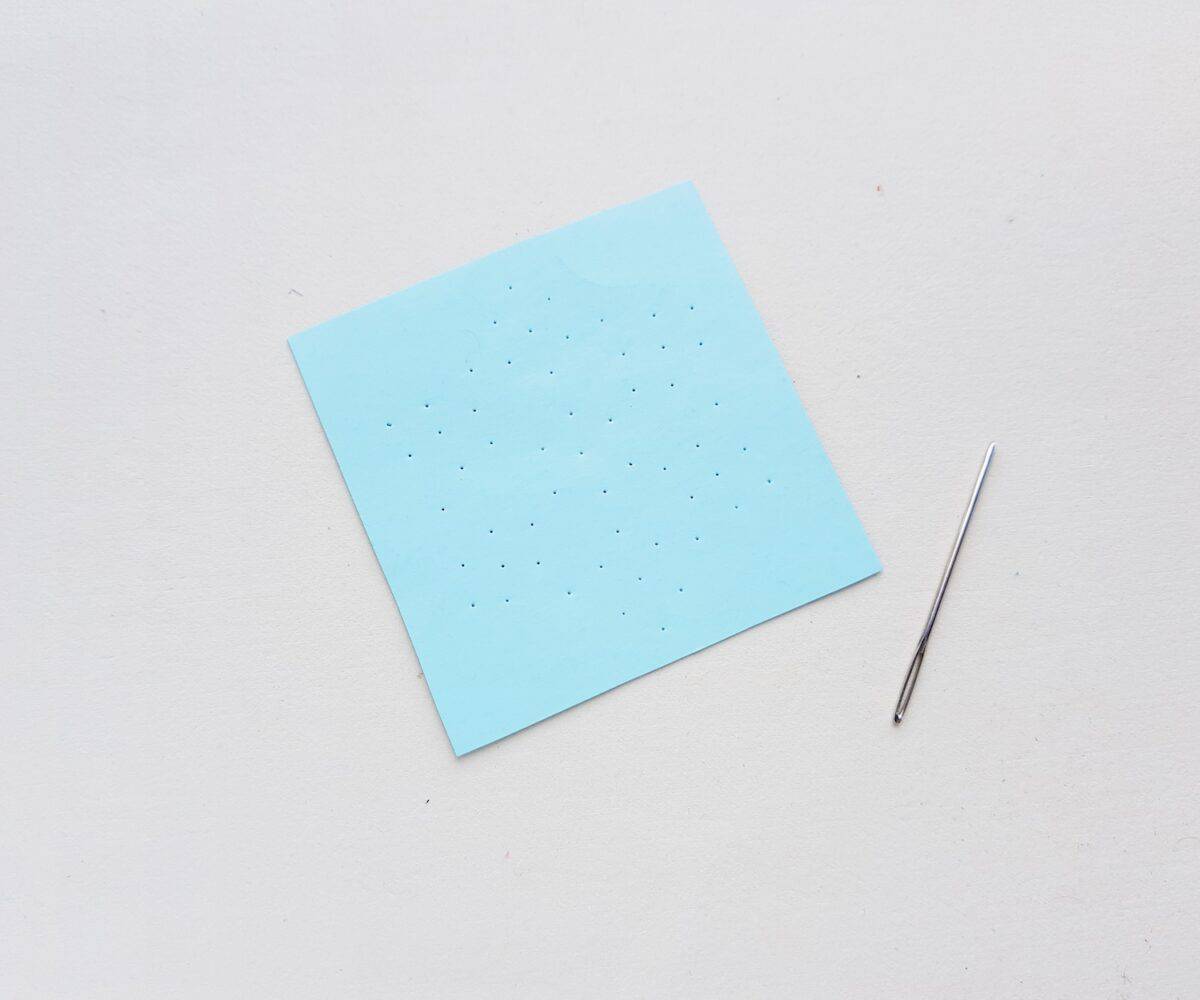
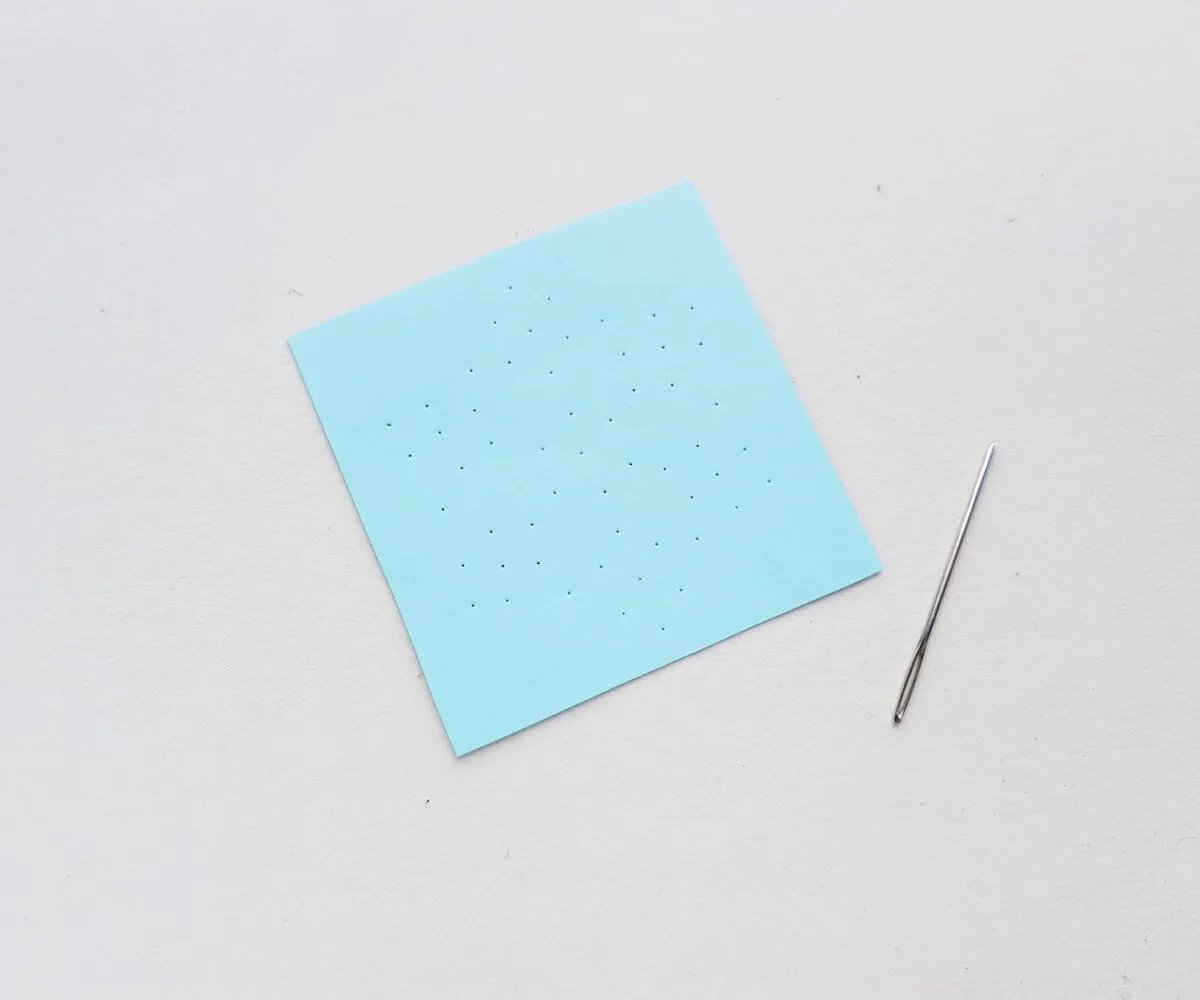
- Use a needle (or a nail or thumbtack) to poke the holes through the snowflake stencil onto the cardstock.
- Thread the needle with the yarn. Hint: Make sure you get a needle with a wide eye, like a tapestry needle, otherwise you’ll never get yarn through.
- Knot one end of the yarn.
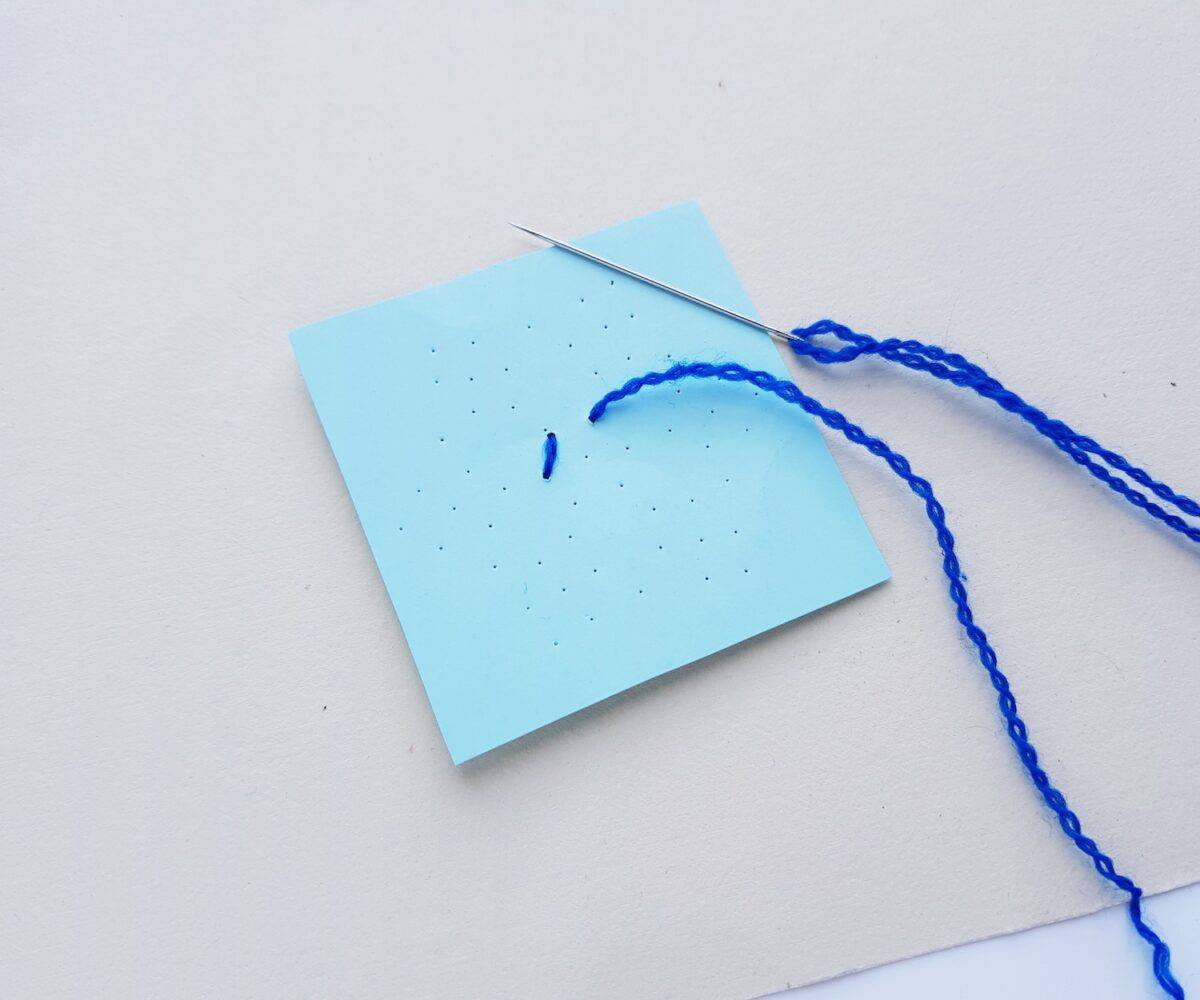

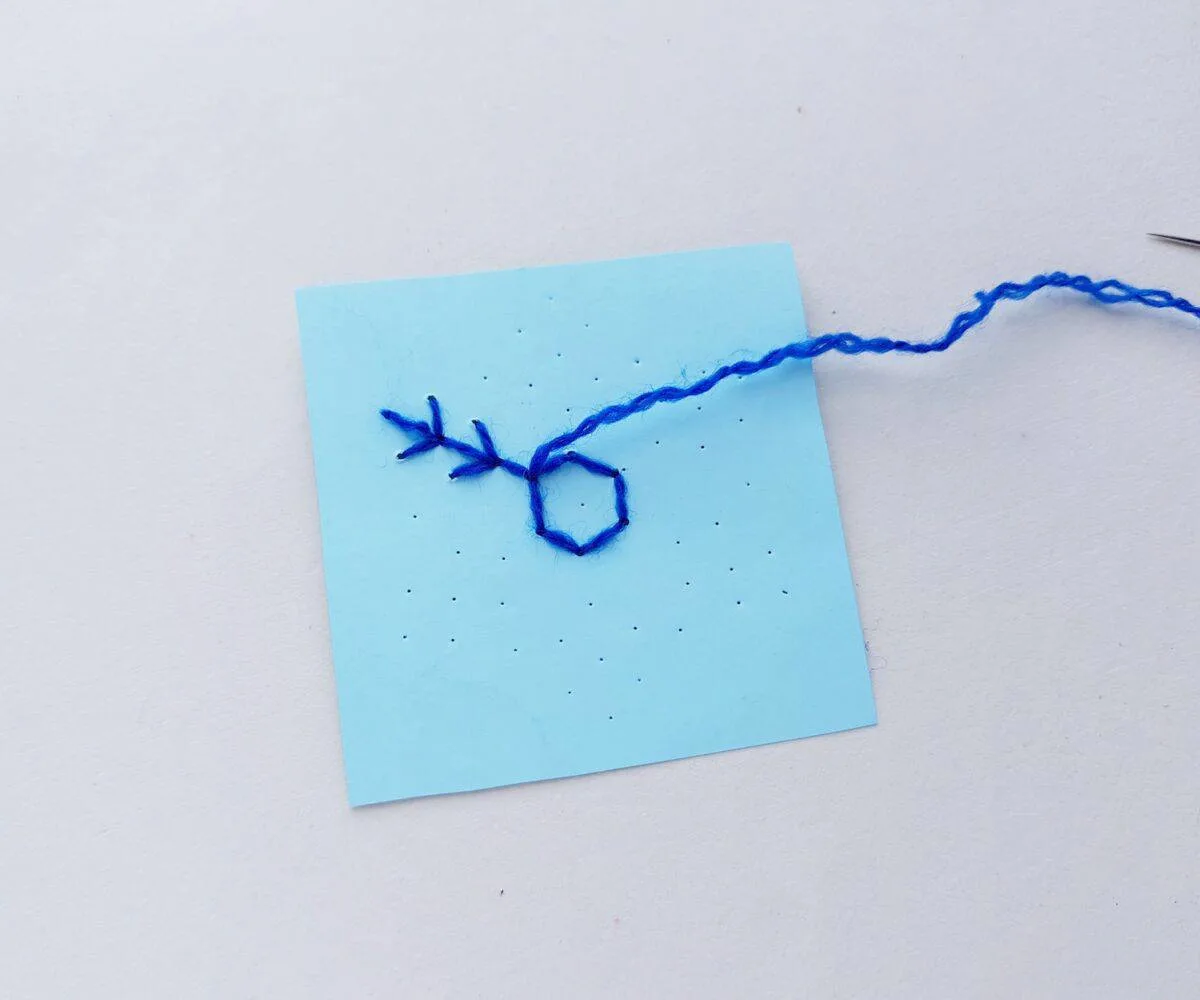
- Start threading the needle through the cardstock from the back side. We suggest starting in the middle of the pattern. Pull the needle from the back and bring it to the front, pulling gently all the way until there is no slack on the back.
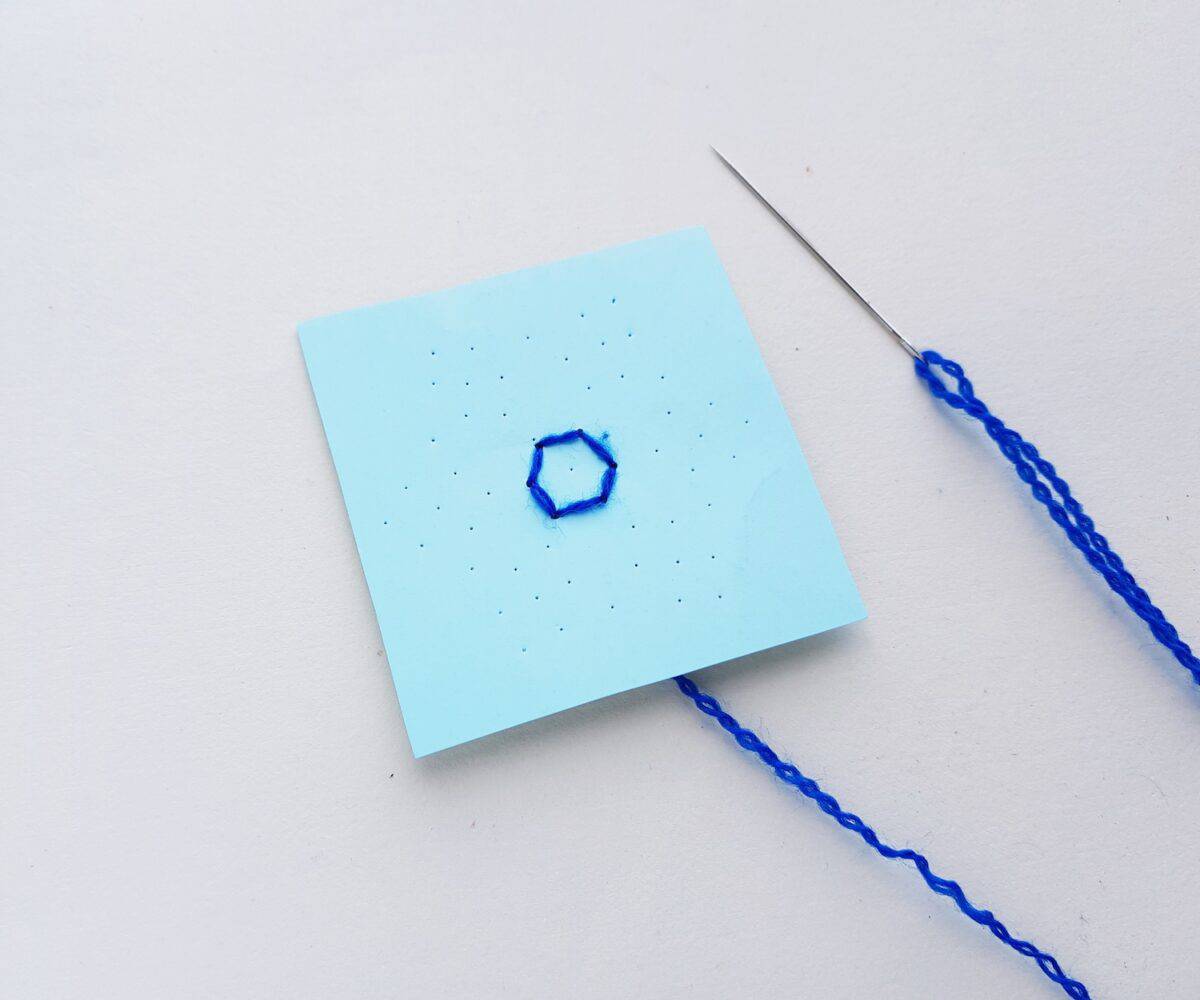
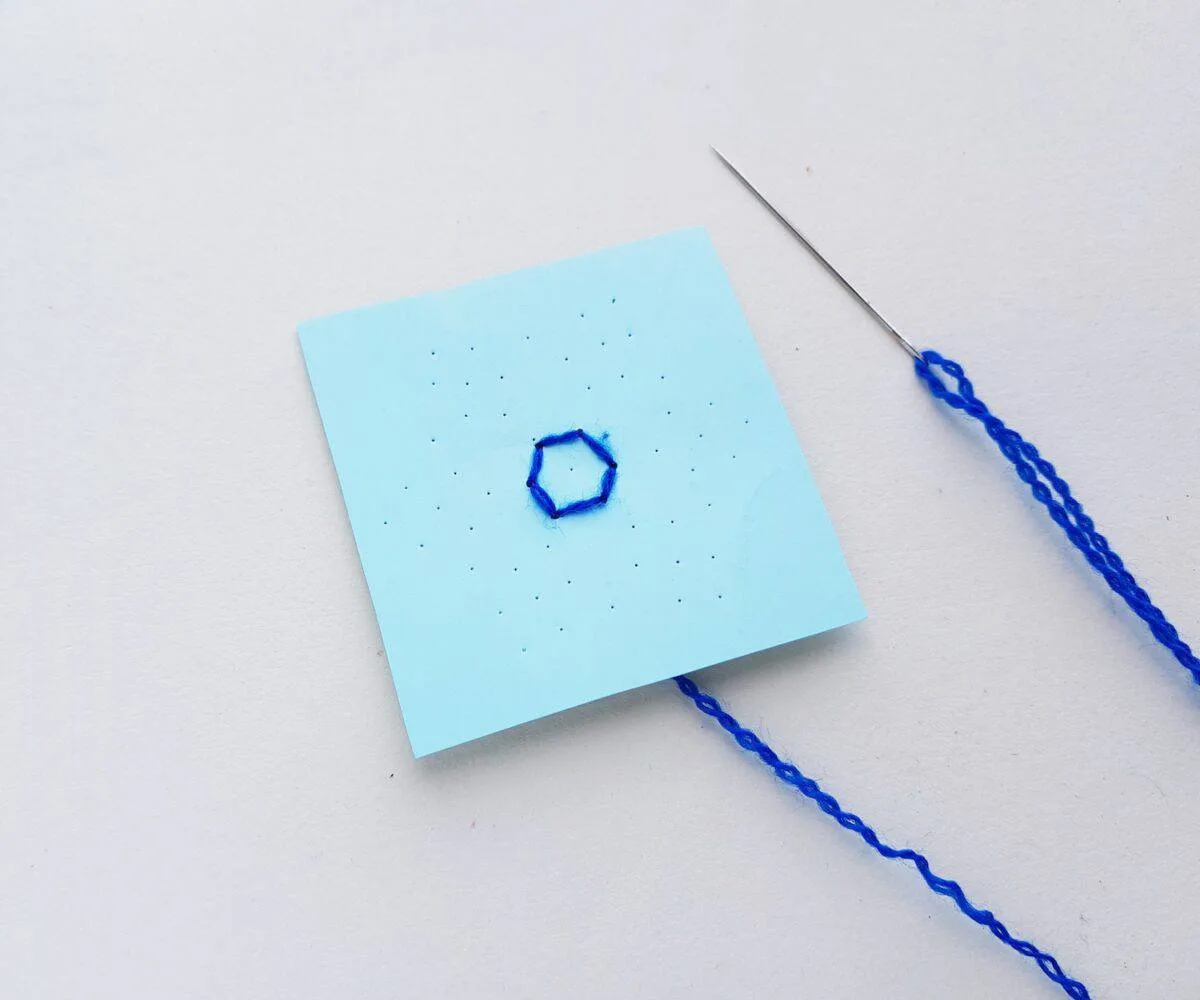
- Choose one part of the snowflake to work on at a time. Then come back towards the center of the snowflake to start another arm.
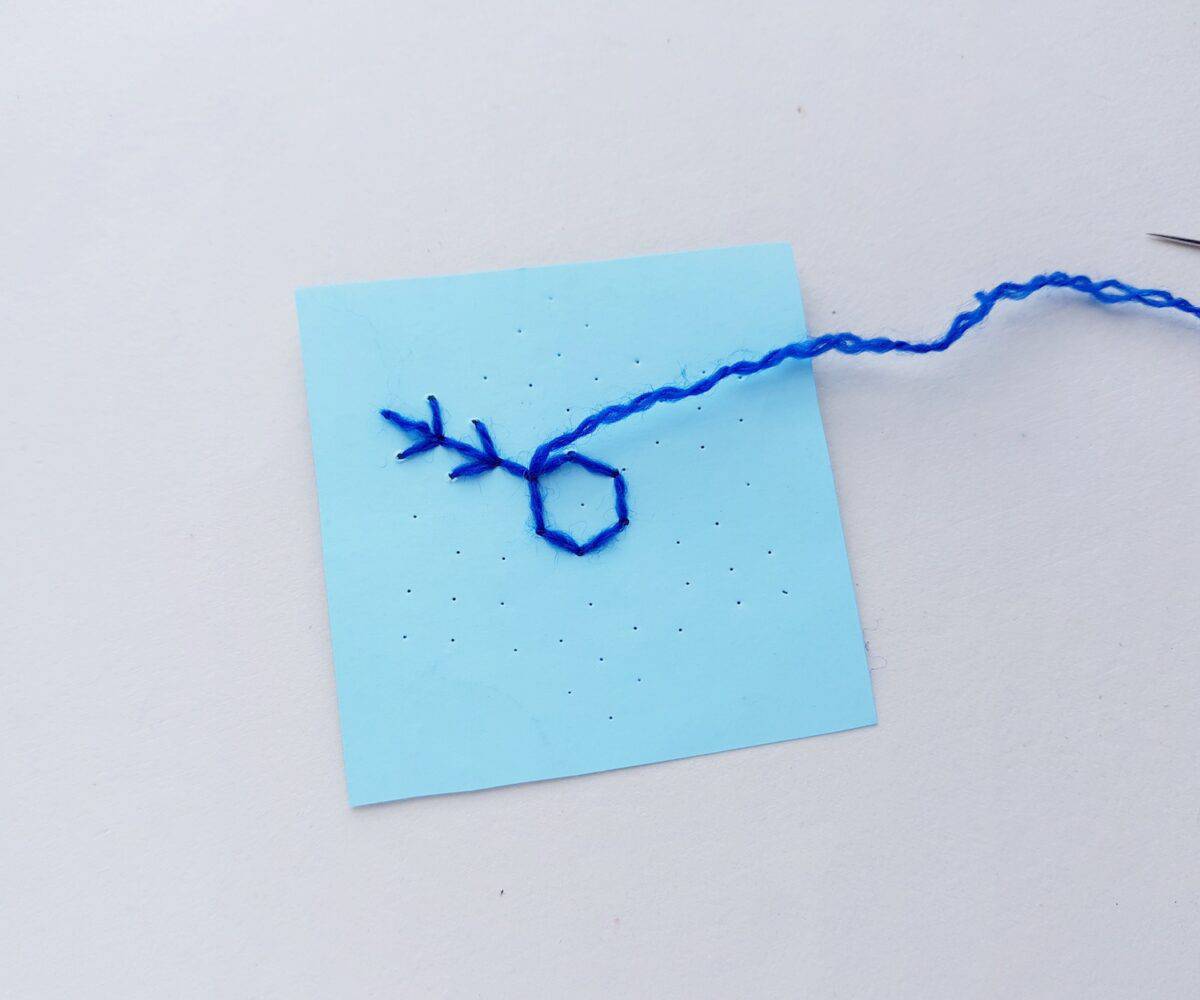
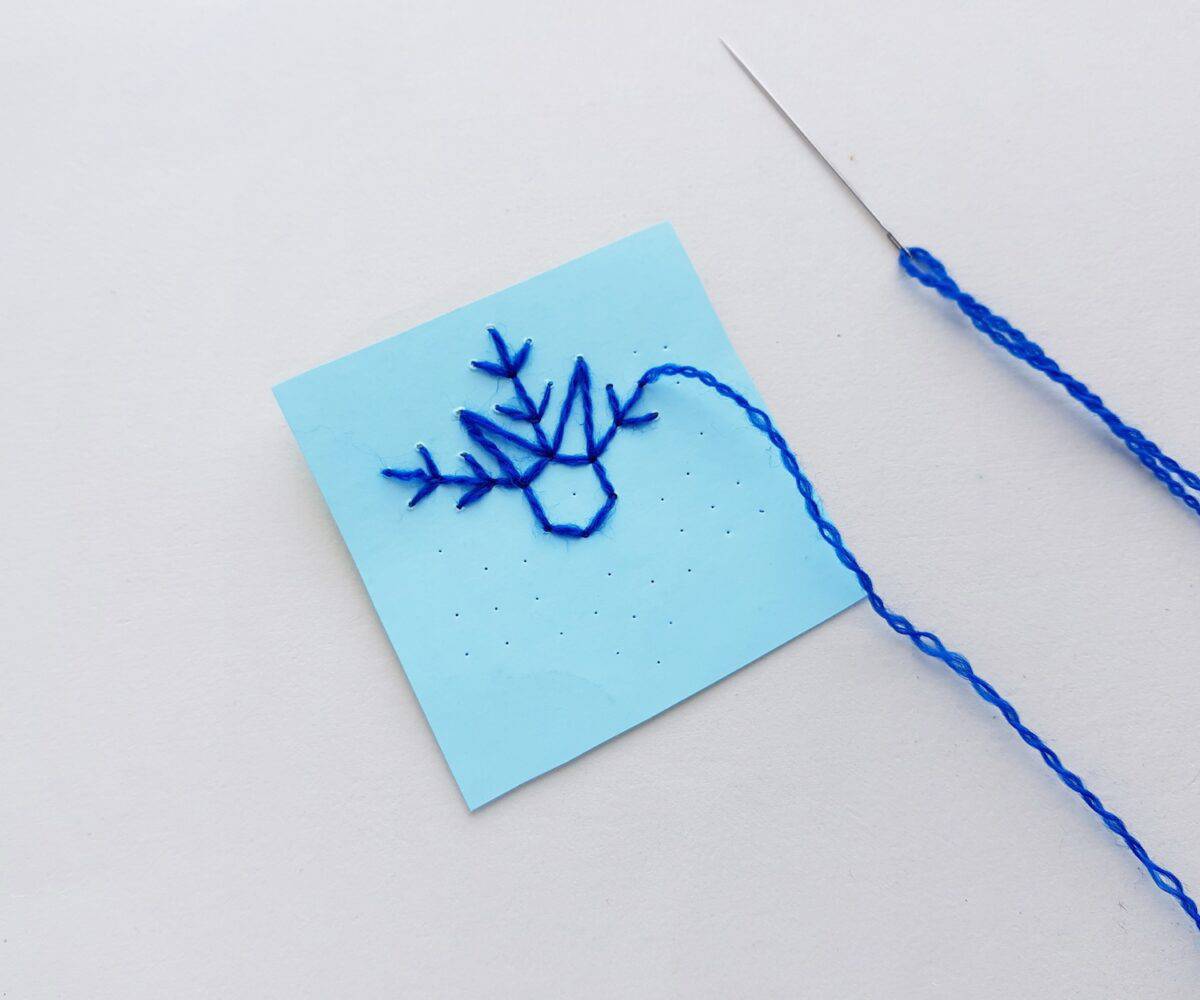

- Stitch all of the holes until the snowflake pattern is complete. You might need to stitch over some parts twice to keep the pattern.
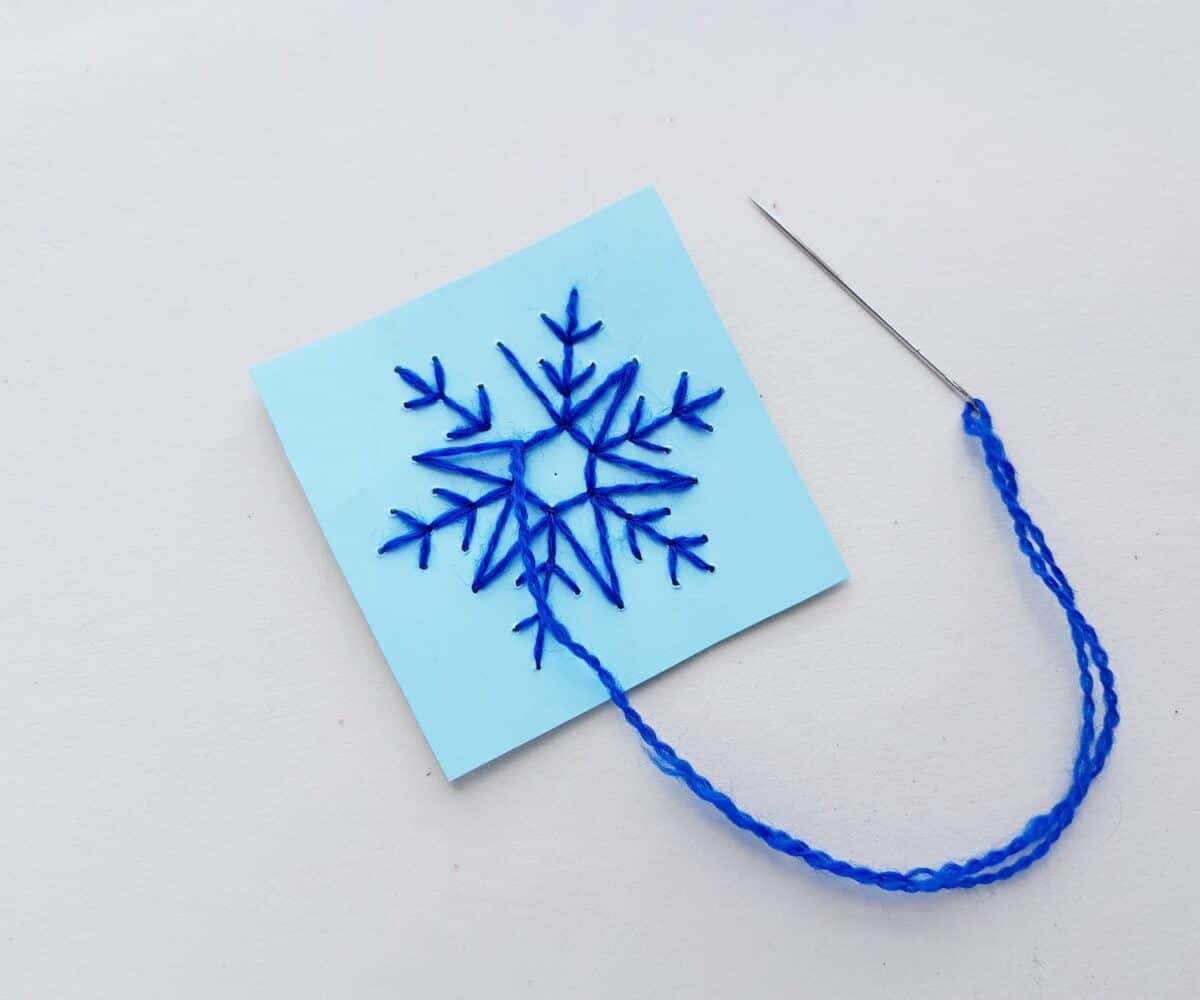

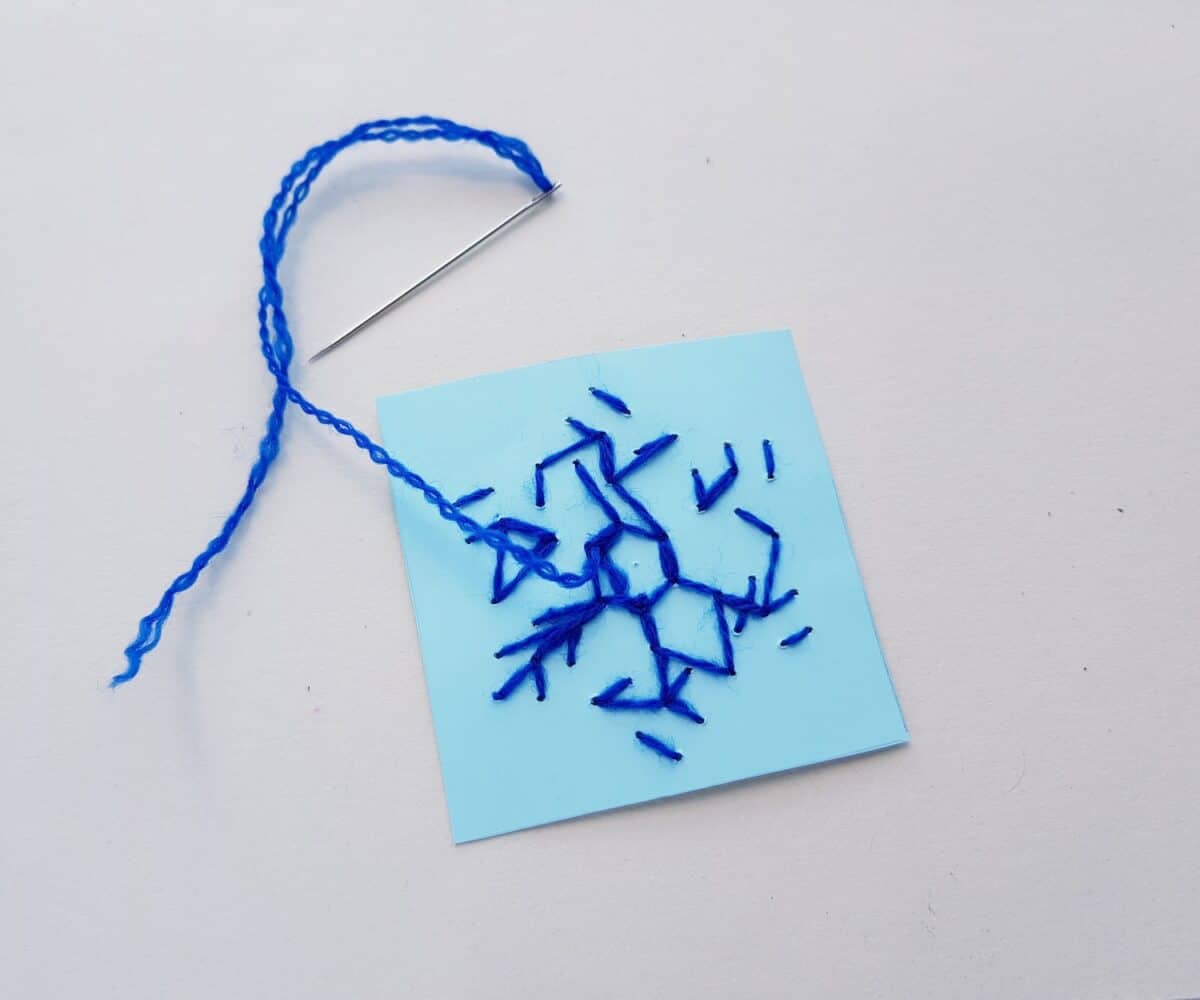
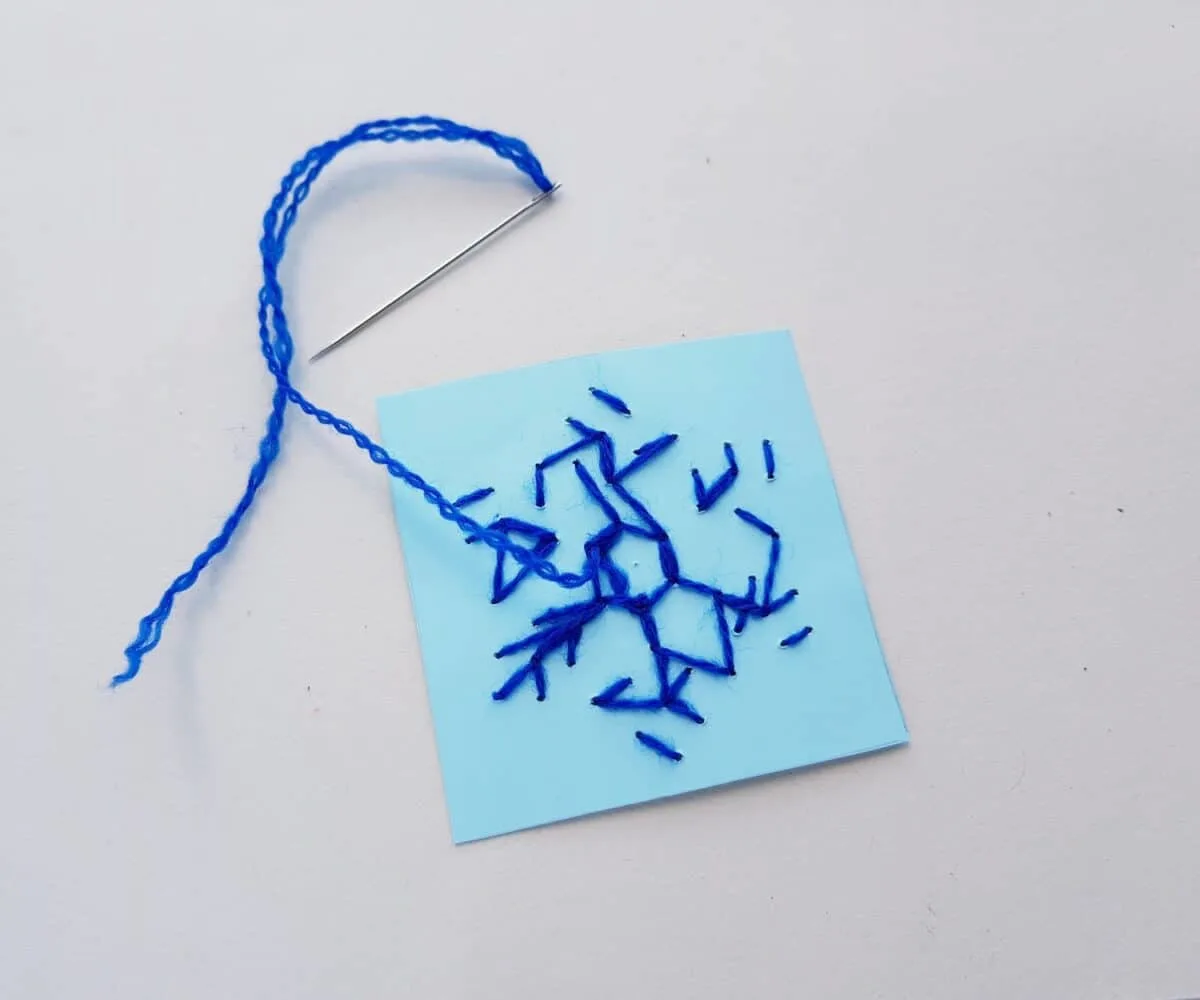
- After you are done stitching with yarn, bring the needle to the back of the cardstock. Tie a knot in the yarn. Cut off the rest of the yarn close to the knot to finish the project.
Both of these holiday string art patterns can be used to make handmade cards, or for simple artwork to put on the fireplace mantle or hang on the wall. It is an easy craft that is sure to become a favorite for all generations.
If you love these free Christmas string art patterns, be sure to see our 9 Free Printable Gift Tag Designs, too!
