

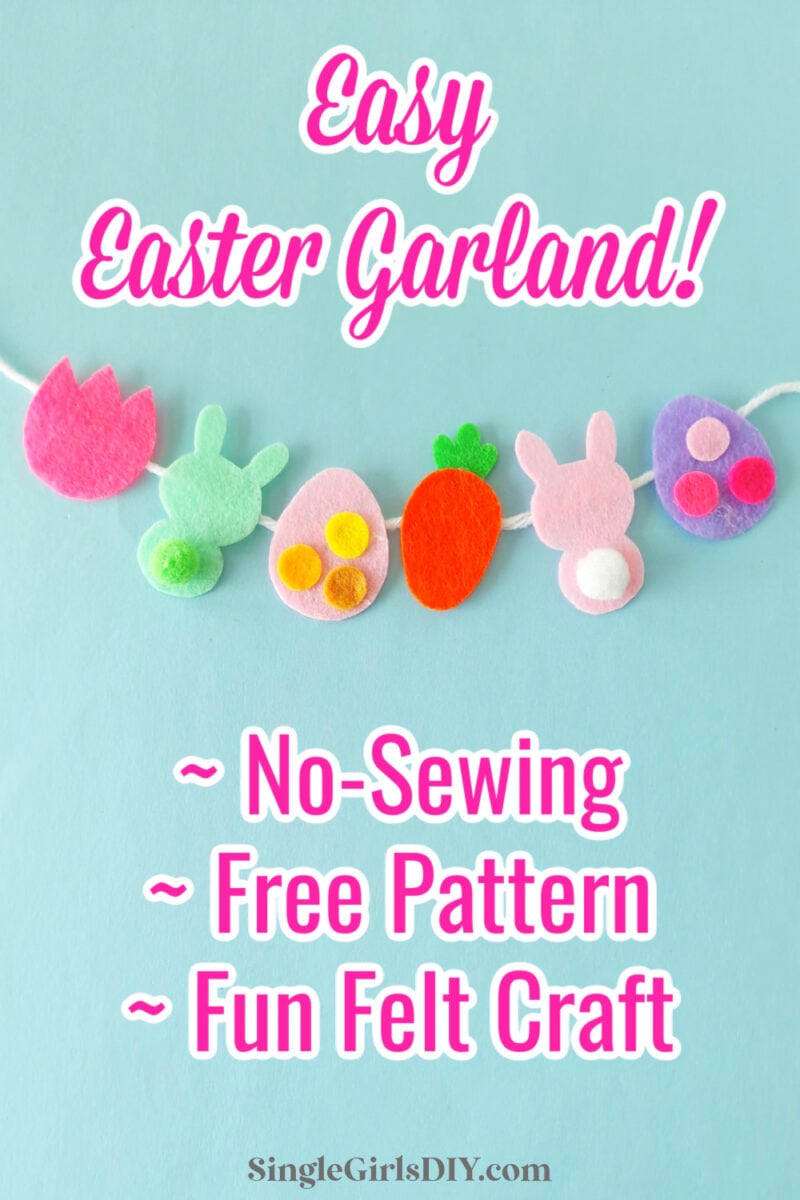
Our DIY felt Easter garland is easy to make with our free pattern template download and some felt and yarn. This easy felt craft project is perfect for any age!
Customize this no-sew felt garland to be as short or as long as you need. It is easy to personalize this felt garland by adding more or less cut outs to your yarn.

This mini garland is great for small spaces!
This craft tutorial is just one of our easy Easter crafts!
DIY Felt Easter Garland
Supplies
- Free Felt Easter Garland Templates
- Felt (variety of colors)
- Yarn
- Pom poms
- Scissors
- Hot glue or Craft glue
Instructions
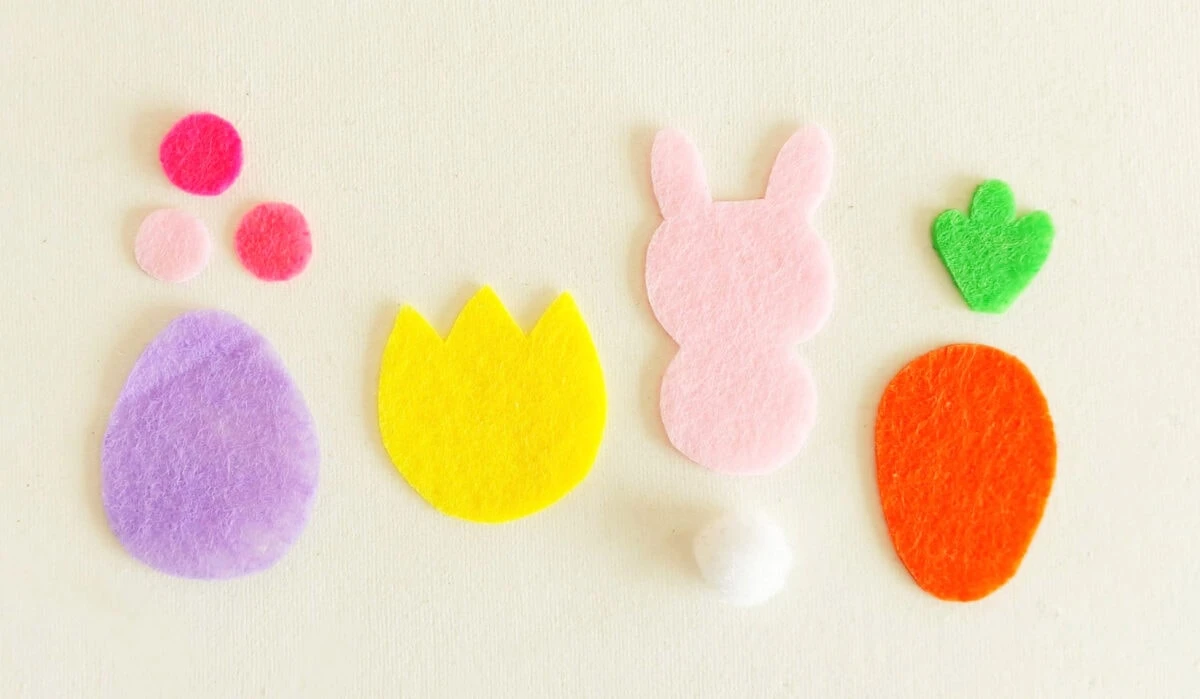
Download, print and cut out the free Easter garland pattern templates. These patterns include:
- Egg
- Carrot
- Bunny
- Tulip
Trace the patterns on a variety of colored felt pieces. Then cut out.

Then number of patterns to cut out will depend on how long you want your Easter garland to be and how far apart you place the designs.
Now it is time to assemble the patterns.
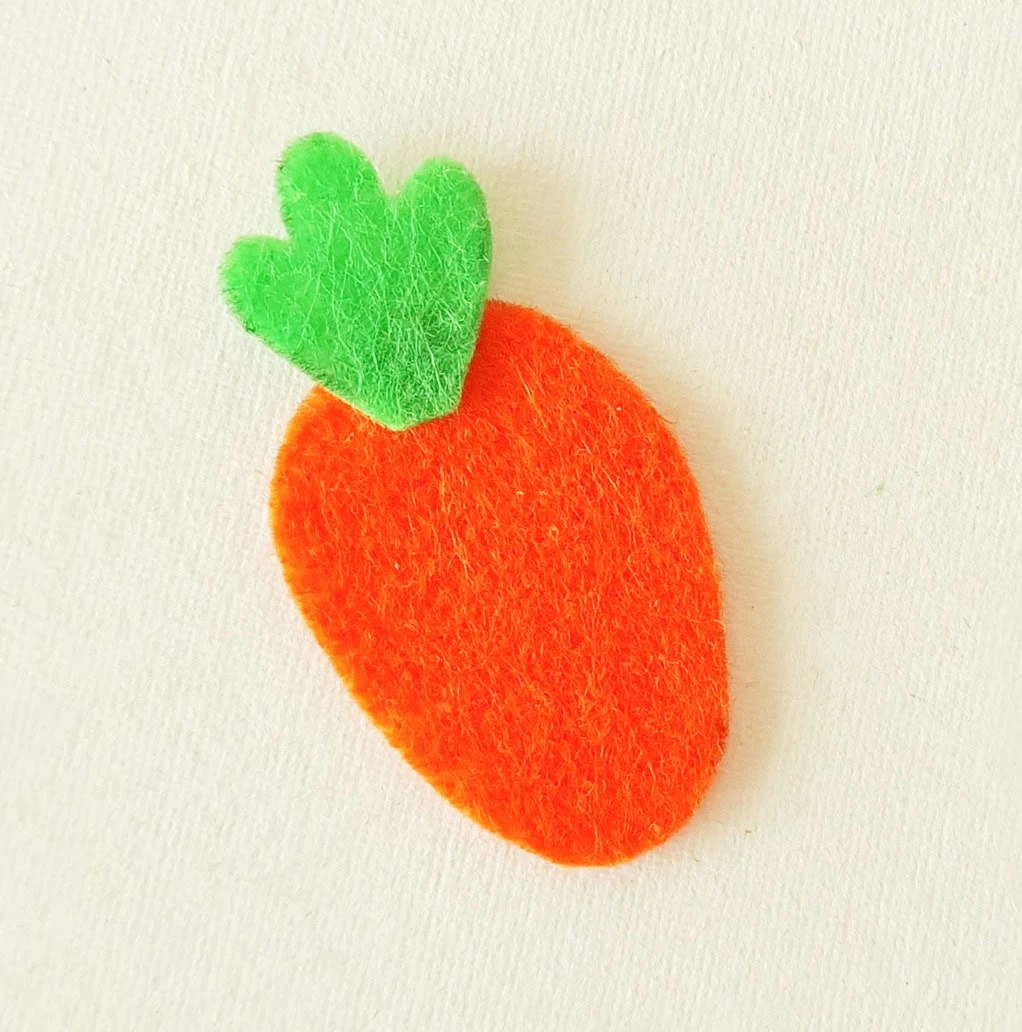
Glue the carrot top leaves to the back of the carrot template.

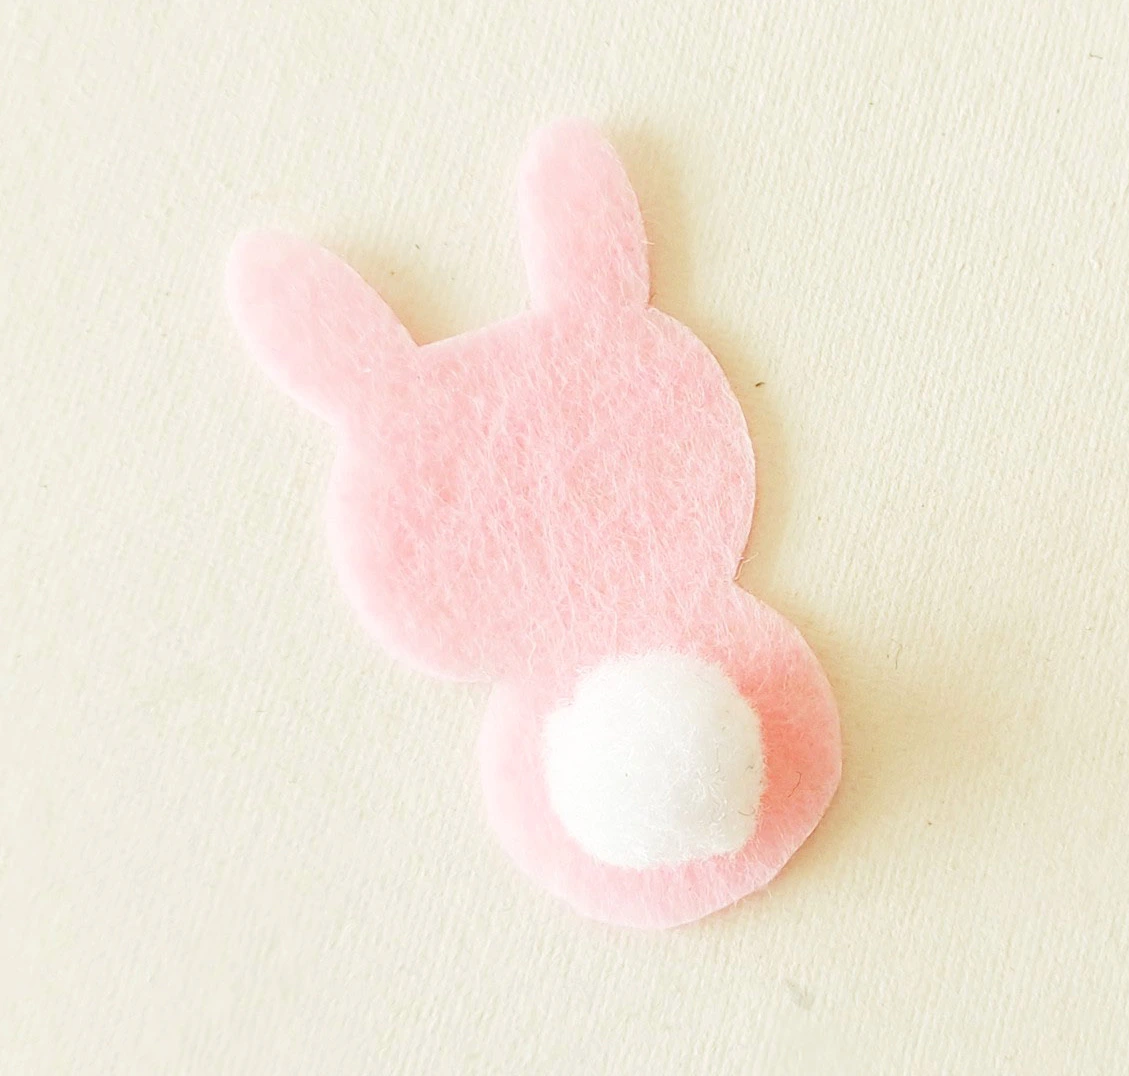
Glue a pom pom onto the center round bottom of the Easter bunny.

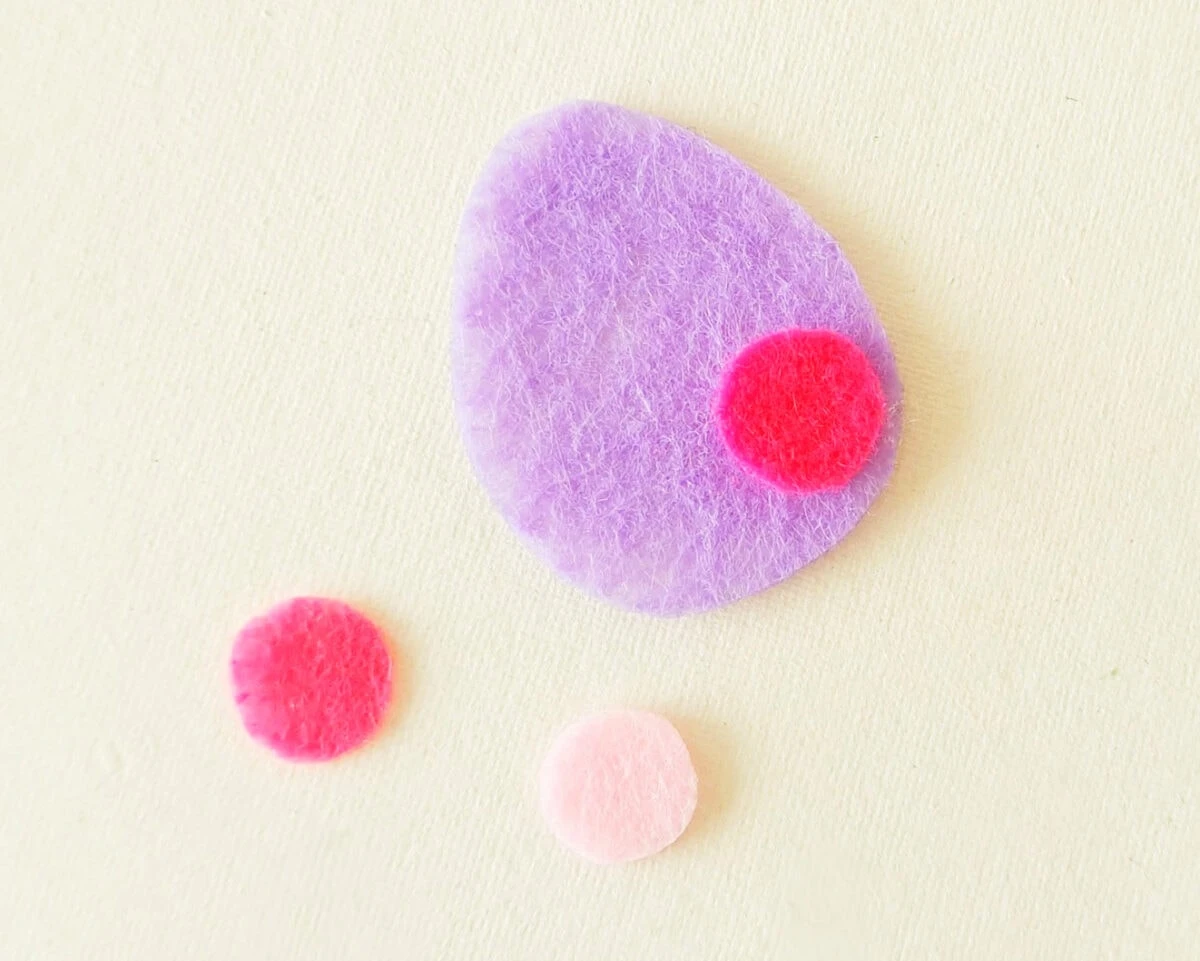
Glue small felt circles on the Easter egg in random patterns.

Cut a long piece of yarn for the garland, allowing excess for tying at the ends and for the weight of the felt pattern pieces to pull it down slightly while hanging.

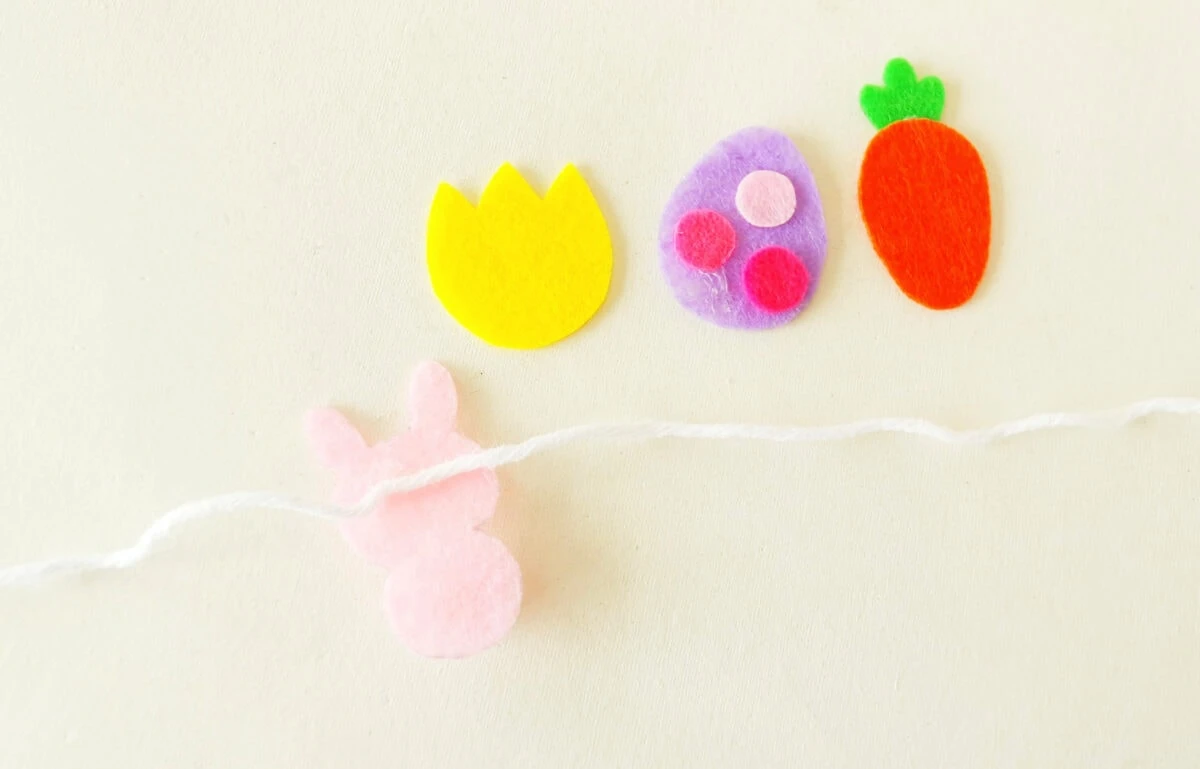
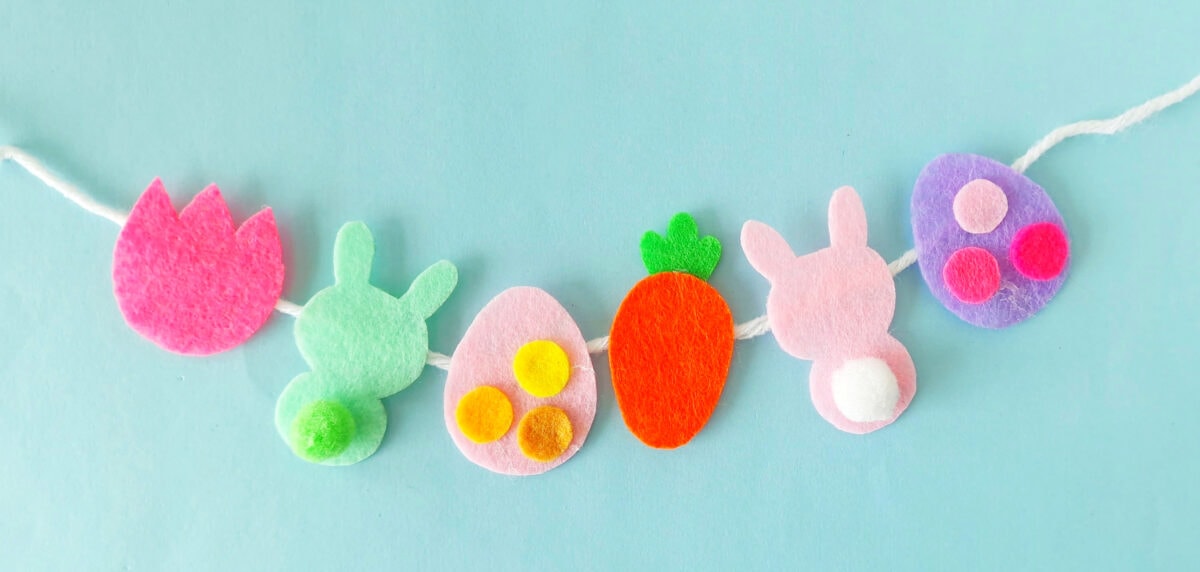
Glue the felt patterns on the yarn, spacing evenly.
Pin this craft tutorial to save for later!

If you love this easy Easter craft, be sure to see these great ideas next:
- 10-Minute Fleece Bunny
- No-Sew Easter Bunny Gnome
- Stacked Clay Pot Carrot
- Milk Jug Easter Basket
- Easter Bunny Butt Wreath
