
Decorating your home doesn’t need to cost a fortune. It can be easy to stay on trend and decorate on a budget!
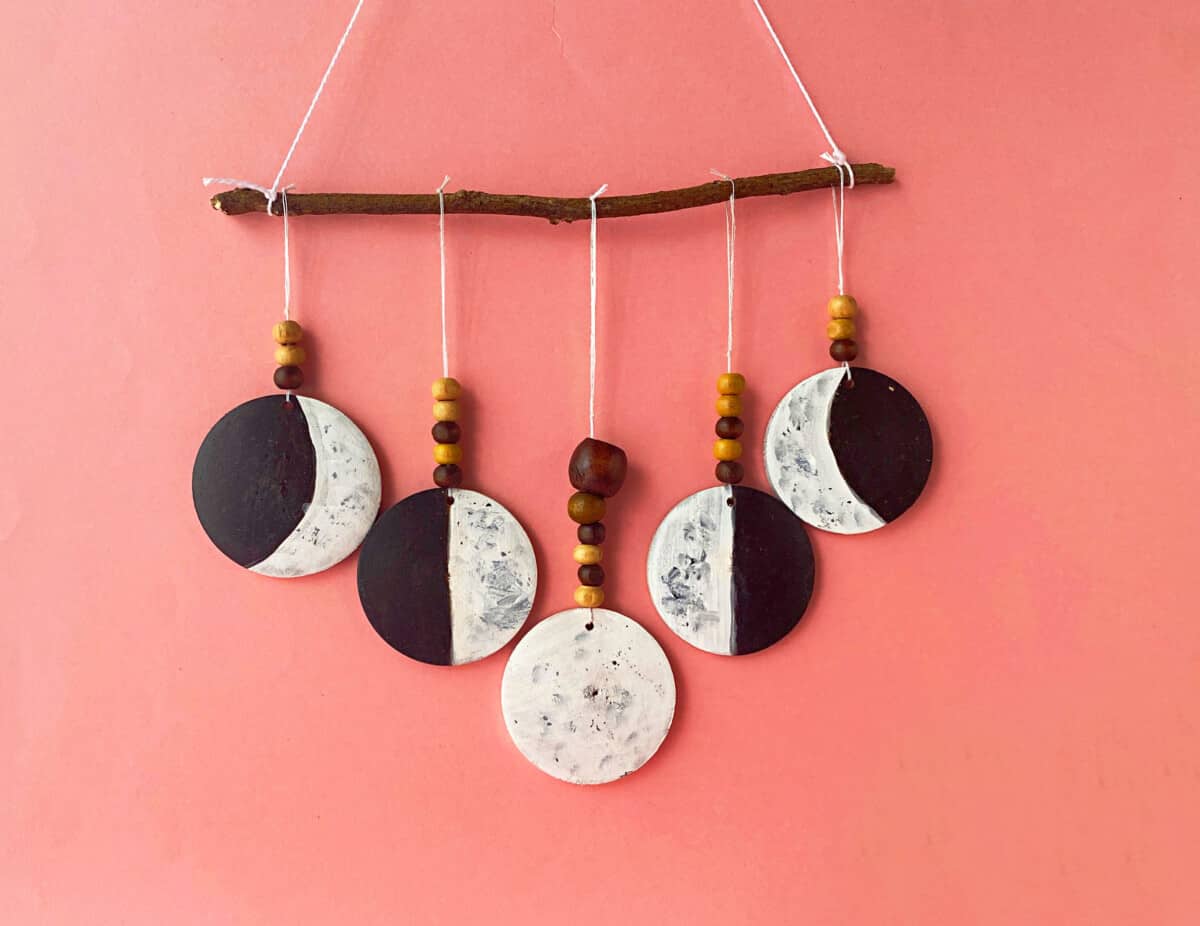
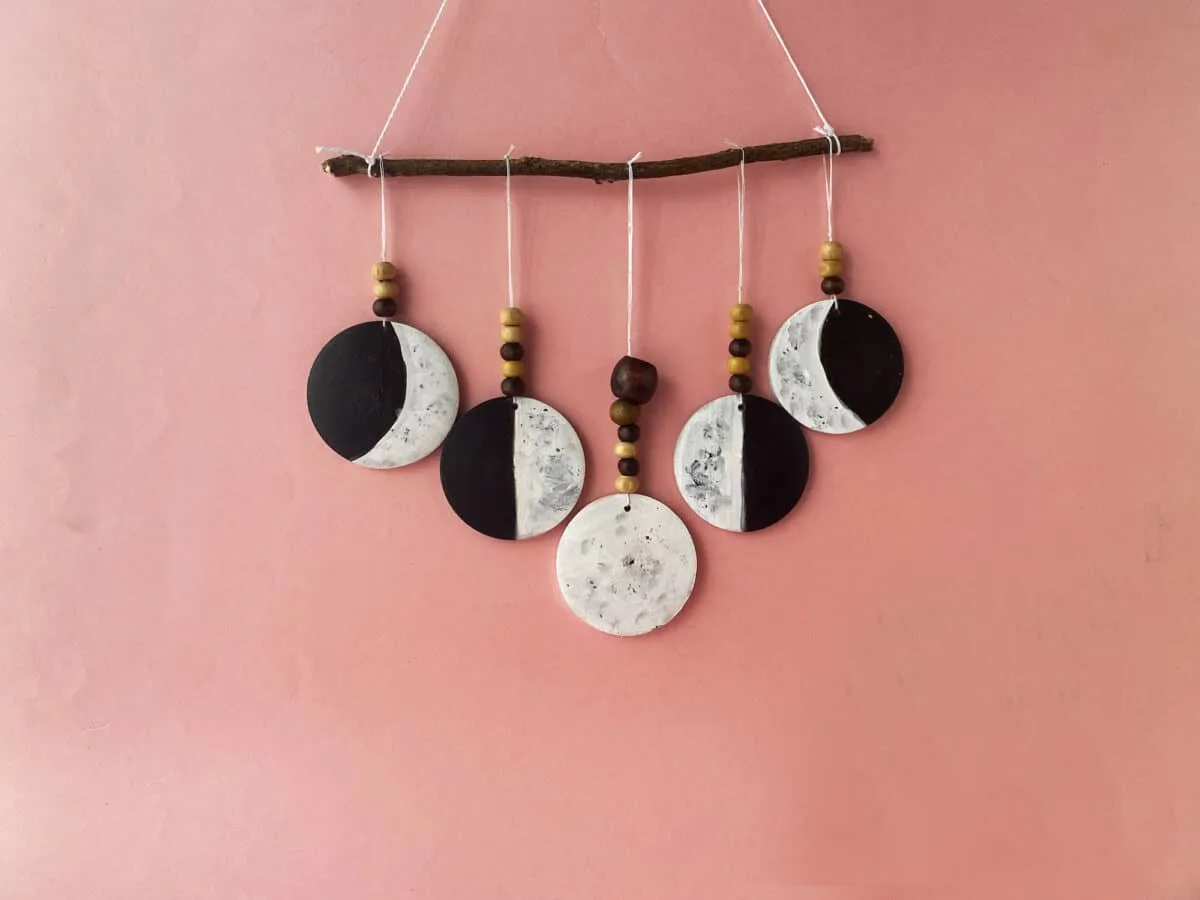
This easy DIY moon phase wall hanging uses simple materials for a lovely addition to your decor.
You can make this pretty wall decoration in an hour or less.
If you like this easy craft, check out these DIY wall hangings, as well:
- Circle and Line Metal Wall Hanging
- Mini Macrame Rainbow Wall Hanging
- Faux Enamelware Wall Decorations
- Farmhouse Scroll Frame Holiday Wall Hanging
How to Make a Moon Phase Wall Hanging
Supplies
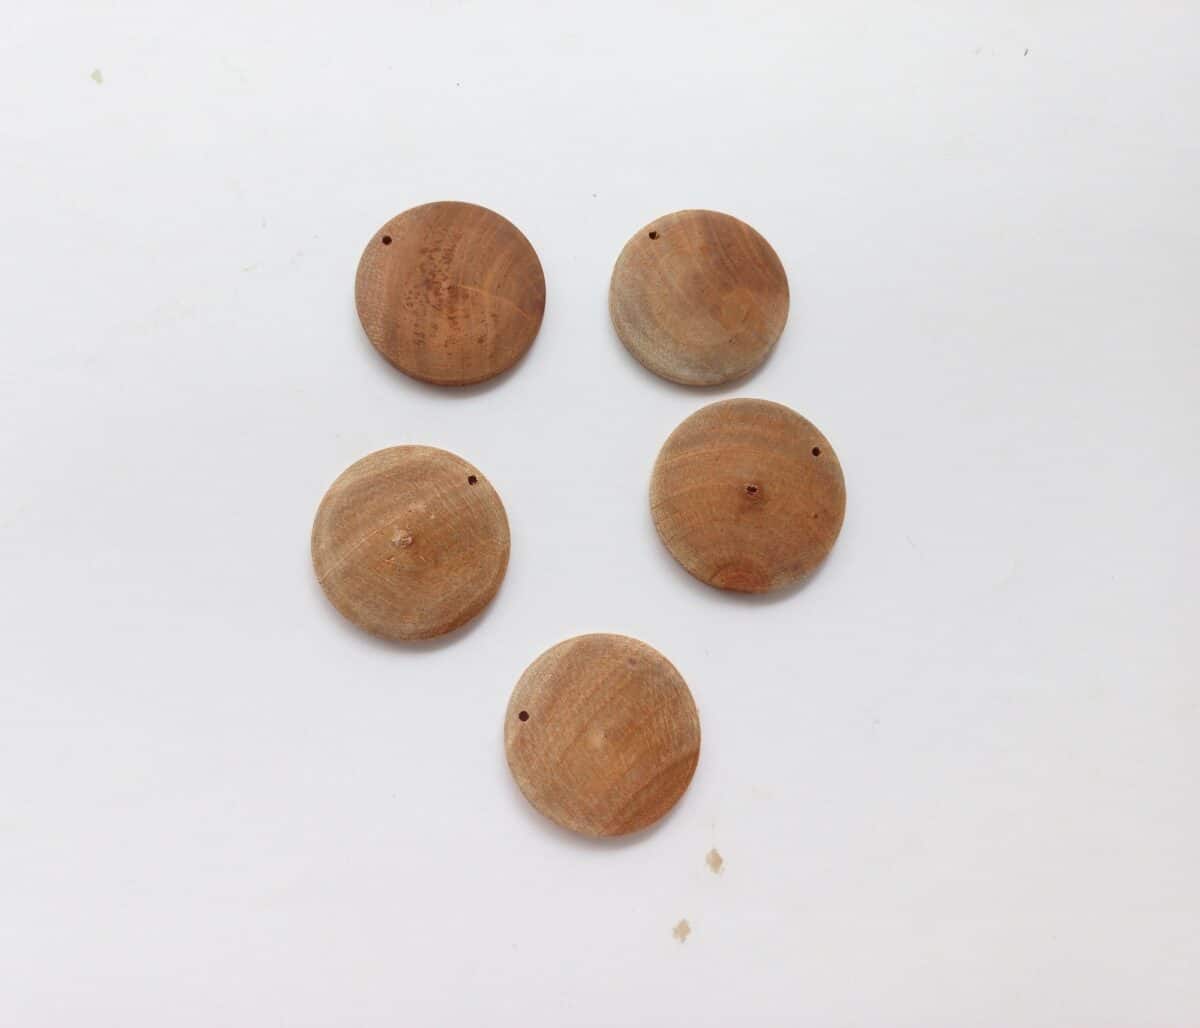
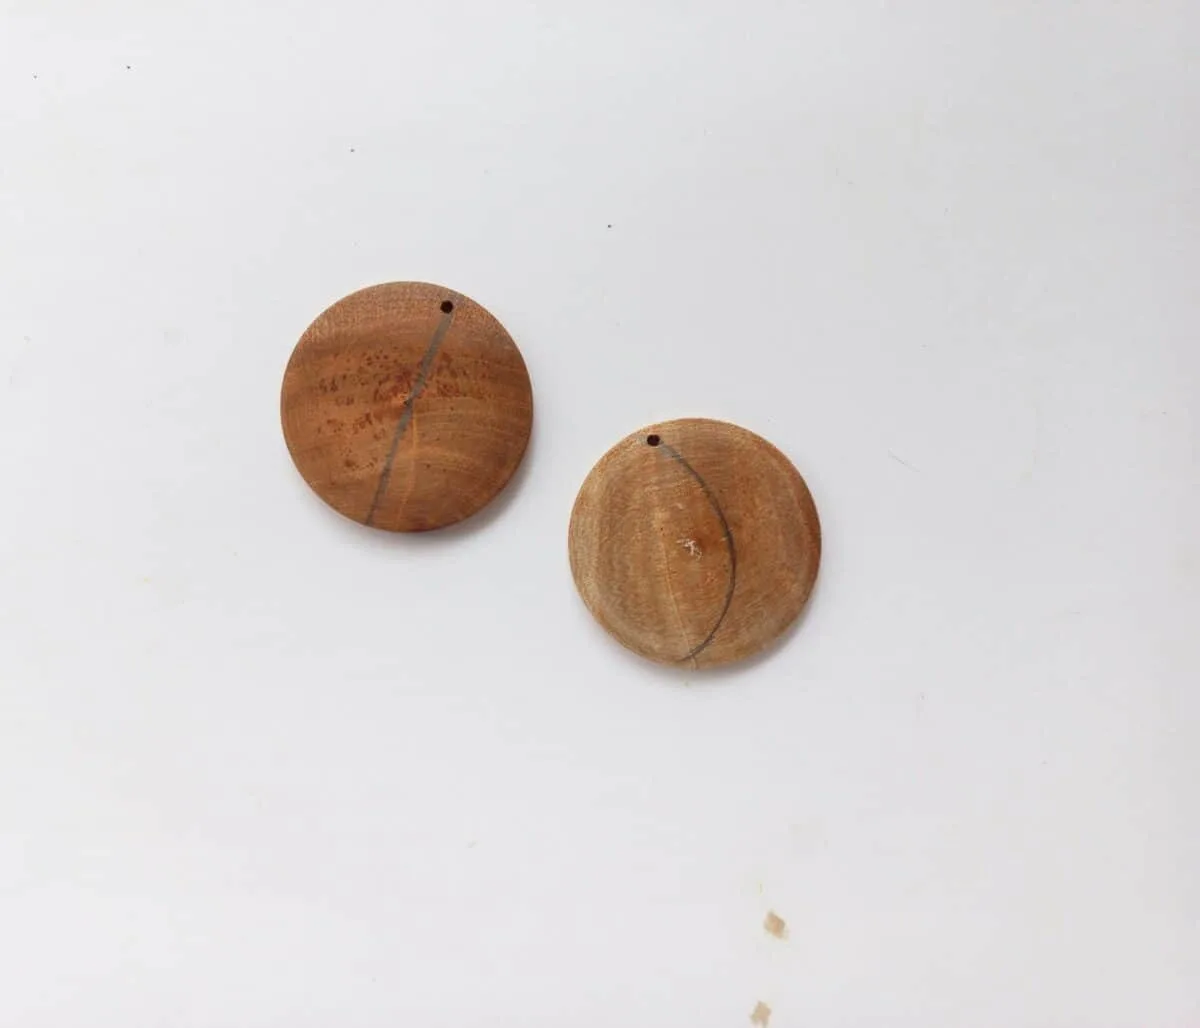
- 5 Wooden Discs with Predrilled Holes
- Black, white, and grey acrylic paint
- Paintbrushes
- Pencil
- Wooden beads
- Thread
- Twigs

Directions
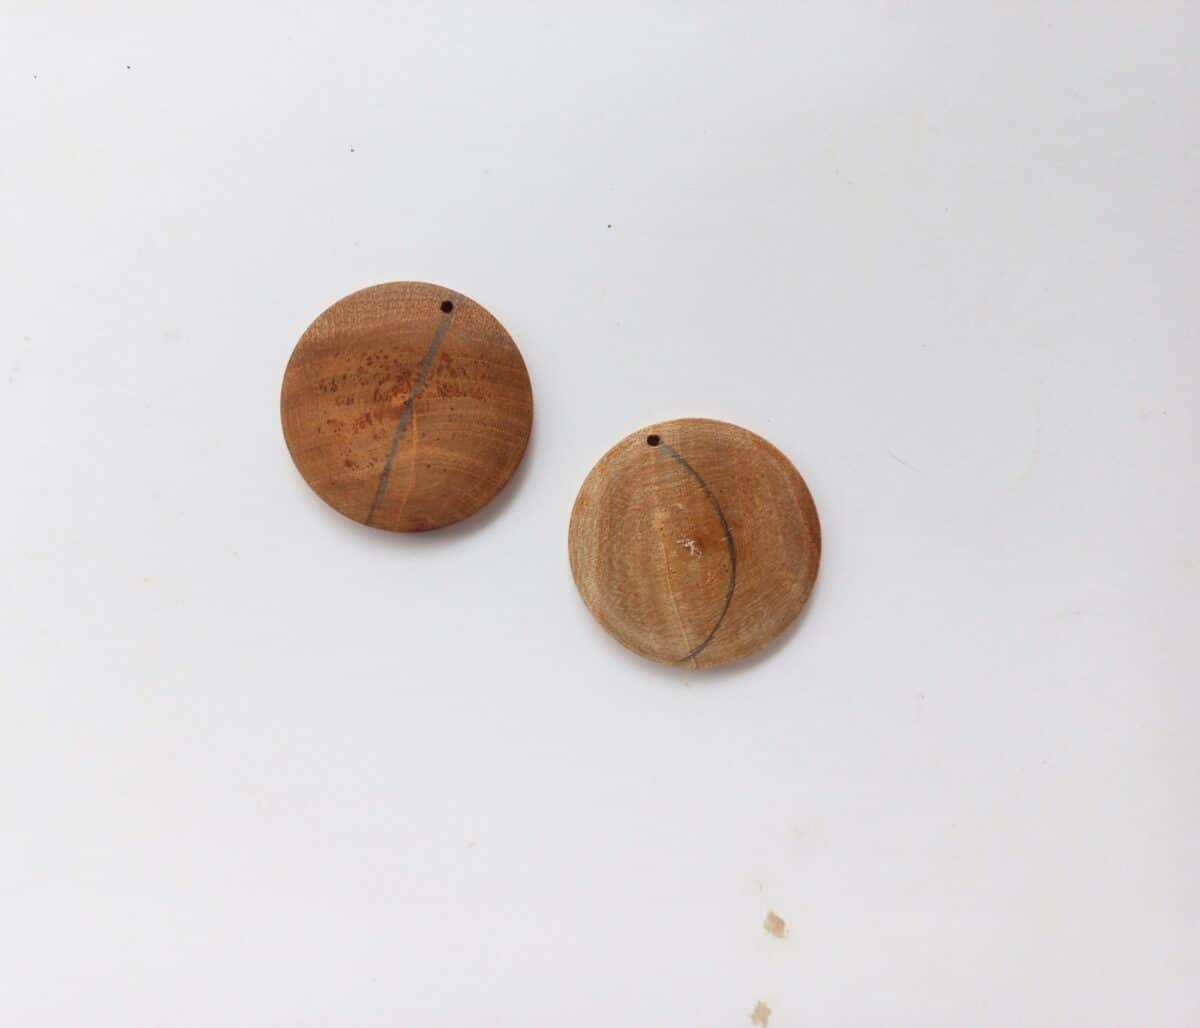
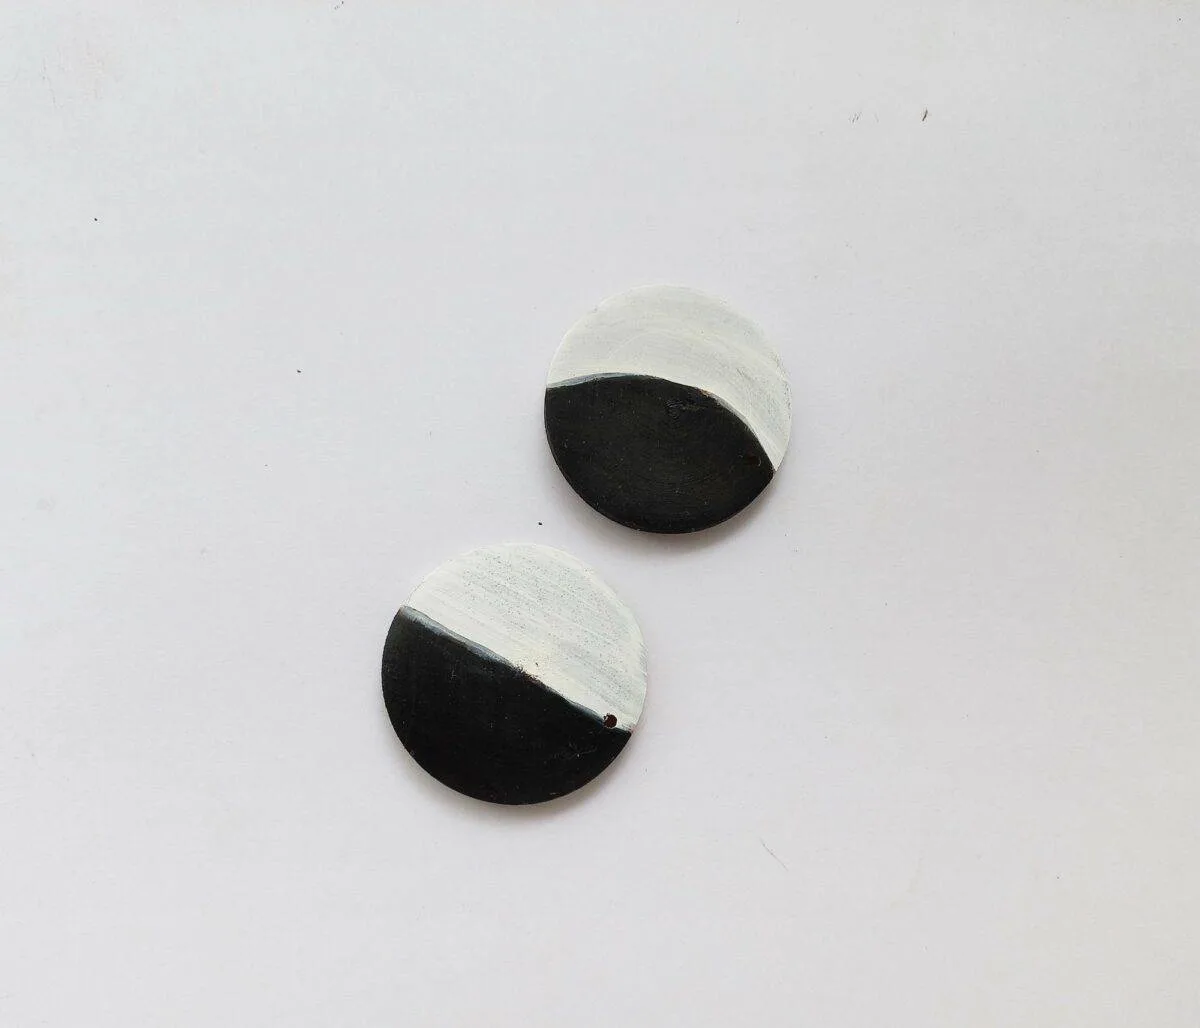
Step One
Using a pencil, draw a half moon on one wooden disc.
Then draw a crescent moon on another wooden disc.
Step Two
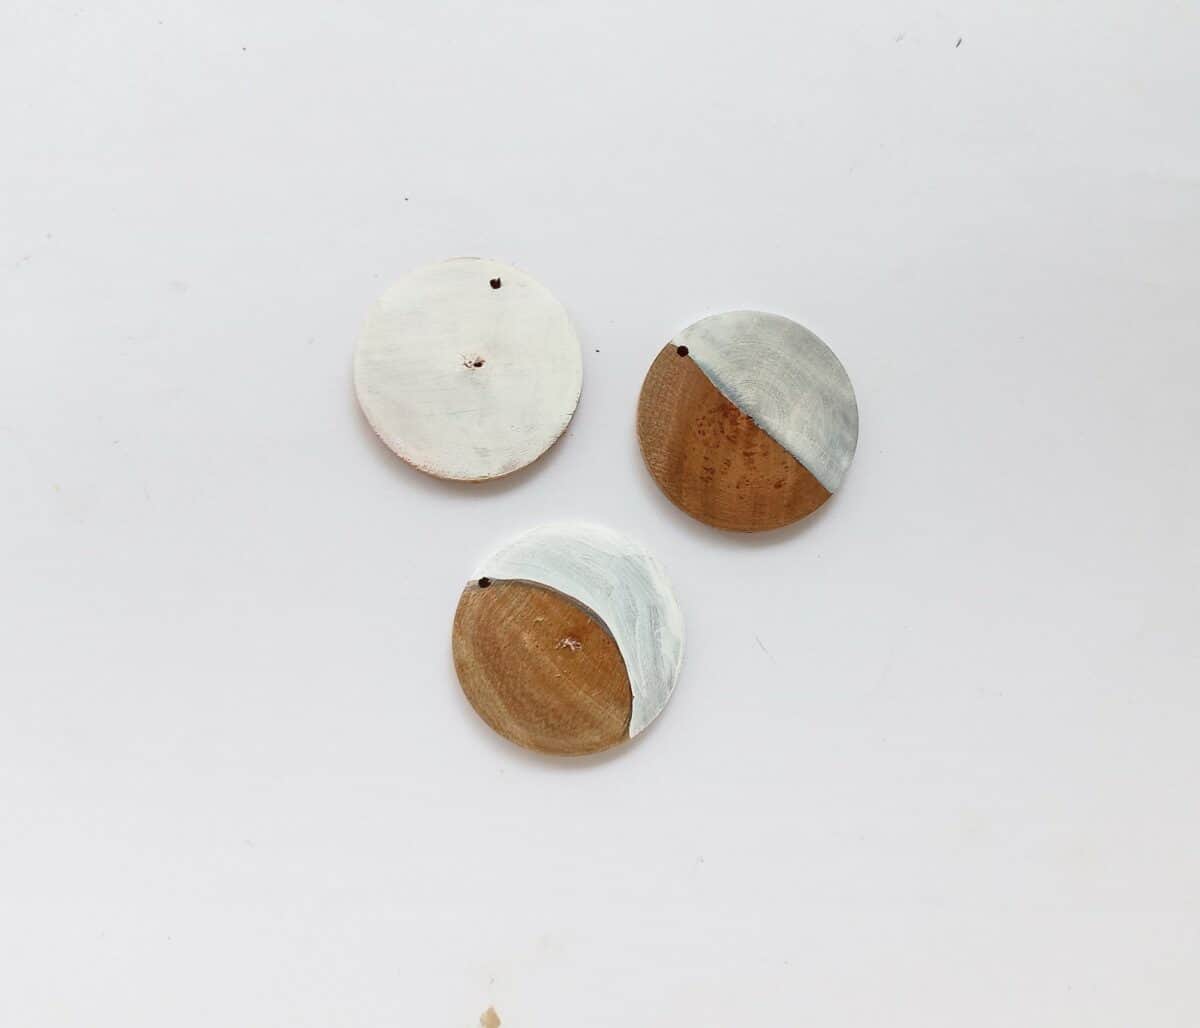
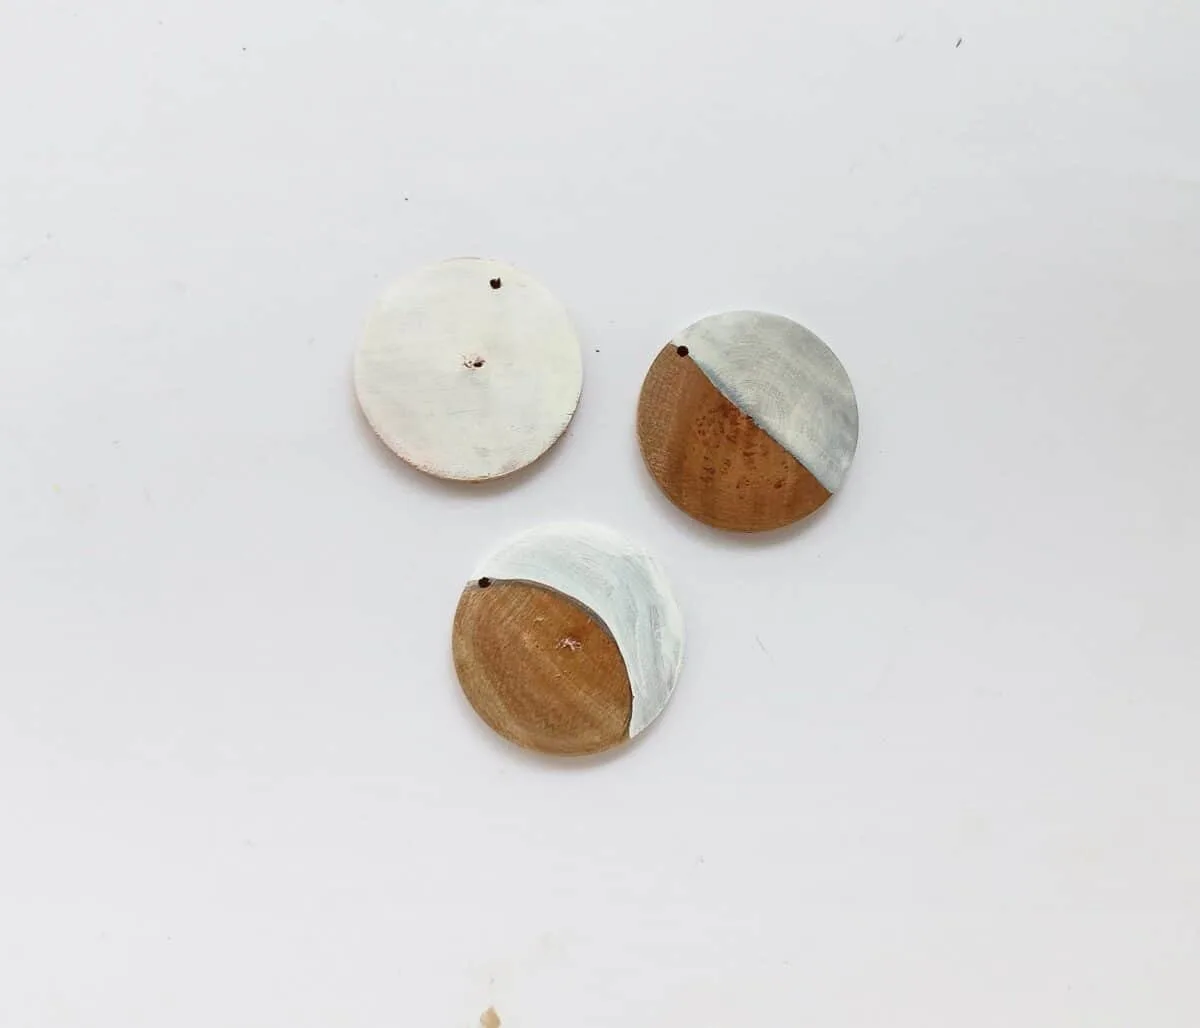
Using white paint, fill in the outlines of each moon shape.
Then paint one disc entirely with white paint.
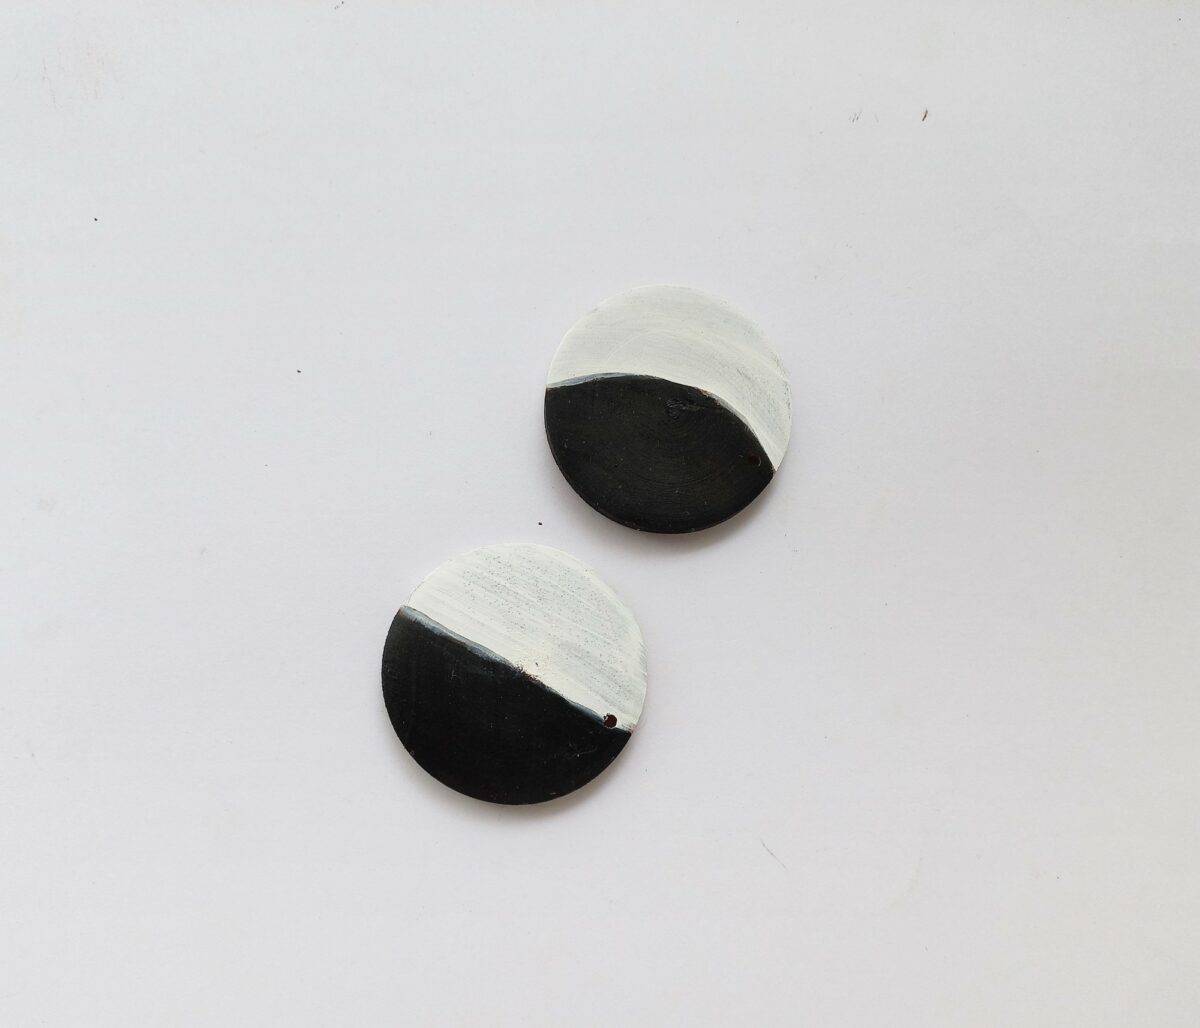
Step Three
After the paint dries completely, paint the rest of the unfinished disc with black paint.
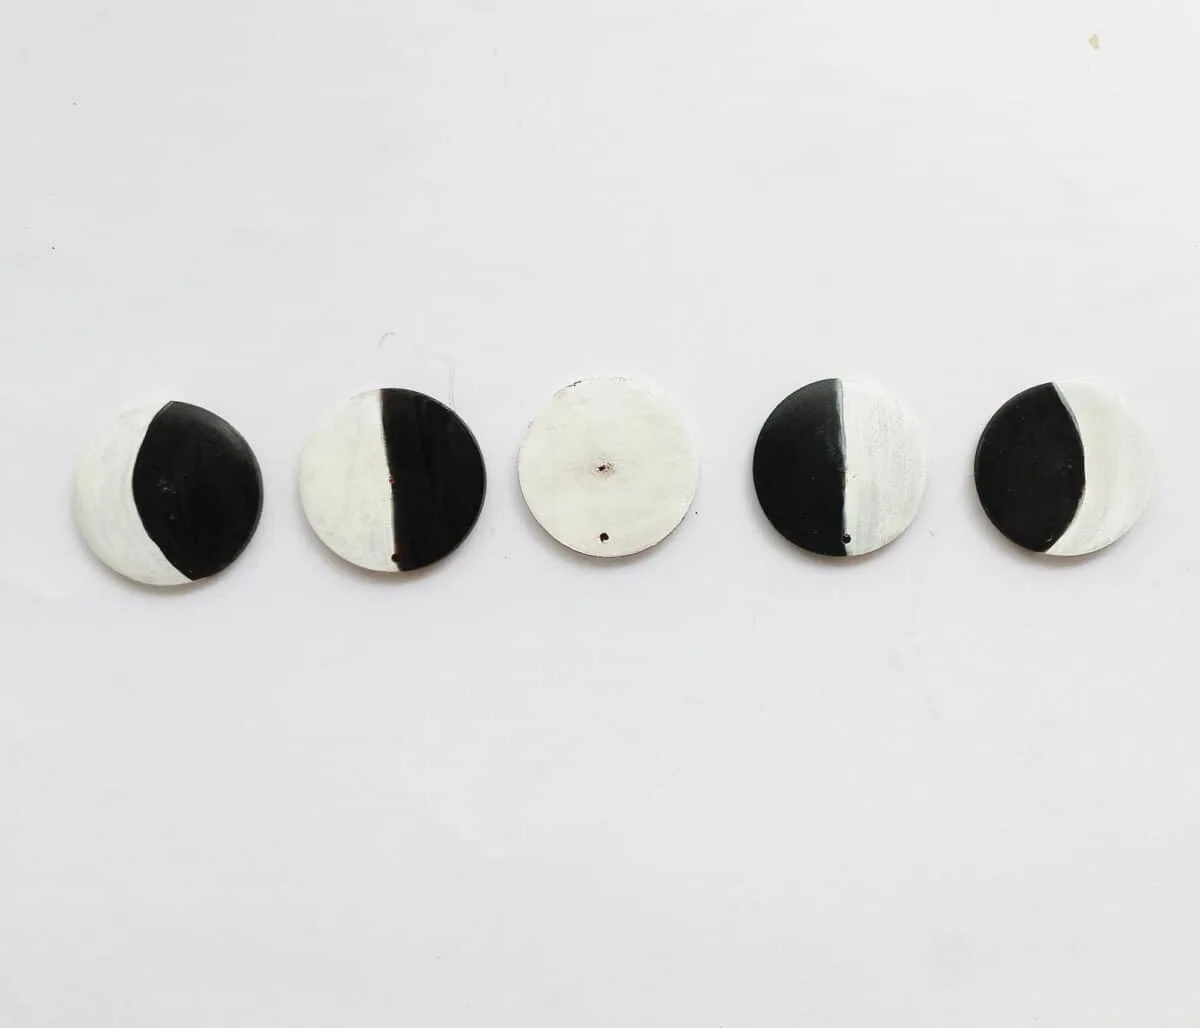
Step Four
Repeat the same patterns on the other two discs.
For the crescent moon, reverse the direction of the crescent to be opposite the first crescent moon.

Step Five
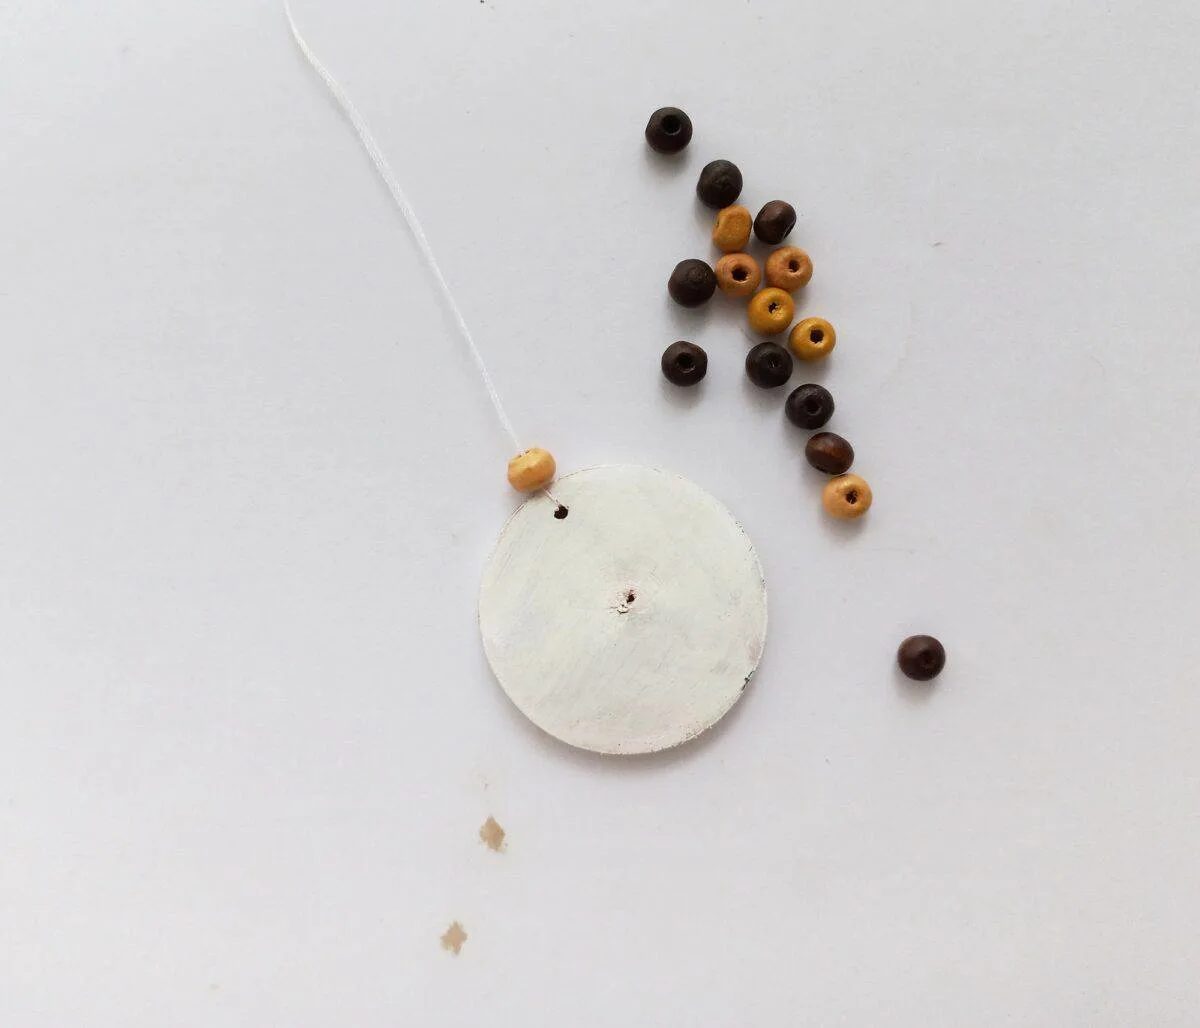
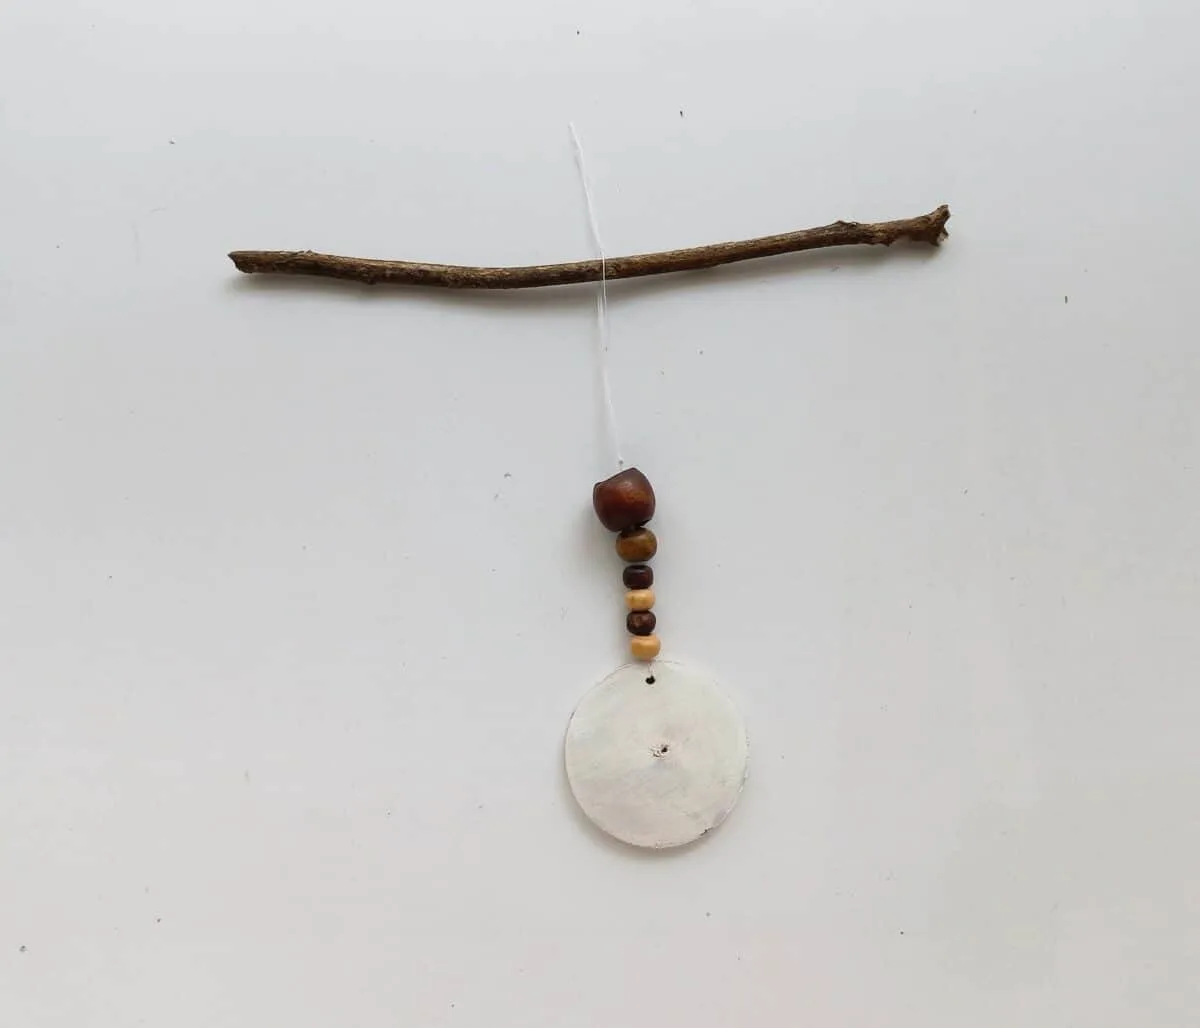
Tie a length of string through the hole on one disc and tie a knot.
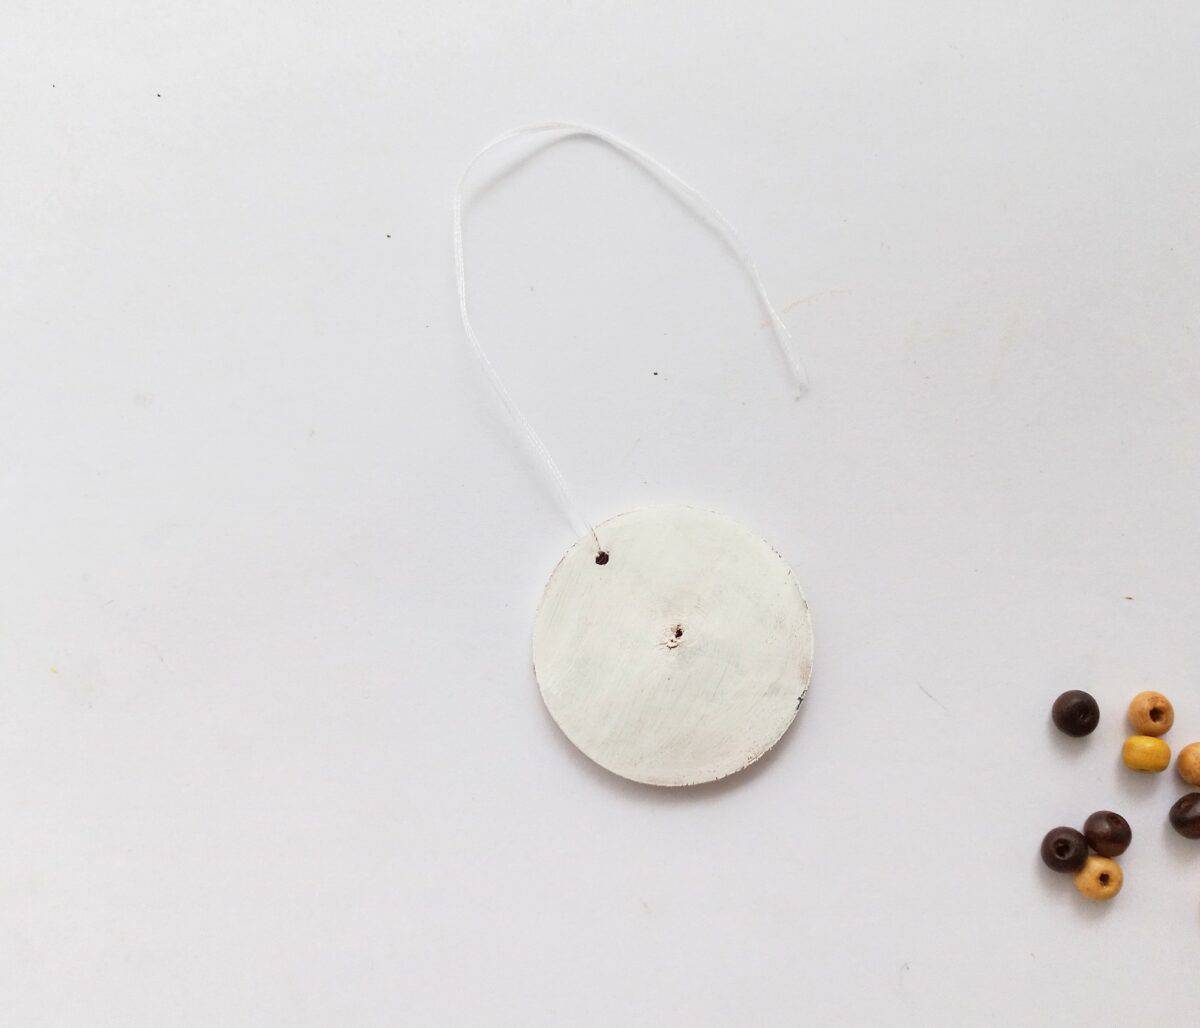
Step Six
Add beads on the thread.
You can use a needle to thread the string through the holes of the beads, or just push the thread through the hole.

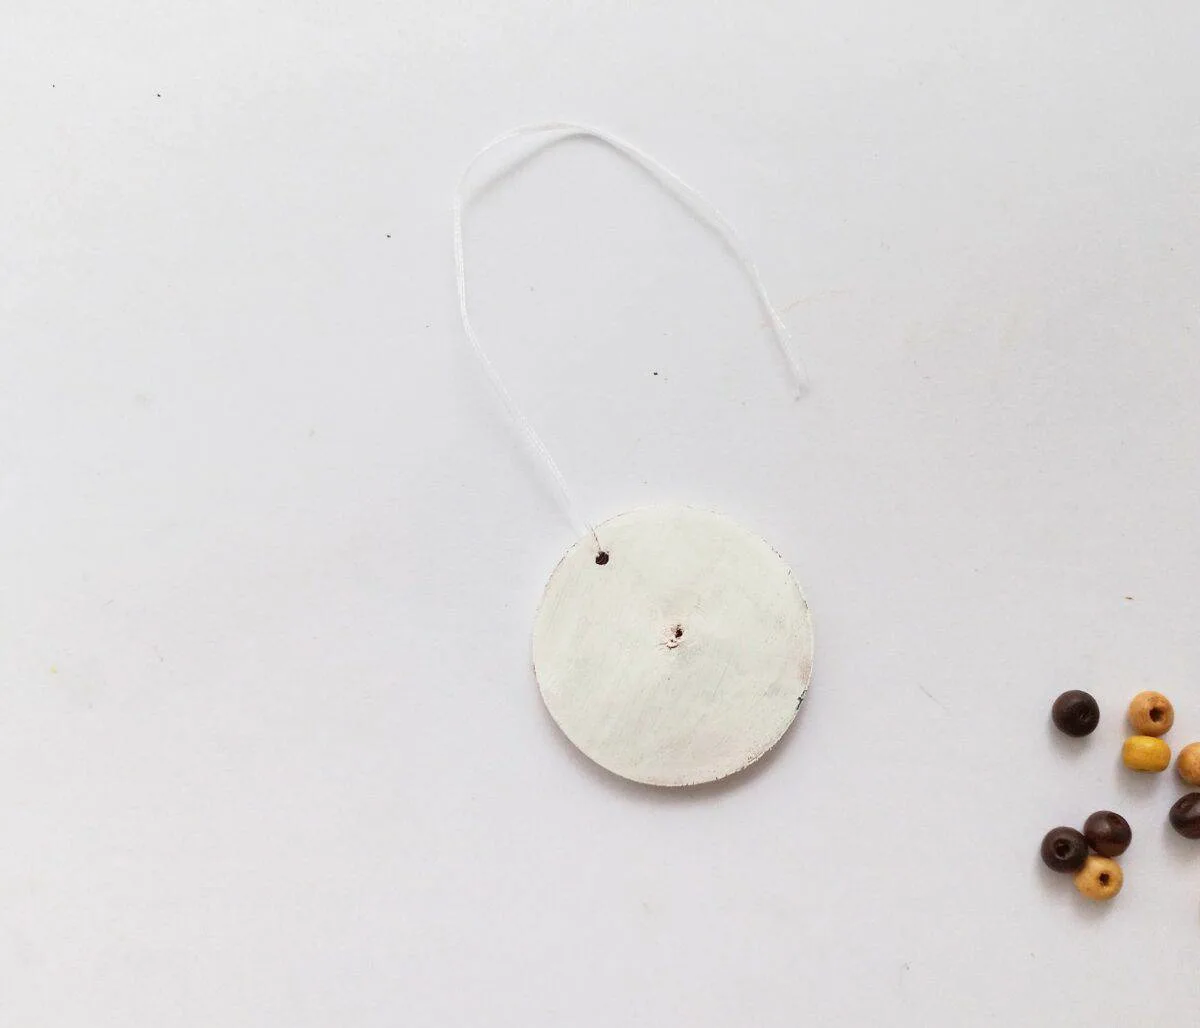
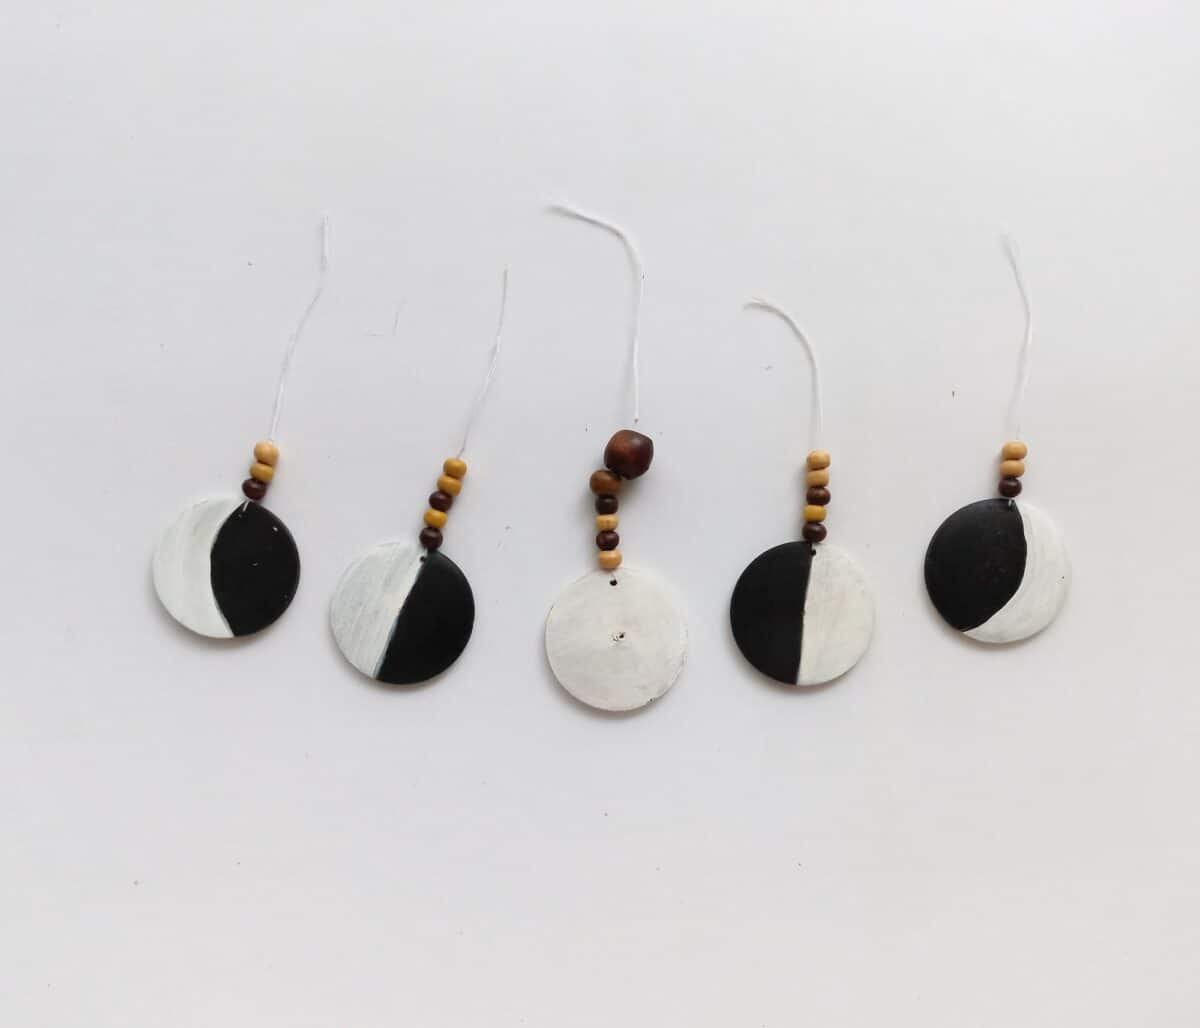
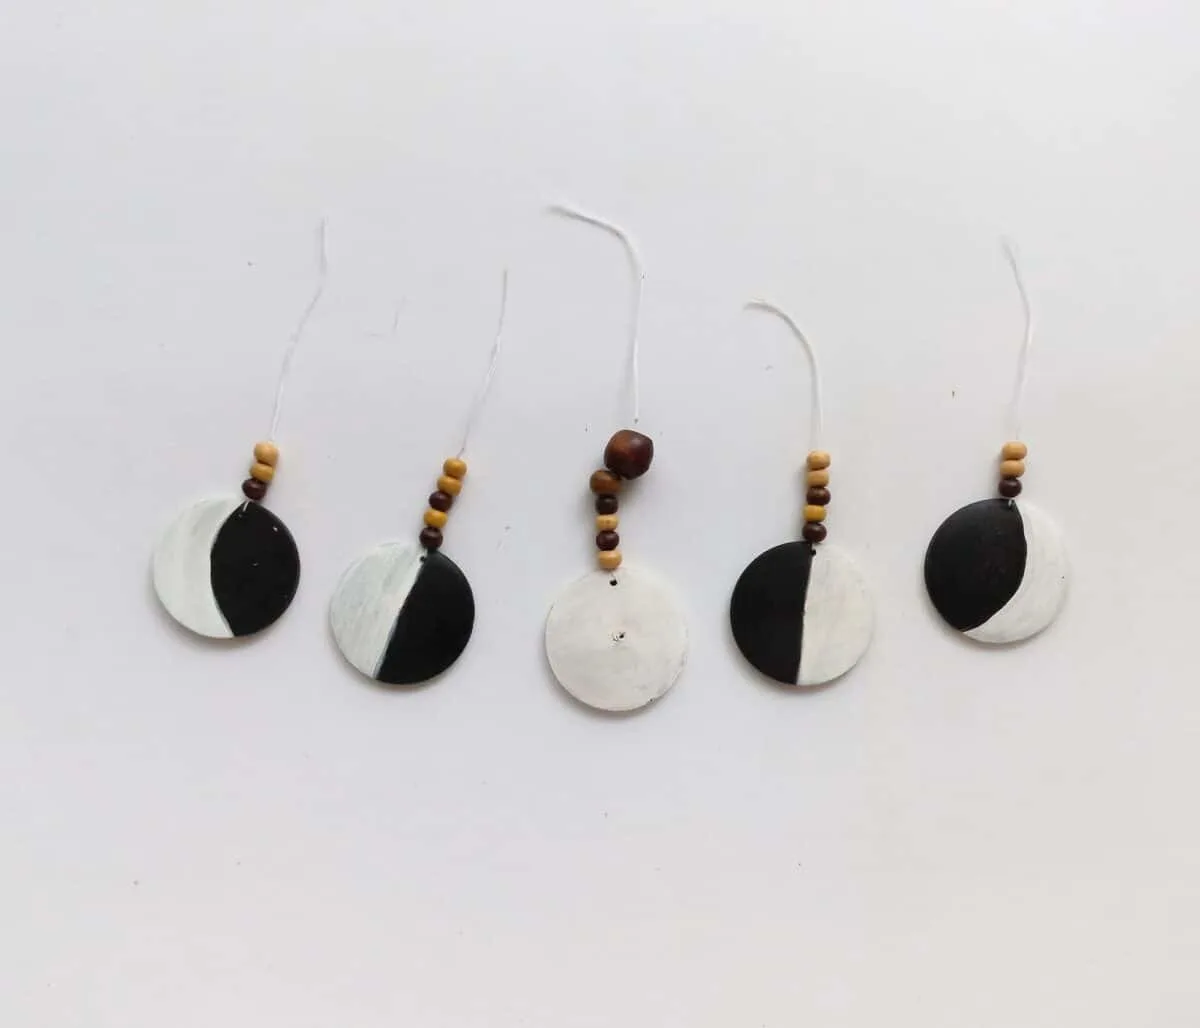
Then, repeat the same process on the four additional wooden discs.
Vary the patterns of the beads if you would like, or keep the same pattern on each string.
Step Seven
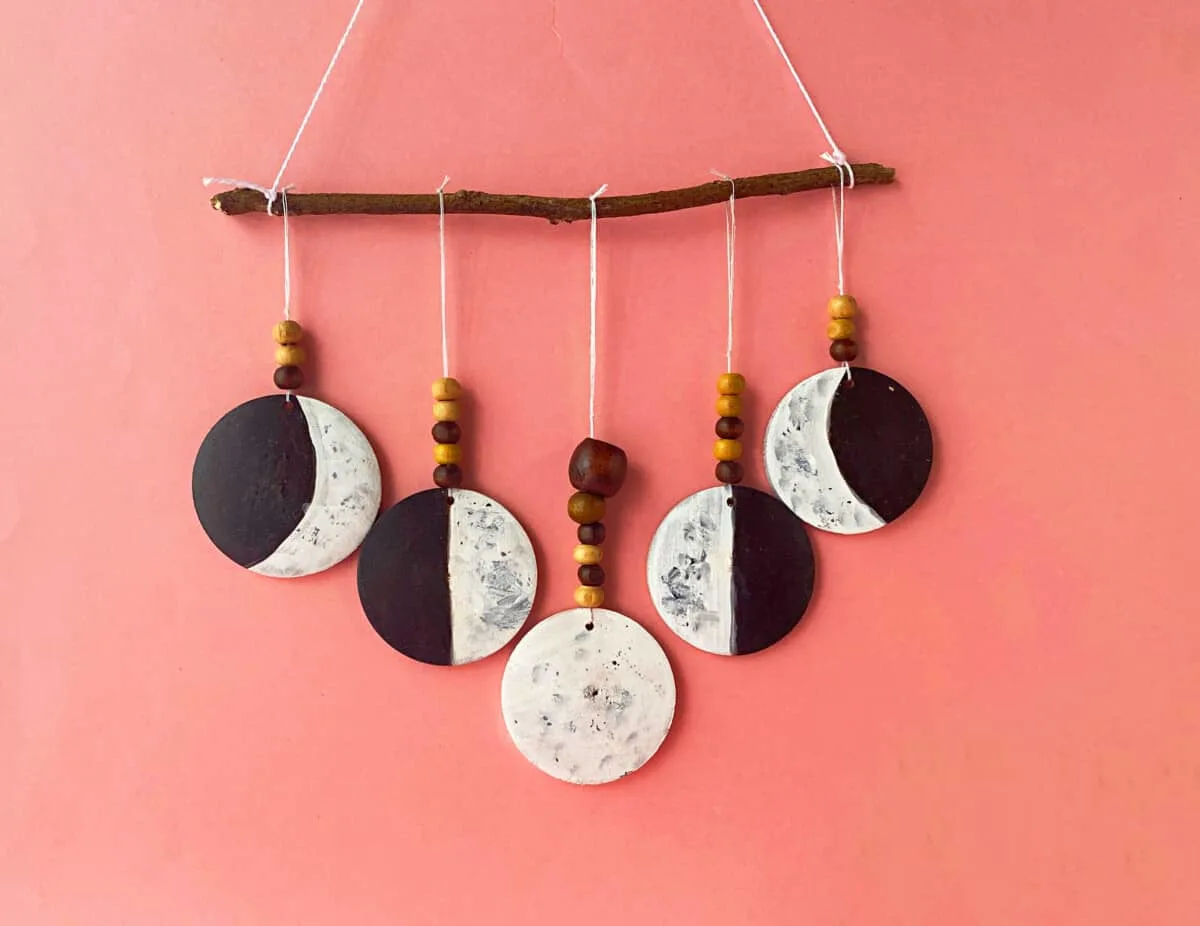
Now it’s time to tie the moons on the twig.
Lay the twig on a flat surface and arrange the moon phases until you are happy with the placement.
I angled the moons so that the full moon was lower and in the middle.
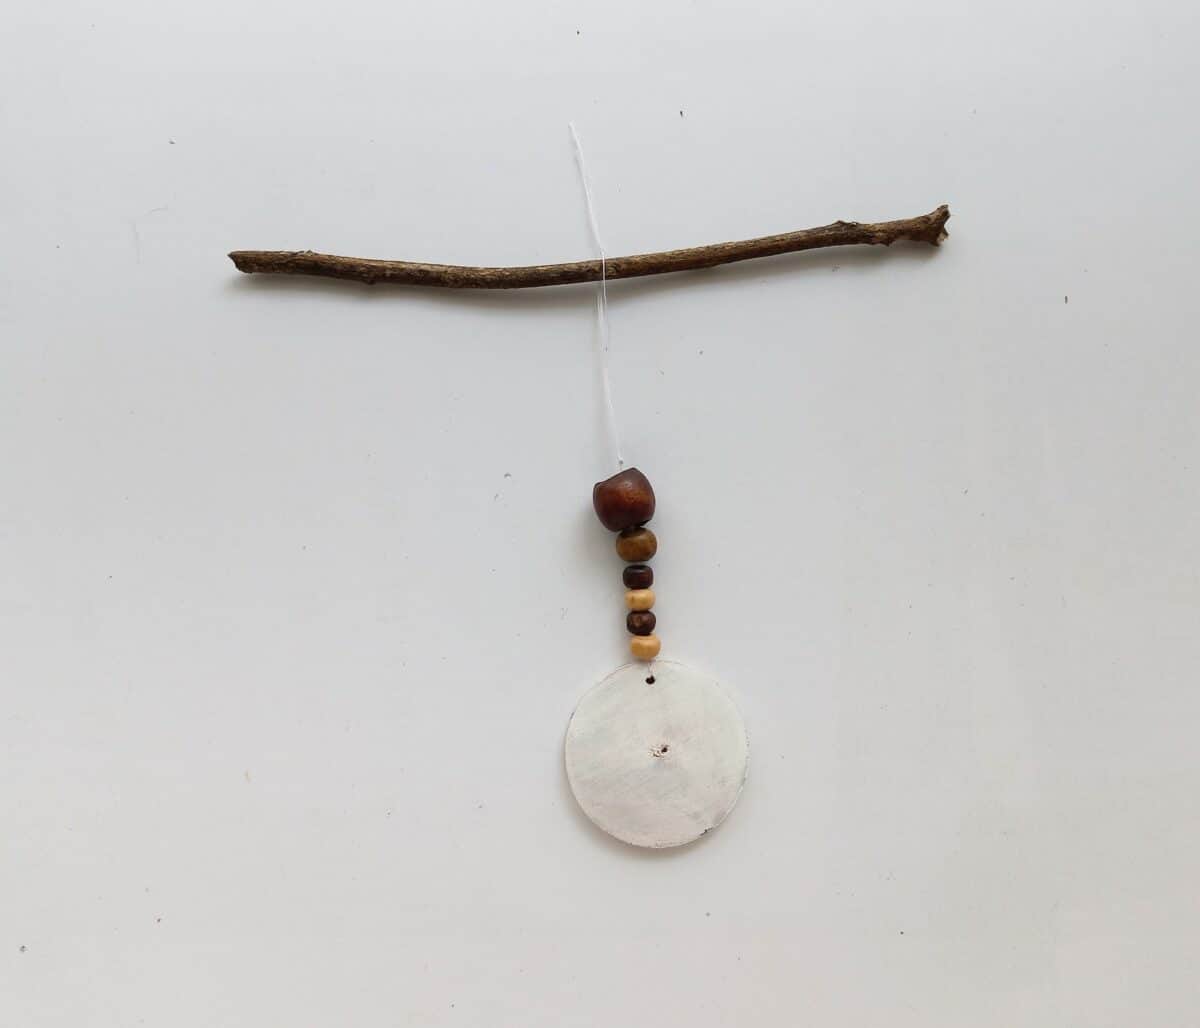
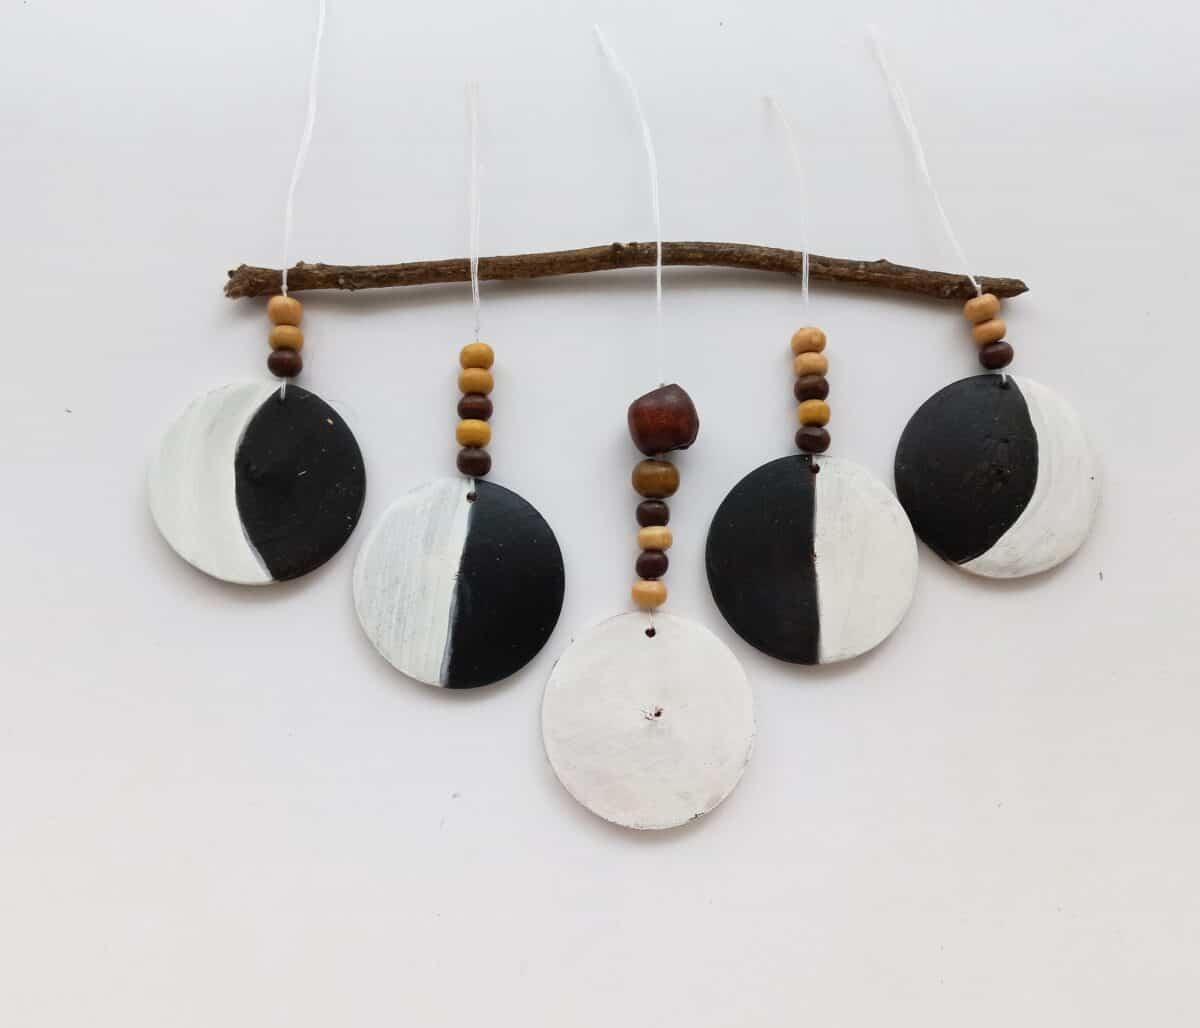
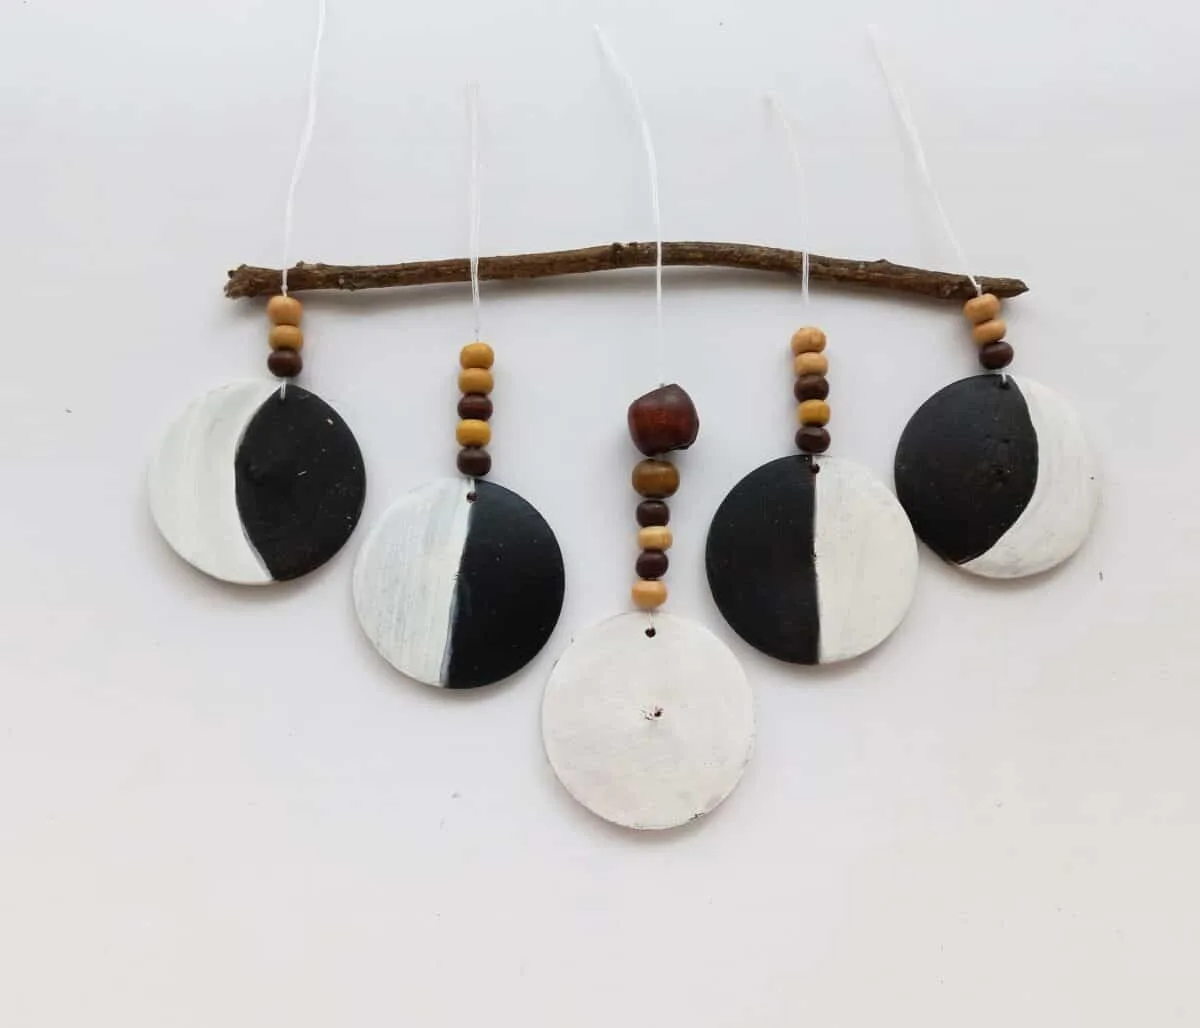
Tie the knots on the twig to secure.
Then, using thread or string, create a hanger. Tie a knot on the end of each side of the twig.
Step 8
Using grey paint, add some dabs of grey to the white parts of the moon to resemble the craters on the moon.
You can use a Q-tip or paintbrush to add some texture with the grey paint. Remember, it doesn’t have to be perfect!
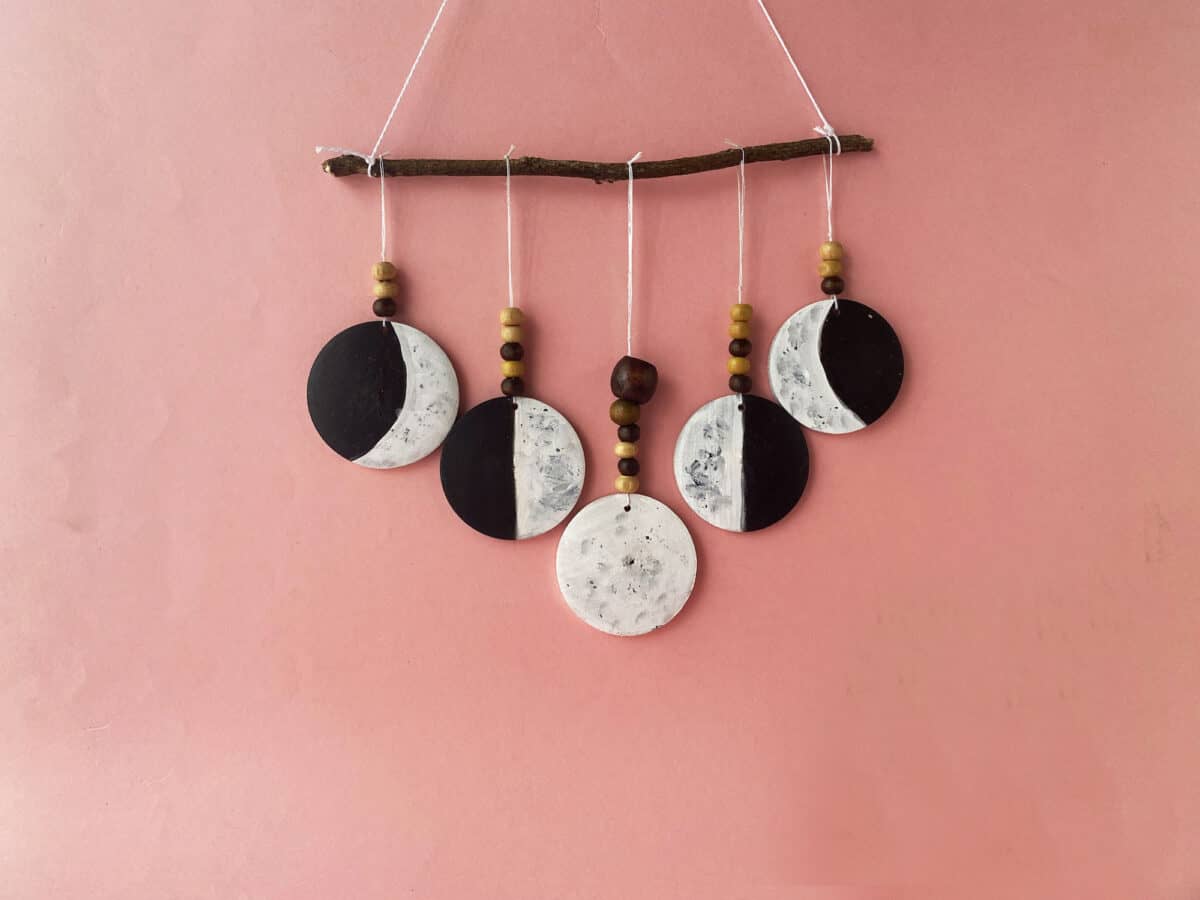
See how easy it is to make this moon phase wall hanging? Be sure to see my other budget decorating ideas to make your house stylish on a budget.
