
This easy DIY Graduation Cap Gift Box is the perfect way to give a gift card or other small present to a graduate.
Using dollar store supplies, this gift box costs just a few dollars to make and takes less than 30 minutes to put together.
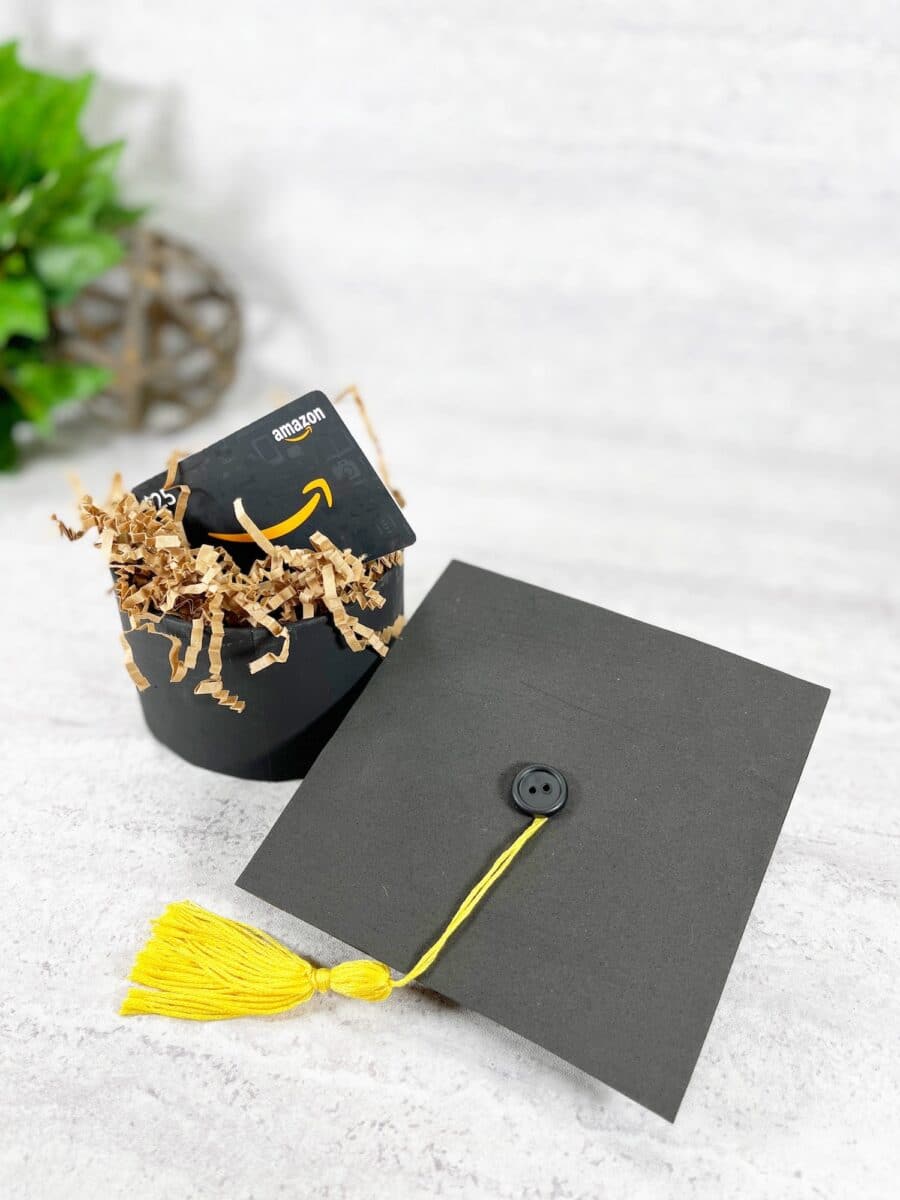

This mini graduation gift box is the perfect size for giving:
- Gift Card
- Money
- Jewelry
These mini graduation caps also make cute graduation party decor. Make several of these to use as decorations, table centerpieces or even as a cake topper!
To personalize the caps, write the graduate’s name and year of graduation on the gift box with a craft pen.
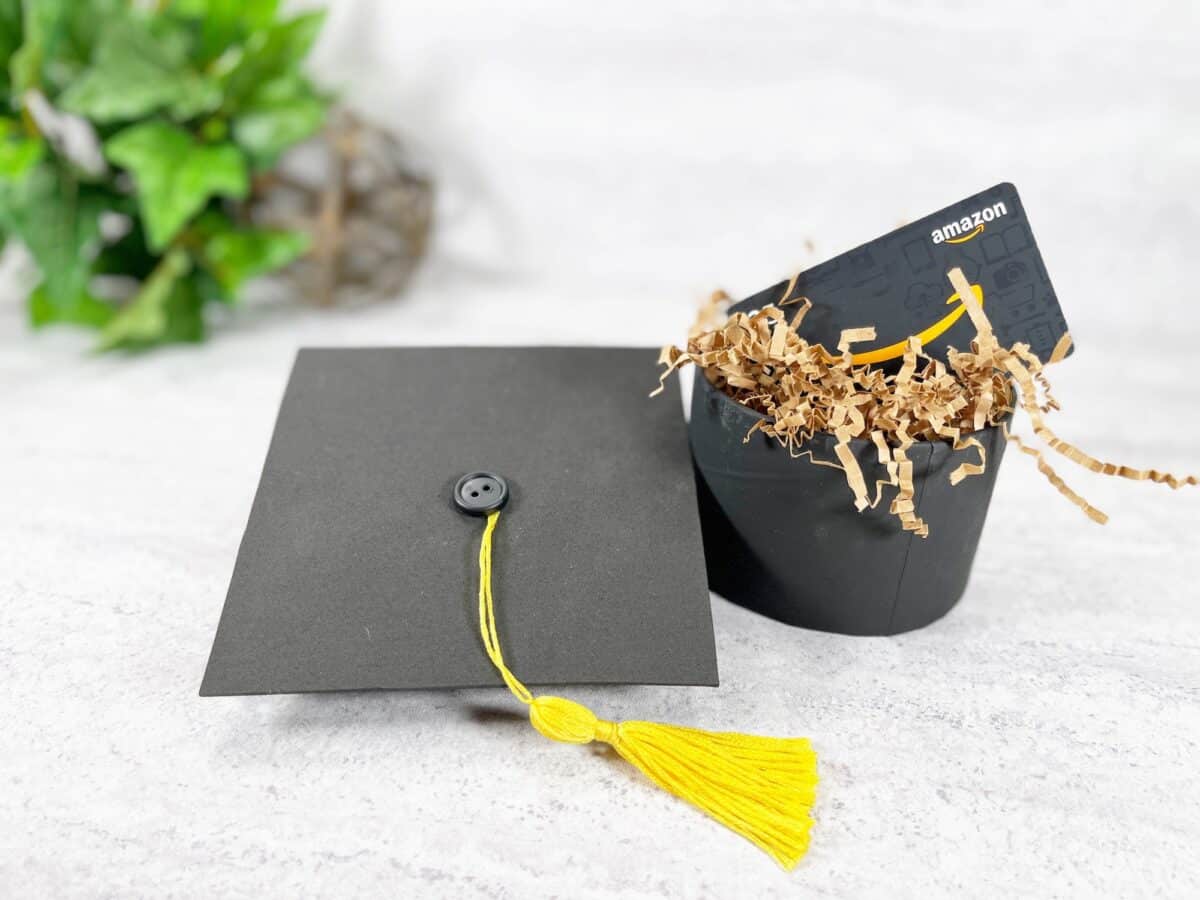

It is easy to personalize these graduation cap gift boxes with the graduate’s school colors. Just choose one color for the paint and button, and the second color for the embroidery floss.
Be sure to see more easy DIY graduation crafts, including:
How to Make a Graduation Cap Gift Box
Note: While this craft tutorial makes one gift box, you will make two tassels. Use the second tassel one one of our other graduation crafts or as a decoration.
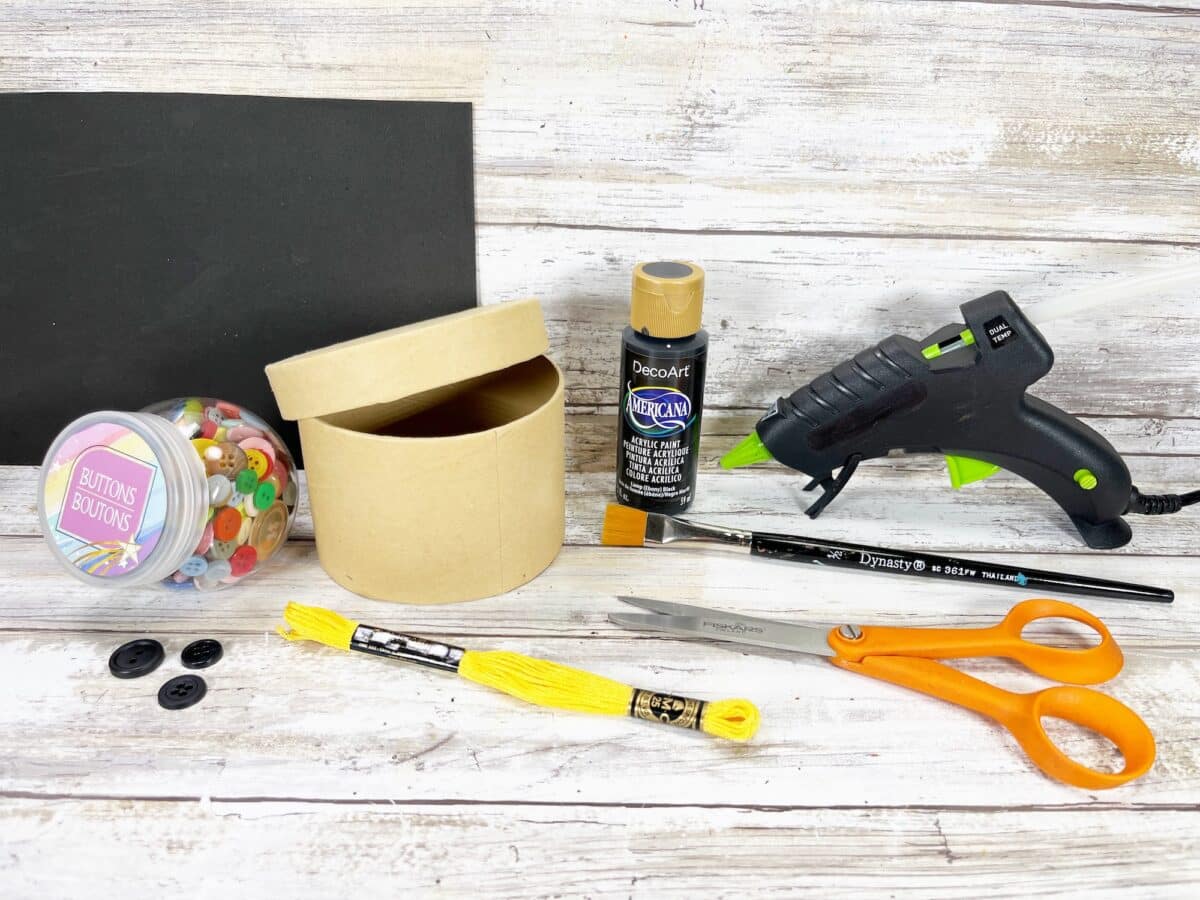
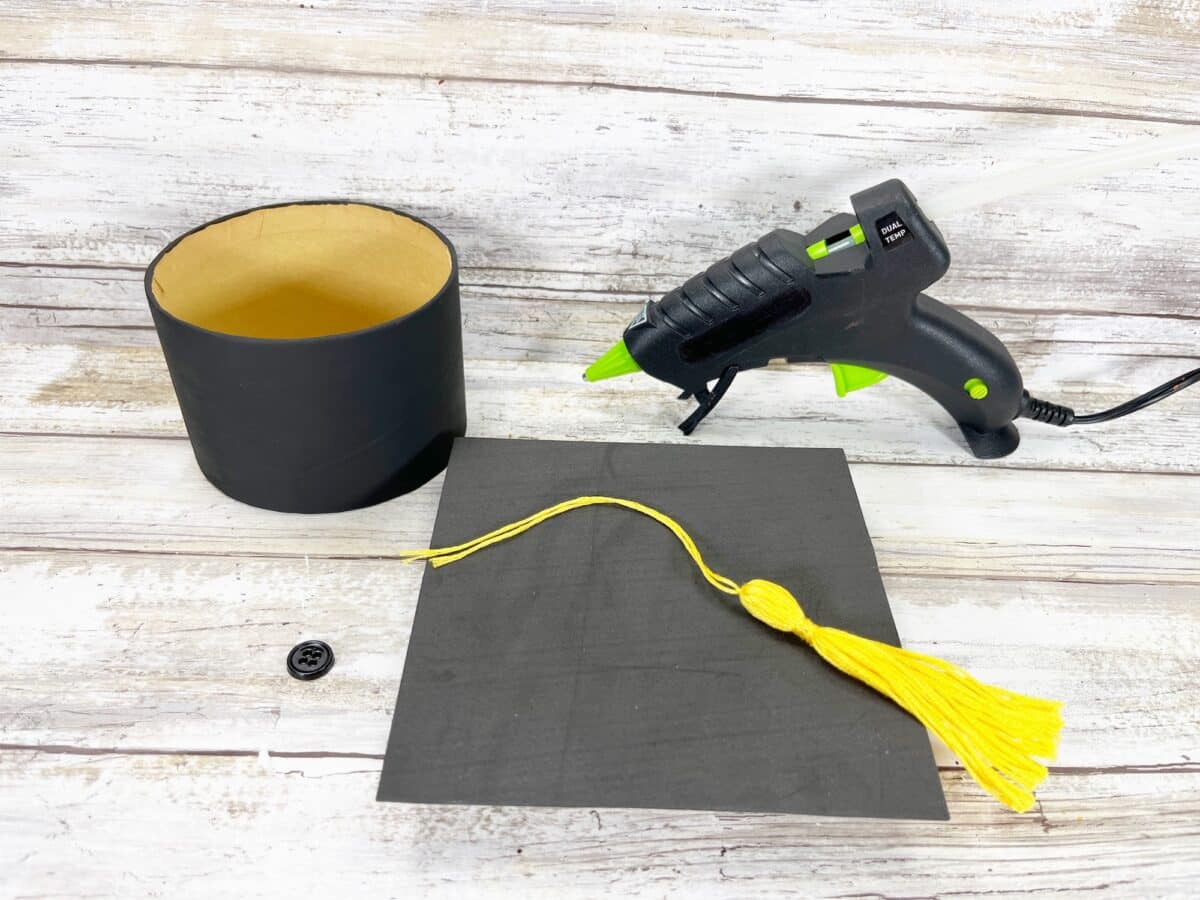
Materials
- Free Graduation Cap Gift Box Template Pattern
- 4 inch Round Paper Mache Box
- Black Craft Foam
- Yellow Embroidery Floss Skein
- Black Button
- Craft Glue or Glue Gun and Glue Sticks
- Black Acrylic Craft Paint
- Paintbrush
- Scissors
- Ruler
- Pencil

Directions
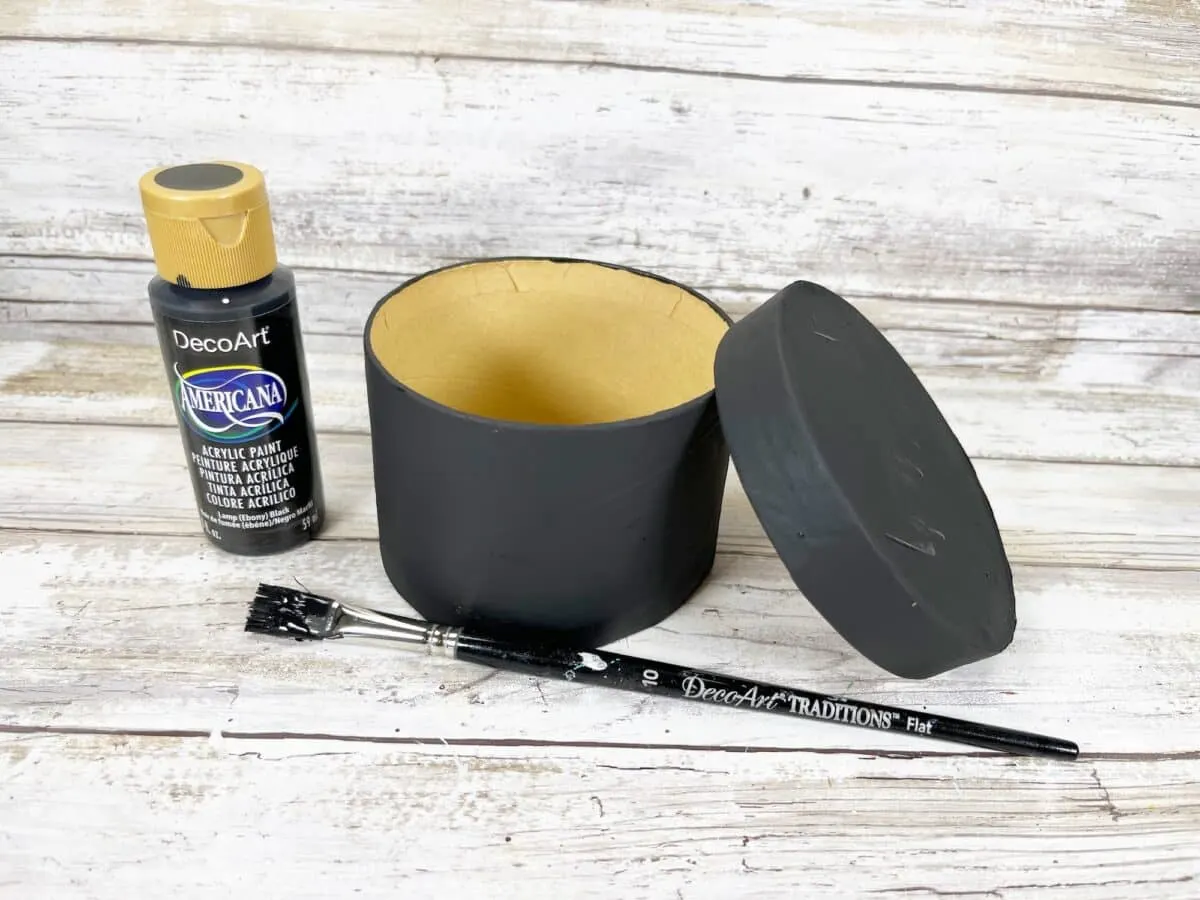
Step 1
Paint the lid and the base of the round paper box with black paint.
Allow to dry and apply a second coat, if needed.

Step 2
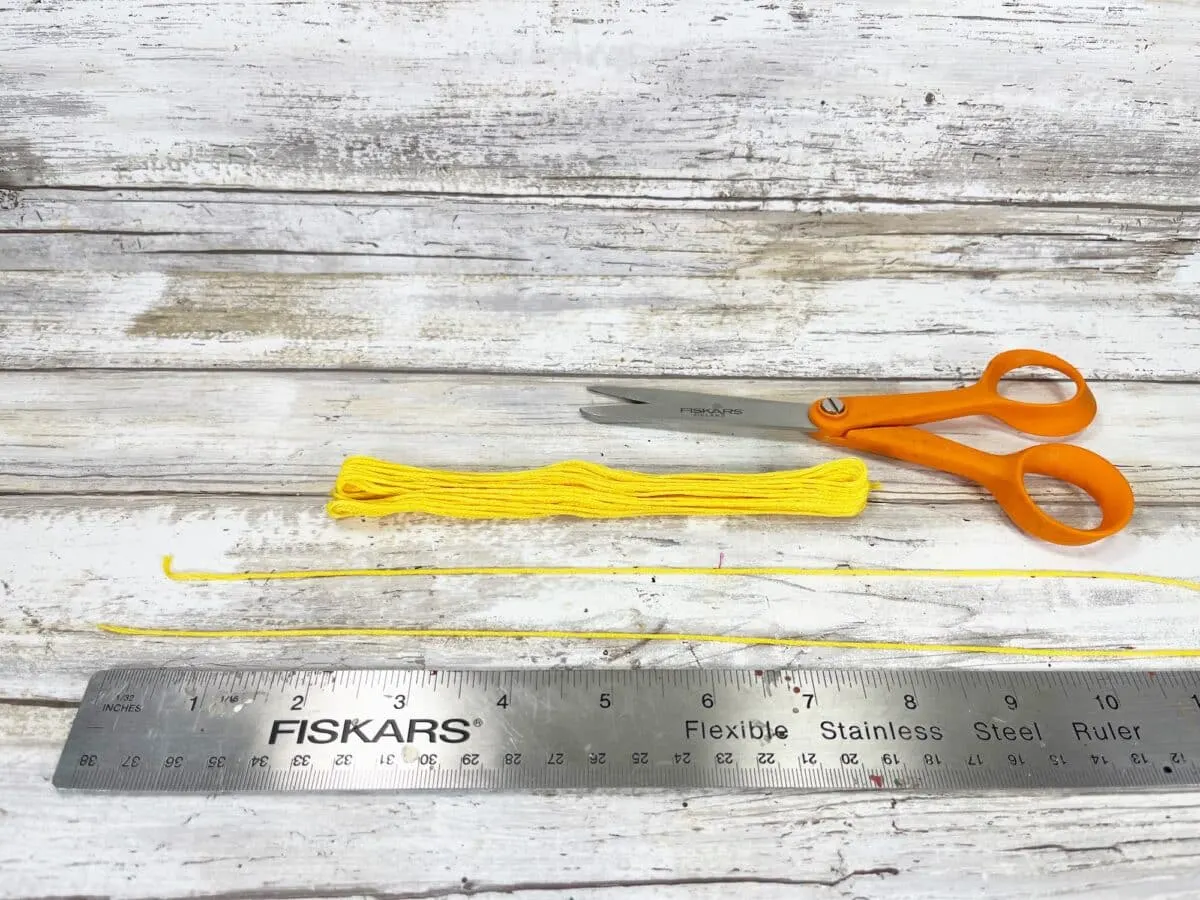
Remove the labels from the embroidery floss skein, then measure and cut four lengths that are 12 inches each.

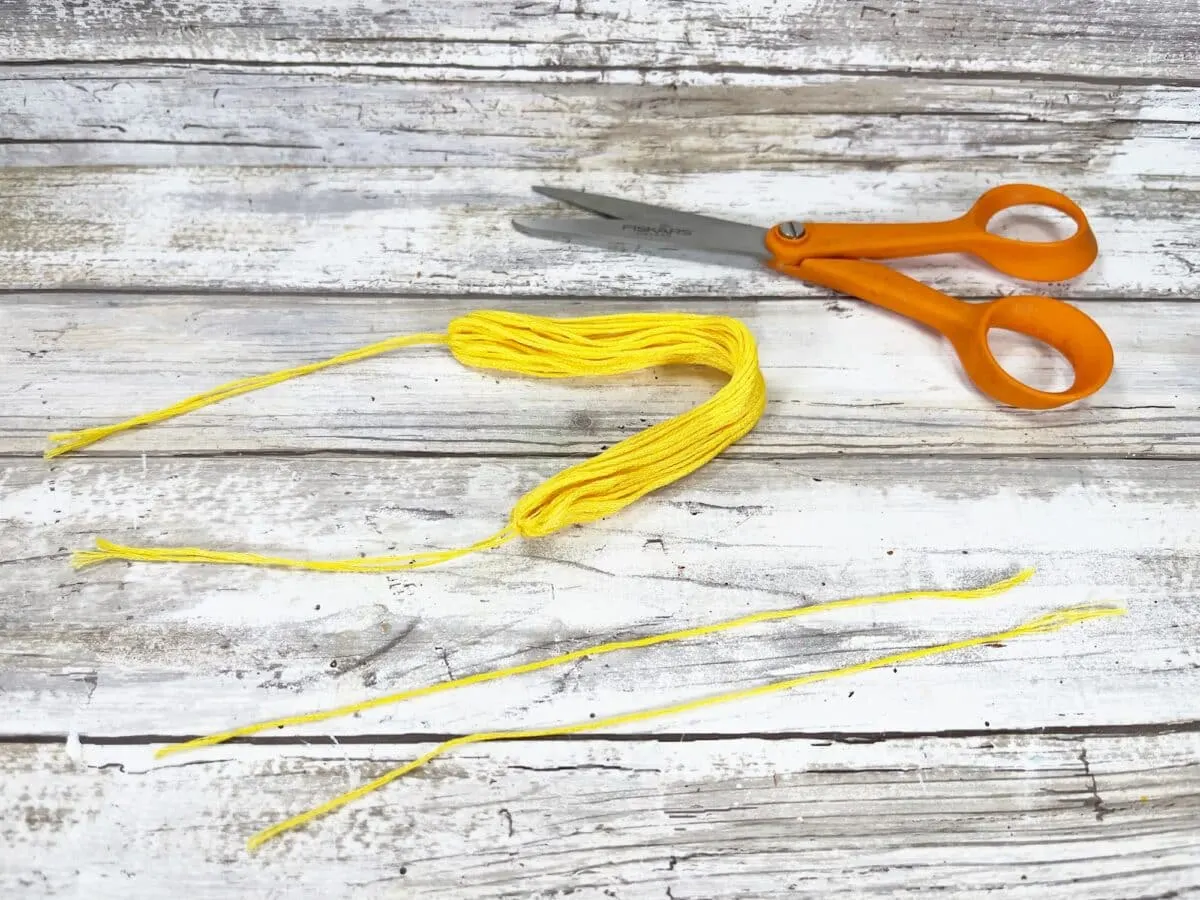
Open the middle of the skein of floss. Tie and knot one of the embroidery floss lengths through and around each of the loops at the ends of the skein.

Step 3
Approximately ¾ inch down from the top knot, tie one length of embroidery floss around the skein, securing with a knot. Wrap each end around the skein three times. Wrap one to the left and one to the right. Secure again with a knot.

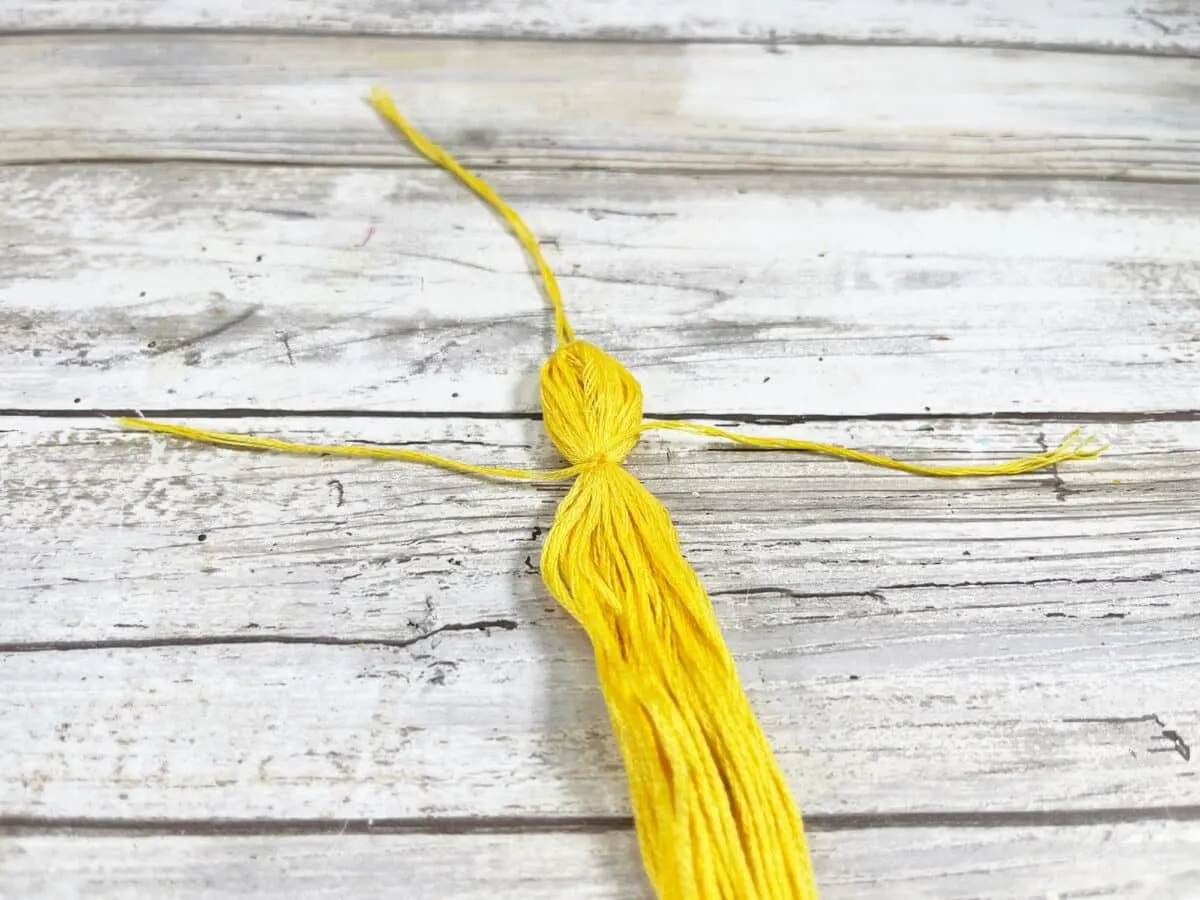
Repeat on the opposite end of the skein.
Step 4
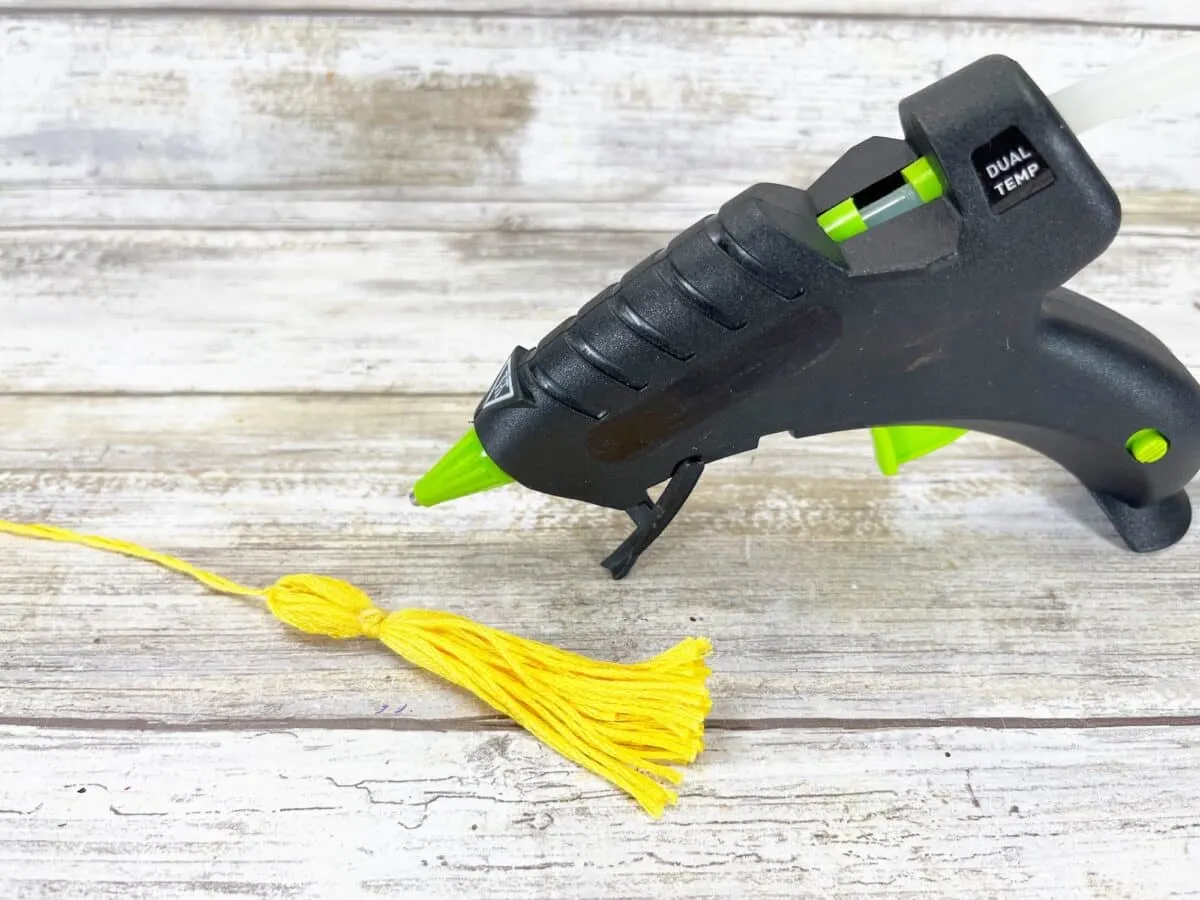
Trim the longs ends of the wrapped embroidery floss with scissors. Measure and cut the skein of embroidery floss in half at the 3 inch mark with scissors.

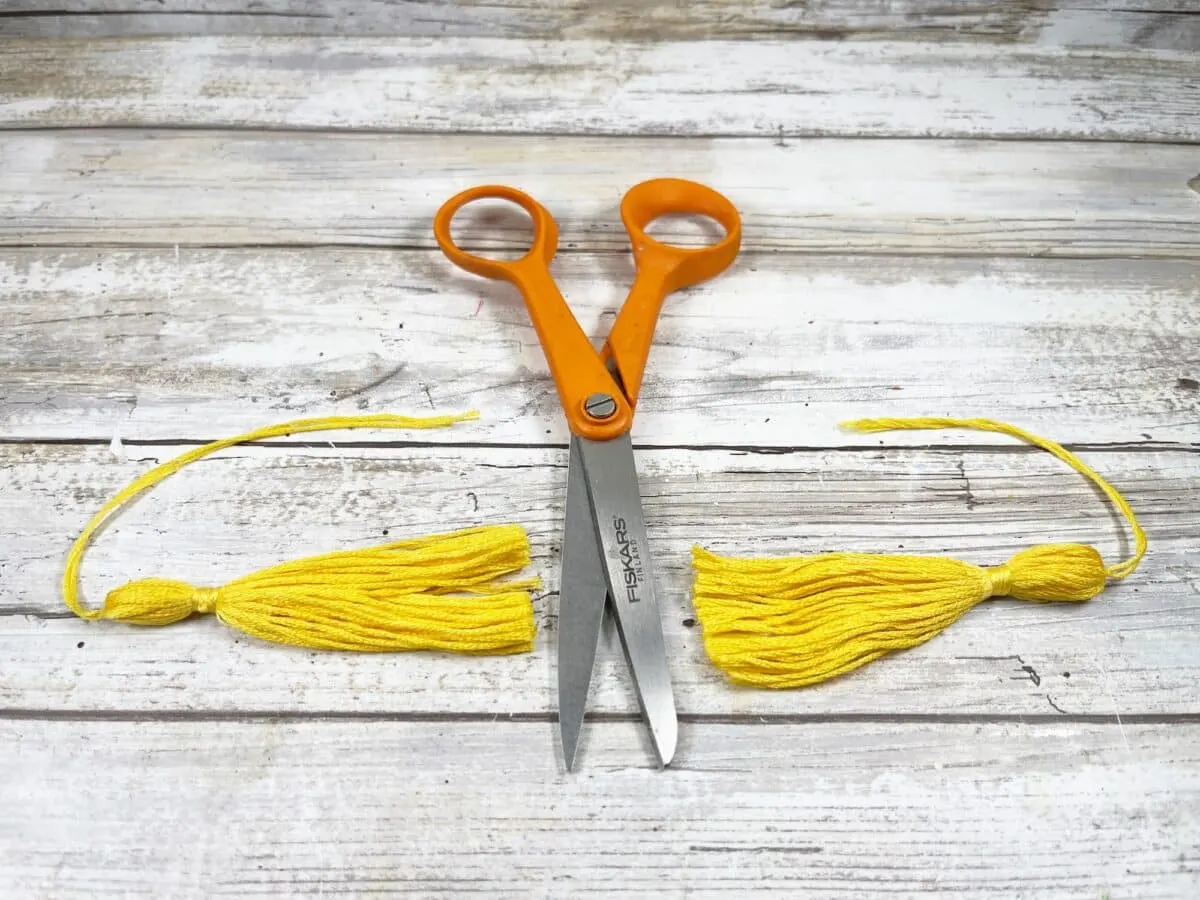
Secure the knots with a small dot of glue from the glue gun.

Step 5
Download, print and cut out the graduation cap pattern. Or make your own 5″ X 5″ square pattern with a piece of paper.
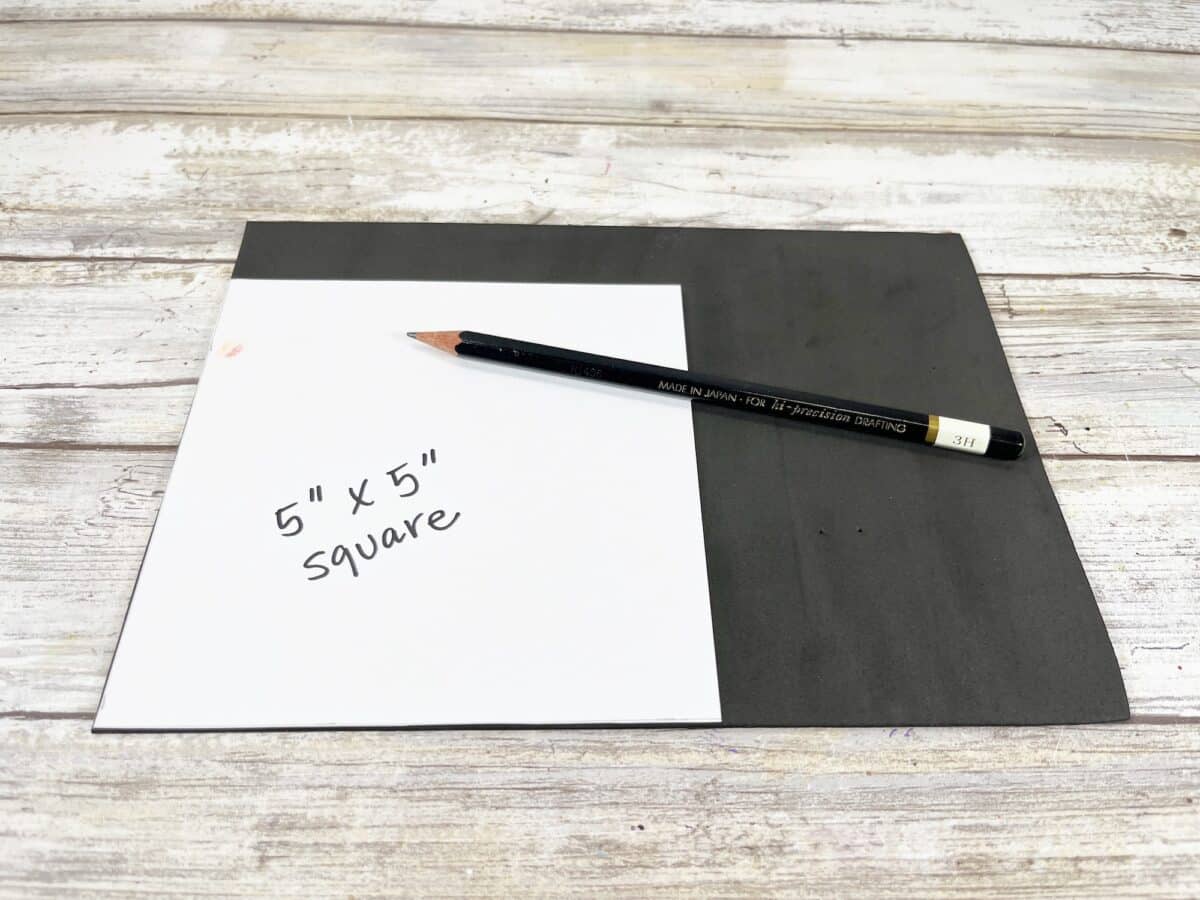
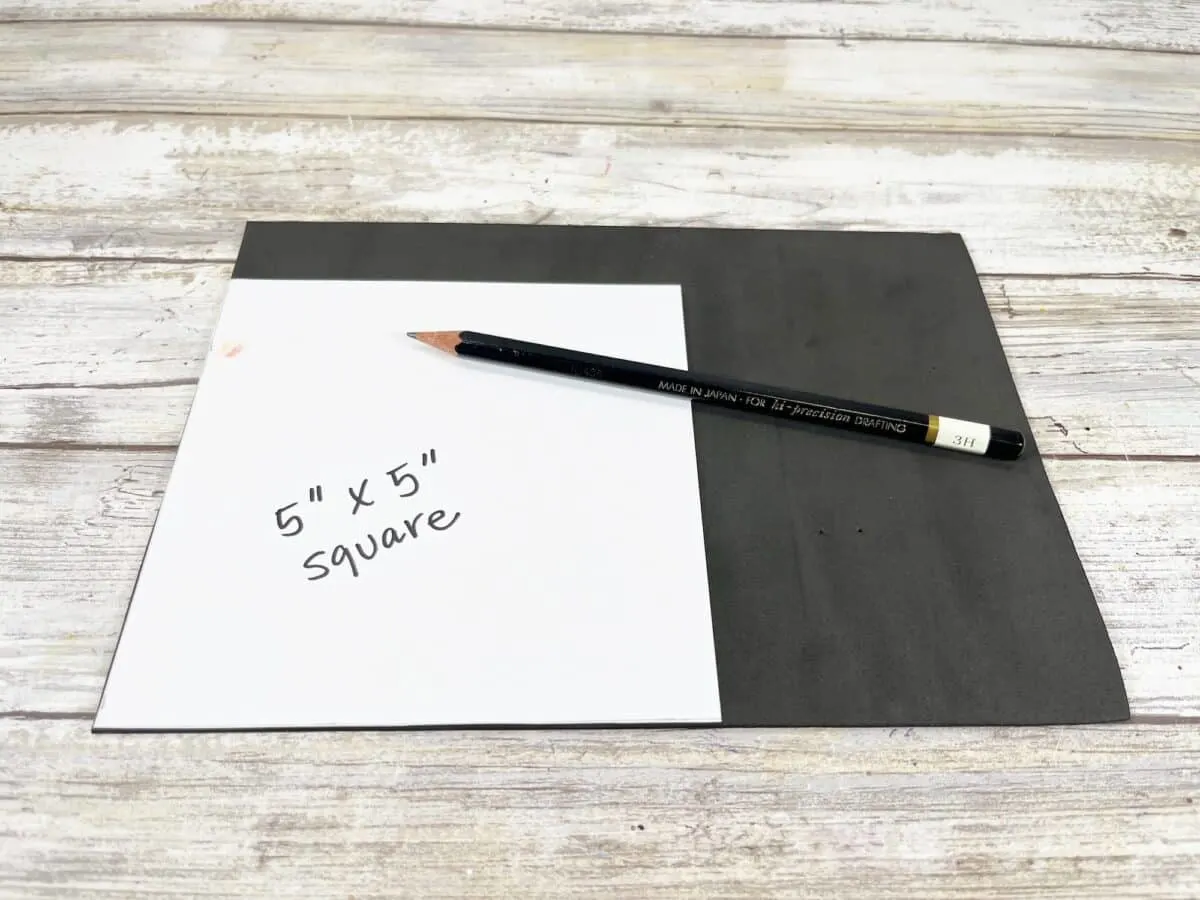
Trace onto black craft foam with a pencil, and then cut out.
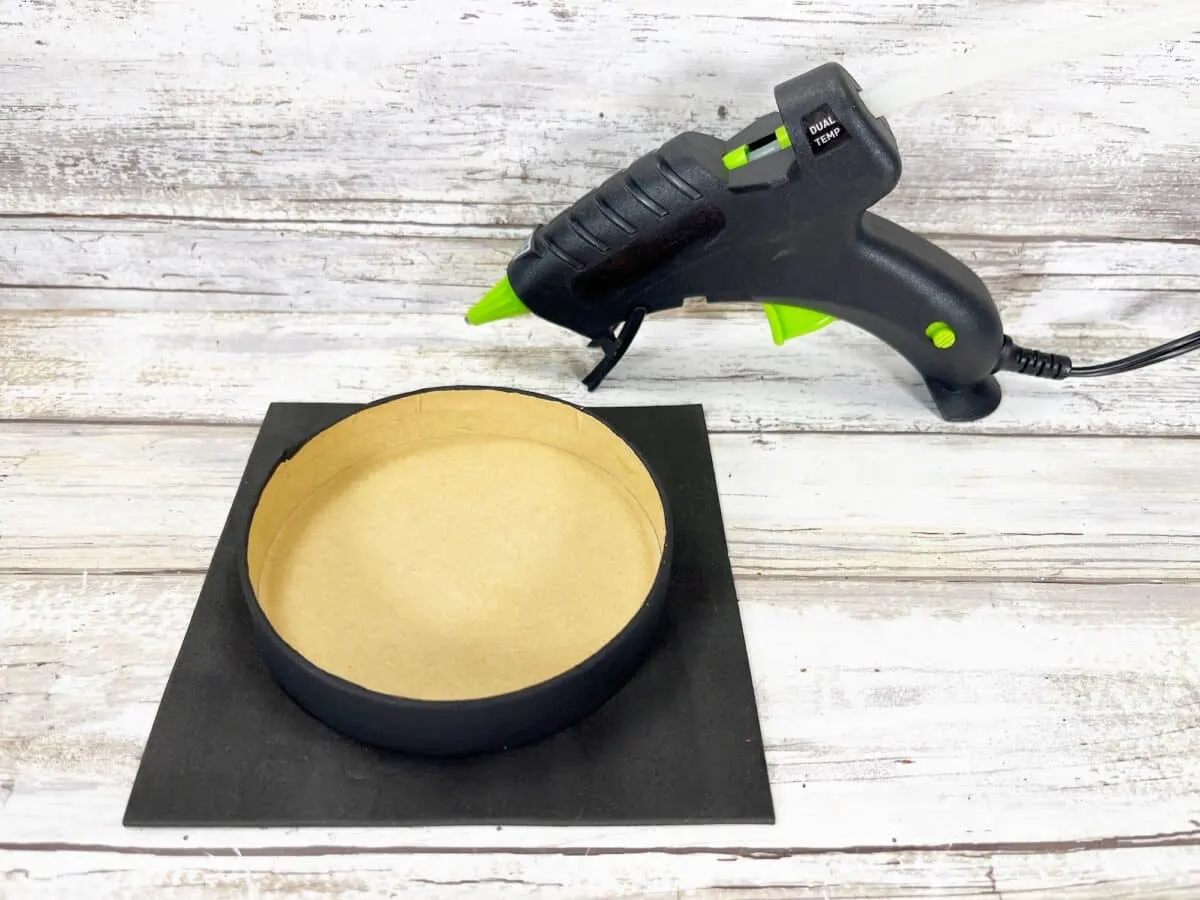
Step 6
Glue the craft foam square to the top of the paper mache box lid.

Step 7
Place the embroidery tassel on top of the graduation cap lid.

Trim the tassel loop with scissors and glue to the center on the gift box lid.
Finally, glue the button on top of the tassel loop to cover the cut end.


Be sure to Pin This idea to save for later! Or save it to Flipboard or Facebook.


Be sure to see our other DIY gift box and gift giving ideas:
