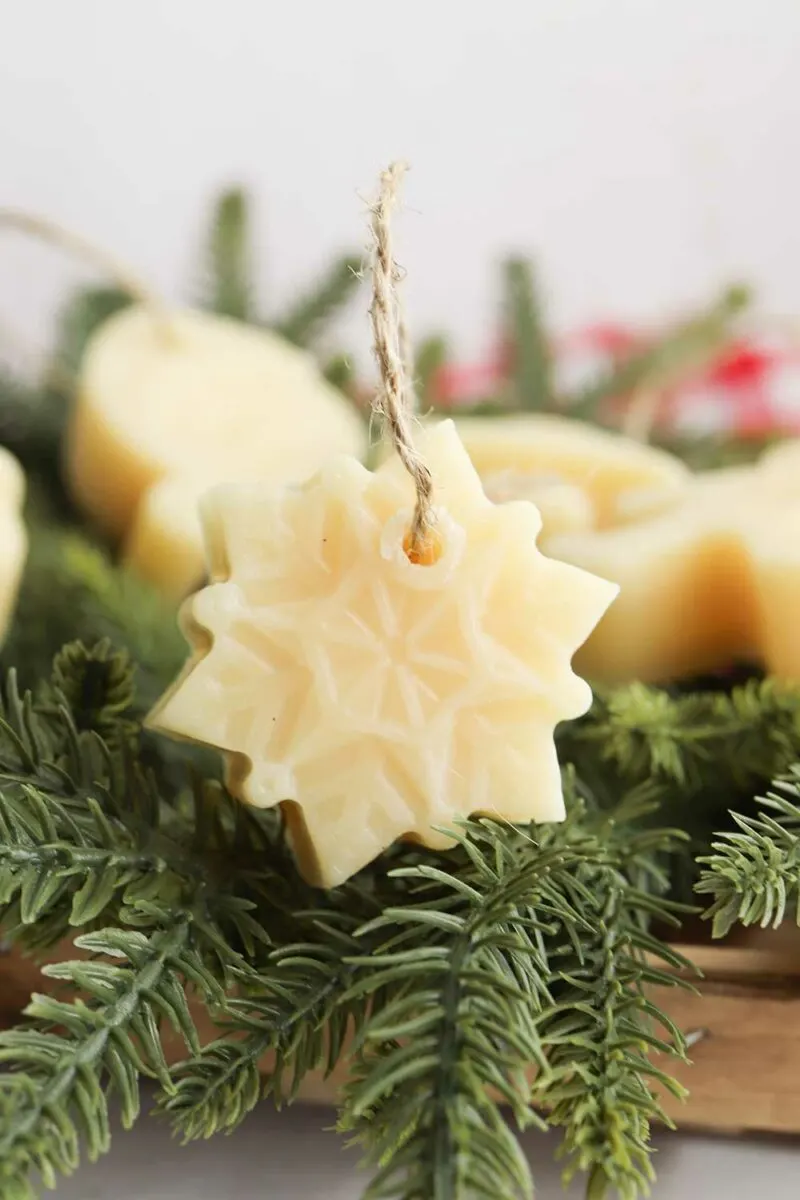
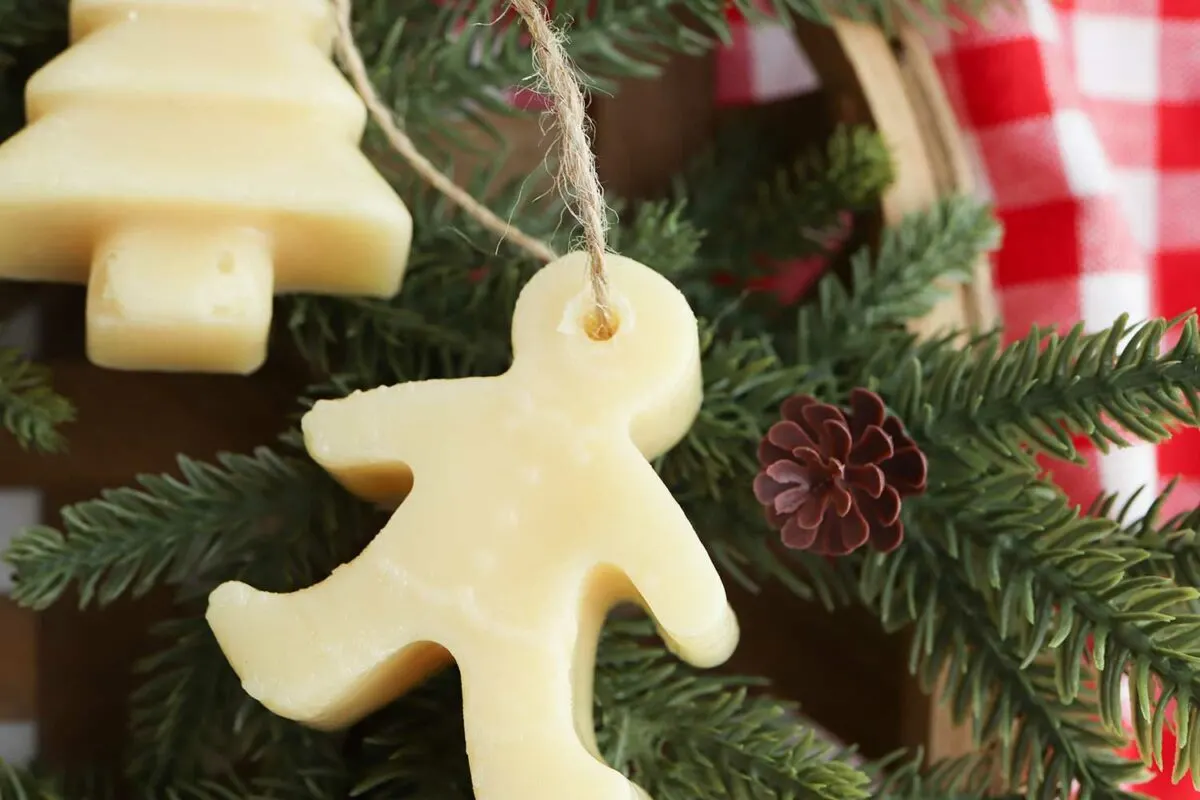
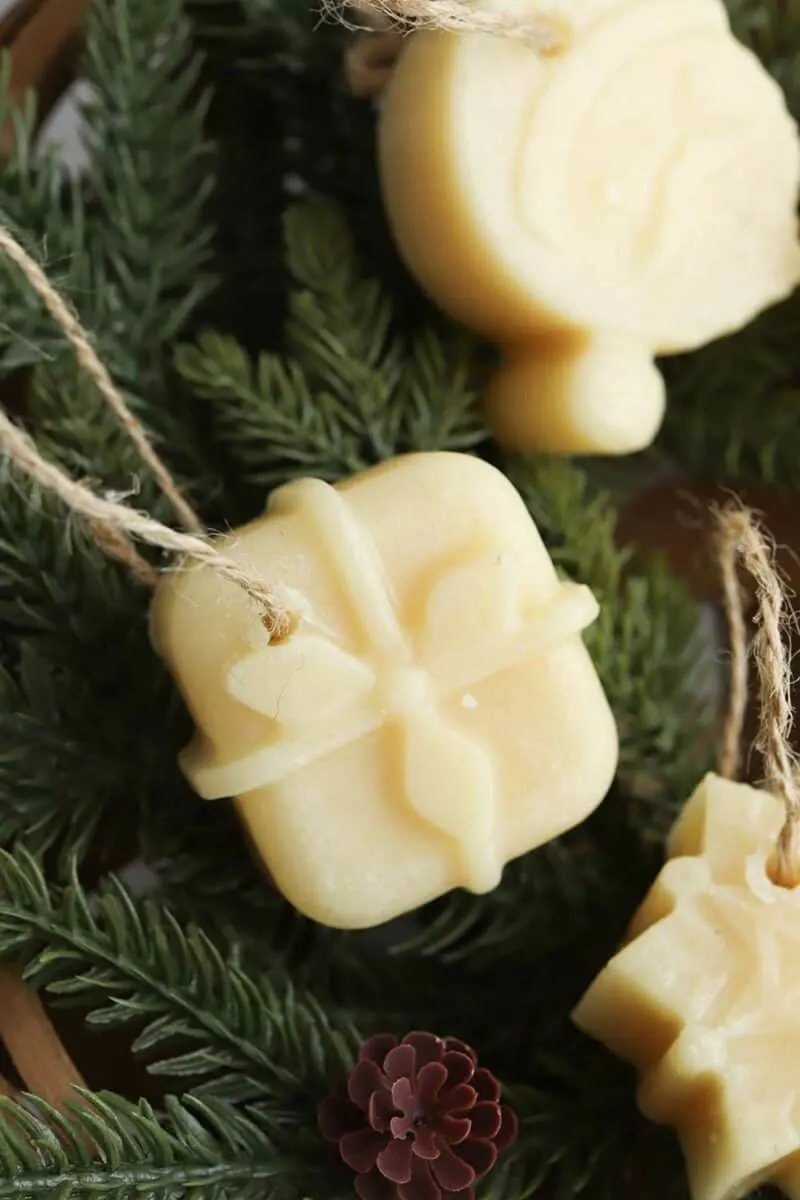
I don’t think I even knew what beeswax Christmas ornaments were until I went to Germany and explored their traditional Christmas markets. For sale in the small stalls were the most amazing-smelling ornaments made from intricate molds and fragrant beeswax.
These DIY beeswax ornaments are easy to make, even though they look complicated. They are so unique that your friends and family will love getting them as gifts, stocking stuffers or present toppers.
The slight fragrance from the Christmas ornaments will adding a soothing, cozy aroma near your Christmas tree.
If you want to add additional fragrance beside the sweet smelling honey aroma, then you can add essential oils to your mixture.
Beeswax Christmas Ornament Molds
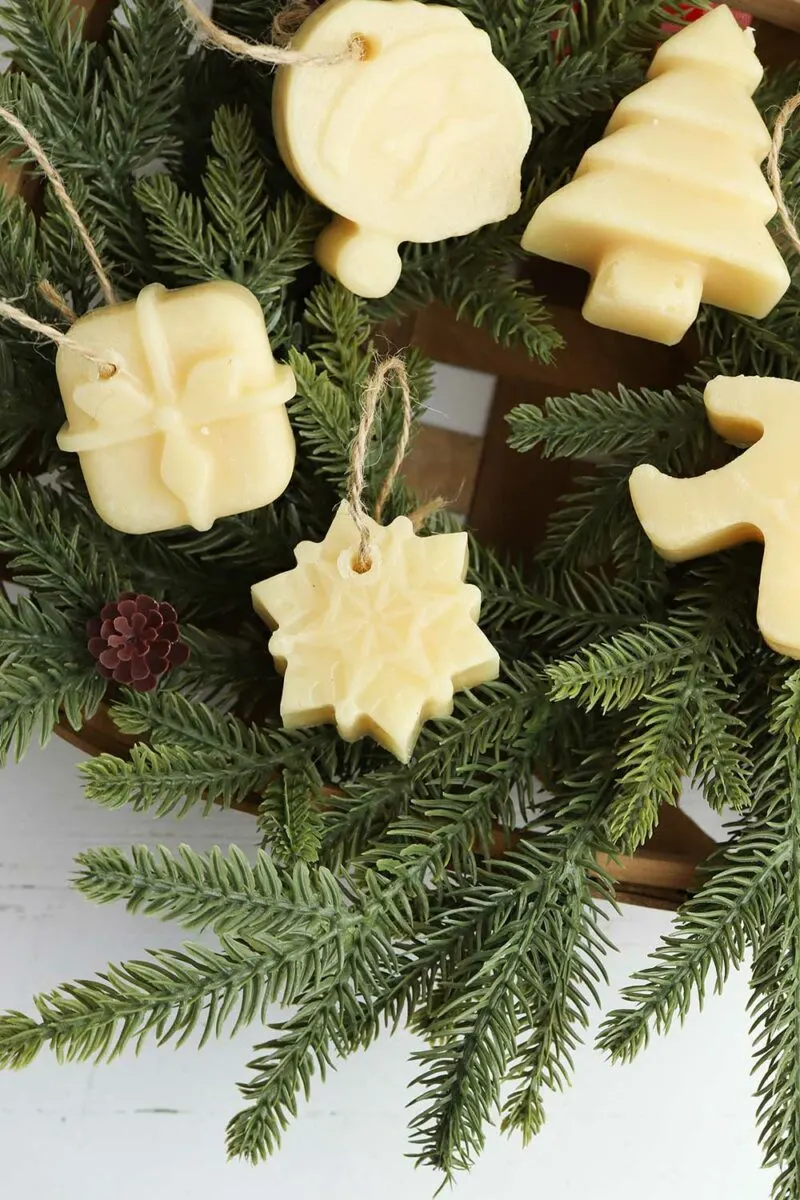
You don’t need a special mold to make these ornaments. Just use silicone molds made for making candies, soaps or muffins.
These molds often come with intricate designs which will be copied on your beeswax ornaments.
Use any shape you like. You can also choose small molds or big molds.
I used these miniature Christmas molds that have a variety of styles in one mold form.
Related Post: How to Make Cinnamon Applesauce Ornaments
What Kind of Beeswax to Use
There is yellow and white beeswax. You can use either one, depending on the color that you would like.
Beeswax pastilles (small pellets) are easier to use. However, you could grate a chunk of beeswax and melt down the shavings in the same way.
What Essential Oils to Use
Some of the best essential oils to add to beeswax Christmas ornaments are:
- Cinnamon
- Pine
- Cypress
- Christmas Blend
Be sure to see my entire list of 72 No-Sew Christmas Ornaments to Make!
How to Make Beeswax Ornaments
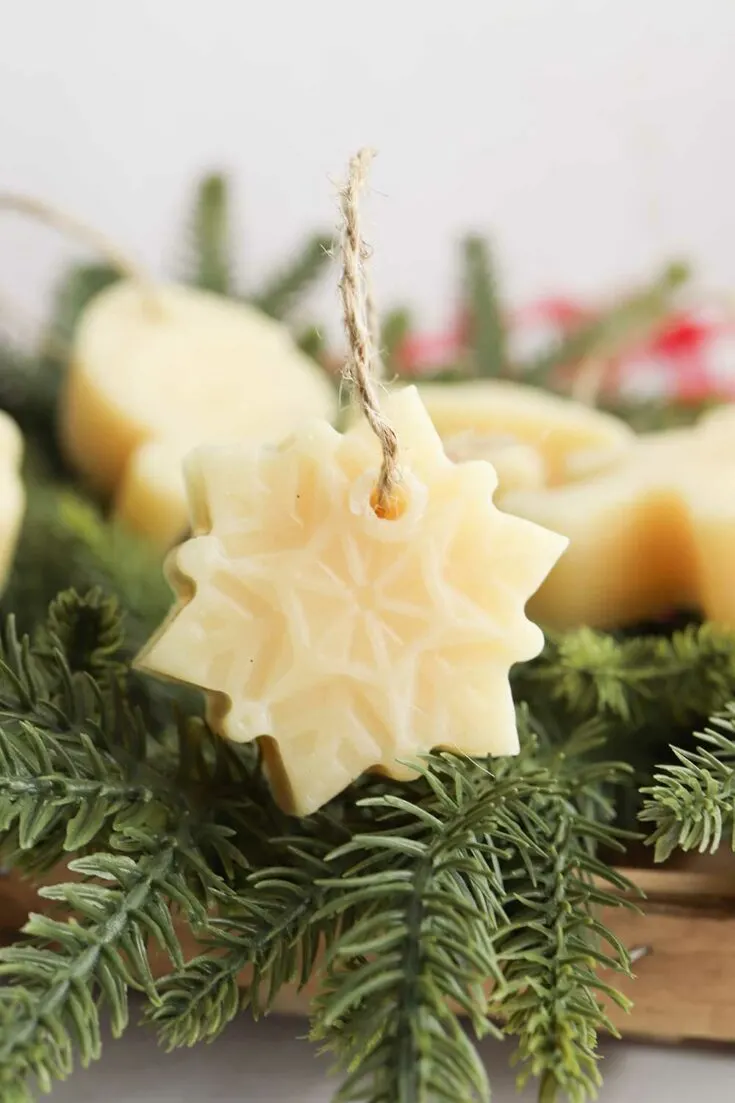
These DIY Beeswax Christmas ornaments are very easy to make and smell amazing! Use silicone molds to make these traditional German ornaments for your tree.
Materials
- Beeswax pastilles
- Essential oil (optional)
- Silicone molds
- Wooden skewer
- Twine
Instructions
1.Place the beeswax pastilles in a glass bowl or measuring cup. 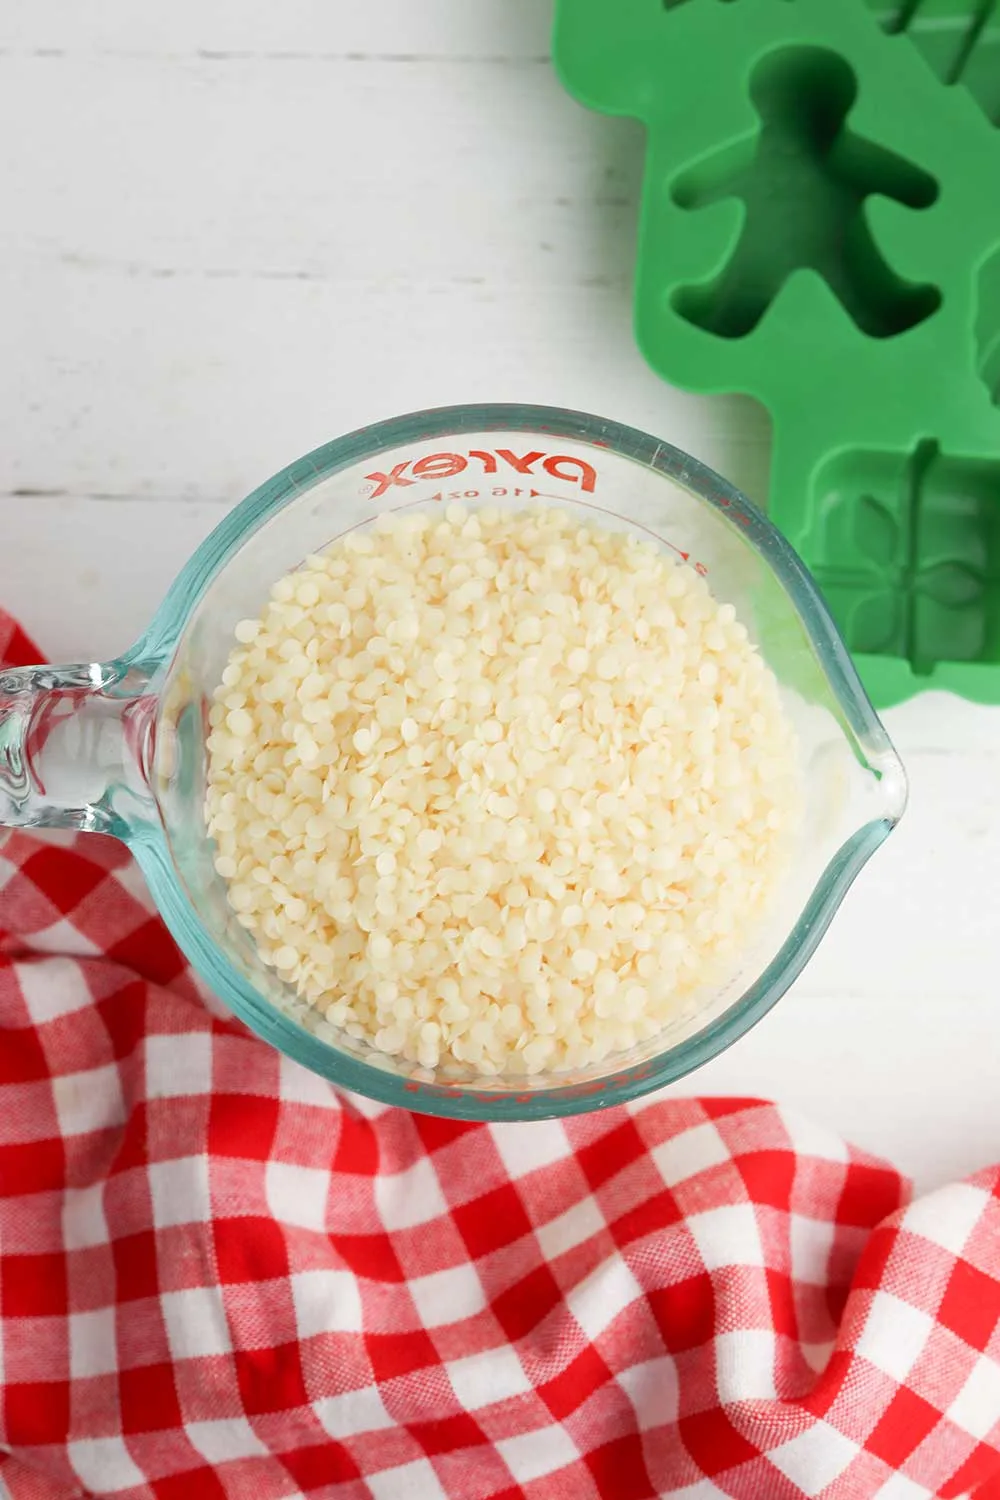
2.Heat around one inch of water in a small saucepan until boiling. When the water begins to boil, place the measuring cup in the pan carefully.
3.Allow the cup to rest in the boiling water until all the beeswax is melted, usually between 15 and 20 minutes. 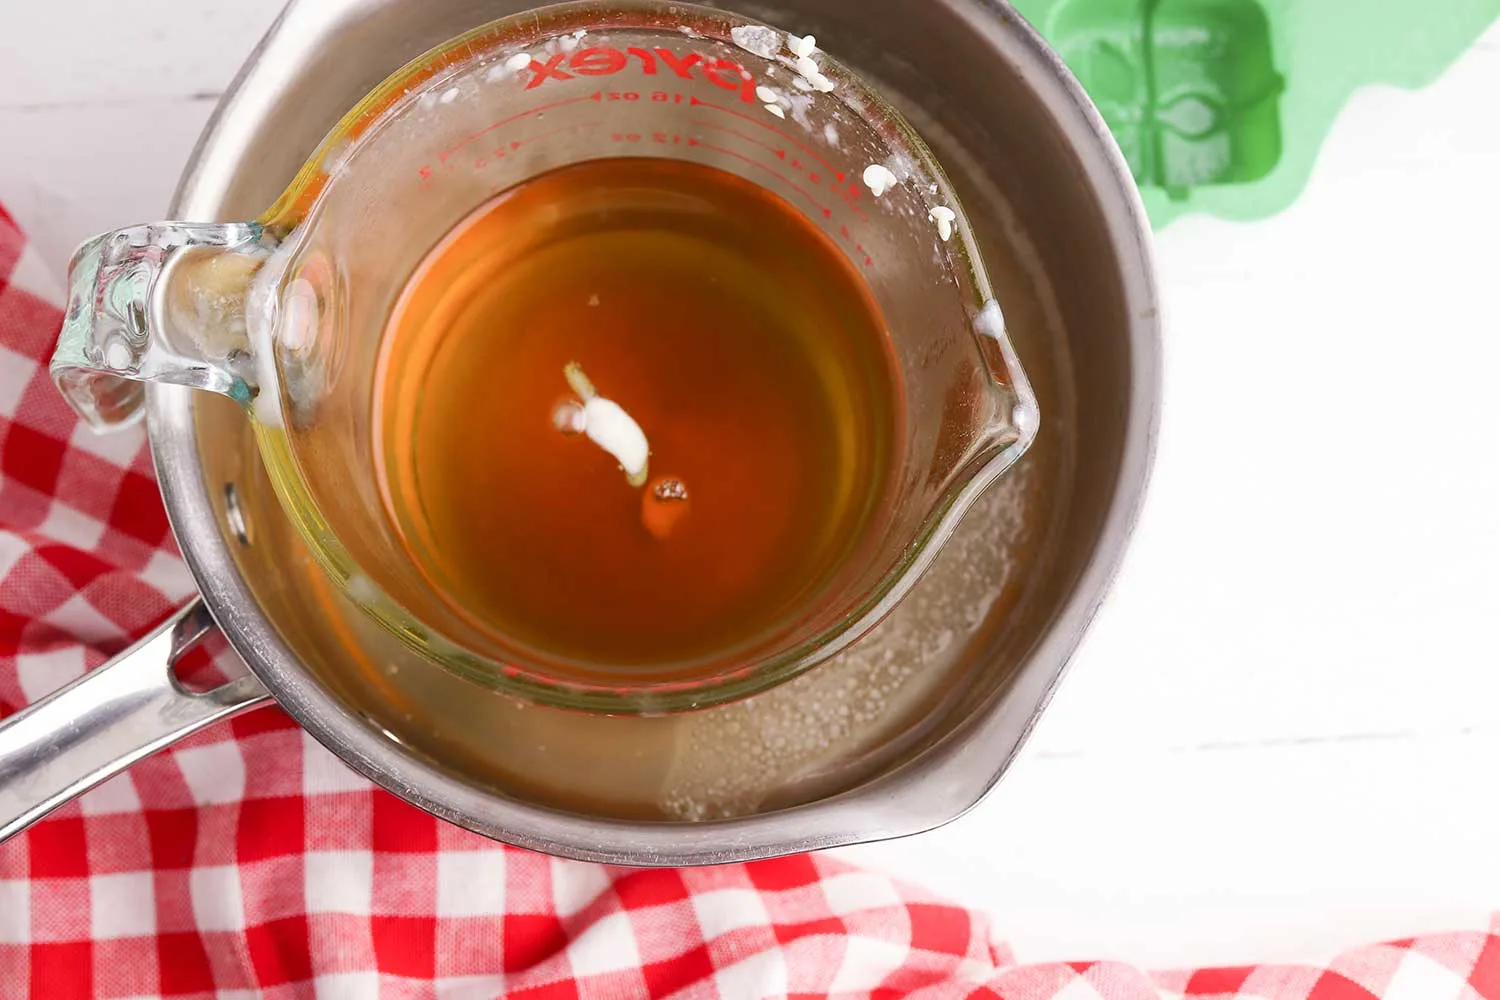
4.When the wax is melted, remove the pan from heat and add 20 to 30 drops of your favorite essential oil, if desired. 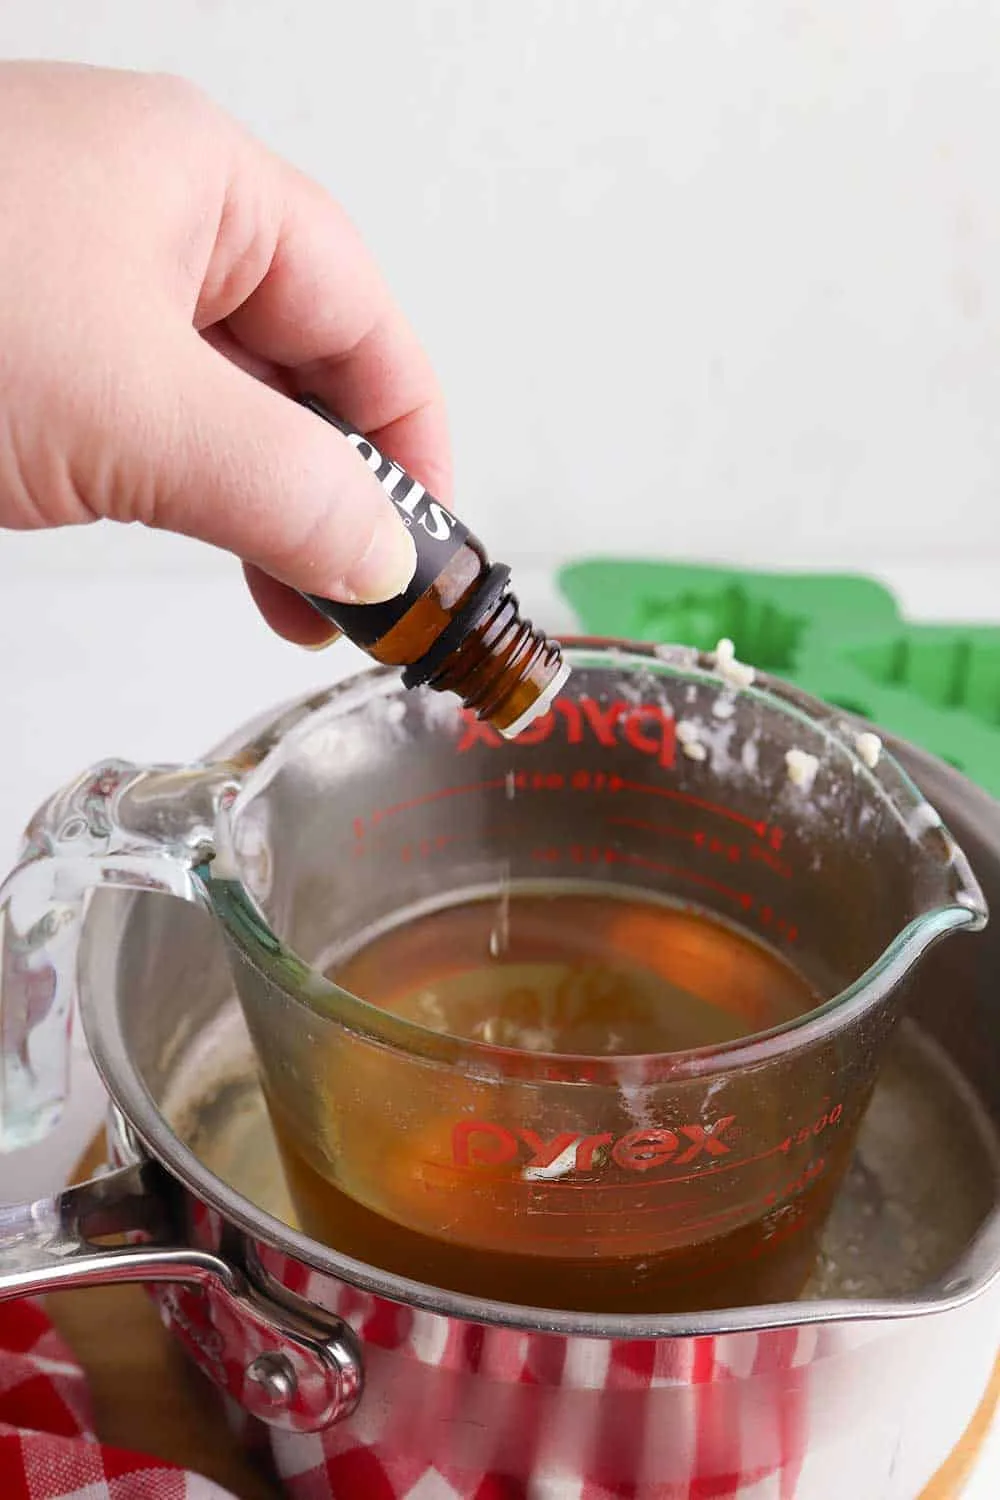
5.Carefully pour the melted wax into the silicone mold and allow to cool. 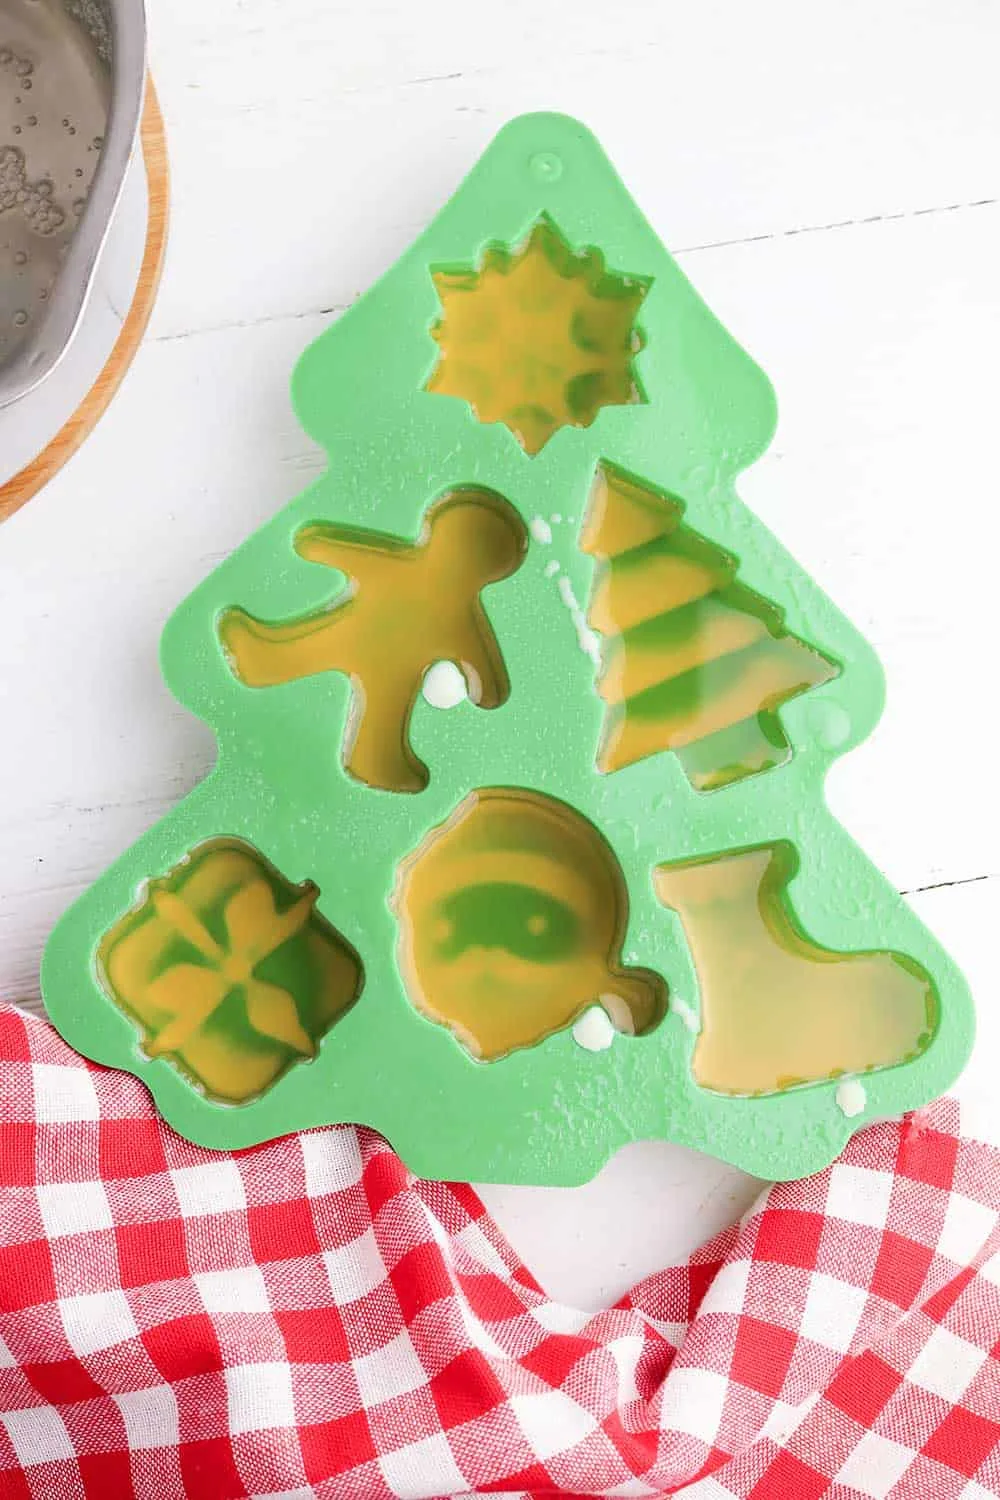
6.When the wax has started to harden but is still warm, stick the pointy end of the skewer into the top of each ornament to create a hole. 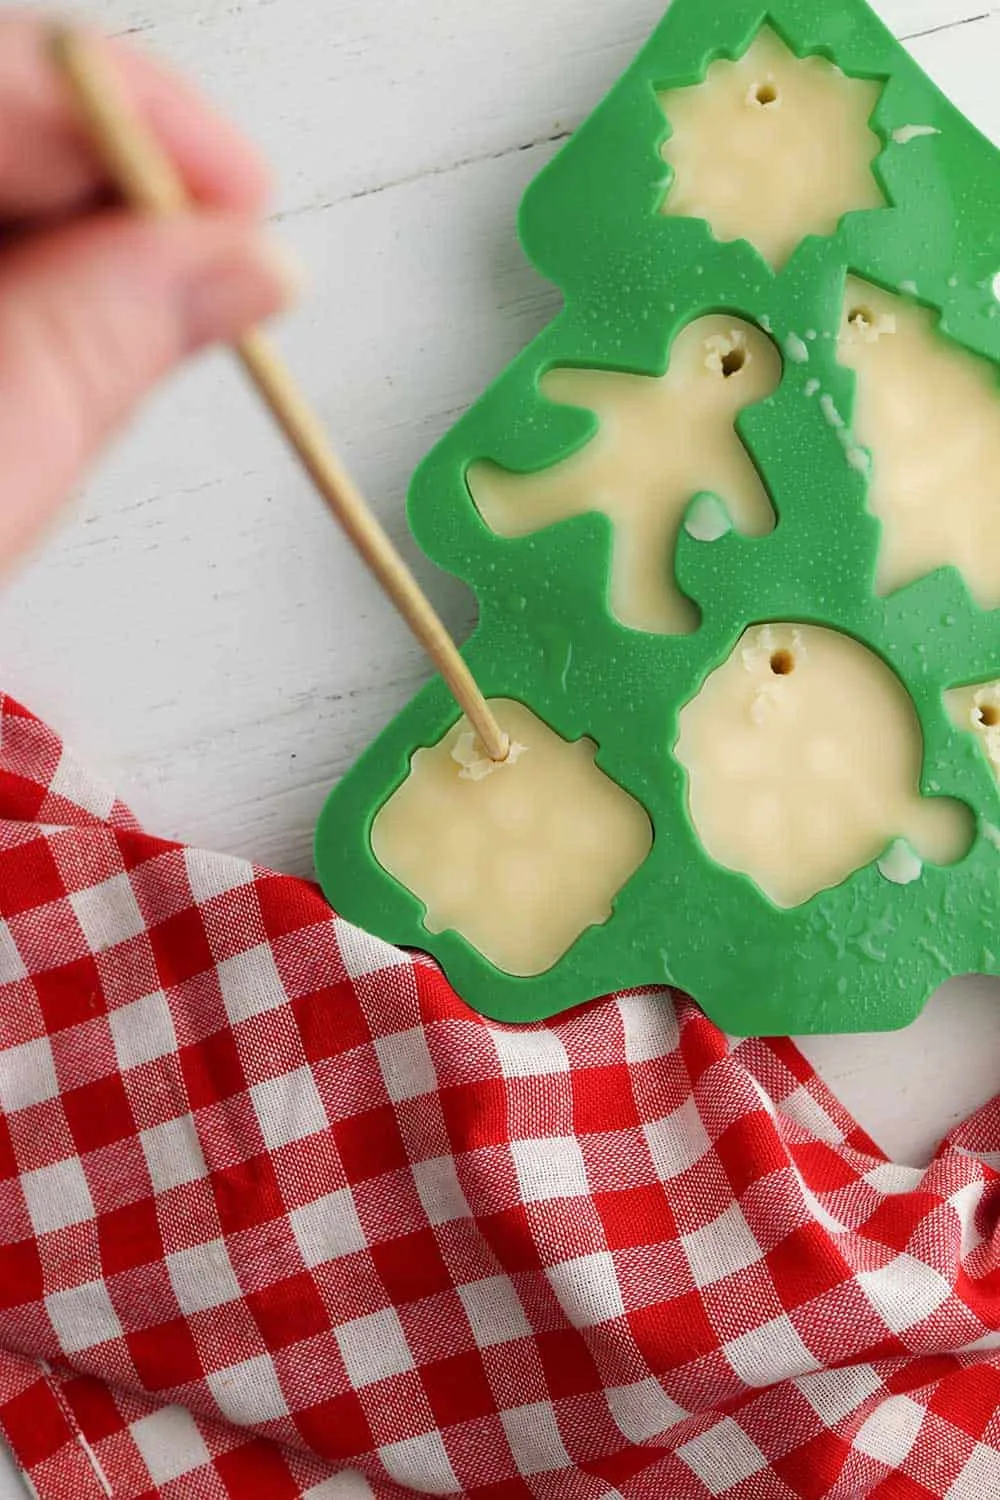
7.When the wax is completely cool, pop the ornaments out of the mold. If the holes didn’t poke all the way through the front of the ornaments, use the pointy end of the skewer to carefully push a hole through the top. ![]()
8.Thread the twine through the holes to create loops on top of each ornament. 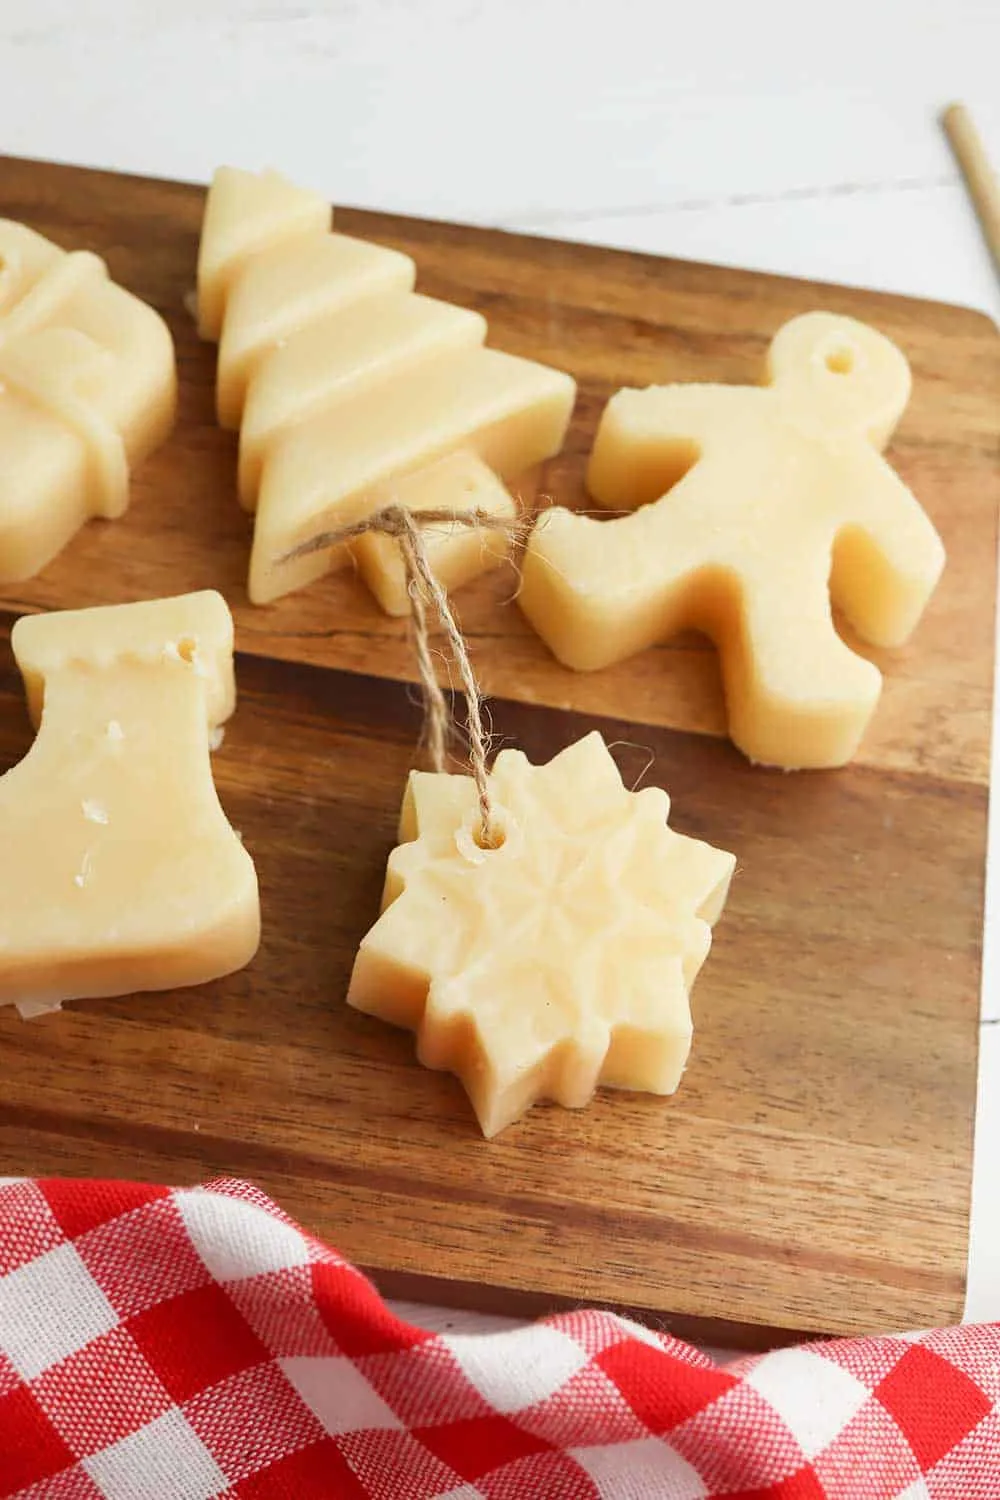
Notes
Keep these Christmas ornaments away from heat of hot lights or when storing so that they do not melt.
Helpful Tips
Do not place these ornaments next to hot lights on the Christmas tree. It could cause them to melt if the light touched the ornament.
New LED lights won’t be hot enough to melt the beeswax, however older Christmas tree lights with incandescent bulbs get very hot.
These ornaments will store easily. (See all of my Christmas decorations storage tips.) However, you do want to store them in cooler temperatures so that they do not melt. Keeping them in a hot garage or attic might not be wise.
Use leftover beeswax to make these easy scented fire starter candles or wax dipped pinecones.
Or make beeswax beauty products, such as this DIY beeswax lip balm or these solid beeswax lotion bars.

