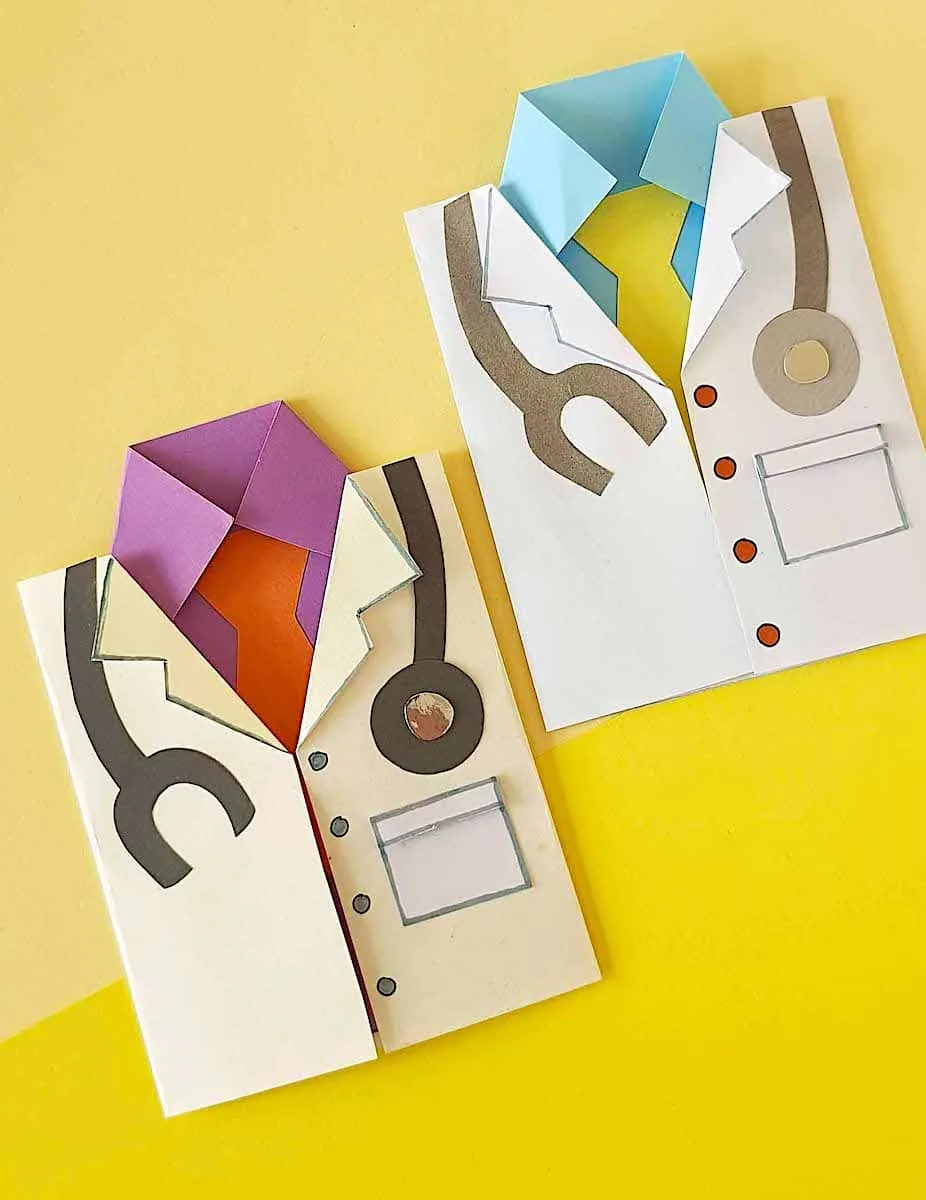
Celebrate Doctor’s Day, or give your medical provider a token of your appreciation, with this DIY Doctor Card you can make with our free template and craft paper.
If you like making homemade cards, check out these handmade card ideas, too:

DIY Doctor Card
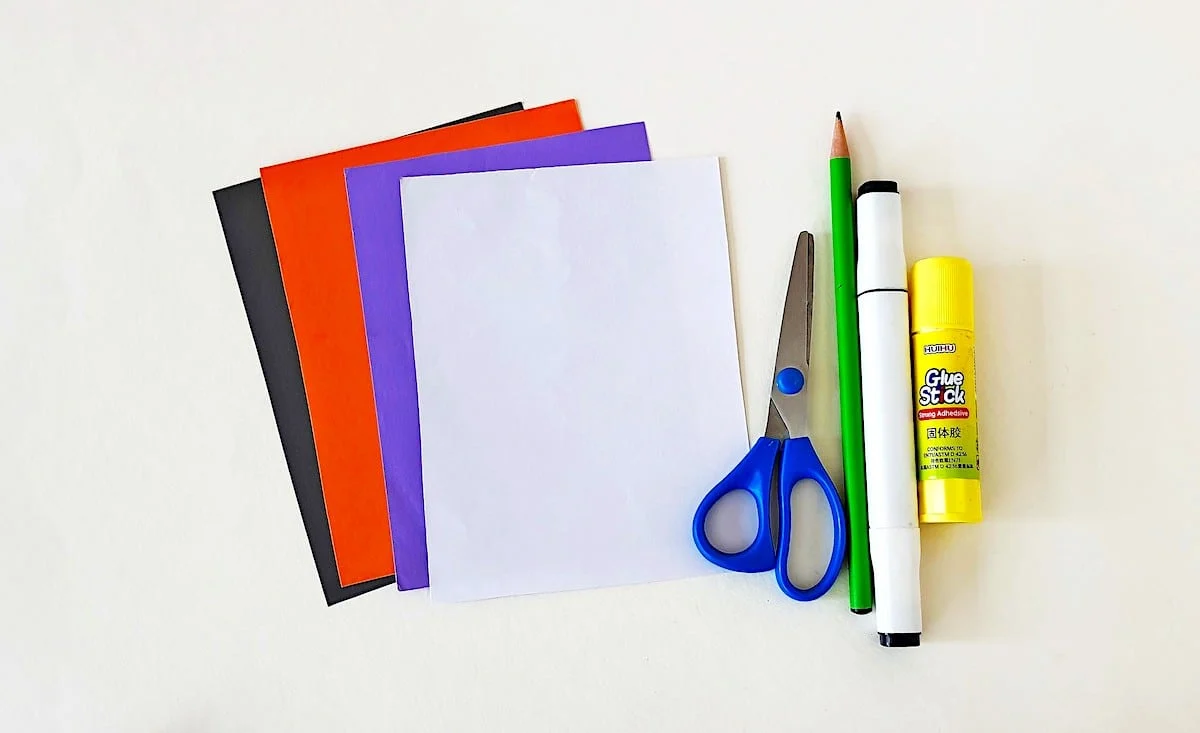
Materials
- Free Doctor Coat Downloadable Pattern
- Colored craft paper
- Craft glue
- Sharpie or gel pen
- Scissors
- Cardstock paper
Instructions
Step 1
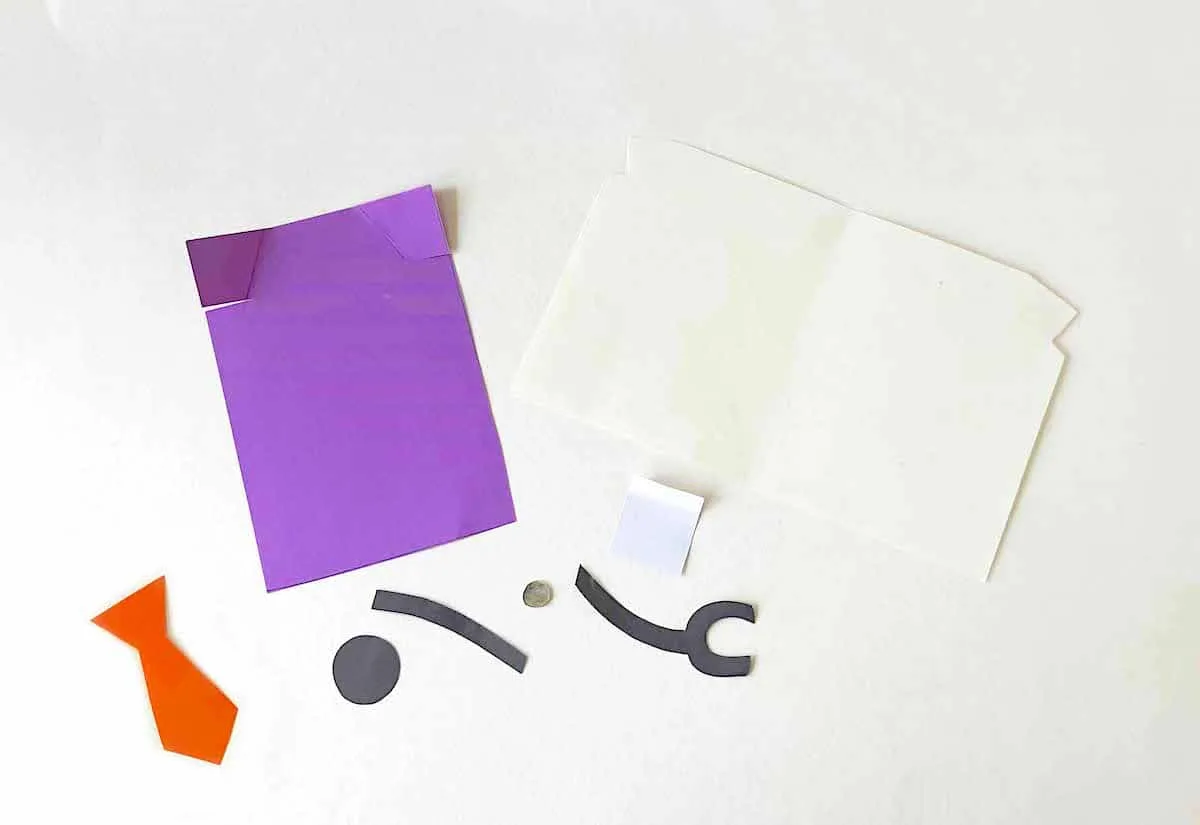
Download, print and cut out the doctor coat pattern templates.
Trace the doctor coat pattern onto white cardstock paper.
Use colored craft paper for the rest of the pattern pieces.
Step 2
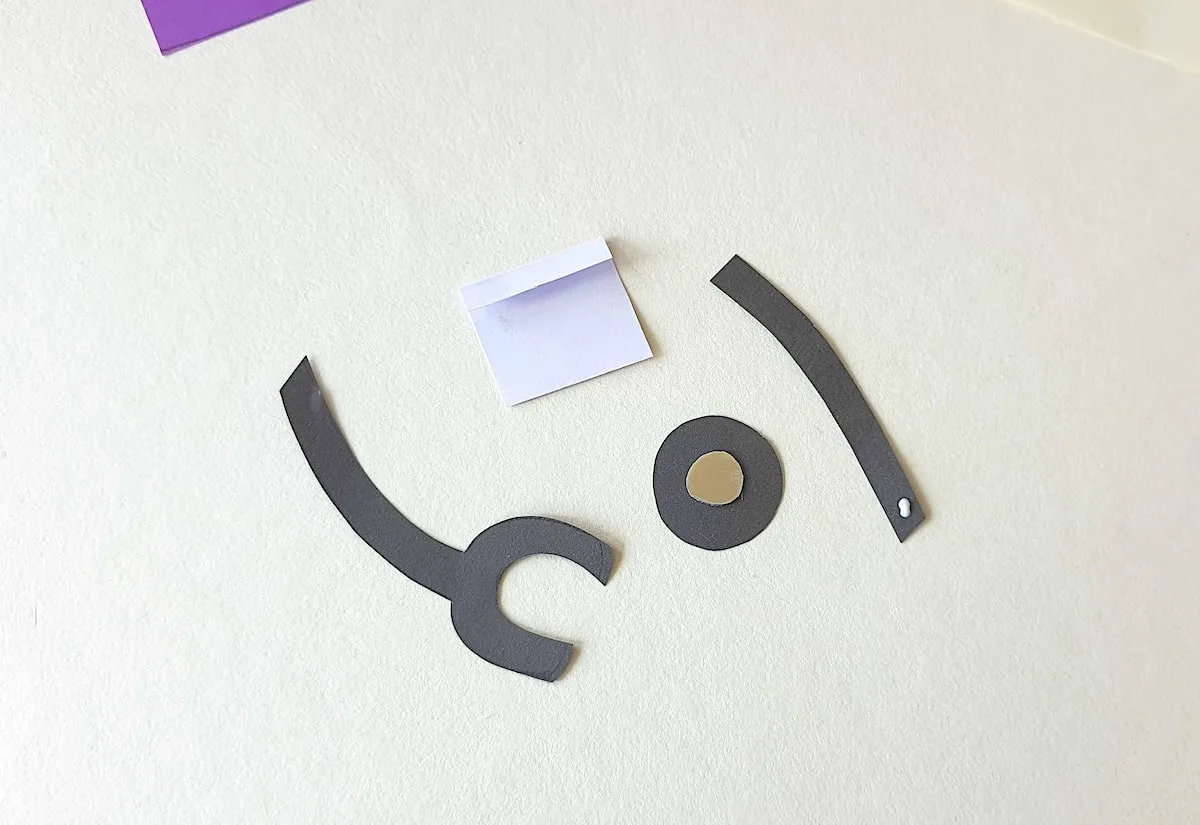
Fold the pocket cutout along the yellow line.
Glue the small round cutout on top of the big round cutout to create the stethoscope.
Step 3
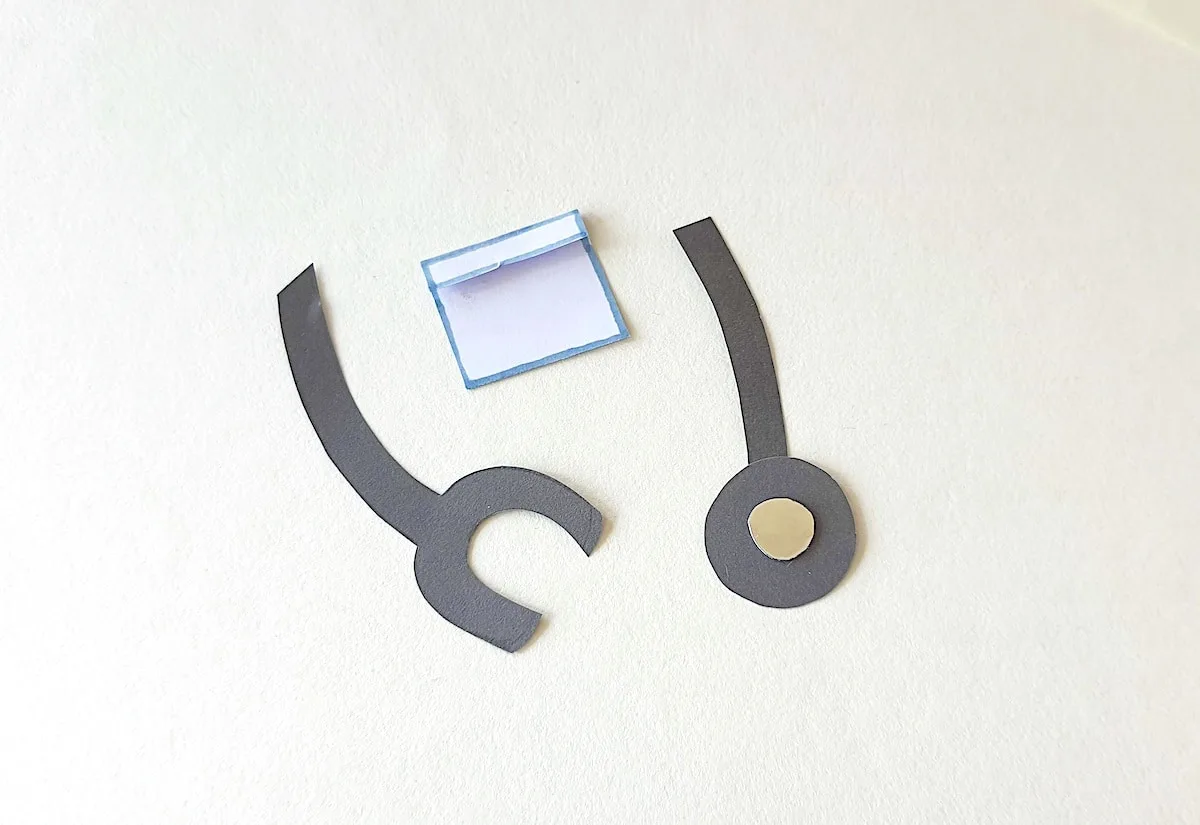
Use a Sharpie or gel pen to add lines along the edges of the pocket.
Step 4
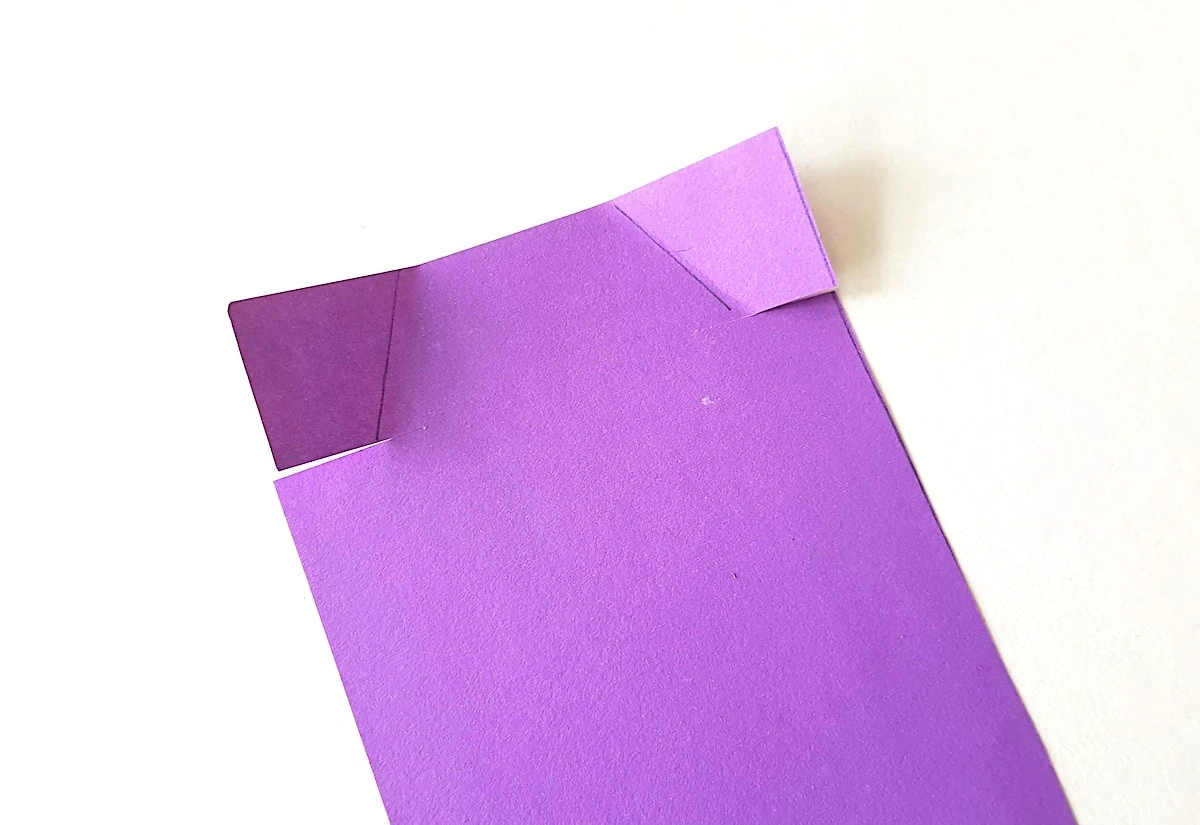
Cut slits along the red marked lines on the shirt cutout.
Step 5
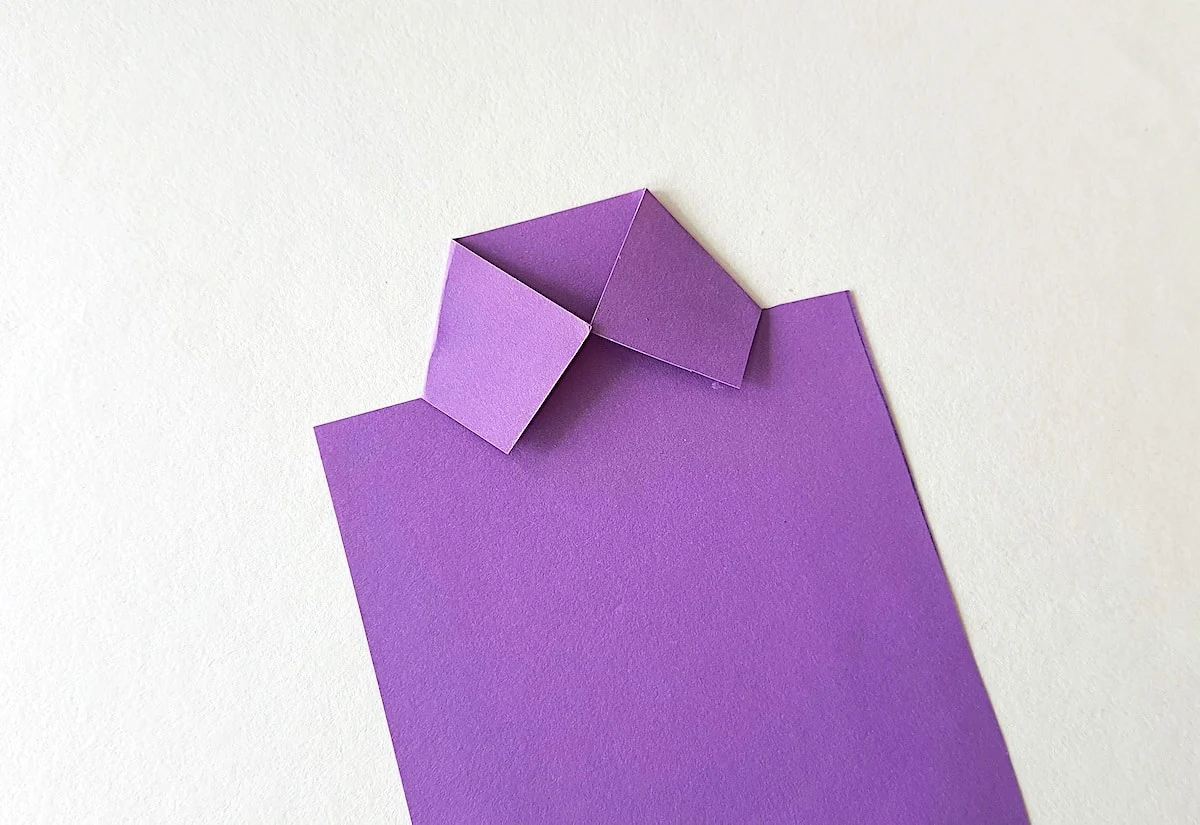
Fold the top sides of the slits along the yellow marked lines to make the collar of the shirt.
Step 6
Fold the doctor coat cutout inward along the yellow marked lines.
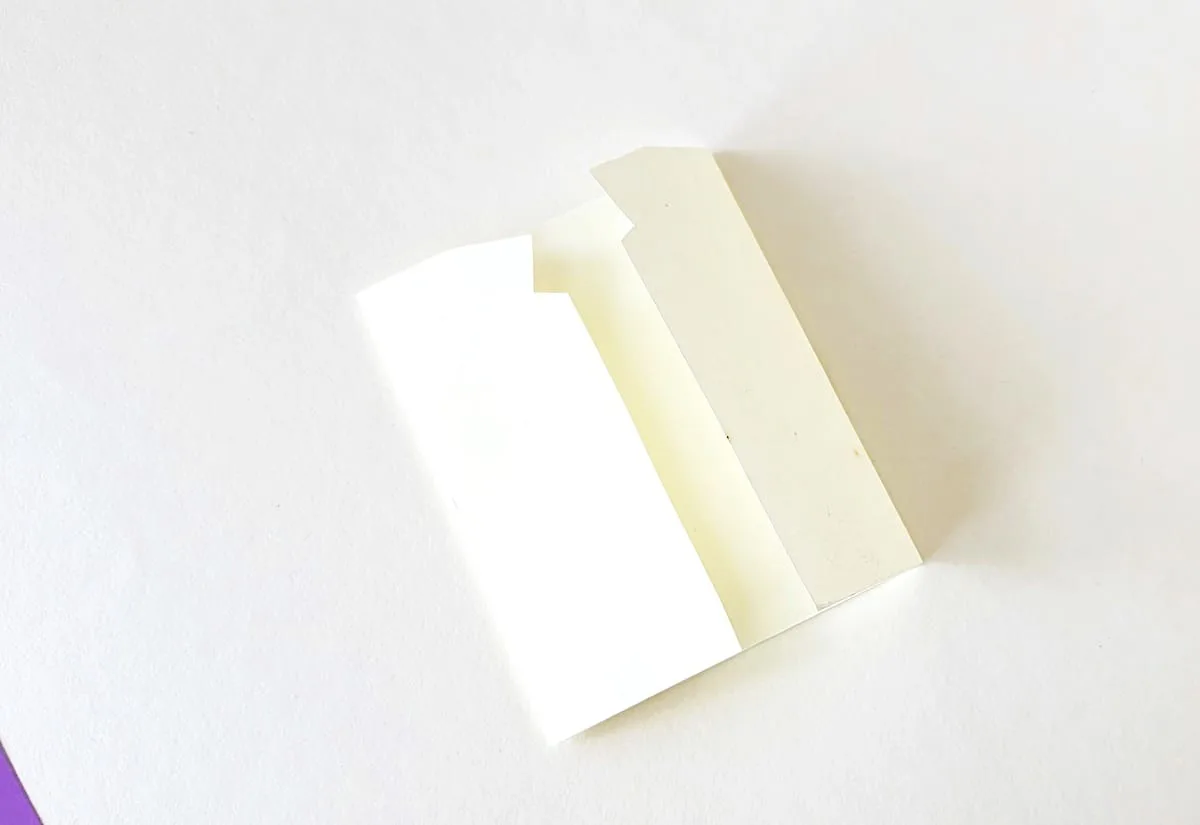
Step 7
Now, fold out the orange marked lines to make the collar of the apron pattern.
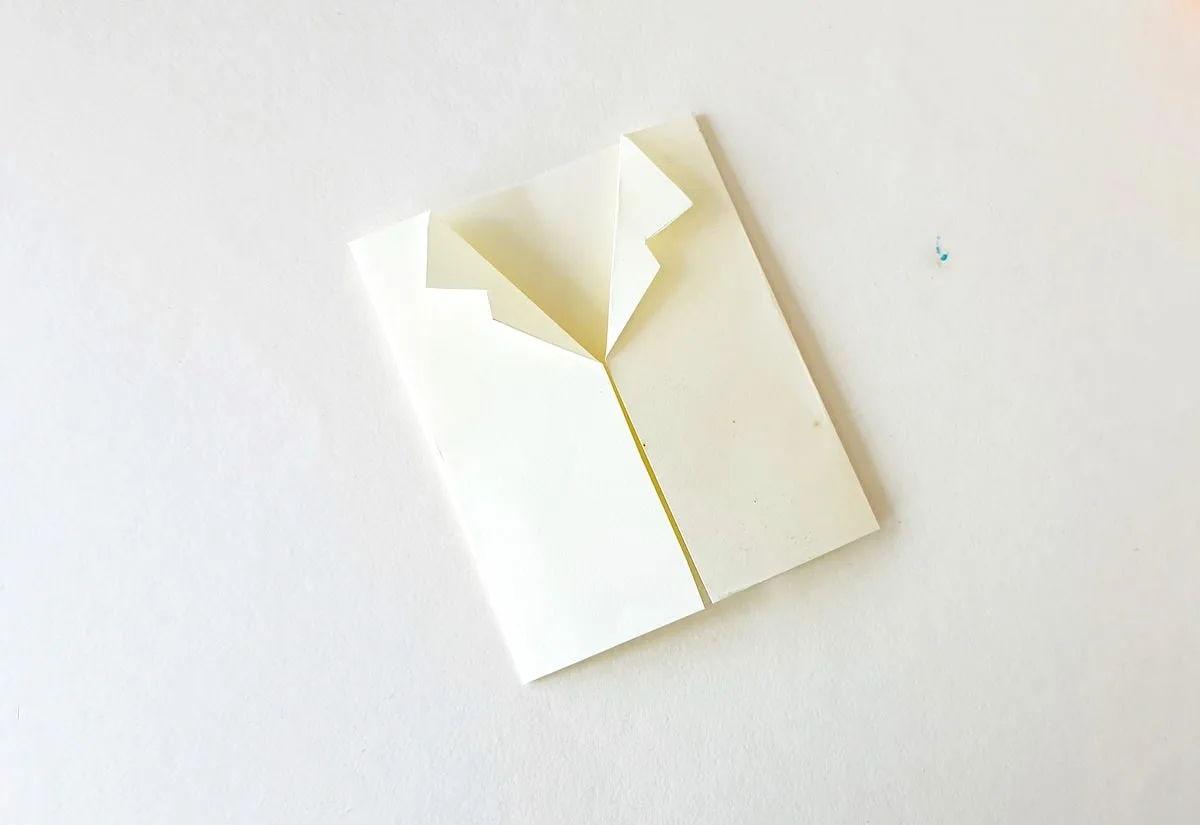
Step 8
Glue the stethoscope pieces on either side of the doctor’s coat along the shoulders.
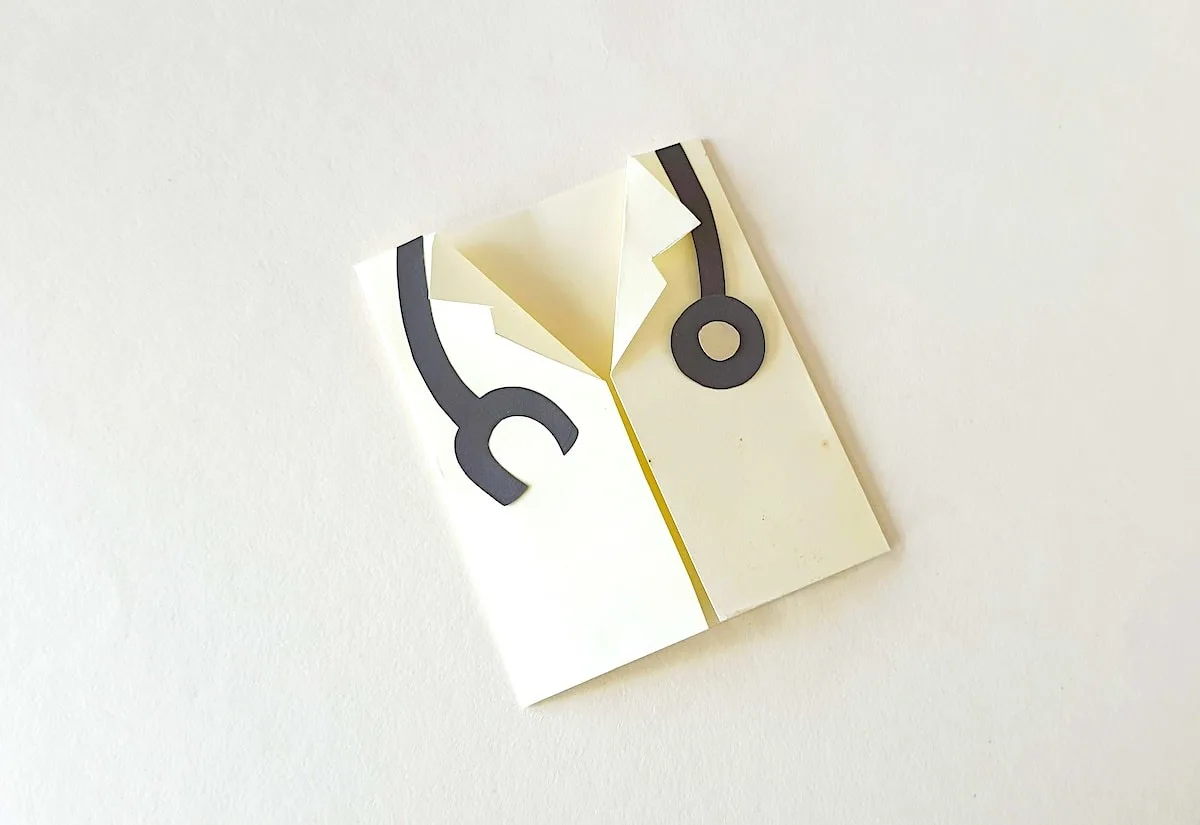
Step 9
Attach the pocket pattern to the coat underneath the stethoscope.
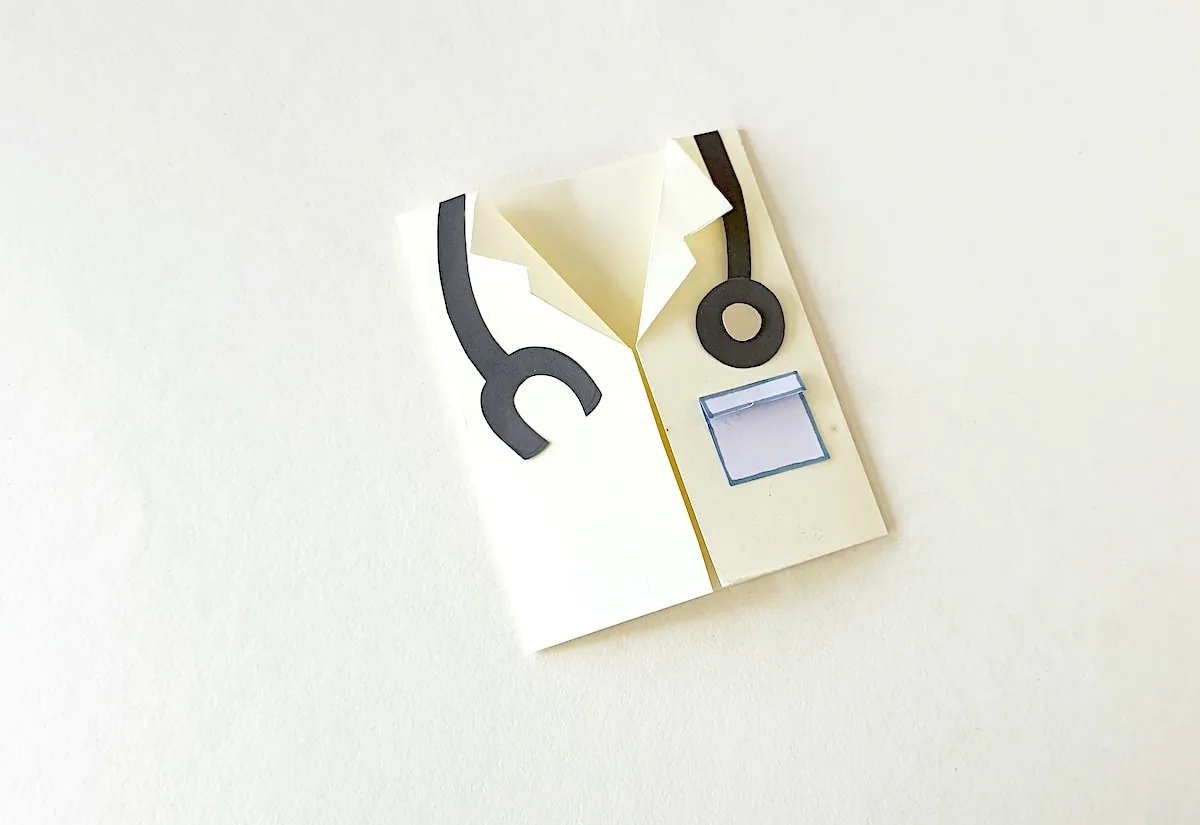
Step 10
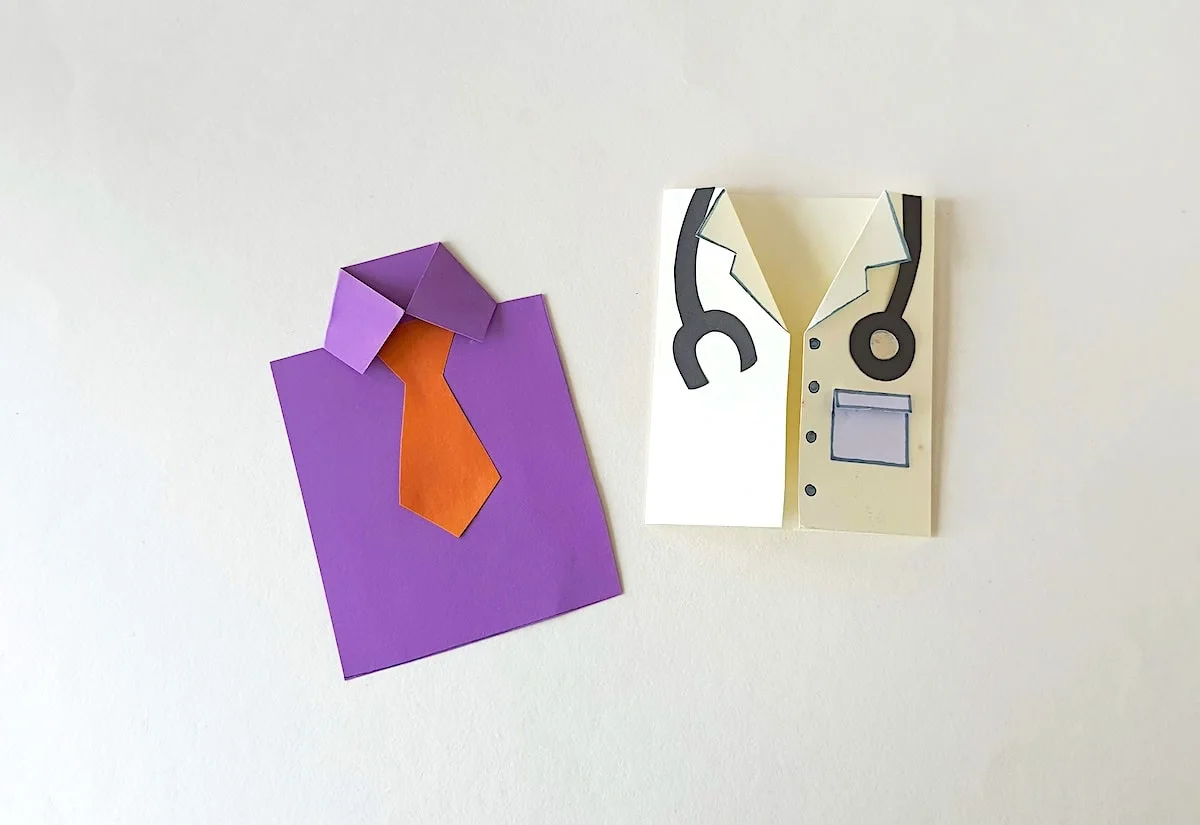
Use a pen or sharpie to draw buttons along the open edge of the doctor’s coat. Add lines along the edges of the collar of the doctor’s coat.
Glue the tie cutout onto the paper shirt pattern.
Step 11
If you would like, write a message or sign your name on the bottom of the shirt cutout.
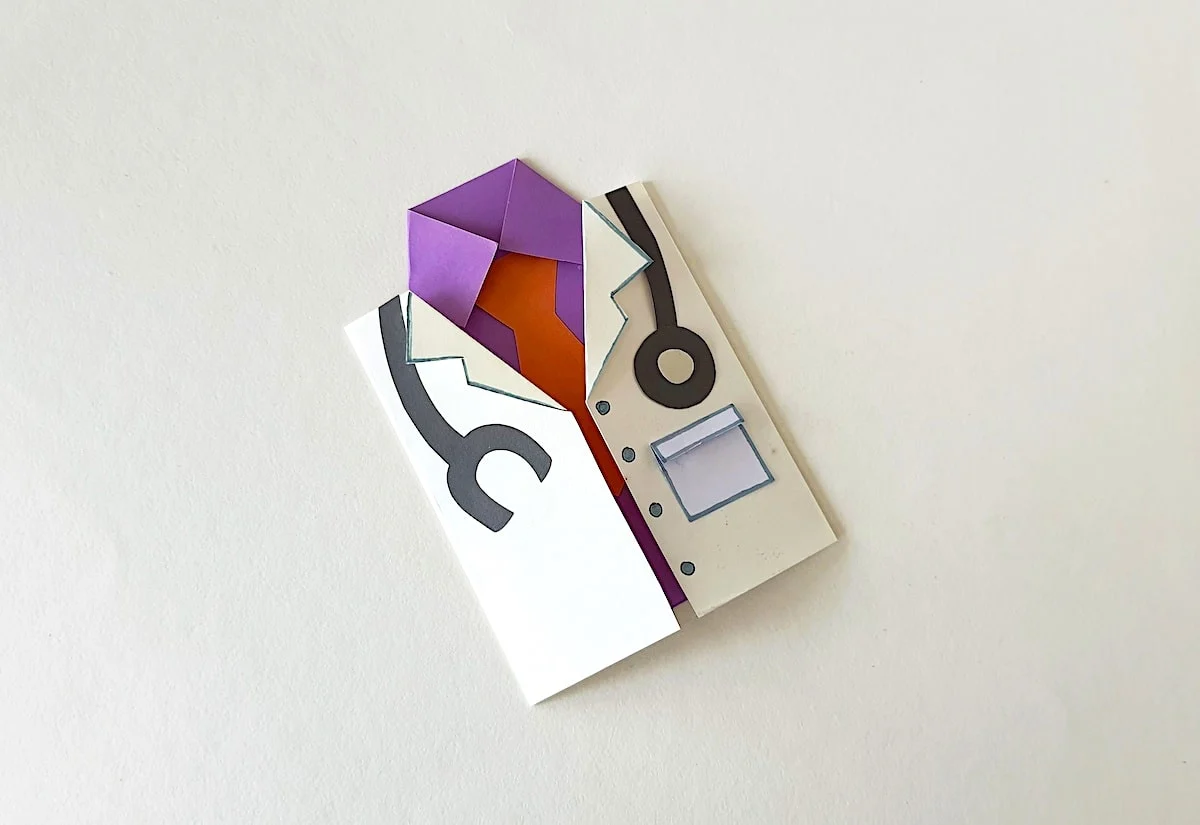
Insert the paper shirt into the doctor’s coat.
Be sure to Pin This handmade Doctor’s Card with free template to save for later!


