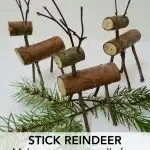
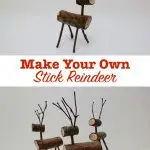
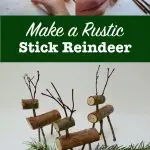
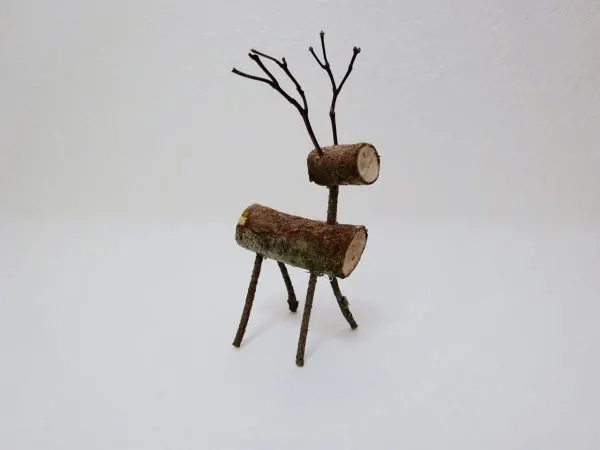
Make your own rustic Christmas decorations with nothing but sticks and glue! Gather some big twigs (or even logs) from your yard to create these adorable reindeer. The best part is, they are free to make!
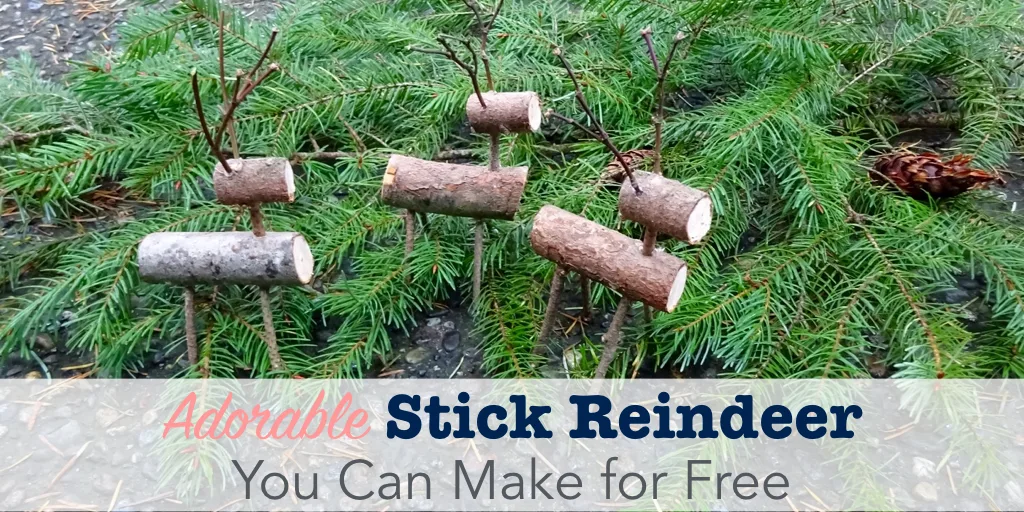
ADORABLE STICK REINDEER YOU CAN MAKE FOR FREE
MATERIALS TO MAKE REINDEER OUT OF STICKS
- Drill & assorted bits
- Hot glue gun
- Garden loppers (for the big sticks)
- Pruning shears (for the little sticks)
- Sticks (any kind of wood) in these approximate sizes:
- Body: 3″ long x 1″ diameter
- Head: 1″ long x ¾″ diameter
- Legs: 2″ long x ⅜″ diameter
- Neck: ¾″ long x ⅜″ diameter
- Antlers: Skinny stick with interesting branches, ~1 ½″ long
These rustic little reindeer make great gifts, mantle decorations, place card holders, and more. You can also scale up the design and use wood logs to make a bigger decoration for your porch or lawn.
Just follow these basic instructions to create your own little herd of reindeer.
1. Cut your sticks
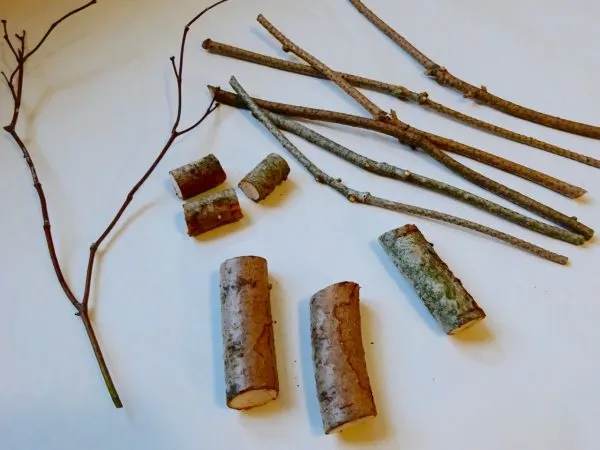
Use pruning shears to cut some fairly straight pieces from sticks. Any kind of wood will do. I used fir for the main pieces, and vine maple for more interesting shaped antlers.
If you have time to let the sticks dry for a few days, they may be easier to work with.
2. Drill holes for legs & neck
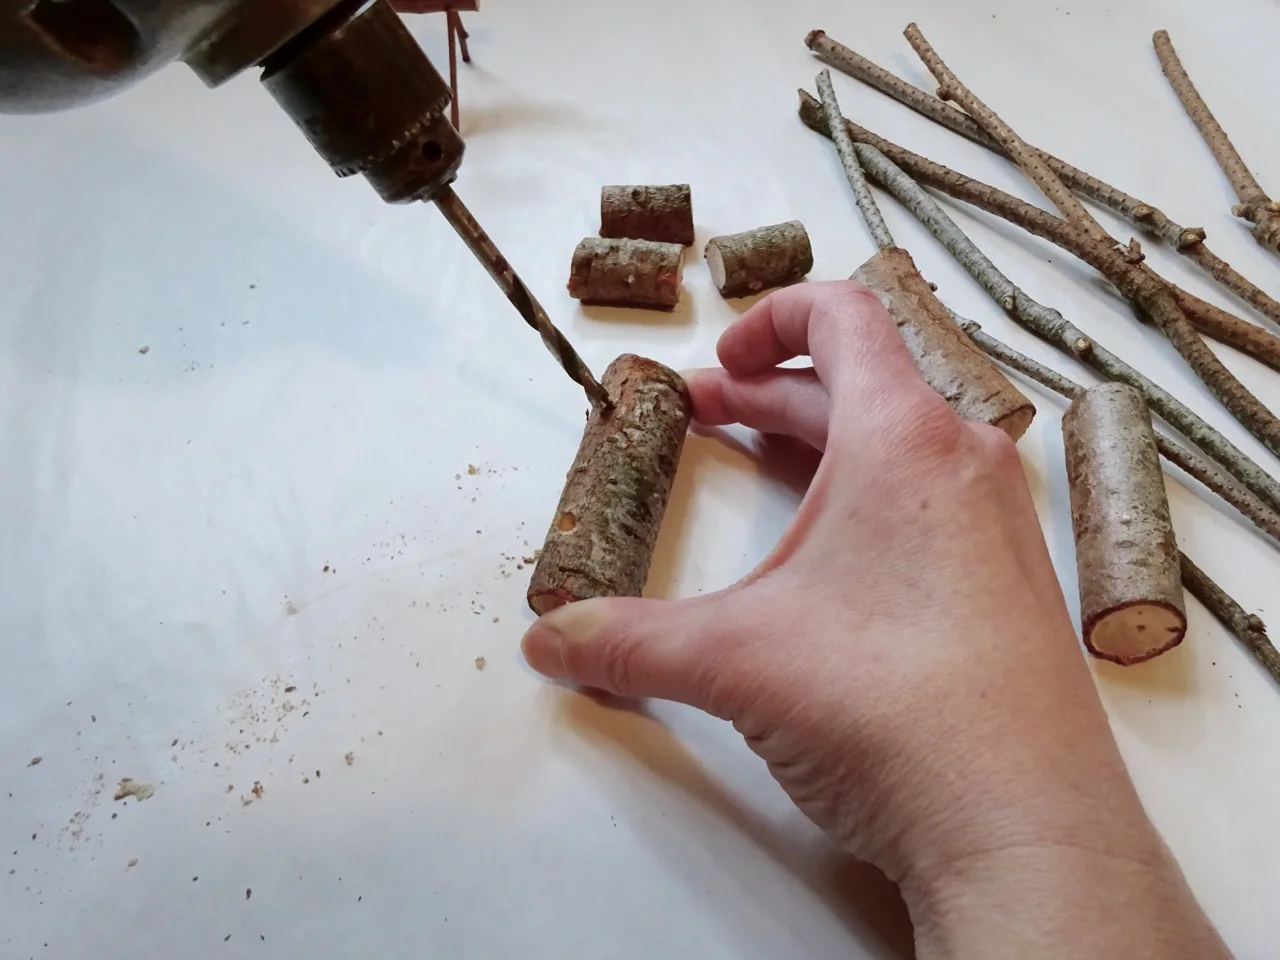
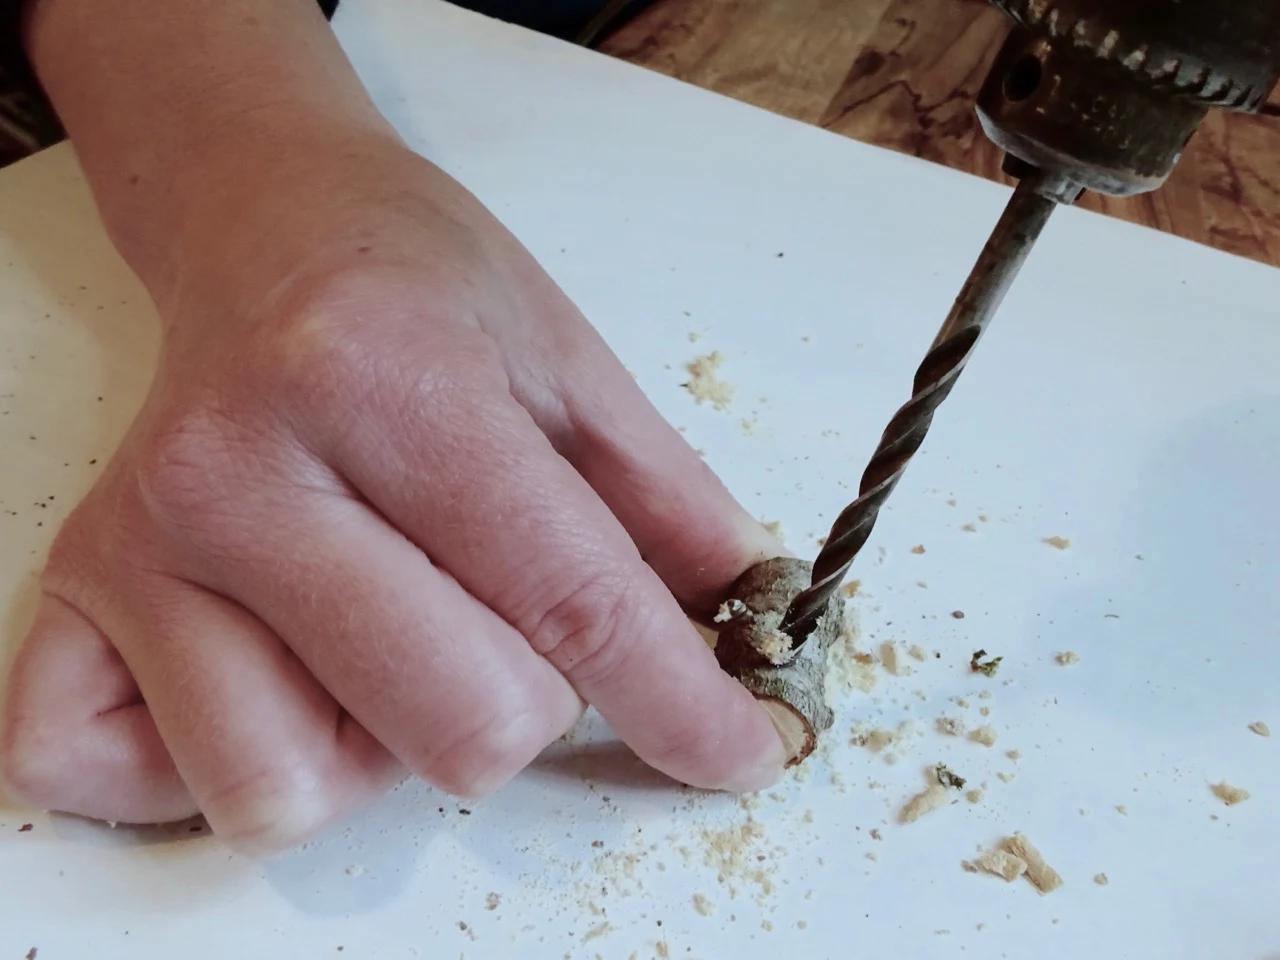
Use a drill bit just slightly larger than the sticks you plan to use for the legs and neck. Drill four holes in the bottom of the body piece, angled just slightly outward. Make the holes about ⅜″ – ¼″ deep.
If you’re less familiar with using a drill, please be sure to use a vice or channel locks to hold your pieces while drilling. Wrap the sides of the stick in something, so the vice doesn’t leave marks in the wood.
Drill a hole in the top of the body, and at one end of the head for the neck. Dry fit your pieces, to make sure the holes are big enough, and deep enough.
3. Drill holes for the antlers
Swap out your drill bit for a much smaller bit. Make holes on the top of the head piece, at the same end as the hole for the neck.
You don’t need to angle these holes very much. The antler sticks will want to tip outwards, so keep the holes fairly straight.
4. Glue your pieces
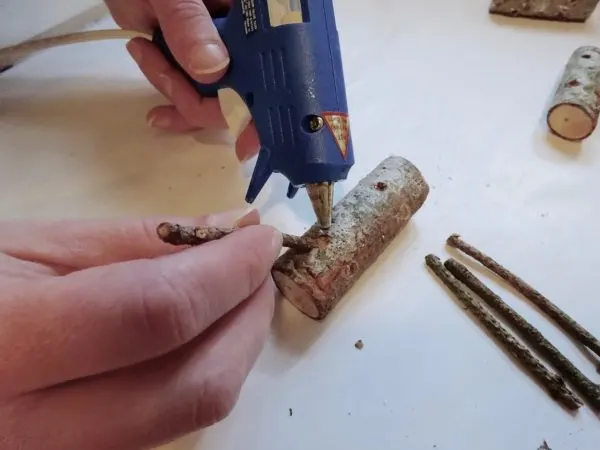
After you have dry fit everything, you can assemble the reindeer. Put a little hot glue in each hole, and press the sticks into place.
You can tweak them slightly, to get the legs pointing the right way, and put the head on at the right angle. Hold each piece firmly until the glue is set.
5. Trim the legs
Even if you initially cut all your sticks to the same lengths, you may need to trim up the legs to make them even. The holes may be slightly different depths, or angles.
Measure the length of the shortest leg, and then trim the others to match. Set the reindeer on a flat surface, and then trim any legs that are still a little long, to make it stand flat.
DIY Wooden Reindeer
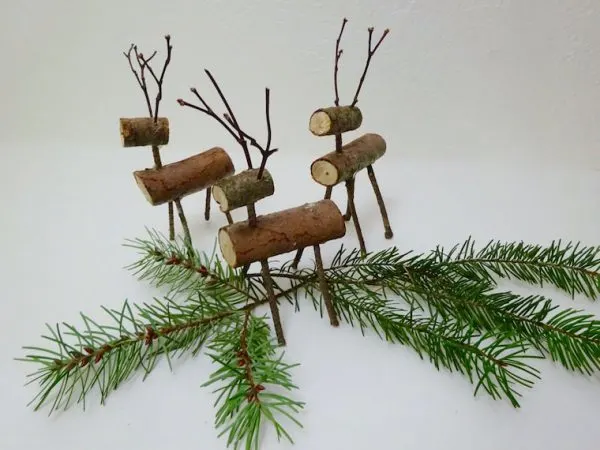
You can start a reindeer assembly line and create a hole herd of stick reindeer. It is fun to see how they each come out a little different, with their own “personality.”
Now you have gifts and Christmas decorations that didn’t cost you a dime!
If you like this inexpensive Christmas project, check out all of my easy Christmas crafts.
And if you like using free materials from nature, you will love my DIY stick frame and these rustic twig stars.


Katrina
Sunday 15th of December 2024
I have been looking for a tutorial to make these little reindeer for some time now. You gave actual measurements and instructions which many left out altogether or had one or the other. When I was about to give up, I stumbled upon this website. I am so excited to start my project. Many thanks.
Kimberly
Thursday 19th of December 2024
Katrina, Thank you so much for sharing! We do try to give all the details to make every craft project easy to understand!
Daniel ferreira
Sunday 27th of February 2022
It’s beautiful!
Bonnie Armstrong
Wednesday 16th of December 2020
Can you use toothpicks for the legs?
Single Girls DIY
Thursday 17th of December 2020
It's doubtful. You could, but it would have to be extremely light wood for toothpicks to support the reindeer!
Ann
Friday 9th of October 2020
Could you use wine cork for the head ? I have a slew of them! Thanks
Single Girls DIY
Saturday 10th of October 2020
Ann, you certainly can use a wine cork! Great idea!
Nelly
Saturday 15th of December 2018
They are so cute..feel like running outside right now and make some!!! Thanks for sharing holiday fun things to make.
Jenny
Sunday 16th of December 2018
Have fun making your own, Nelly. Let me know how they turn out!