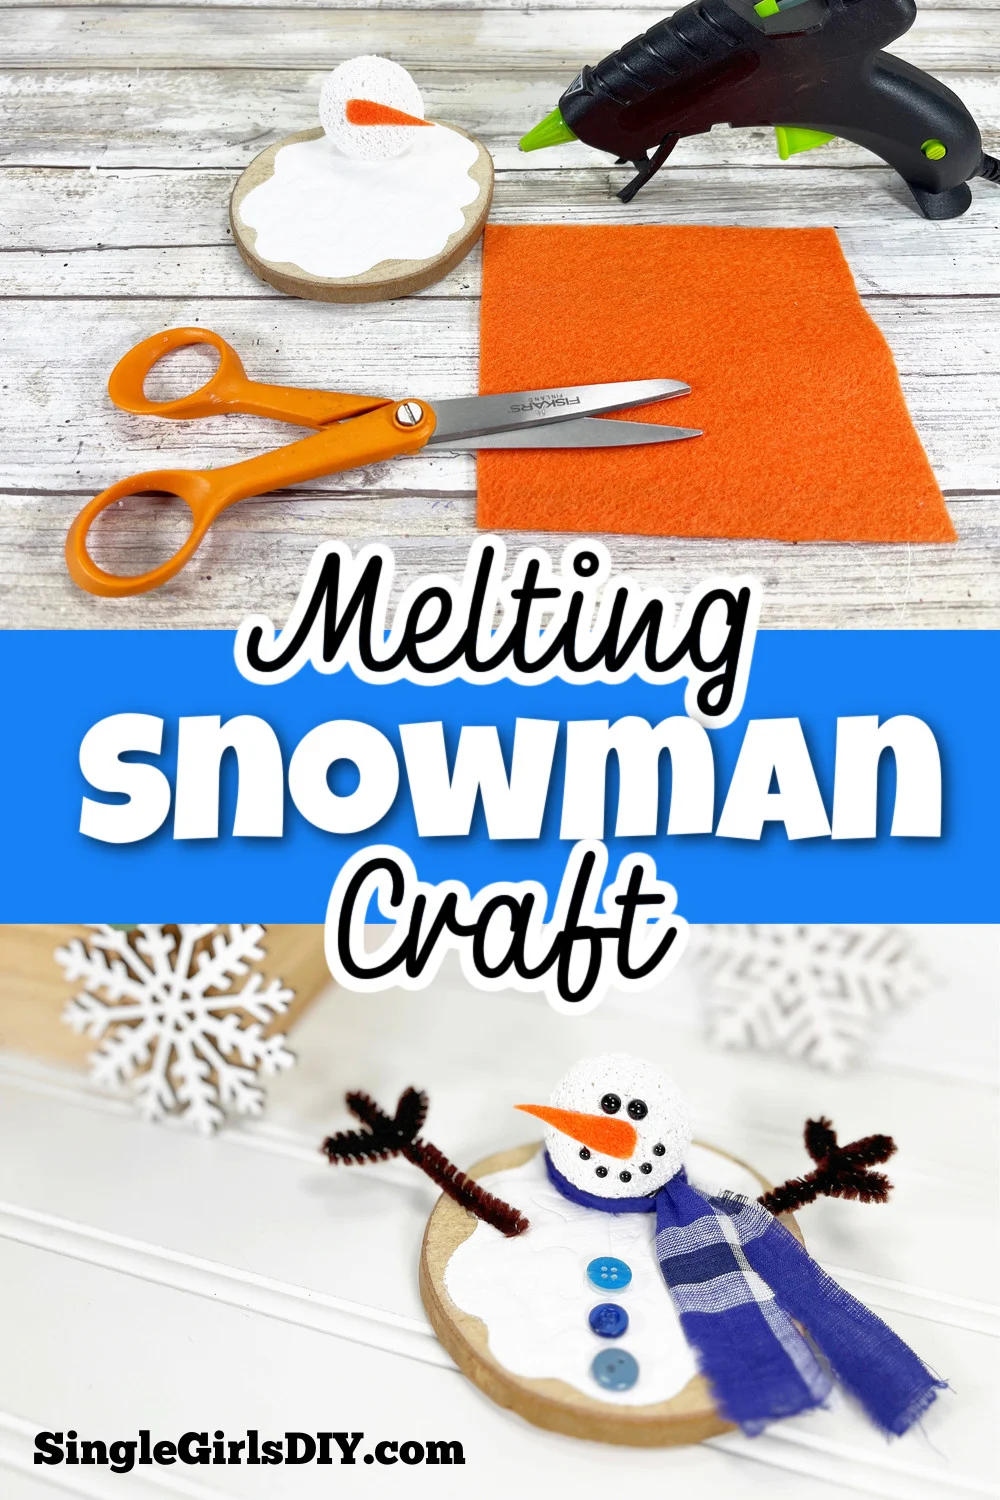
This easy melting snowman craft is an easy dollar store DIY that you can make in 30 minutes or less. If you are looking for a winter craft or a snowman craft, this one is so cute!
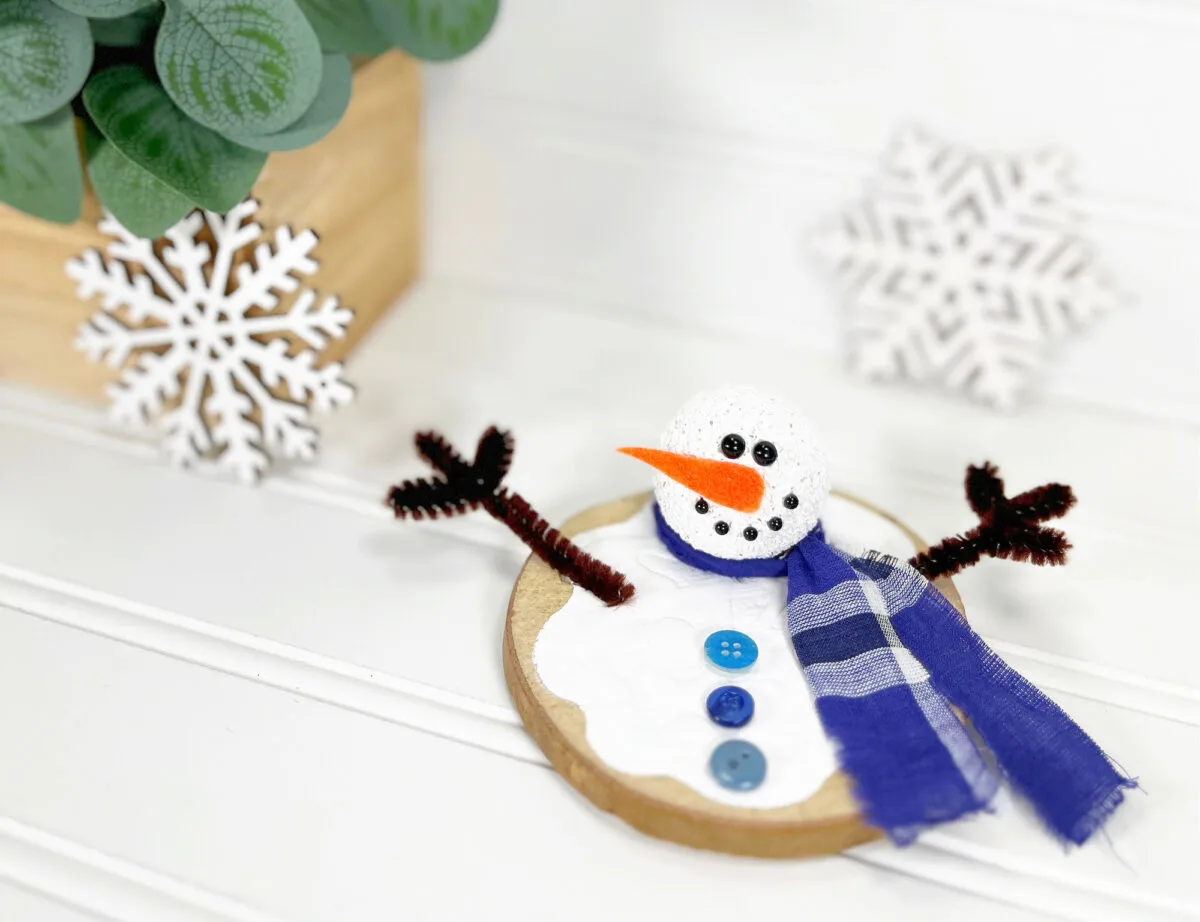
What I love about this craft is that it is all painting and gluing! How easy is that?!?
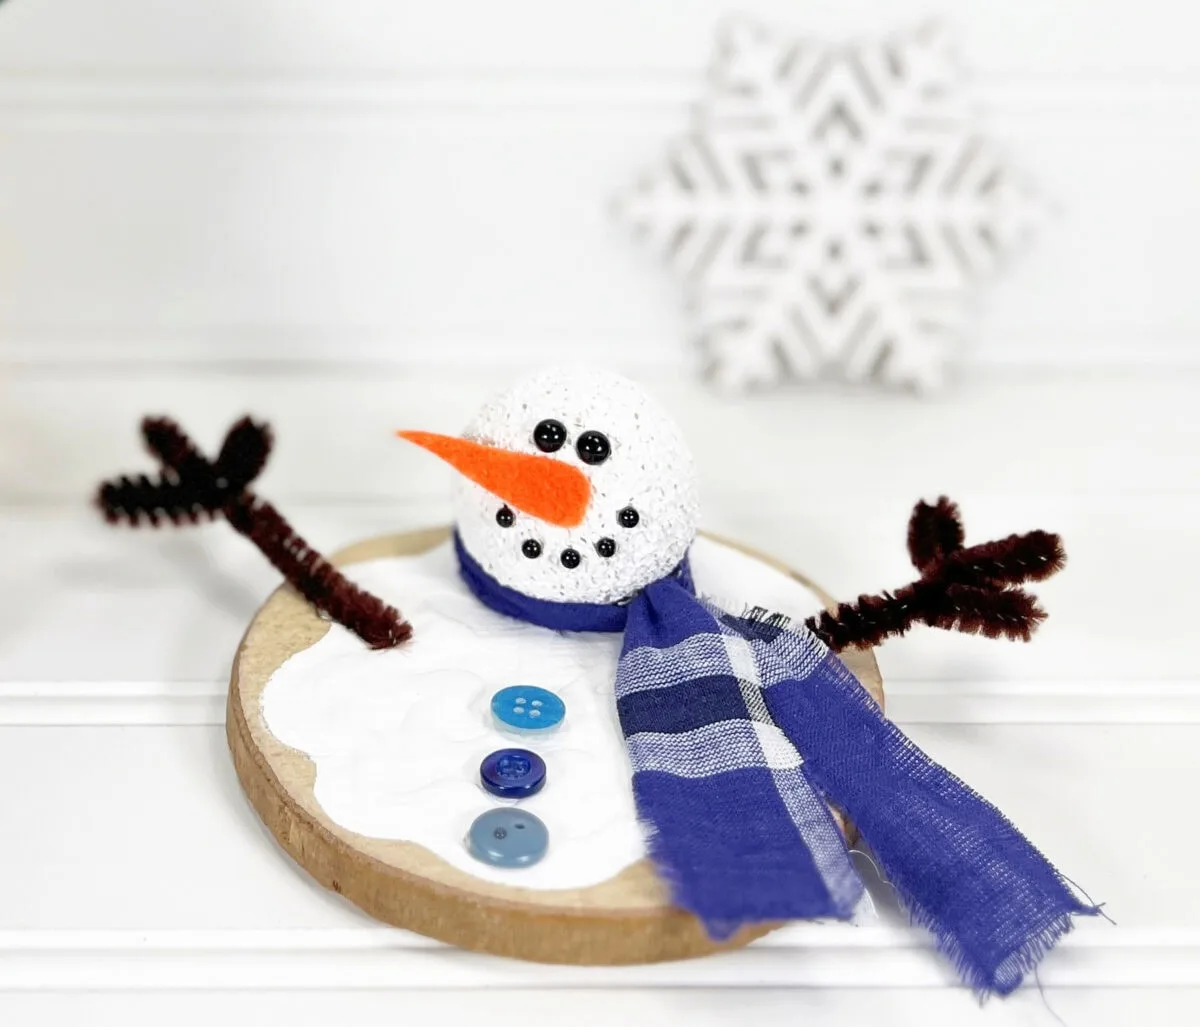
Some of the same materials are used to make our Snowman Sunglasses, our Boho-inspired rope snowman, and gift box snowmen trio, as well.
Easy Melting Snowman Craft
I bought many of these materials at the Dollar Tree, but you can easily find the craft supplies at any dollar store or craft store.
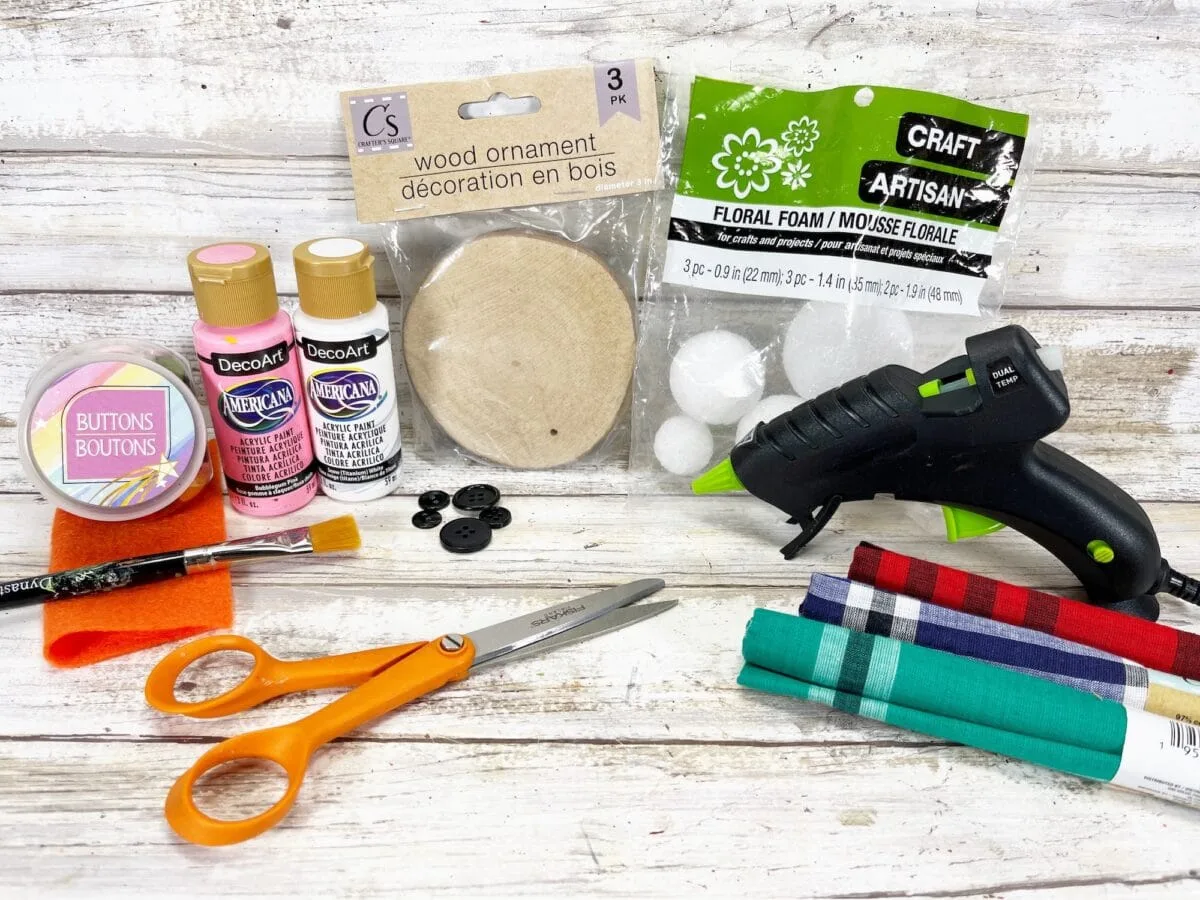
Materials
- Wooden Round
- 1.5″ Styrofoam Ball
- Self-Adhesive Pearls, Black
- Plaid Fabric (1″ X 10″)
- Buttons
- Brown Chenille Stem
- Orange Craft Felt (or craft foam or card stock)
- White Acrylic Craft Paint
- Hot Glue Gun or Craft Glue
- Paintbrush
- Scissors
- Ruler
Directions
Step 1
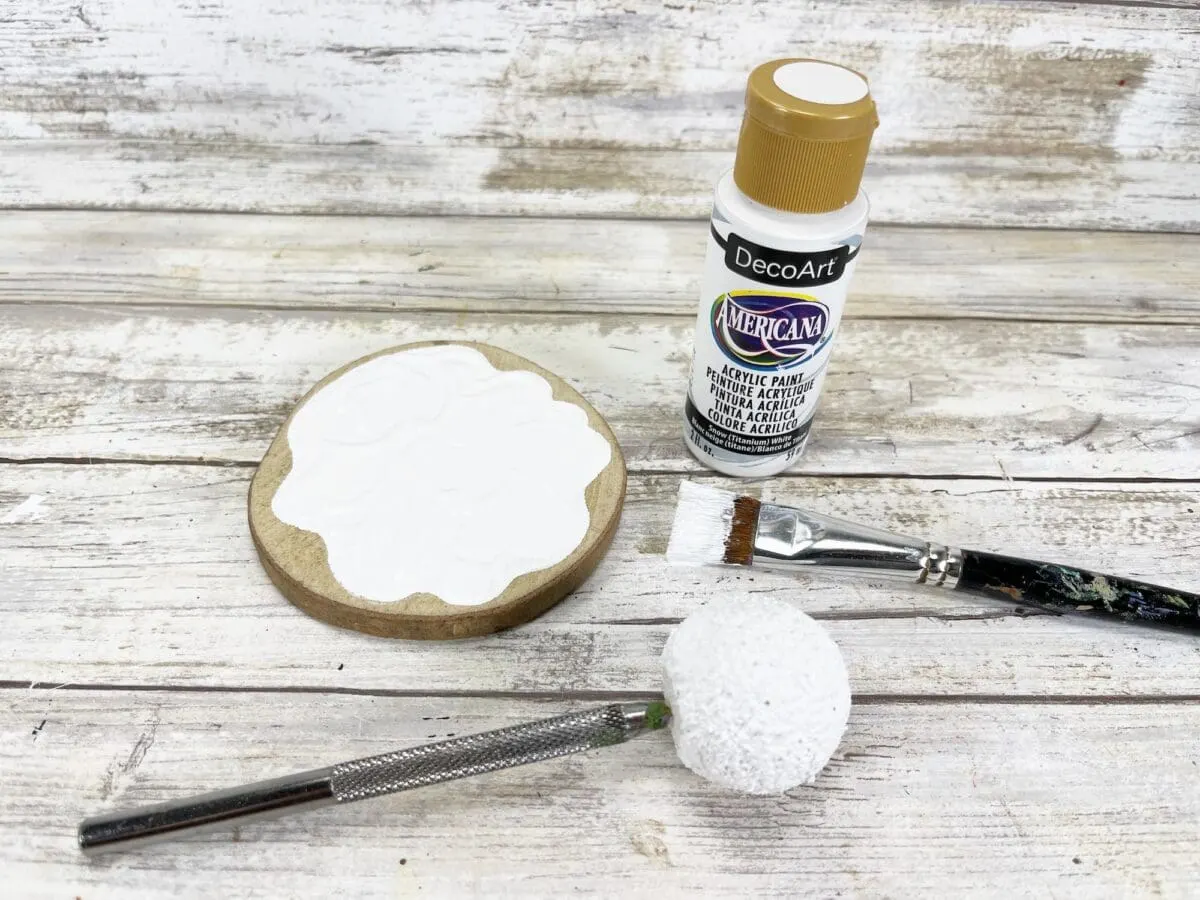
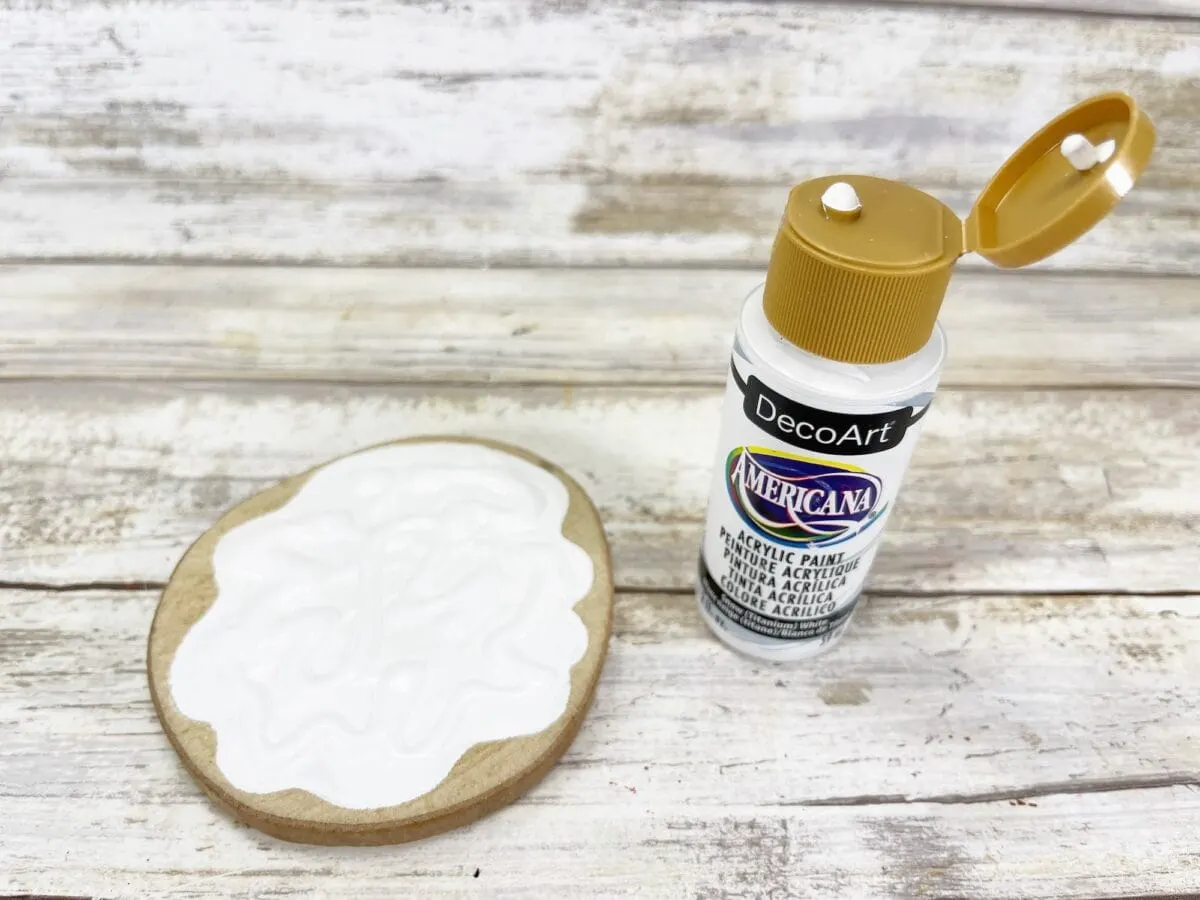
Paint the wooden round with white acrylic craft paint in a random pattern that looks like melting snow (see picture below).
Next, paint the entire Styrofoam ball with white acrylic craft paint. I put the ball on top of a craft knife so that I could paint all of the surfaces at once.
Let the paint dry and apply a second coat, if needed.
Step 2
Squeeze additional white acrylic craft paint directly from the bottle onto the wooden round in a swirl pattern to look like melting snow.
Let dry.
Step 3
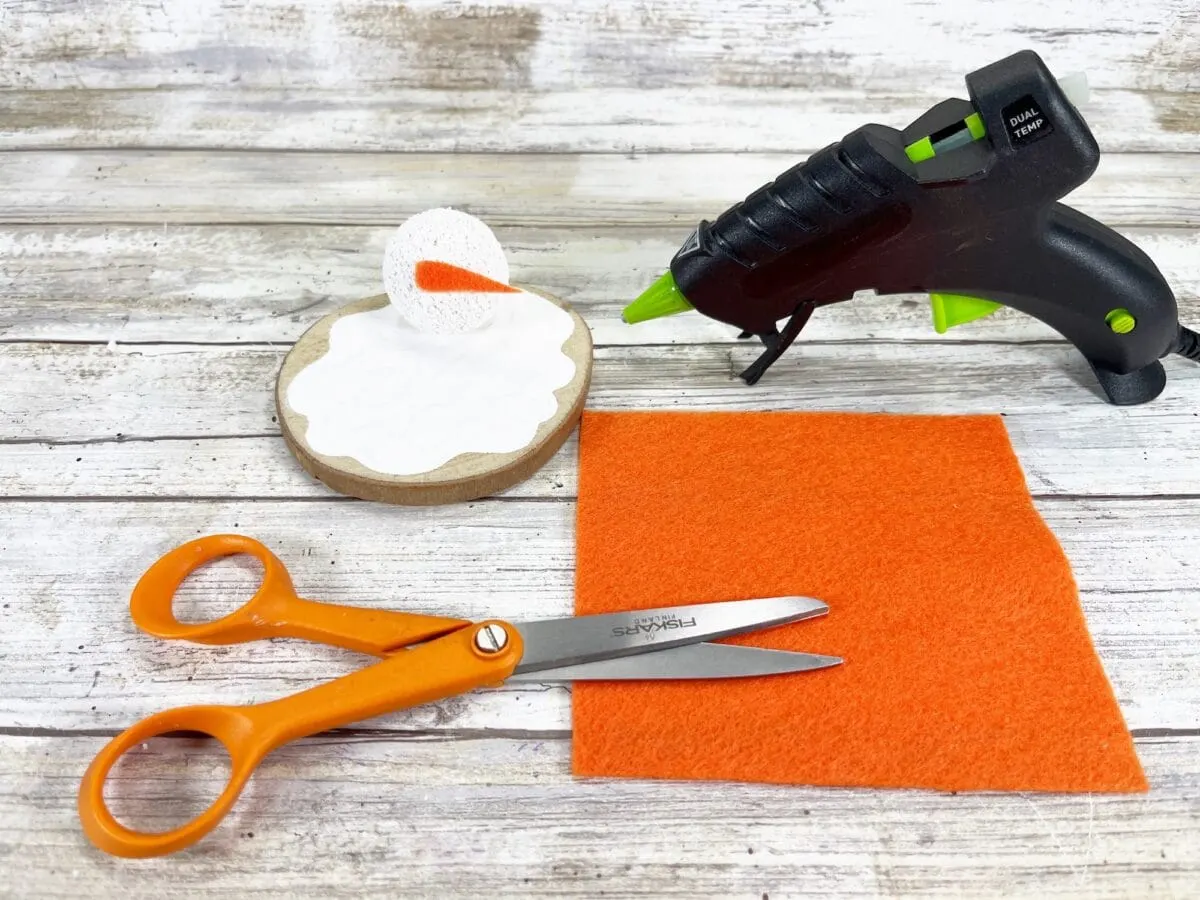
Glue the Styrofoam ball head to the wooden round body with hot glue. If you are using liquid craft glue, allow additional time for drying.
Using scissors, cut out a carrot shape from orange craft felt.
Glue the carrot nose in place.
Step 4
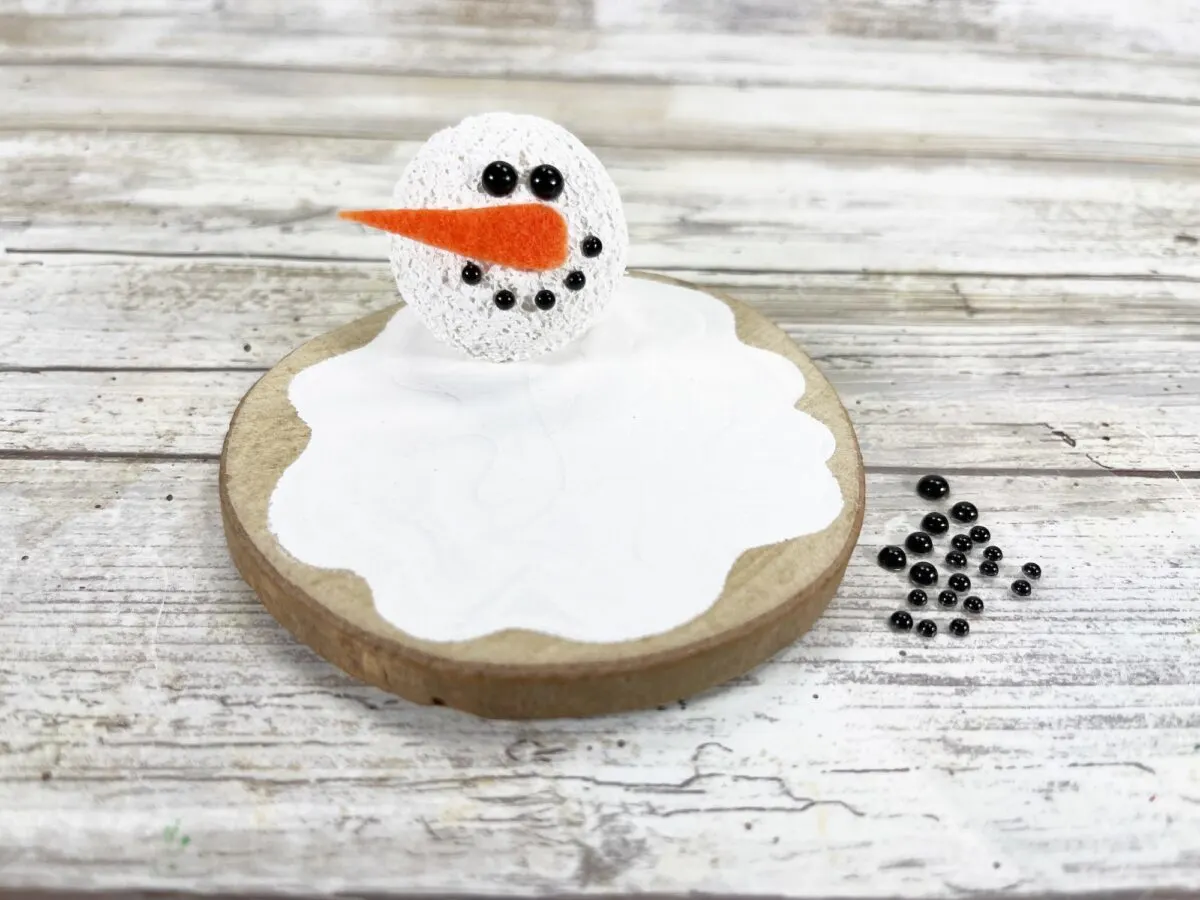
Add two self-adhesive pearls for eyes and five for the mouth.
Step 5
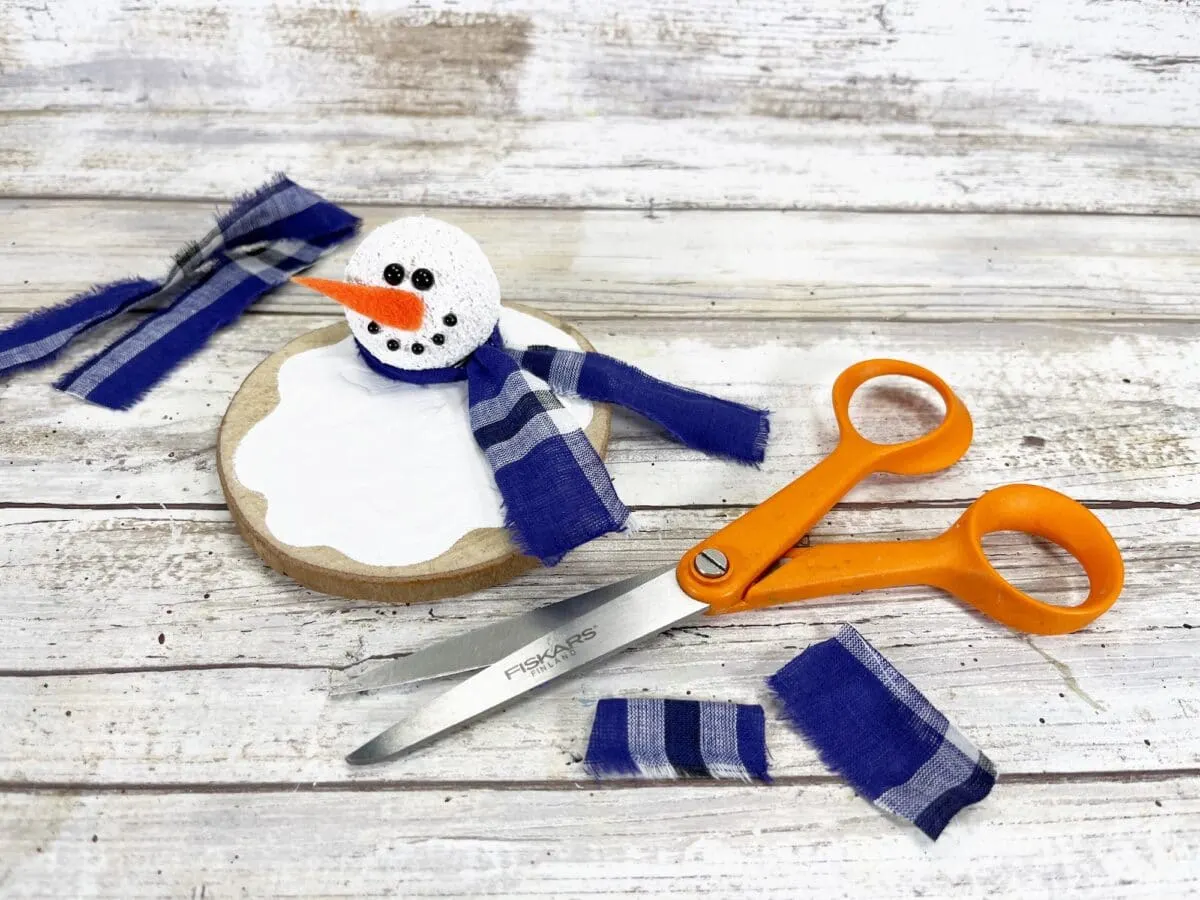
Now it is time to make the scarf. You can just cut the plaid fabric into one strip that is approximately 1” wide by 10” long.
OR you can tear the fabric into a strip to produce a frayed edge on the sides.
Tie the fabric around the snowman’s neck, and trim any long ends with scissors.
Step 6
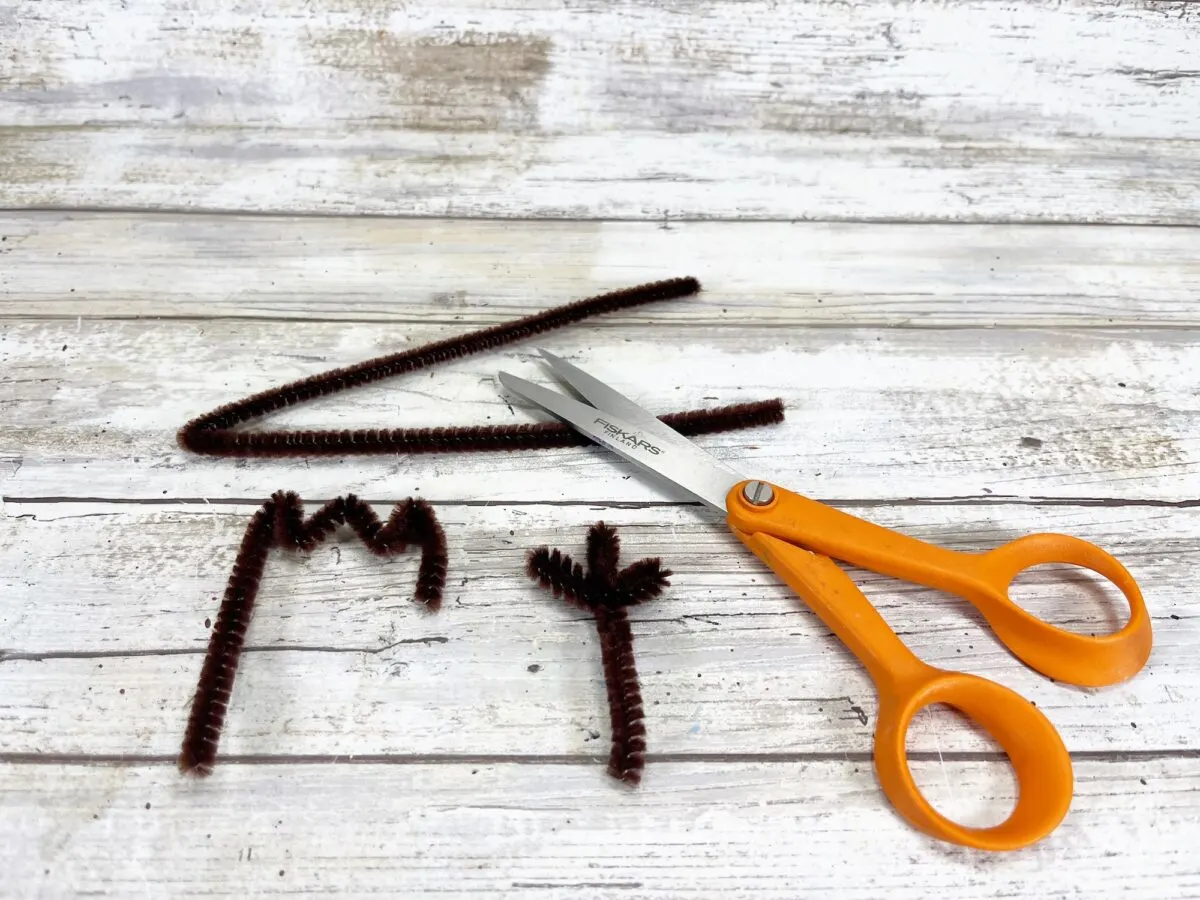
Cut a 12” long brown chenille stem in half. Bend a zig zag pattern into one end of the chenille stem.
Bring the short end to the bottom of the bends and twist in place. Separate the sections to create a twig arm.
Repeat to make a second twig arm, then glue arms to the melting snowman body wooden round.
Step 7
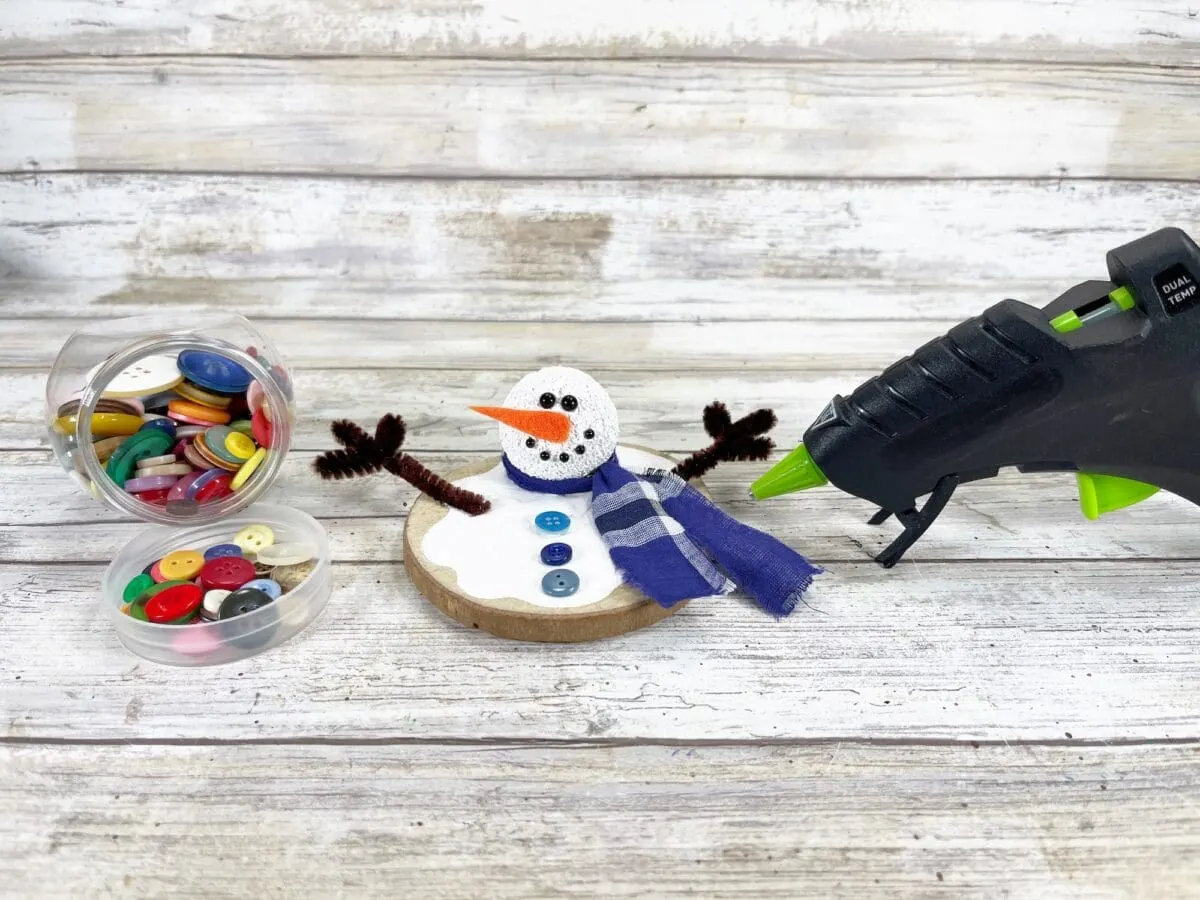
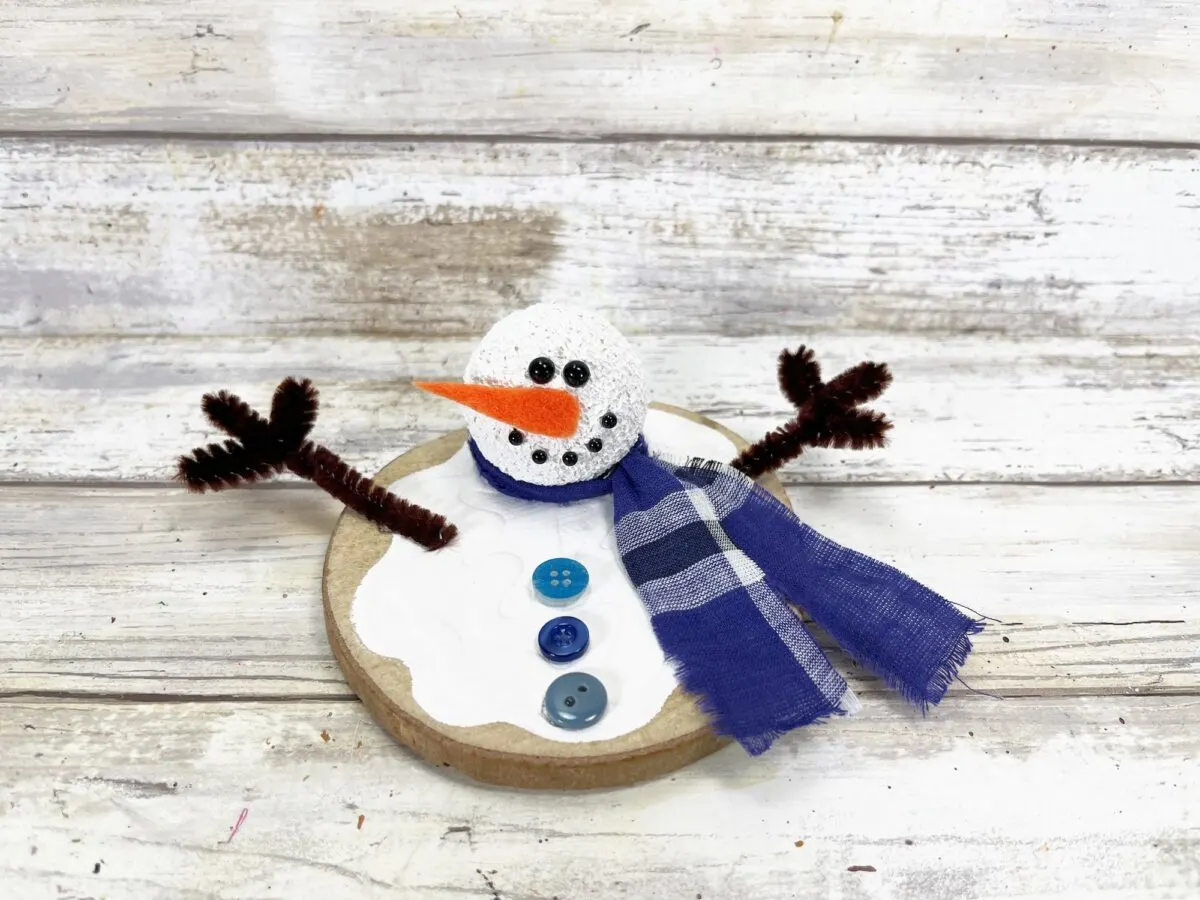
Select three small buttons and glue to the melting snowman body on the wooden round.
Save this idea to Pinterest to remember for later!
Want more snowman crafts? See these easy ideas next:
- Mop Snowman Gnome
- Snowman Wreath
- Reversible Wood Block Snowman
- Pumpkin Stack Snowman
- Snowman Vase
- Snowman Bookmark
- Tumbling Tower Snowman
- Foam Dice Snowman
- DIY Snowman Bracelet

