If you are wondering how to paint a silhouette, it is easier than you think! All you need is an image that you like and want to transfer to a canvas. Then use my five simple steps to easily make your own custom art!
This is a fun and unique way to turn cute photos into special artwork of your good memories.
Silhouettes have been in fashion for hundreds of years. Shake up this classic art style with new bold colors and images. Use any photo you please, whether it’s someone’s profile, an animal or even a landscape.
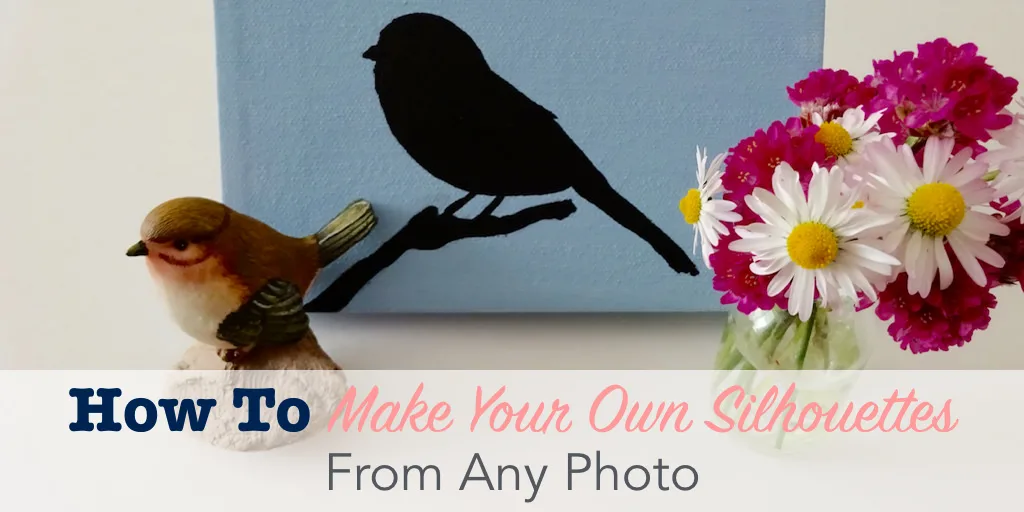
Here’s how to do this fun and easy DIY project.
HOW TO MAKE YOUR OWN SILHOUETTES FROM ANY PHOTO
MATERIALS FOR DIY PAINTED SILHOUETTES
- Craft paints (Think beyond basic black and white. You can use any color combo you like!)
- Small paint brushes
- Art canvas (I used 4″ x 6″)
- Photo to transfer, printed on plain paper
1. Choose a Photo
You really can use any photo for this, but the project is easier if you choose one without too many small details.
It can be a group of friends (with clear separation), the family pet, or something from nature.
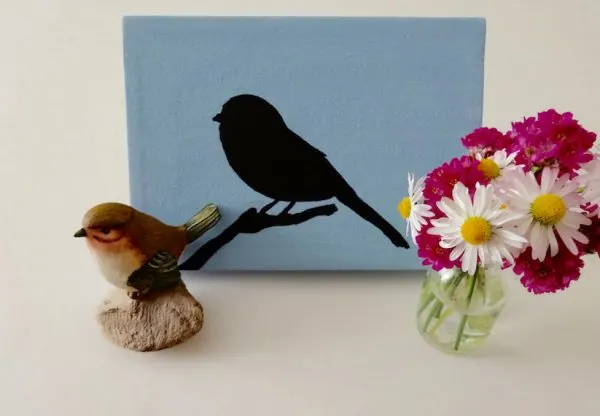
If you just want to make some fun art, you can find free photos on the web. The background doesn’t really matter, because I’m only going to paint the bird.
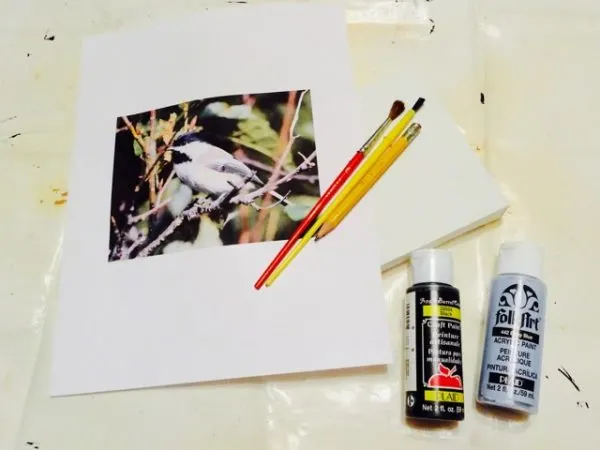
Once you’ve chosen a photo, print it on a piece of plain paper (not photo paper).
Make sure you print it at the right size for your canvas.
2. Paint the Background
Choose a fun background color, and paint the entire surface of the canvas, including the sides.
You could even paint the sides a fun accent color if you want. You can get really creative with your colors!
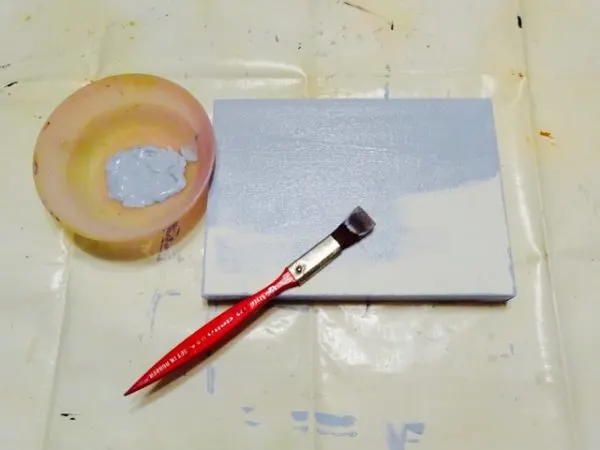
Let the paint dry completely, and then retouch any spots you missed, if needed. Make sure it’s completely dry before you start painting the image.
3. Prep Your Photo
Print any picture you want to use on a piece of plain printer paper. This project is easier if your subject has nice big shapes.
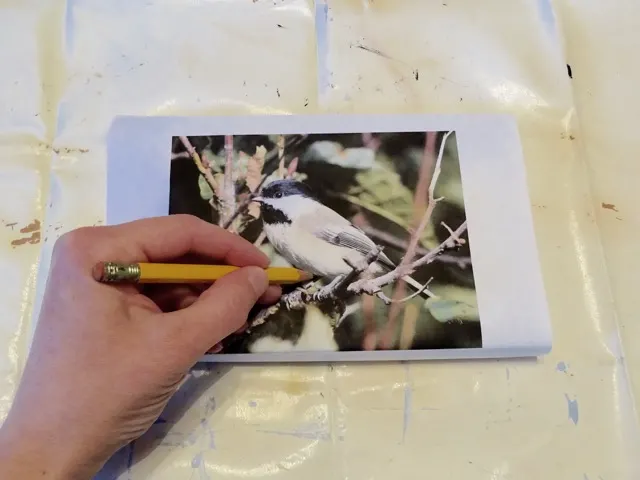
Use a regular graphite (lead) pencil to color over the back of your printed picture. Cover the entire area of the part you want to transfer to the canvas.
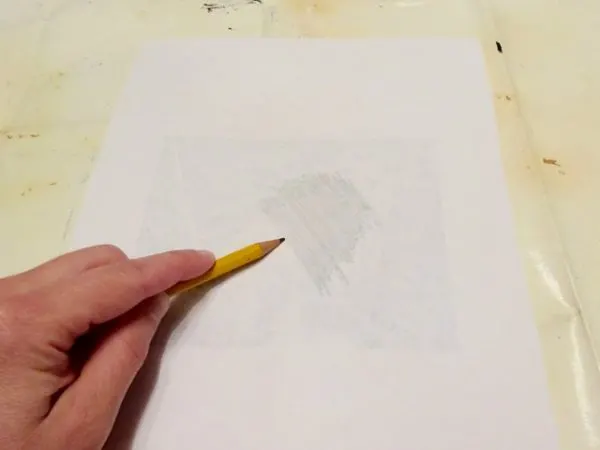
You just made your own version of carbon paper. The pencil lead will transfer to the canvas in the next step.
4. Make the Transfer
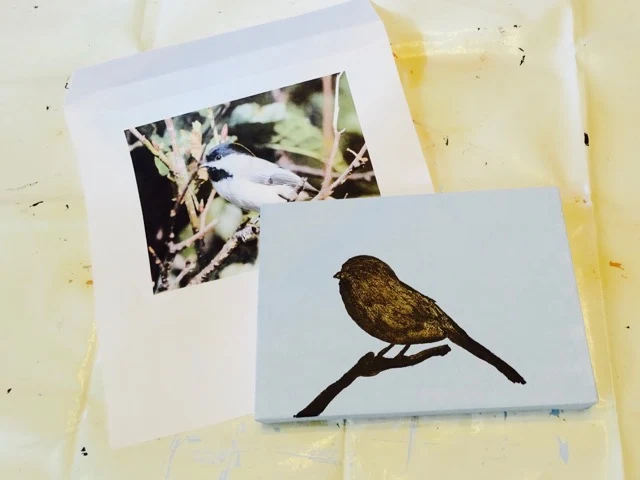
Position the photo face up where you want it on the canvas. Trace around the edges of your subject. Press fairly hard, so the graphite from the back of the paper will transfer to the canvas.
When you lift the paper away, you may need to go back over some of the lines to make them easier to see. Also, now is your chance to “Photoshop” any details that don’t look quite right.
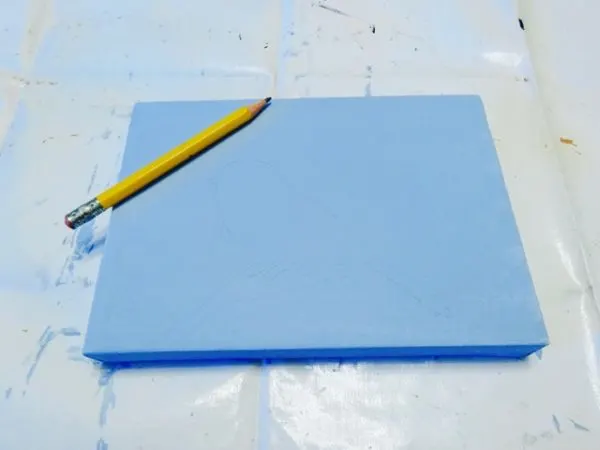
Adjust your outline until you’re happy with it.
You can erase light pencil marks later, or paint over them with your background color again, if needed.
5. Fill in the Shape
I used classic black in this design, but you don’t have to stick with tradition.
You could think like Andy Warhol and go bold! How about a hot pink silhouette on a black background?
Or use your favorite combo of complimentary colors? You can even choose colors that match your decor.
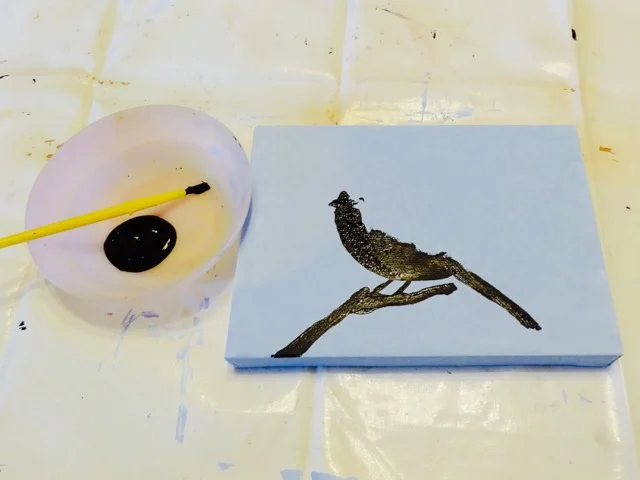
I found that a small, stiff brush worked well for making smooth edges. For the smallest details, like the legs and beak I was painting, a little dab of paint on the end of the brush handle, lightly touched to the canvas, kept the paint where I wanted it.
Again, you can fix any mistakes by retouching the background color later.
Display Your Artwork
And now you have a really unique piece of art of a favorite memory. You can make more than one, and display them as a group.
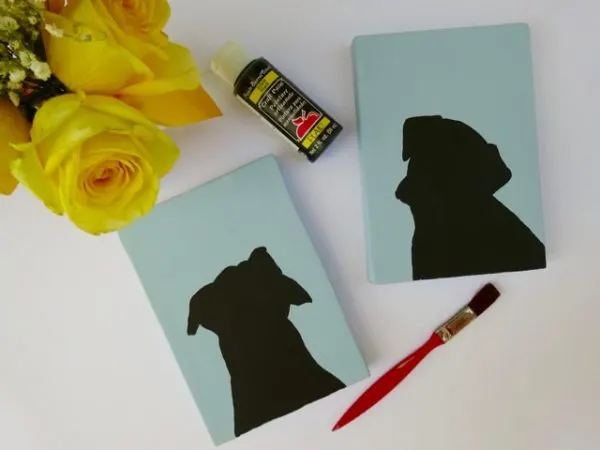
These easy silhouette paintings also make great gifts!
If you love painting and using canvas, check out my DIY Paint Pour Canvas art. I also upcycled a thrift store canvas into easy DIY tape wall art.


