


Most DIY kitchen updates that you see in magazines and online features are full remodels. Everything gets ripped out and replaced. With the latest designs, and everything shiny and new, of course they look amazing.
This isn’t that kind of update.
These tips come from DIY updates I did in my own kitchen on a super tiny budget. Some you can do in a few hours, others take a little more planning. But these thrifty changes make a big impact.

SUPER THRIFTY KITCHEN UPDATES YOU CAN DO IN A WEEKEND
MATERIALS FOR DIY KITCHEN UPDATES ON A BUDGET
- Restor-A-Finish (in appropriate color for your kitchen cabinets)
- New lighting fixtures
- Floating Shelves
- Laminate countertop material (like Formica)
- Contact cement
- Old clothes iron (to remove your old laminate countertop)
- Scraper
- New appliances (totally optional)
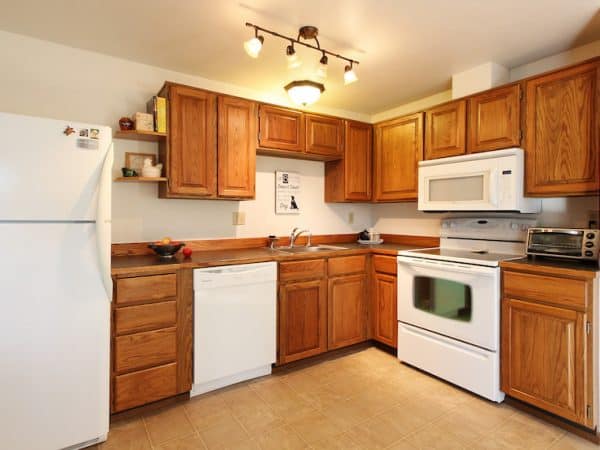
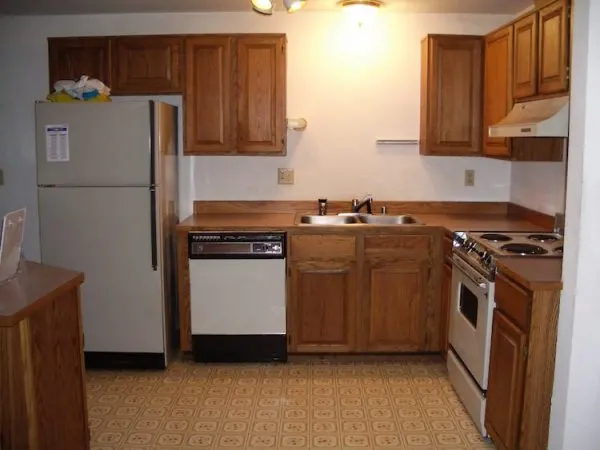
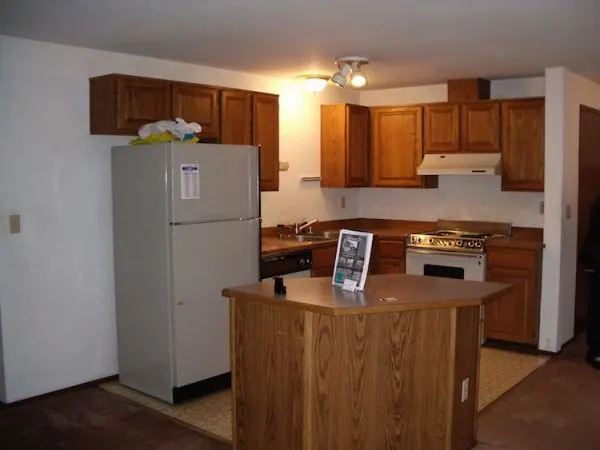
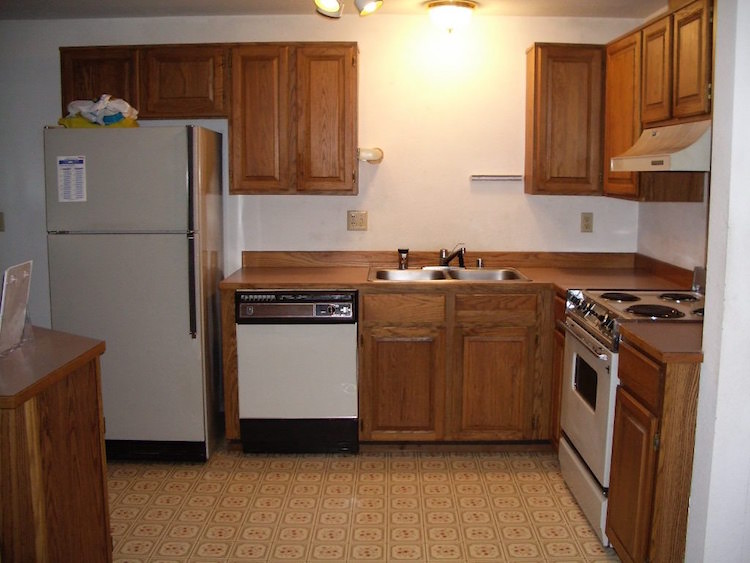
My house was built in 1985, and had the kitchen to match. Complete with a funky shaped island, and pink countertops. I didn’t have money for a complete remodel, so I used some thrifty DIY tricks to update the space.
Here are some things you can do for easy kitchen updates on a budget in a few hours, or a few days.

1. Restore your cabinet finish
Doing this one thing will instantly update your kitchen.
I spent a long time looking into various stains and refinishing options for my worn oak cabinets.
The trouble in my case was that though the doors were real wood, the cabinet boxes were just covered with wood-grain stickers. There was no way to stain that, and I didn’t want to paint.
Then I discovered Restor-A-Finish.
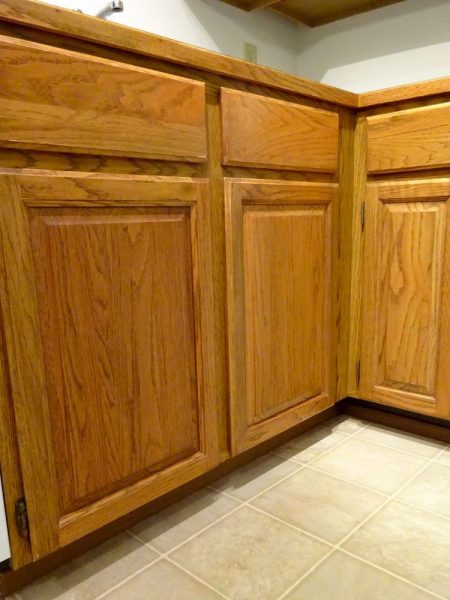
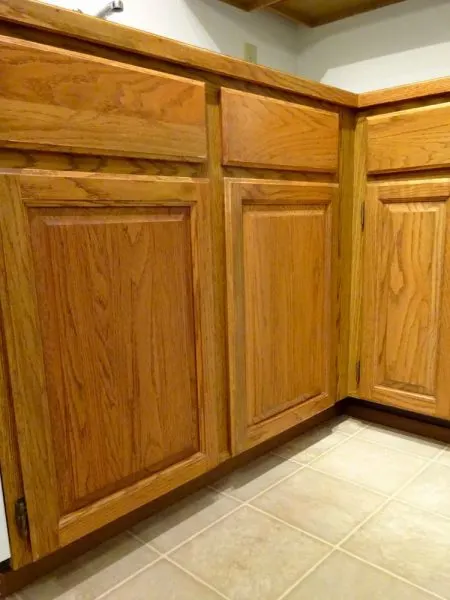
It restores areas where the finish is worn. It covers over scuff marks. Those weird white streaks that sometime develop in oak disappear after a few applications.
Not only did I use it on all of my kitchen cabinets, and then all of my bathroom cabinets, I also went around the house and used it on every door and piece of wood trim in the house.
If you do nothing else to update your kitchen, get a tin of Restor-A-Finish and apply it to your cabinets and trim. It brings new life to your tired wood cabinets.
2. Swap out your lighting fixtures
Another super simple update you can make is to install new lighting fixtures. You get a big visual impact, for relatively little money.

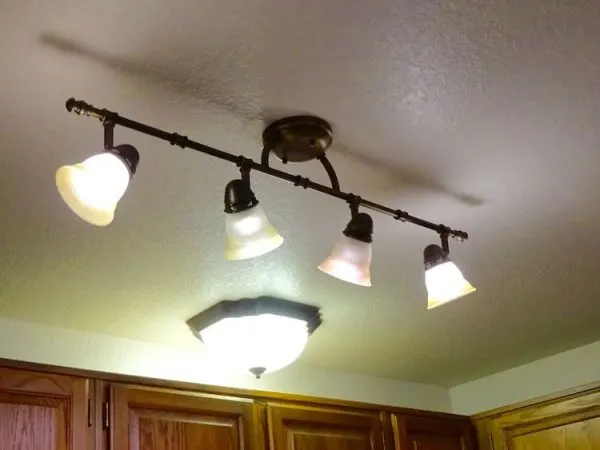
I chose a fixture with directional lights, to help better illuminate the work spaces.
Be sure to turn the breaker off before doing any electrical work.
3. Rearrange your cabinets
I don’t just mean move things around inside your cabinets. I mean move your cabinets around.
This is probably only something you can do if you are planning to update your floors. But reusing your existing cabinets is a great way how to fix an awkward kitchen layout.
The new layout is a really inexpensive way to make your kitchen more functional (with pieces that already match and don’t cost you a penny).
The ugly island in my kitchen was ripped out as soon as the house sale contract was finalized. All of the flooring had to be replaced anyway, so this was a good time to make some kitchen layout changes.

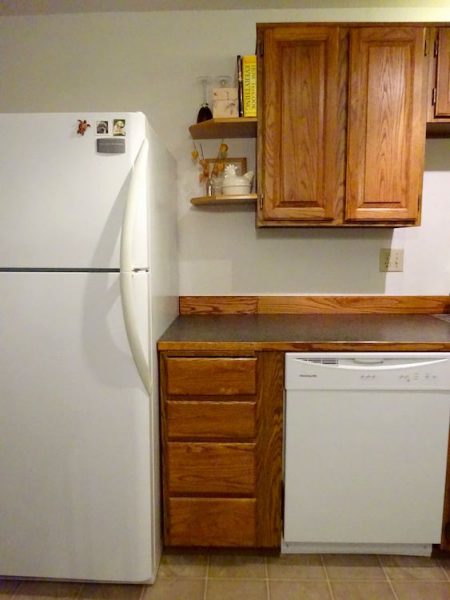
Rather than just throwing it in the trash, I reused the parts. I scooted the refrigerator over and put a set of drawers in next to the dishwasher.
I fit in the trim and molding pieces to make it look seamless.

The other cabinet from the old island got new life in the garage.
With the refrigerator moved over, the upper cabinet layout looked awkward. To fix this, I moved the short cabinets that had been over the refrigerator, and put them over the sink.
Take a look at your layout, and see what you might be able to rearrange.
4. Add shelves
Open shelves are really popular in kitchen design right now. To be honest, I am not a big fan.
First of all, you have to keep everything looking display-worthy. Secondly, your things are going to get dusty and grimy.
In my kitchen, I installed just two small floating shelves. Installed at the end of the upper row of cabinets, they filled the extra space next to the refrigerator.
This helps to round out the look of the design, making it look intentional and complete.
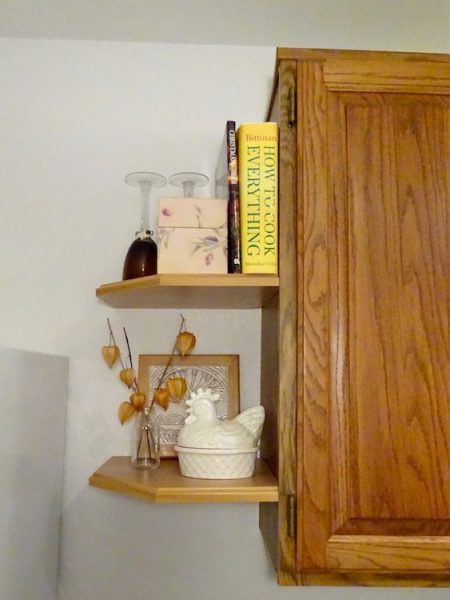

Small open shelves are the perfect place to store cookbooks, and display a few special items. It only takes an hour or so to make a small change like this.
5. Change your countertop
Formica is almost like a bad word in kitchen design talk. It seems like if you don’t have granite or marble, you’re so out of style.
Well, I couldn’t afford granite or marble, but that pink countertop had to go. I replaced it with a granite-look laminate.

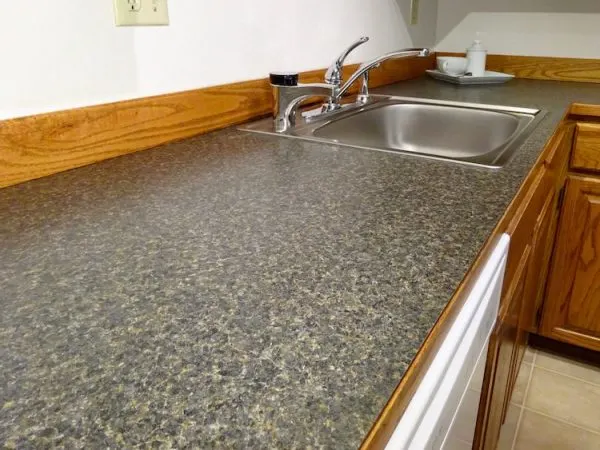
This is actually pretty easy to DIY.
To remove the old laminate, I used an old clothes iron on low heat to loosen the adhesive in sections. Then it was easy to peel off chunks with a scraper.
If you’re using a sheet laminate material, carefully trace your dimensions onto the back of the new countertop material. Cut it out and test fit, then secure in place with a contact adhesive. Clean up the edges with a router.
There’s a good tutorial for how to cut laminate sheets on WikiHow.
Depending on how much countertop you have, you could get a whole new look for around $100.
6. New appliances
You don’t have to run out and buy appliances in a rush. It wasn’t until several years after I made these other updates that I had saved up enough to get some new appliances.
My favorite thing about this part of the update is having the microwave mounted over the stove. Getting it off the counter keeps the space looking more open. And that makes my tiny kitchen look just a little bigger.
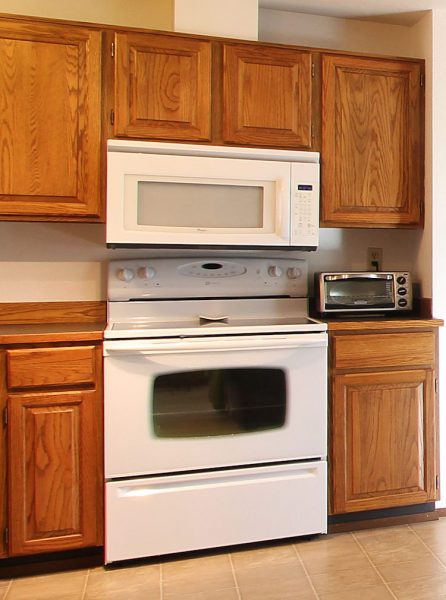
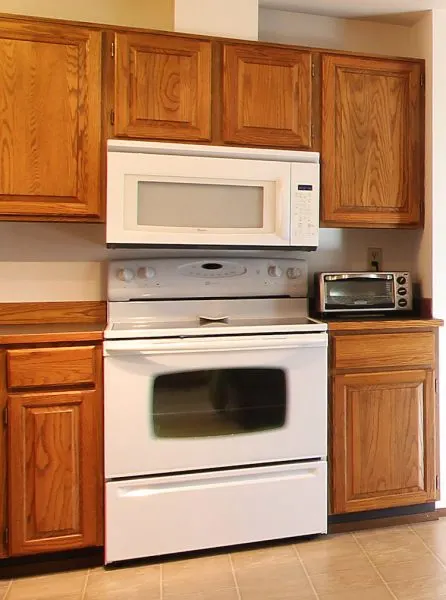
Rather than go with the trendy and expensive stainless steal, I chose classic white. First for the cost savings, but also because high end appliances would look out of place in my home.
Do what works for you.
Beautiful Kitchen on a Budget
Just because you don’t have a lot of money, doesn’t mean you can’t have a beautiful home.
So, maybe your kitchen will never be featured in a magazine. (Neither will mine.) But with a few thrifty DIY projects, you can update your look and create a more functional space.

My total kitchen updates on a budget challenge came in just under $3,000. That includes appliances.


If you like these budget-friendly updates, check out some of my other DIY house updates in my Room Makeovers.

Audrey Elrod
Sunday 9th of January 2022
Turned out very nice only thing I would do different is no microwave over the stove for people like me who cook a lot of soups and beans and doesn't use crockpots and such all of your steam goes right up the front of the micro and drips back on the stove top and food. I tie a cloth around mine to prevent this.
Kimberly
Thursday 28th of October 2021
These are SUCH great ideas---thank you sooooooo much!! I'm gonna copy some of them!!! 😁
Alex
Friday 8th of October 2021
This is awesome! I've been wanting to renovate my cabinets for the longest time, but have never known what products would be good to use for refinishing. Especially when a complete remodel costs thousands of dollars. Thanks for these great ideas to help me stay on a lower budget while still getting a great new look!
Yolande
Saturday 10th of October 2020
I like the minimalist look of your kitchen. Great job!
Single Girls DIY
Saturday 10th of October 2020
Thank you so much, Yolande!
Denita House
Monday 18th of February 2019
I love your kitchen update! Only thing that I would do different, for me, is put hardware on the cabinets. My old house didn't have any but my new house does and I love them!!!
Jenny
Sunday 24th of February 2019
Thanks, Denita! Yes, some people call hardware "jewelry" for cabinets. I prefer the simpler look without it, but I can see why you would love yours!