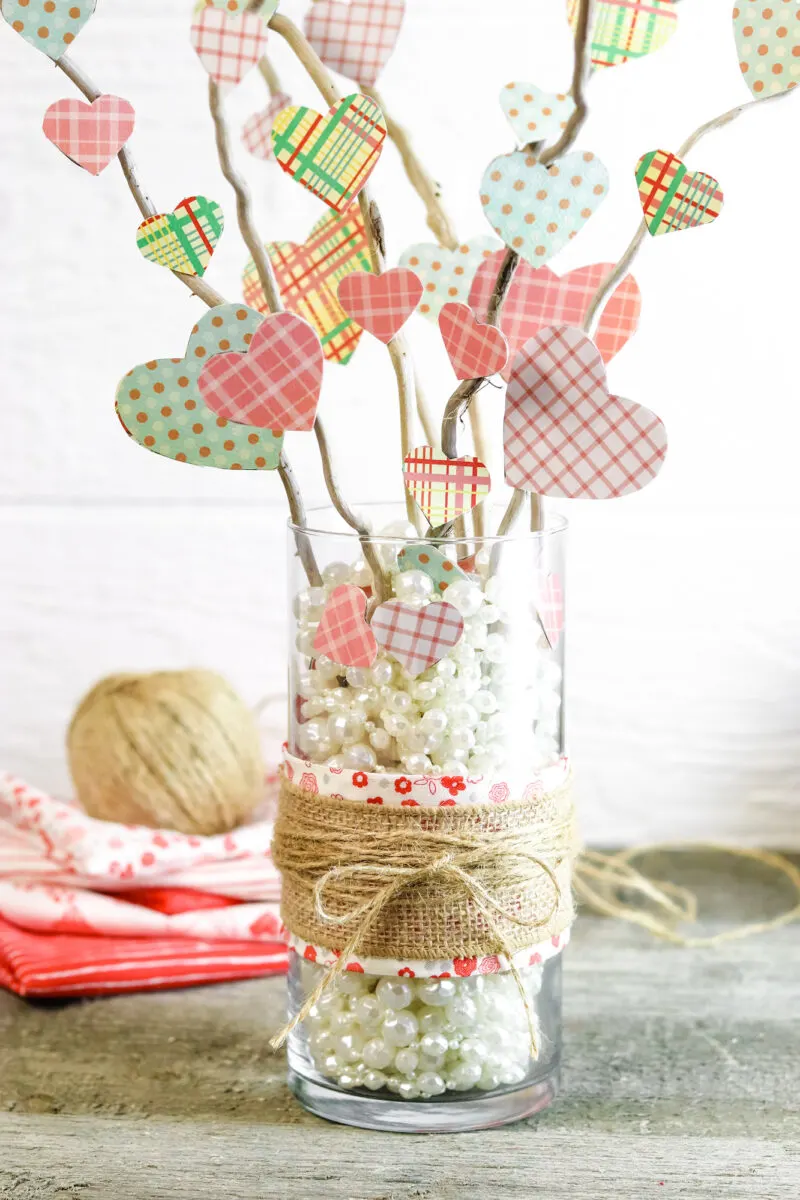
This DIY tabletop Valentine’s Day tree is a super easy craft that you can make with craft supplies you already have at home. There’s no need to buy fancy materials to make this adorable holiday decoration!
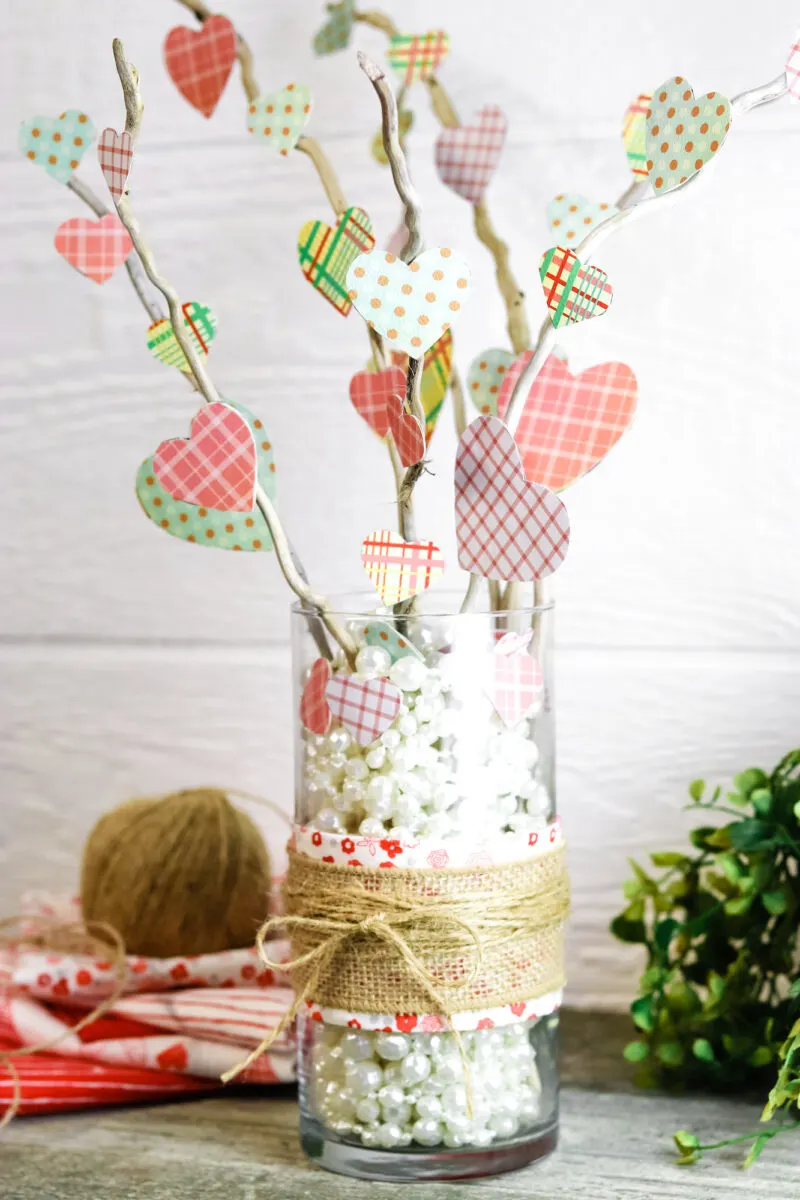
To cut the heart shapes out of scrapbook paper, you can make a template and trace the template and cut them out individually. To save time, you might want to consider a heart shaped paper punch. This scrapbook paper cutter pack has three different sizes of hearts from ⅝″ to 1.5″ big.
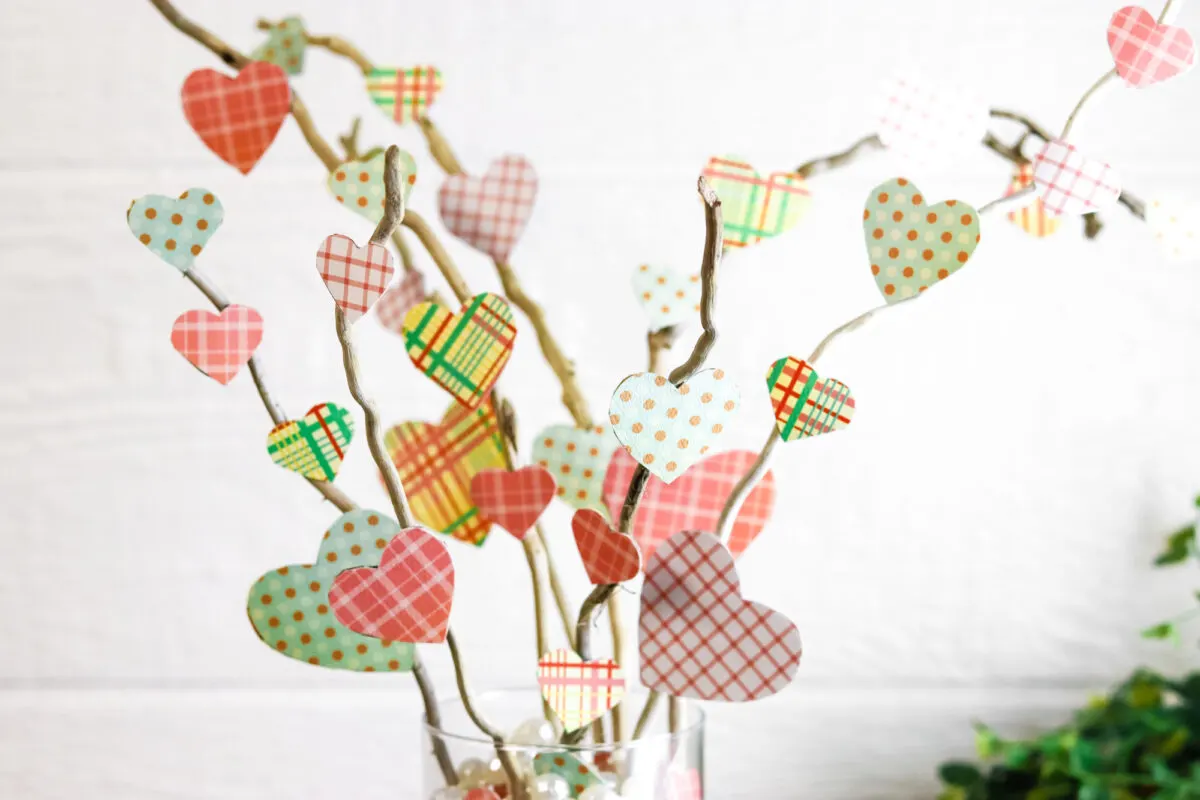
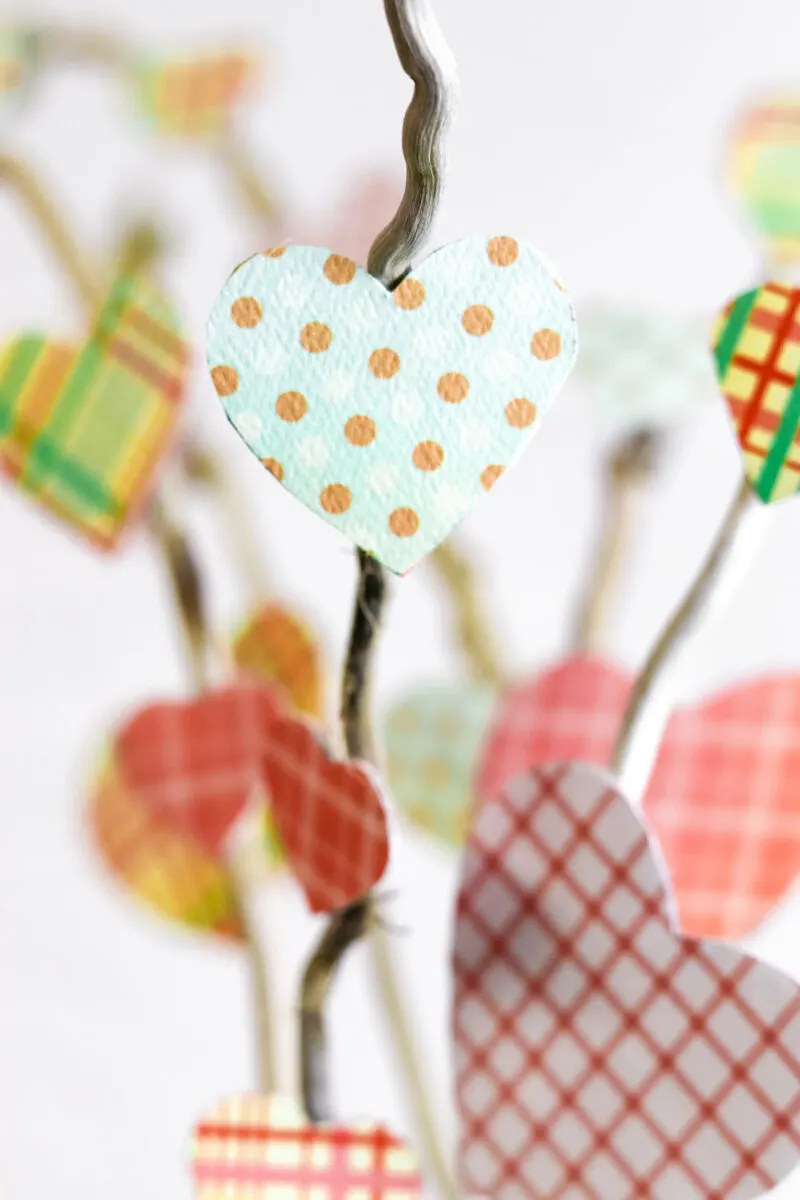
I used twigs that came from the seashore. So they naturally are bleached and smoothed down. You can use any type of stick that you want, and any color. Keep in mind that you can paint the twigs to be white or any shade you like.
Be sure to see all of my easy Valentine’s Day crafts!
And you might like trying our Secret Cupid Gift Exchange game this year!
How to Make a Valentine’s Day Tree for Tabletop Decor
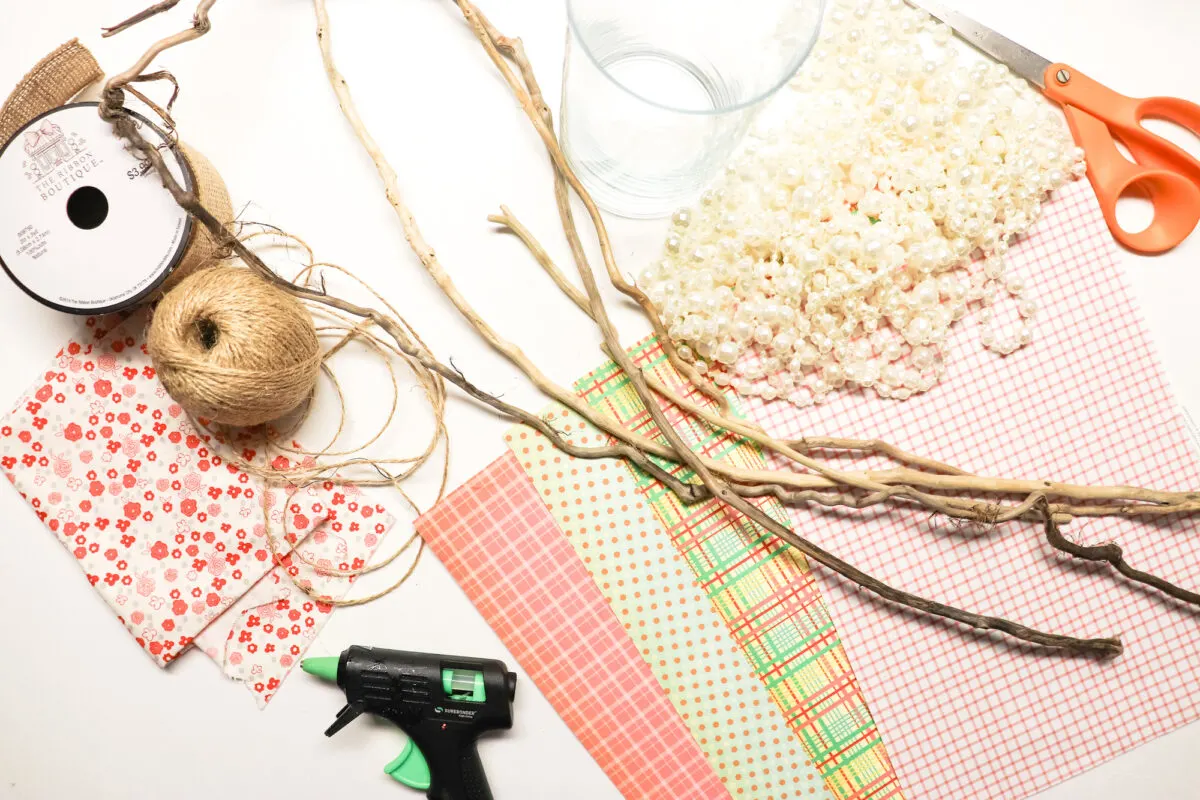
Supplies
- Vase
- Bead strands or other vase fillers (such as white stones, white dry beans or buttons)
- Twine
- Burlap ribbon, 2” wide
- Fabric (enough to wrap around the vase)
- Scrapbook papers
- 8 thin Twigs, about 18” long (mine came from the beach, so they have a bleached look)
- Scissors
- Hot glue gun
Instructions
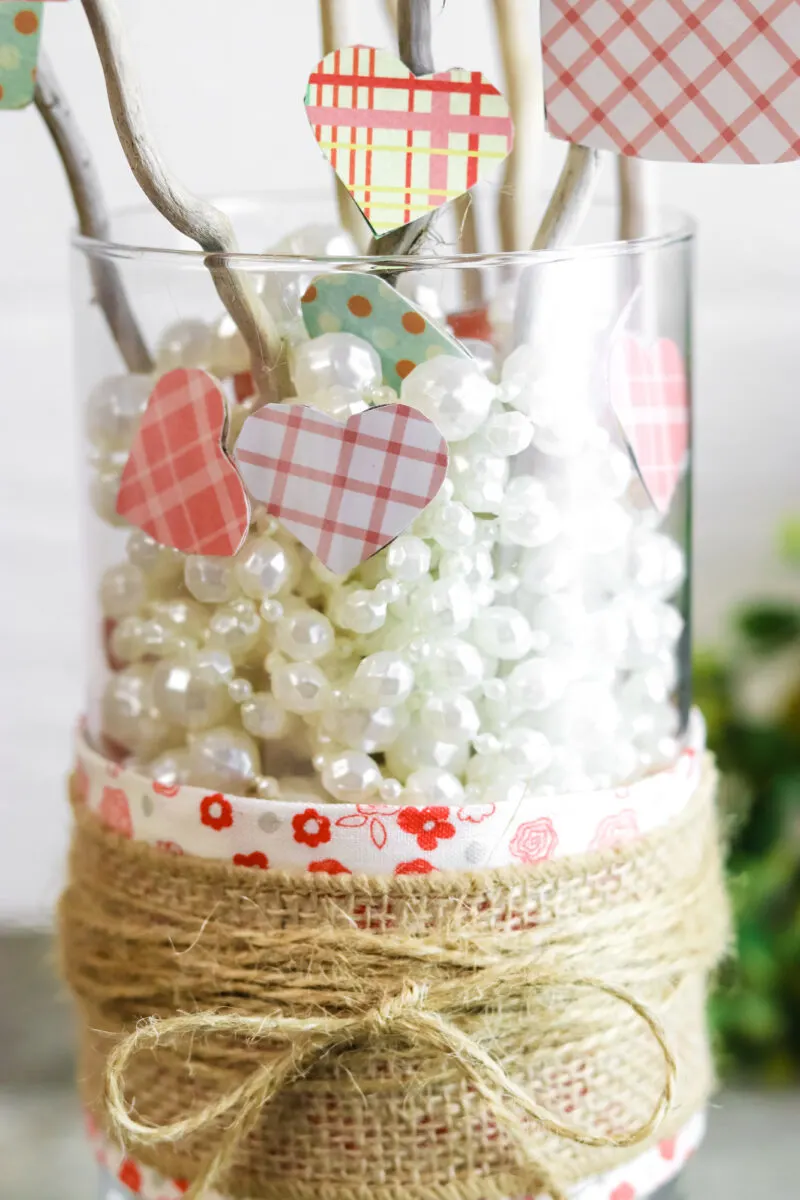
Fill the vase with your choice of pretty beads, stones, beans, or buttons.
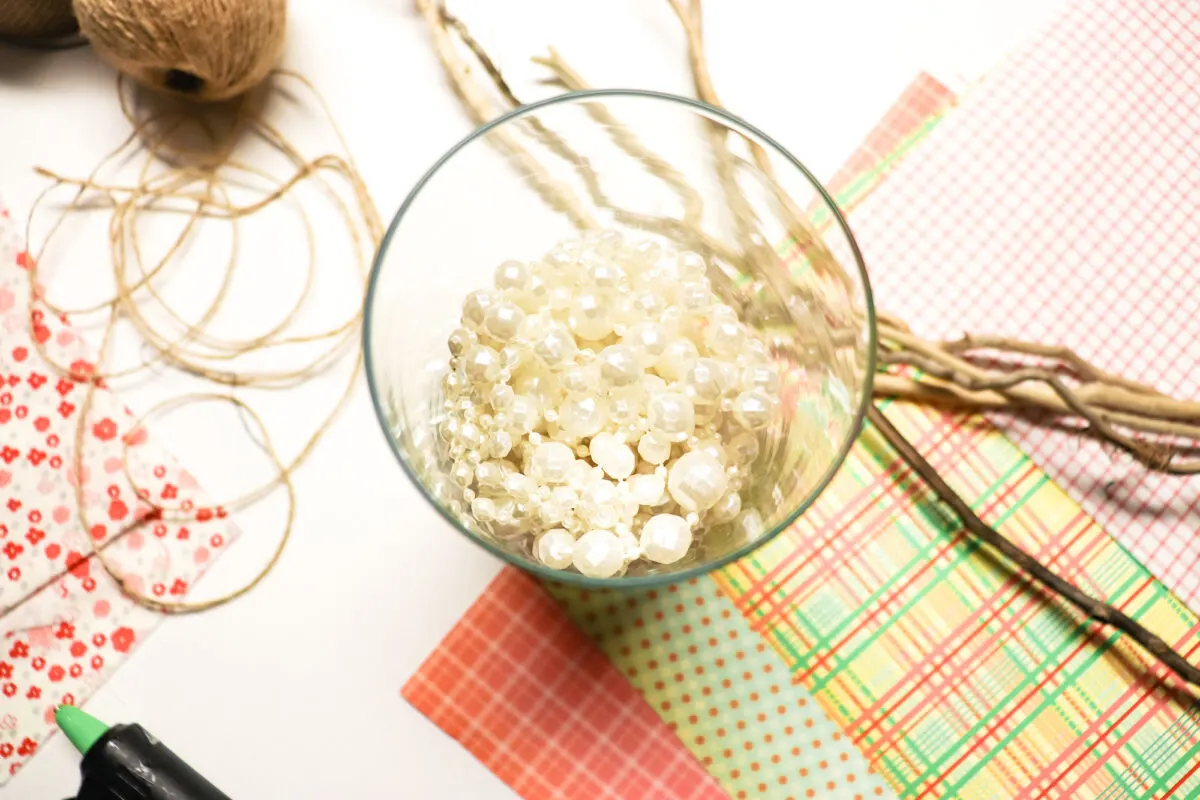
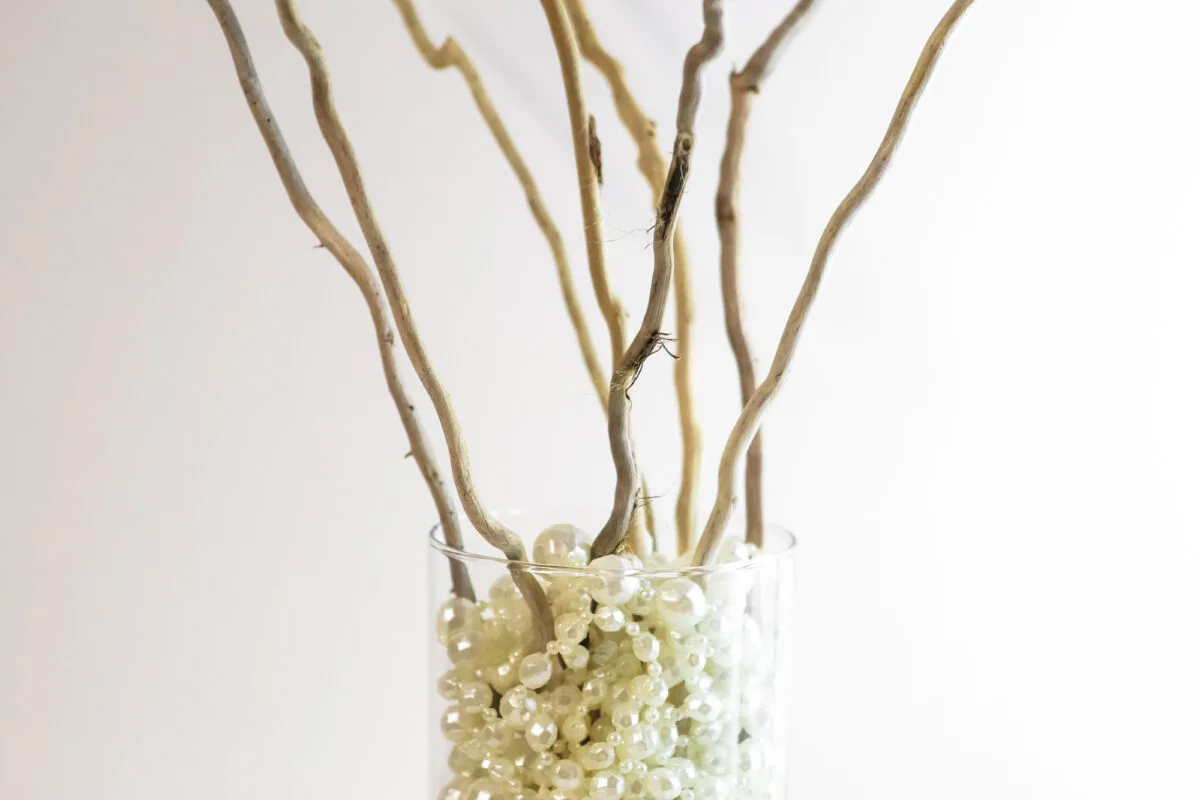
Tuck several sticks into the vase. Push down as far as you can to stabilize the twigs so they don’t fall out. Tuck them in so that the beads hide the twigs as seen from the outside of the vase.
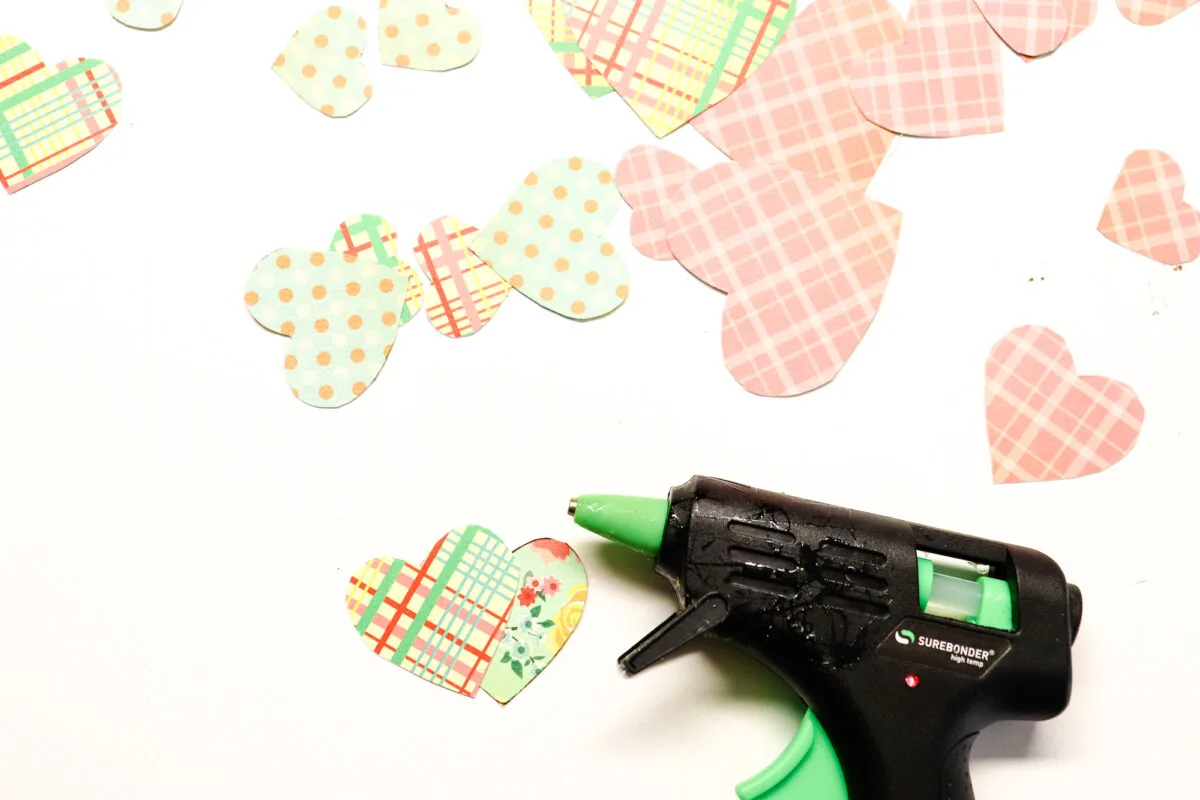
Cut out several heart shapes from the scrapbook paper. I cut out 3 different sizes of hearts.
I glued the paper pieces together so that there was a pattern on either side, no matter which way you saw the tree. You could use craft glue or double sided tape for this part.
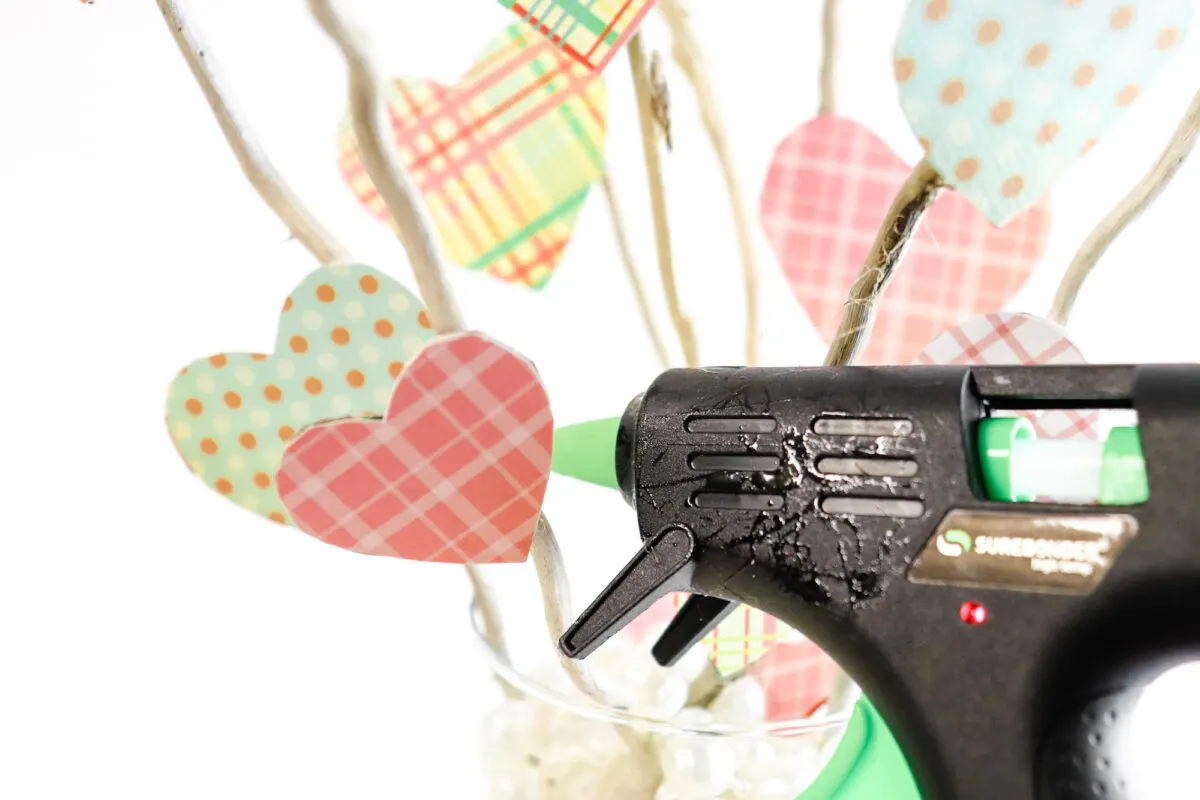
Randomly hot glue the hearts to the twigs. Make sure the hearts are evenly dispersed, both with the location and the different sizes, if you are doing a variety of sizes of hearts.
Wrap your fabric around the vase and measure how much length you will need. You will want a little bit of overlap to hide the seams. Then cut out that length, and make the fabric 3 inches in width. Take the same length measurement and cut out a piece of burlap ribbon, too.
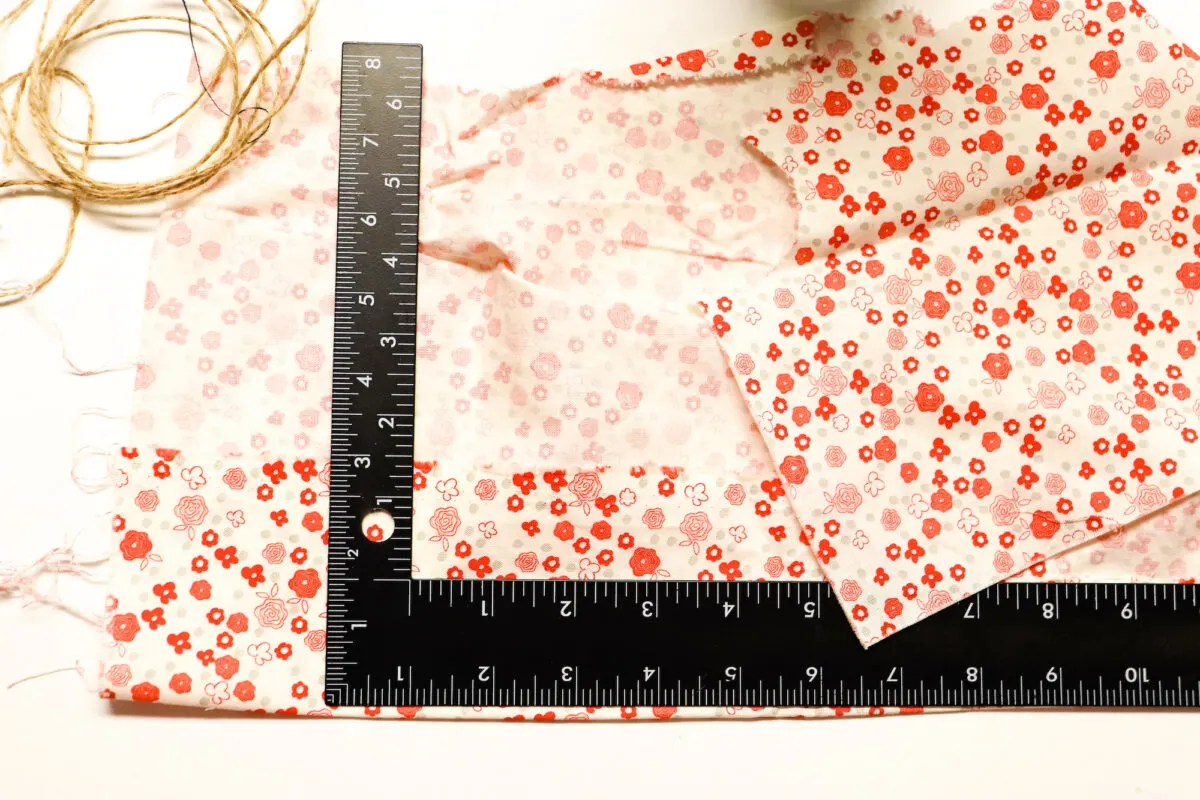
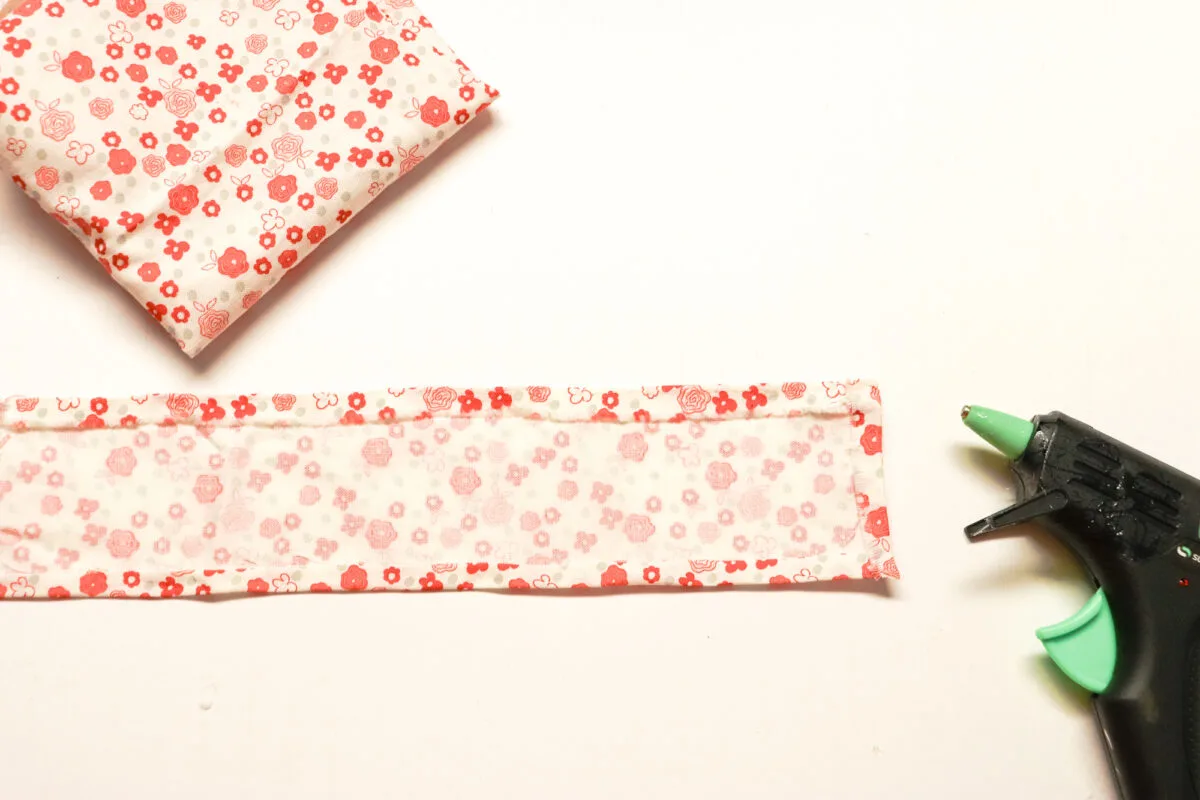
To finish off the edges of the fabric, tuck under the raw edges by just ⅛″ or so and hot glue on the back. If you wanted a rough look, you can leave the raw edges alone.
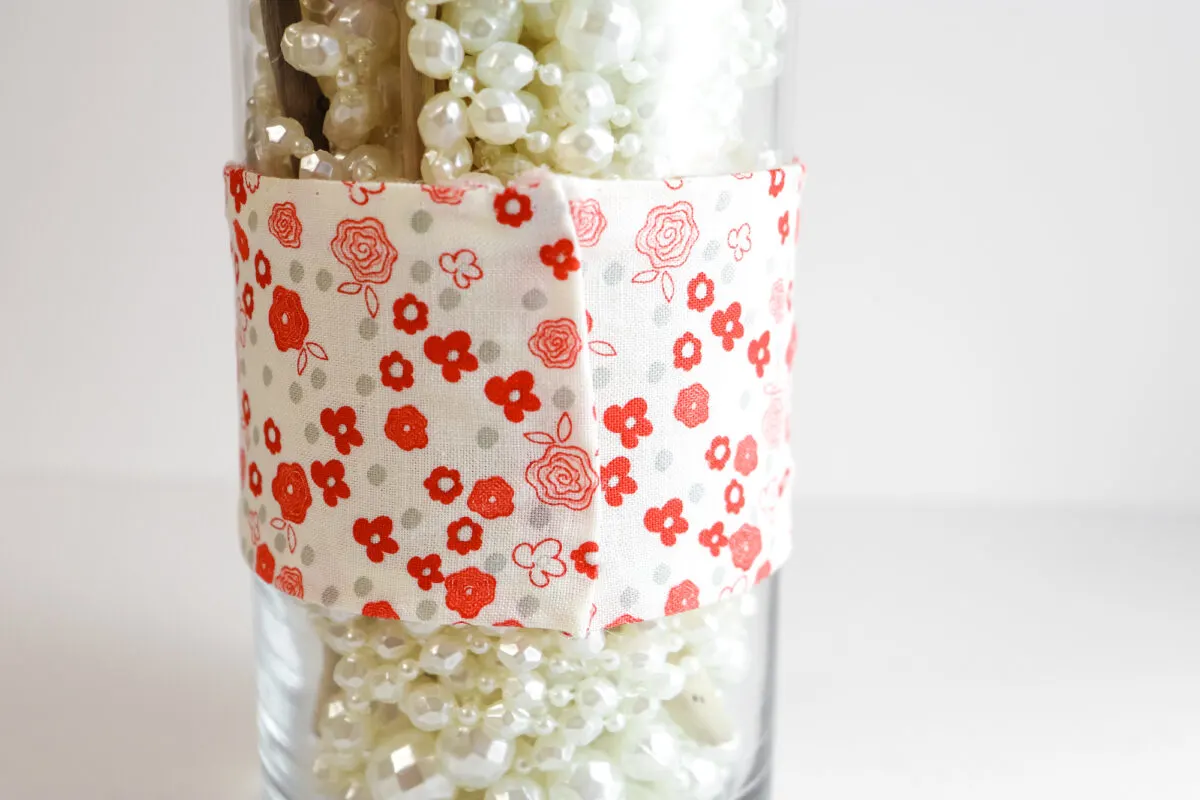
Wrap the fabric around the vase and hot glue the ends together in the back of the vase. Wrap a length of burlap over the fabric, and hot glue the ends together in the back of the vase.
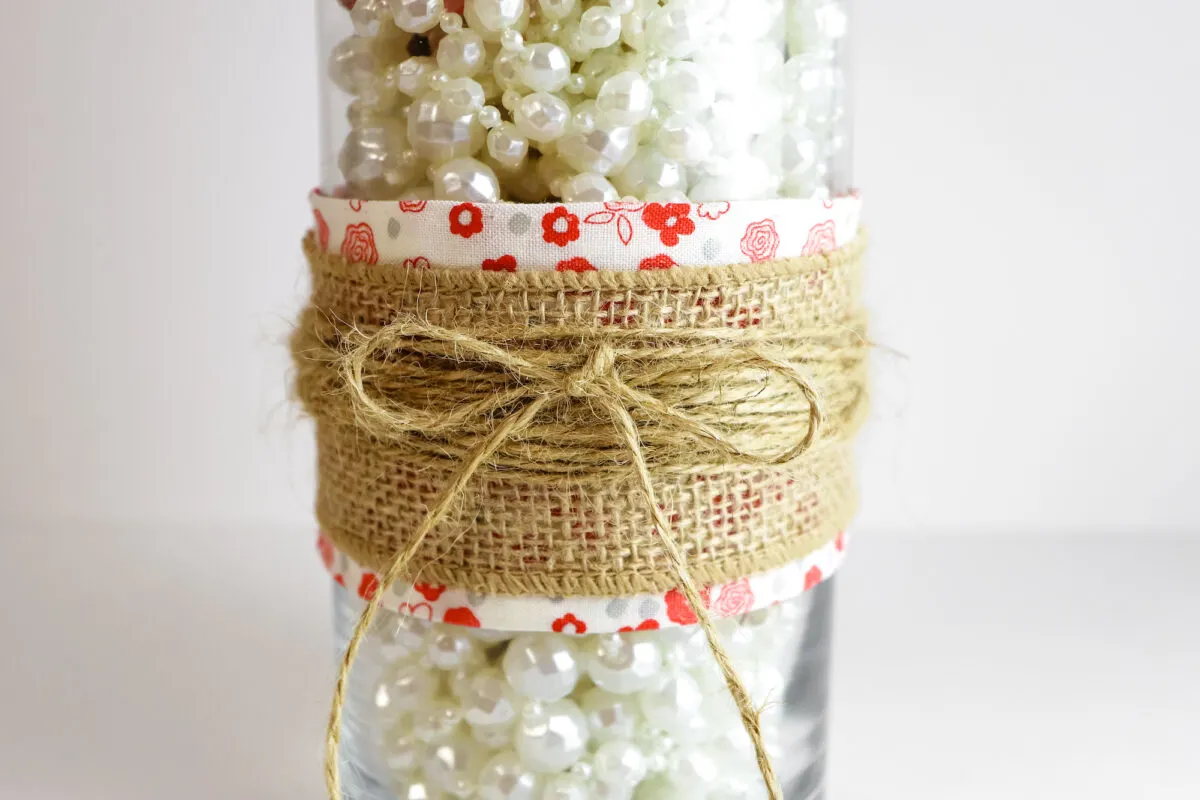
Wrap twine around the center of the burlap several times for added interest. Then tie a bow.
I went back and glued a couple extra paper hearts to the outside of the vase at the top. And I tucked a few in the glass beads. It looks almost like heart shaped leaves are falling from the tree!
You can also watch the video on my Youtube Channel (I’d love if you subscribed!):
If you liked this DIY Valentine’s Day tree, you might also like my Ribbon Loop Tree for the holiday. Or make this pretty Dollar Tree Valentine Candle.
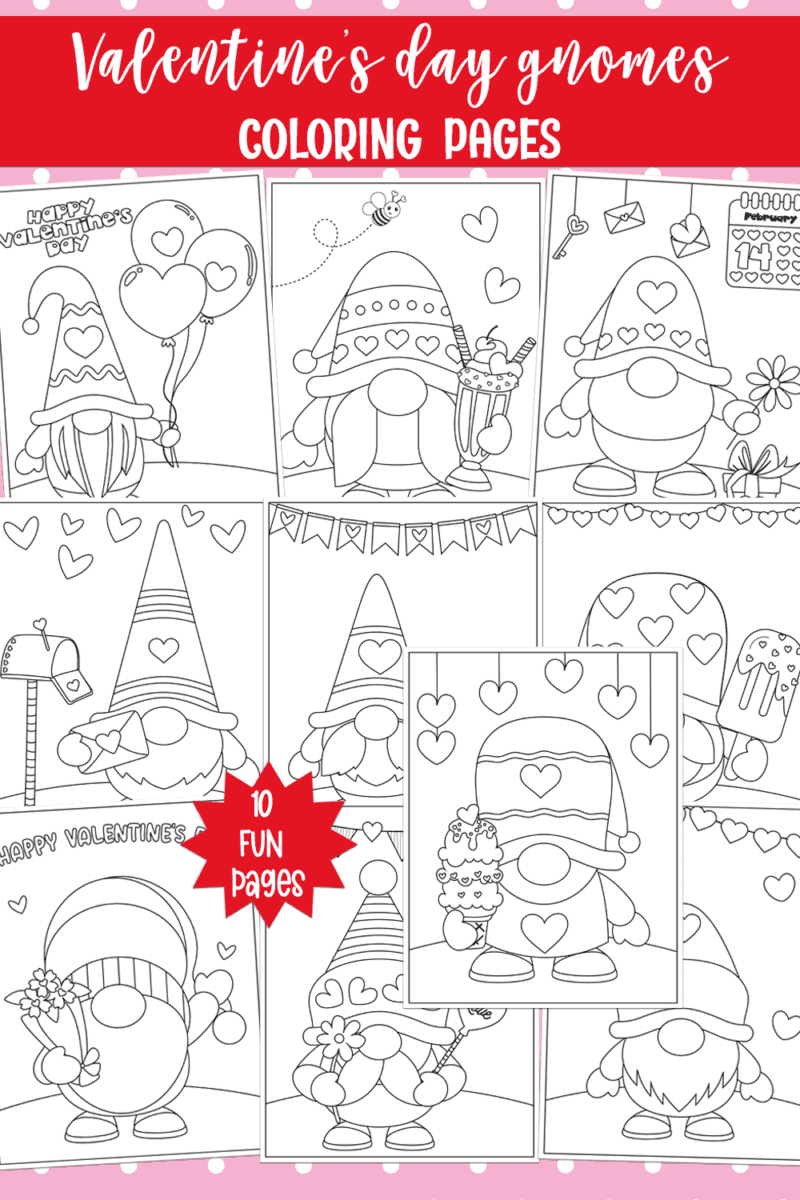
Valentines Day Coloring Pages
Get these cute gnome coloring pages that are so cute to color for Valentines Day!
10 unique designs give hours of stress-relieving fun and adorable decorations!
Only available in our Single Girls DIY library


Denise
Monday 15th of January 2024
I have made a Valentine tree like this with preschoolers. We painted the twigs white first before adding hearts cut from construction paper. Each child hung their own heart on the tree. Thanks for all the easy crafts.
Kimberly
Tuesday 16th of January 2024
Denise, that sounds like a lovely idea! You're welcome!
Jen
Thursday 21st of December 2023
This is ADORABLE! Will be trying this near Valentines Day next year.
Kimberly
Friday 29th of December 2023
Thank you, Jen!