

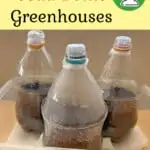
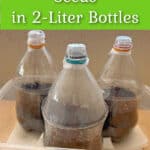

Starting seeds isn’t hard, but you do need the right conditions for the plants to start growing. A soda bottle greenhouse is one of the easiest ways to start seeds indoors.
A 2 Liter Plastic Bottle Greenhouse is one of the best ways to sprout seeds for a variety of reasons:
- Free materials to make the mini greenhouse
- Simple yet effective
- Easy to make
- Creates a perfect moist and humid environment for the seeds
- Lightweight
- Can be reused over and over again or recycled

These mini greenhouses are perfect for starting seeds indoors in the winter or early Spring.
As long as you have sunlight streaming through a window without any cold drafts, you can quickly and easily start sprouting seeds for the garden weeks before your expected last frost date.
You can start any seeds that you would like with this method, whether they are vegetable seeds, herbs, or flowers.
If you love starting plants from seeds, check out some of our seed saving methods:
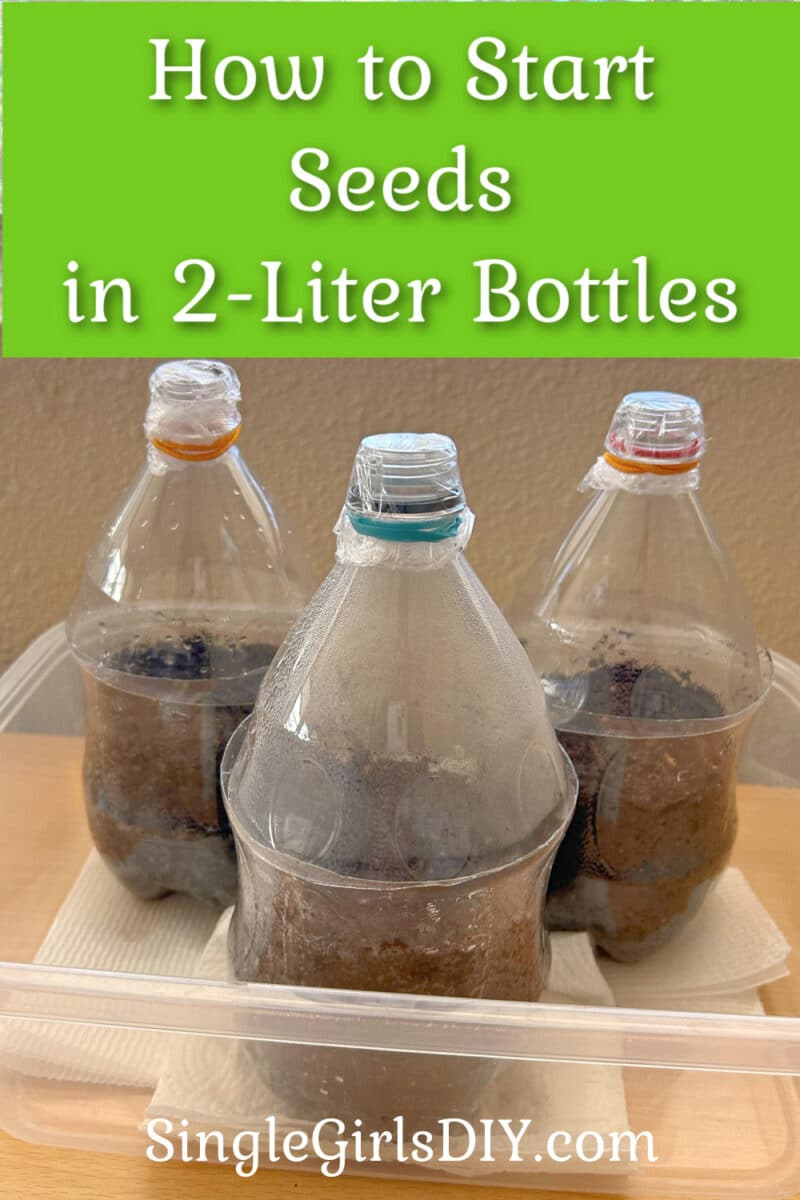
How to Make a 2 Liter Plastic Bottle Greenhouse to Start Seeds
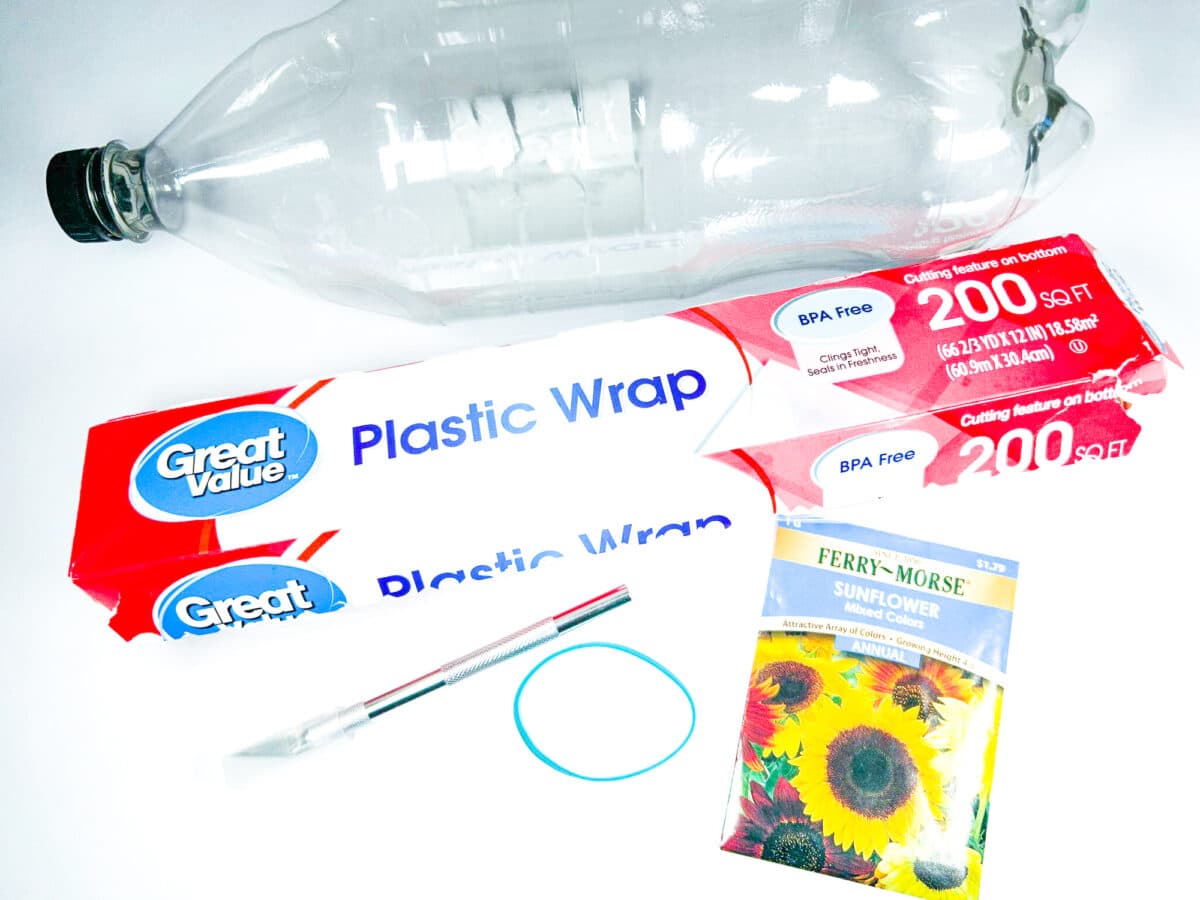
Materials
- 2 Liter Bottles (empty and clean)
- X-acto Knife
- Plastic Wrap (like Saran Wrap)
- Rubber Band
- Potting soil or Seed Starting Soil
- Seeds (I used sunflower for this project)
- Spray Bottle filled with water
- Plastic Tray (optional)

Directions
Using the X-acto knife, cut out the middle part of the 2 liter bottle. You will want to cut out a section of the middle of the soda bottle, with the top part and base remaining.

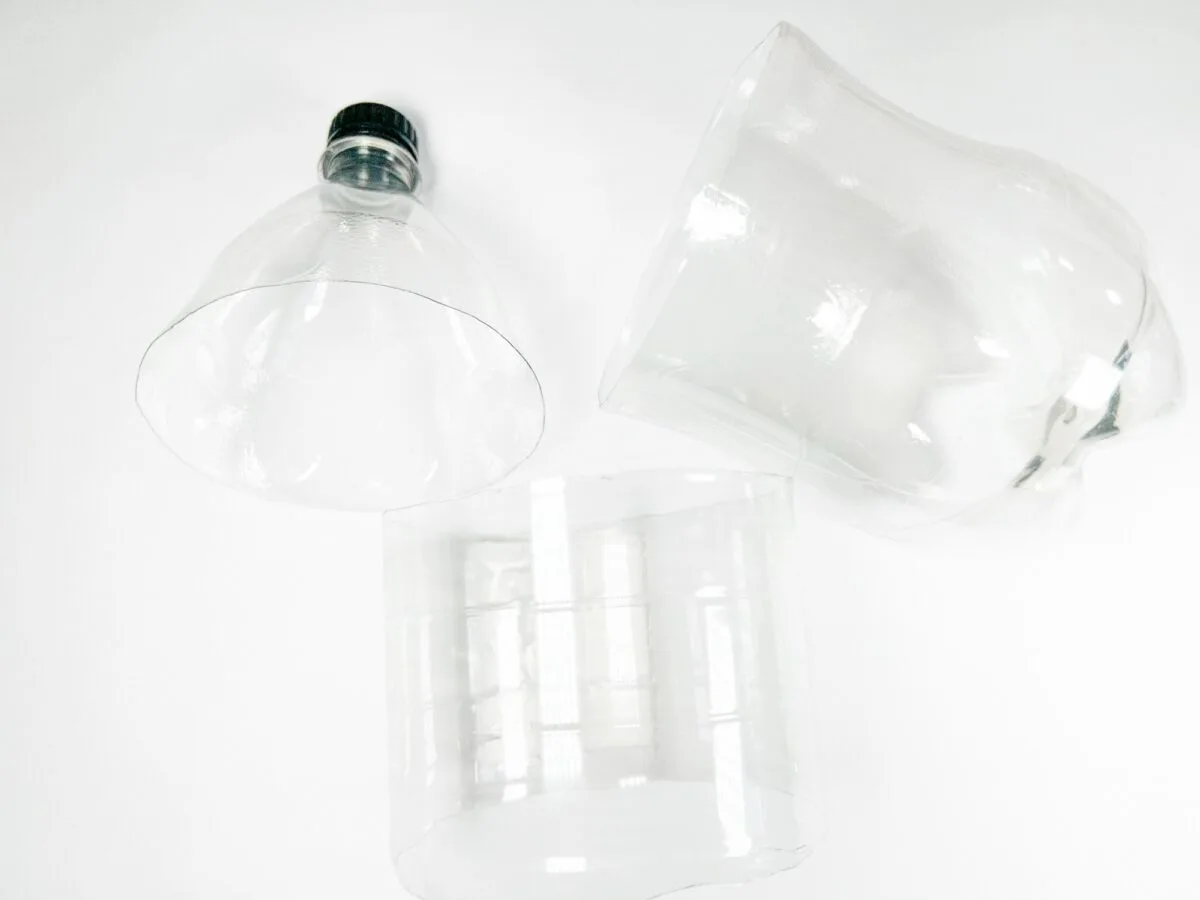
The top portion of the bottle that has the screw on cap should just fit into the bottom portion to create the greenhouse. If the top of the bottle doesn’t fit inside the base of the bottle, you may need to trim some of the plastic bottle to get the correct fit.
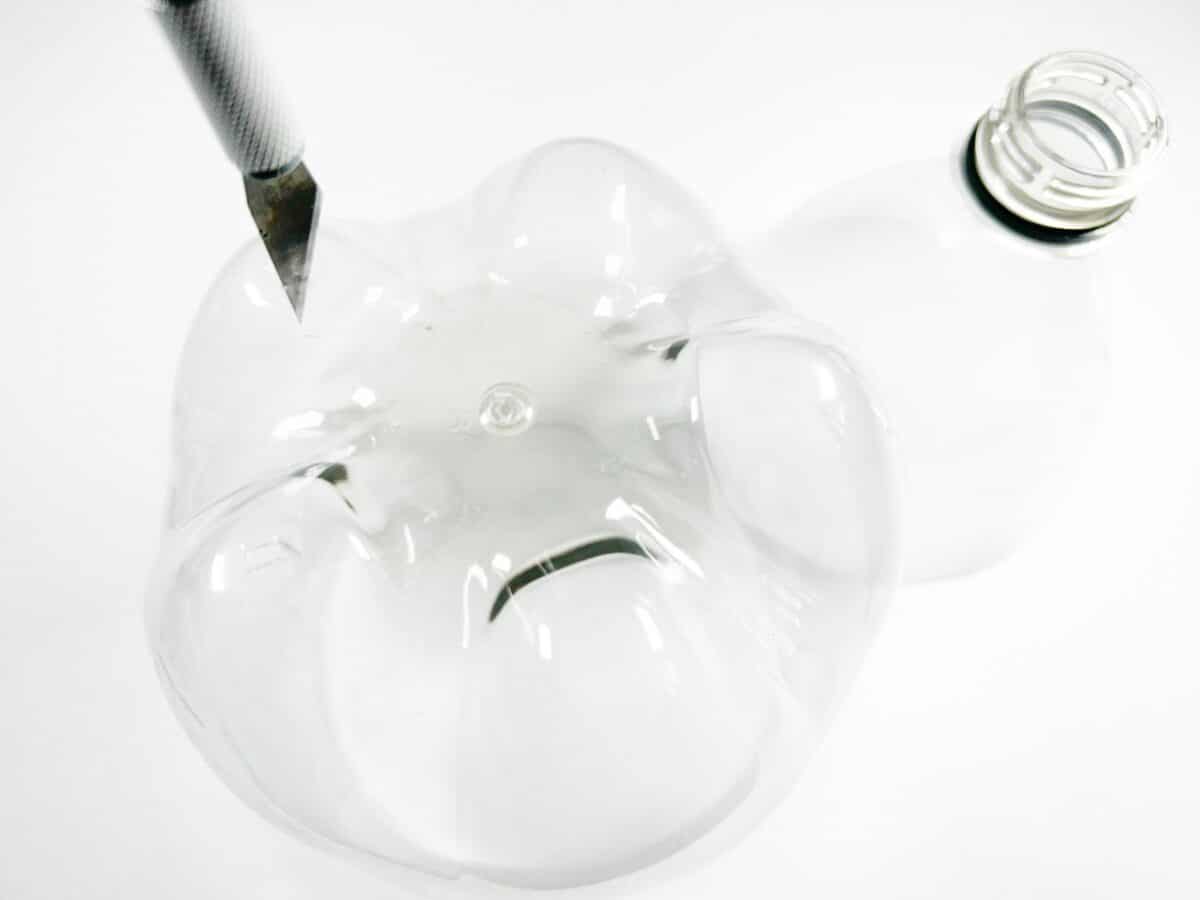
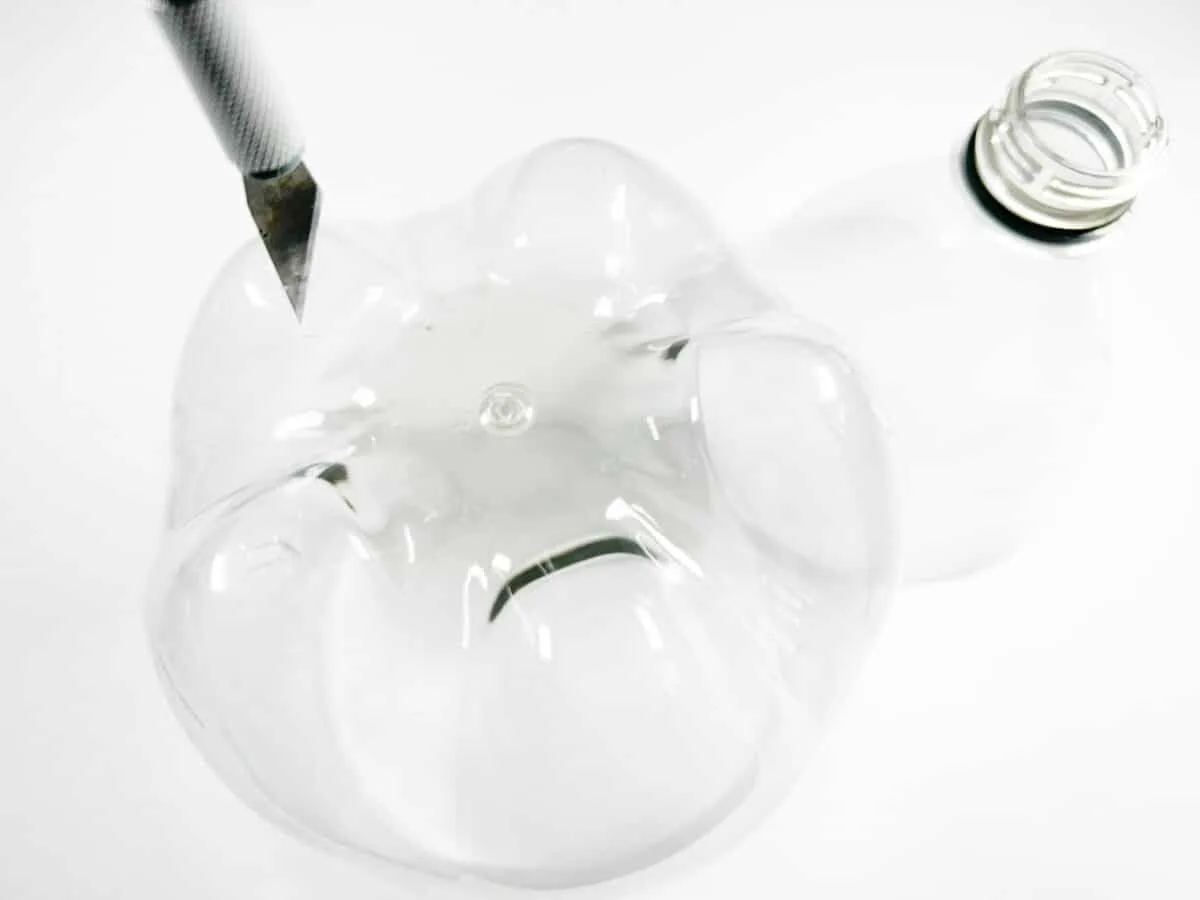
On the bottom of the bottle, cut a few drain holes using the X-acto knife.
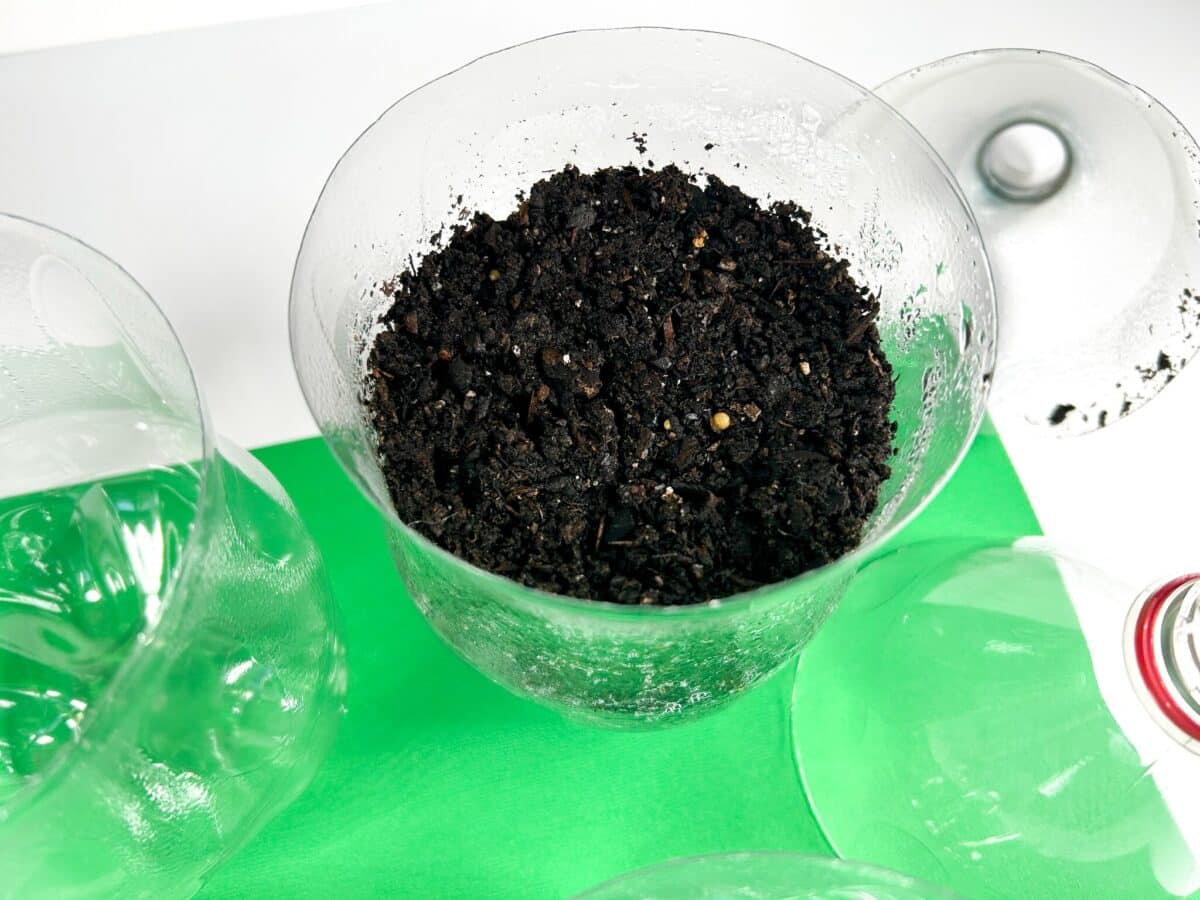
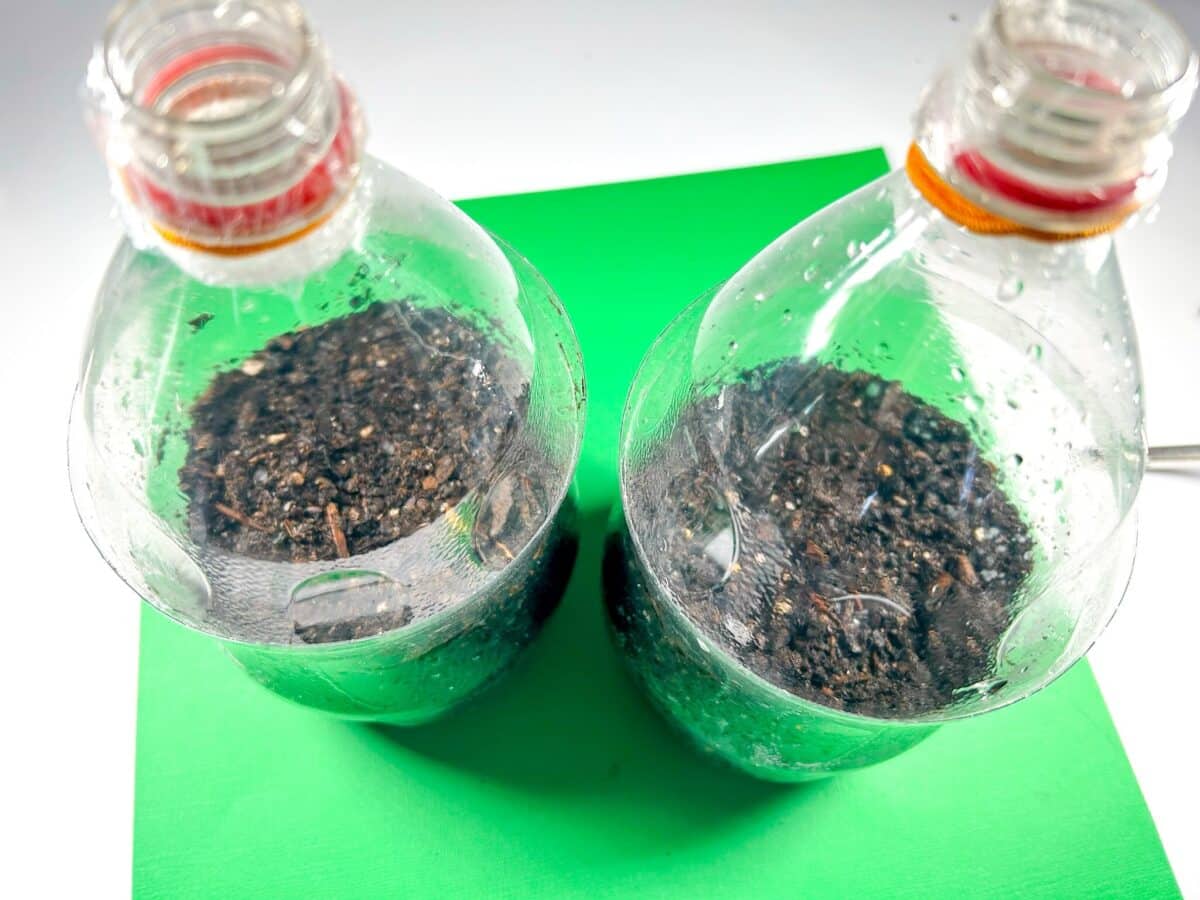
Then fill the bottom portion of the bottle with soil. I use seed-starting soil when beginning my seeds, but potting soil can definitely work, too.

Poke several holes into the soil for the seeds, depending on the suggested placement of seeds on the seed pack.
Place a seed into each hole, then use the spray bottle to moisten the soil until it is just damp with water. You do not want the soil to be too soggy.
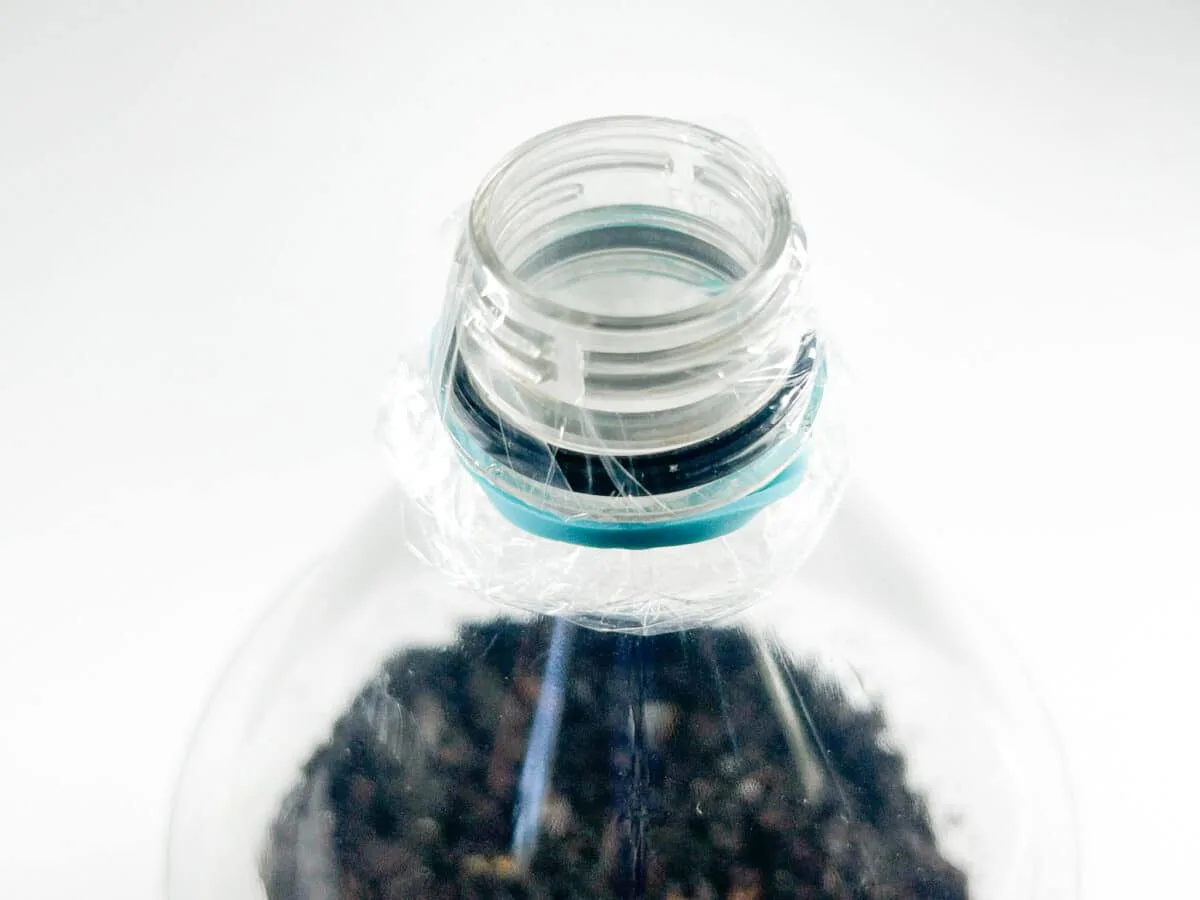
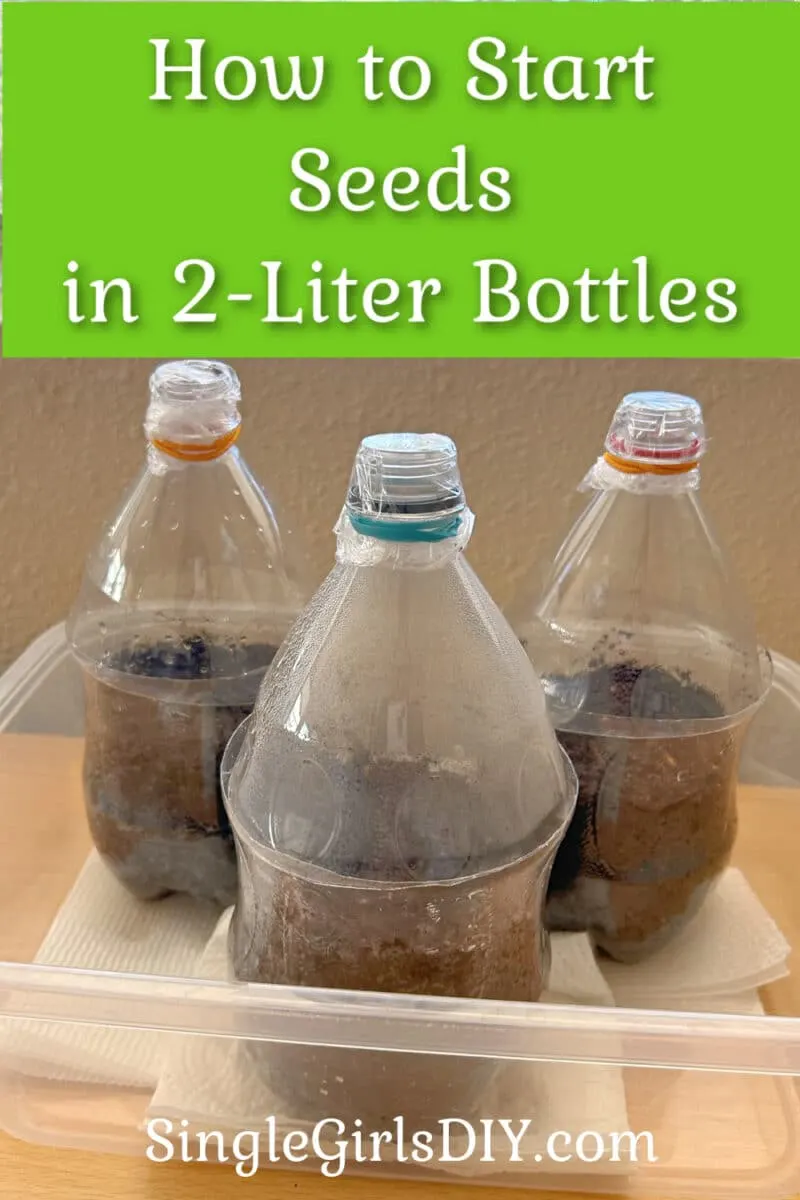
Remove the lid cap from the top portion of the bottle. Then put a small piece of plastic wrap over the hole and secure with a rubber band.

Place the plastic soda bottle lid on top of the bottom portion of the bottle greenhouse.

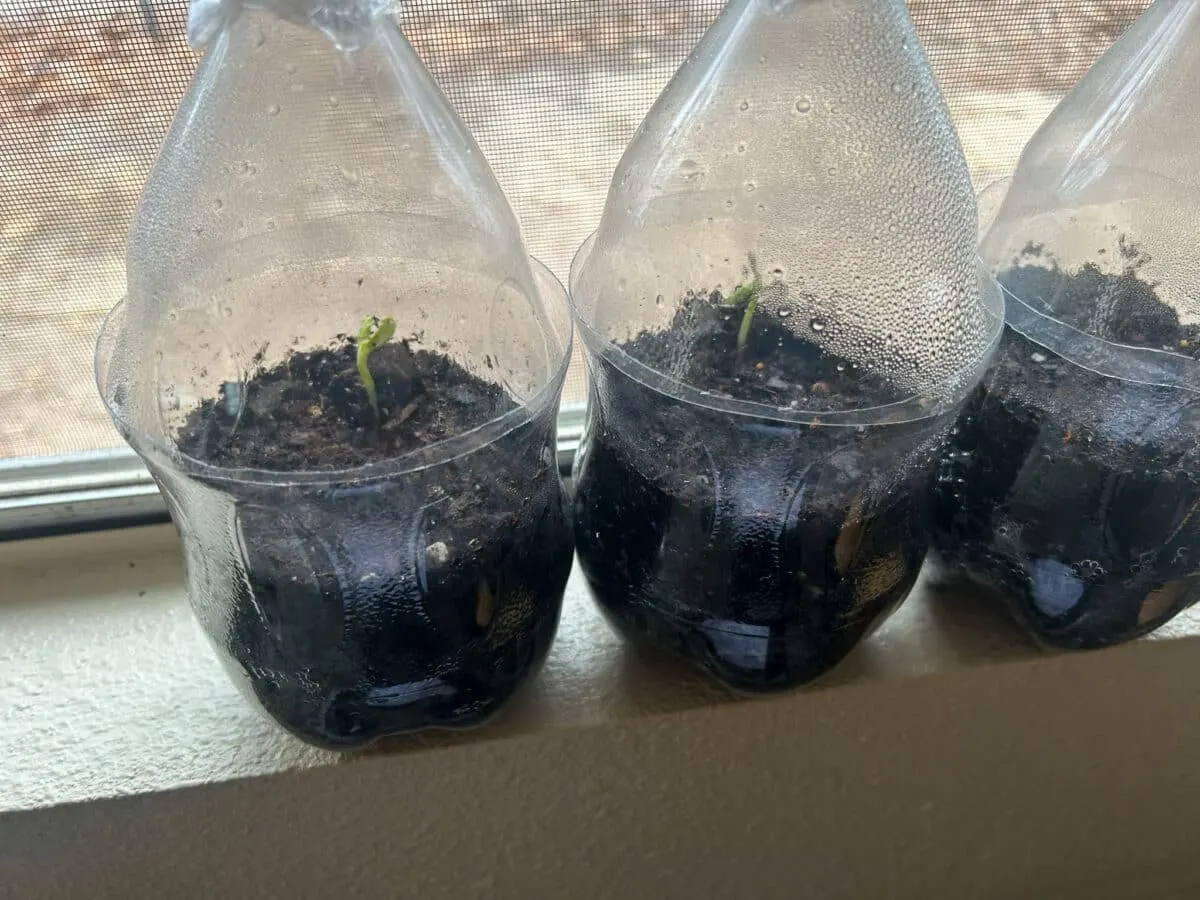
Put the mini greenhouses near a window sill that gets a lot of sunshine. To protect from leaks, you can use a plastic tray underneath the mini greenhouses.
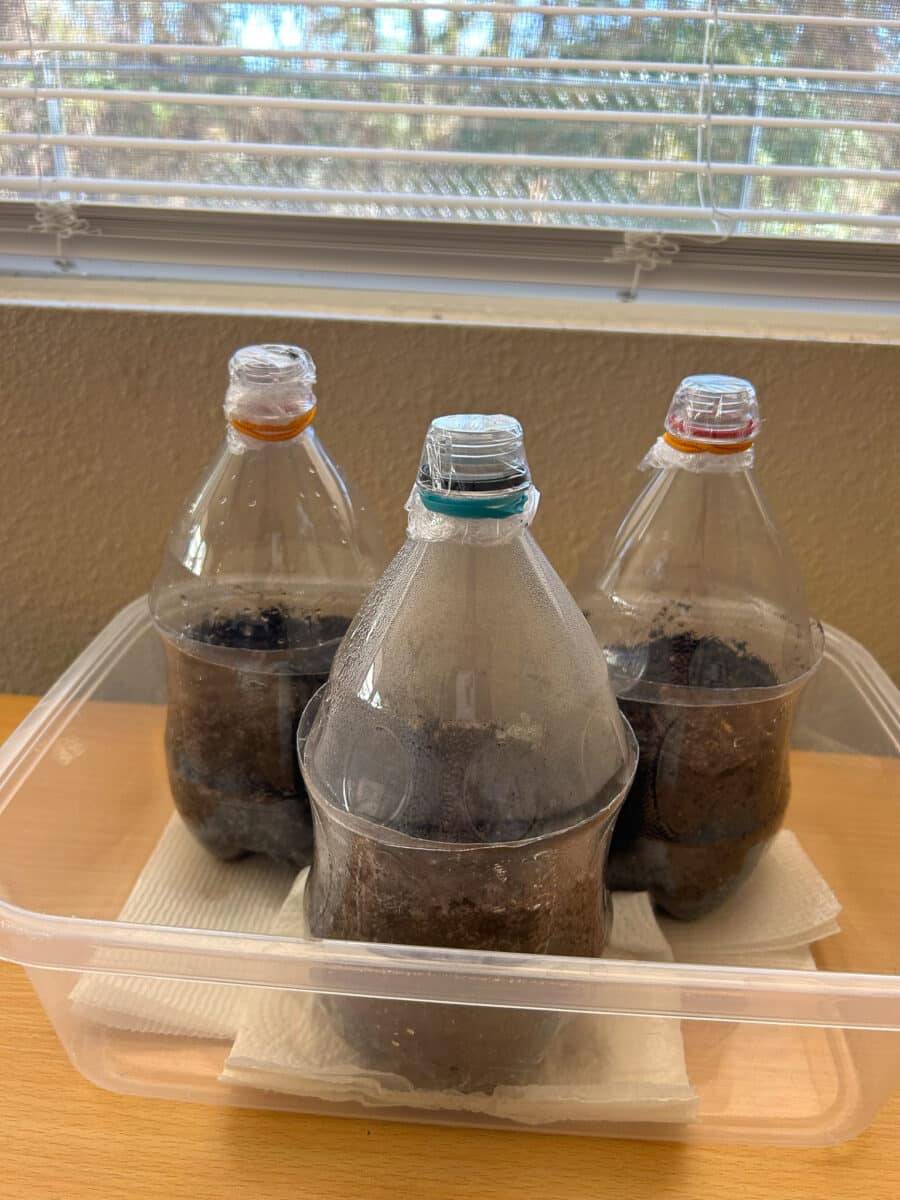
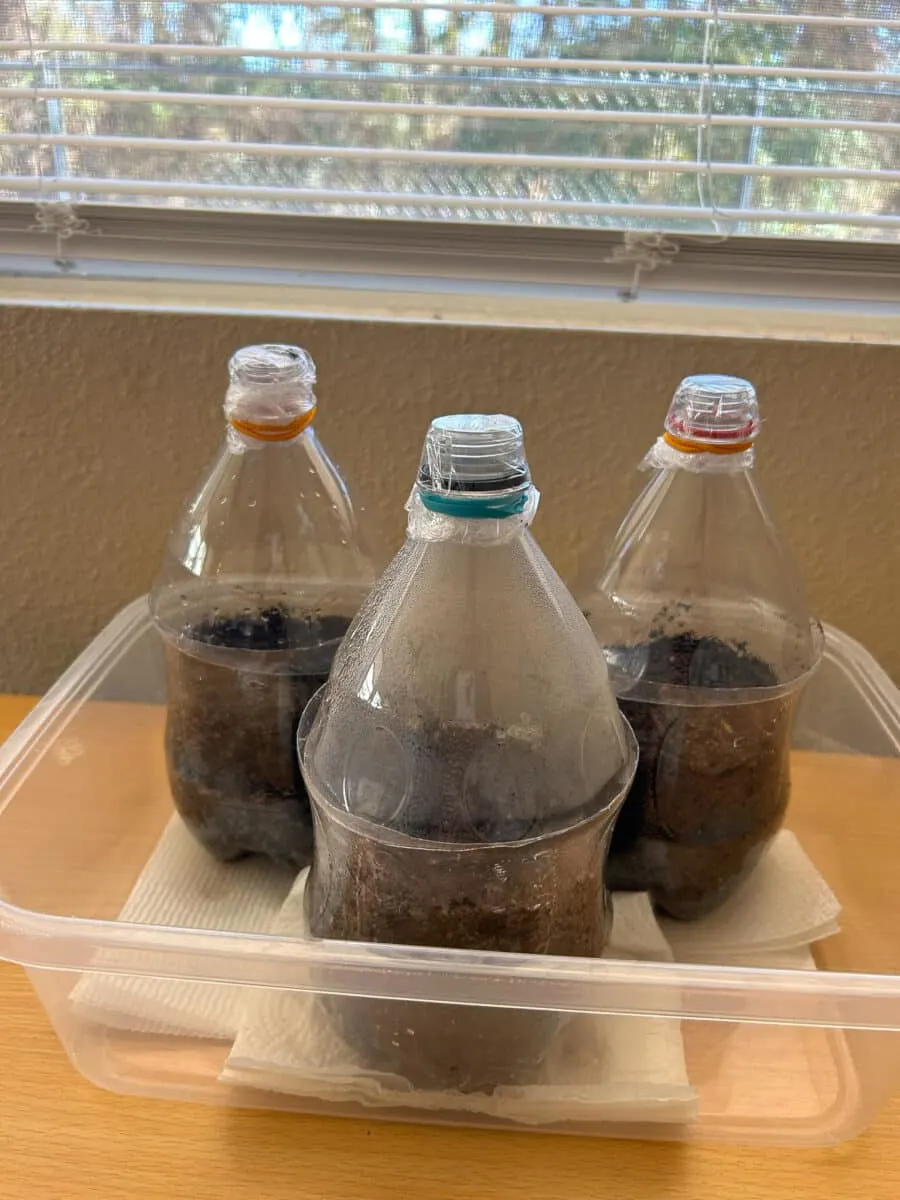
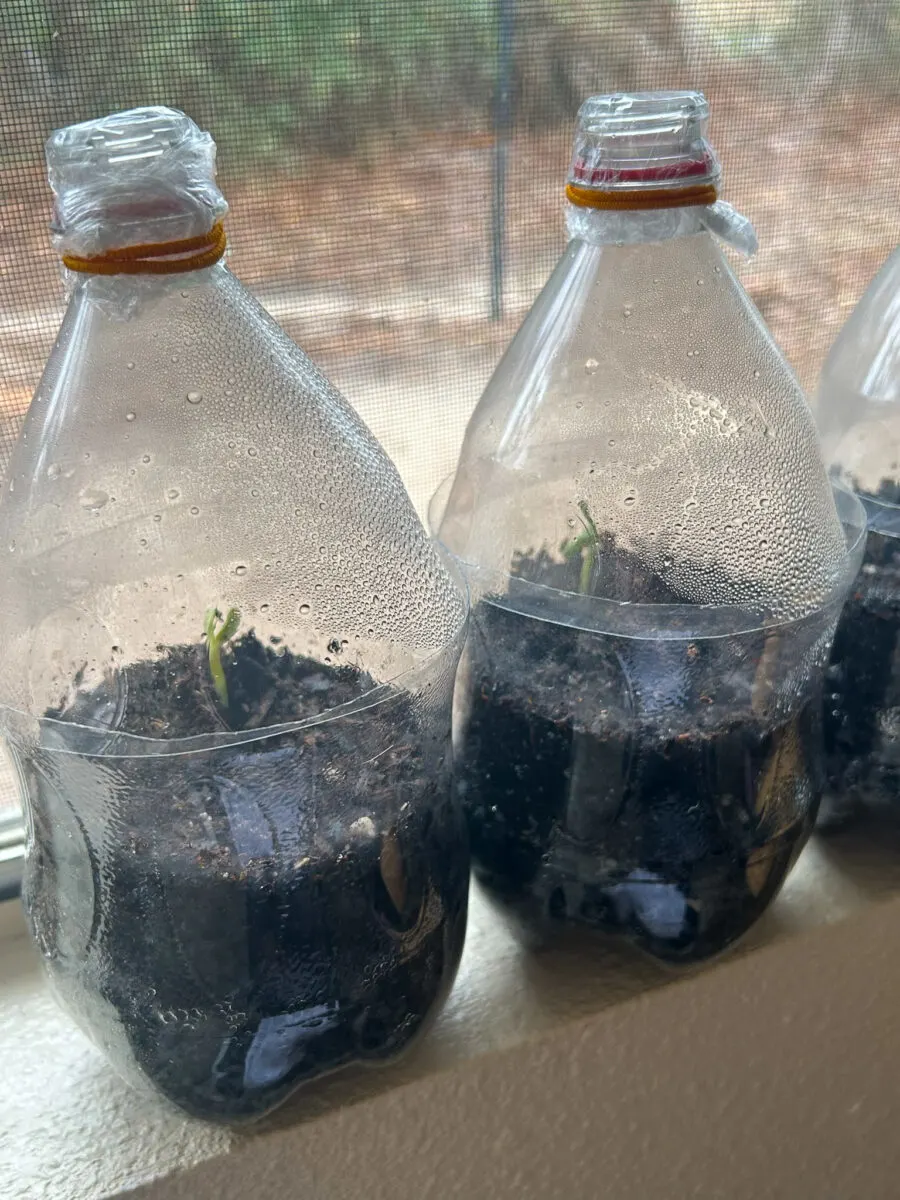
Let the greenhouses sit in the sun for several days. Keep an eye on the plastic bottle greenhouses, but you do not need to water every day. The condensation building up inside the bottle will be great moisture for the seeds.
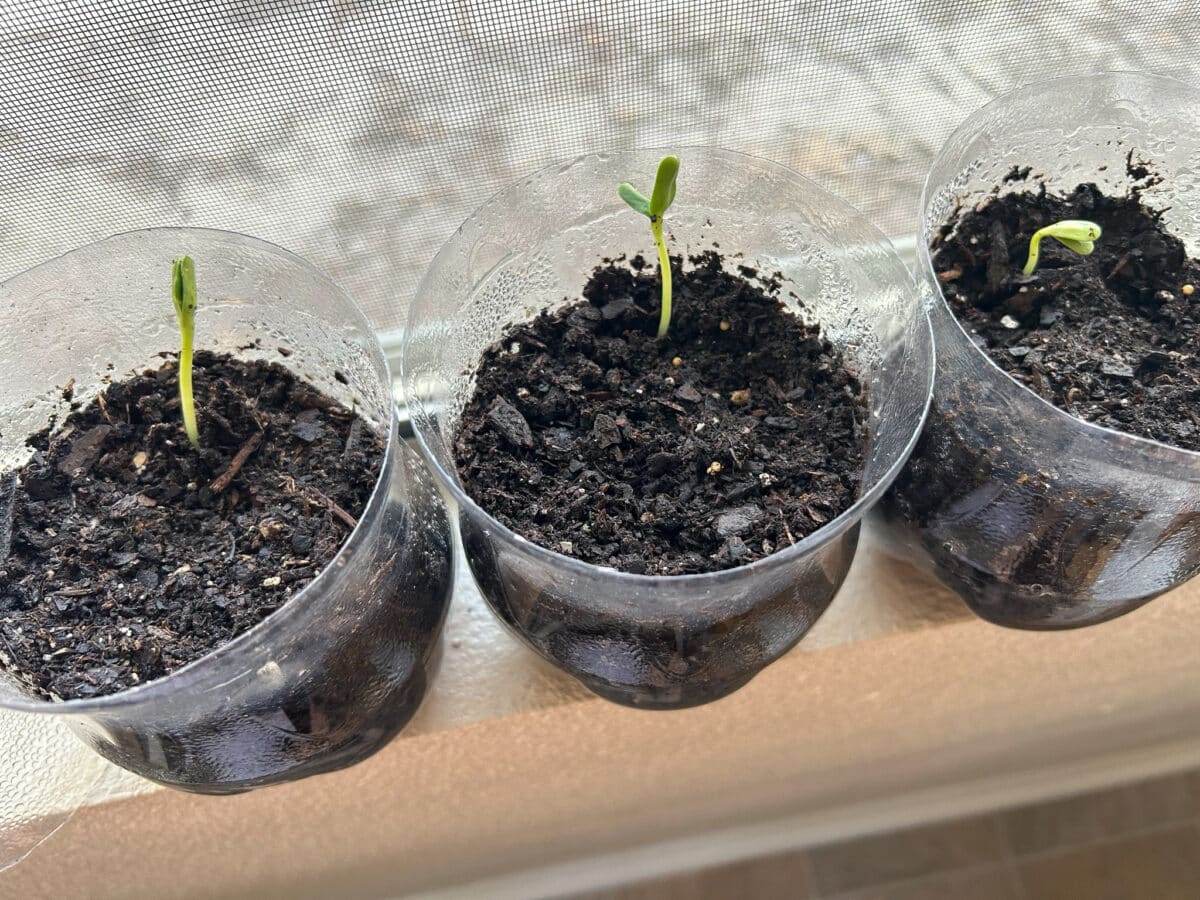
After a few days, you should see the seeds starting to sprout.

Once the seeds start sprouting, keep the soil moist. You probably will not need to water the soil at all because of the condensation that is created in the mini greenhouse. If you do notice that the soil is dry, mist the soil with a water bottle and cover with the plastic bottle greenhouse lid.
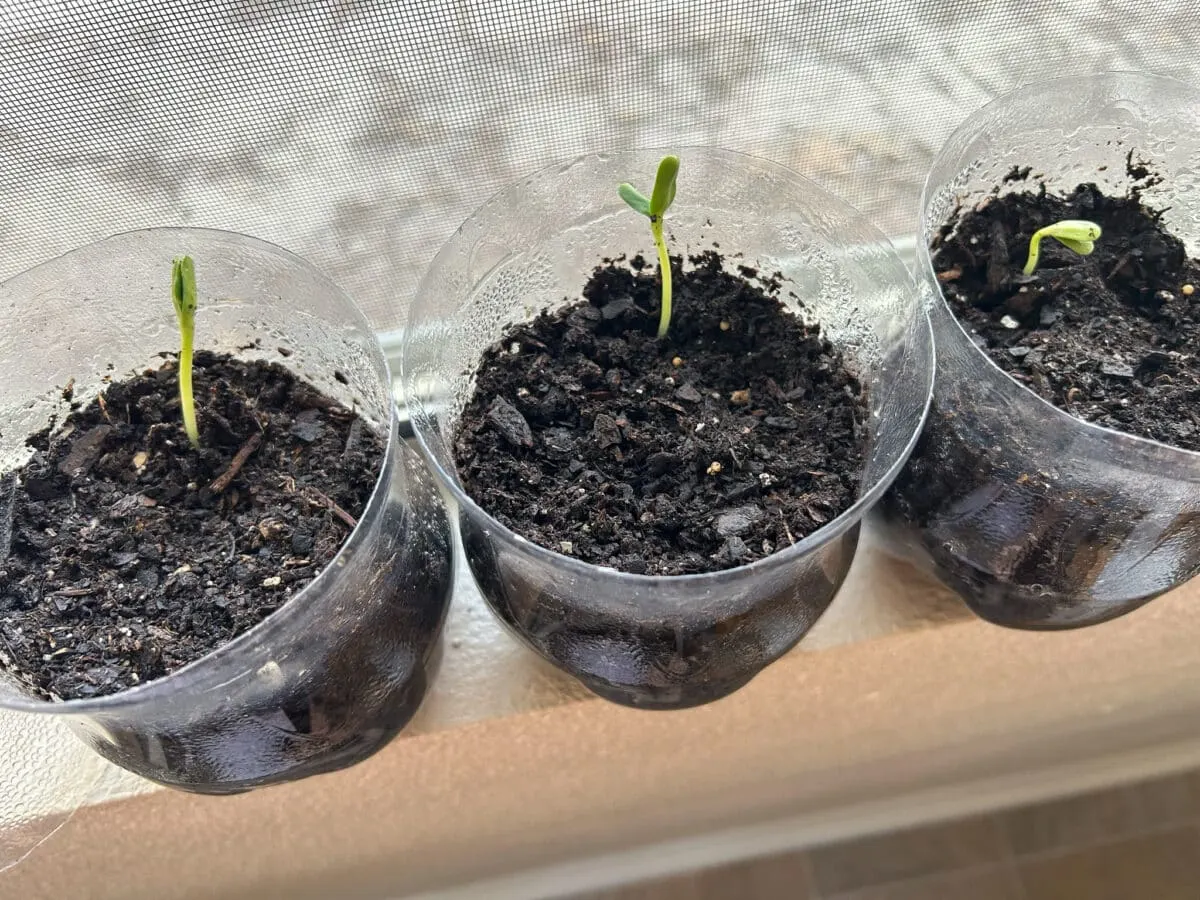
Once the plants have gotten big enough to transplant, you can move them to a larger container or plant them outside.
If you do not have luck with any seeds sprouting, it could be because the seed pack had bad seeds, the environment got too cold, or other variables.
Try planting a few seeds again with a different seed packet or in a warmer location with more sunlight.
Be sure to Pin This project to save for later!
Want more quick and easy garden hacks? Check out these smart guides:
- How to Get Free Wood Mulch
- 14 Ways to Decorate Black Garden Center Pots
- Creating a No-Water Yard
- How to Fill the Bottom of a Large Planter (without soil)
