


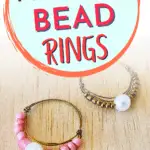


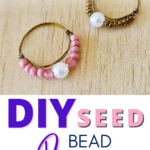
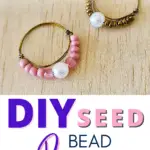


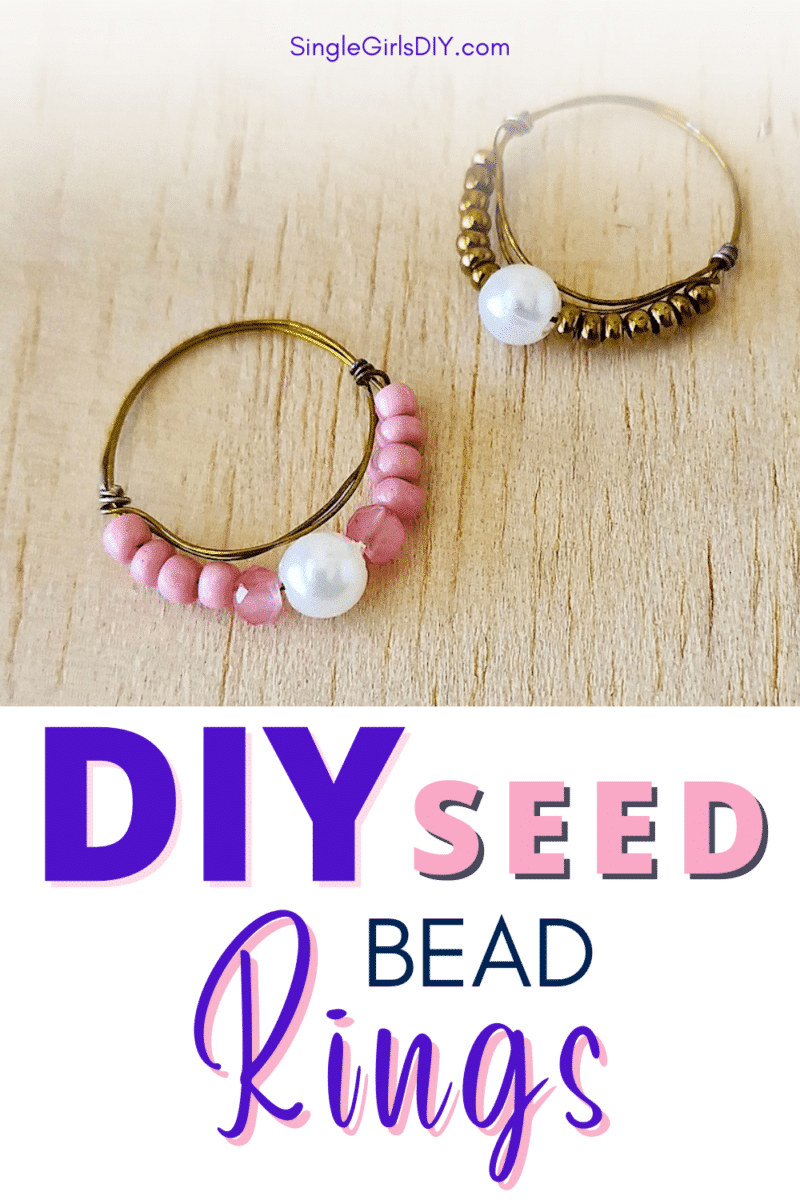
Our quick and easy DIY seed bead rings can be made in less than an hour. This easy tutorial shows you how to make beaded rings in six simple steps.

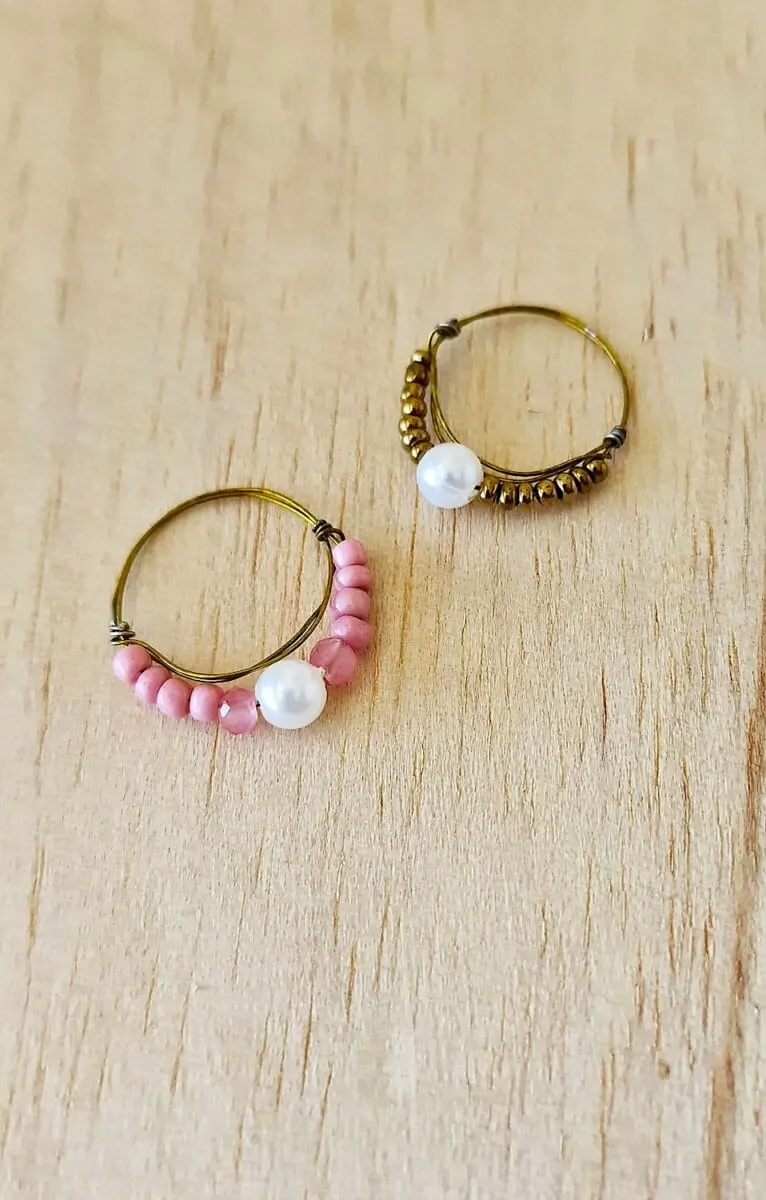
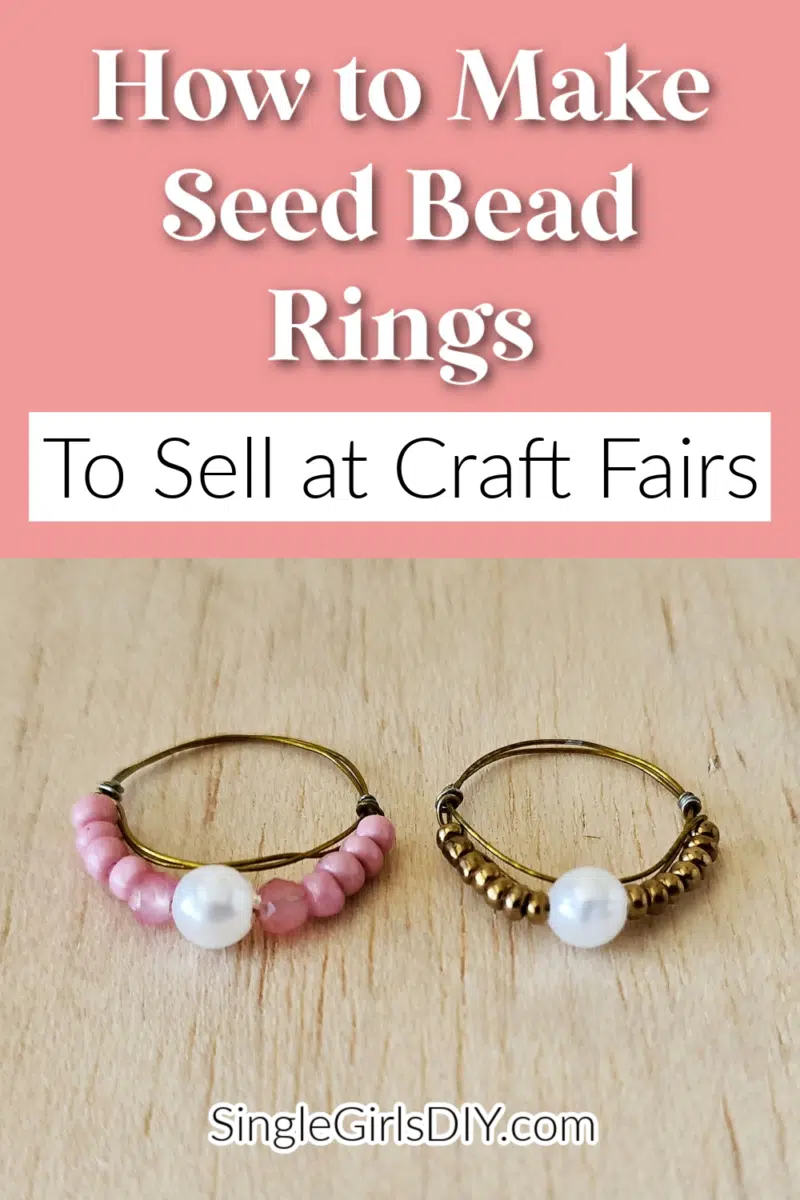
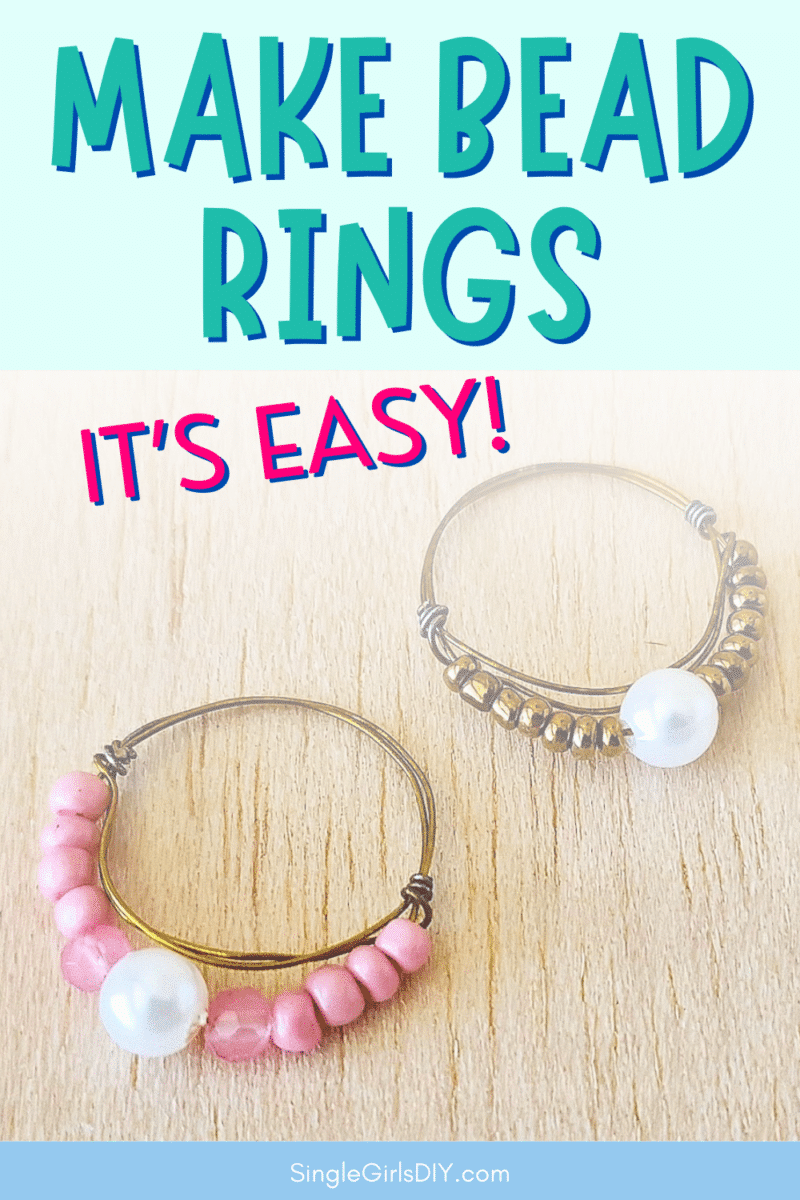
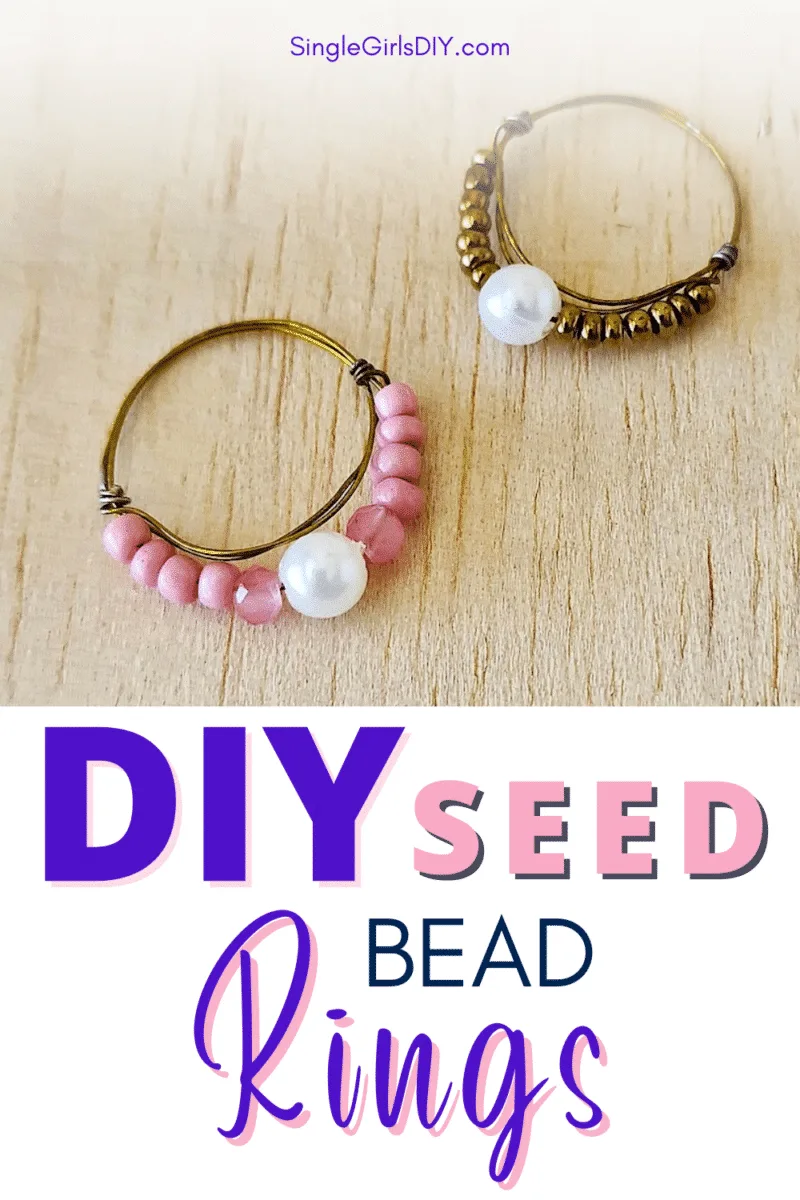
Seed bead rings usually feature one large bead in the center, with smaller beads on the side.
These DIY rings are limited only by your imagination! You can mix and match wire colors and bead colors and sizes to make a custom ring for you.
Bead rings are very popular items to sell at craft fairs! The materials are relatively inexpensive and you can create quite a few rings with a back of beads and a spool of wire.

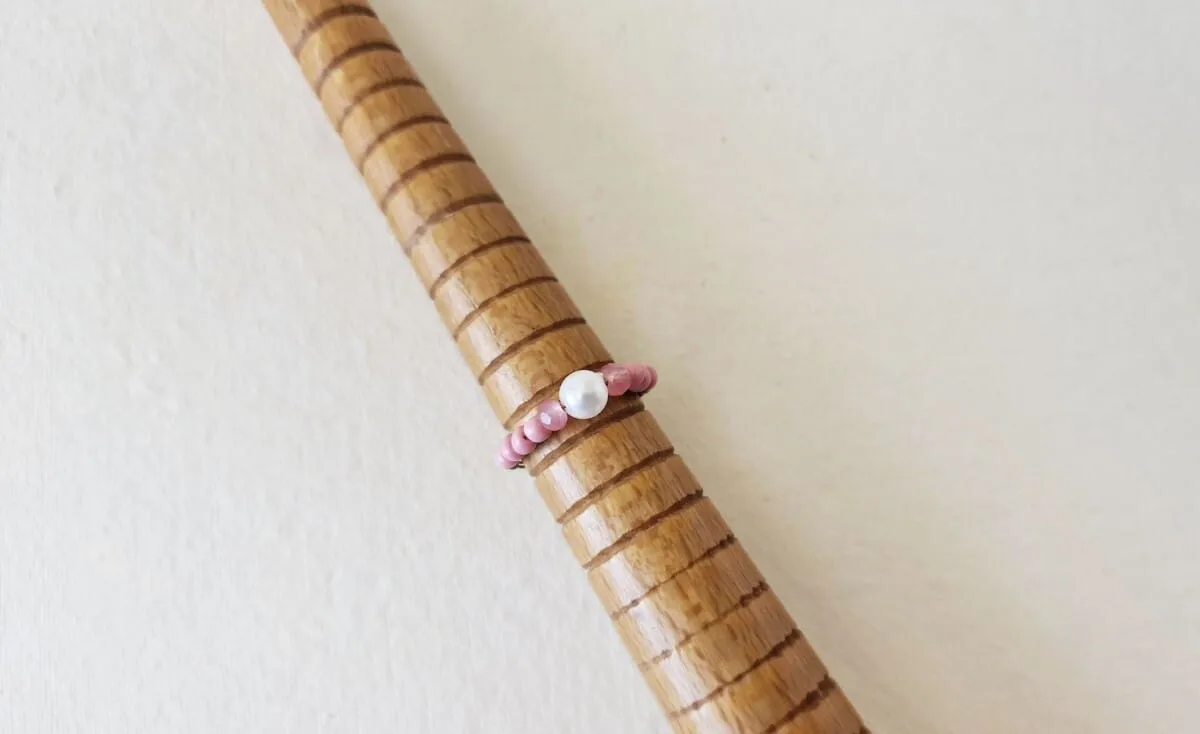
A mandrel is a jewelry making tool and ring sizer that makes it easy to adjust the sizes of rings to fit standard dimensions. It is not necessary if you are making a ring for yourself and only your measurements.
However, if you are making rings to sell at craft fairs, you will want to invest in a mandrel so that you create rings in standard sizes.

If you are new to jewelry making, it is important to know that the larger the gauge number of the wire, the thinner the wire will be.
When choosing a wire thickness, keep in mind that 10 gauge will be very thick, while 26 gauge will be much easier to bend.
Seed Bead Rings Tutorial
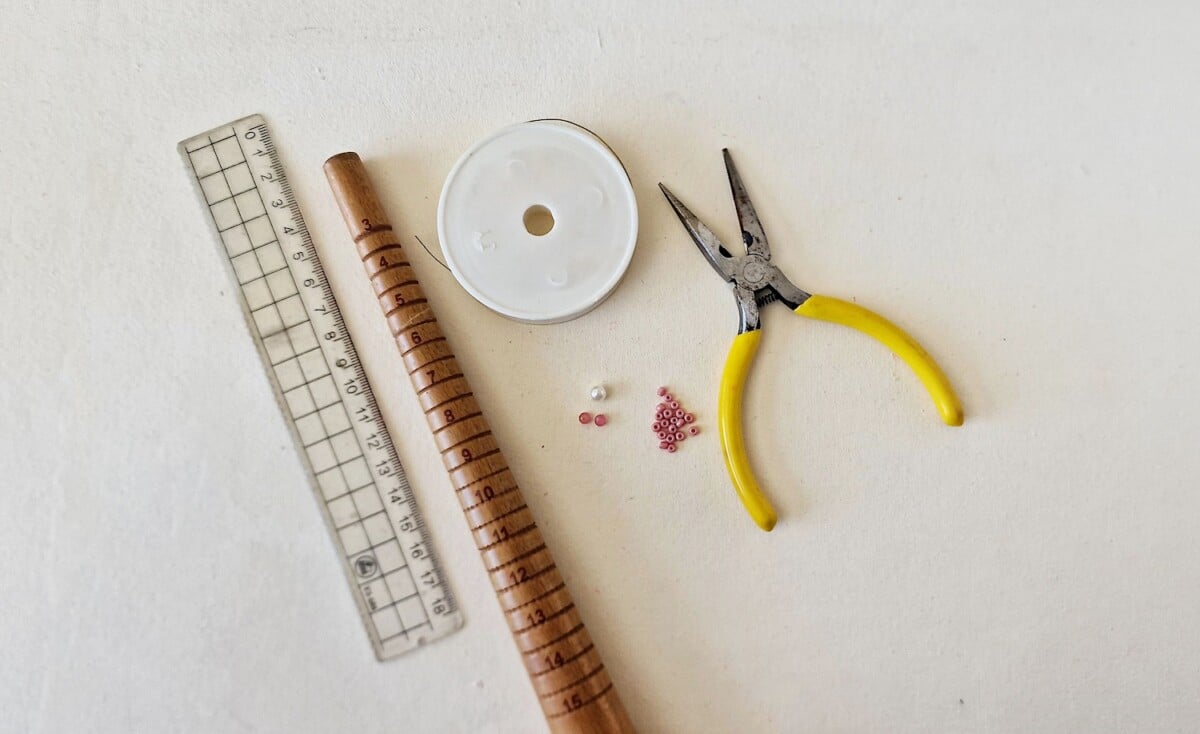
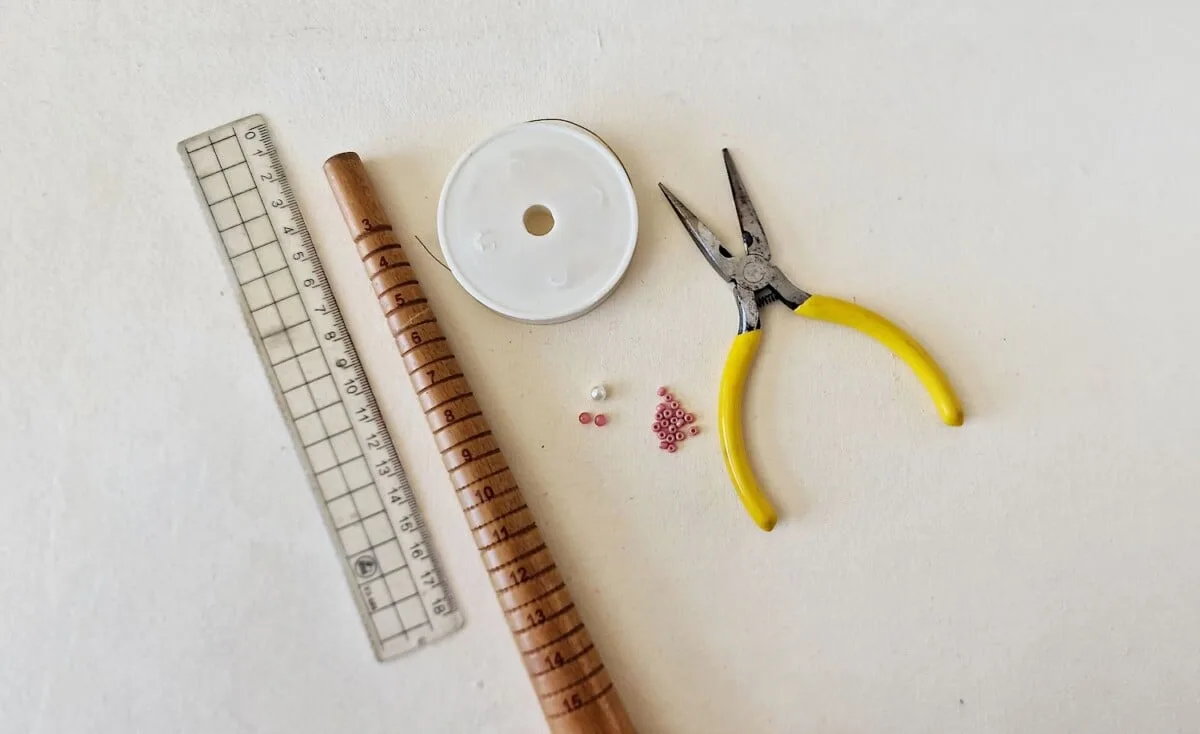
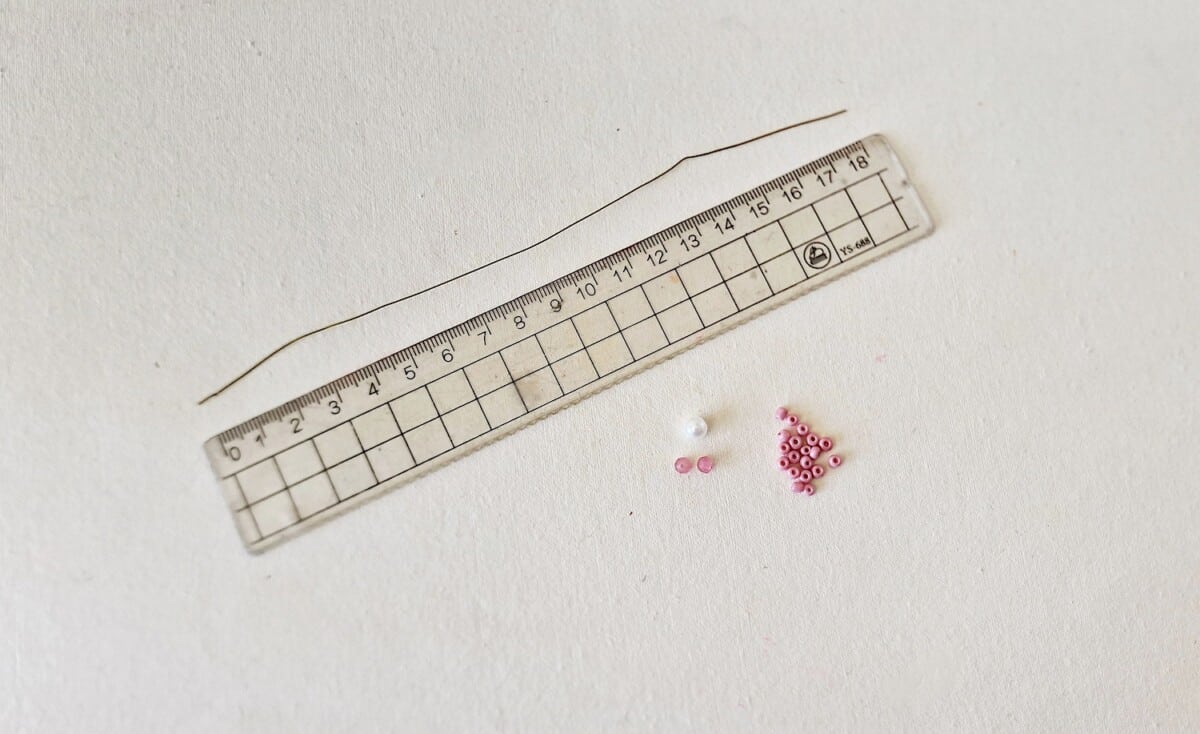
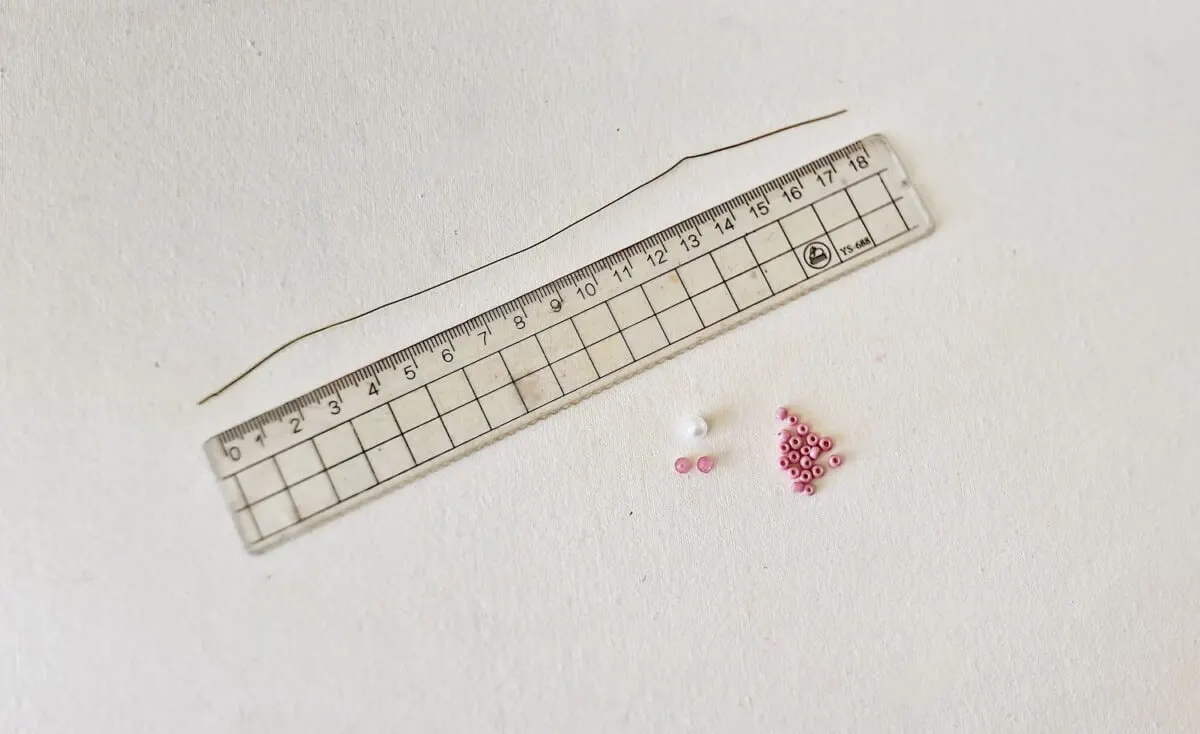
Supplies
- Variety of Beads (Crystal Beads, Small Round Beads, Seed Beads)
- Beading Wire
- Mandrel
- Jewelry Pliers
Directions
Step 1
Wrap a piece of string or measuring tape around your finger to determine what size you want. Then multiply that measurement by 4 and cut a piece out of the wire.
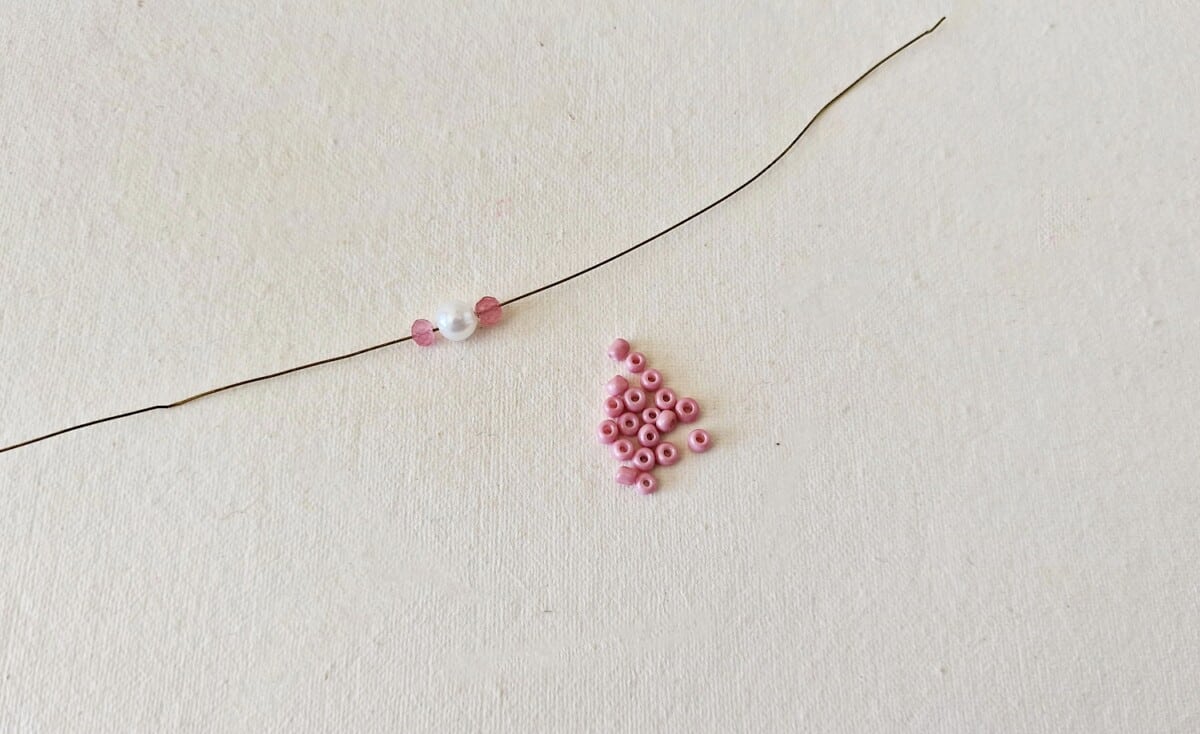
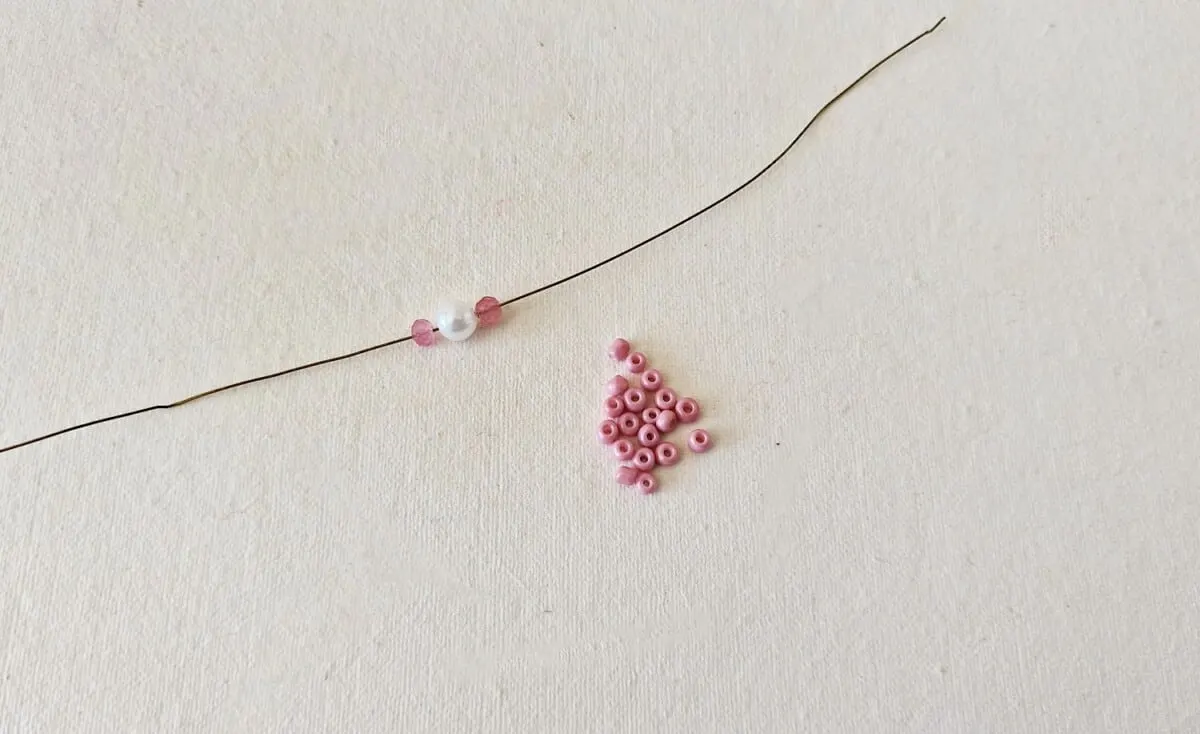
Step 2
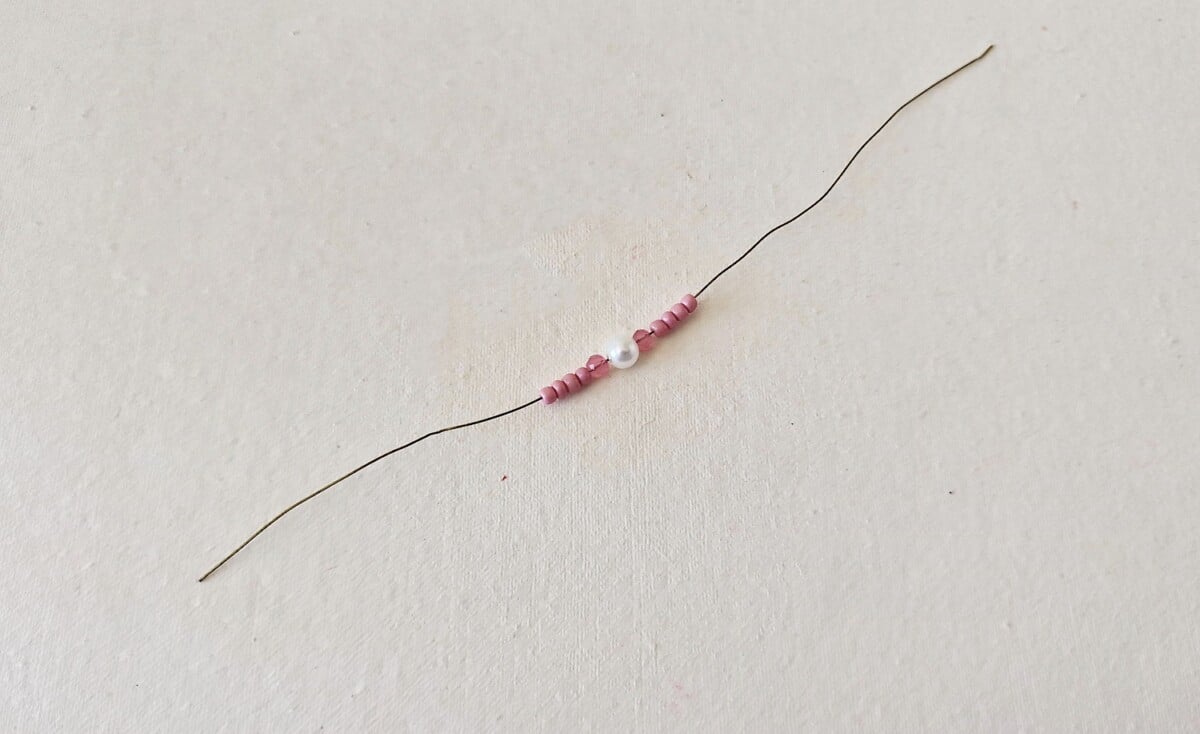
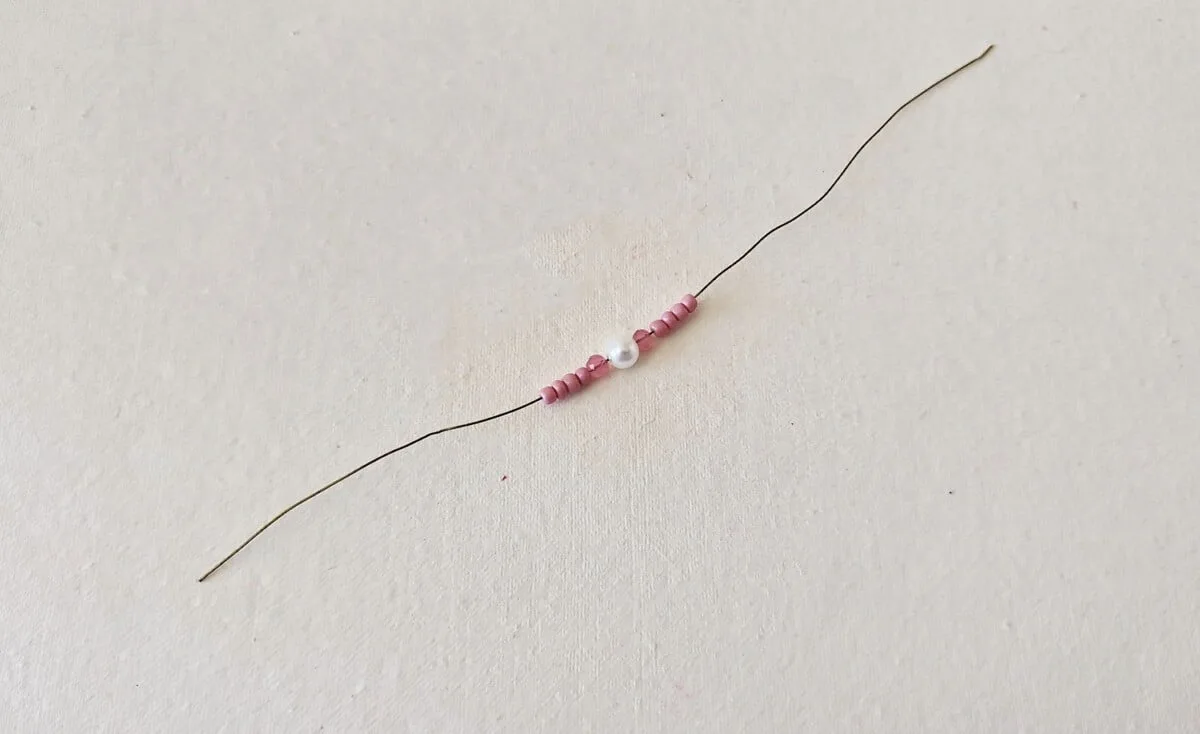
Slide one large bead onto the wire and push it towards the middle.
Then slide on other beads on either side of the large bead.
Step 3
Bend the wire evenly on both sides to curve upwards.
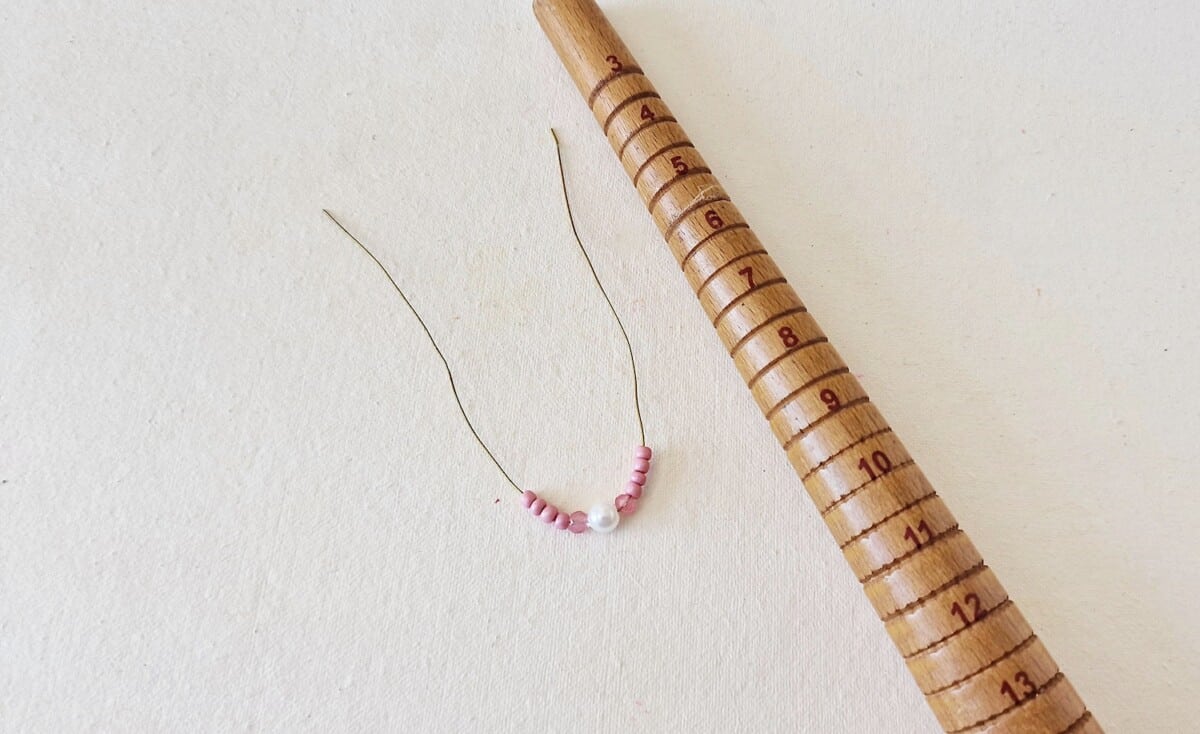
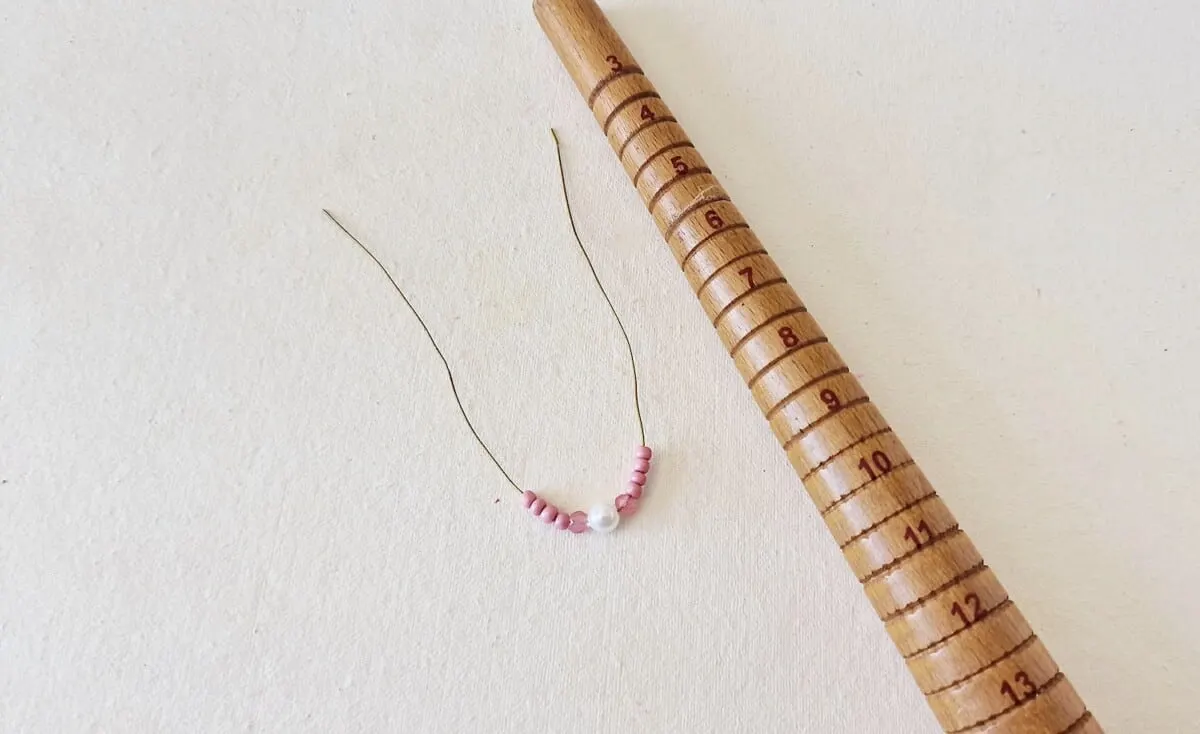
Then coil the wire around a mandrel at the appropriate ring size. Only loop the wire once. Keep the beads next to each other while wrapping.


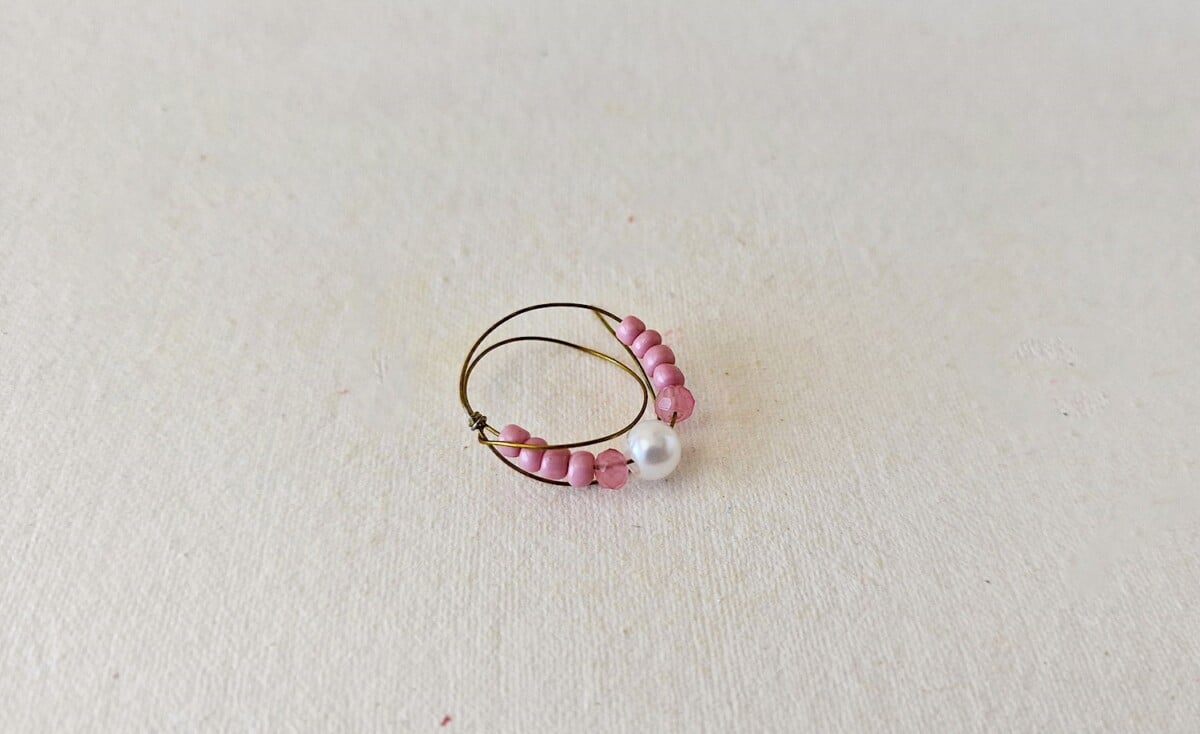
Step 4
Remove the wire loop from the mandrel.
Circle one end of the wire around the top side of the beaded part and then circle the other end of the wire around the bottom side of the beaded part.


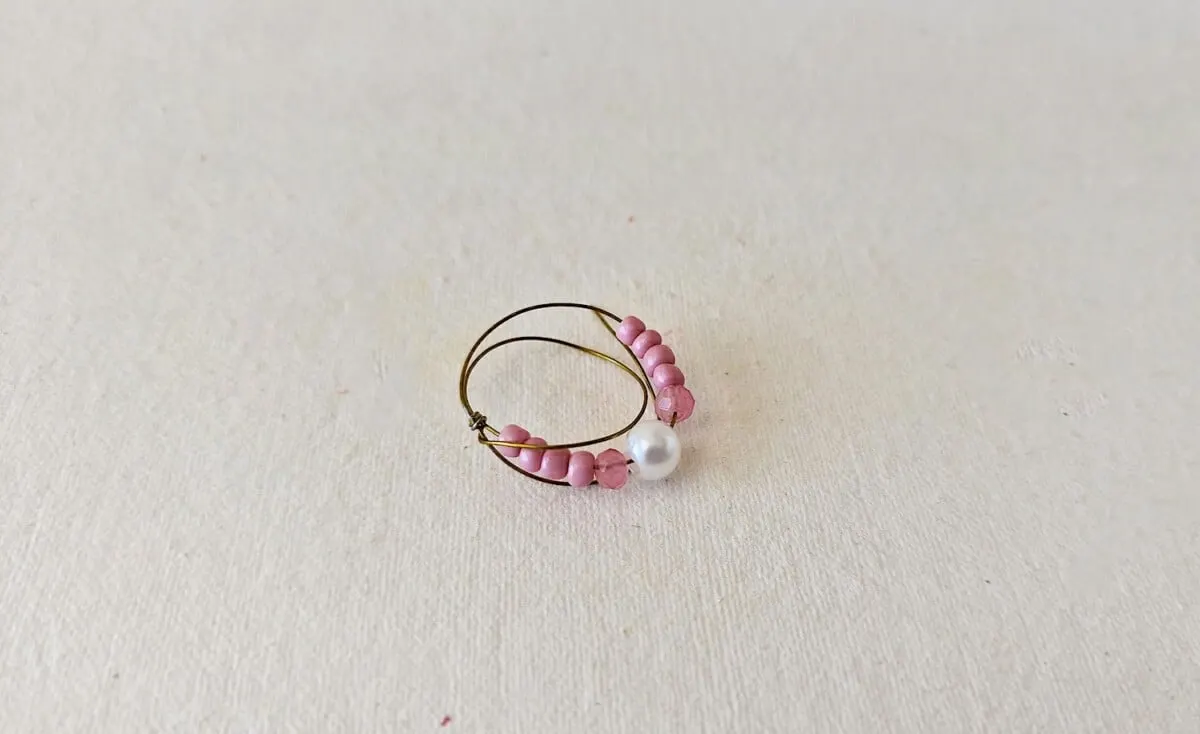
Step 5
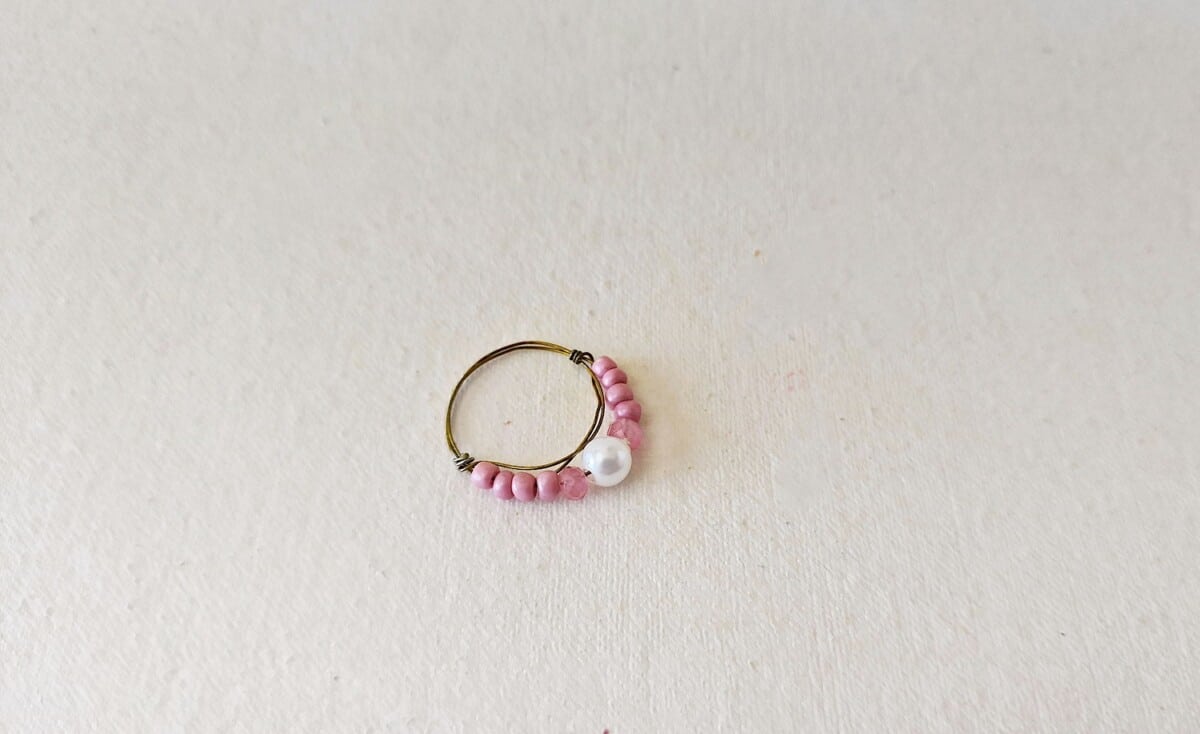
Making sure that the beads are pushed towards the front of the ring and as close to each other as they can be, begin to wrap one of the open ends of the wire around the thickness of the three layers of wires.
Coil the wire around all 3 strands of the ring bands at the place where the last bead is located, as seen in the picture below.
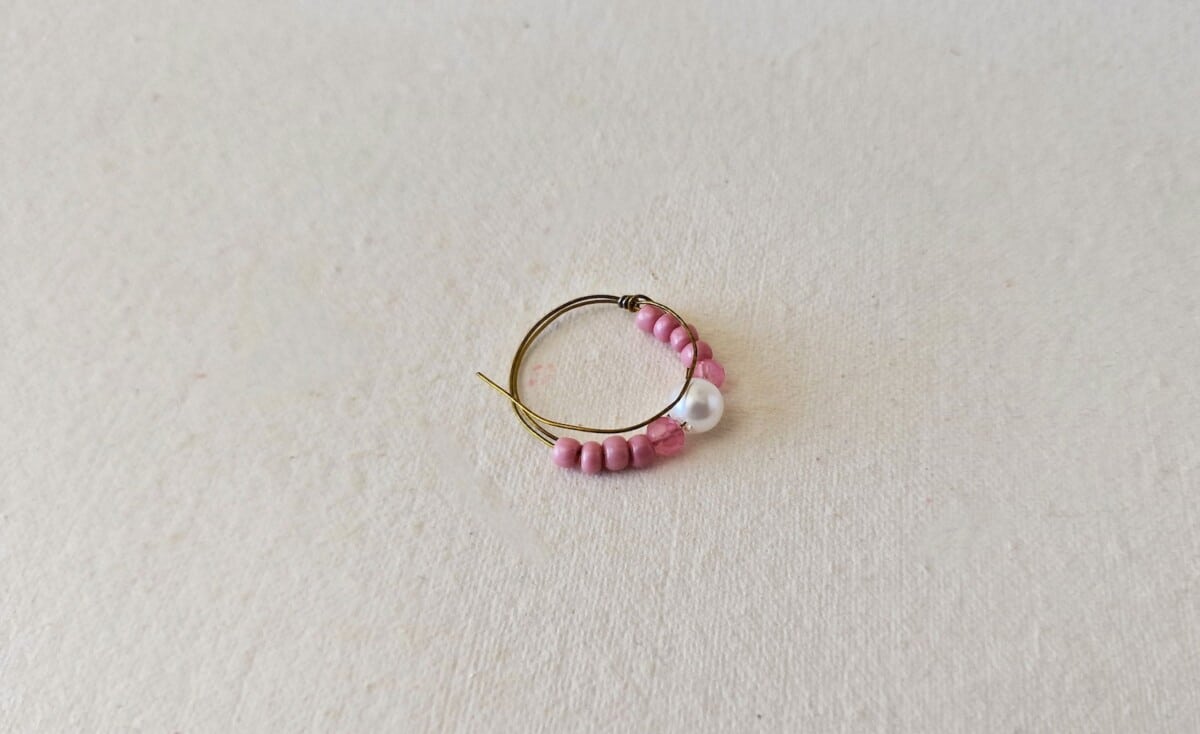
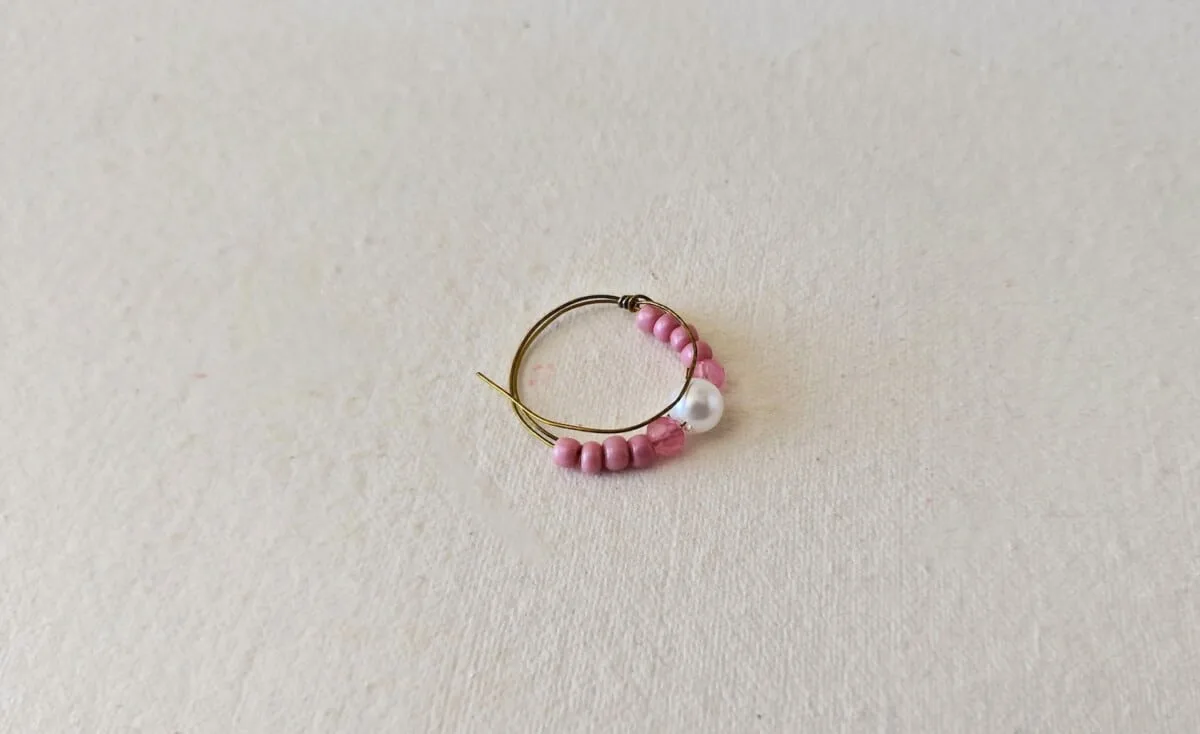
Step 6
If needed, adjust the shape of the ring to be round. Then repeat the same process on the other side of the seed ring.
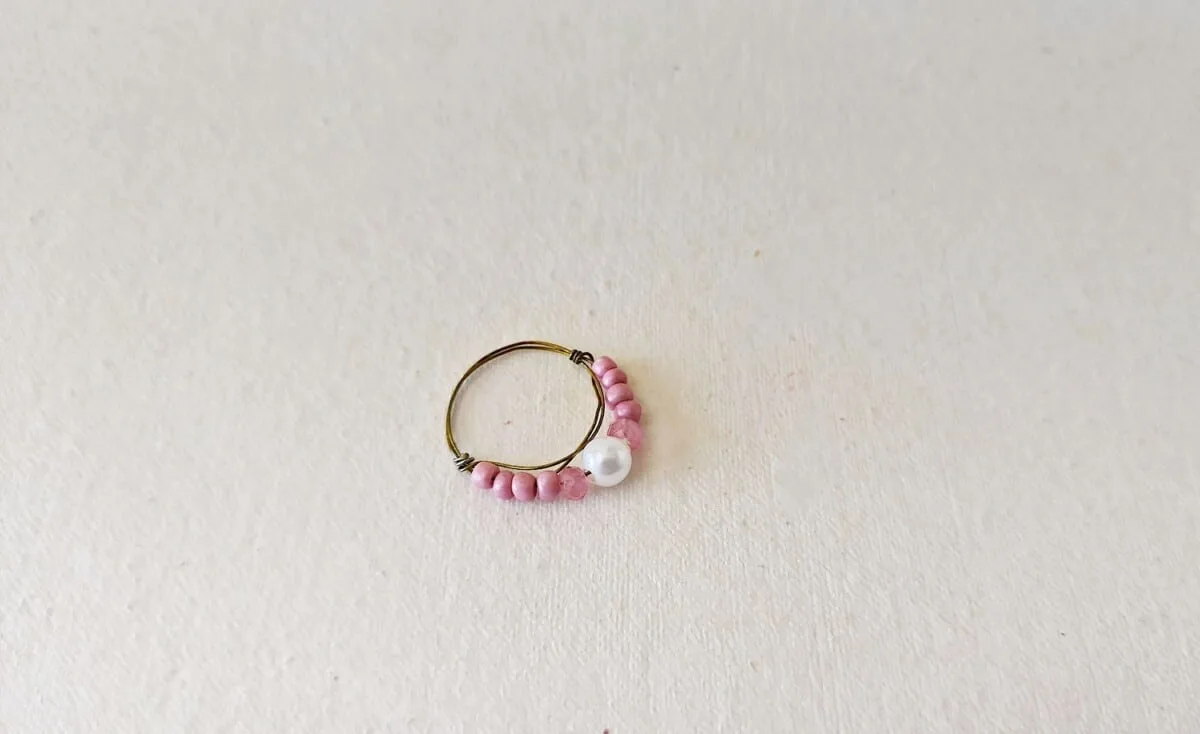
You can slide the ring onto the mandrel again to smooth its shape, if needed.

Want to save this idea for later? Pin It to Pinterest or Save to Flipboard!
If you like making your own jewelry, see these DIY jewelry ideas next:
- Wish Bracelets
- Essential Oil Bracelets
- Air Dry Clay Flower Earrings
- Beaded Cherry Bracelets
- DIY Clay Cherry Earrings
