
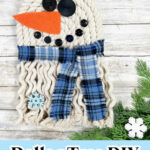

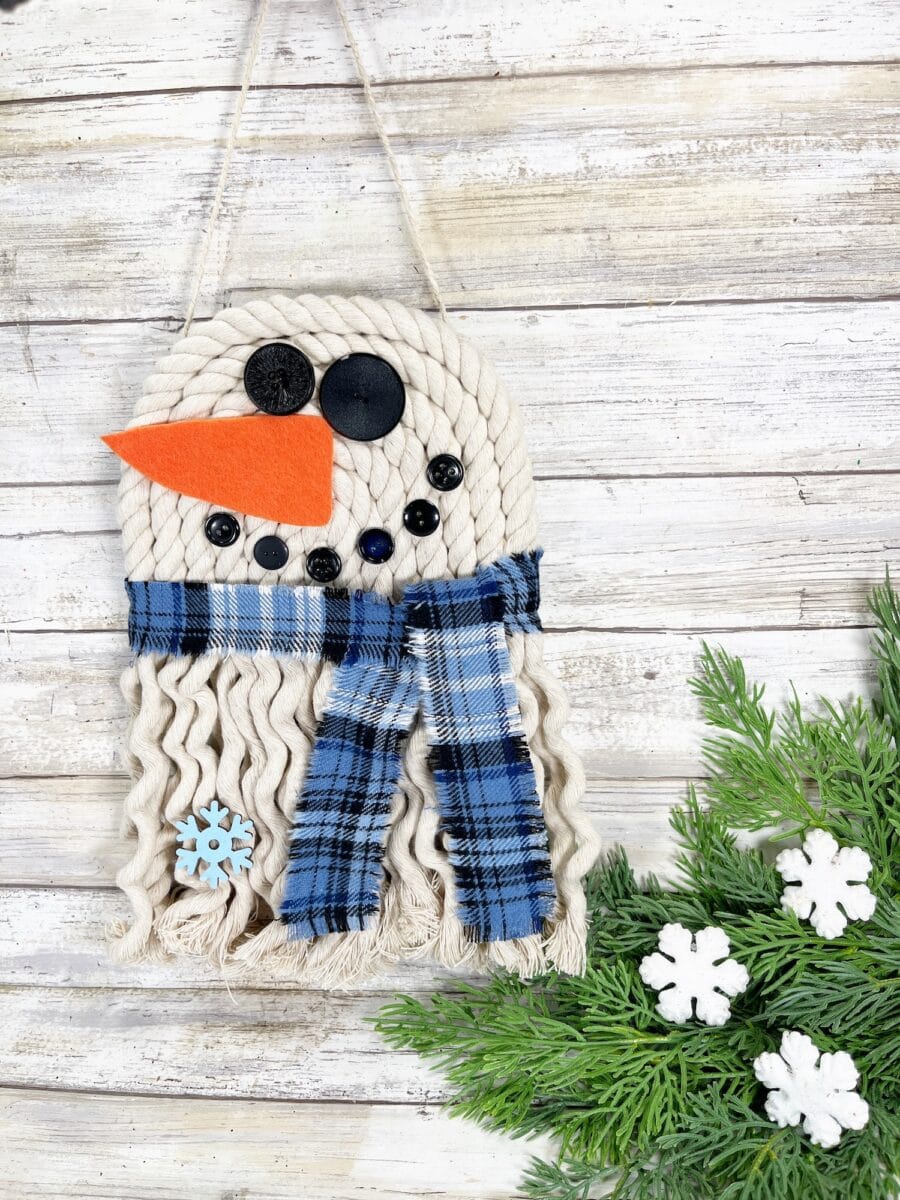
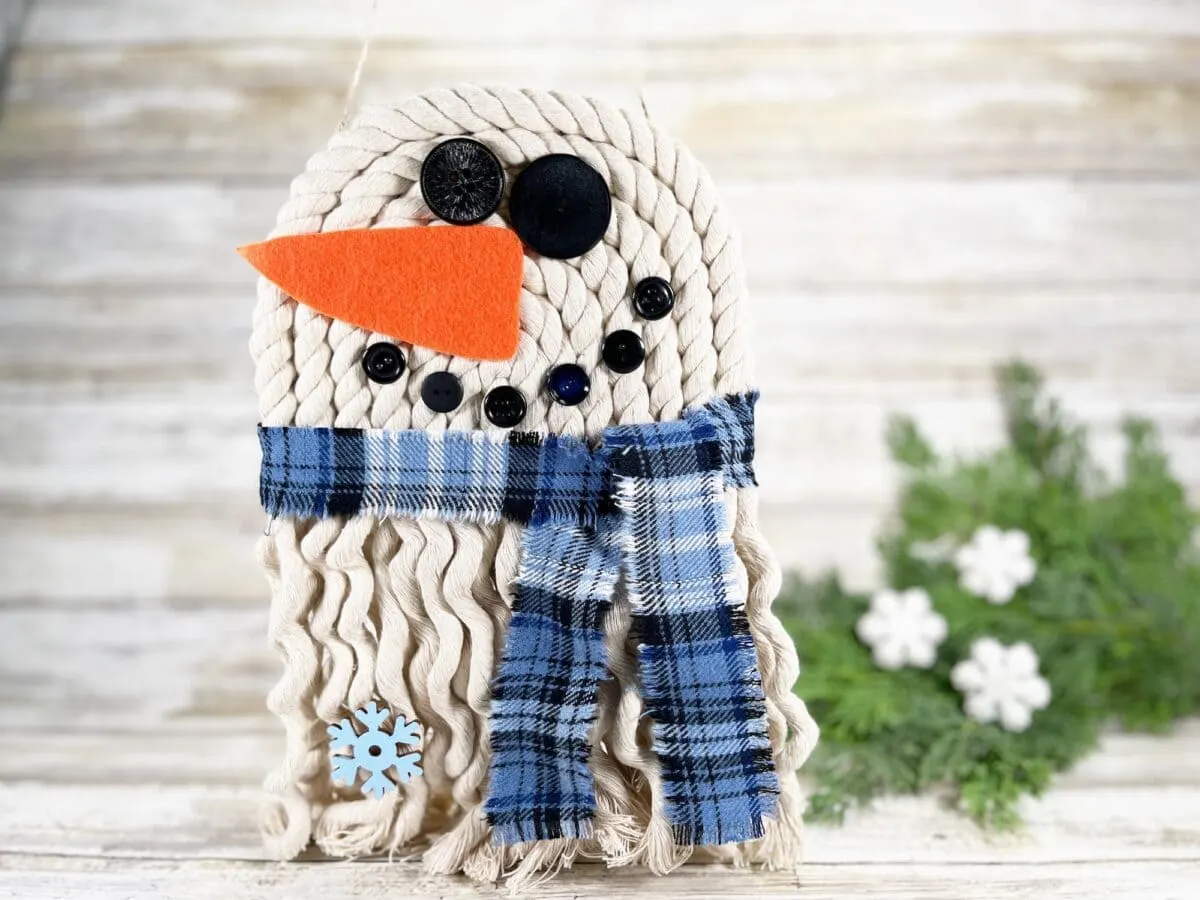
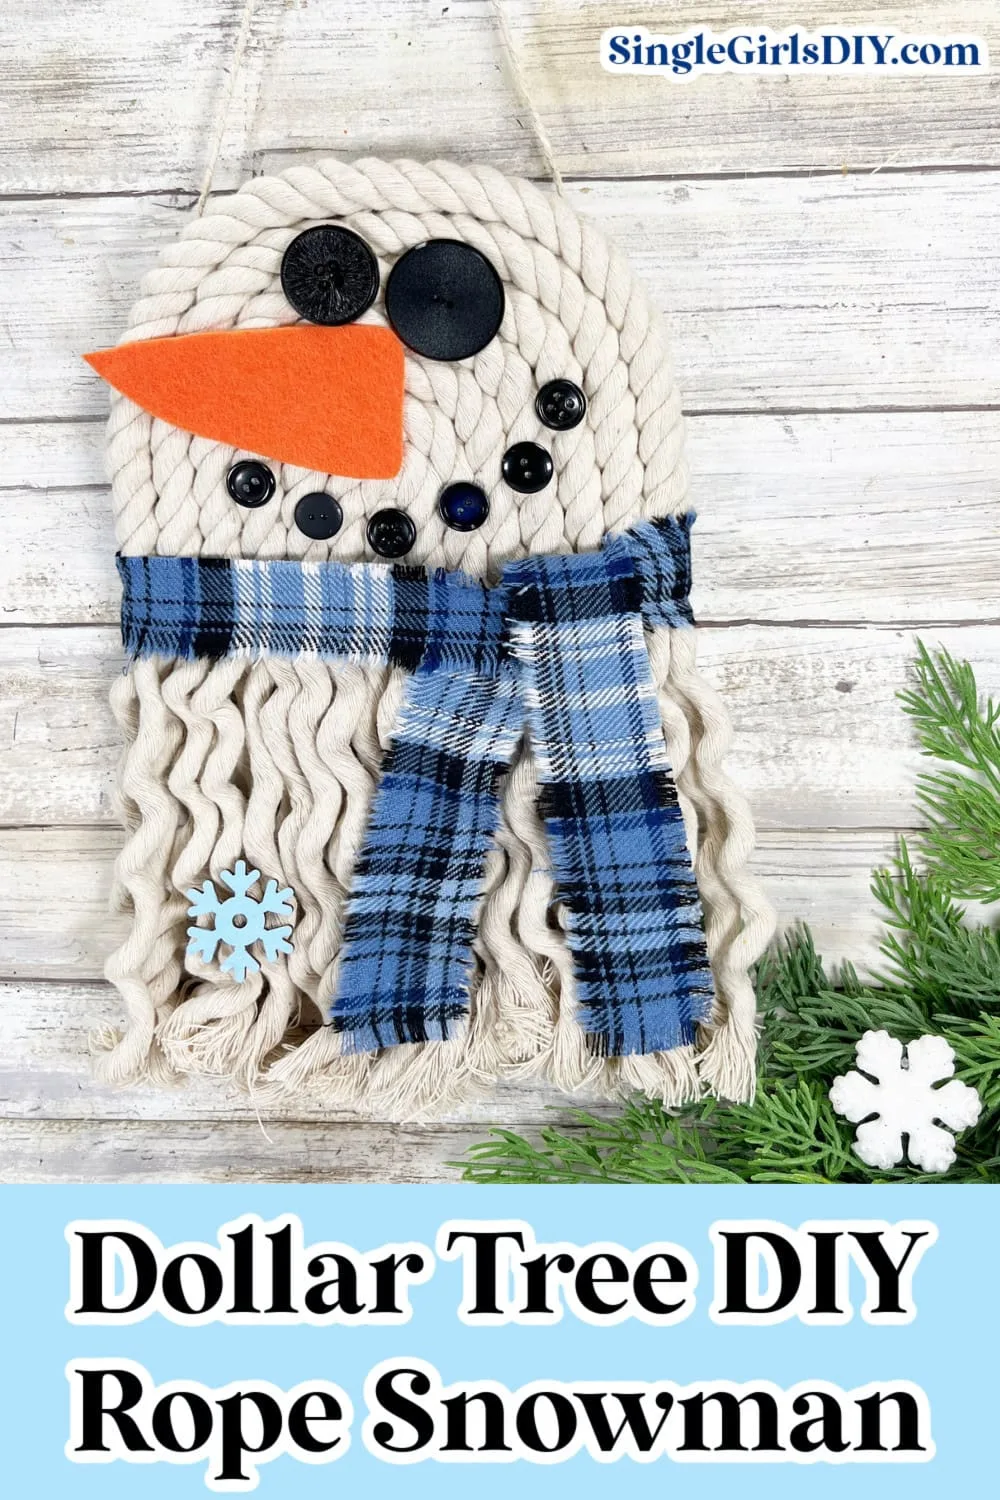
A cute boho rope snowman is just what you need to make you smile!
This easy winter craft can be made in 30 minutes or less! Just glue and paint the Dollar Tree materials together to make a fun snowman craft project that is perfect for all ages!

This quick craft is perfect for older kids, tweens, teens, adults and winter crafts for seniors. In fact, it is a great DIY project for almost anyone!
Many of the craft supplies we used are also used for our other Dollar Tree DIY snowmen, including our melting snowman craft, jewelry box snowmen trio and snowman sunglasses. You could easily buy the materials and make several different projects in a day.

How to Make a Rope Ghost
Most of our supplies were bought at the Dollar Tree.
Supplies
- Free Rope Pattern (This pattern will bring you to a Boho Ghost pattern. The half-circle is the same for each.)
- 2 packs of Nautical Cotton Rope, 6.8 feet each (we purchased it at Dollar Tree, but this macrame cord is similar)
- Corrugated Cardboard
- 8 Black Buttons (2 large and 6 medium; I used mismatched large black buttons)
- 2 in. X 36 in. Plaid Fabric (or glue together two 2 in X 18 in strips from a fat quarter)
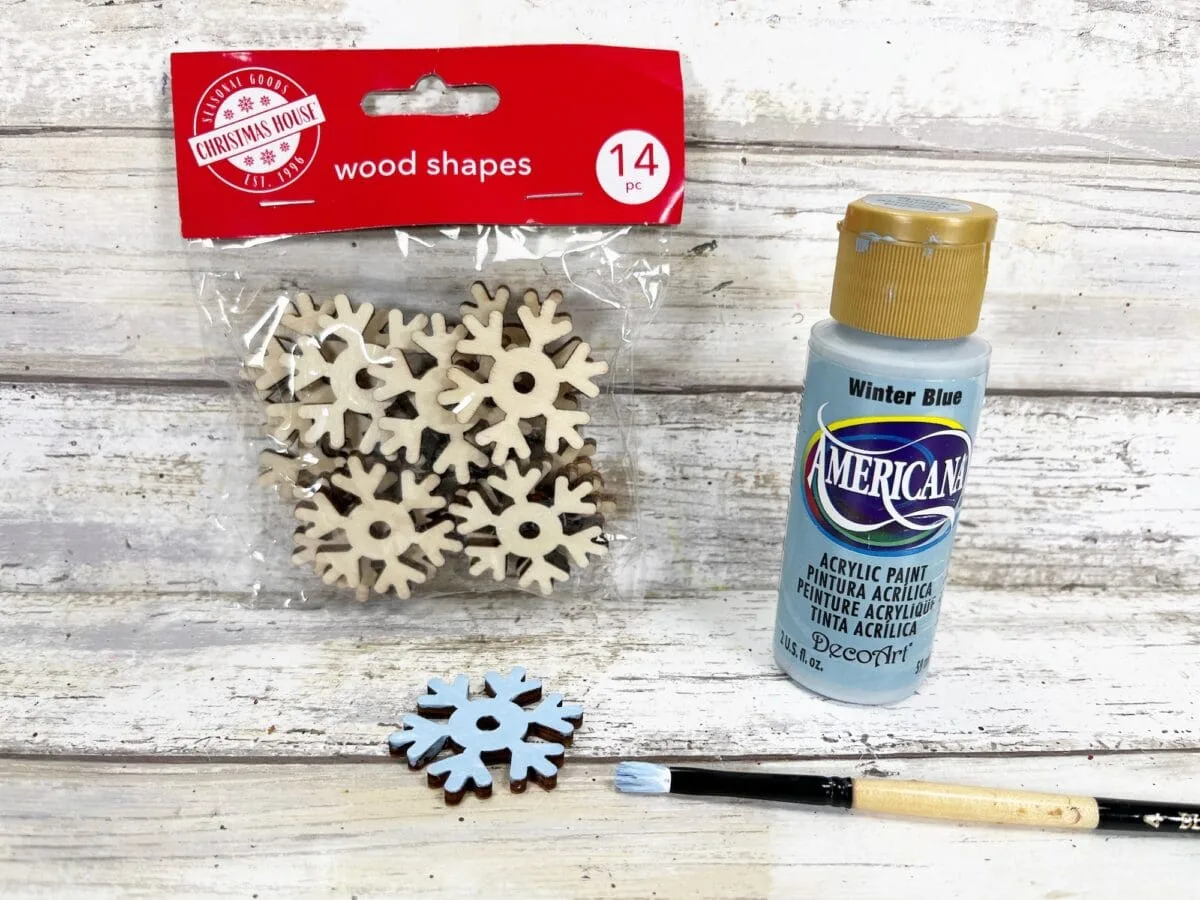
- Wooden Snowflake
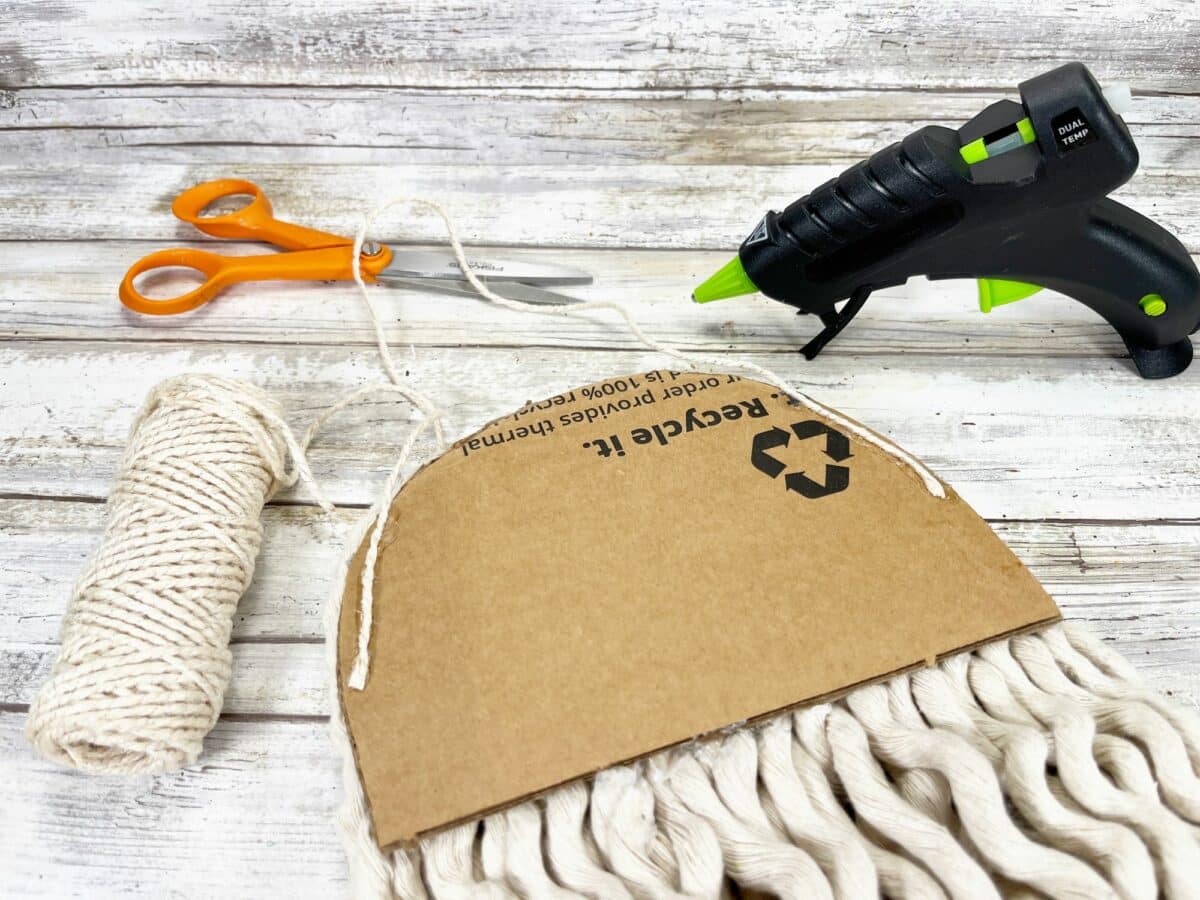
- Hot Glue Gun or Craft Glue
- 12 inches Jute Twine
- Orange Felt
- Light Blue Acrylic Craft Paint (or white)
- Paintbrush
- Ruler
Directions
Step 1
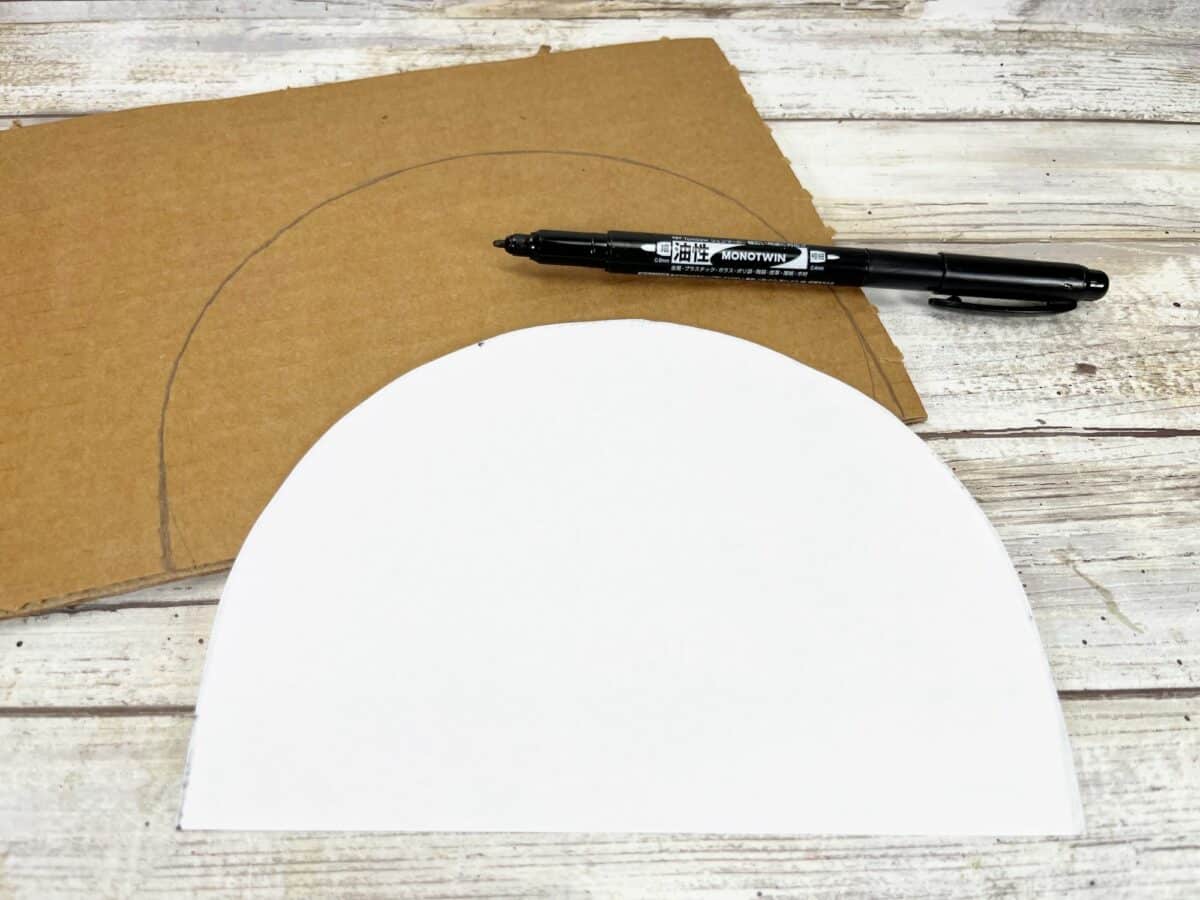
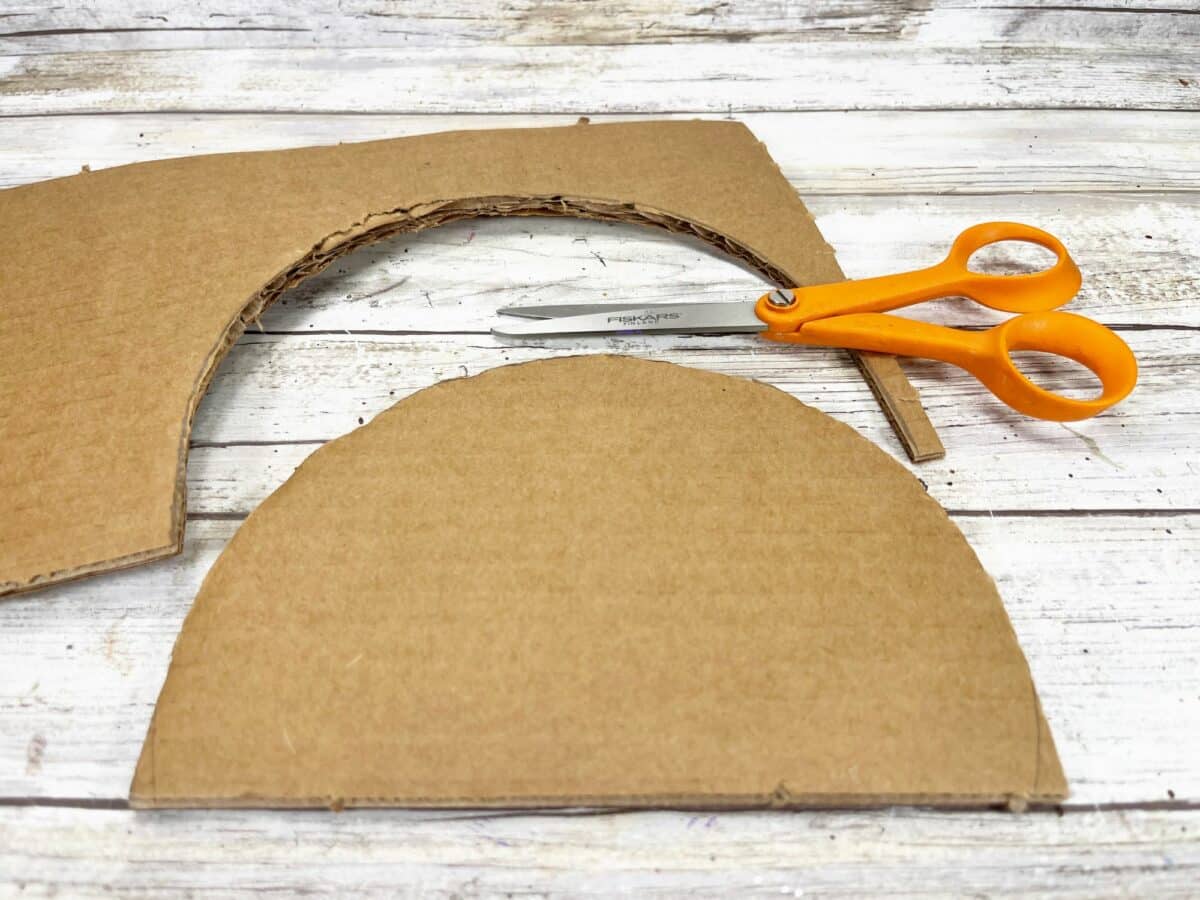
Download, print and cut out our rope pattern for the base and the face.
Trace the semi-circle pattern onto a piece of cardboard and then cut out.
You will want to use sturdy cardboard, such as a packing box or corrugated cardboard, rather than a piece of poster board or thin cardboard.


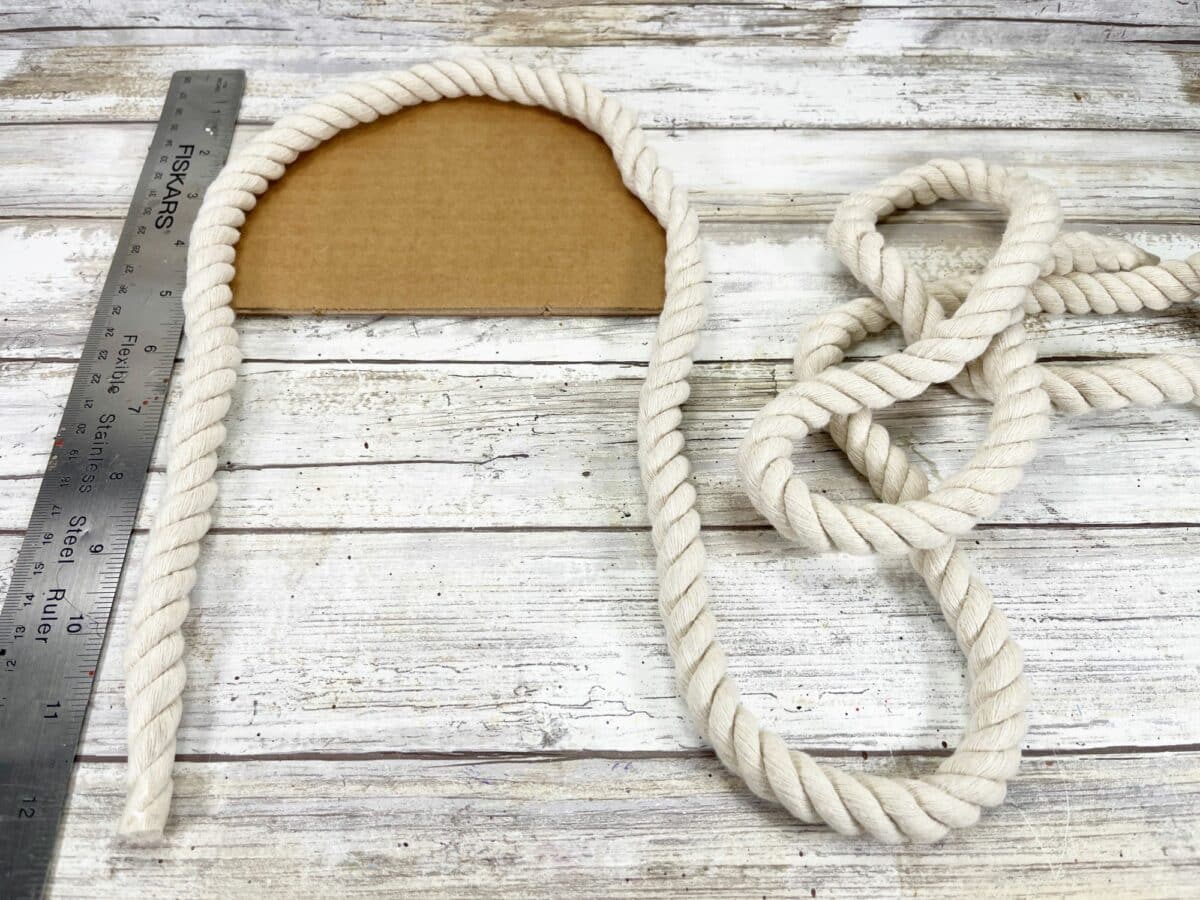
Step 2
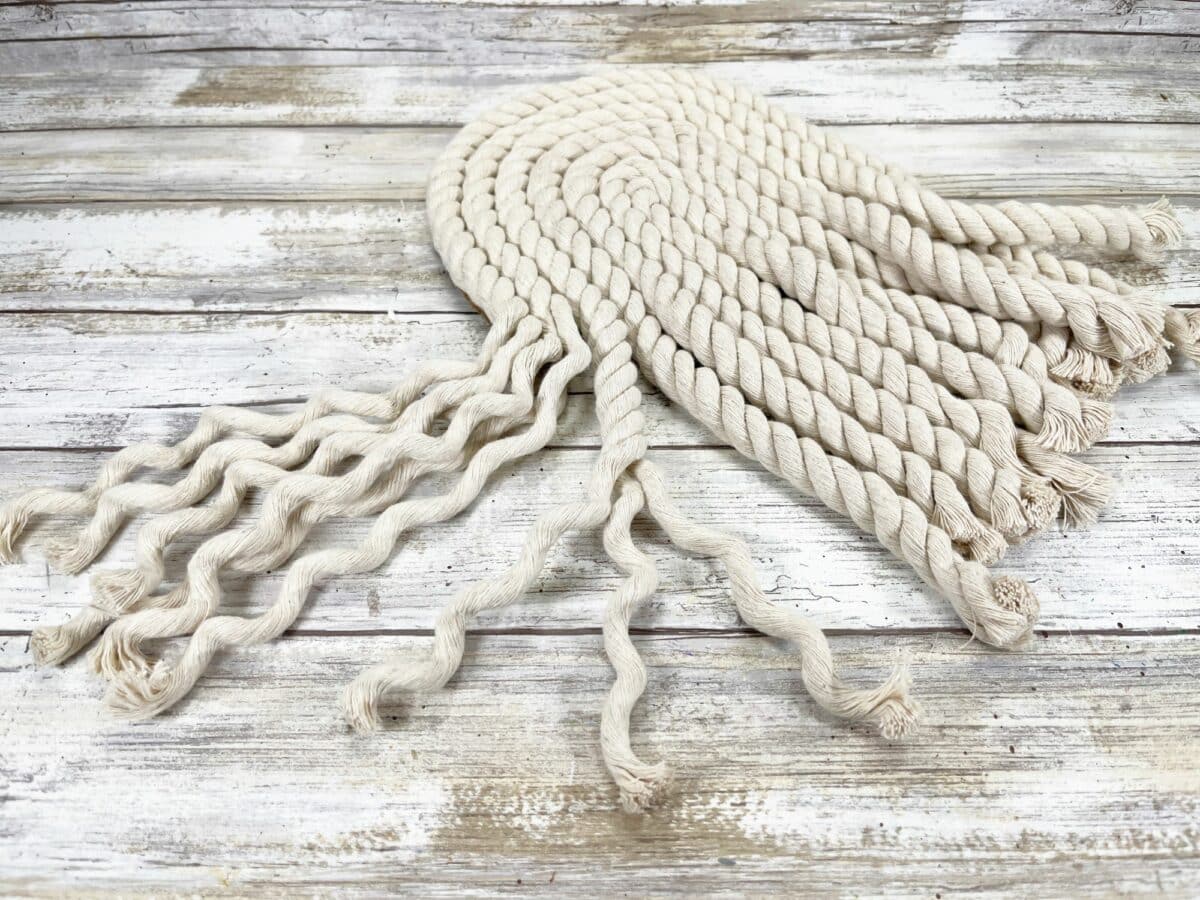
Place the rope around the cardboard base without using any glue yet. Position the end of the rope to be about 12 inches from the top of the pattern base and then lay around the curved portion of the pattern base and continue the same length on the other side of the ghost pattern.
Cut the rope at that point.

Step 3
Glue that piece of rope to the cardboard base, being sure to cover the cardboard around the edges.
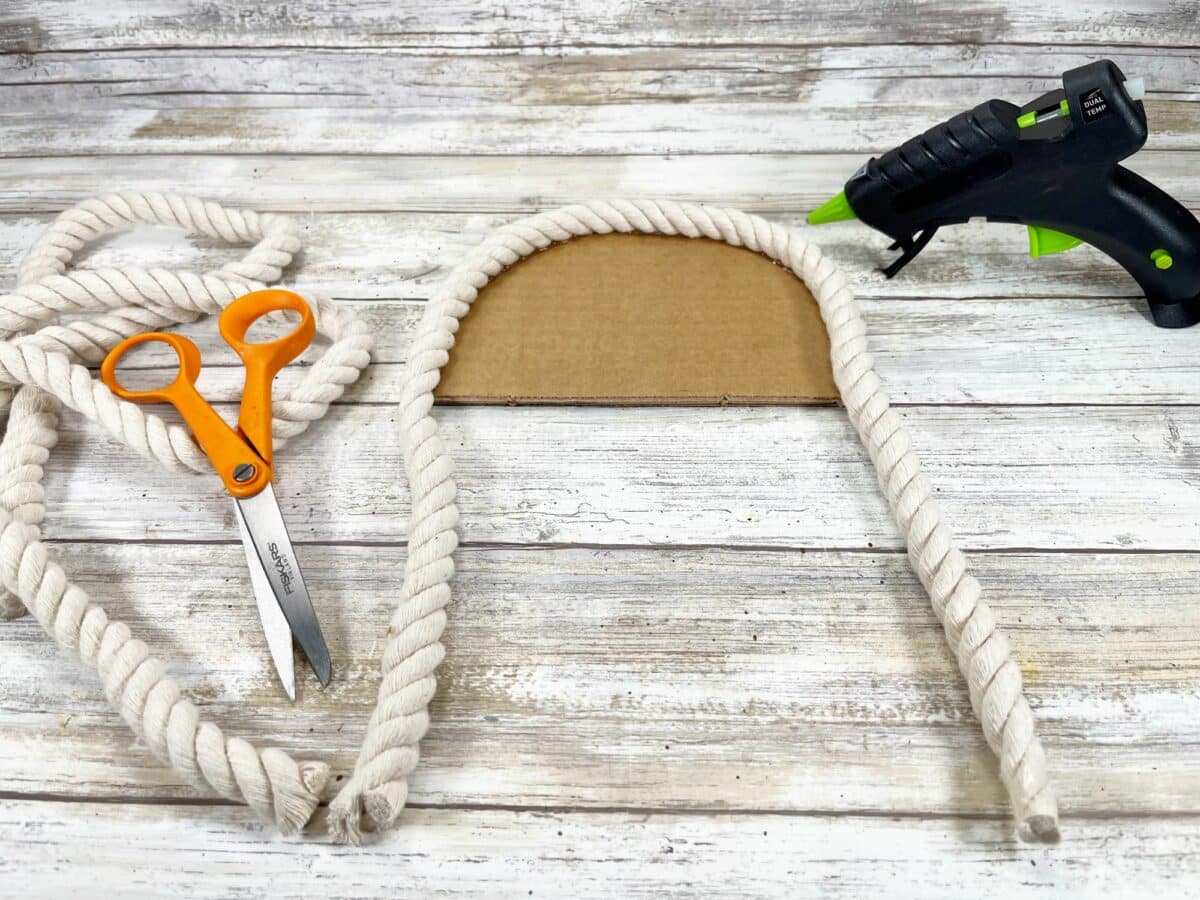

Step 4
Continue this process with more pieces of rope. Each additional piece will be smaller than the first, since you are filling in the smaller gaps inside. However, you want each piece to hang just as long as the first piece, 12 inches from the top of the pattern base.
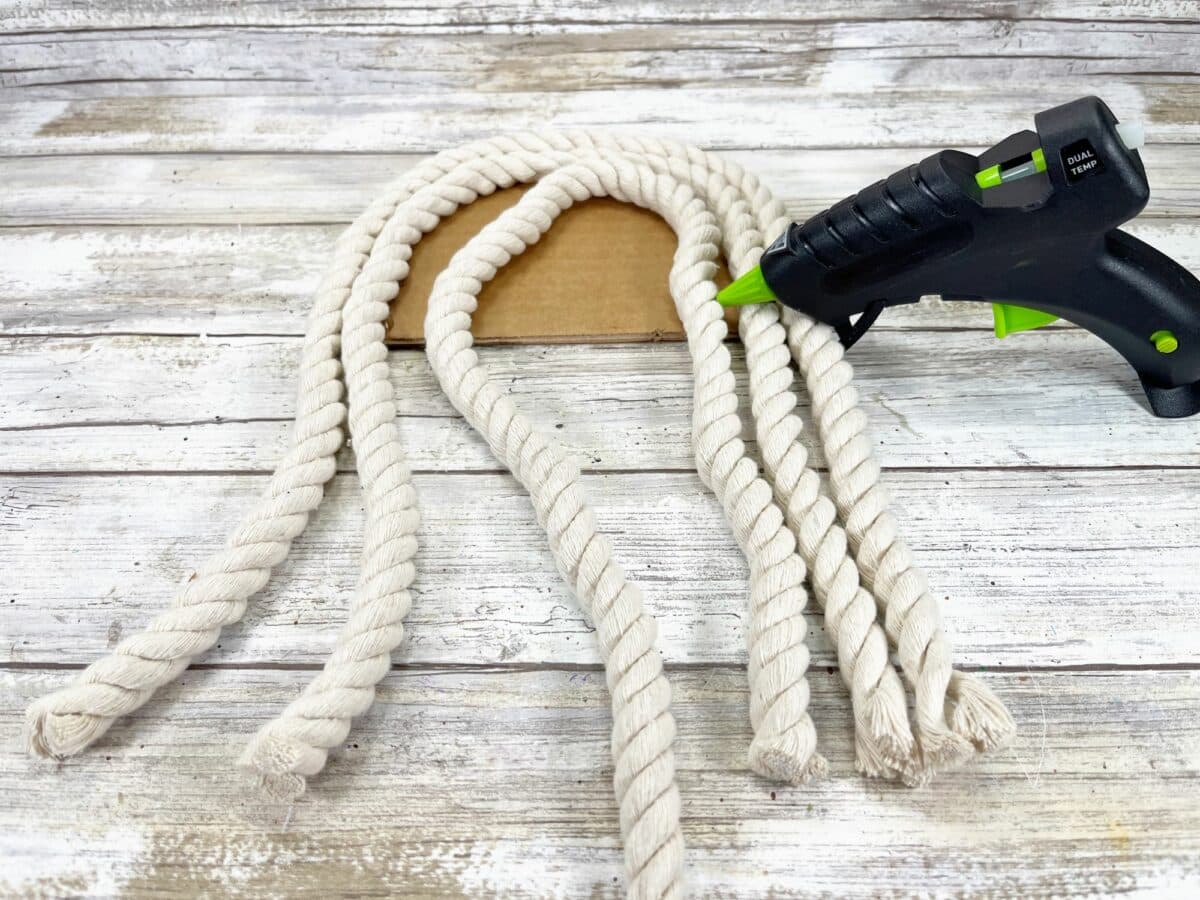


Step 5
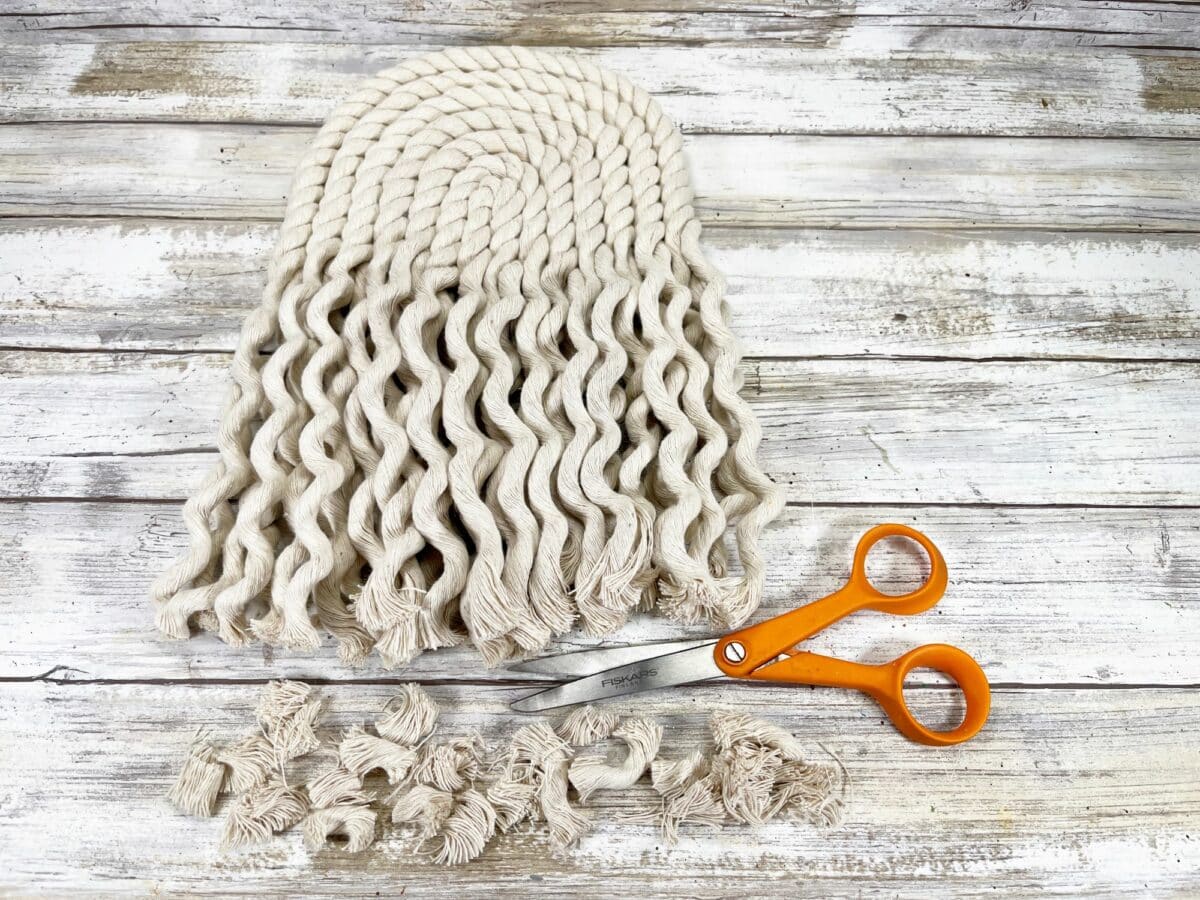
If the rope pieces are not all the same length, then trim the ends of the rope to be about the same size in length.


Step 6
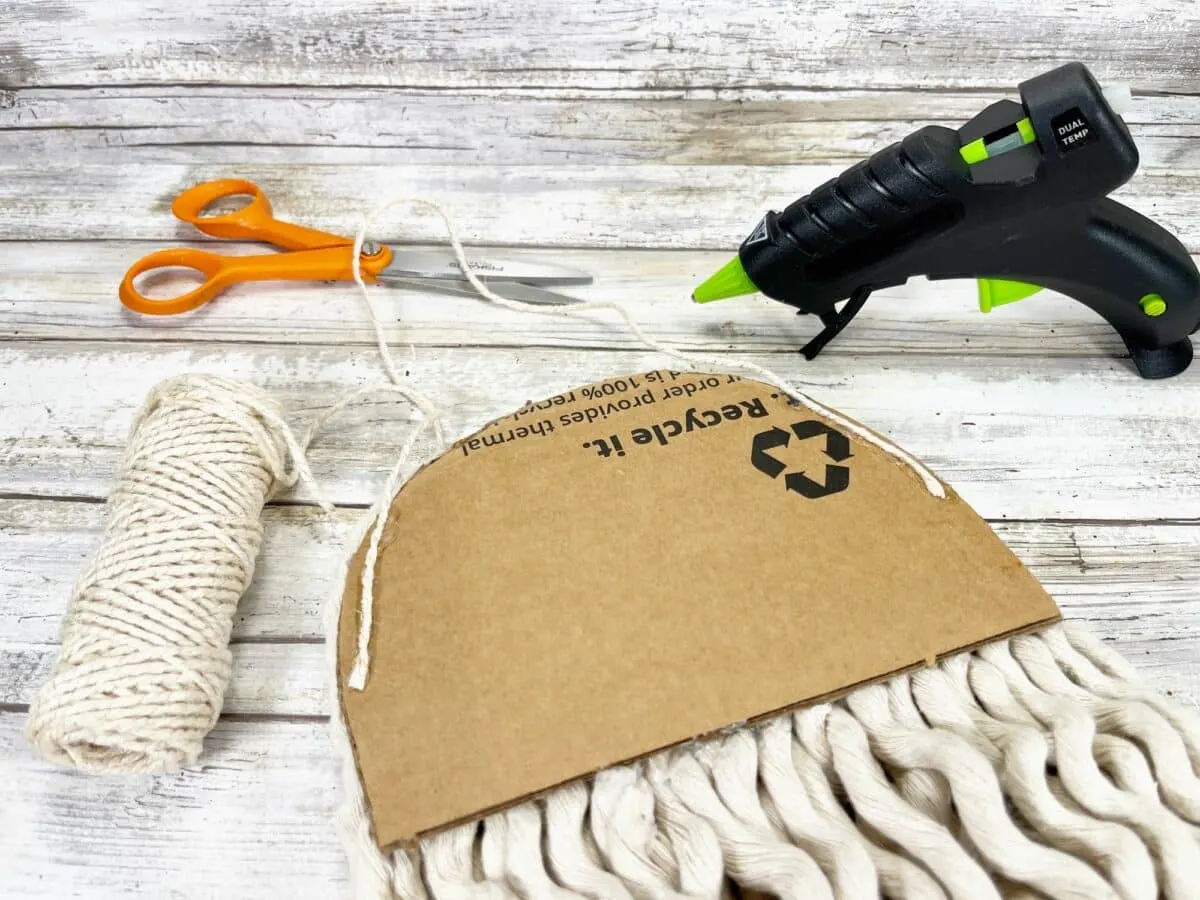
Unravel each section of rope by hand. You will unravel the rope up to the point where the cardboard base begins.

If needed, trim the ends again to make them even or a length that you prefer.

Step 7
Using scissors, cut out a carrot shape from orange craft felt.

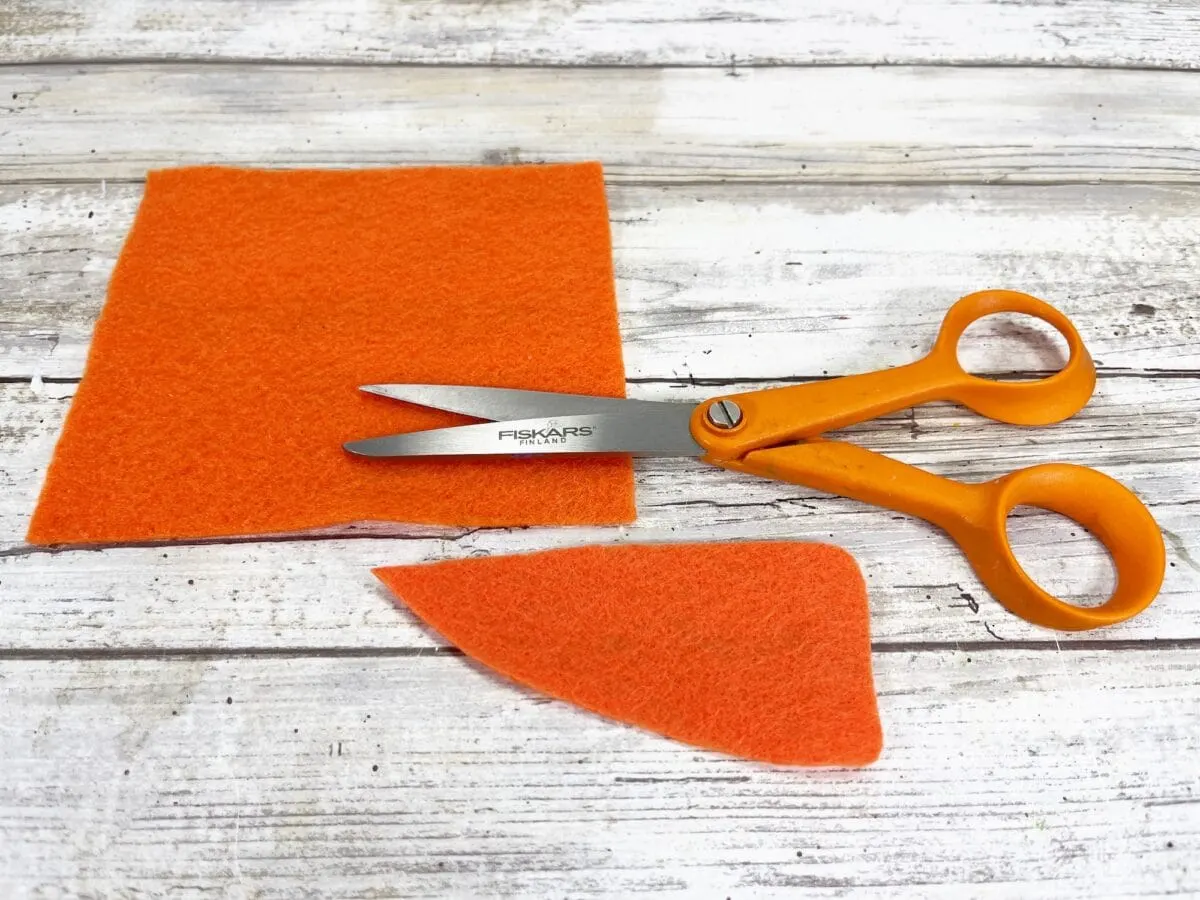
Colored cardstock, heavy fabric, or craft foam would work for this project as well.
Step 8
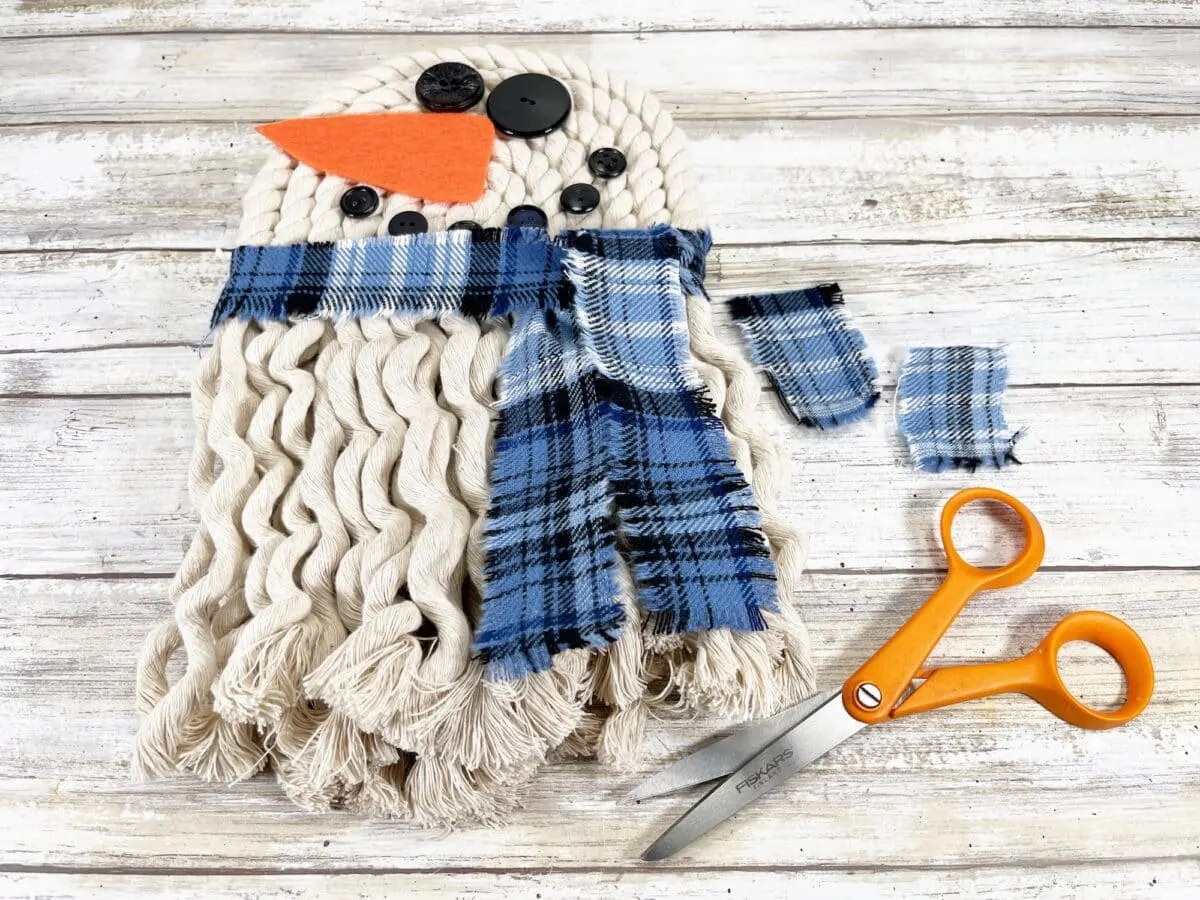
Select 2 large black buttons for the snowman eyes and 6 medium black buttons for the mouth.

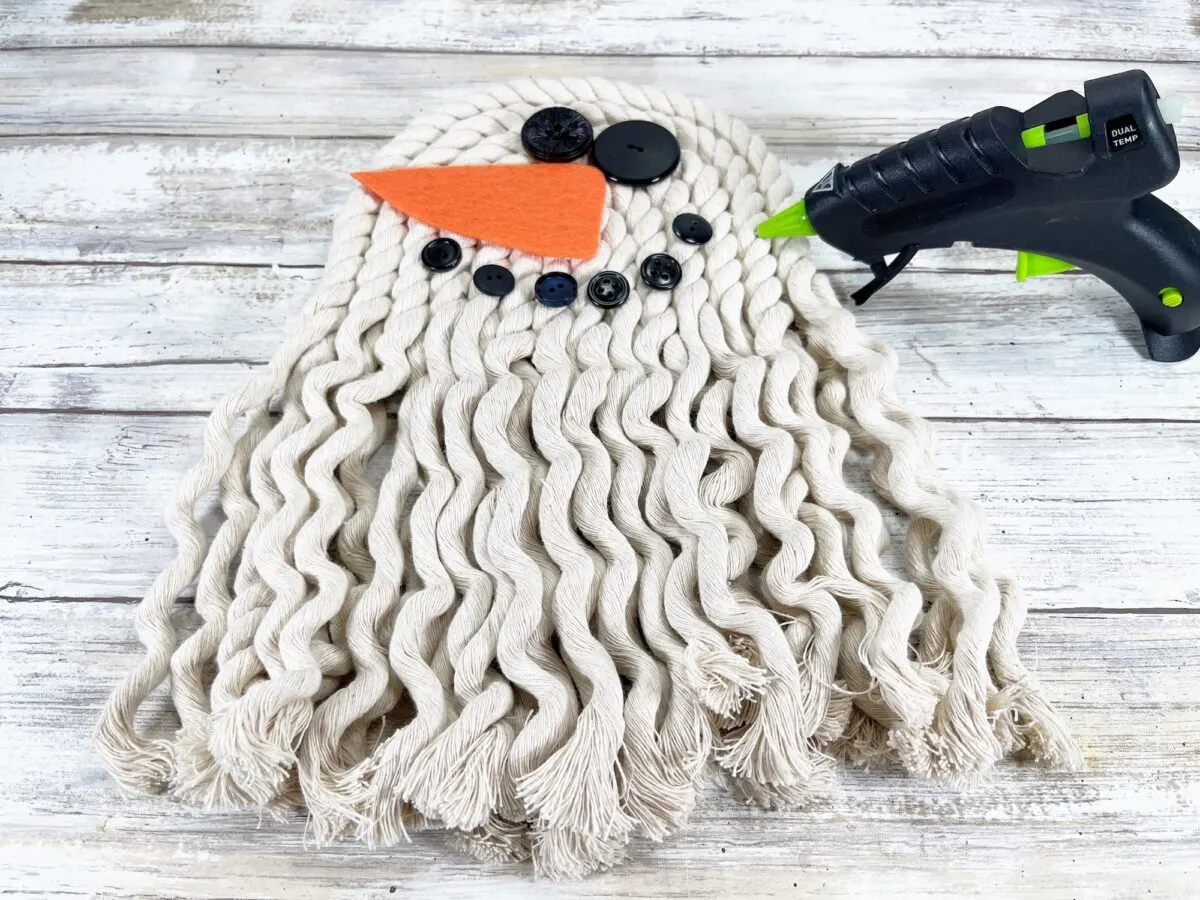
Attach the buttons and carrot nose with a glue gun and glue stick.
Step 9
Cut a 2 inch X 36 inch strip of plaid fabric. Or glue together two 2 inch X 18 inch pieces of fabric strips cut from a fat quarter (as we did from a Dollar Tree fat quarter) by overlapping the short ends slightly and gluing together.
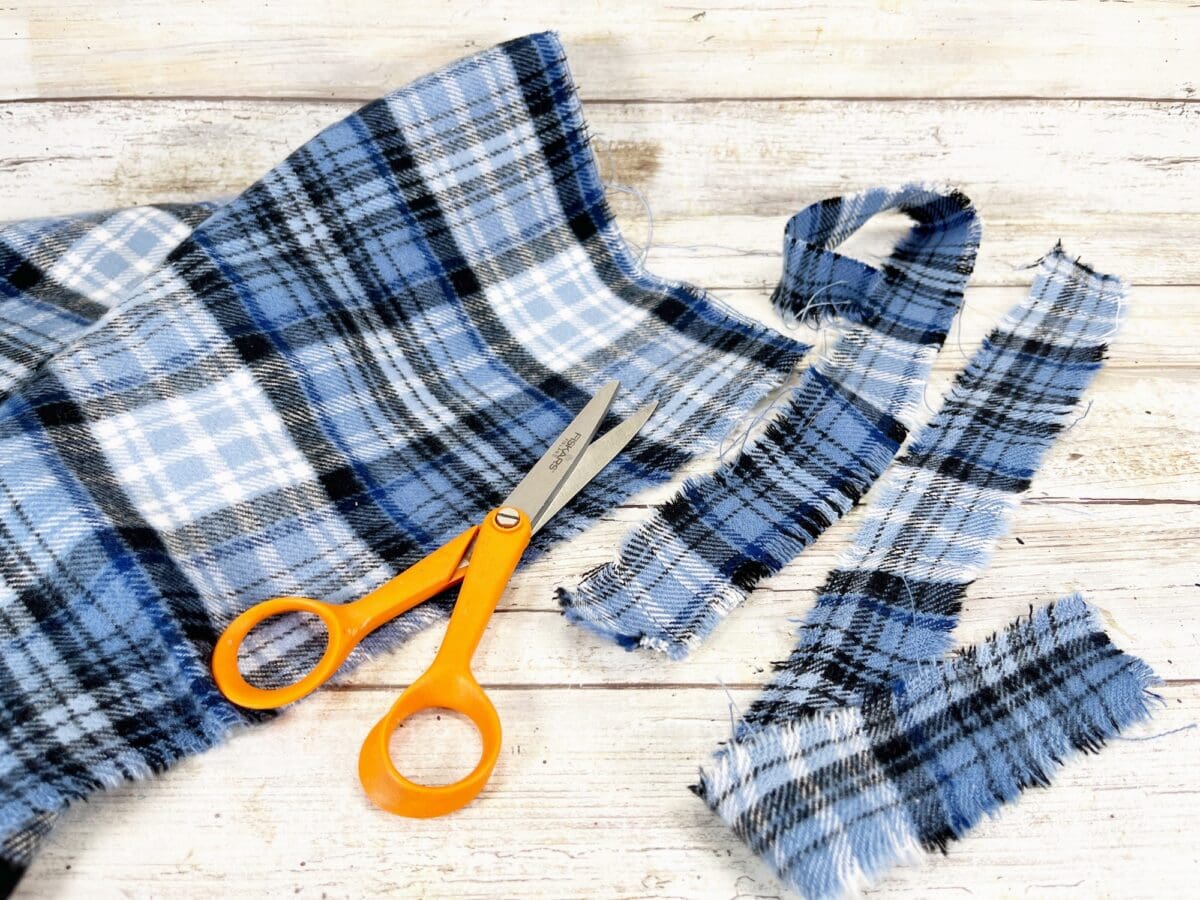
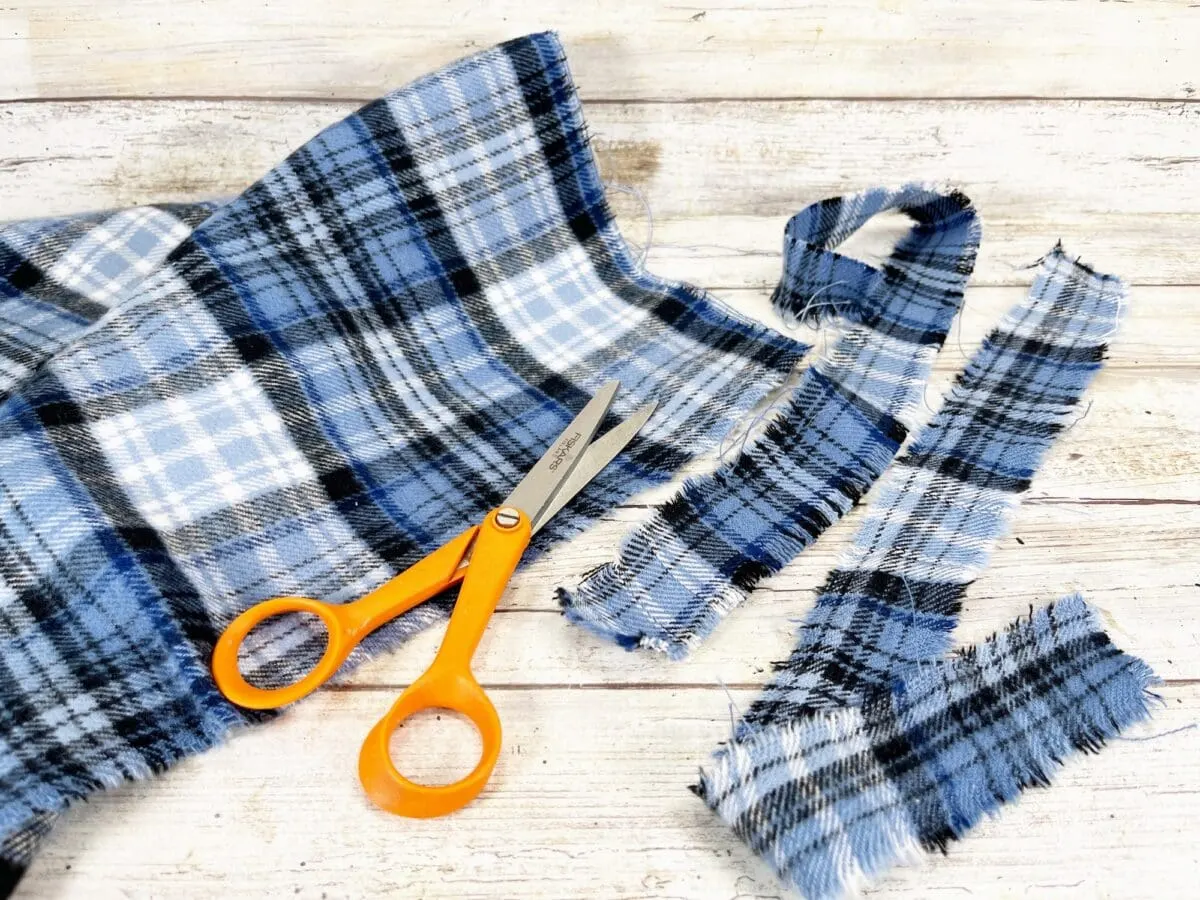

If you prefer a frayed edge along the fabric, as seen in our photos, you will want to tear the fabric rather than cut.
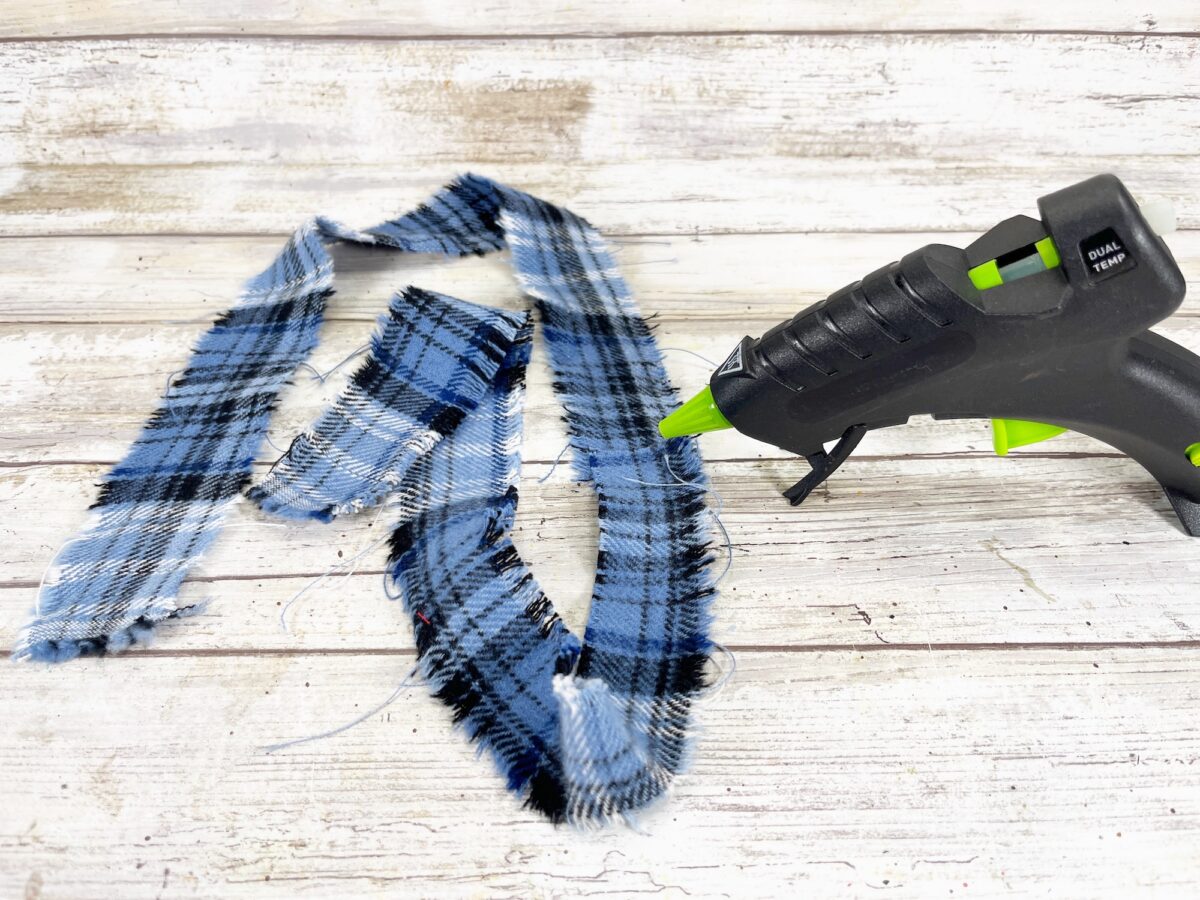
Step 10
Wrap the fabric around the snowman’s neck, securing with some hot glue to stay in place.
Trim off any long ends with scissors.

Step 11
Paint a small wooden snowflake with light blue acrylic paint (you could also use white paint if you prefer). Allow to dry and apply a second coat, if needed.

Glue the snowflake to the snowman’s body.


Step 12
Measure a 12” piece of jute twine and cut. Turn the rope snowman over and glue the jute twine to the back of the cardboard to become a hanger.
Be sure to Pin This rope snowman craft to save for later!

Want more snowman crafts? See these easy ideas next:
- Tumbling Tower Snowman
- Foam Dice Snowman
- DIY Snowman Bracelet
- Mop Snowman Gnome
- Snowman Wreath
- Reversible Wood Block Snowman
- Pumpkin Stack Snowman
- Snowman Vase
- Snowman Bookmark
