

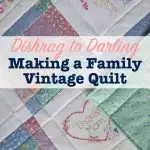
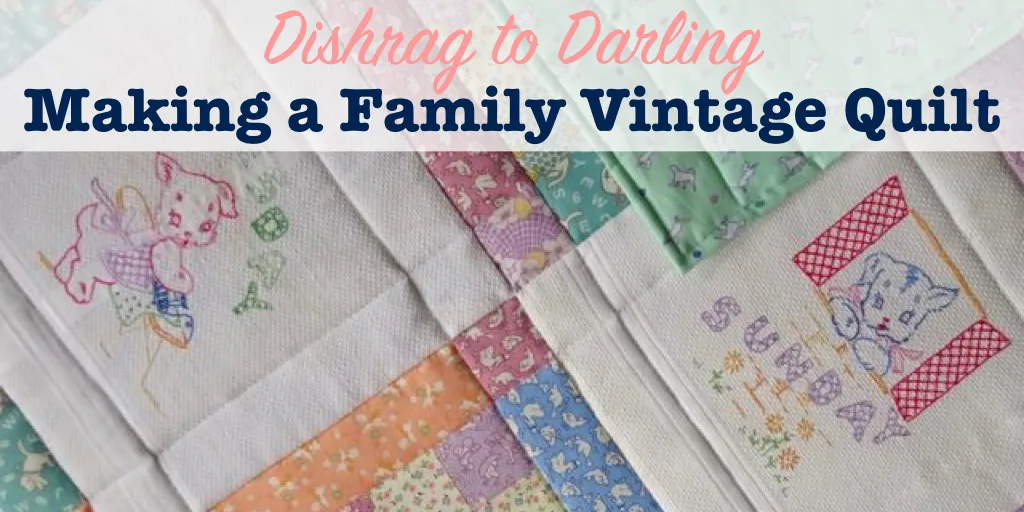
As a homemaker in the 1950’s, my grandmother embroidered a set of dish towels. There was a different towel for each day of the week, showing a dog in an apron happily doing chores around the house.

My mom came across these towels again recently, and wanted to turn them into a quilt. The only trouble was, the Saturday towel was missing from the set.
To my surprise, my technologically-challenged mom actually found the same embroidery patterns as my grandmother used online!
Now that I could replicate the Saturday towel, I could have one for each day of the week. And I really wanted to save these family heirlooms and display them in a unique way.
Here is how we made those towels into a quilt.
How to Sew a Dishtowel Quilt
Supplies
- Embroidery patterns
- Tracing kit
- Dish towels (or other plain fabric for the main squares)
- Embroidery floss thread
- Embroidery hoop
- Cotton quilting fabric
- Batting
- Sewing machine
I’ll show you what I did to make our missing square. Of course, you can use the same process to make as many squares as you want for your own quilt.
Directions
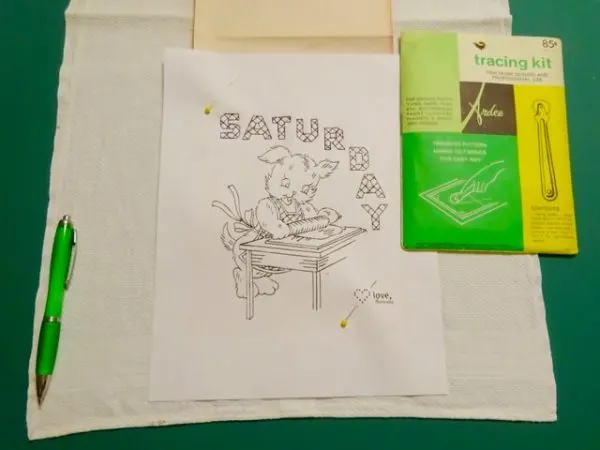
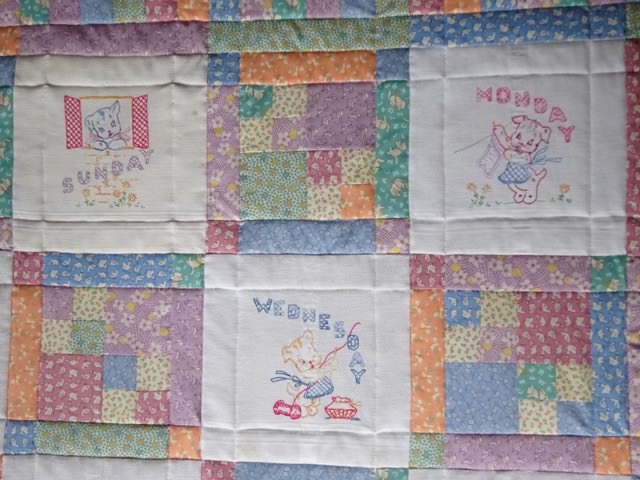
1. Transfer the pattern
To start, I printed out the pattern on a piece of plain paper and pinned it to the towel. I then put a piece of transfer paper face down between the pattern and the towel.
Trace hard over the pattern with a ballpoint pen to transfer the design to the fabric.

2. Choose colors and stitches
Since we were matching existing designs, my mom and I chose thread colors that were similar to those my grandma had used.
We then looked at the pattern and chose a color for each element, which I wrote on the pattern so I would remember which colors to use where.

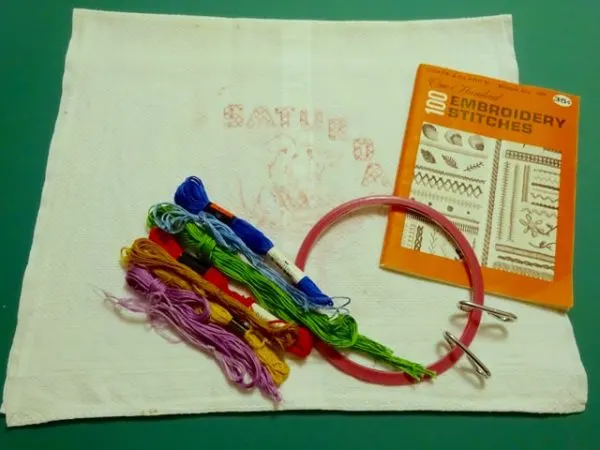
I also wanted to match the type of stitches that my grandma had used on the other towels. My embroidery skills were a bit rusty, so I broke out my handy stitch guide for instructions on how to do each stitch.
3. Start sewing
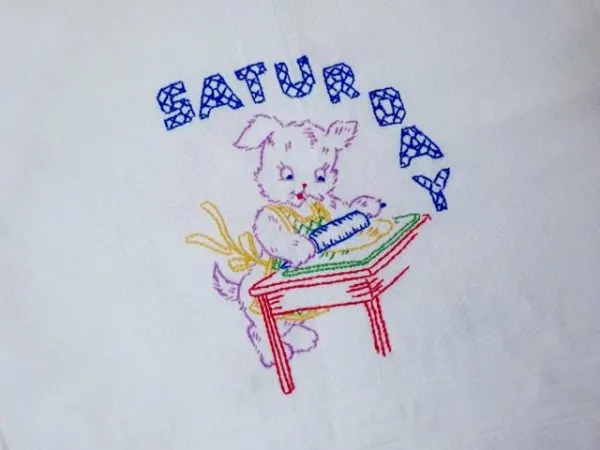
It only took a few evenings of work to finish the embroidery.
You can see where I first started stitching. The red table legs came out a bit wobbly as I was re-learning how to do the stitches.
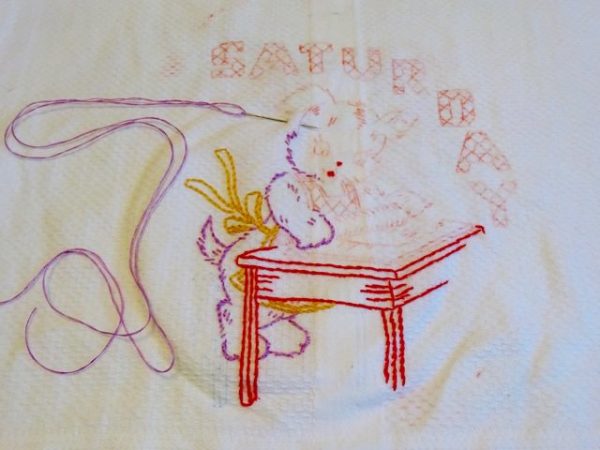

I found that I had to be careful how I held the fabric because it was easy to rub off portions of the transferred pattern, making it hard to see where to sew. But I got it done!

4. Design the quilt
My mom took over for this part. She has been quilting for years and enjoys coming up with new designs.
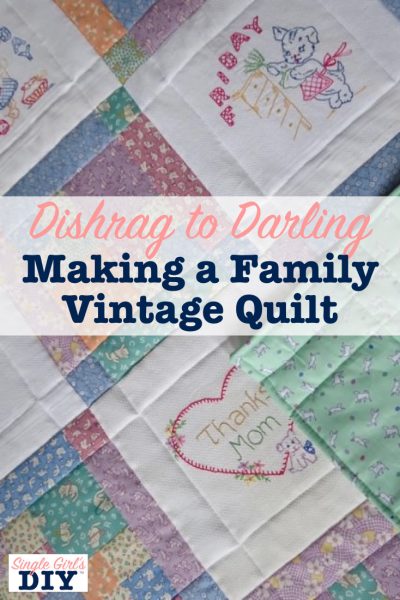
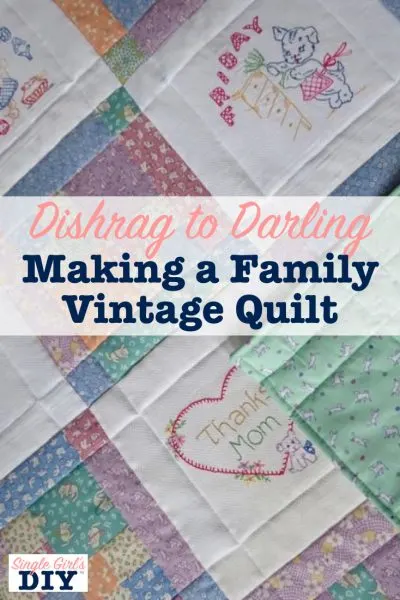
We had found some reproduction vintage style fabrics, and she cut and pieced them with the embroidered squares.
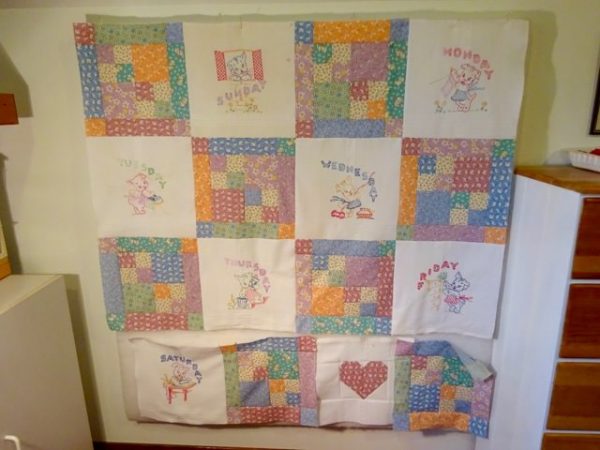
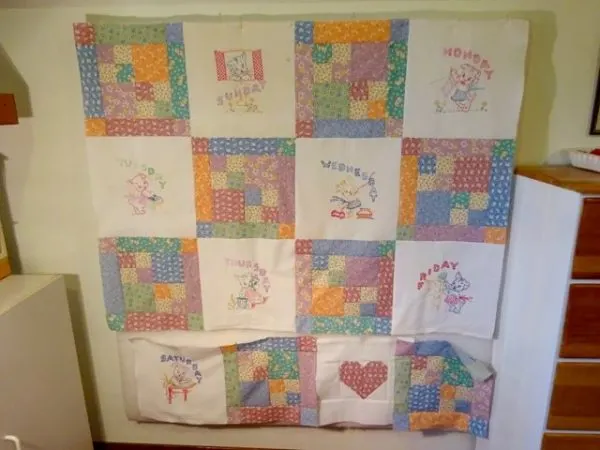
Since there is an odd number of days of the week, my mom needed one more square to complete the design.
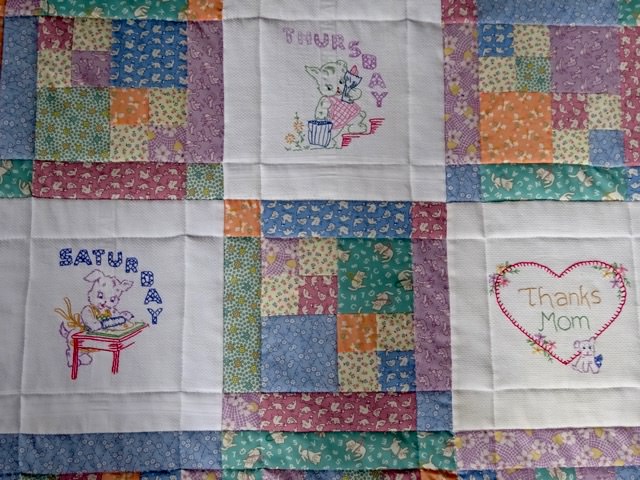
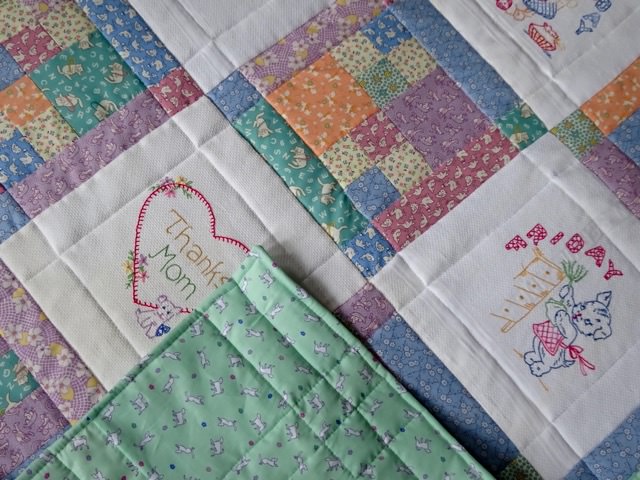
First, she tried a fabric heart, which she thought didn’t quite look right. She decided she wanted an embroidered heart instead.
5. Make the last piece
My mom designed and stitched a heart design on another towel. Then she gave it to me to add the words.
I also stitched in a little dog from a pattern she had found to tie it in with the rest of the pieces.
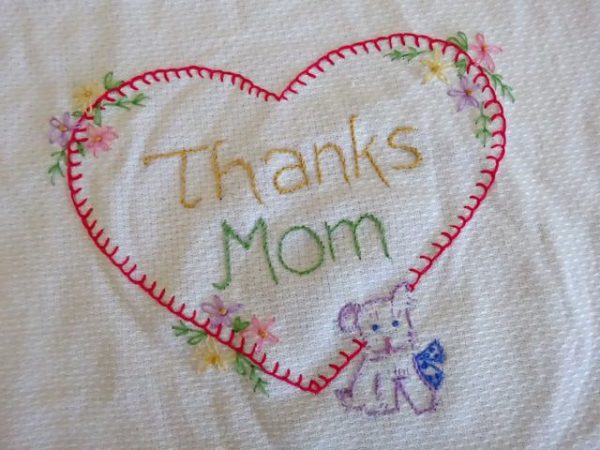

Pretty cute, right?
6. Finish the quilt
With all the pieces finished, my mom assembled the quilt.
We chose another reproduction-style fabric with dogs on it for the back. She put a piece of batting between the layers, and rolled the edges of the back over to the front to finish the edges.

Straight machine stitching through all of the layers helps to secure it all together.
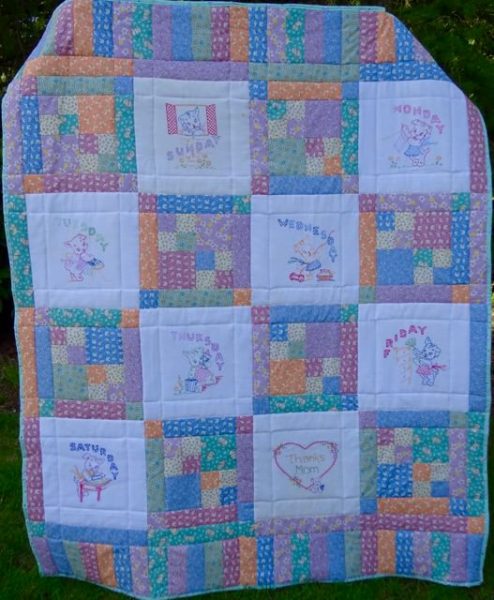
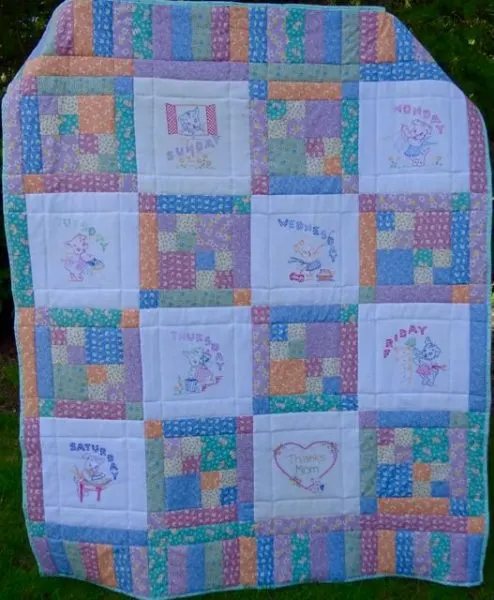
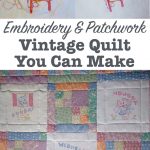
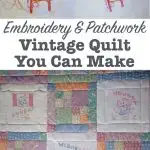
And that is our three-generations embroidery and patchwork quilt. What do you think?
Want to save this idea for later? Be sure to Pin It!
Be sure to see more of our sewing projects!

Dee
Thursday 10th of May 2018
It's amazing!
Jenny
Friday 11th of May 2018
Thanks, Dee! Grandma didn't even recognize her own work when we gave it to her.
marge
Thursday 10th of May 2018
I think you did a fabulous job of matching, sewing, designing, quilting and telling your story. Thanks for sharing. What a family treasure.
Jenny
Thursday 10th of May 2018
Thank you! It did turn out great.