Making a burlap ribbon bow is easy, cheap and fast to do! Here are the directions for how to make a burlap bow in a couple of minutes.
You no longer need to buy expensive, pre-made burlap ribbon bows at the craft stores. For the price of 2 or 3 already-made bows sold in home stores, you can make about 25 bows of your own using this burlap ribbon.
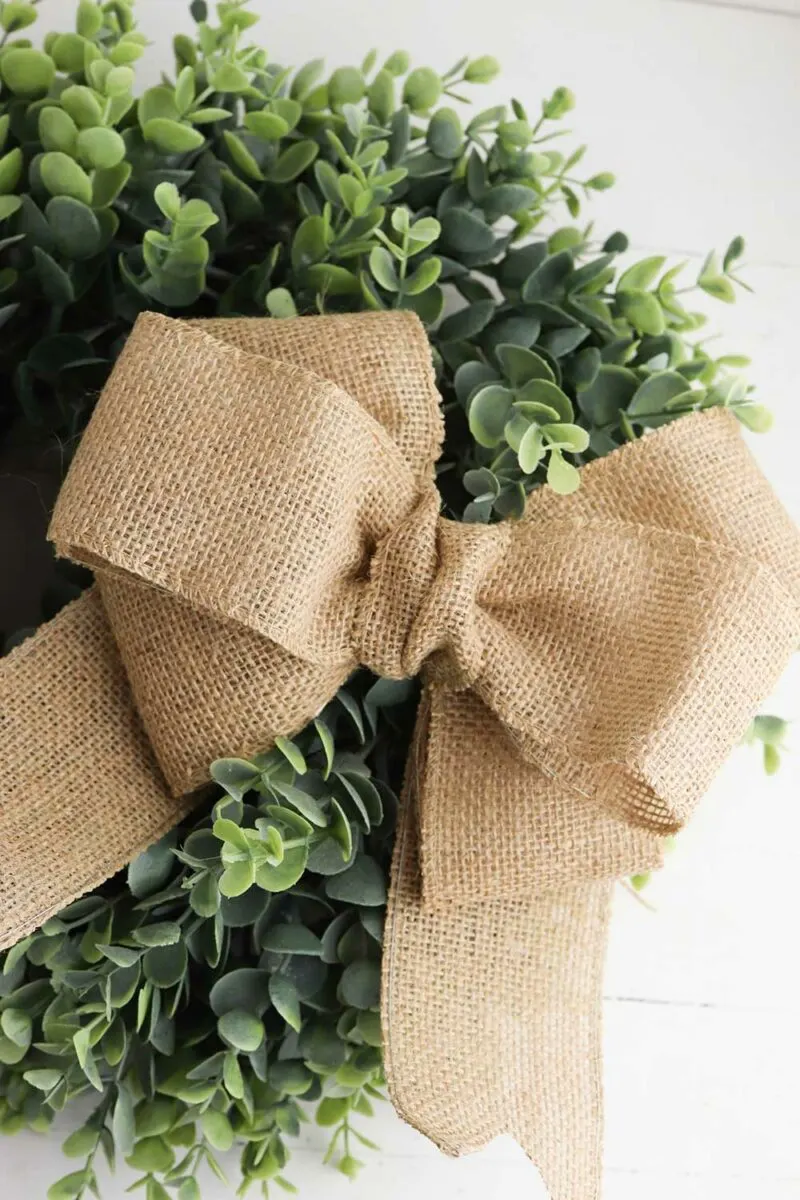
Burlap bows can be used in a variety of different ways, including:
- Wreaths
- Christmas tree
- Garlands
- Holiday trees
- Present toppers
- Party decorations
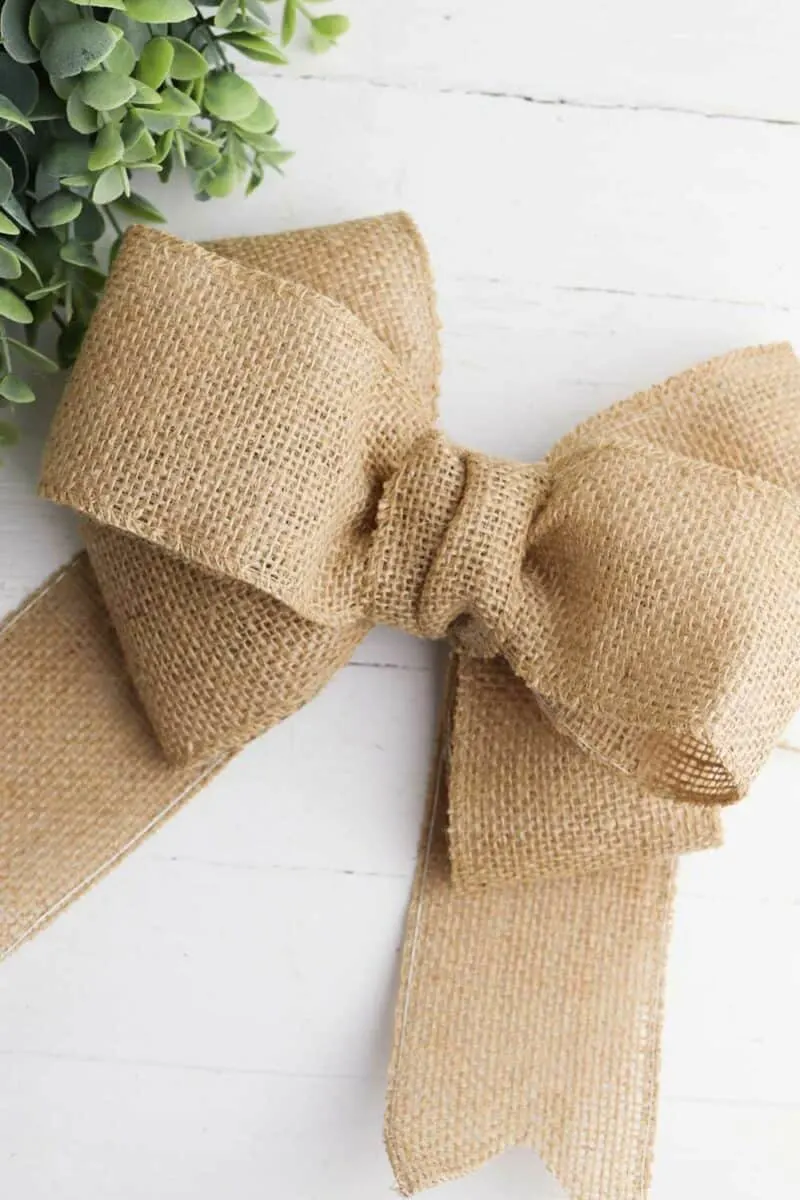
How to Make a Burlap Bow
Supplies
- Burlap Ribbon (about 4 ½ feet for each bow)
- Twine
- Hot glue gun
- Scissors
Directions
Step 1
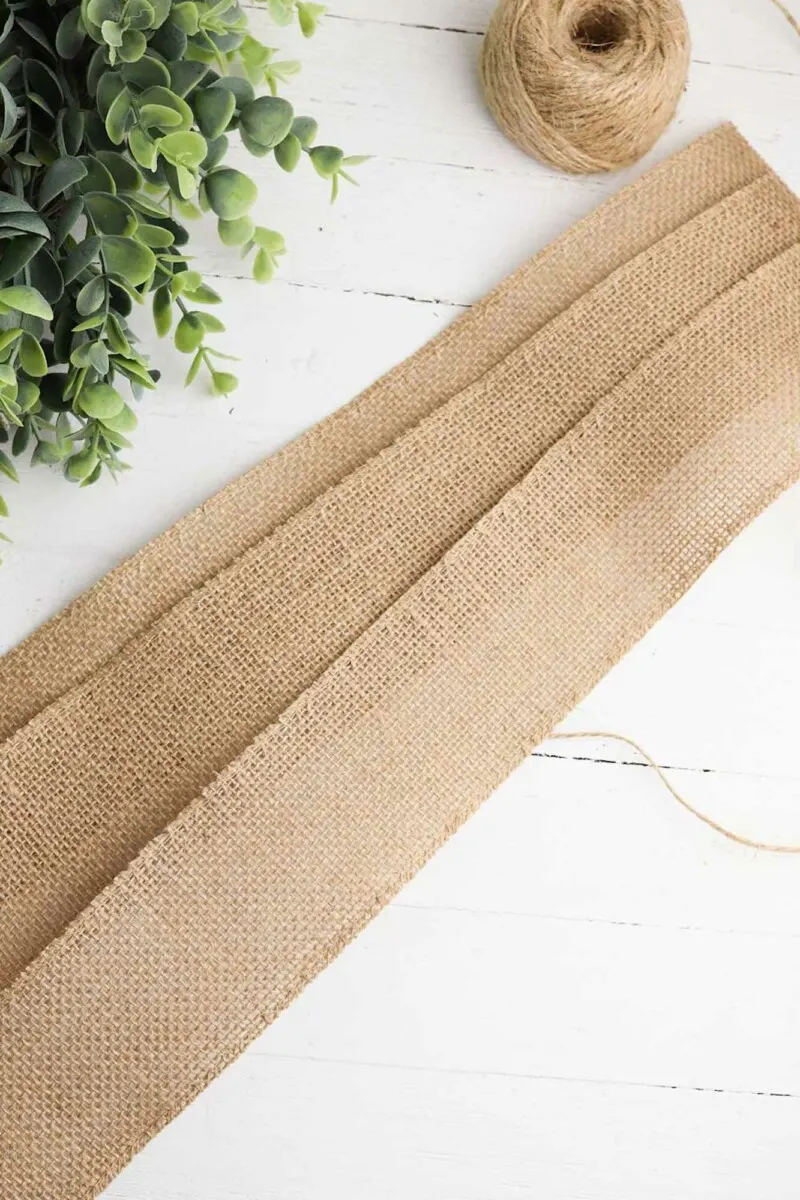
Cut three pieces of burlap ribbon around 12 inches long.
Step 2
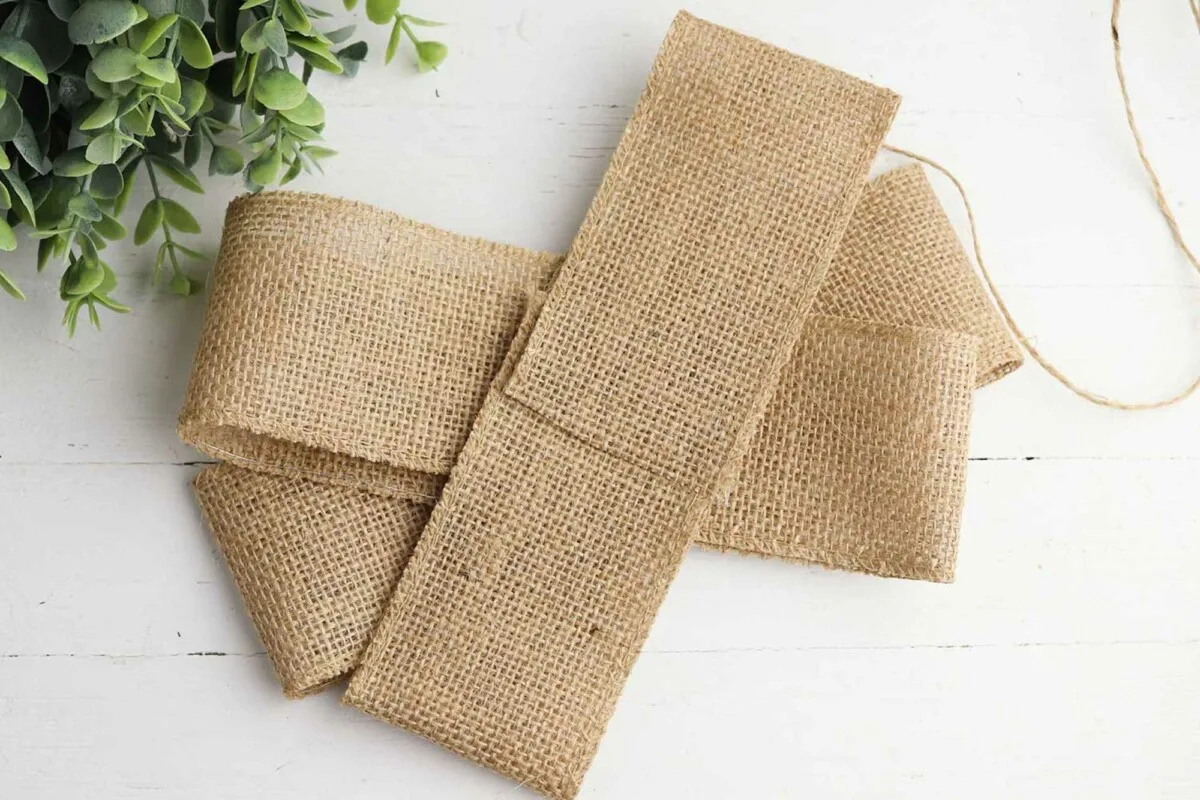
Loop each ribbon so that the ends of the ribbon meet in the center and slightly overlap.
Step 3
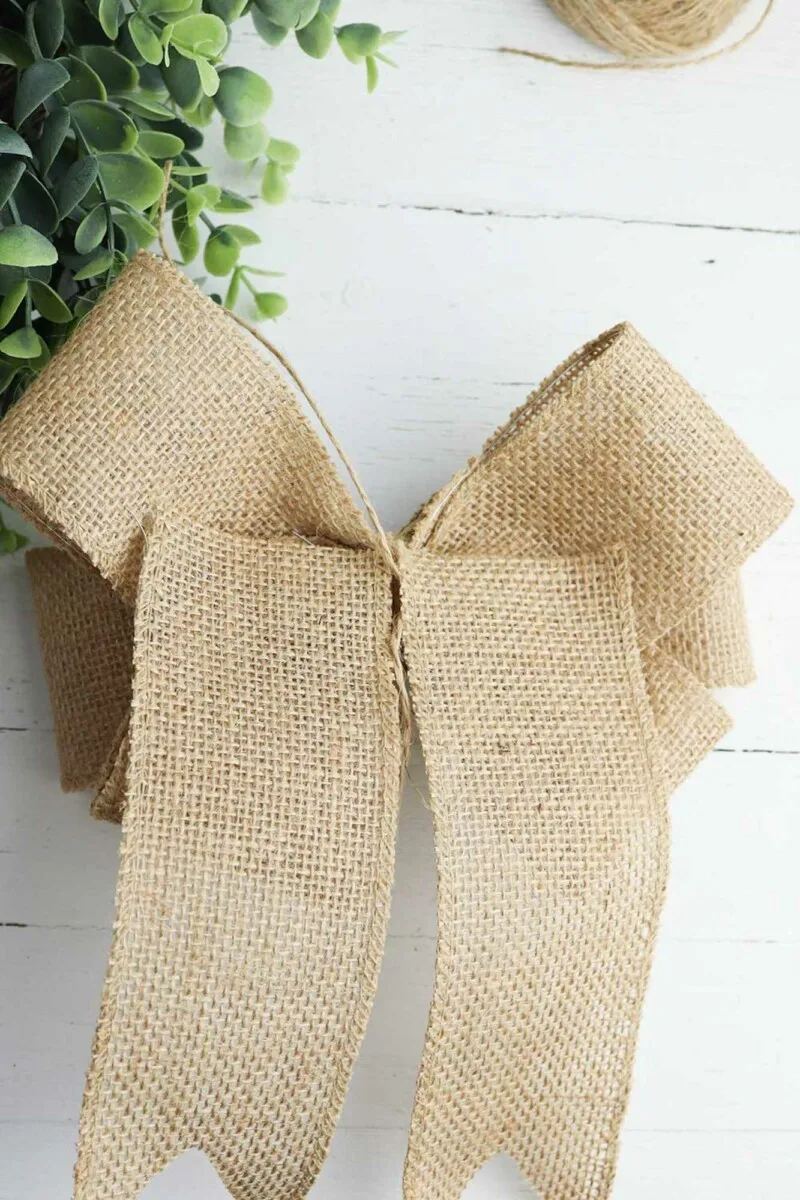
Stack the ribbon loops on top of each other, forming an X shape over the bottom loop. (See picture above for reference.)
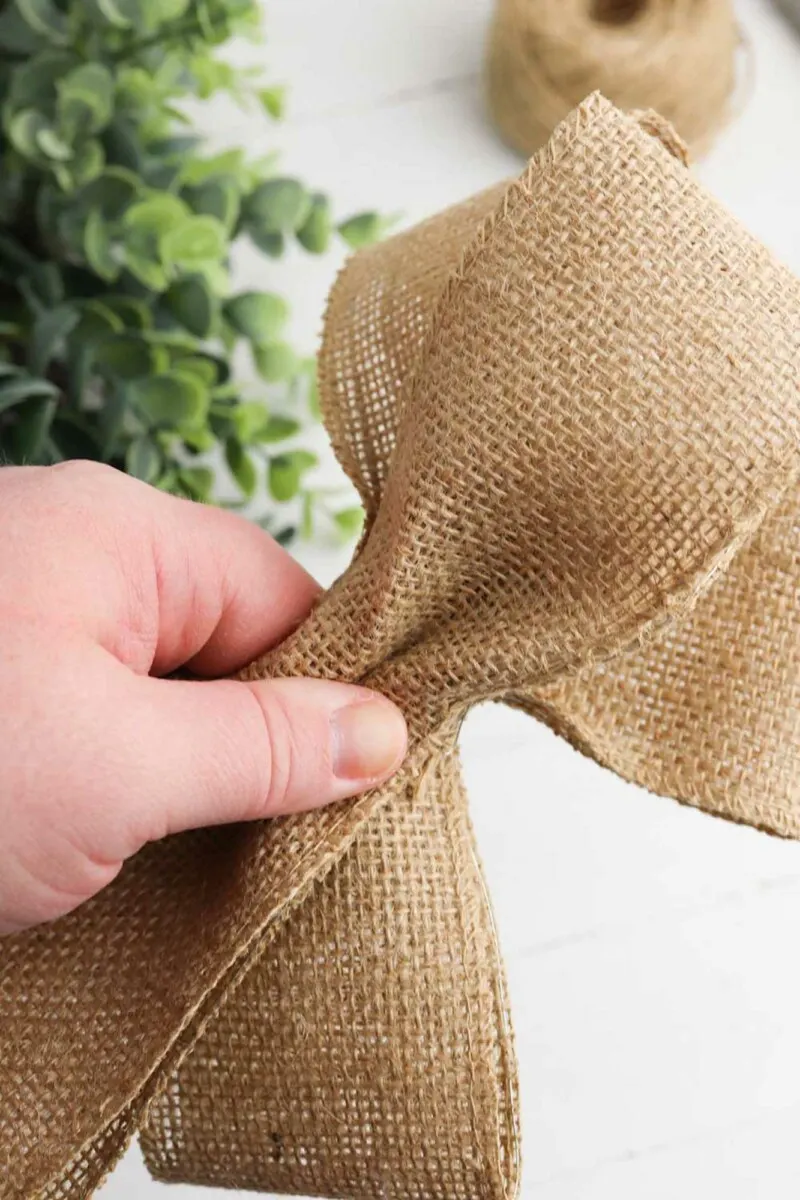
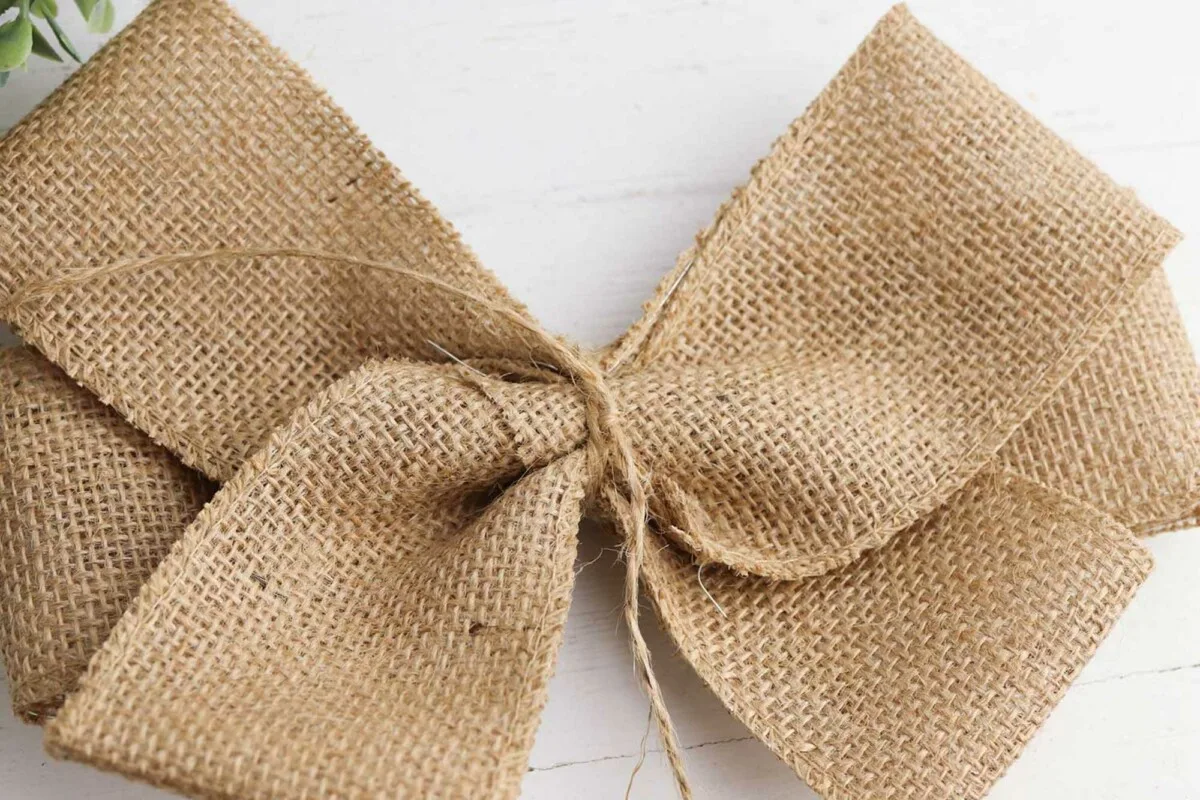
Grab the stack of three ribbon loops in your hand carefully. Pinch the burlap loops together with your finger and then tie a piece of twine around the center.
Pull the twine tightly to keep the loops together and secure it with a knot.
Step 4
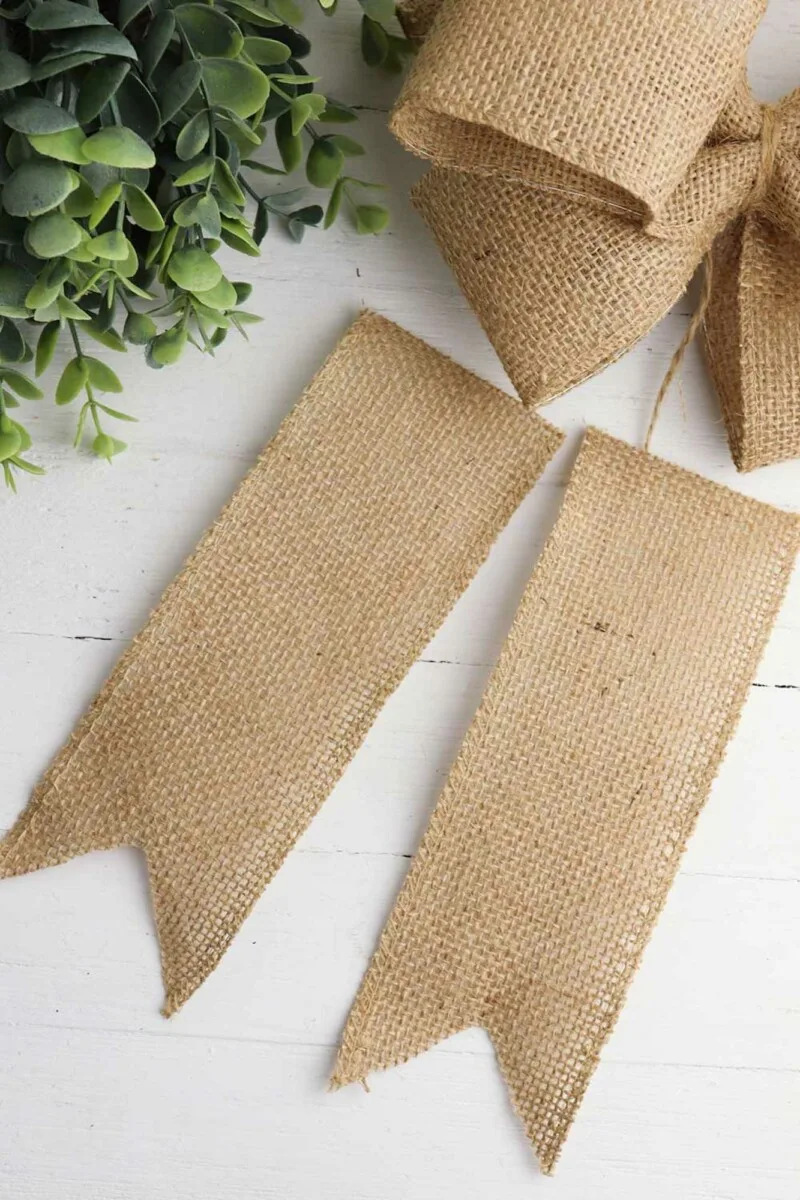
Cut two six-inch pieces of burlap ribbon.
Trim or notch the ends of each ribbon to form two points in the bottom of each piece.
Glue the pieces to the back of the bow with a hot glue gun to form tails.
Step 5
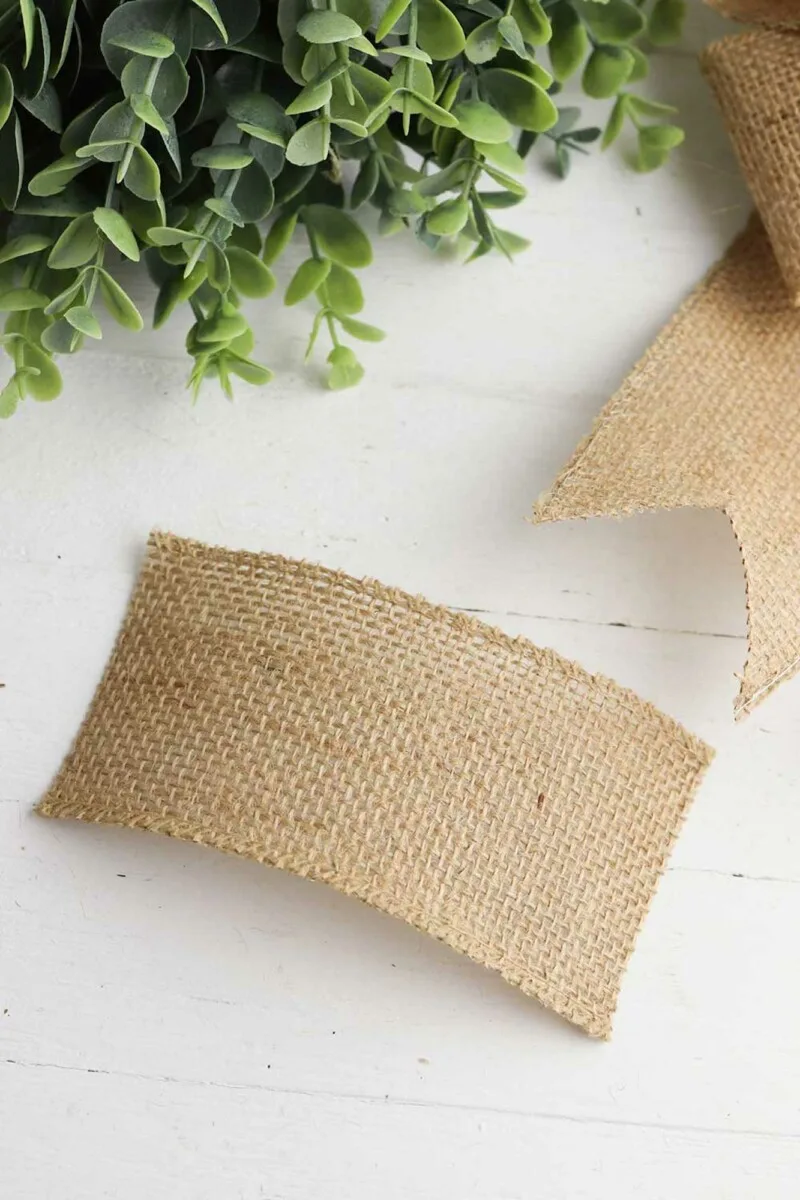
Cut a 4-inch piece of burlap ribbon.
Wrap the short piece of burlap around the center of the bow. You will probably need to pinch and squish the burlap to get it to wrap around the center knot of the bow.
Secure the ends on the back with hot glue.
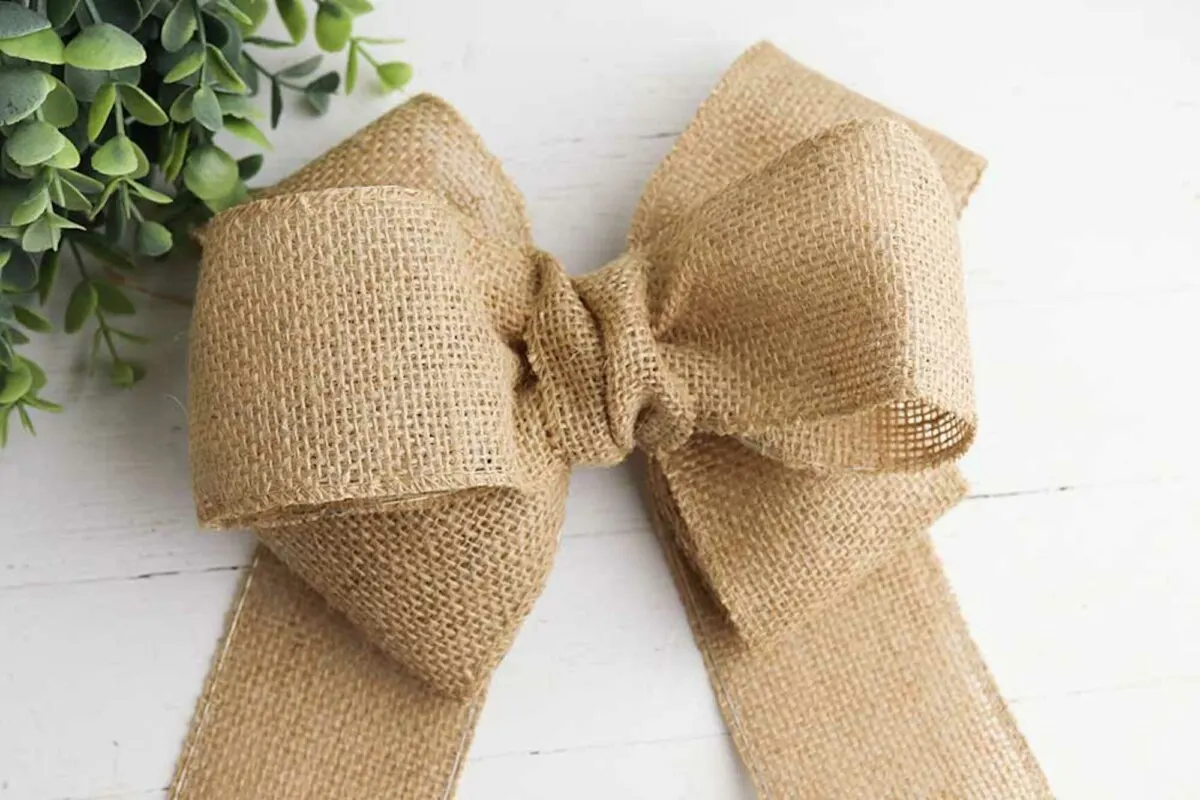
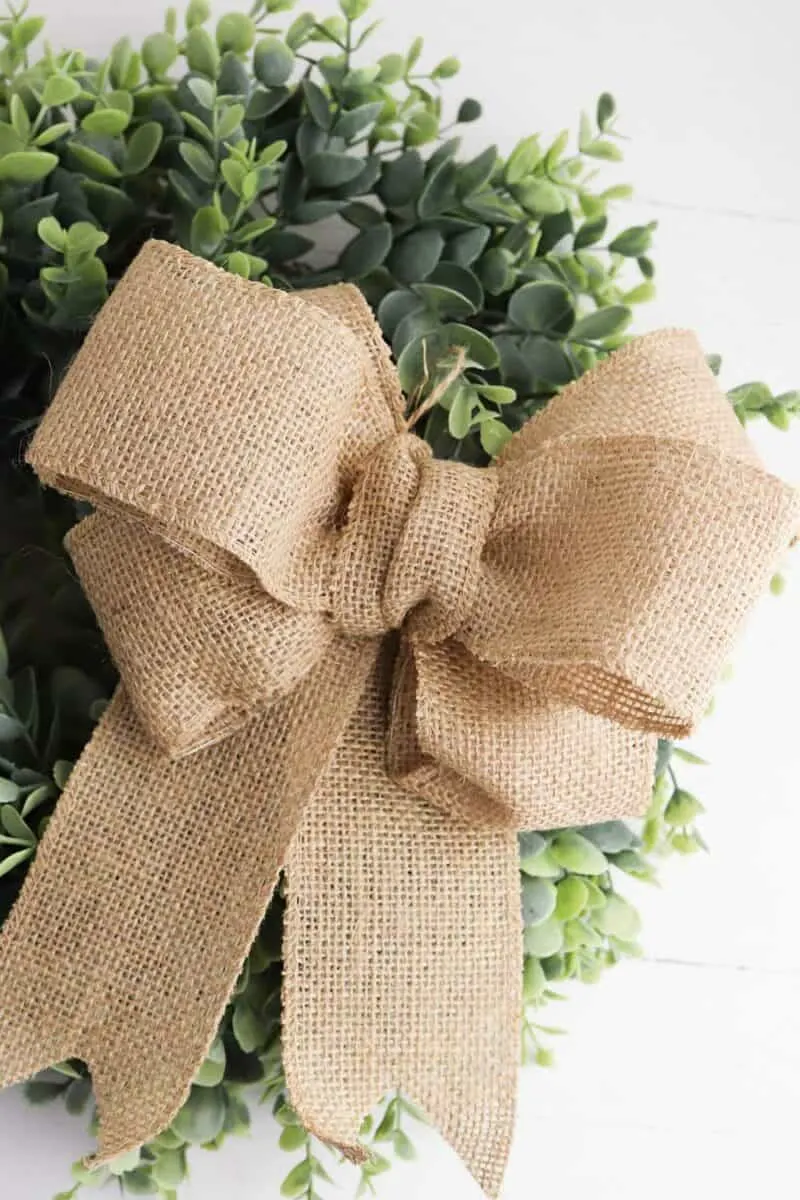
Use the ends of the twine on the back of the bow to attach the burlap bow to a wreath, banister or Christmas tree.
Be sure to see my tutorials of DIY wreaths to make!
There are a variety of ways to make bows. I only use the easiest ways! Be sure to see my other bow-making tutorials:

