

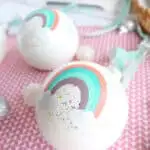
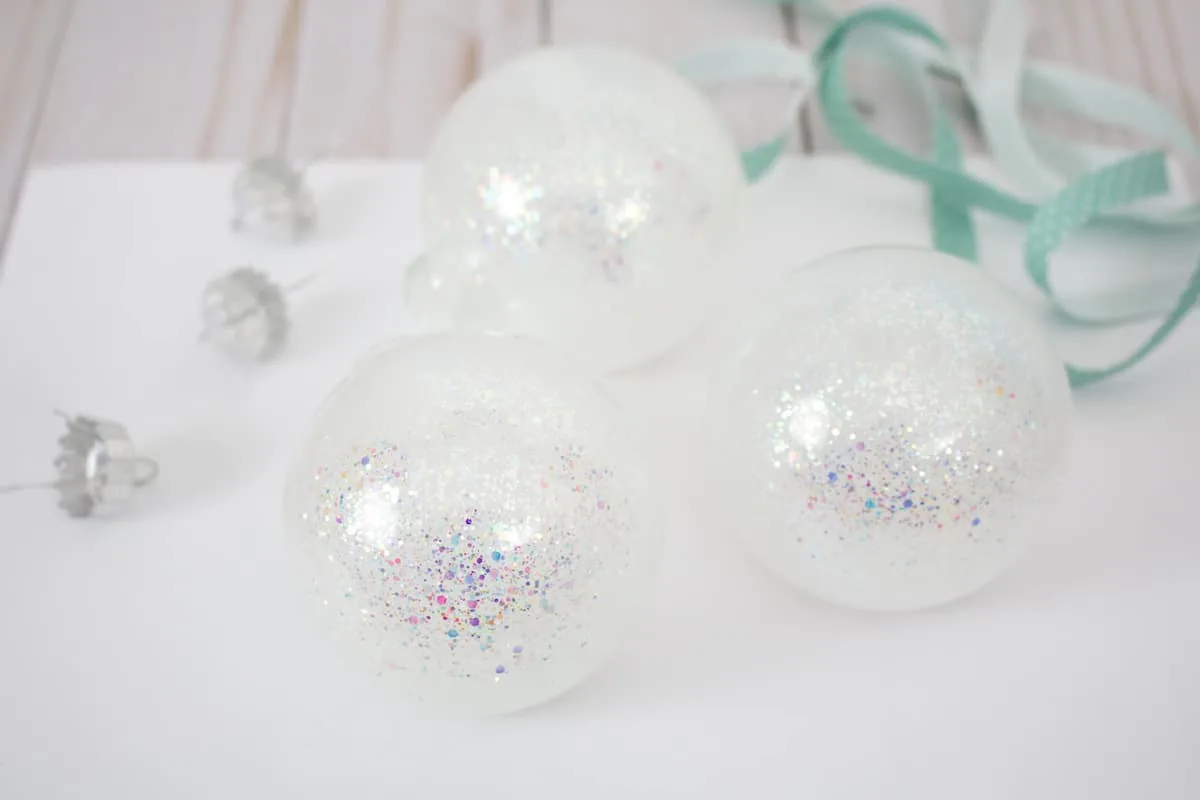
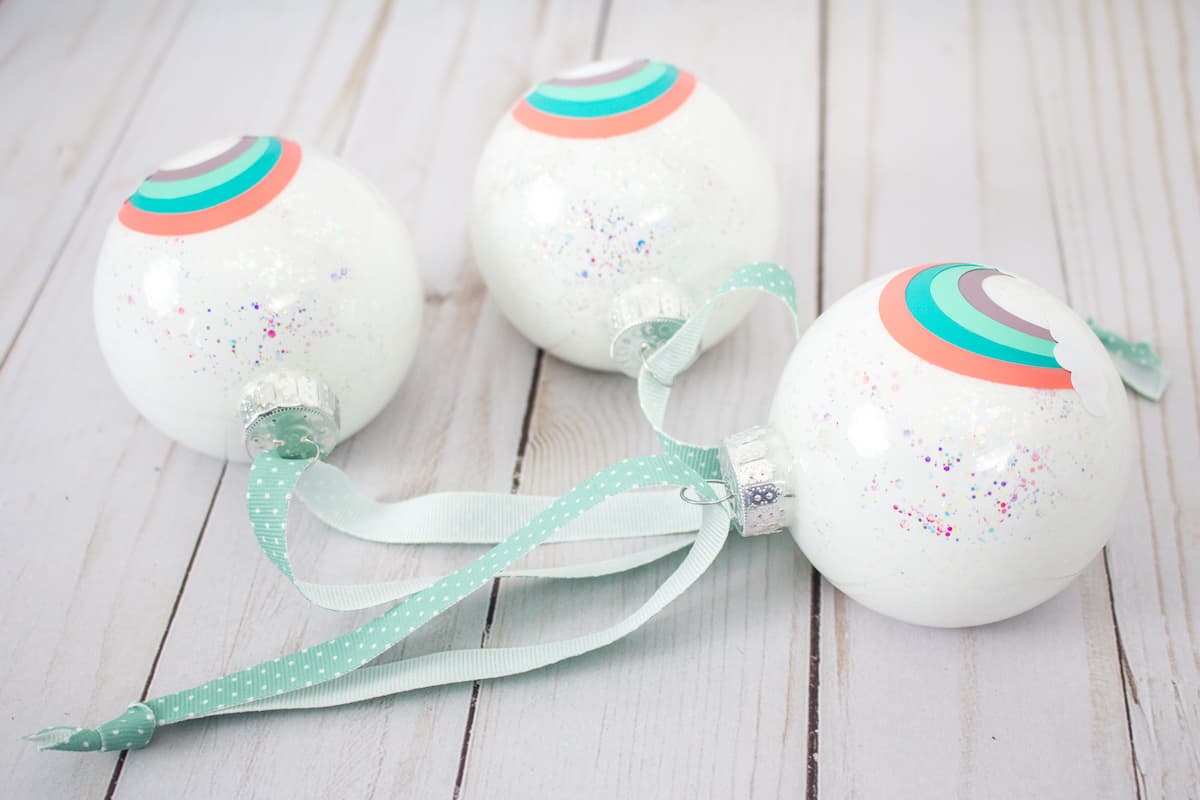
These DIY rainbow ornaments are the perfect way to brighten up a Christmas tree!

These happy ornaments are easy to make with a Cricut joy. You can make several and give them to friends. They also make great gift toppers.
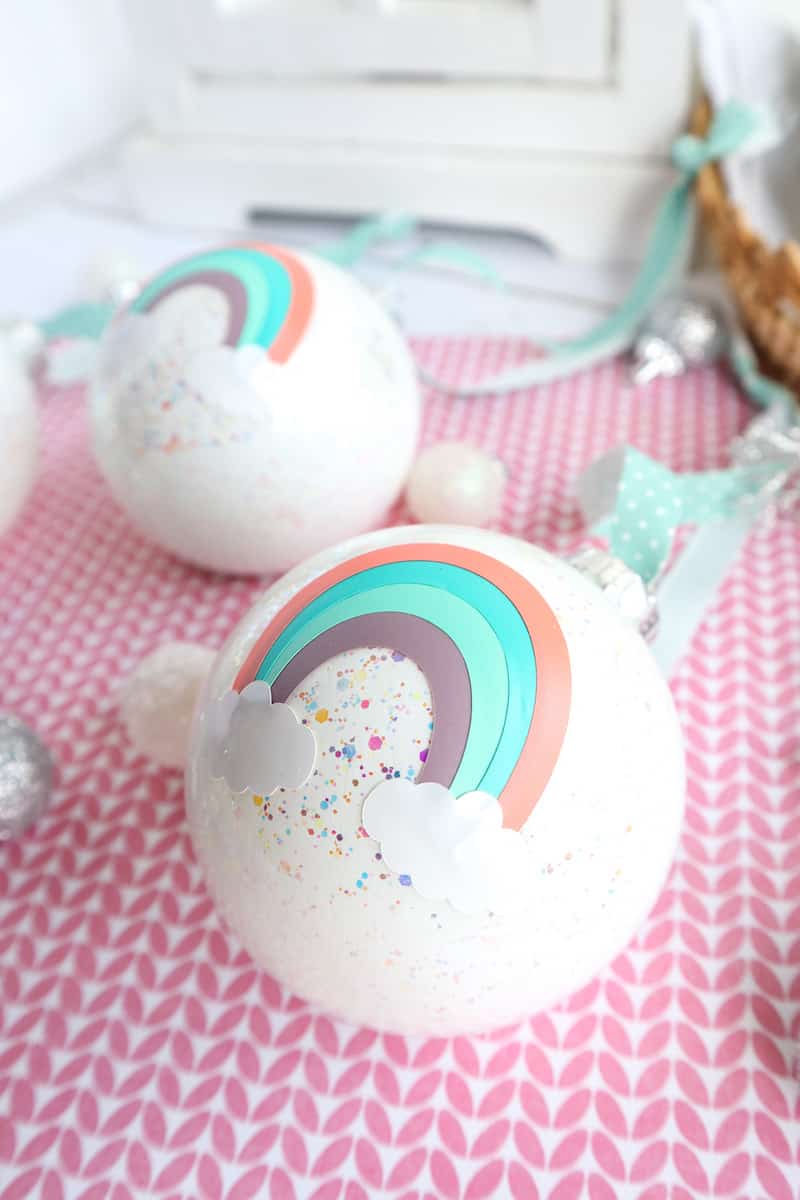
We chose pastel colors for the rainbow. Feel free to use bold primary colors like red, yellow, green and blue instead.
How to Make a Rainbow Ornament with Cricut Joy
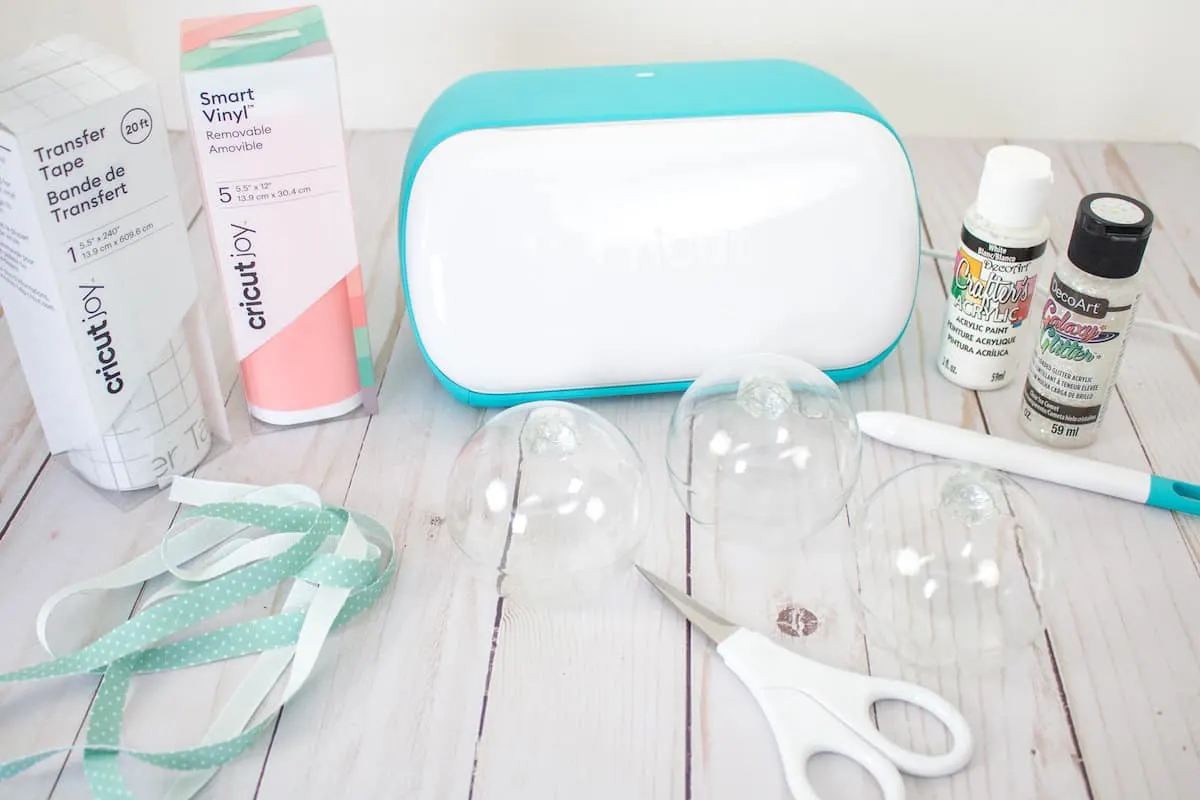
Supplies
- Free Rainbow SVG file
- Cricut Joy
- Smart Vinyl Removable in Hydrangeas Sampler (coral, mint, teal and lavender)
- Weeder
- Scissors
- Clear Glass Ornaments (try looking for them in a dollar store)
- Cricut Transfer Tape
- DecoArt Crafter’s Acrylic in White (it would be cheaper in store)
- DecoArt Galaxy Glitter in Clear Ice Comet
- Decorative ribbon, ¼” wide

Directions
Painting the Glass Ornaments
Remove cap from ornament.
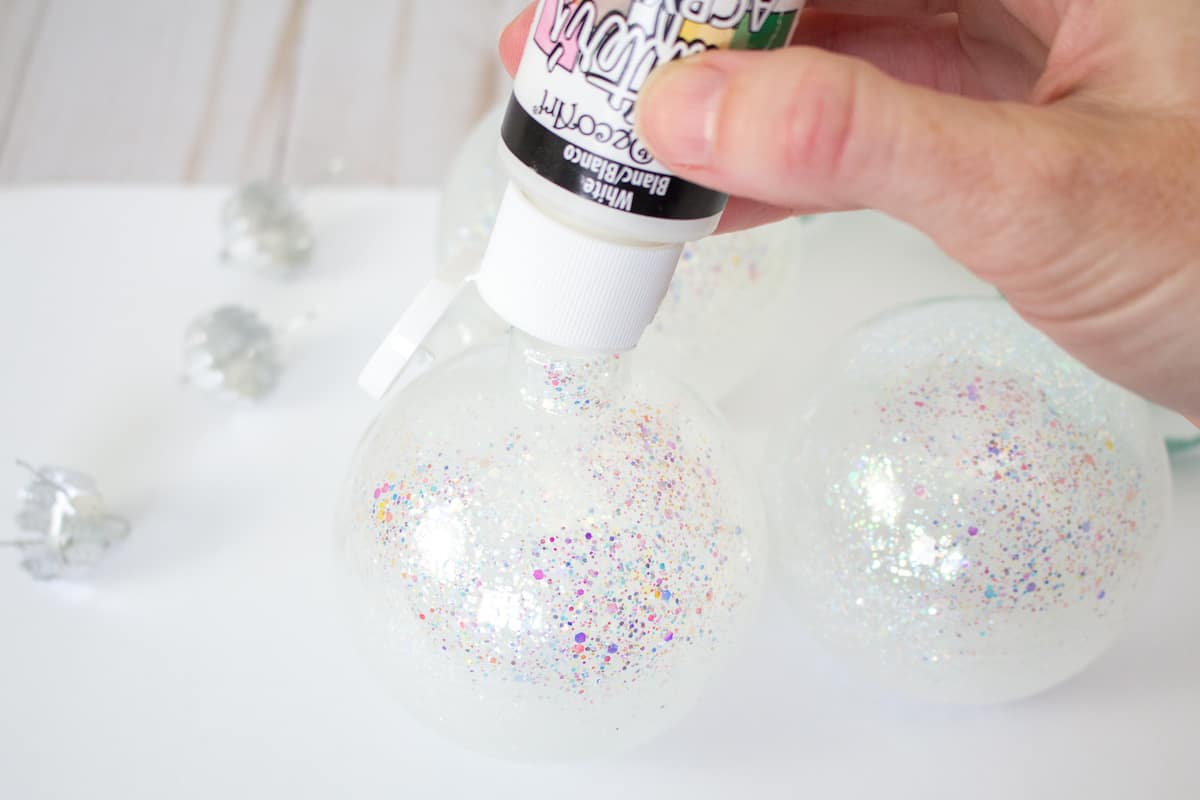
Squeeze Galaxy Glitter Clear Ice Comet paint into the opening.
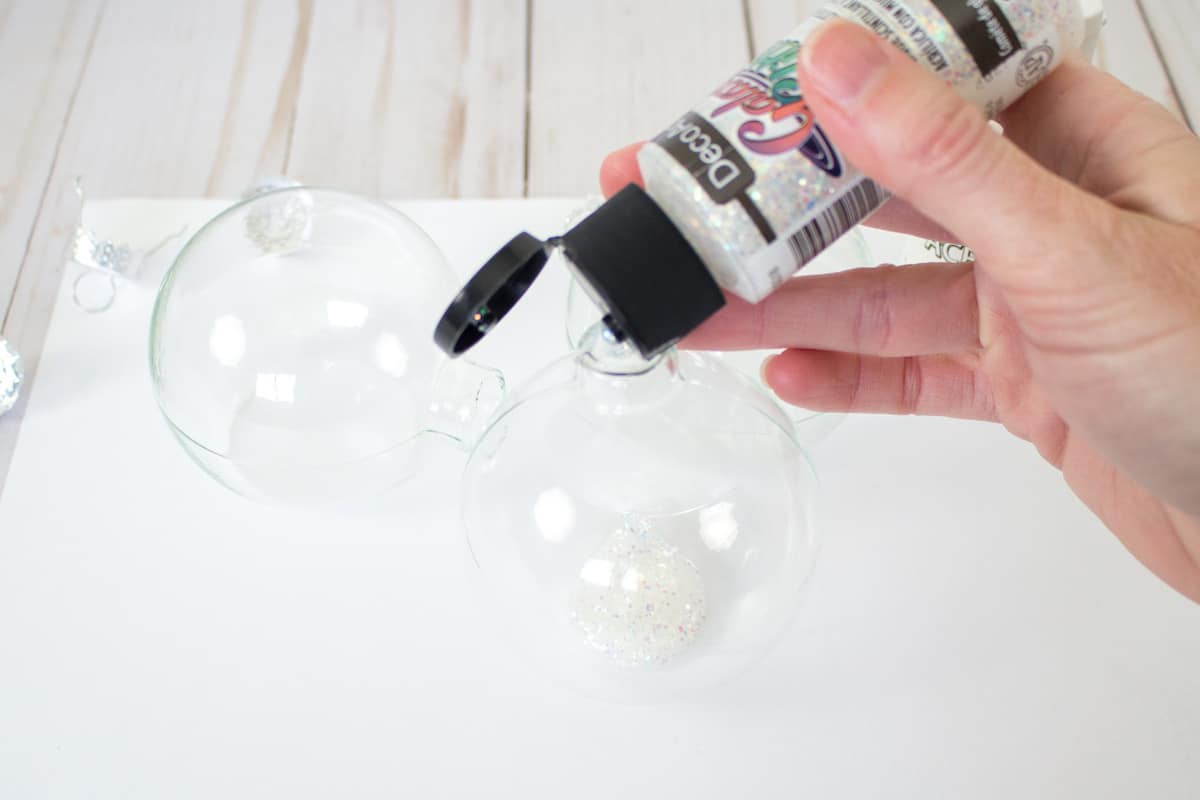

Place your covered thumb over the opening and shake the ornament until the paint inside has mixed together and covered the inside. Add more glitter paint and shake if needed.

Allow glitter paint to dry for about 10 minutes.
Next, squeeze some white acrylic paint into the ornament. Avoid using too much paint. Start with a little and add more as needed.
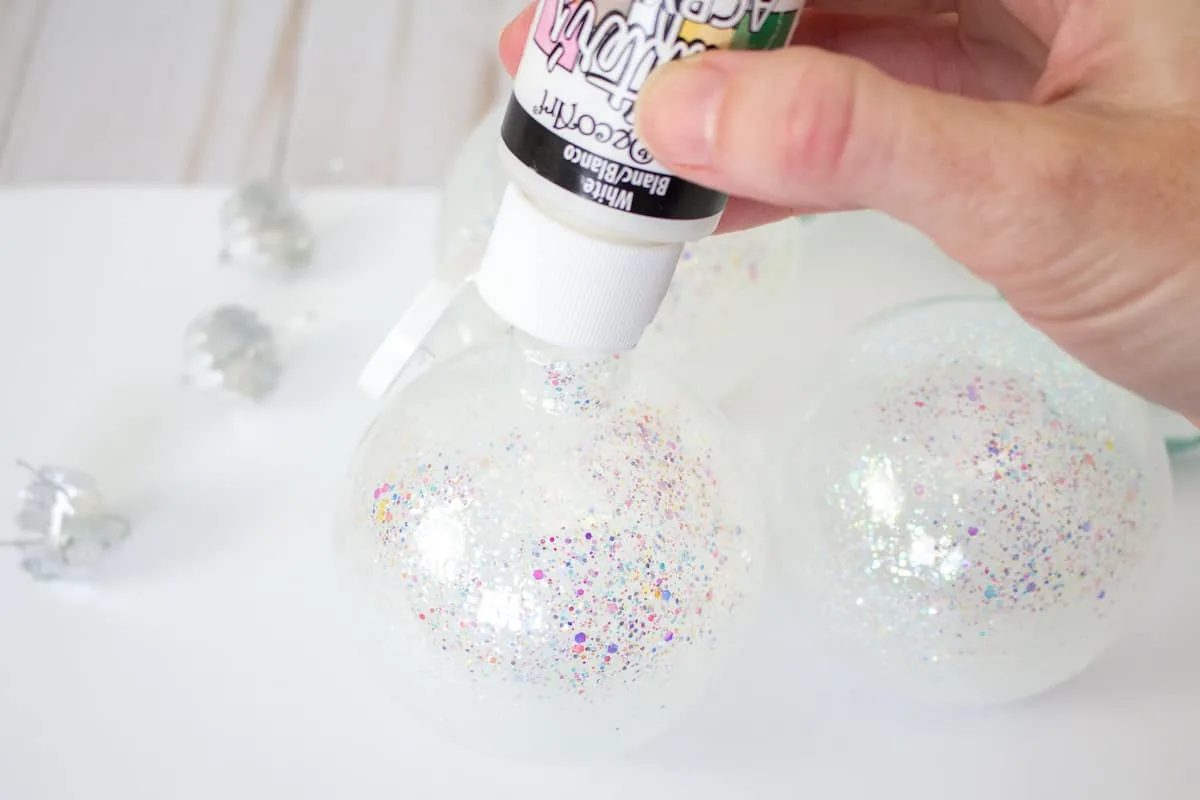
Again, place your thumb over the opening and shake the ornament until the paint inside has mixed together and covered the inside.


Repeat for remaining ornaments.
Preparing the Images
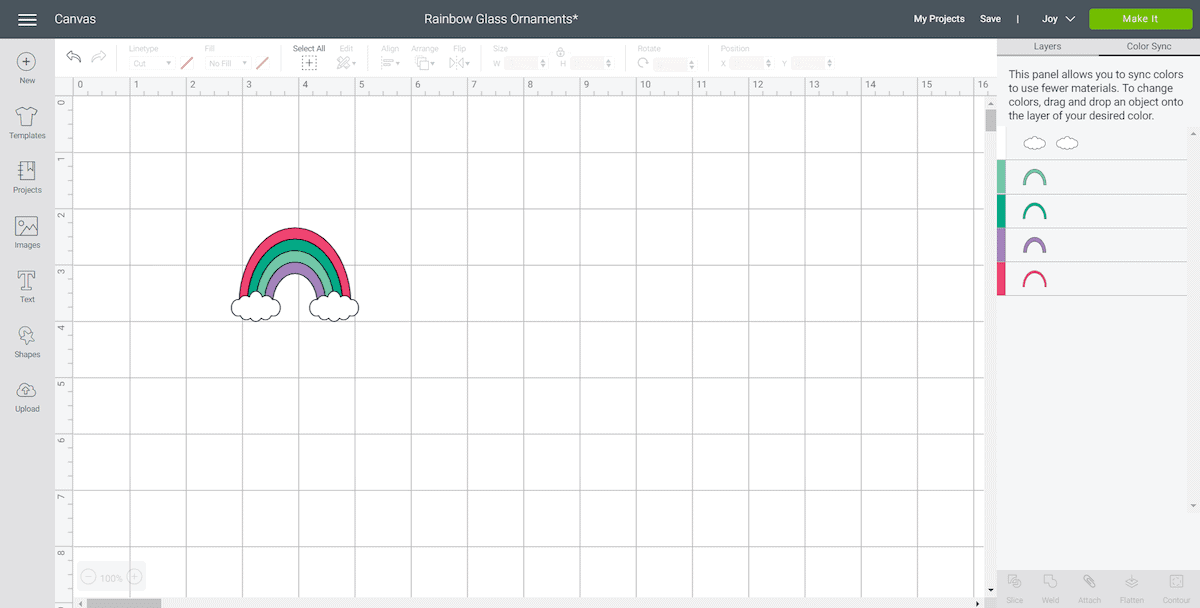
Open Cricut Design Space. Click on the “+” sign to start a new project, opening up a blank canvas.
Click on the “Upload” button from the toolbar and browse your downloaded files to insert the SVG file.
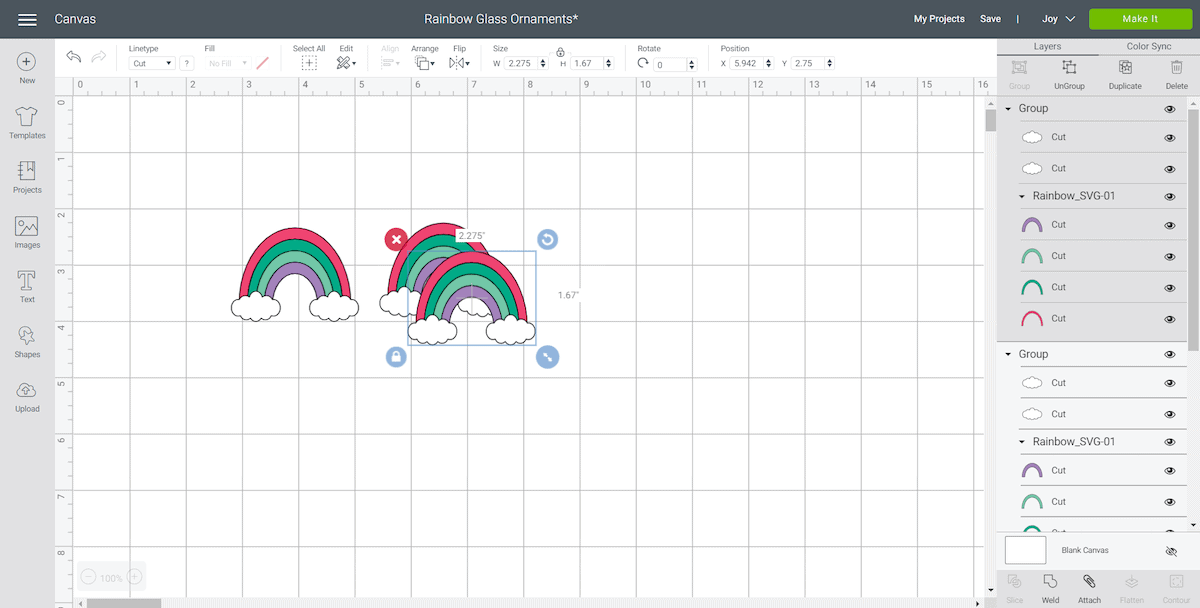
The image will appear on the canvas. With the image selected, select “duplicate” to make as many rainbow vinyl cuts as needed.
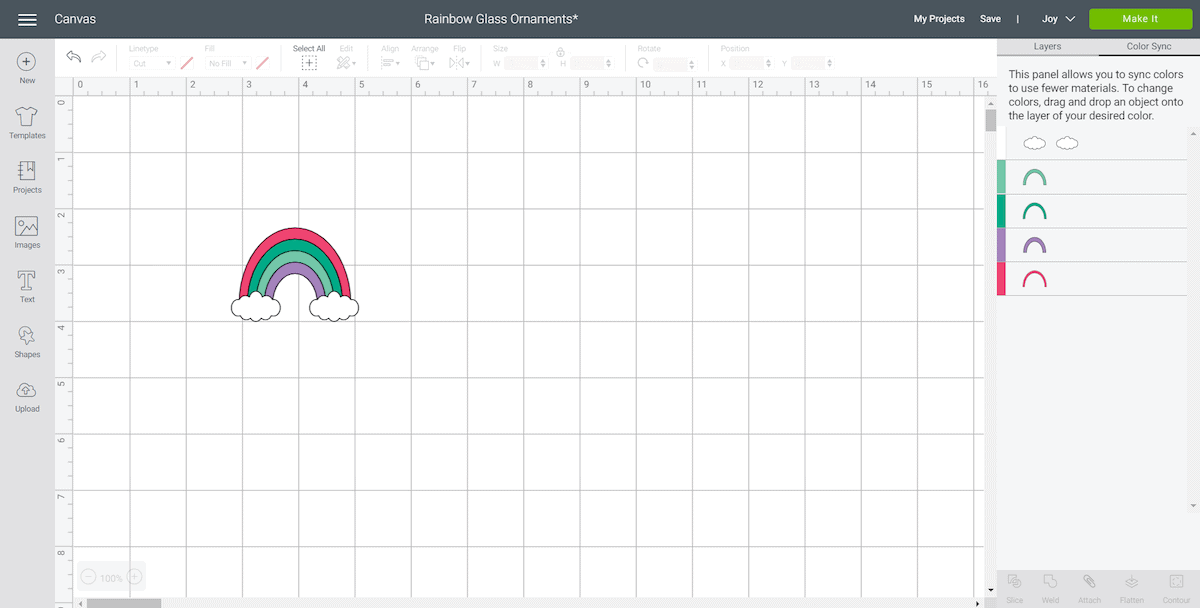
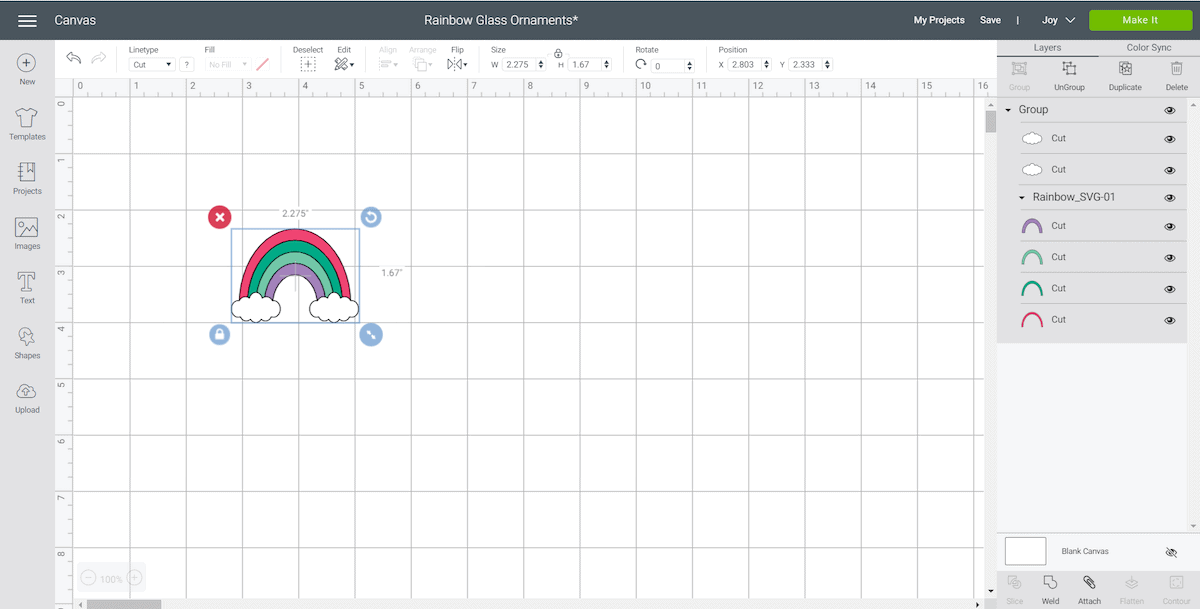
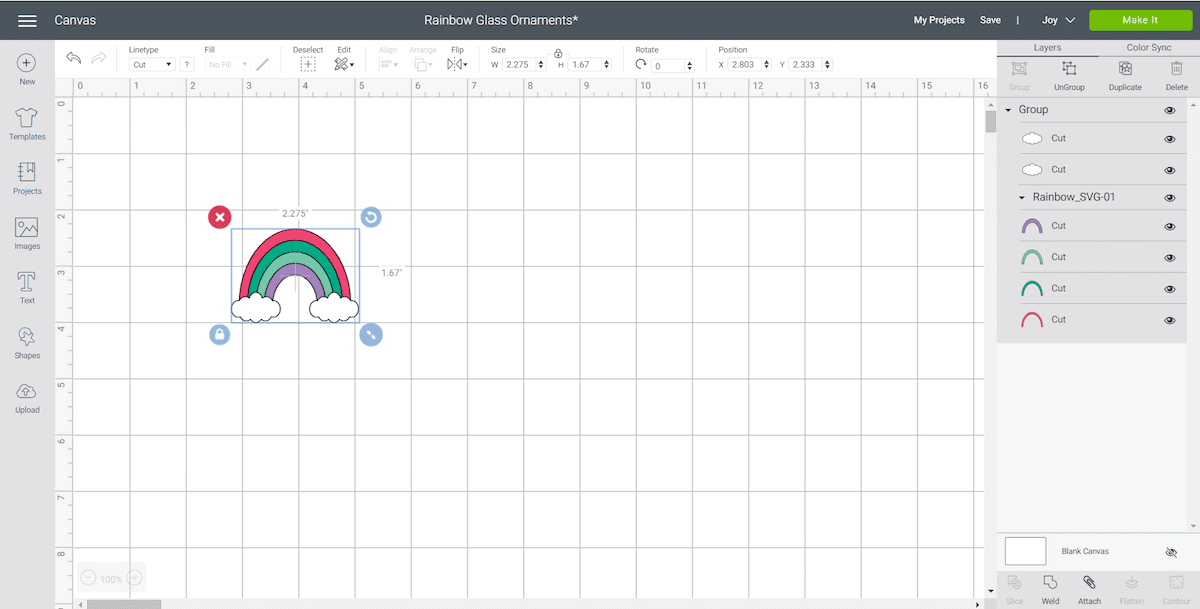
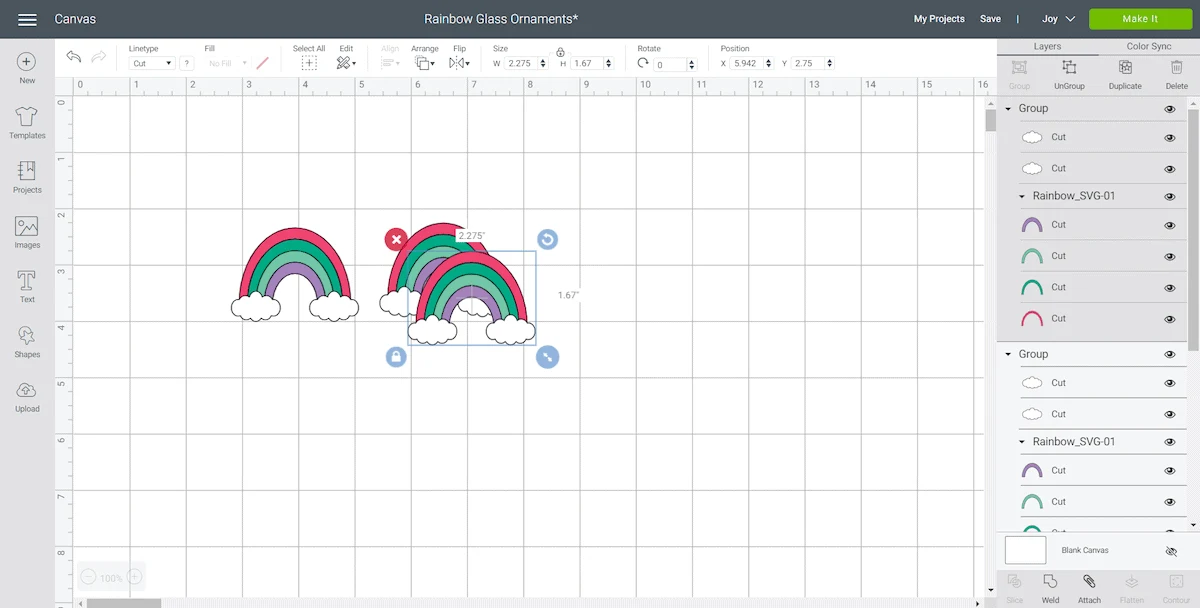
Maintain the size or adjust to fit your ornament. To adjust the size, highlight the image and click on the size box in the top toolbar. Change the measurement to suit your ornament size accordingly.
Change the image color if desired to match with the material color.
Cutting the Permanent Smart Vinyl
Select “Make It” in the upper right corner to proceed with cutting.
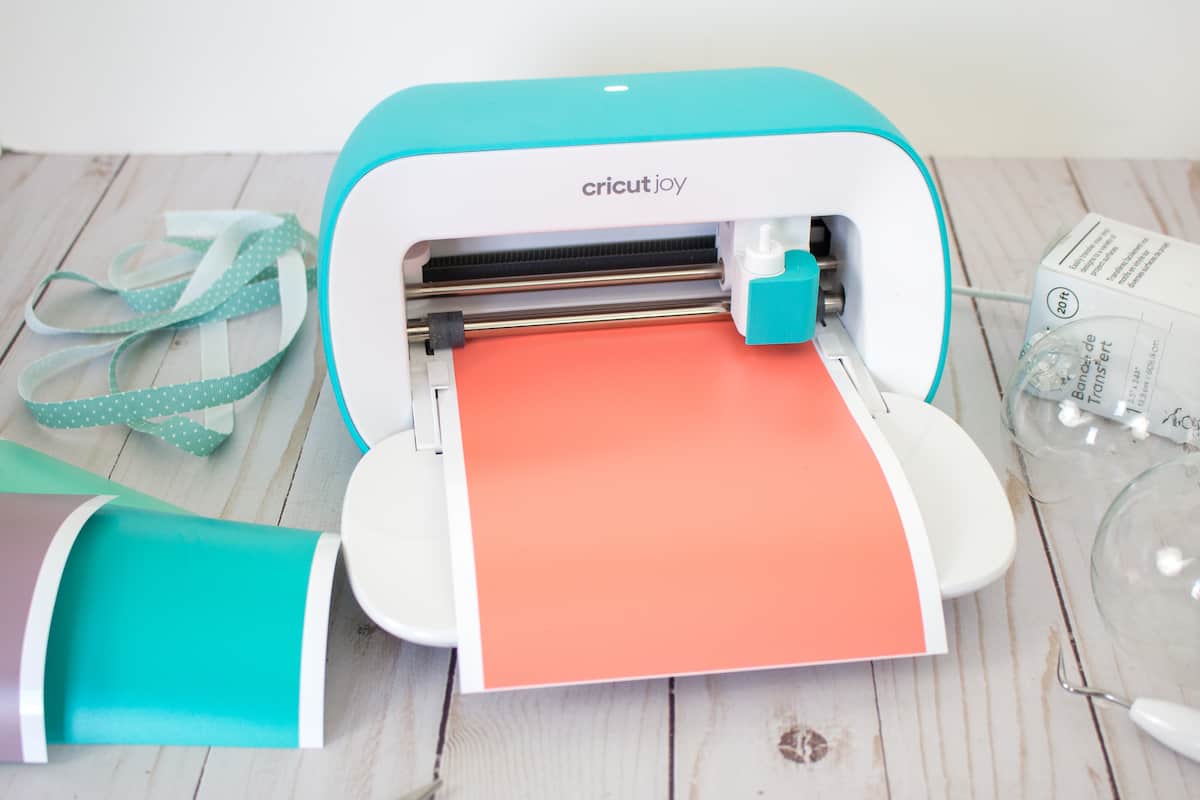
If using Cricut Joy Smart Vinyl, choose “no mat” for cutting.
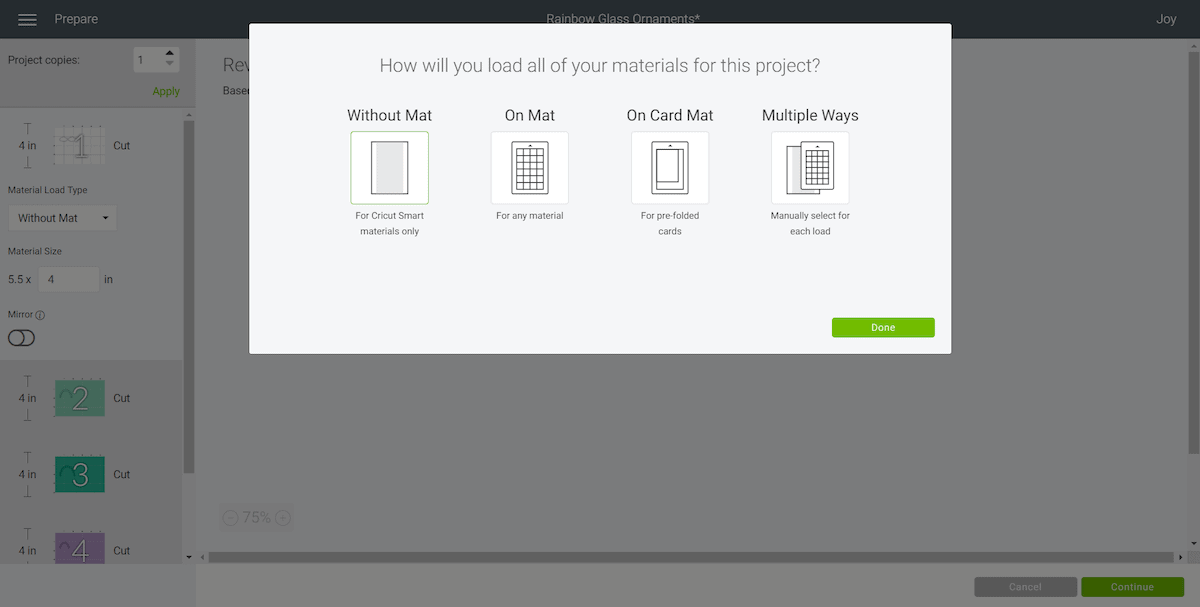
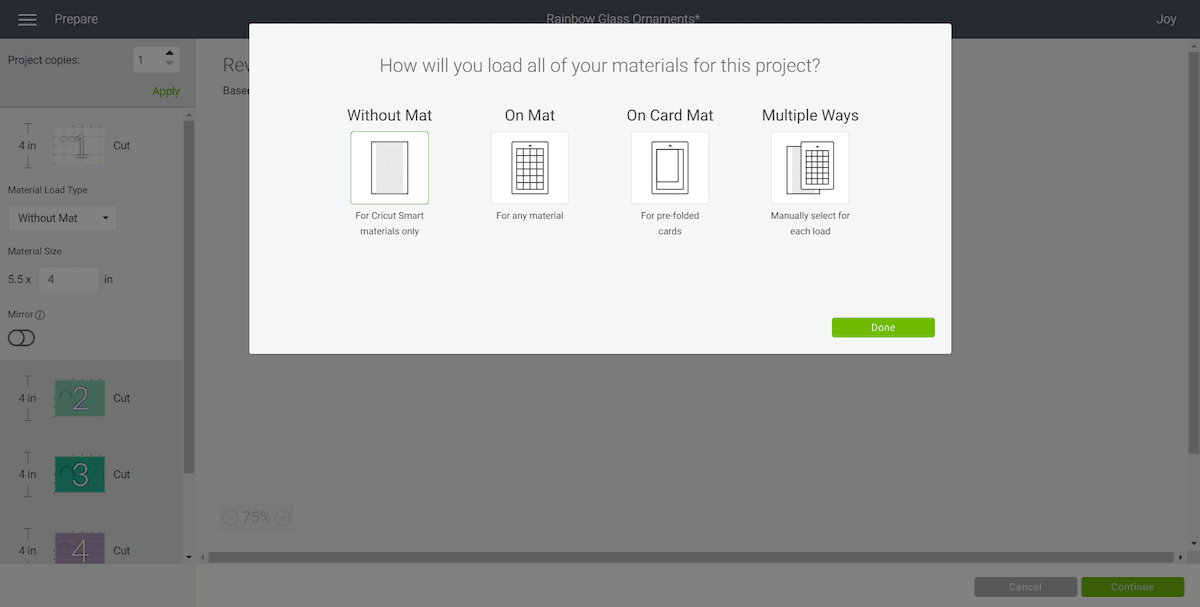
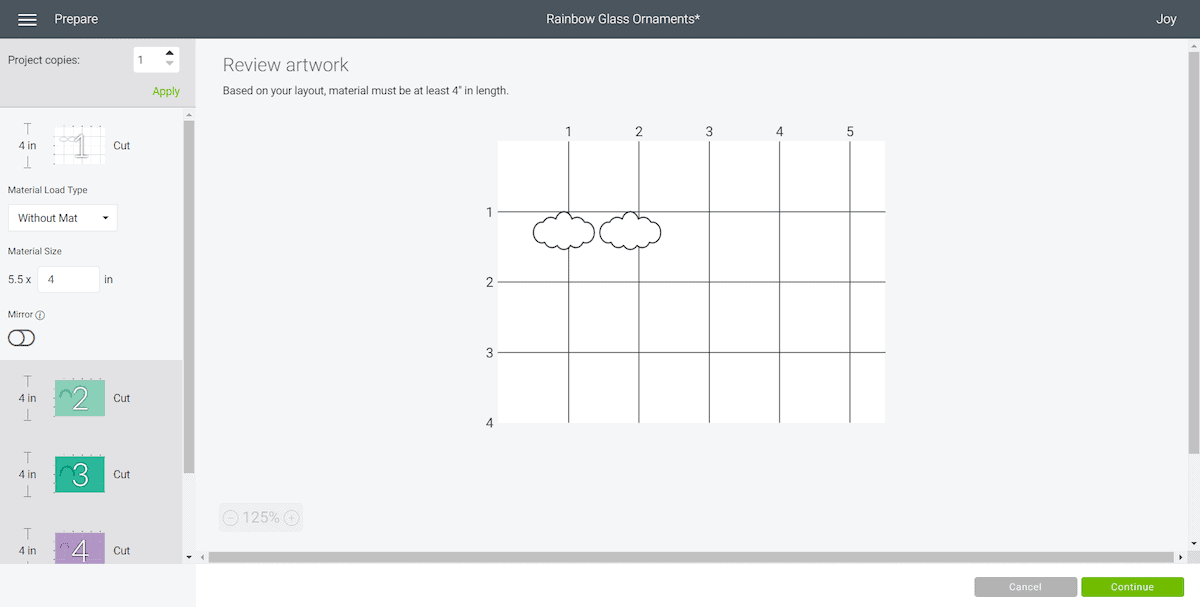
Note the size of the Smart Vinyl needed and cut the length of the vinyl accordingly.
Choose the Smart Vinyl from the list of options in the drop down menu.
Following the instructions prompted on the screen, cut out the different colored vinyl for all the images.


How to Assemble the Ornaments
Cut around the images with a pair of scissors.
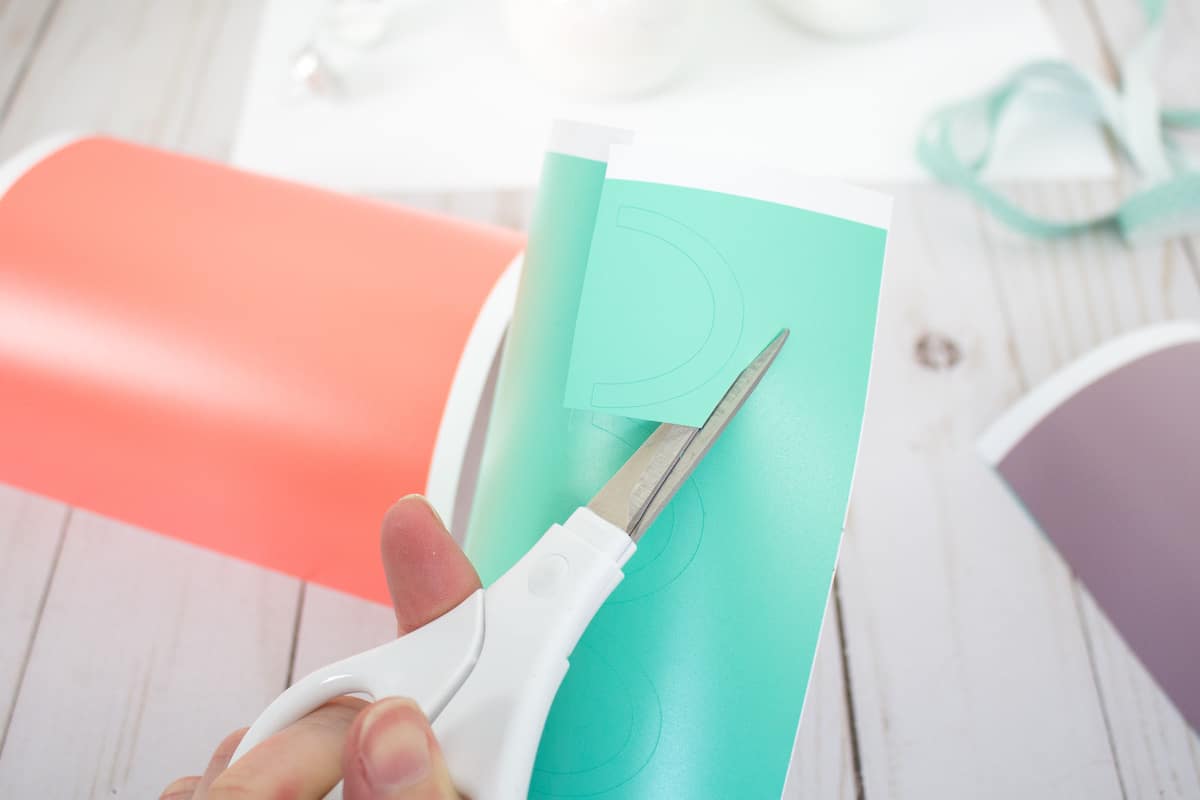

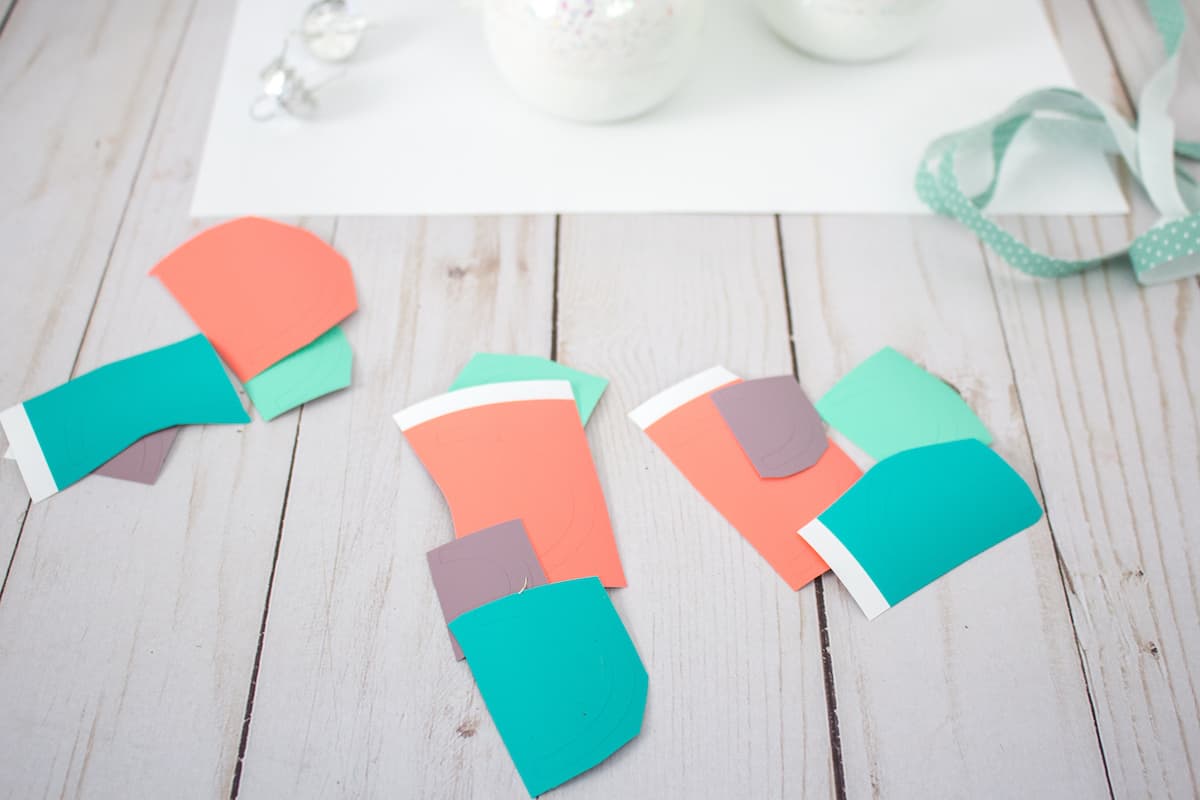
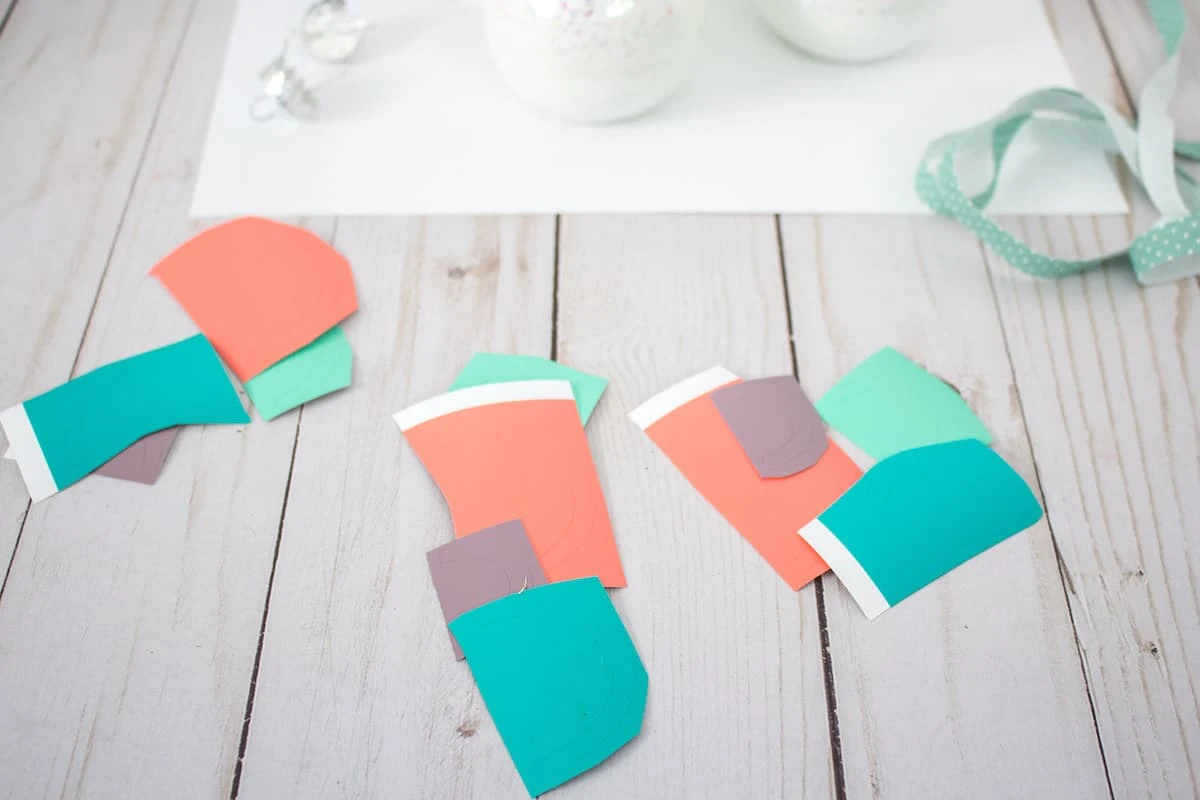
Peel away the excess vinyl around the cut images and discard.

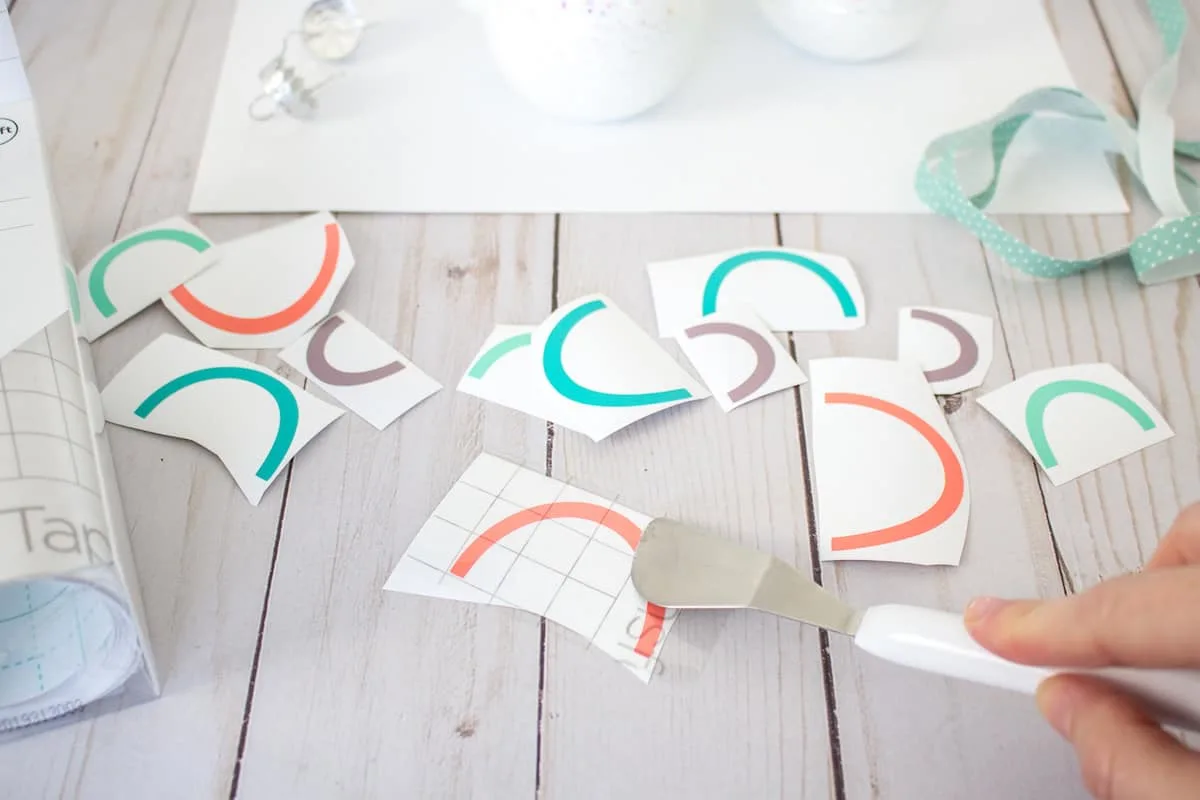
Cut a piece of transfer tape a bit larger in size than the largest rainbow arc.
Peel away the transfer tape backing and place the transfer tape overtop of the image. Gently rub the vinyl to help it stick to the transfer tape.


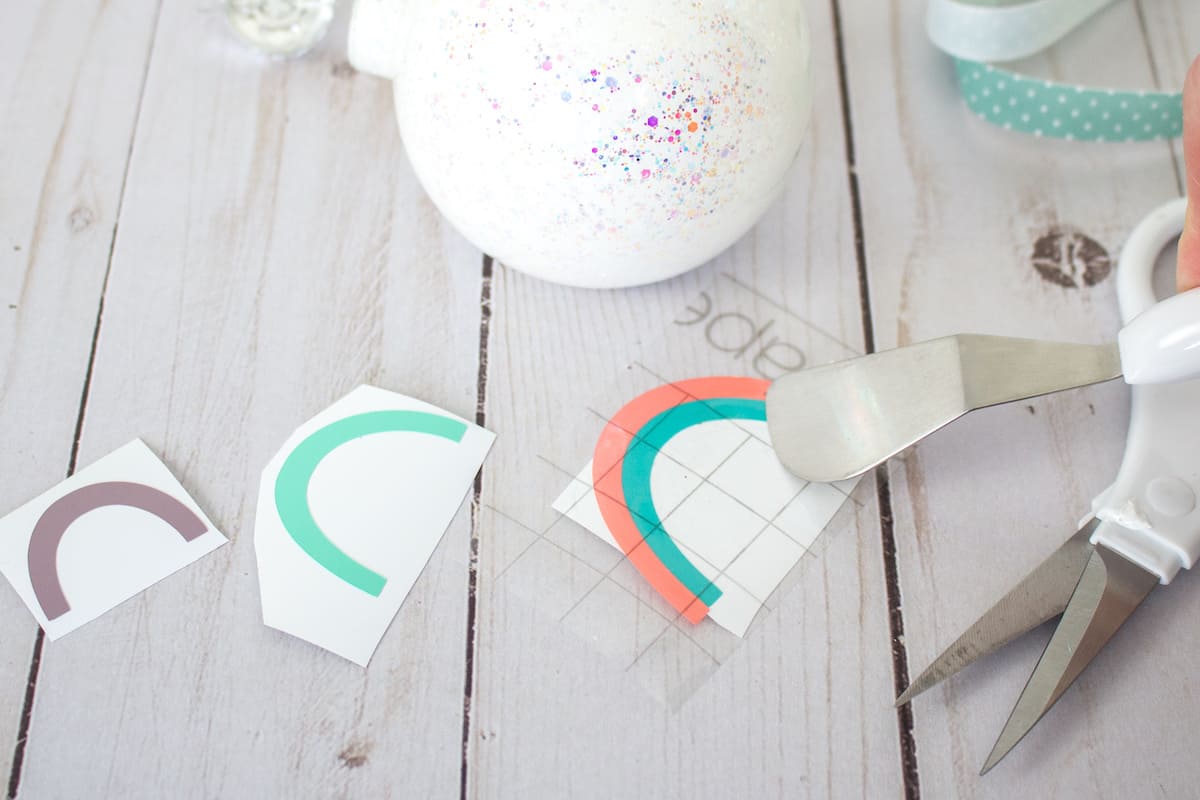
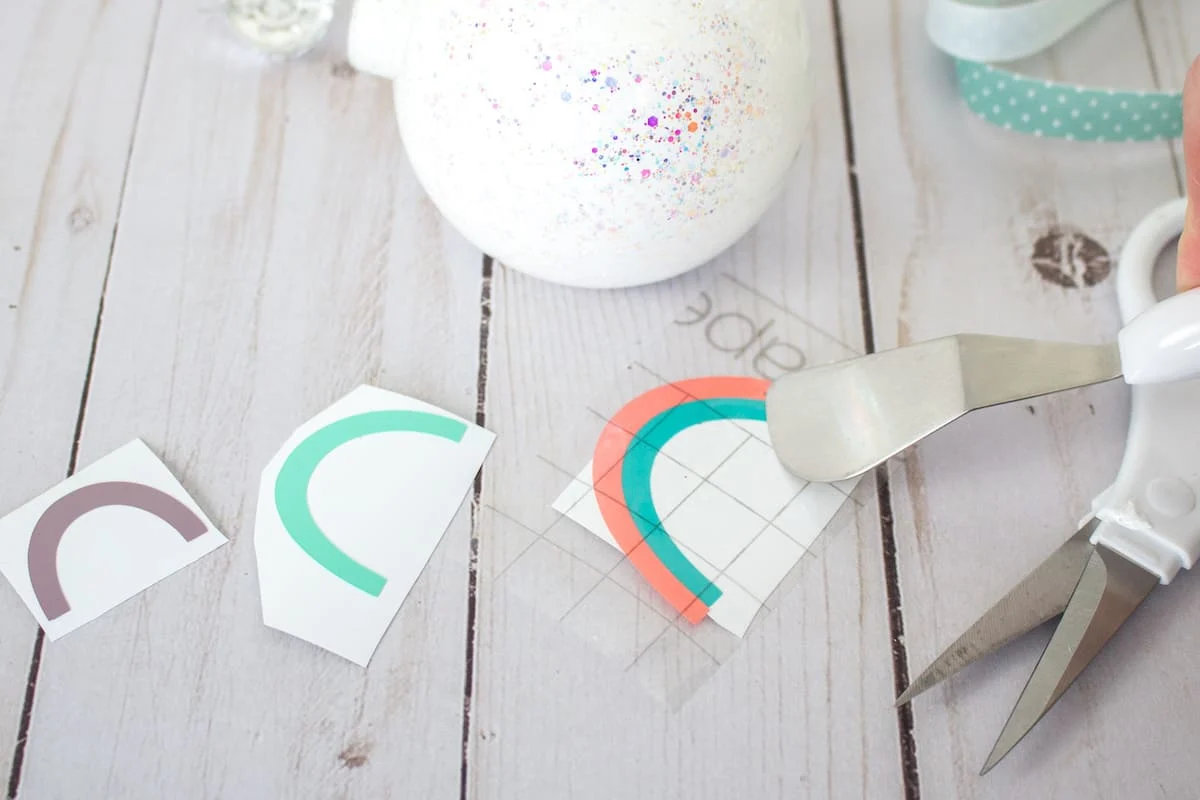
Peel away the vinyl backing, leaving just the image adhered to the transfer tape.
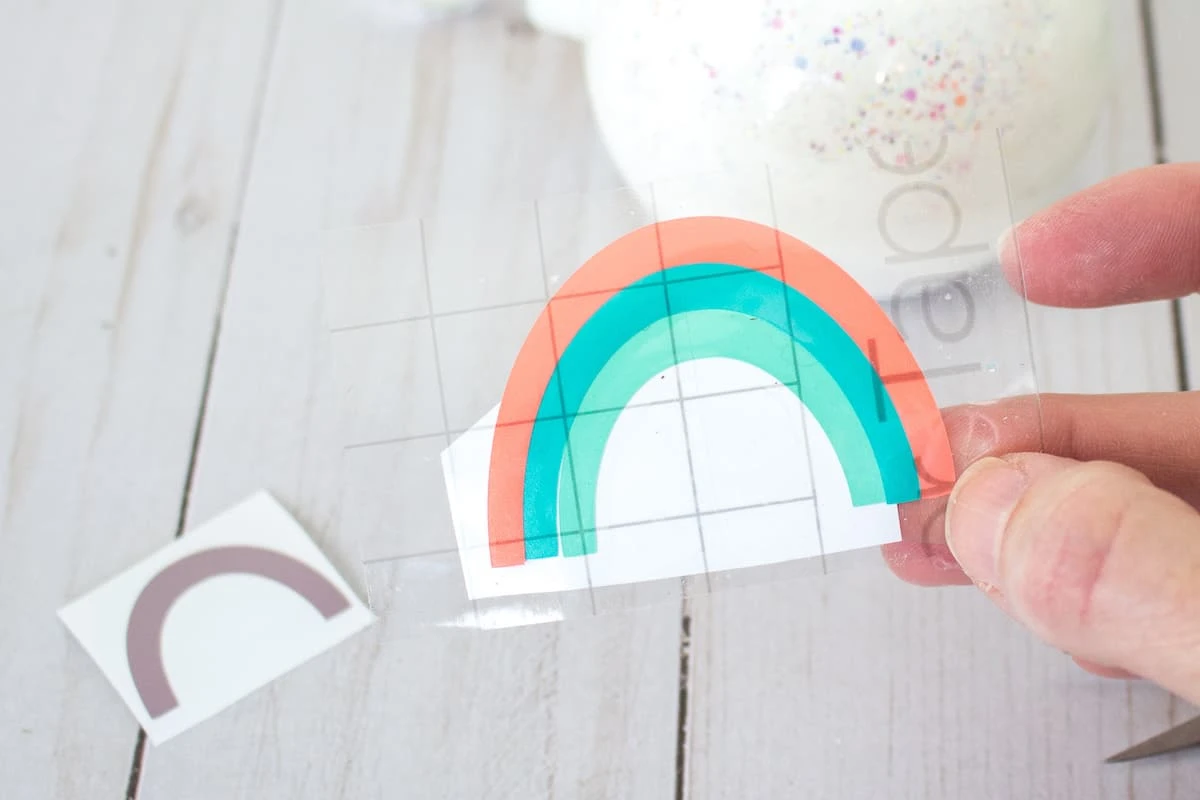
Next, place the transfer tape over the next rainbow arc and peel off the backing.
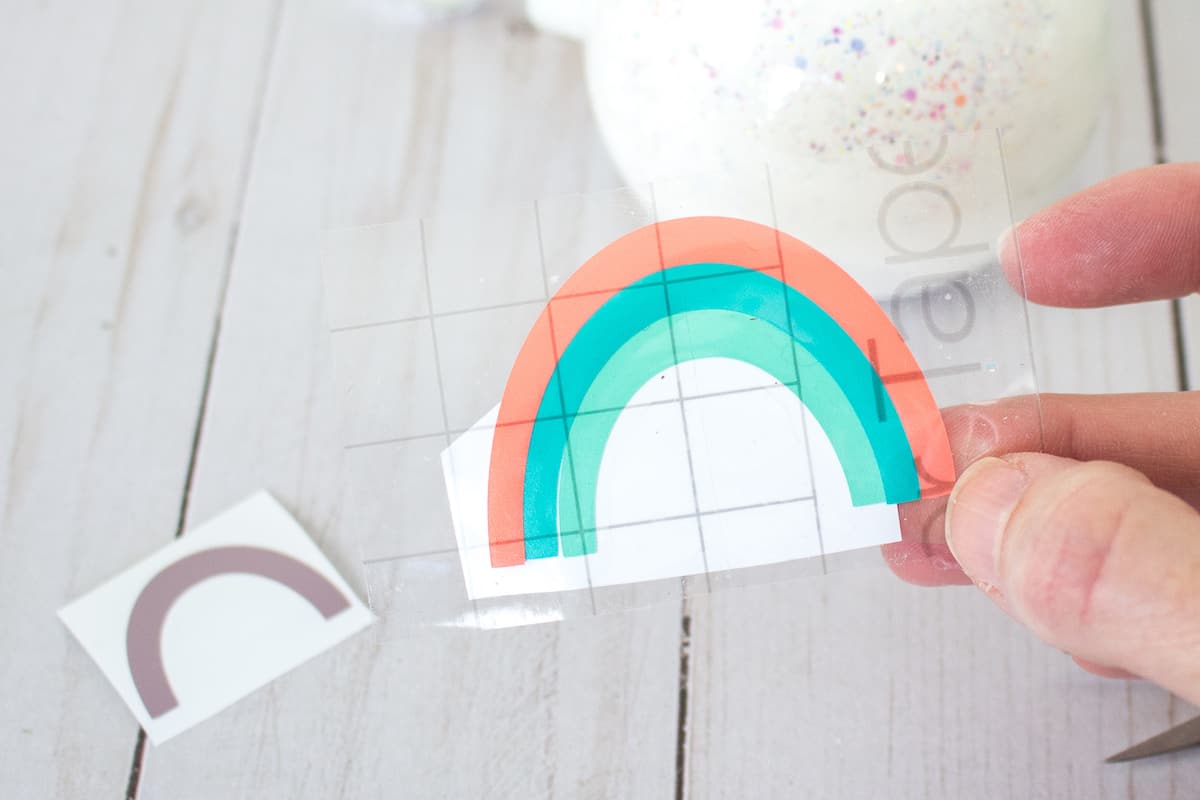
Continue with the remaining rainbow arches until all are attached to the same piece of transfer tape.


Clip the center of the transfer tape towards the center of the rainbow. This will allow you to bend it easier. Place the image on to the center of the ornament.

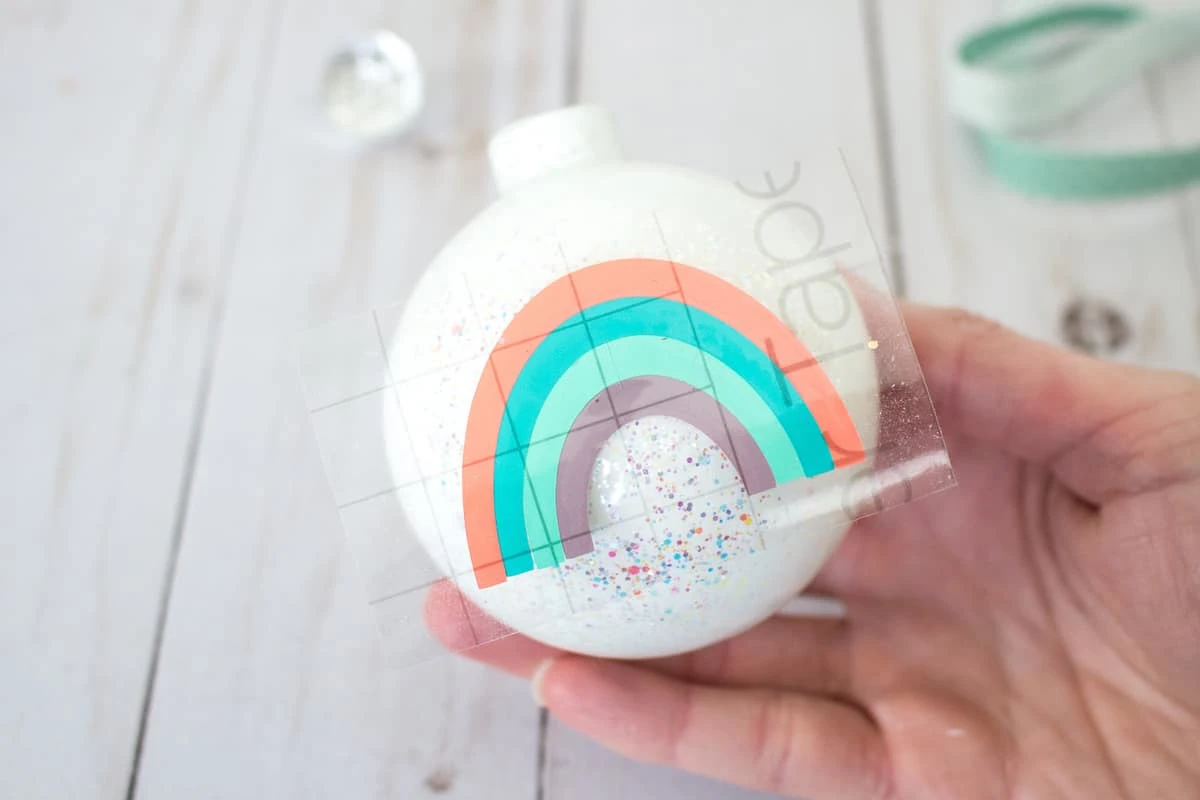
Press the rainbow vinyl on to the ornament and peel away the transfer tape. Gently work out any bubbles that formed under the vinyl with your finger nails.

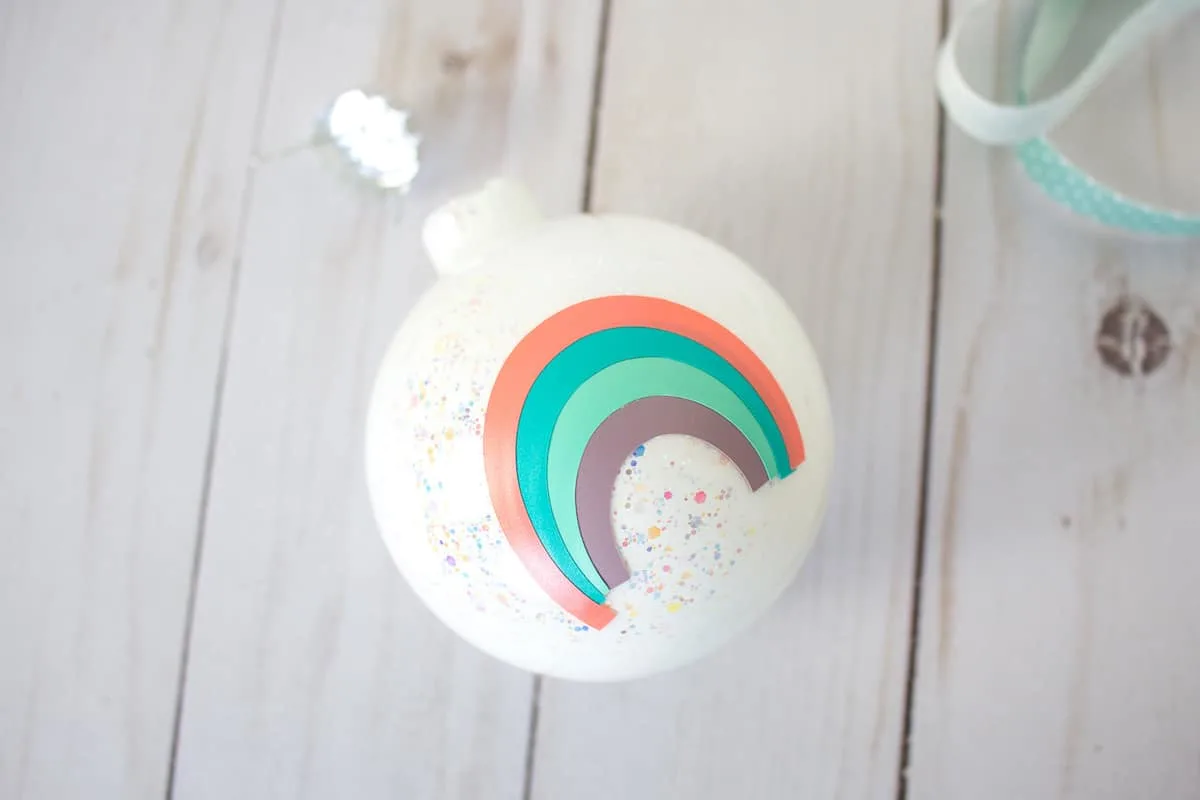
Put the cloud pieces over the ends of the rainbow, covering any edges that are uneven.
Reattach the ornament caps and tie a piece of decorative ribbon to the top of the ornaments.

Looking for more DIY ornaments? Check out these tutorials:
- Personalized wooden house ornament
- Wood slice ornaments
- Gnome ornament
