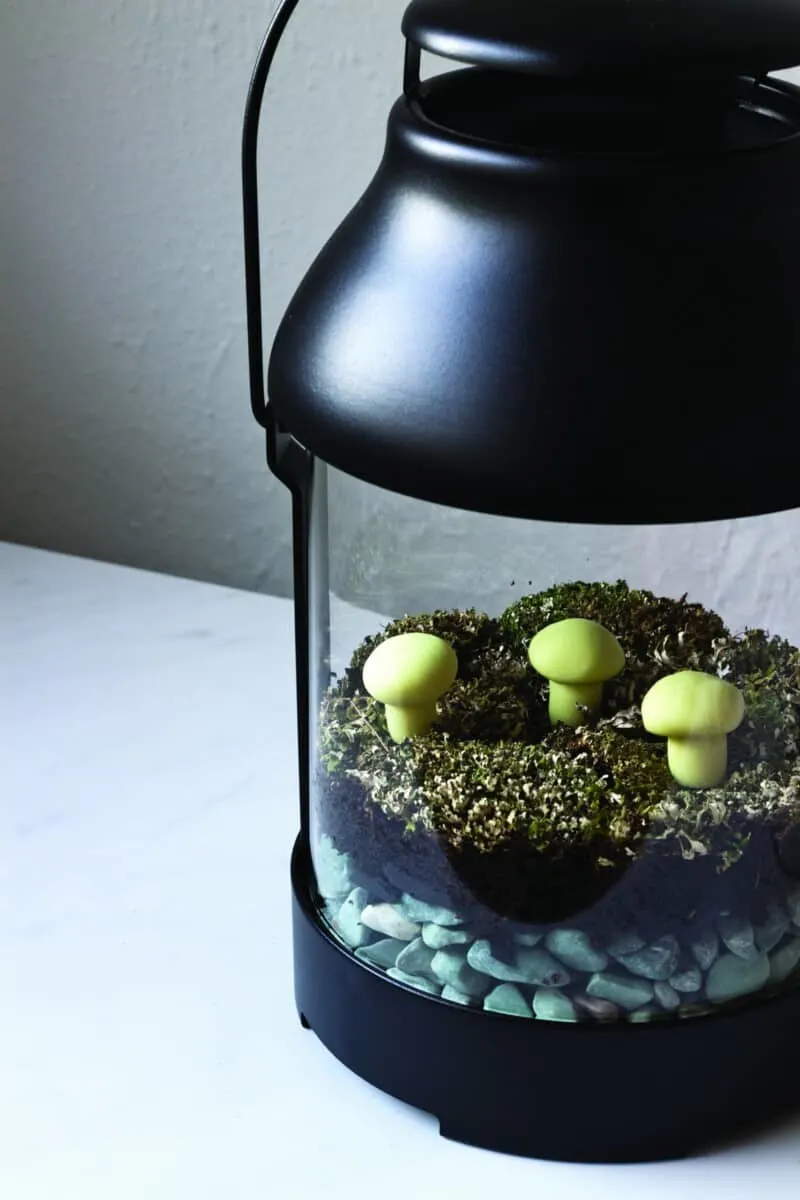
I love this lantern terrarium with moss. It is one of my favorite IKEA hacks!
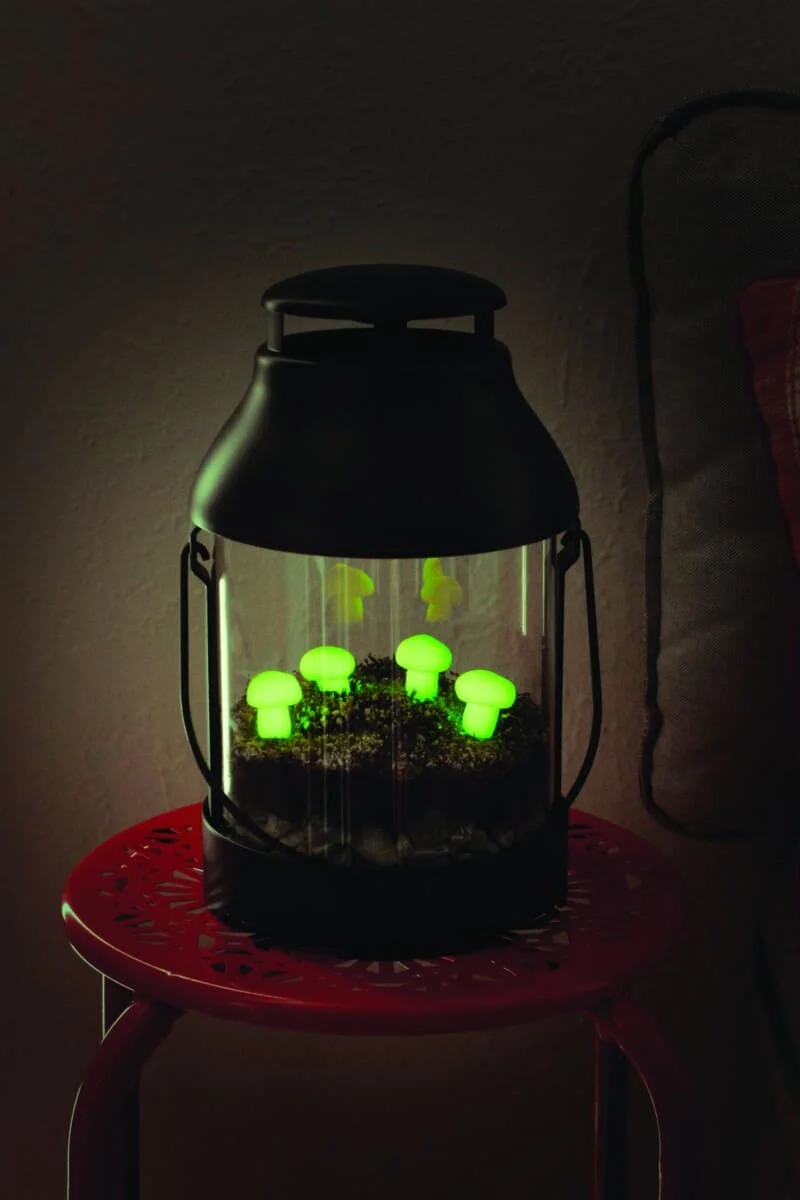
The moss terrarium has fun luminescent clay mushrooms that light up at night. Which makes this a cute terrarium to keep on a porch or in a bedroom as a night lite. Imagine it in a cabin in the woods, too!
If you have been scared to try making a terrarium because they look too hard, fear not. Here’s a creative terrarium idea that you can’t mess up!
This project is actually one of the many ideas in Creative Terrariums, a beautiful book filled with fun DIY Projects.
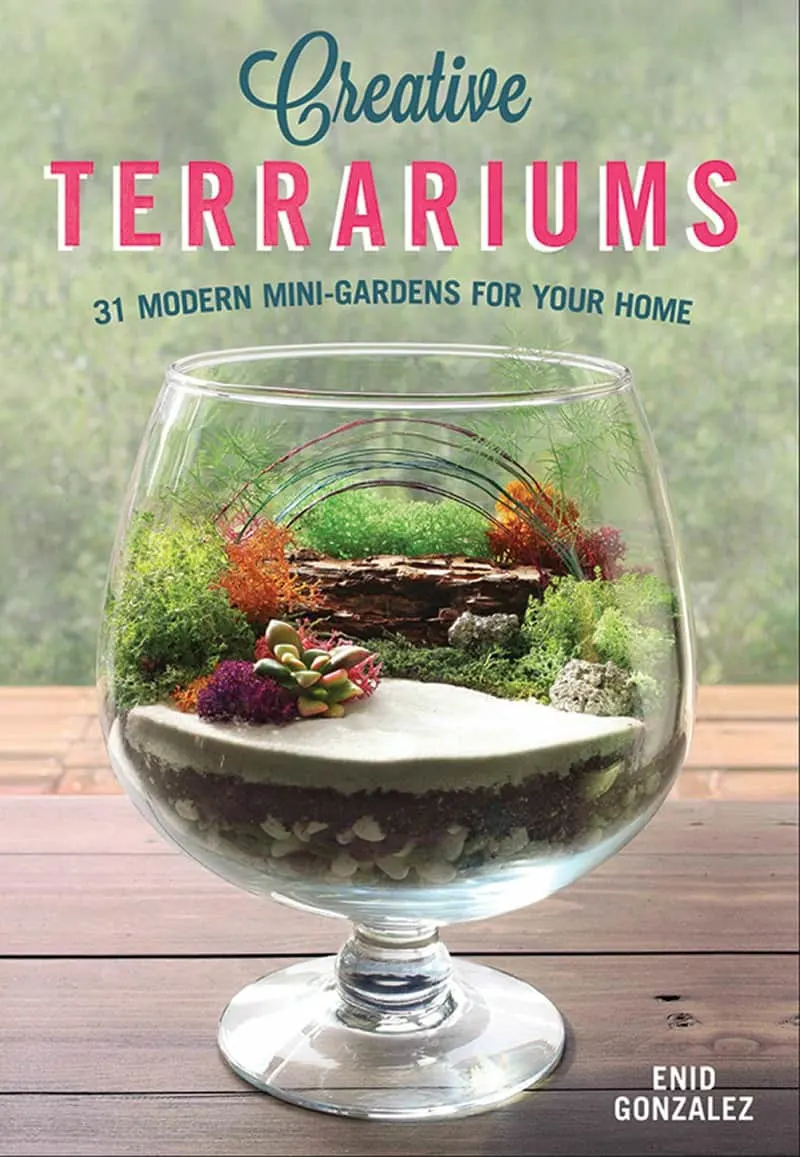
I asked Fox Chapel Publishing if I could share one of the super cute terrarium ideas that is featured in Creative Terrariums. And they happily said yes! So I’m thrilled to share this tutorial with you for the Green Lantern terrarium.
How to Take Care of Terrariums
This is the beauty of terrariums – they are so low maintenance!
Terrariums are self-sustaining living ecosystems inside a sealed glass container. The humidity that develops inside the sealed container is exactly what keeps the tropical plants alive with little care from you.
While terrariums are low-maintenance, there are still a couple of things to keep in mind.
- First, you’ll need to mist the plants once a week to add additional moisture. You don’t need to pour water on them, just mist them with a spray bottle.
- Second, it’s never a good idea to put a terrarium in direct sunlight. The rays of the sun going through a glass container create a super hot atmosphere that will fry your plants.
Svymbersky, the author of the book, says that this Scandinavian-inspired lantern is easy to take care. The lichen used inside just need a weekly misting of water to stay alive. If you forget, you can soak the lichen in water and it will bounce back.
You might also be interested in these DIYs:
How to Make a Lantern Terrarium
Materials
Vessel
- Lantern shown is a black IKEA UTSTRALNING (11 ½ inches high X 7 ¾ inches diamater)
Foundation
- 2 cups peat moss
- ⅔ cup horticultural charcoal
- 4 cups rocks or pebbles (blue river pebbles are shown)
Plants
Decorative Elements (Mushrooms)
- 2 oz. Sculpey III Oven-Bake Clay (Glow in the Dark)
Tools and Materials
- Paintbrush, makeup brush, or other tool with a rounded top
- 4 X 2 inch jewelry eye pins (or floral wire)
Instructions
1. Wash the river rocks in warm, soapy water and let air dry.
2. Mold mushrooms out of clay. To make the mushroom cap, break off a piece that is one-third the size of one brick of the Sculpey clay. Roll the clay in the palm of your hands until you have a ball.
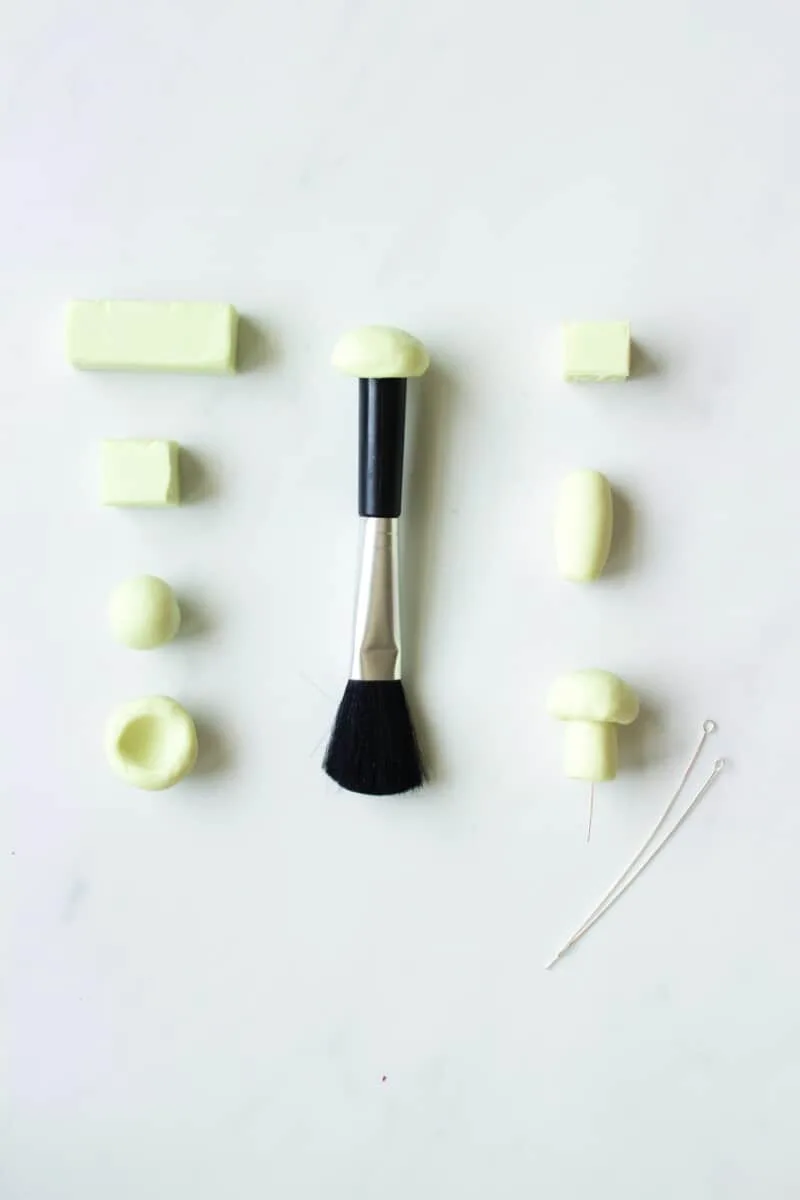
Place the clay ball over the top handle of a brush (or other object) and use your fingers to mold the clay to look like a mushroom cap. Gently remove the clay and set aside.
To make the stem, cut another one-third of the clay brick and roll back and forth between the palms of your hands until you have what looks like a mushroom stem. Use your fingers to flatten the top and bottom of the stem.
Add the mushroom cap to the stem. To secure the mushroom cap and give a way to anchor the mushroom to the lichen when you assemble the terrarium, use a jewelry eye pin or floral wire. Press the eye pin into the stem until you reach the mushroom cap.
Make a total of four mushrooms.
Place the mushrooms on a non-stick pan and bake in the oven according to the label instructions. Average time is about 15 minutes at 275°F.
3. Create the drainage layer. Generally, the layer serves as our water reservoir. However, there is no need to drench lichen with water, which means this will be more of a decorative layer.
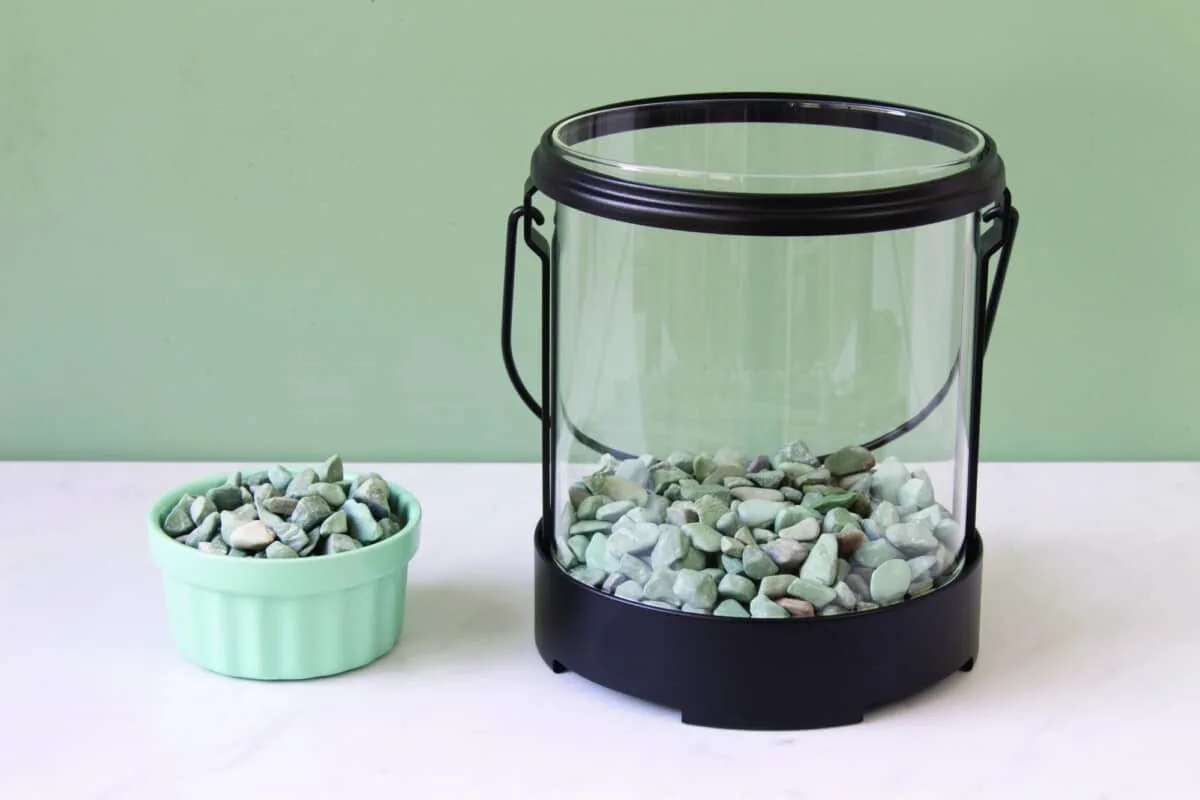
Fill with any type of rocks or decorative pebbles you wish. Gently pour rocks into the lantern and then pick up the lantern and give it a good shake to create an even layer.
4. Create a Filtration Layer. Add in your horticultural charcoal so that it just covers the river pebbles.
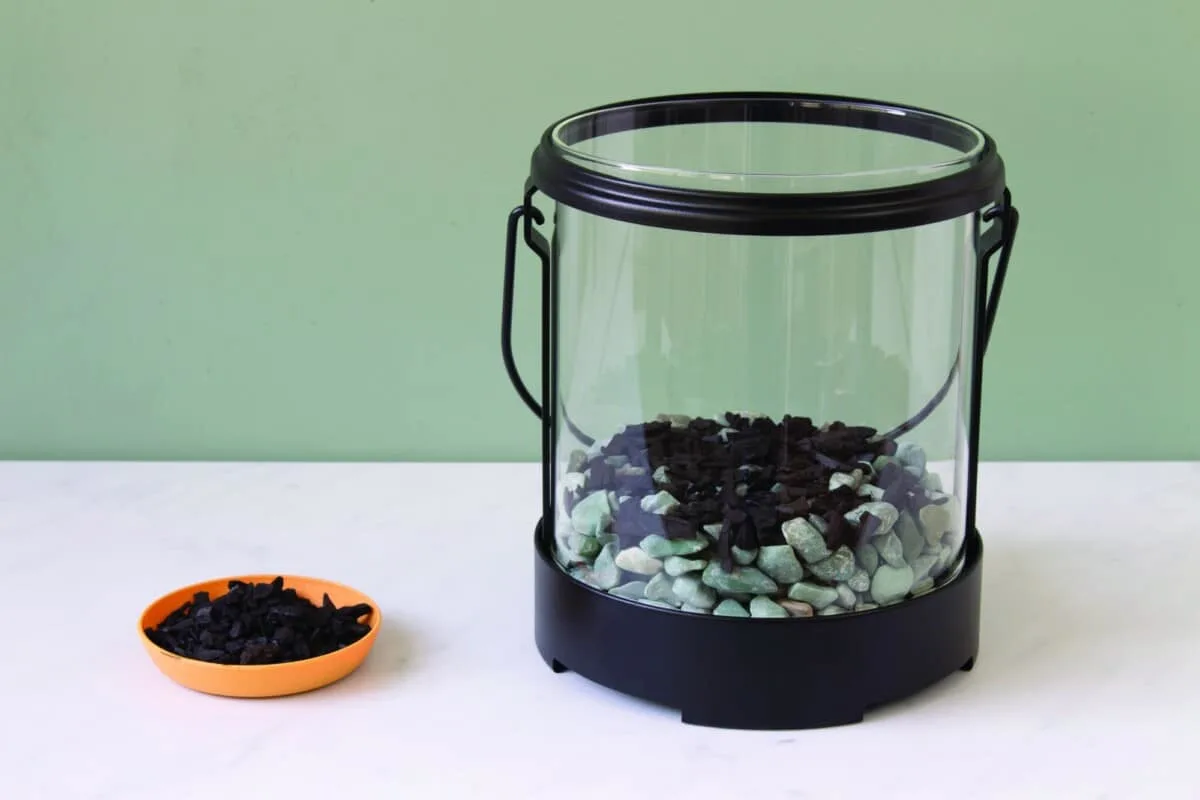
The charcoal will serve to keep the foundation layer fresh and fight off any chance off mold.
5. Add the foundation layer. As with moss, a slightly acidic soil is preferred with the lichen. However, potting soil will do just fine.
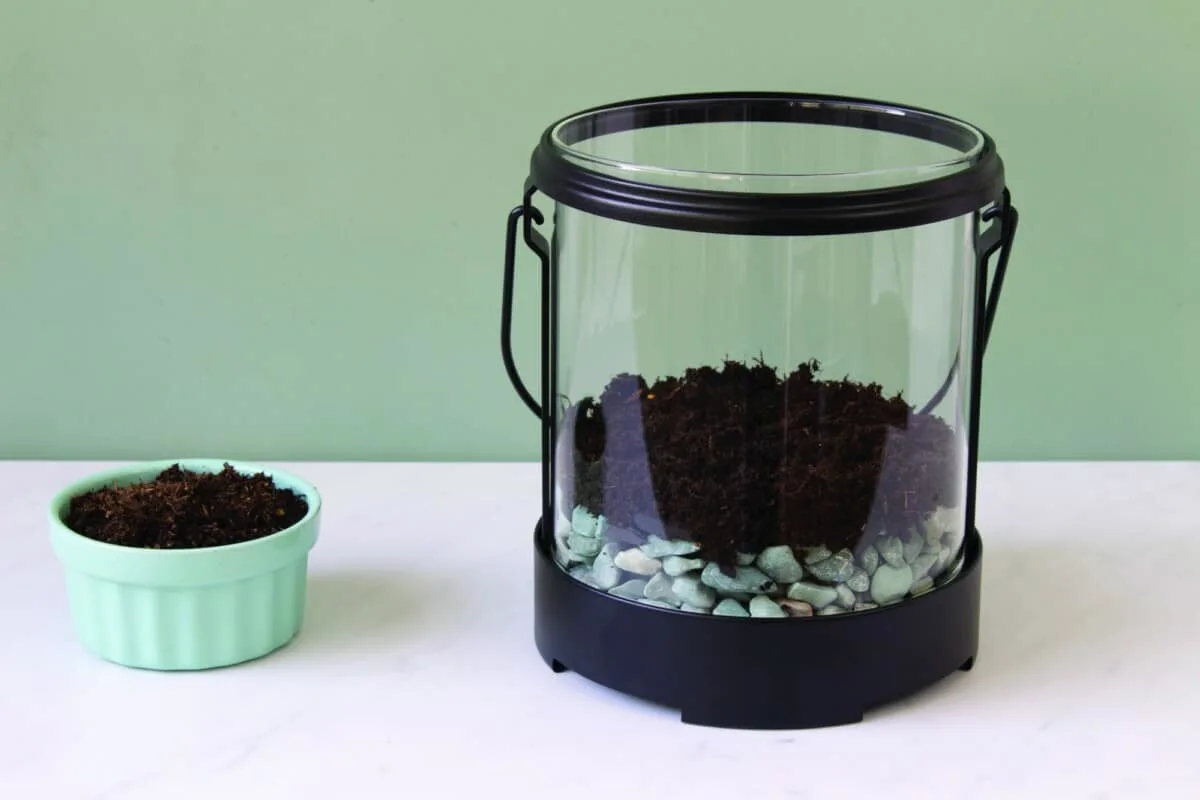
Fill with peat moss soil mix to about one inch in height.
6. Arrange lichen inside the vessel. Lichen generally comes in small mounds. Place the mounds over the soil and arrange them so that there is no space left between them.
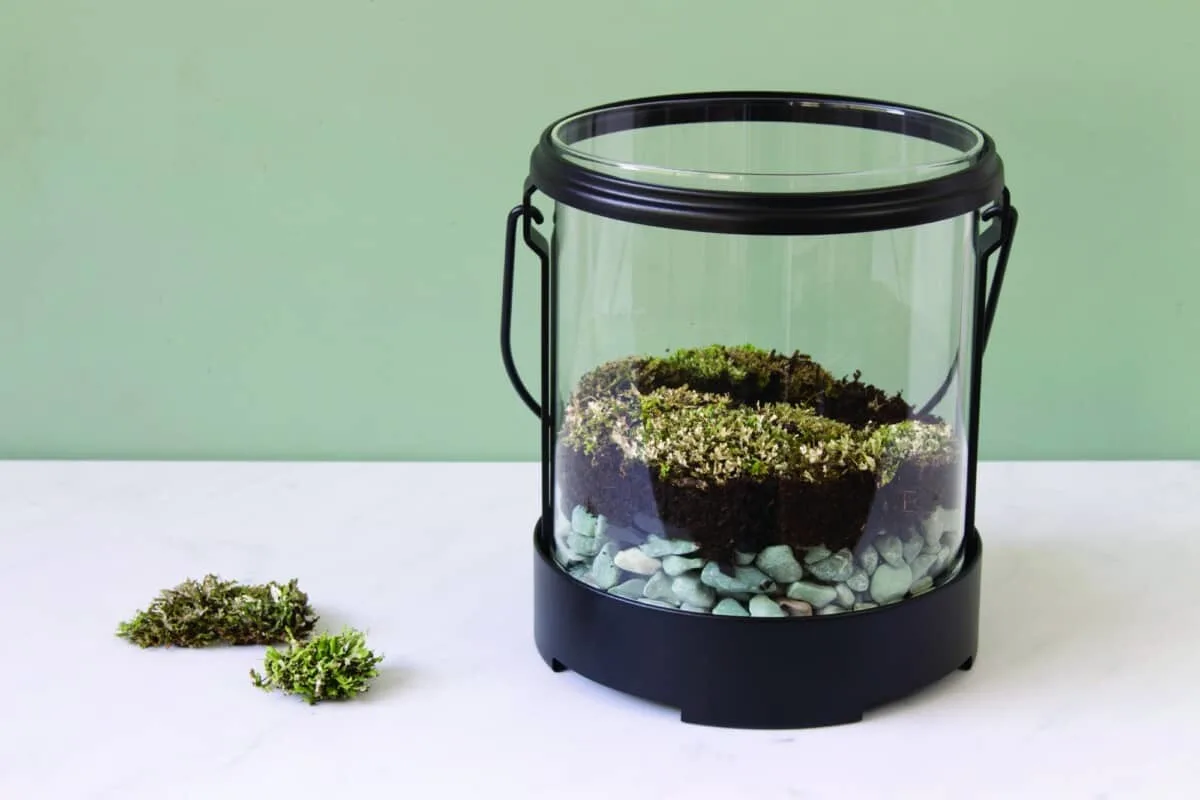
Firmly press down on the lichen to avoid any air pockets, which could lead to unwanted bacteria.
7. Arrange mushrooms. Place your clay mushrooms in the scene by pressing the wires and stems down into the forest floor. Add as many or as little mushrooms as you’d like.
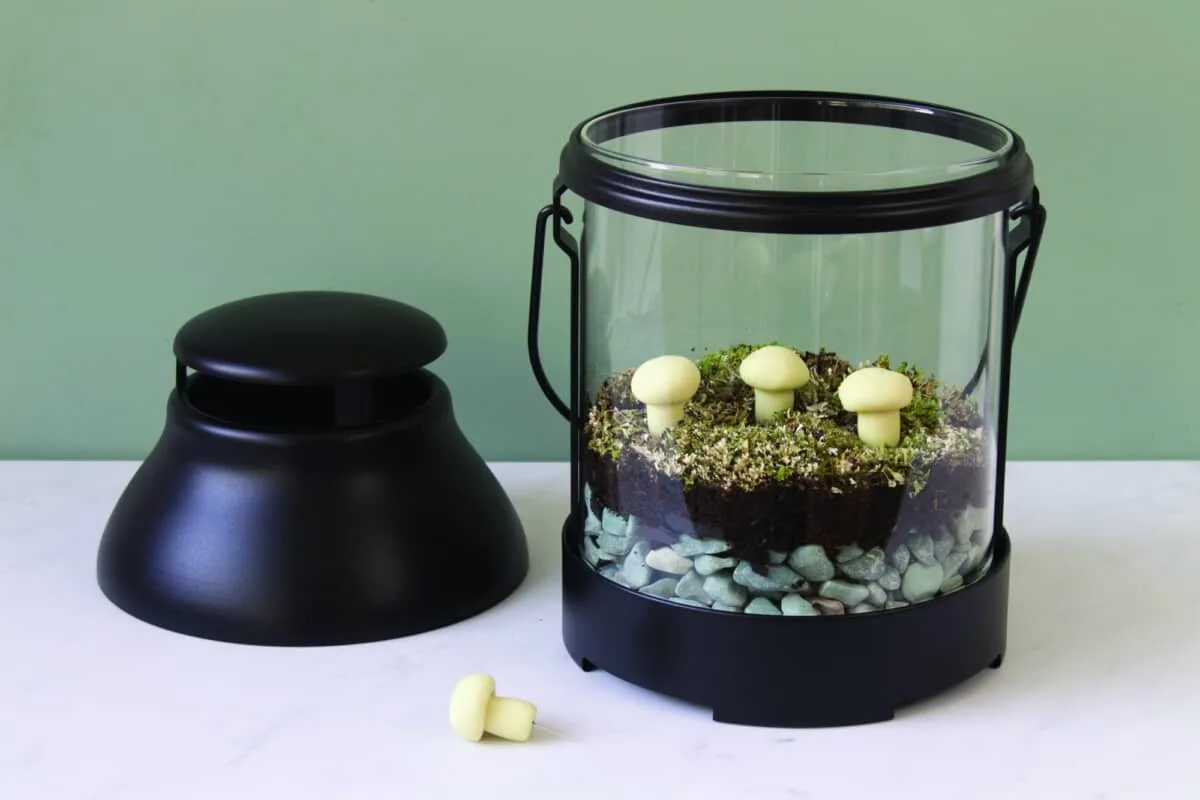
How to Get the Mushrooms to Glow
This clay is awesome for glowing in the dark. But it does need to be recharged to keep the lights glowing at night.
Just open the top of the lantern and hold the terrarium under a light source for a few minutes. This can be sunlight or a bright lamp.
In a hurry? Be sure to save this project for later – just Pin It!
This article first appeared on GetGreenBeWell.com.

