


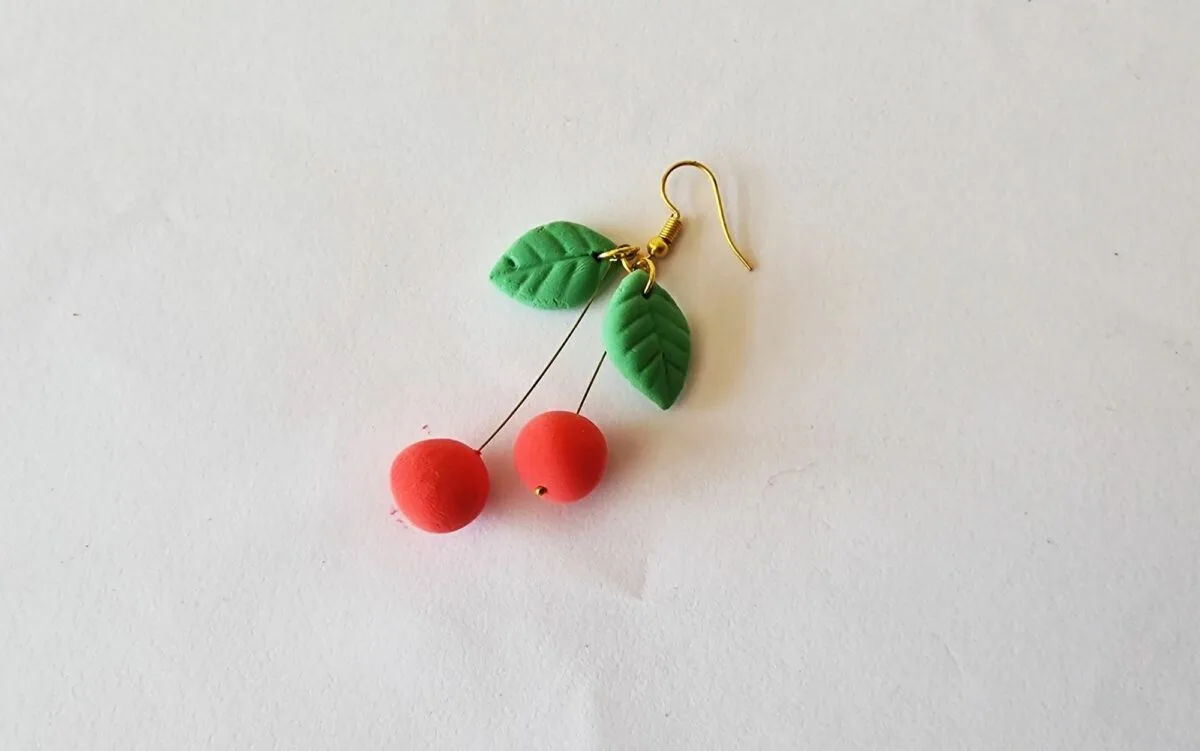
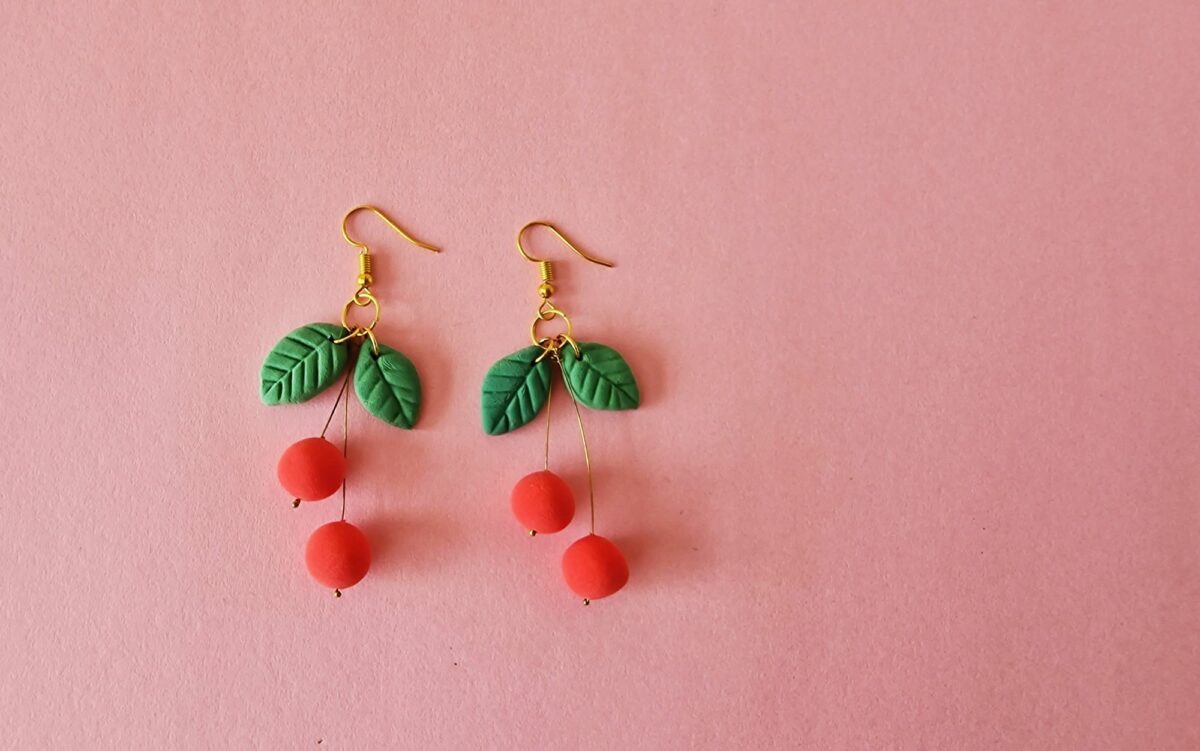
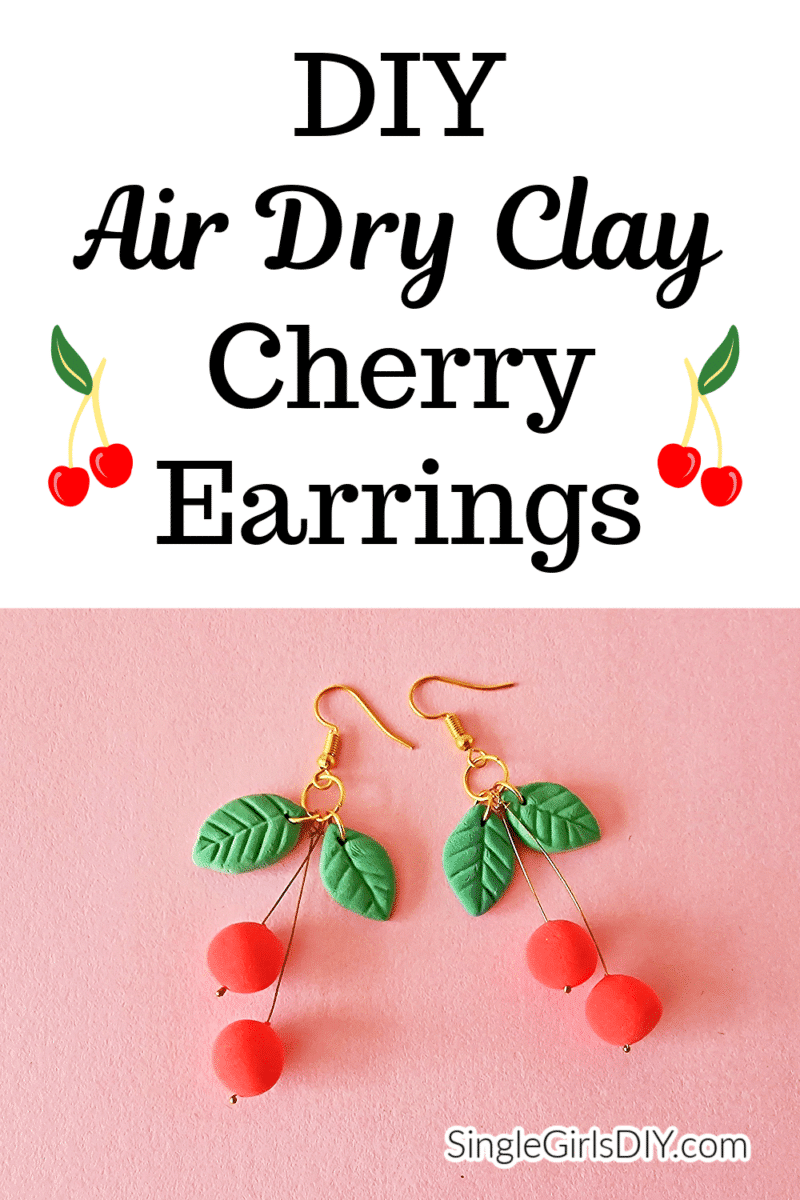
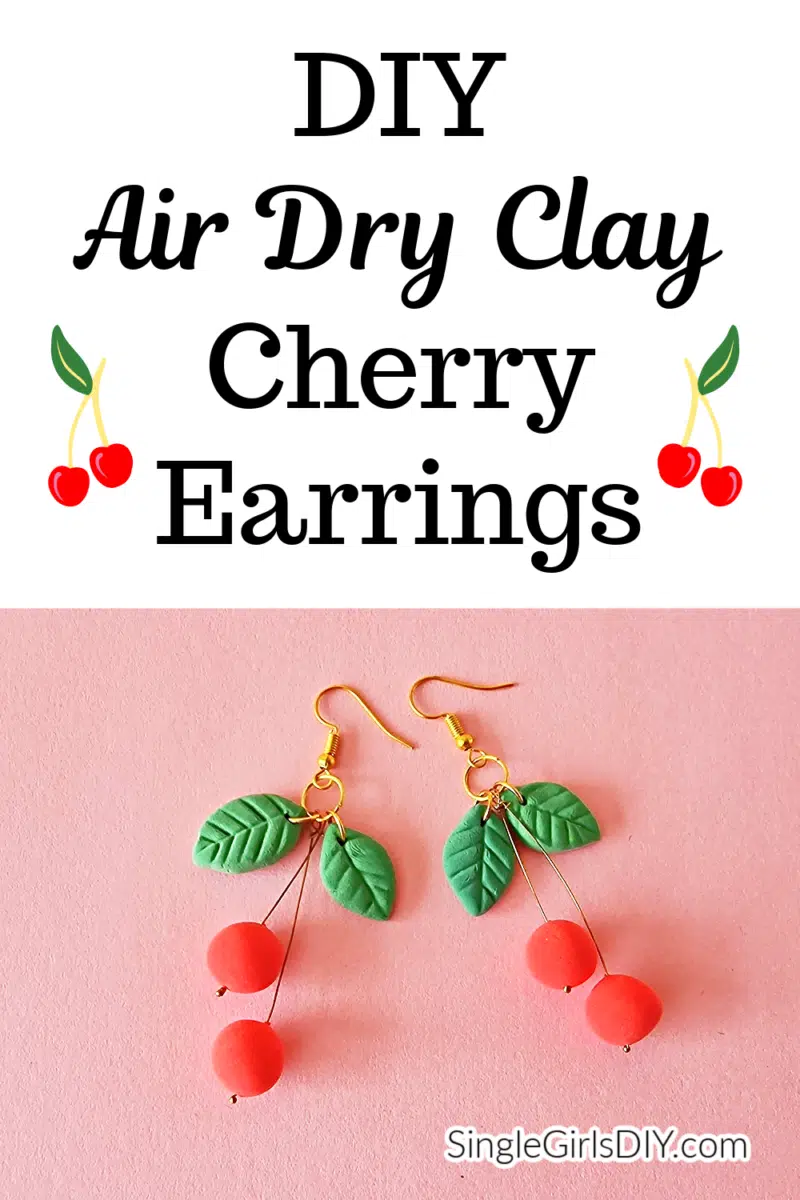
These DIY clay cherry earrings are fun to make with air dry clay or foam clay. A few jewelry making supplies and a small amount of clay are all you need to make custom jewelry.

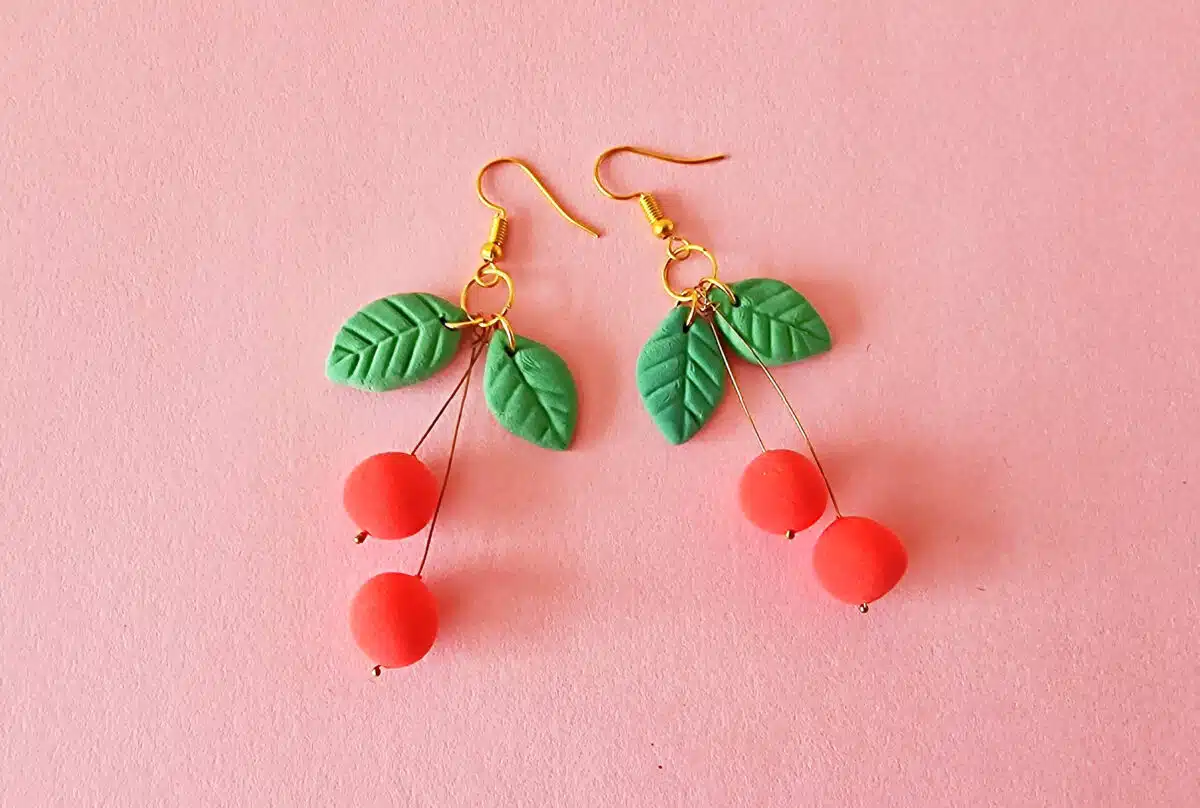
These DIY cherry earrings are perfect to pair with our DIY beaded cherry bracelet!
The same materials are used to make our DIY clay flower earrings, too. You can easily make both sets of earrings.


How to Make Clay Cherry Earrings
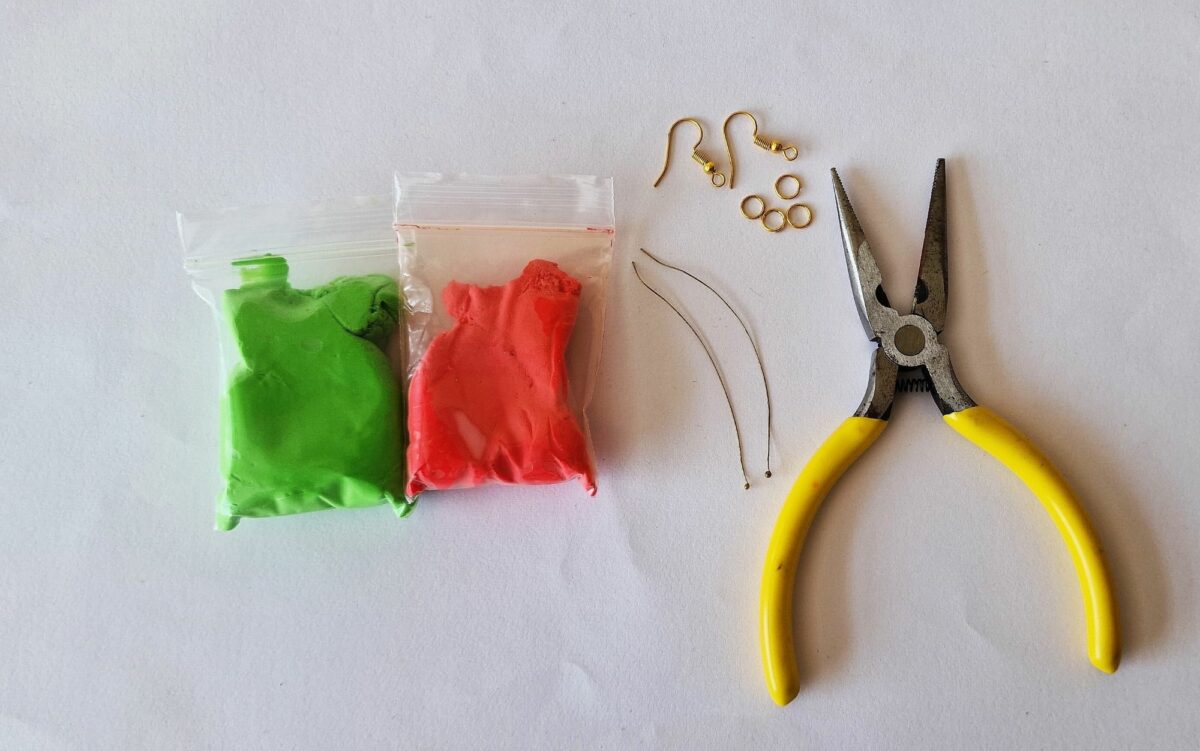
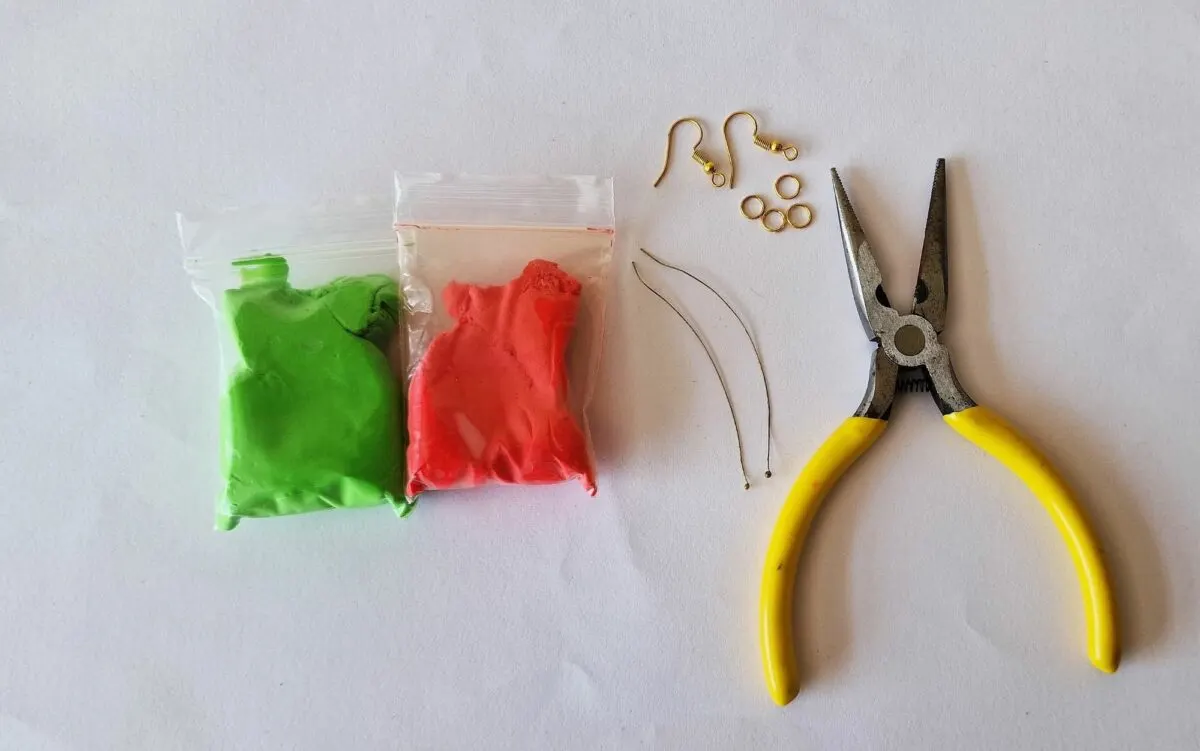
Supplies
- Red and Green Clay (Air Dry or Foam Clay) (Also available on Walmart)
- Clay Tool for Adding Texture (or use a pencil, plastic knife or chopstick)
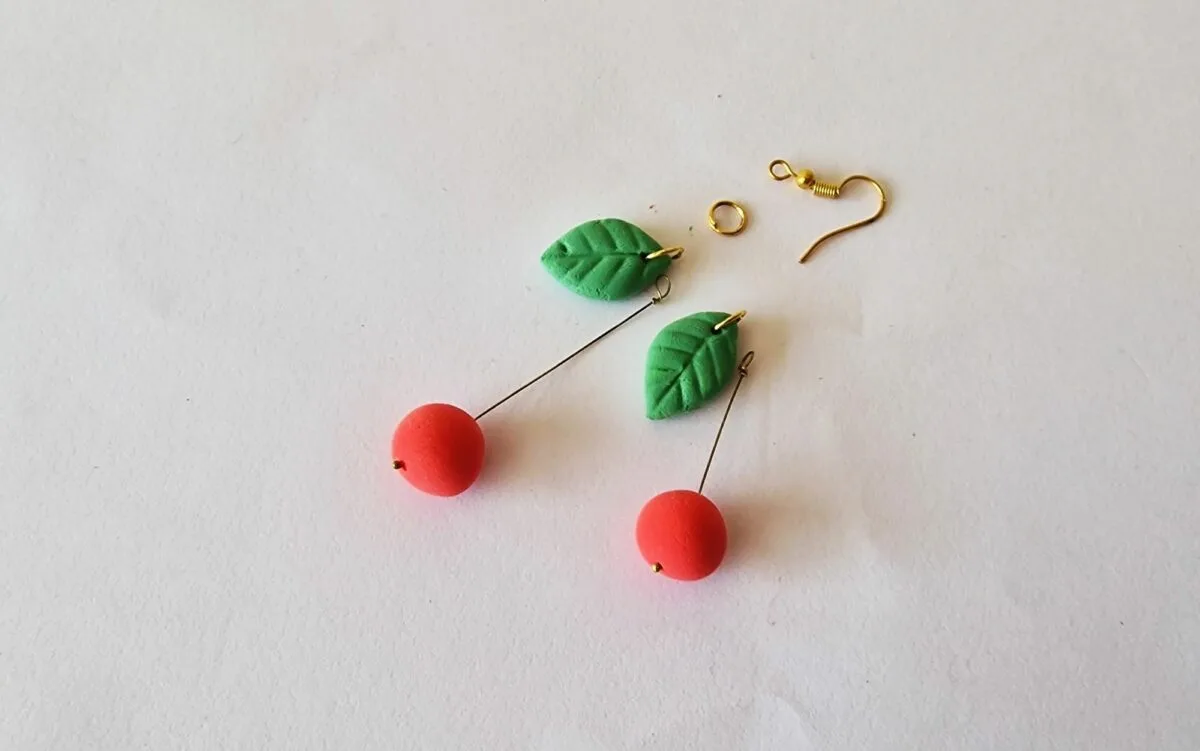
- 2 Pin Head Wires
- 2 Earring Hooks (I suggest this jewelry making kit with hooks AND jump rings)
- 6 Jump Rings
- Jewelry Pliers
Directions
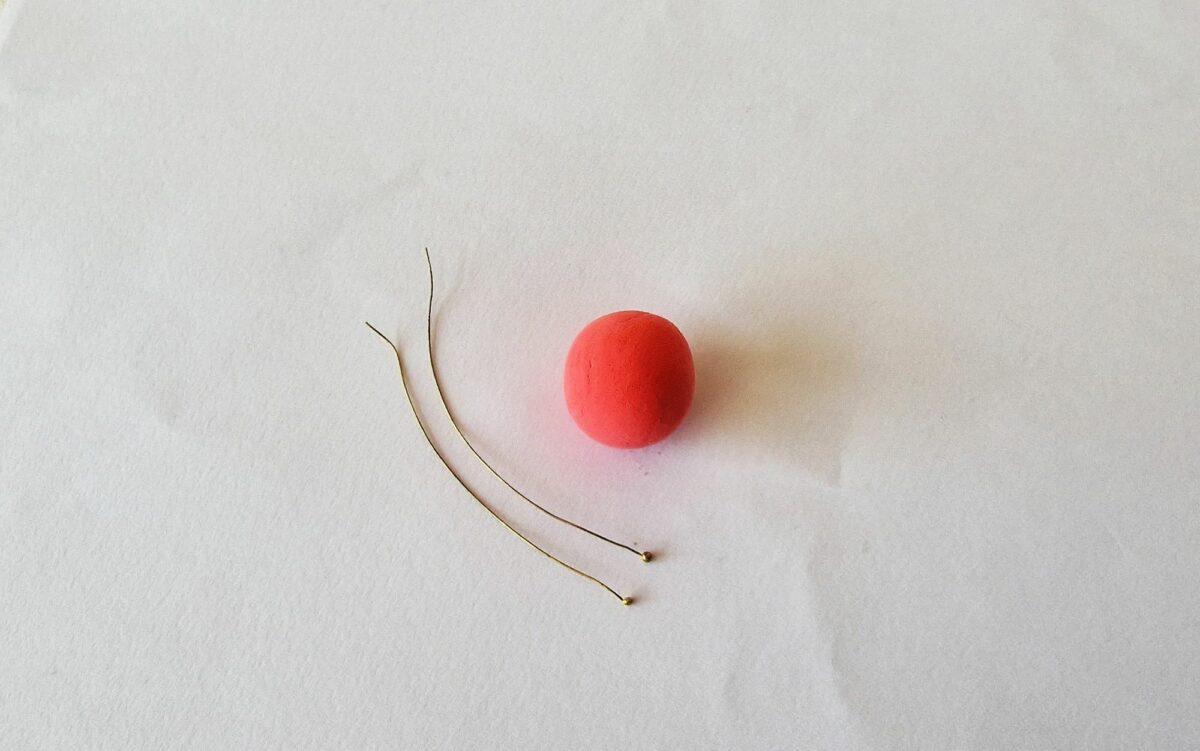
Step 1
The amount of red clay you will need will depend on the size of cherries you want to make.
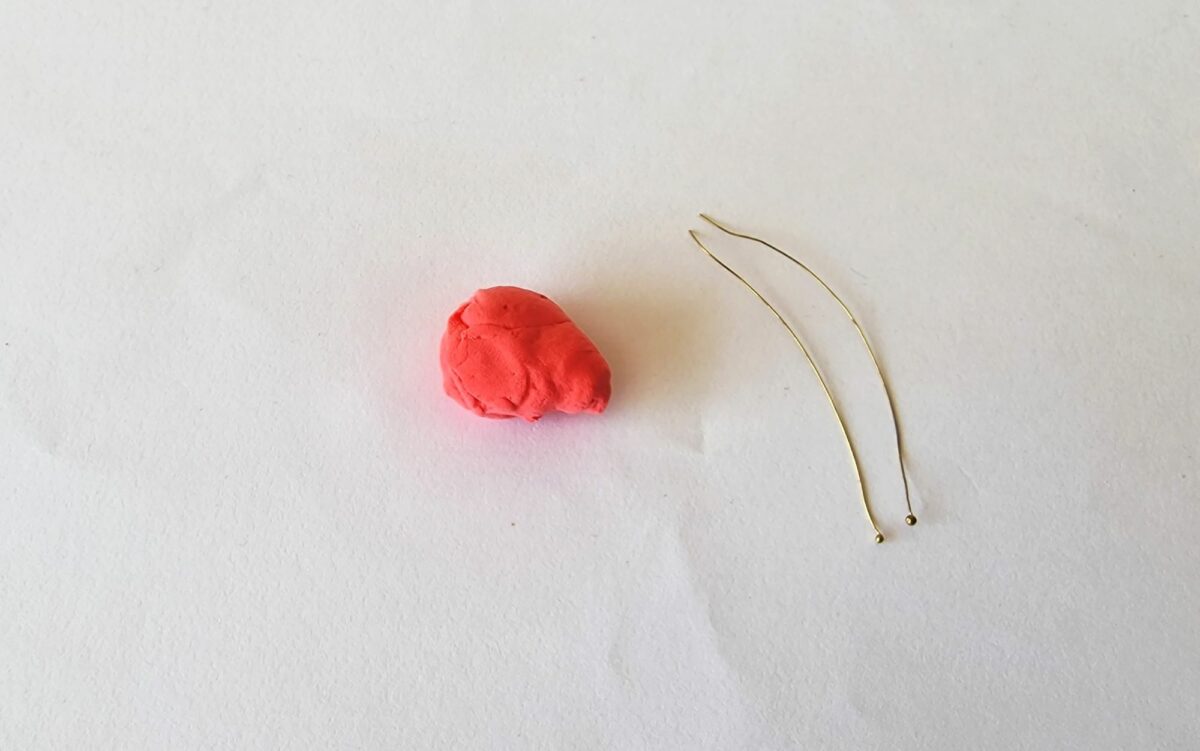

Roll the clay between the palms of both of your hands and form a ball shape.

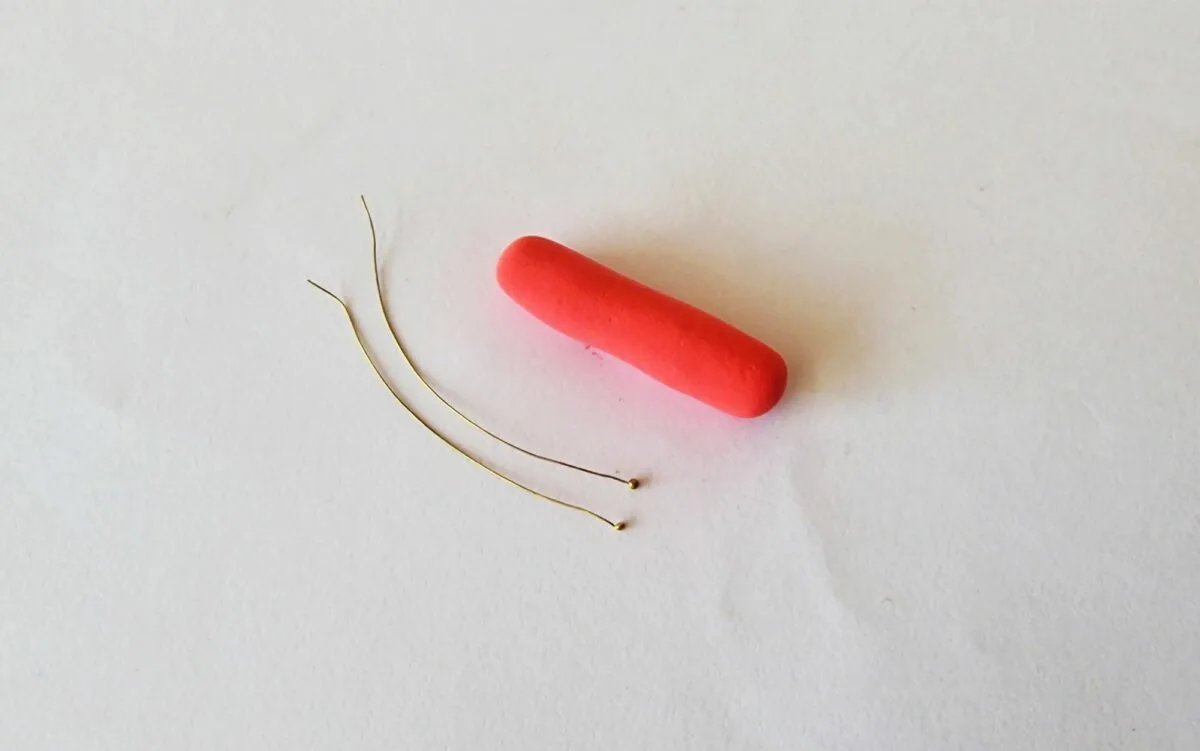
Step 2
Roll the clay ball back and forth on a flat surface to make a cylinder-like shape.

Step 3
Divide the clay into 4 even parts.

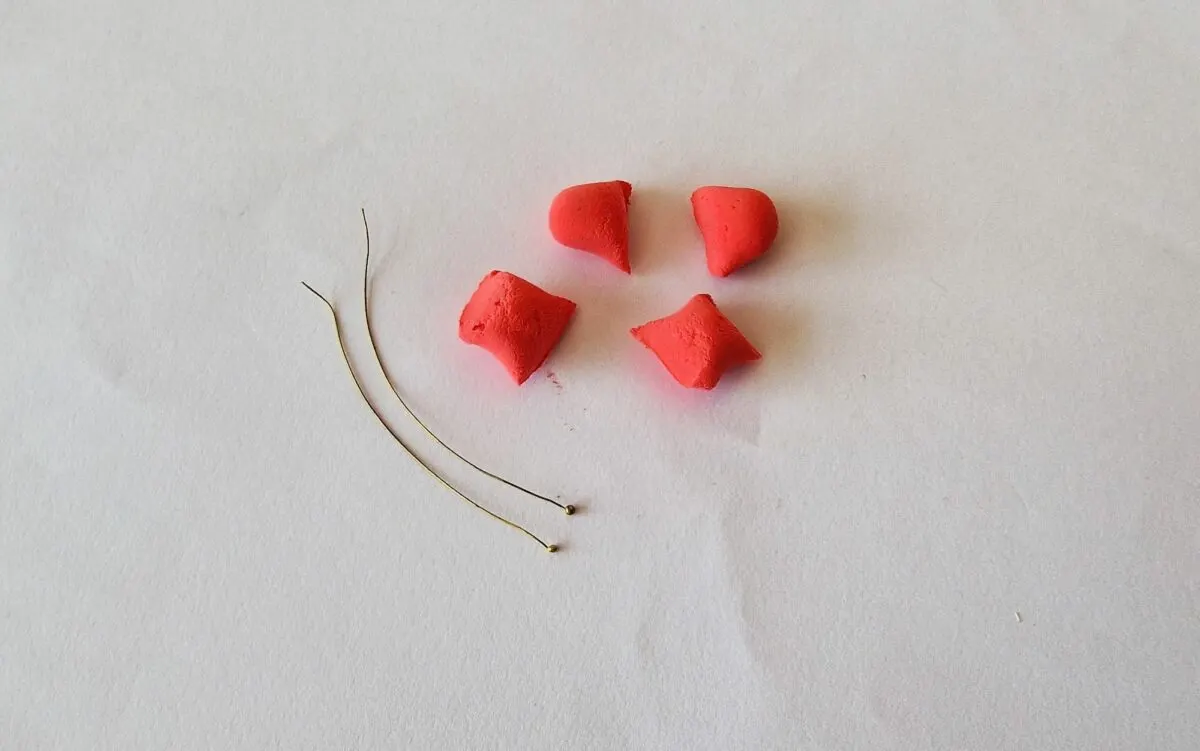
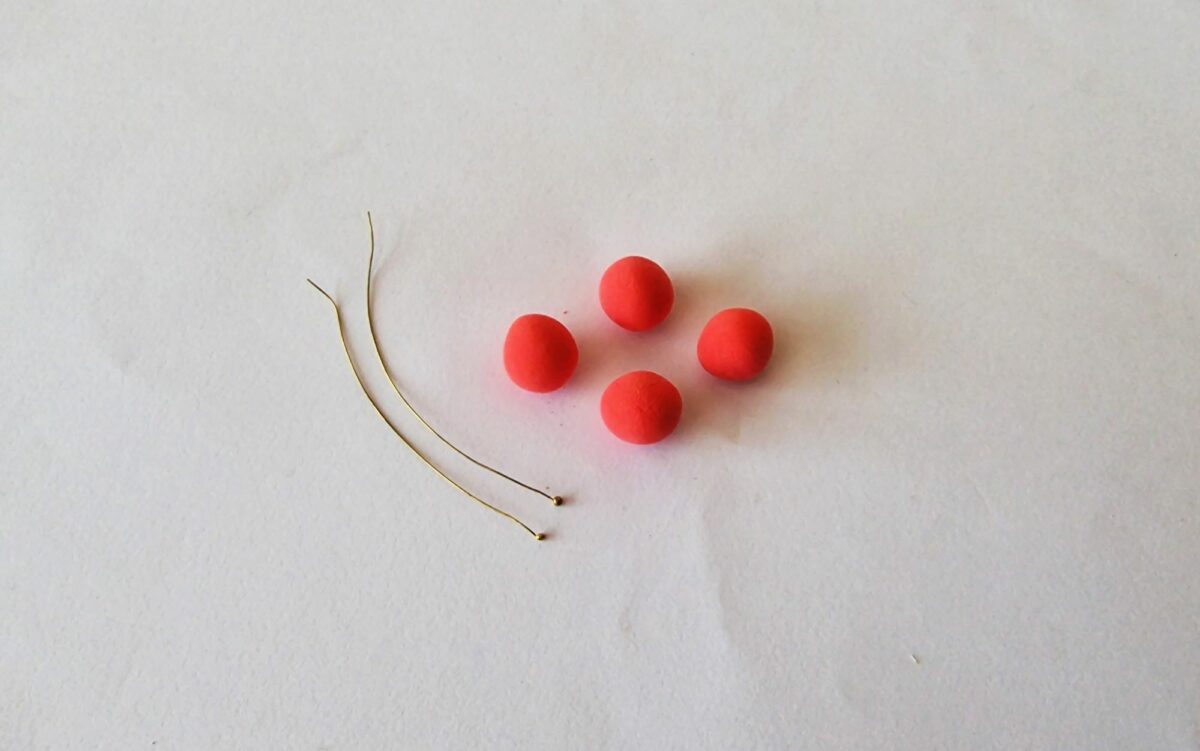
Roll smooth ball shapes in between your palms with each one of the four clay pieces.
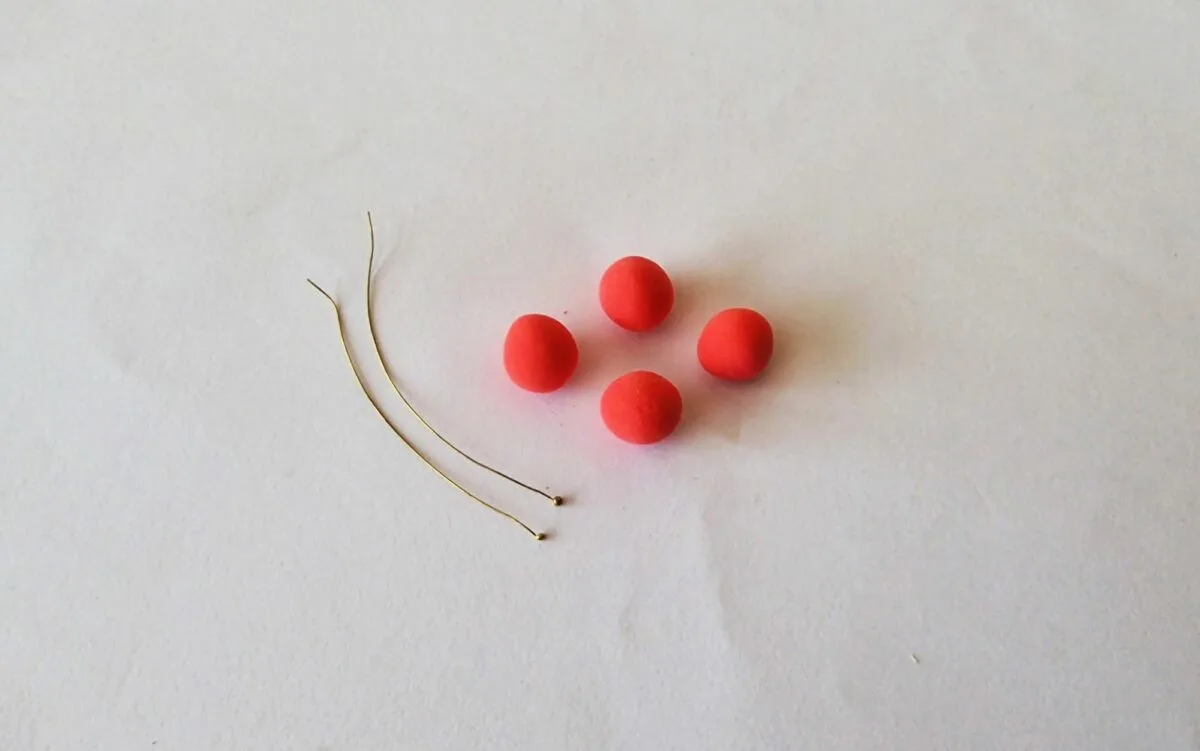
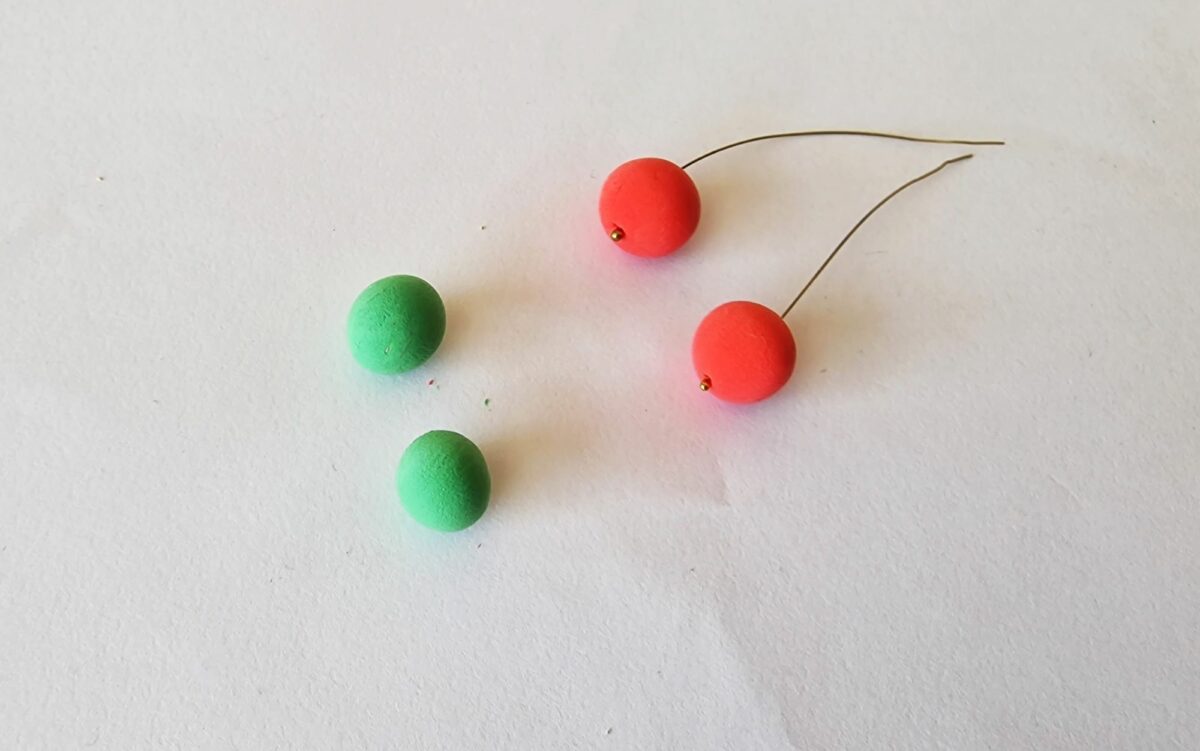
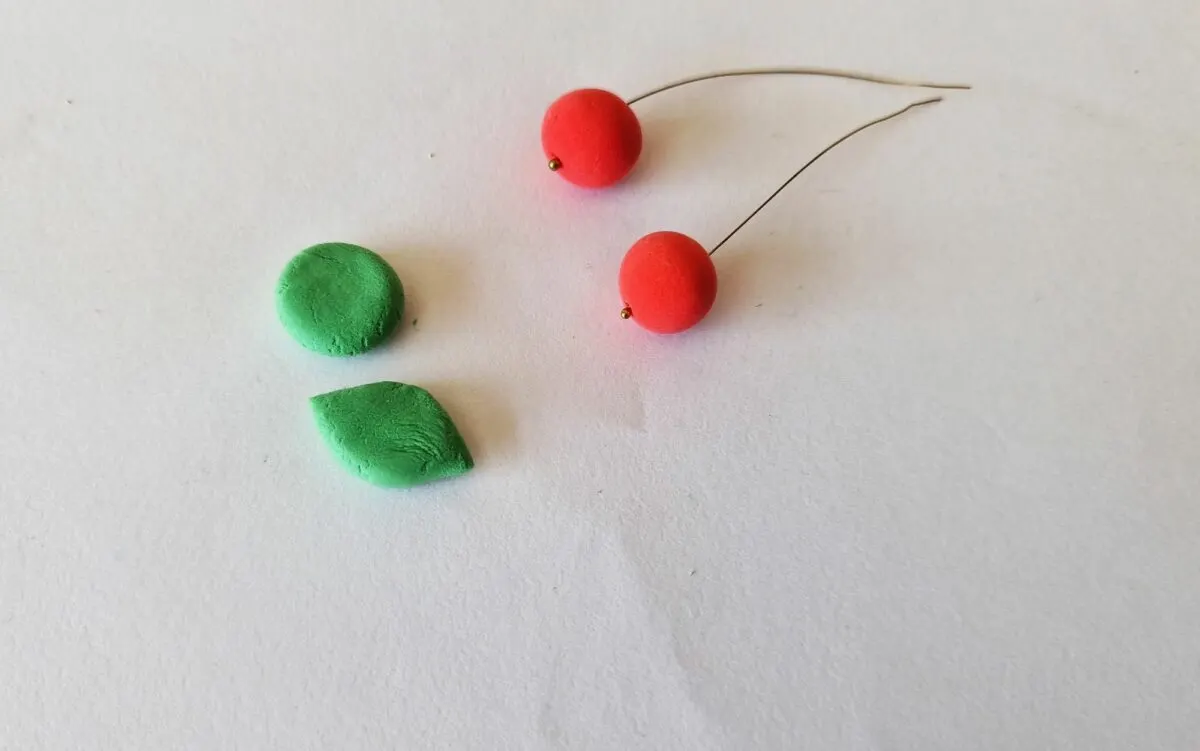
Step 4
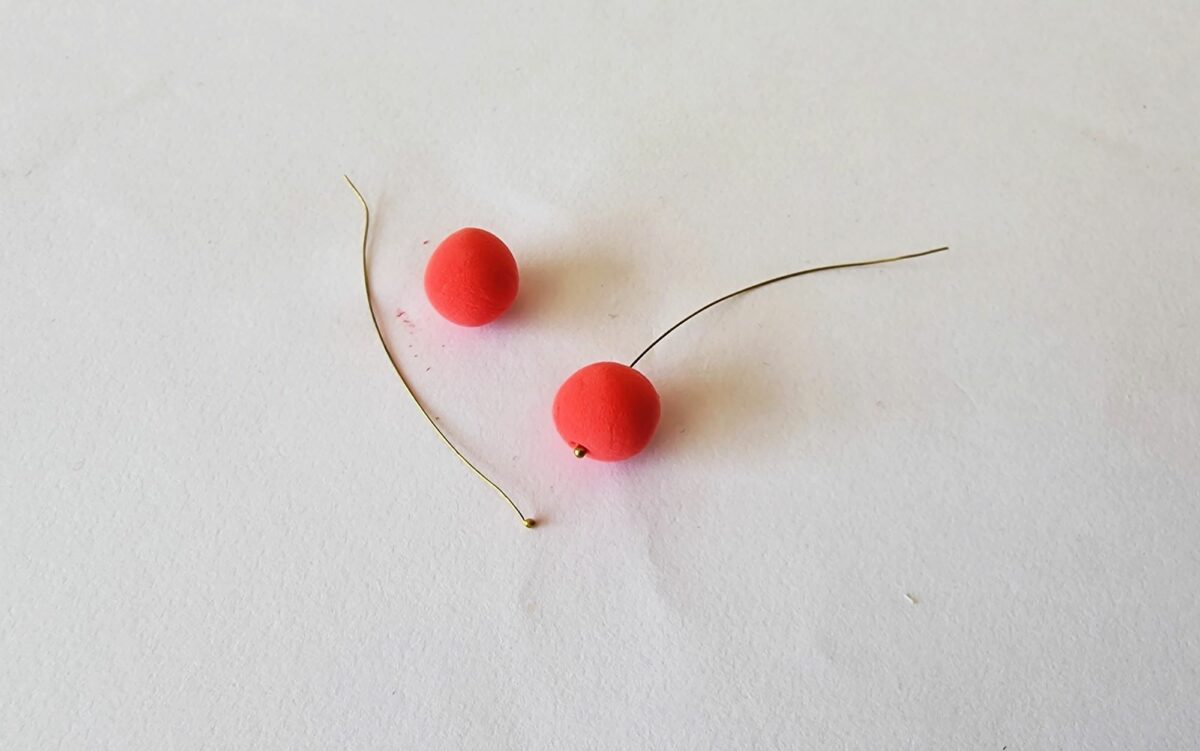
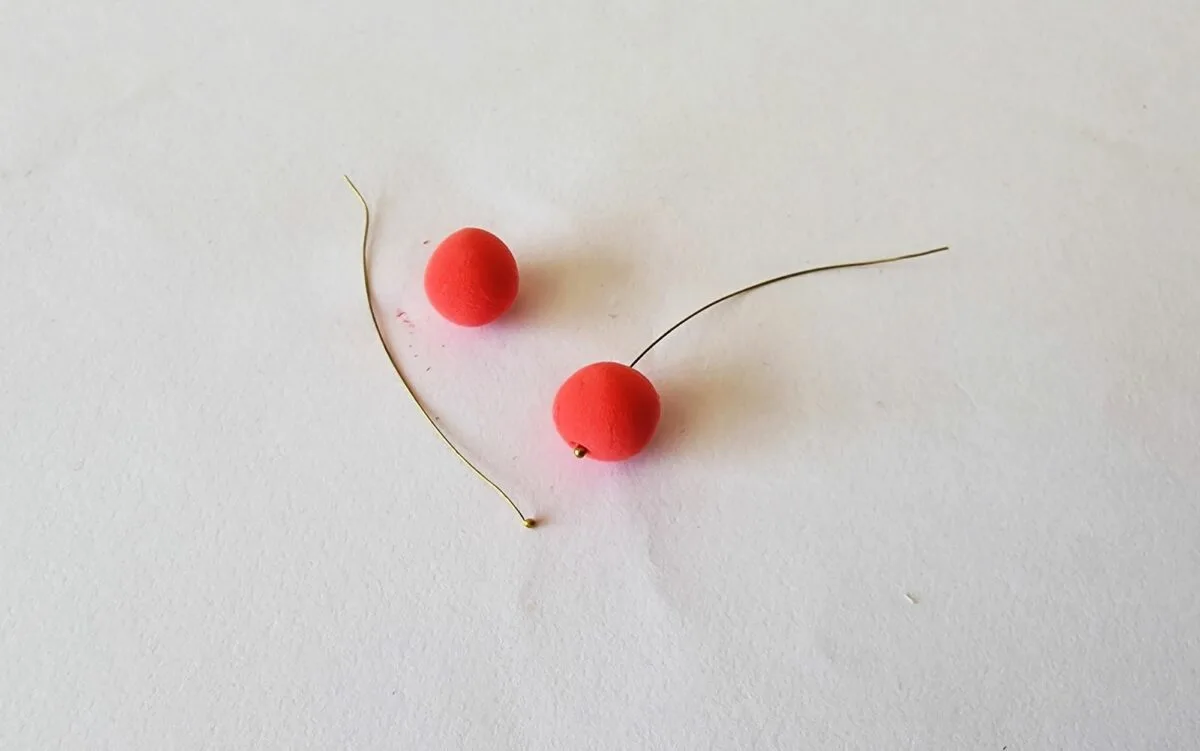
Use one pin head wire and insert it through a clay ball. Push the clay ball all the way to the pin head of the wire.
Repeat with the other pin head wire and a second clay ball.
Step 5
Pinch off a small amount of green clay.
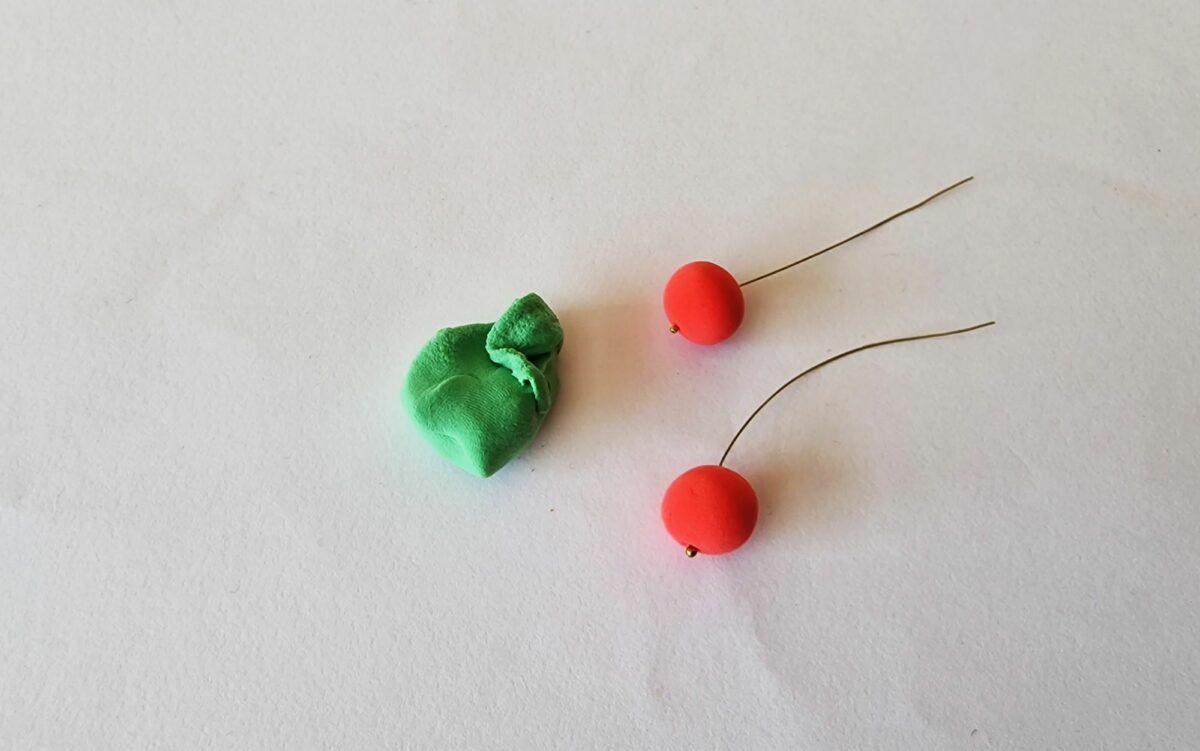
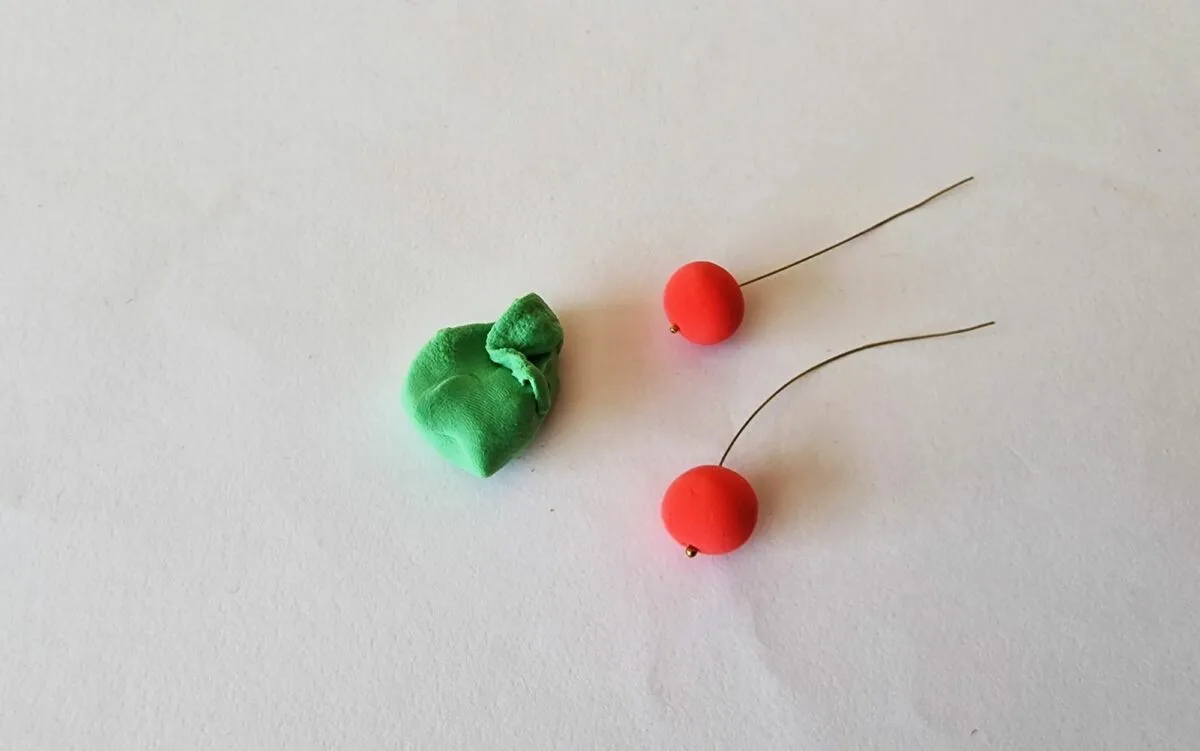
Roll the green clay into a ball shape.
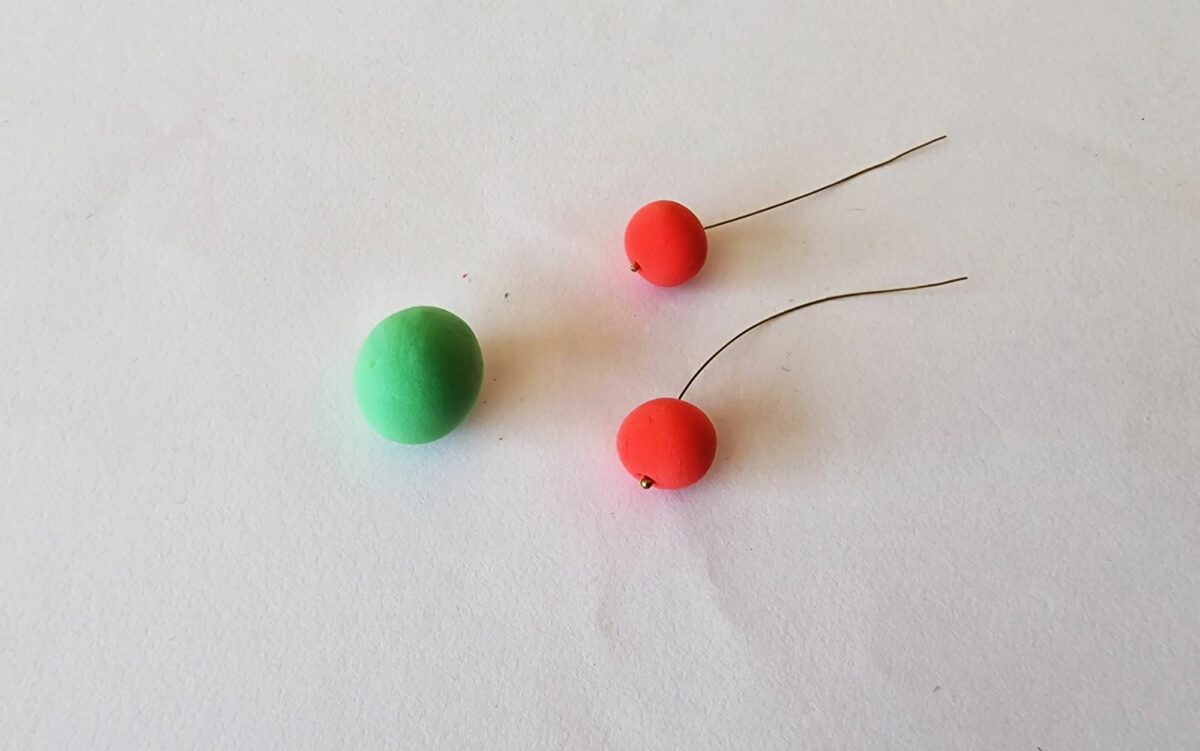

Step 6
Roll the green clay back and forth on the table to make a cylinder-like shape.
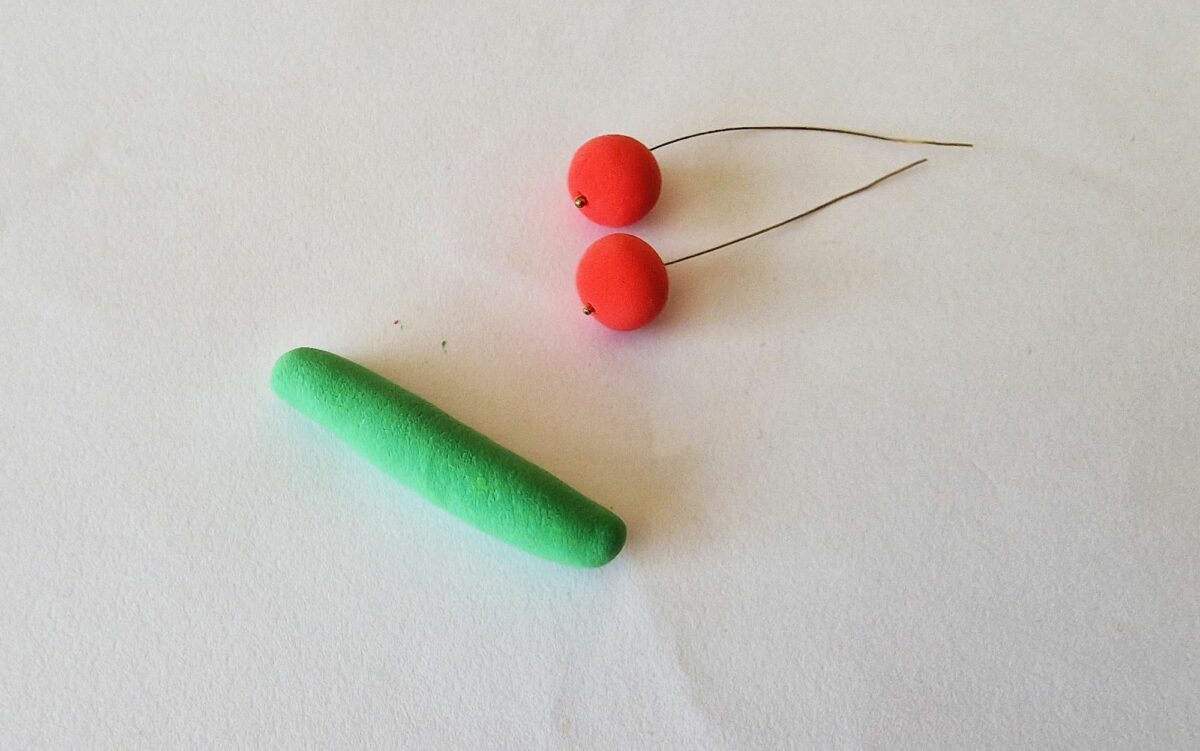
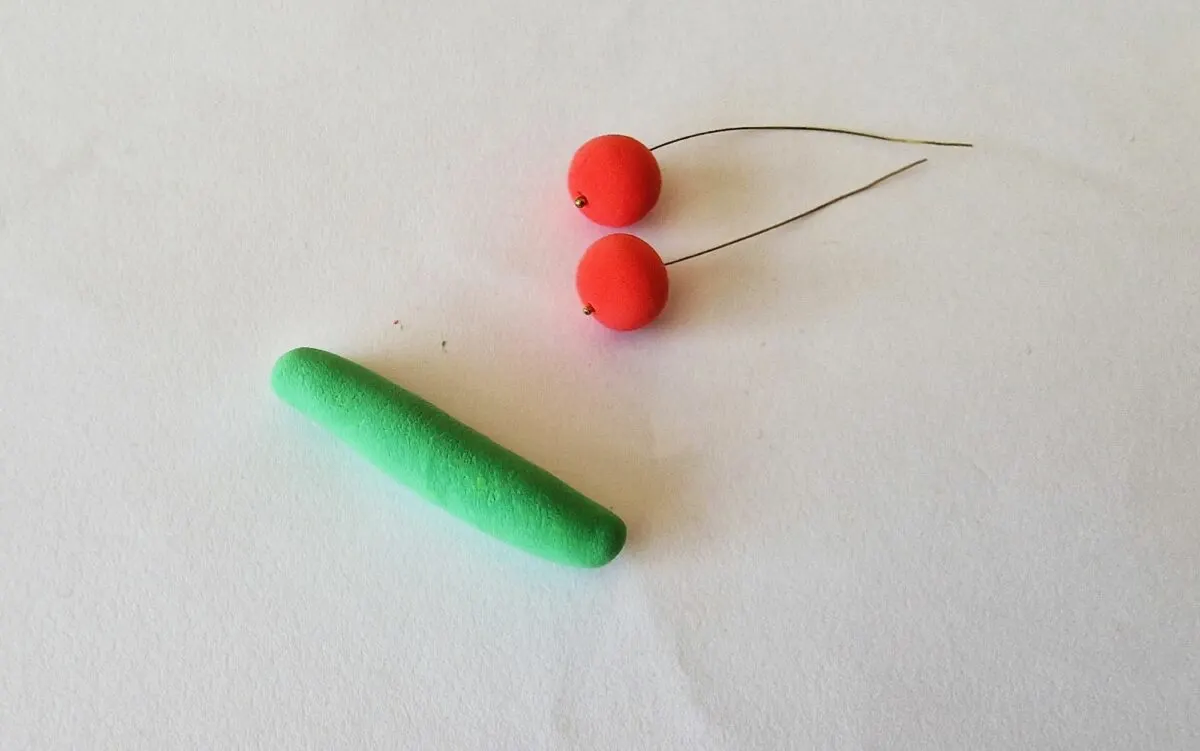
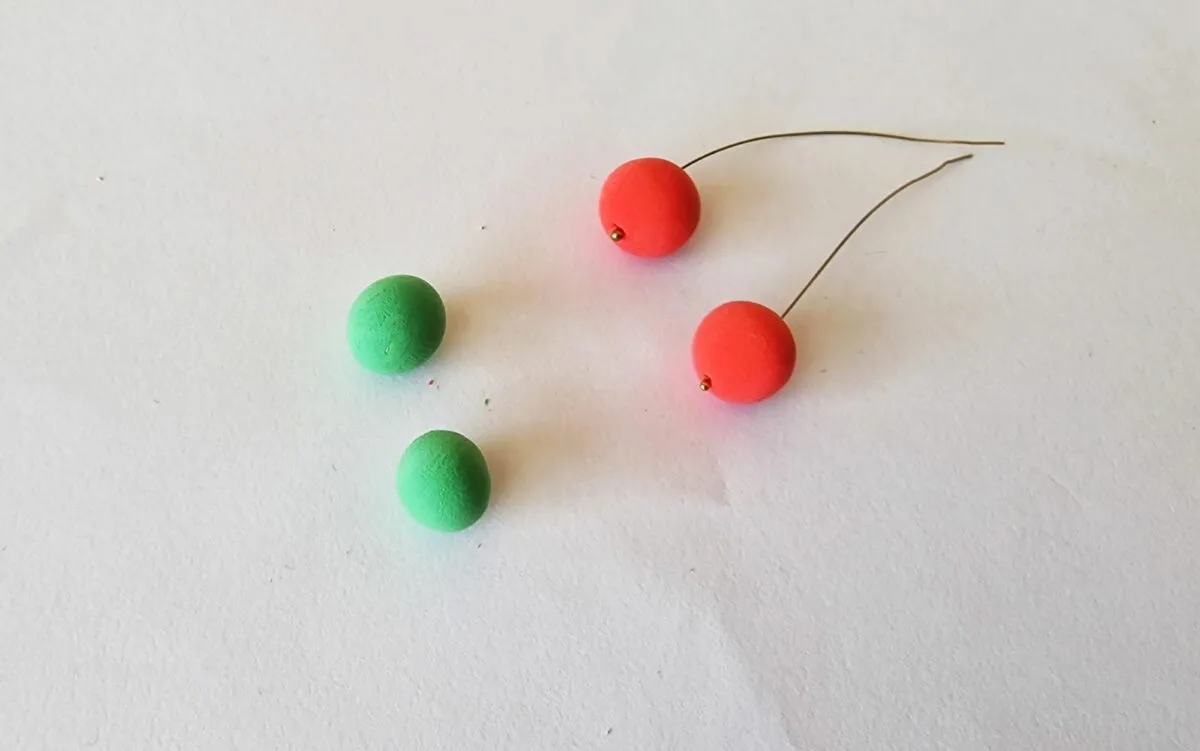
Step 7
Divide the green clay into 4 even parts.

Roll each of the green clay parts into ball shapes.
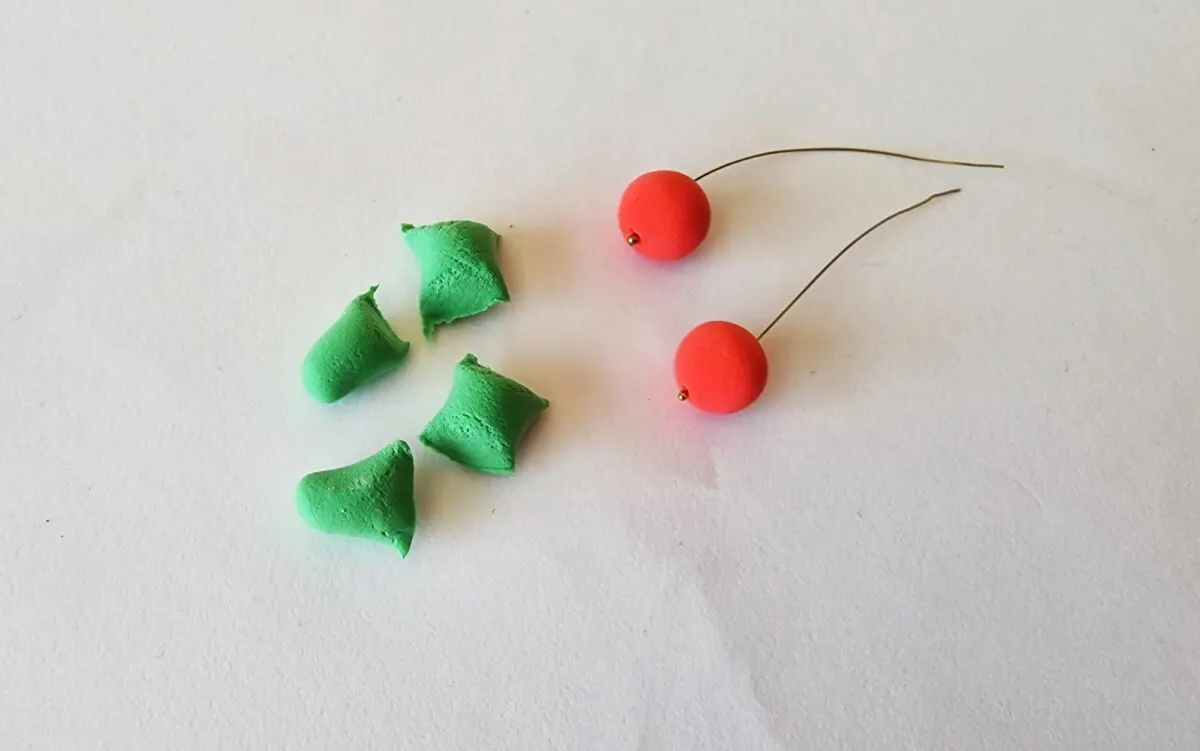
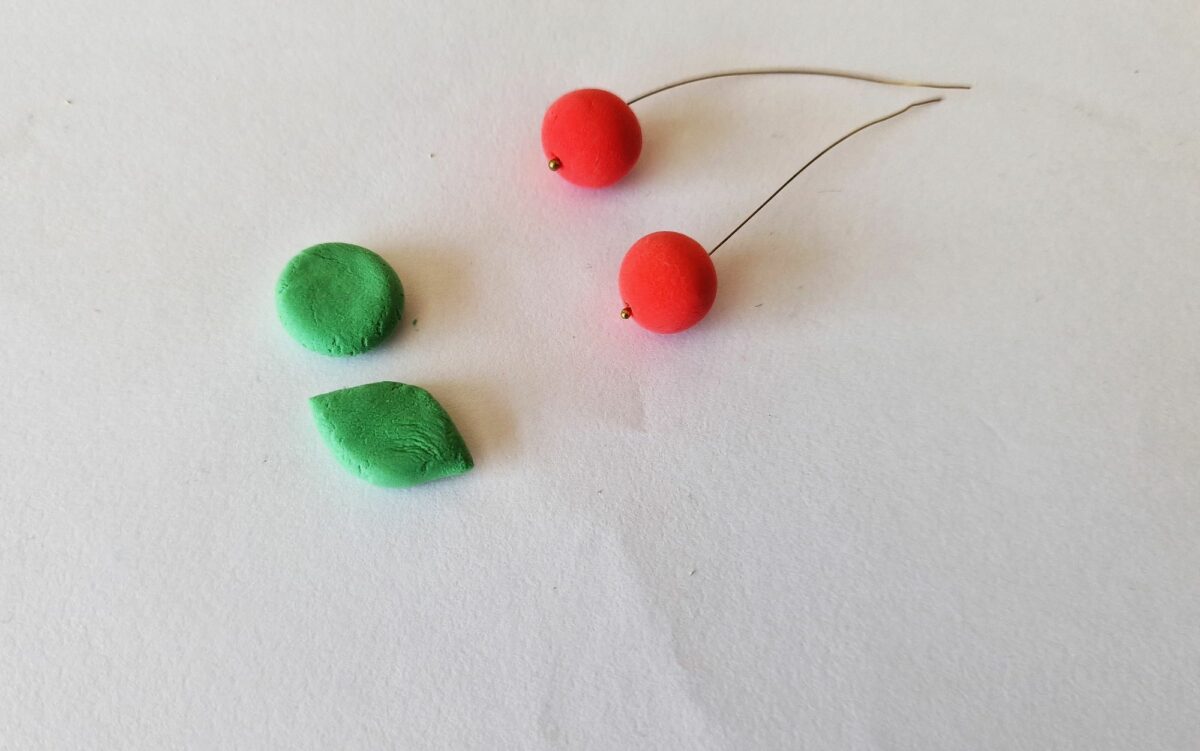
Step 8
Press the green ball shape against a flat surface and shape it into a leaf pattern with your fingers.


Step 9
Use the clay tool to add vein textures to the clay leaf shapes.

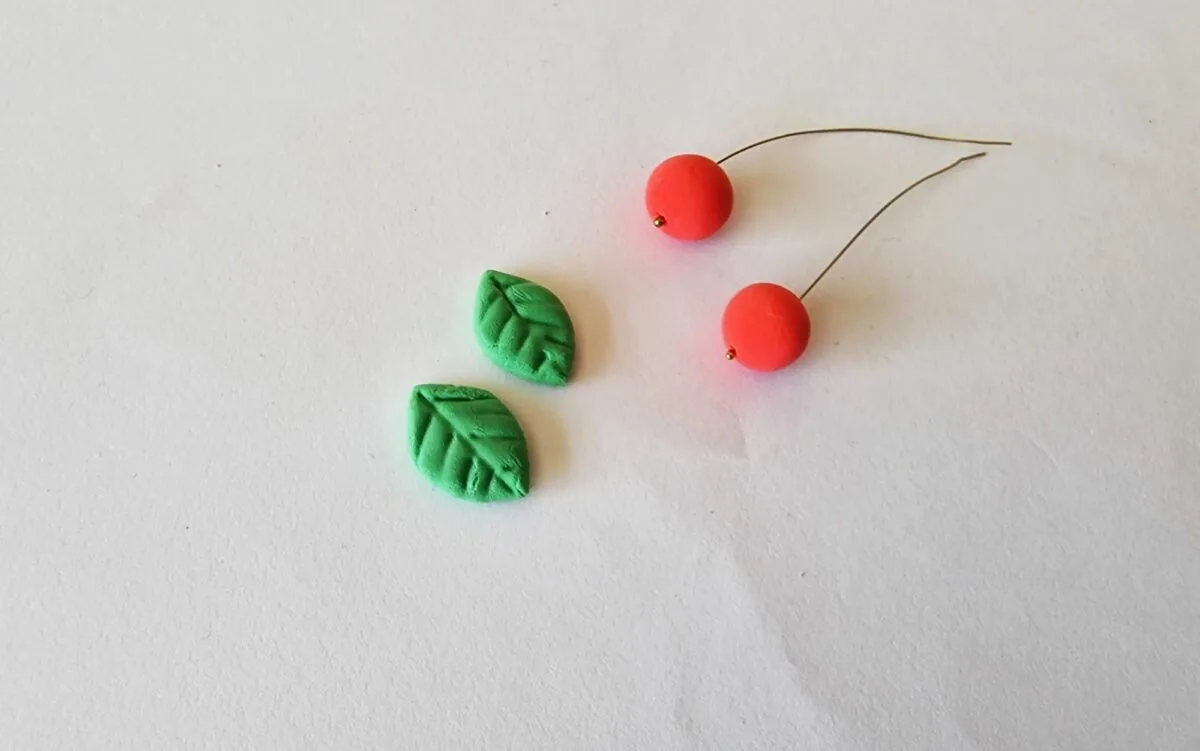
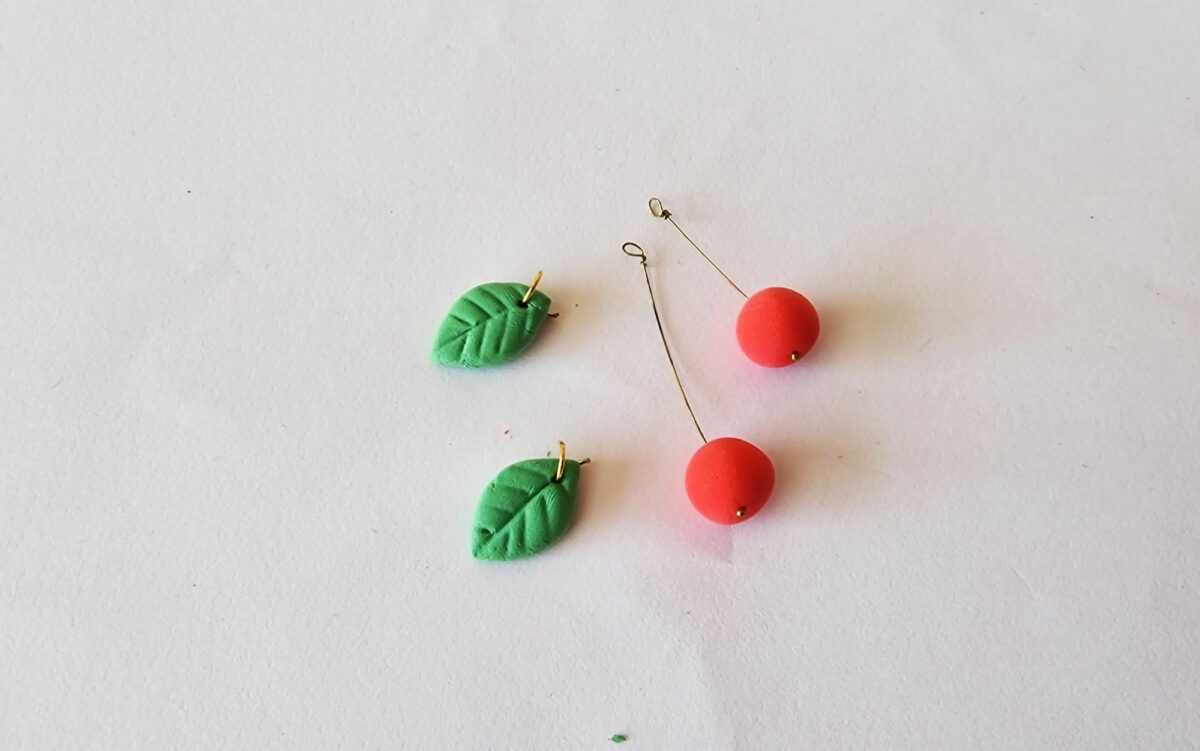
Step 10
Insert one jump ring to each of the clay leaf shapes before the clay dries. Push the jump ring though the top of clay leaf to attach.
On each of the pin head wires with the cherry, bend a loop on the open end and secure it tightly by twisting the wire .

Step 11
Insert the pin head wire’s loops through the jump rings attached to the clay leaf shapes.
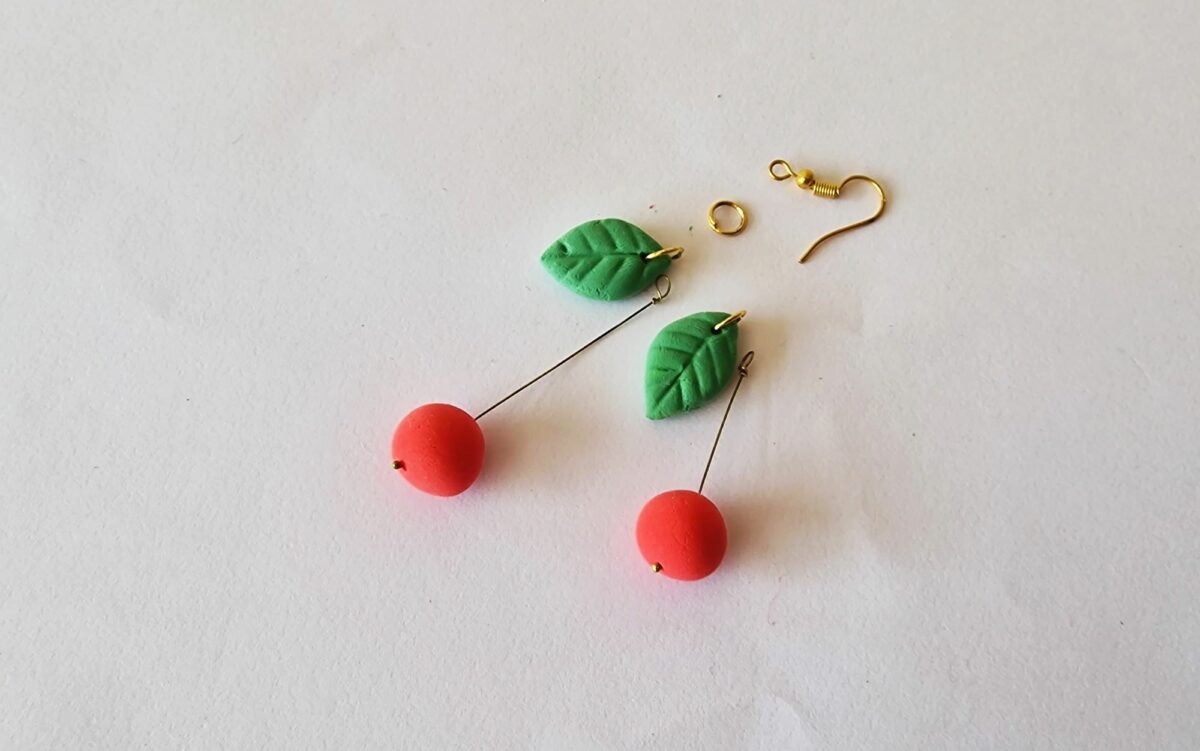
Step 12
Insert both leaf shapes and cherry wires through another jump ring to secure everything together.
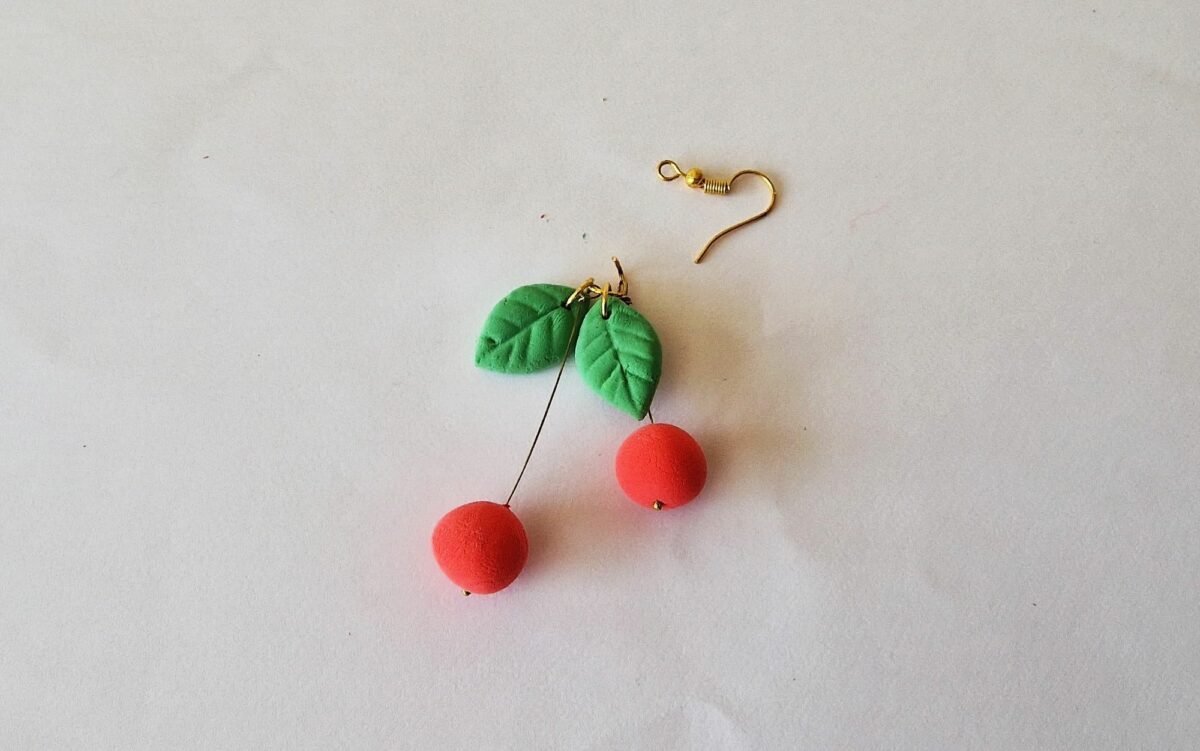

Step 13
Attach the base jump ring through the loop of an earring hook. Pinch the wires together to secure.
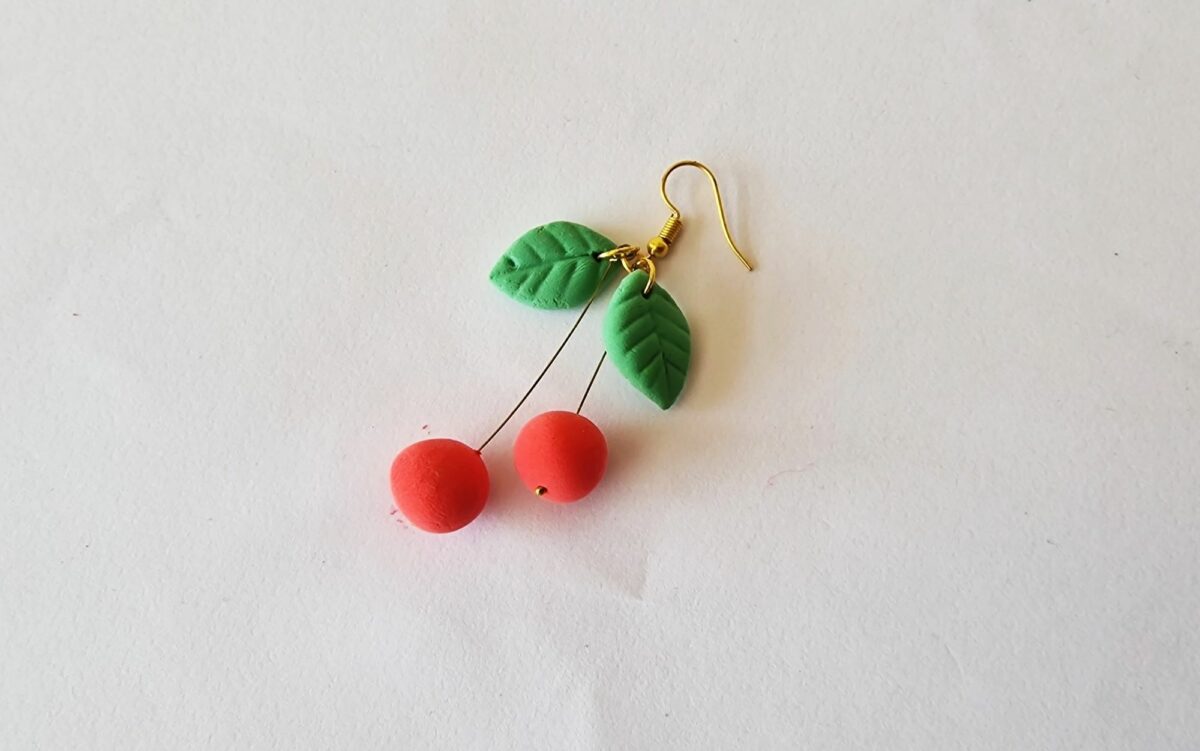
Step 14
Repeat the same process to make the other earring.

Be sure to save this idea by Pinning It or Adding to Flipboard!
Want more DIY jewelry ideas? Check out these ideas next:
