


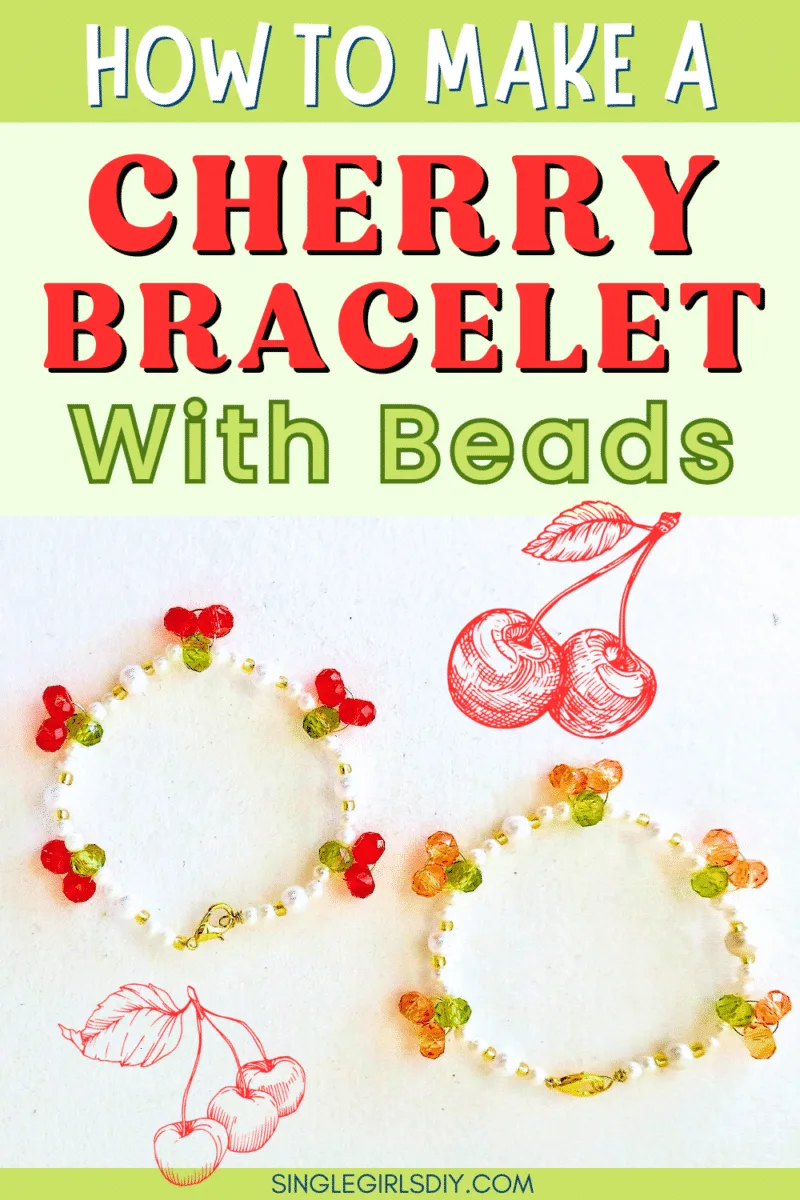
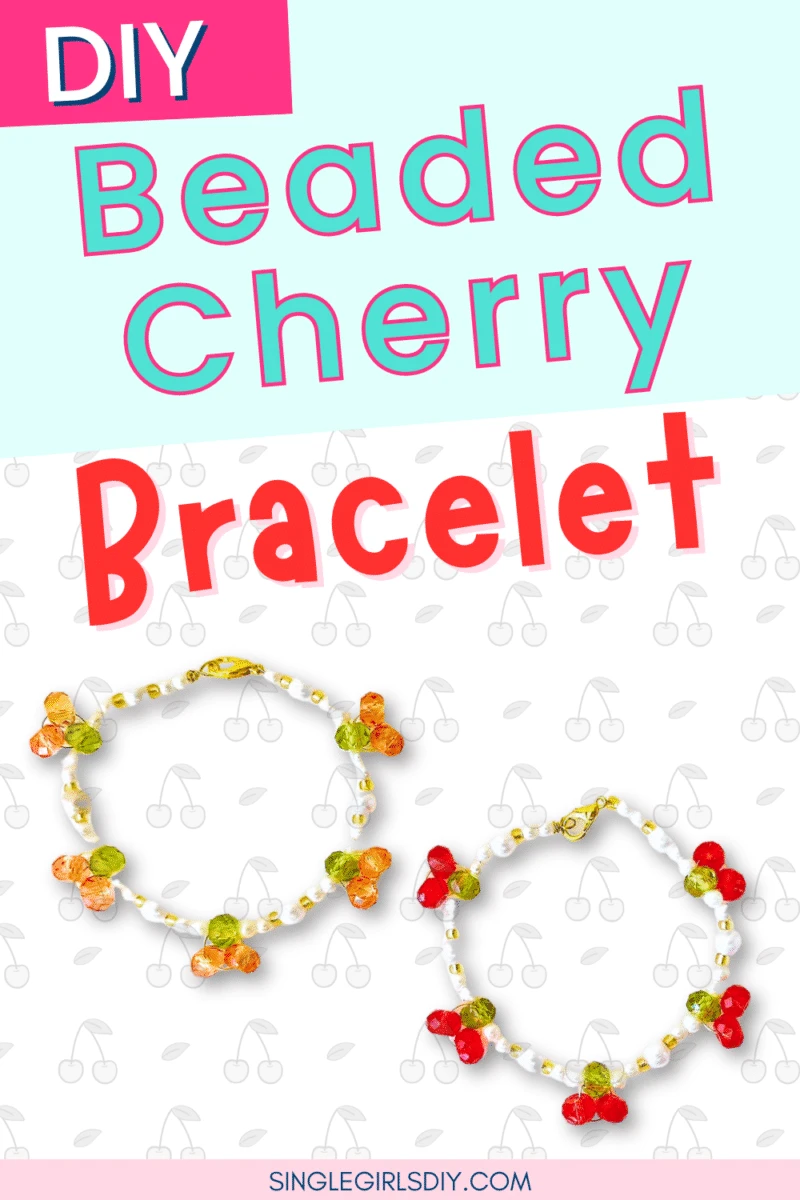
These DIY beaded cherry bracelets are easy to make and can be customized to any size. Use our step by step photo tutorial that shows how to make cherry clusters out of acrylic beads.

These DIY cherry bracelets are perfect to wear during cherry blossom time or during the summer.
Be sure to see our DIY clay cherry earrings, too!
How to Make a Cherry Bracelet
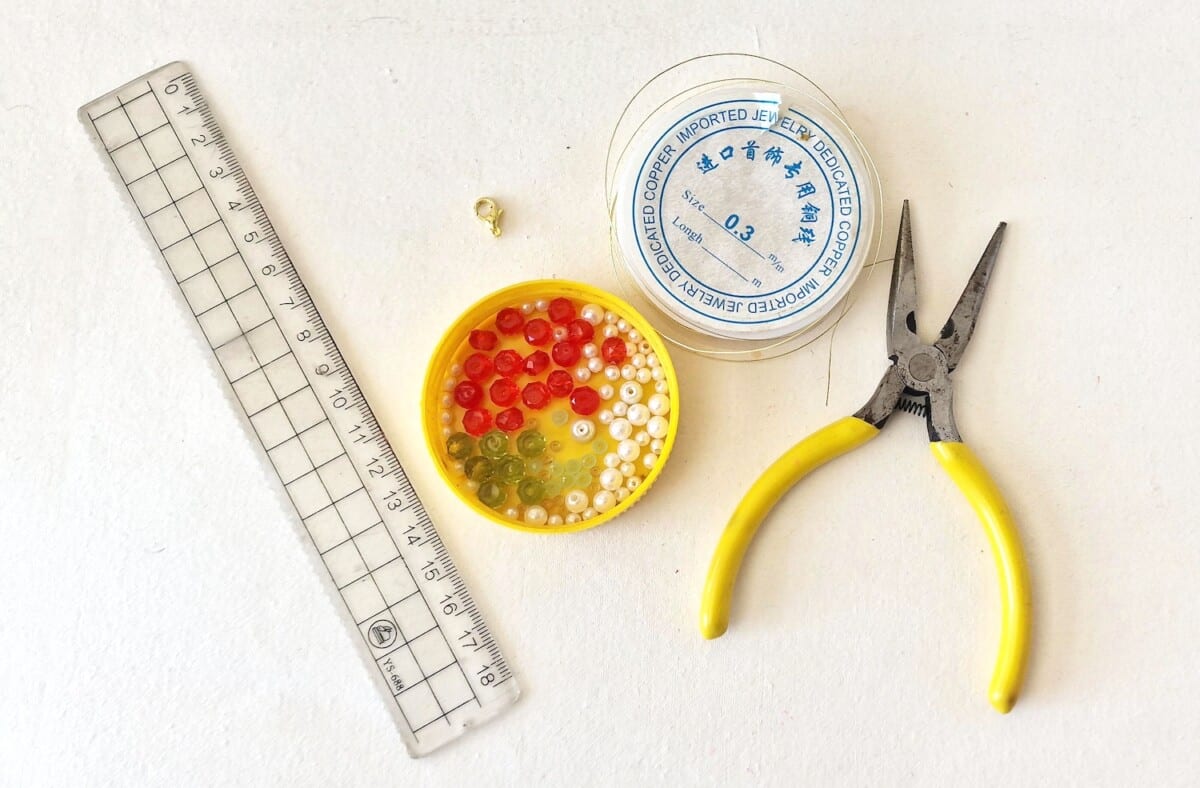
Supplies
- Crystal Beads (Red and Green): I suggest this multi-pack of acrylic beads for bracelet making.
- Small White Round Beads
- Gold Seed Beads
- Beading wire (0.3 mm)
- Lobster Claw Clasp
- Jump Ring (optional)
- Craft pliers

Directions
Step 1
Measure the size of the bracelet that you want to make by wrapping a measuring tape or piece of string around your wrist in a comfortable fit.
Use that measurement and multiply it by 4. This will be the length of beading wire to cut.
After you have cut the wire, bend it in half.

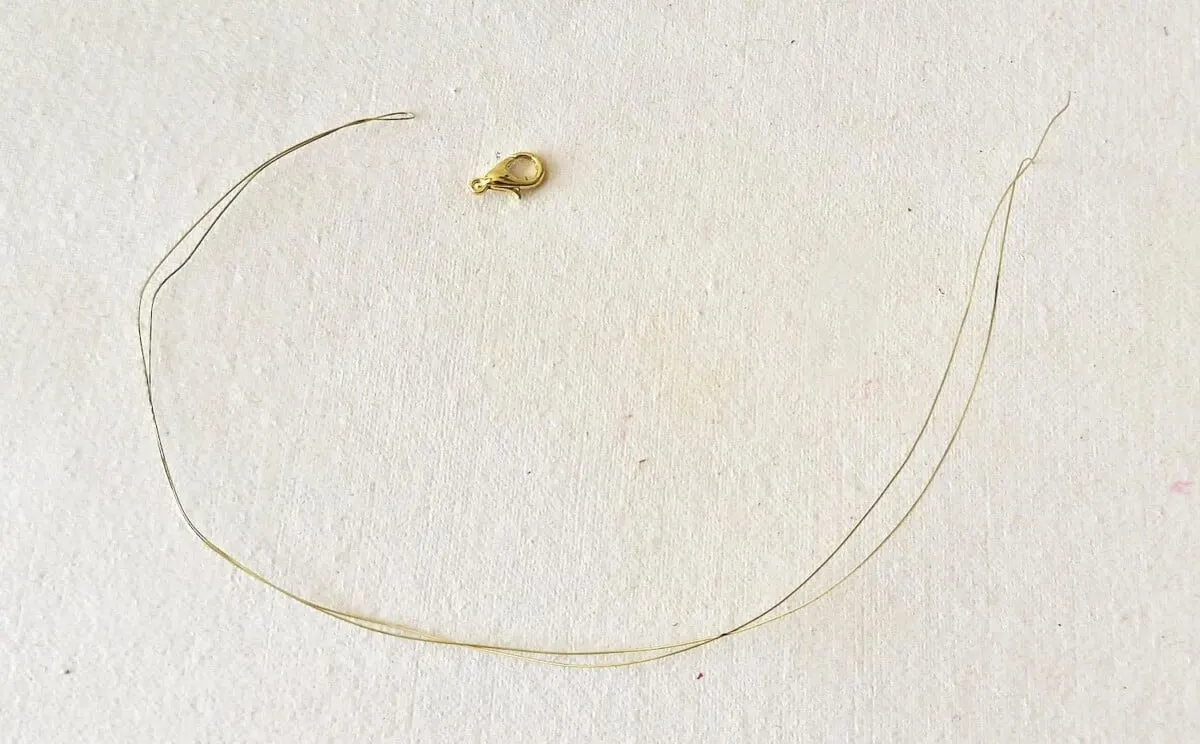
Step 2
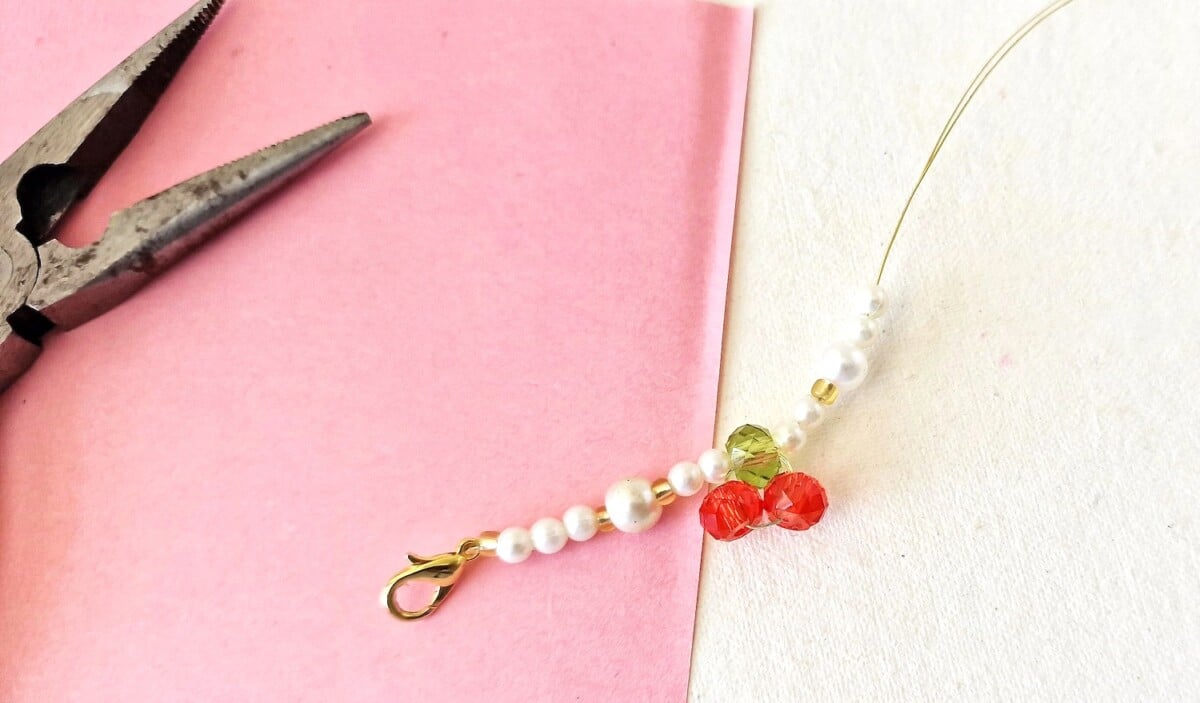
Slide the lobster claw onto one open end of the beading wire and push it all the way to the curved bent end.
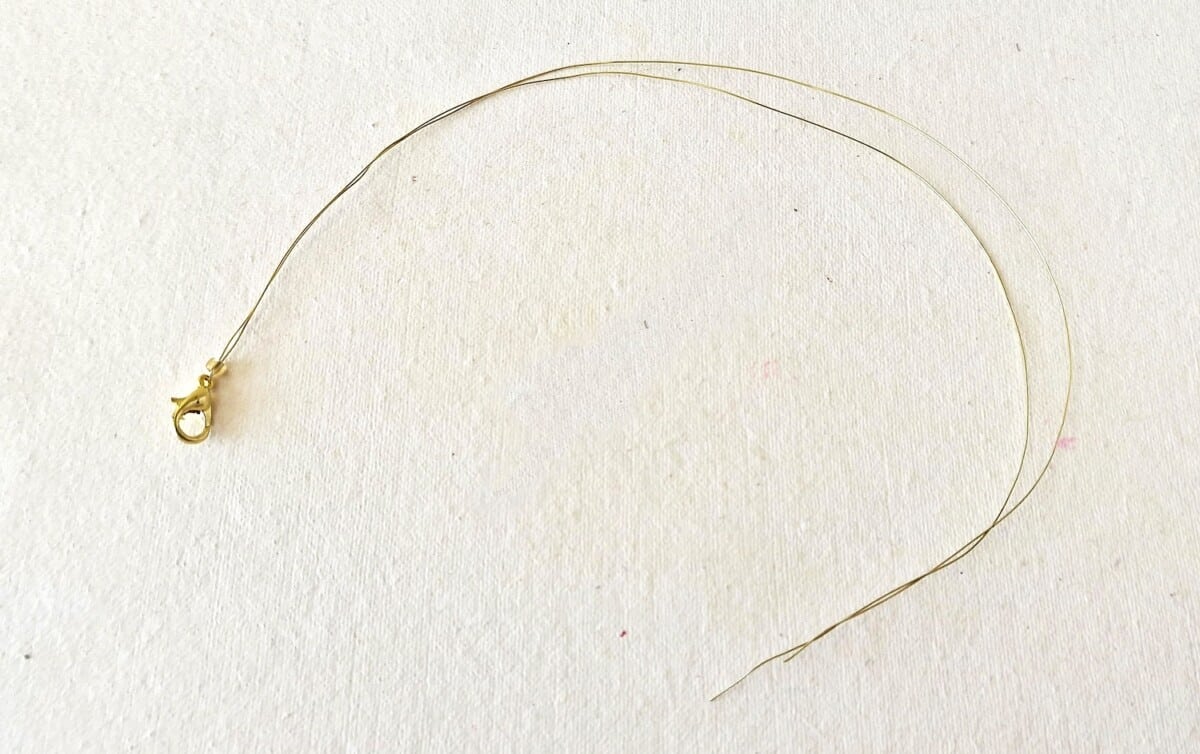
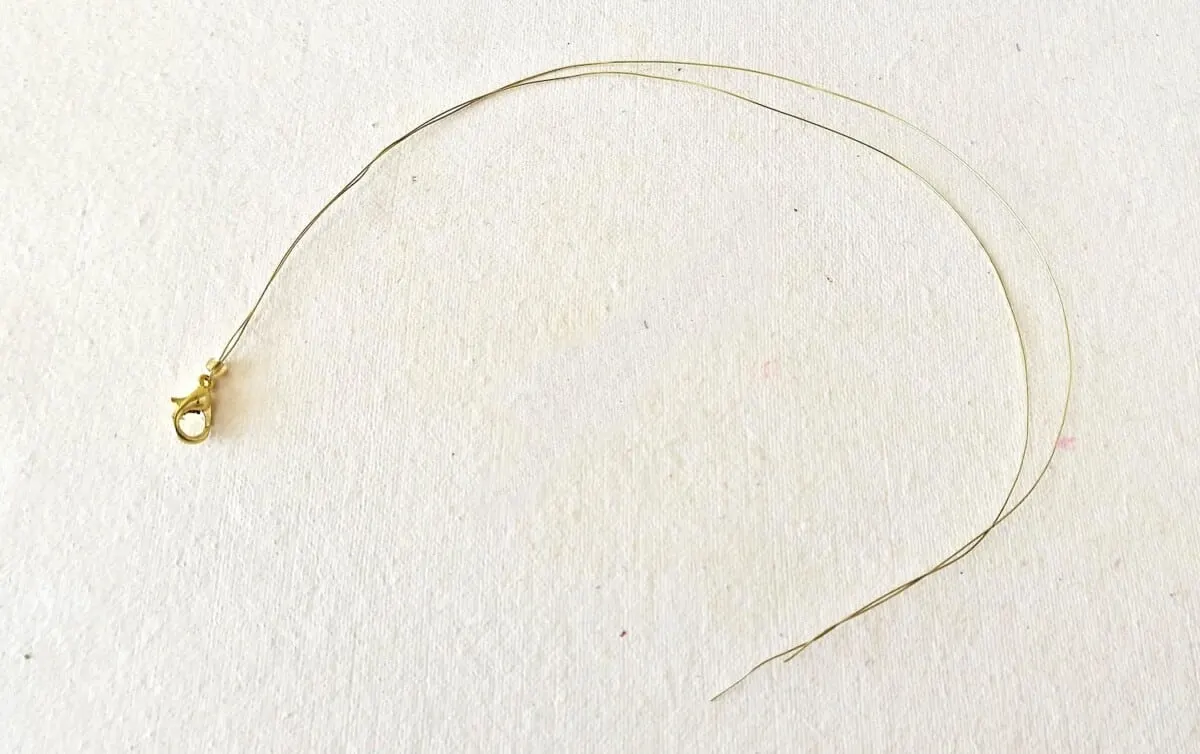
Take a small bead and insert it over the 2 open ends of the beading wire and push it down to meet the lobster claw. This will secure the lobster claw closure.
Step 3
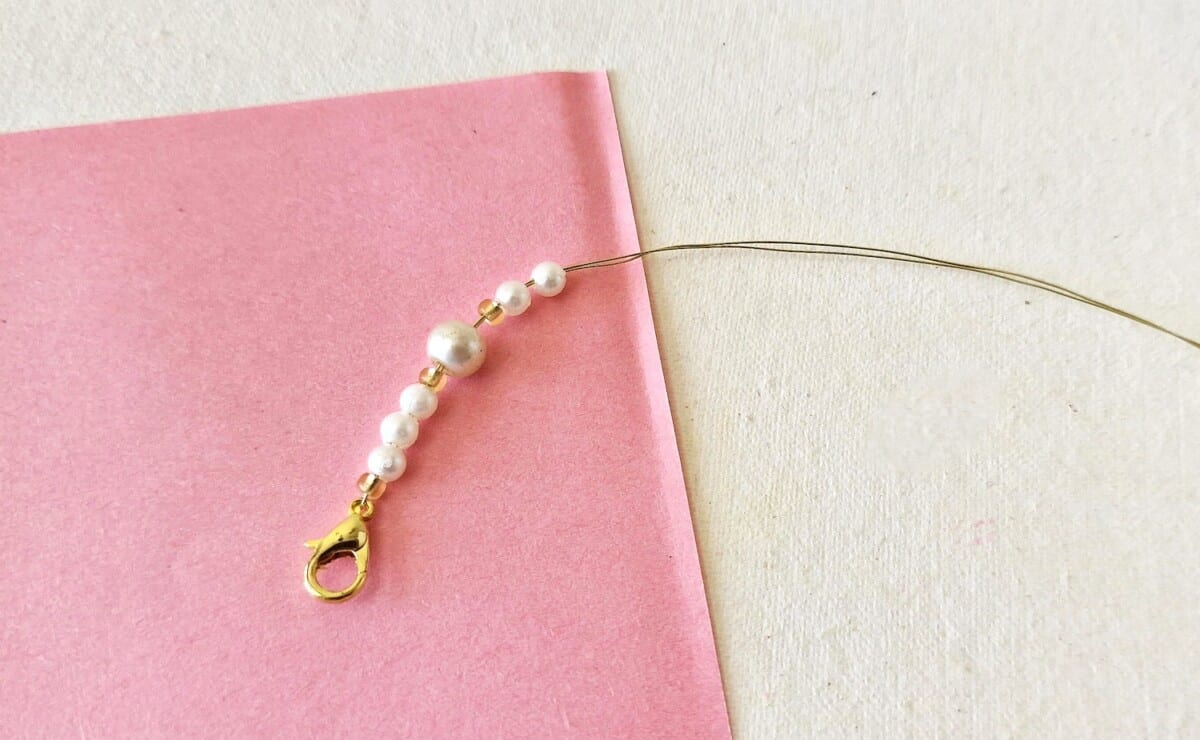

Slide white and golden colored beads over both strands of the wire in whatever pattern you choose. I used a total of 9 beads.
You do not need to use the red or green beads yet.
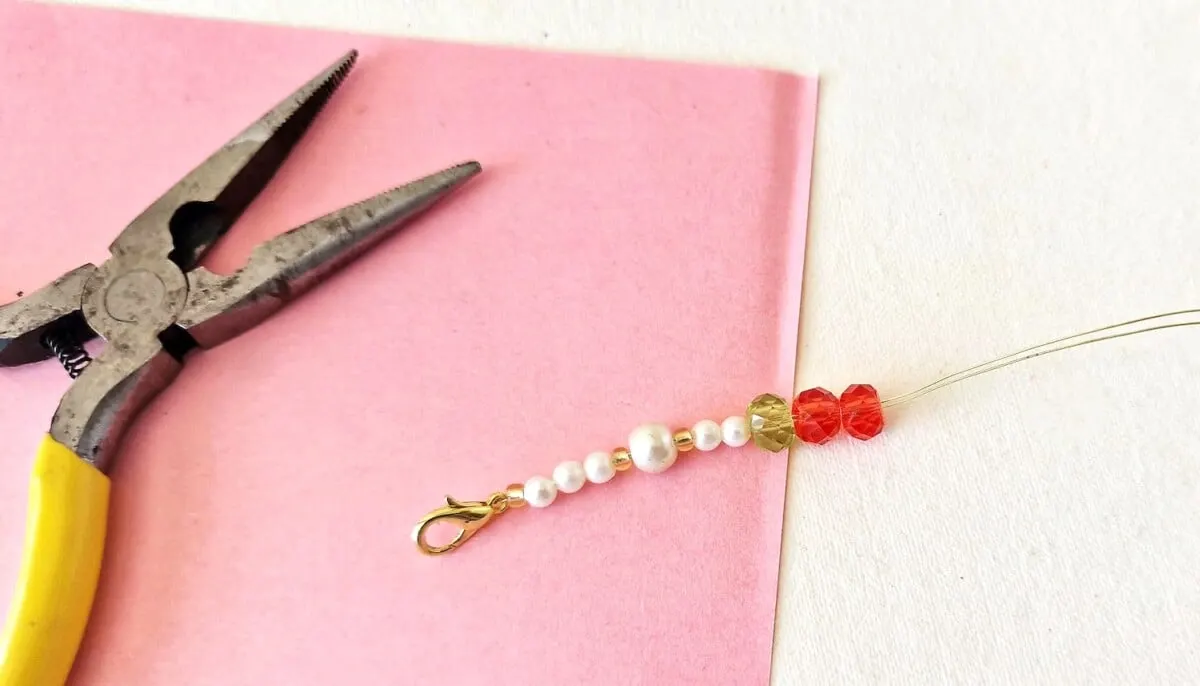
Step 4
Now add a green crystal bead onto the bracelet wire, followed by 2 red crystal beads.

Step 5
Hold the two open ends of the wire and loop it around to meet the green bead. Then insert the two wire ends through the green bead again, as seen in the photo below.

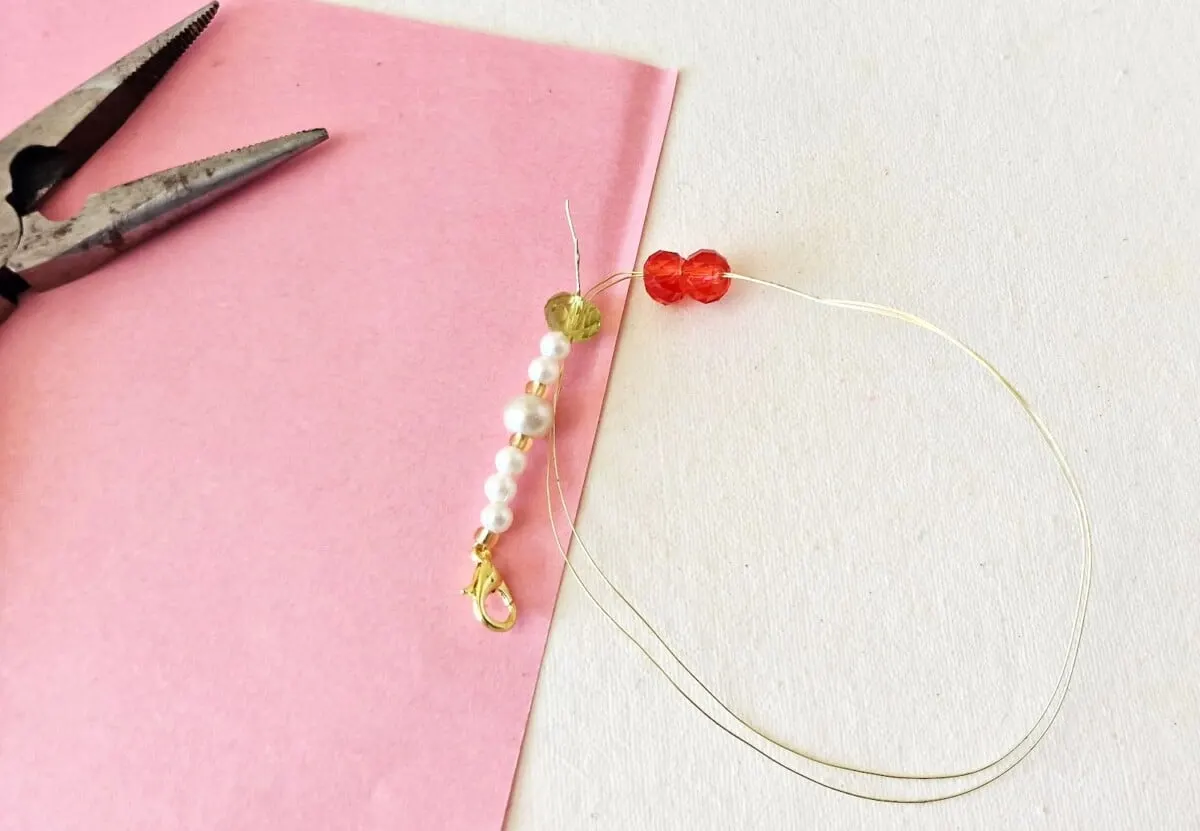
Pull the wire firmly through the bead which will bring the green and red beads closer together.

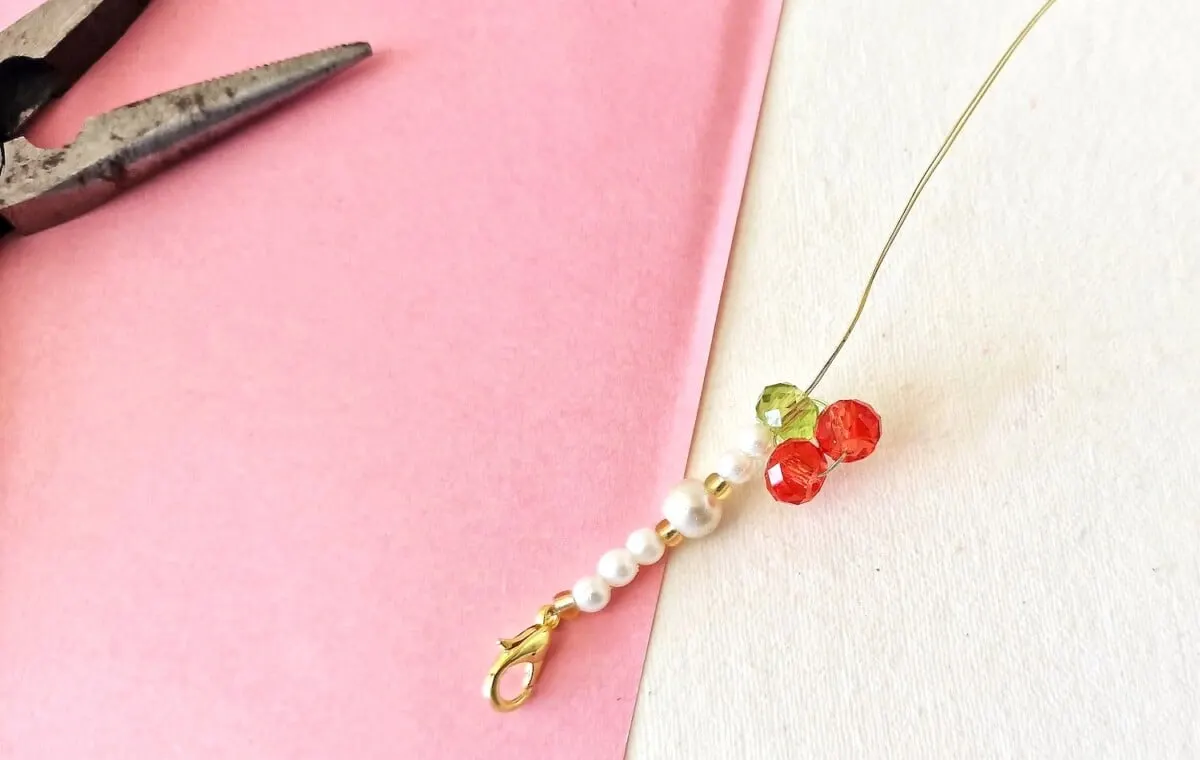
Step 6
Now slide a few more white and gold beads over the two pieces of wire. I used a combination of 7 beads.

Step 7
Repeat the same process as in Steps 4-5. Add the red and green beads to make a cherry cluster, then loop the wire back through the green bead and draw the beads closer together.

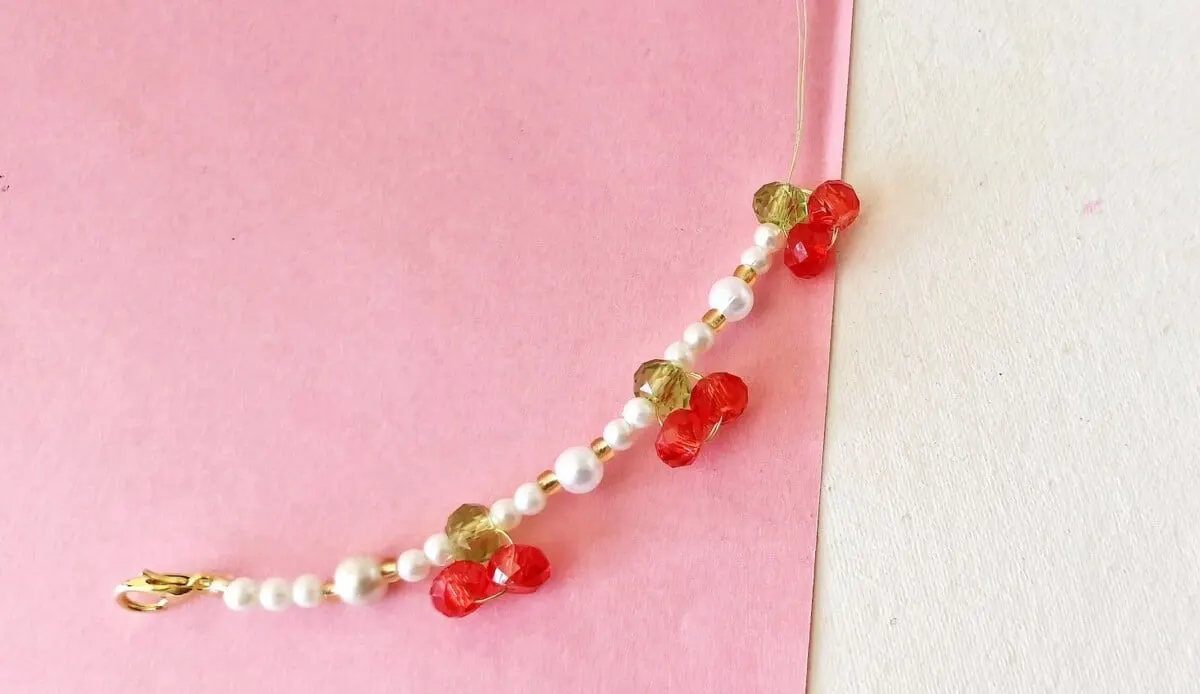
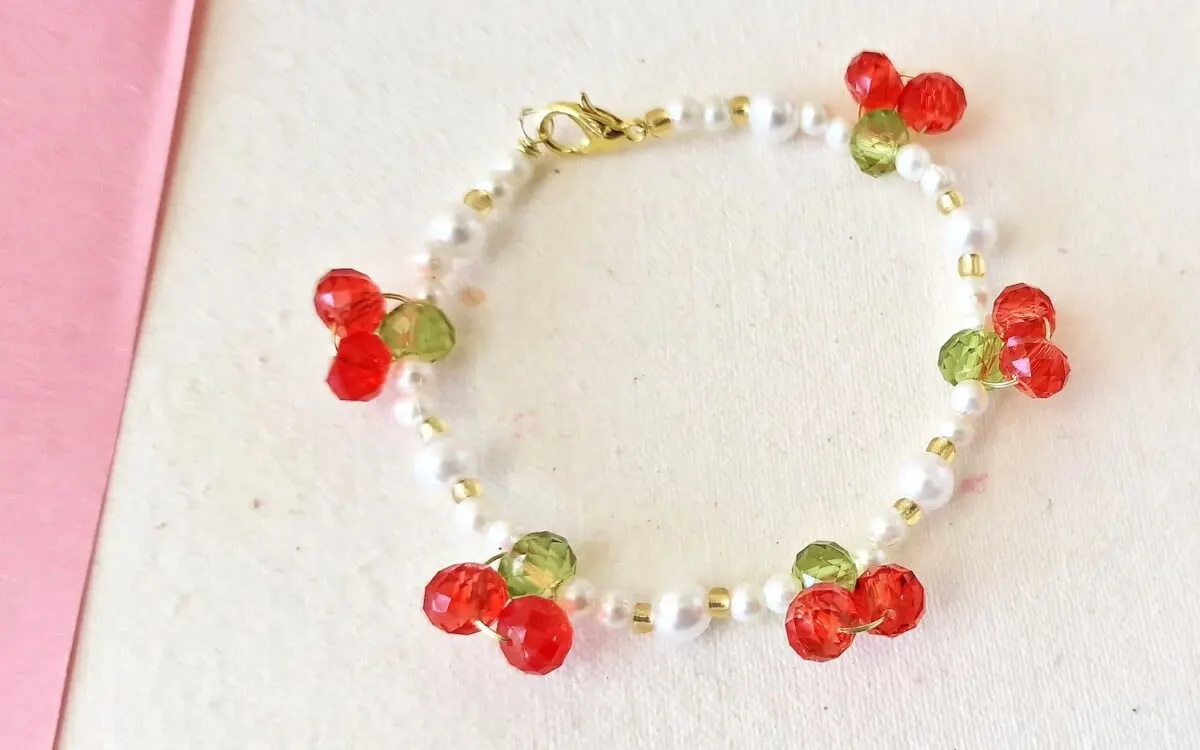
Continue making the cherry clusters until the bracelet is almost entirely covered in beads. Leave an inch or two of the wire strands uncovered to make the clasp next.
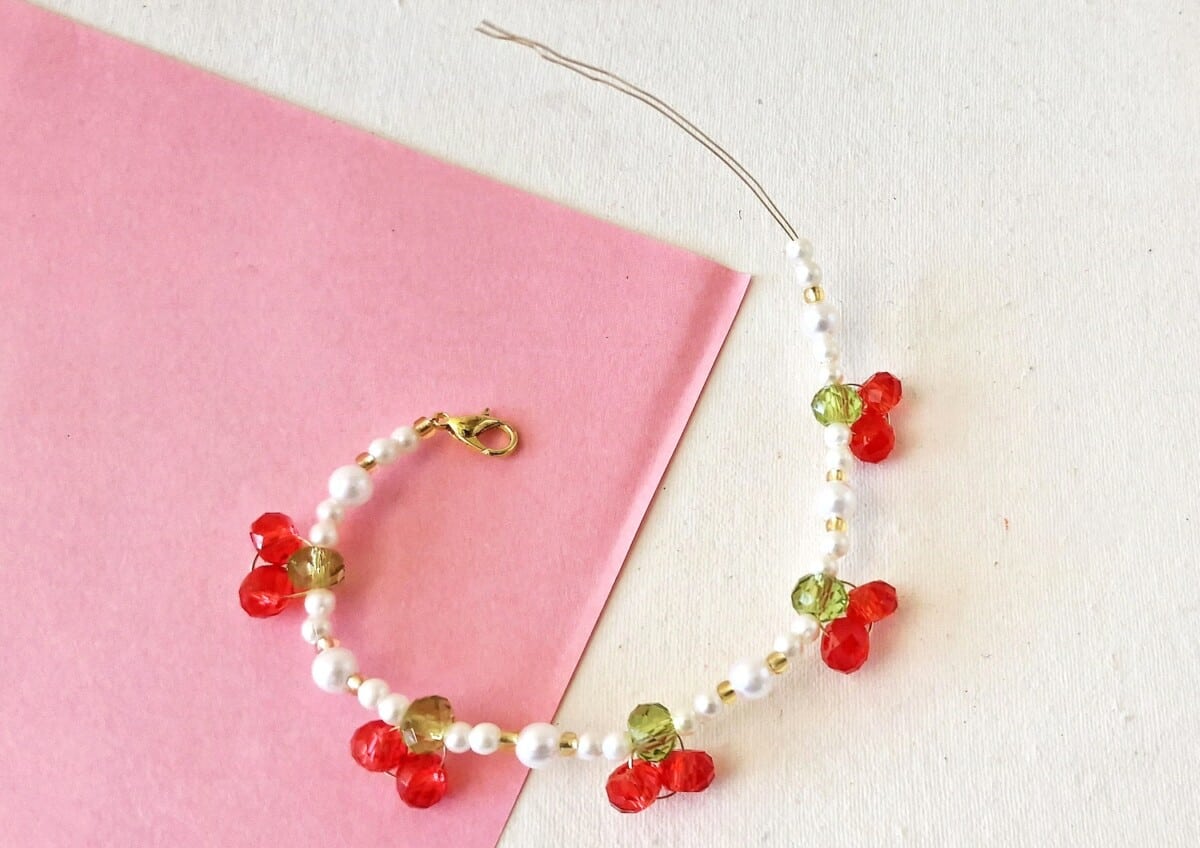

Step 8
Use the looping pliers to make a small loop next to the last bead on the wire.
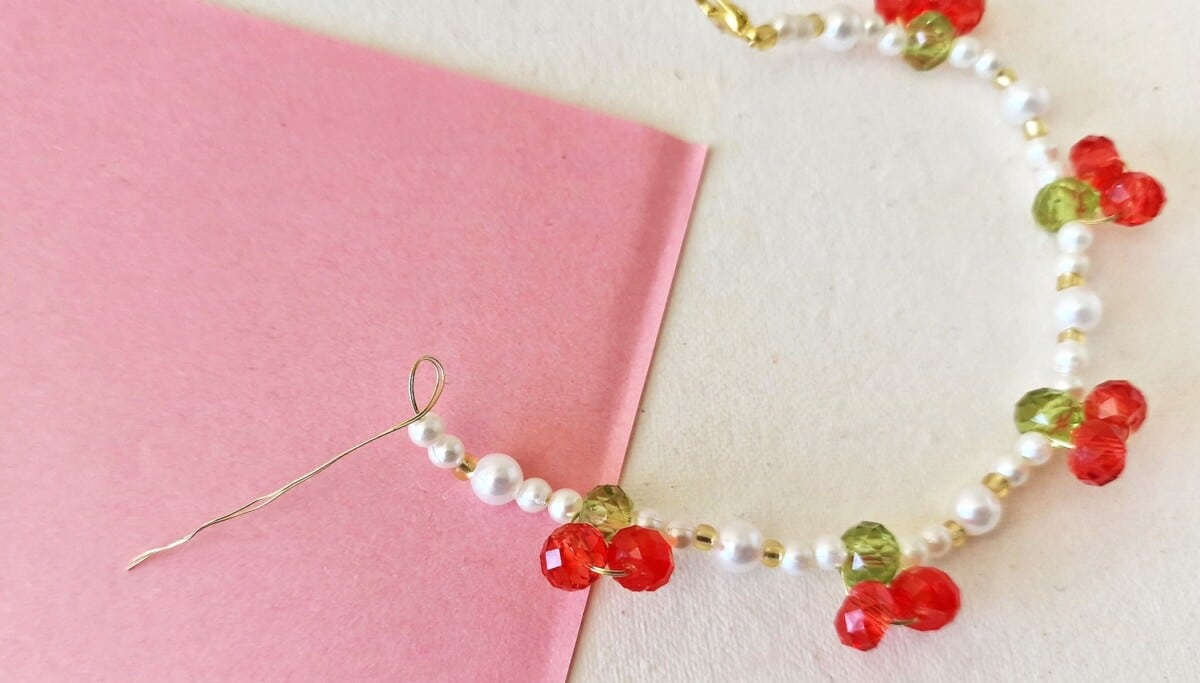

Wrap and coil the open end of the wire below the loop to secure it.

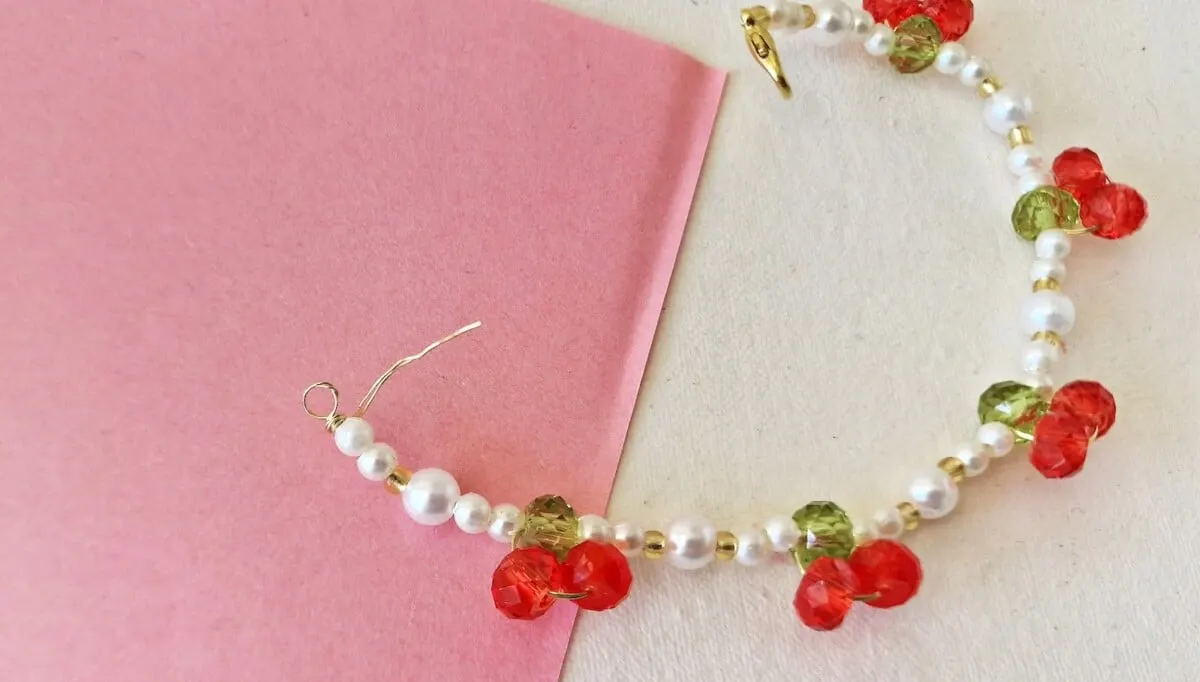
Optional: If you would prefer to use a jump ring, attach the jump ring to the wire and secure.
Step 9
Cut off the extra wire, being careful to hide any exposed metal ends by bending towards the bead.

Want to save this idea for later? Be sure to Pin It or add it to Flipboard!

Want more DIY bracelets? Be sure to see these ideas next:
