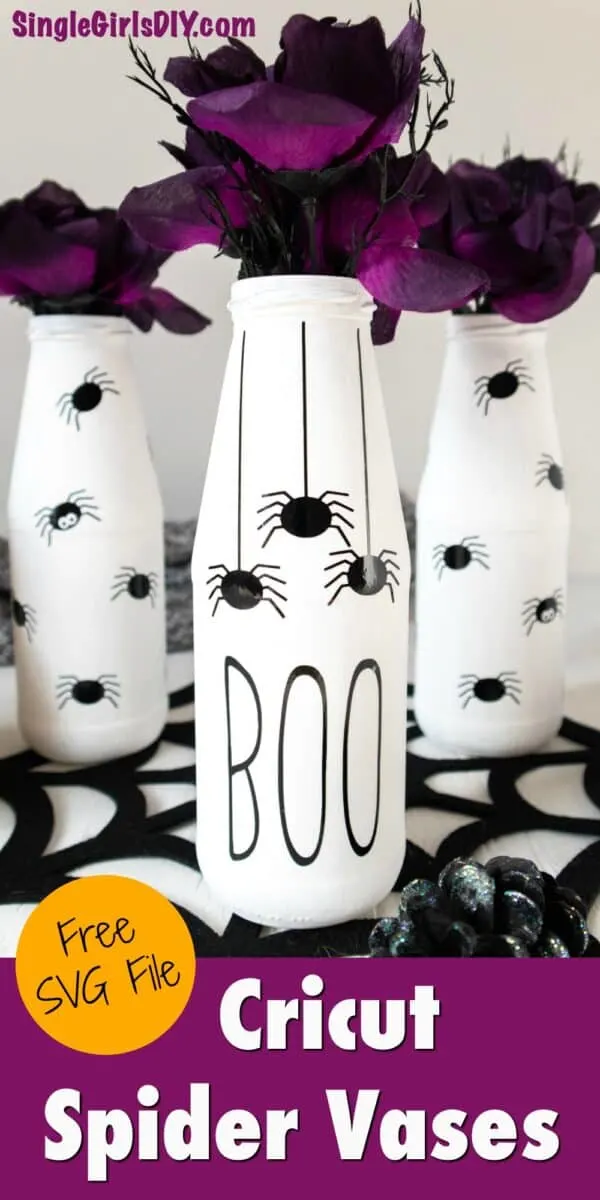
Upcycle a glass bottle to make these creepy Halloween Spider Vases using our free SVG file.
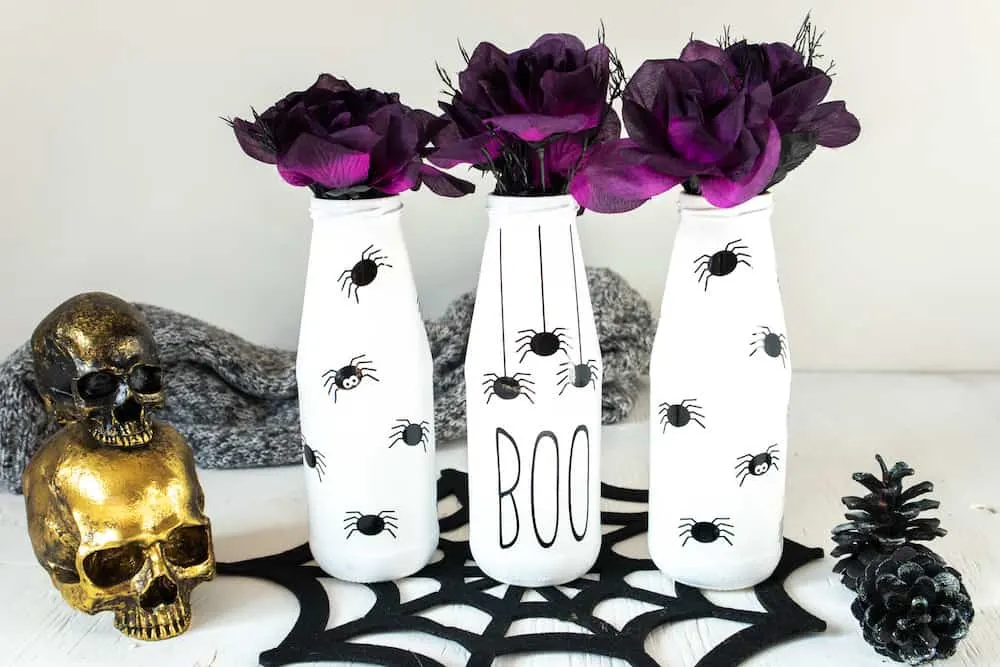
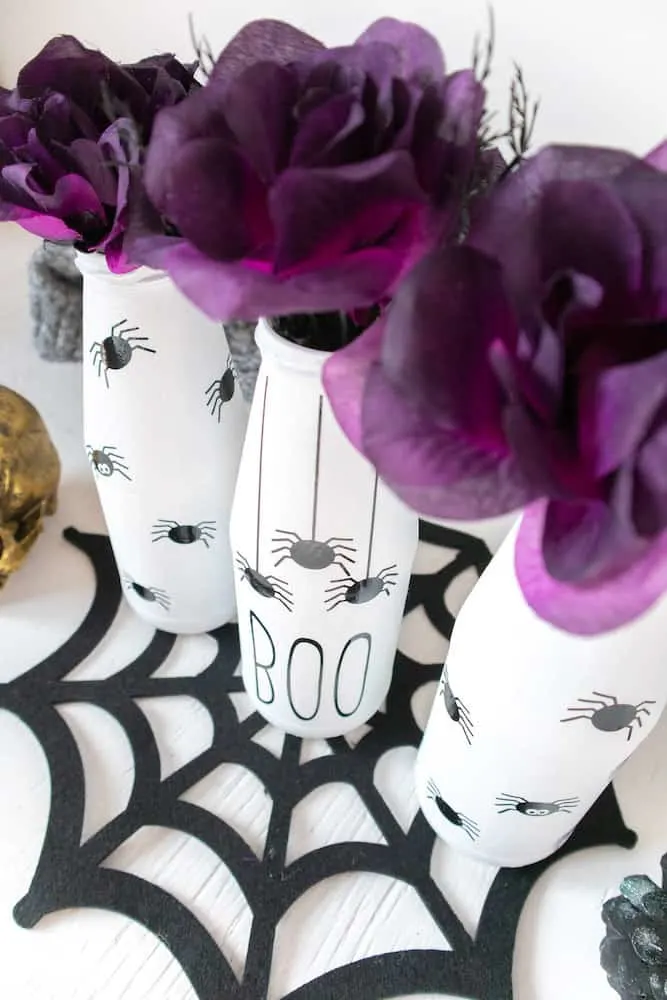
These spooky spider vases make a perfect Halloween centerpiece!
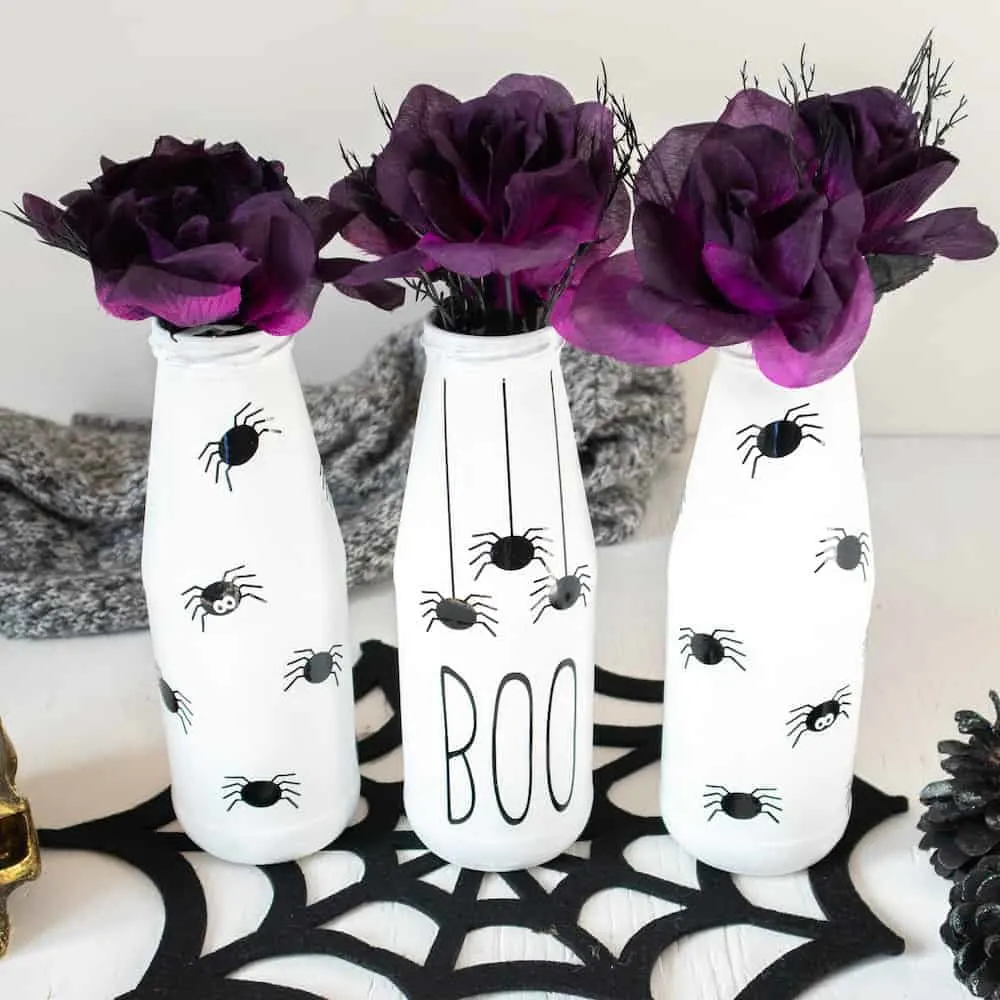
I added fake purple flowers in the upcycled glass bottle vases to create a creepy Halloween vibe. But I think that adding orange flowers would be perfect, too.
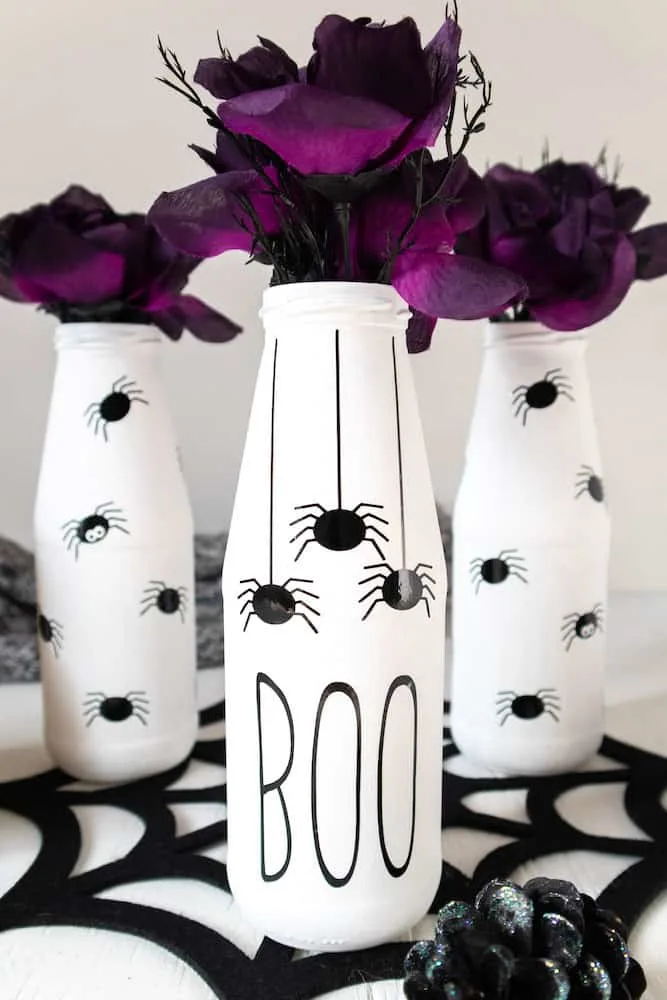
These Halloween decorations are great for parties, home decorations or even to decorate the office.
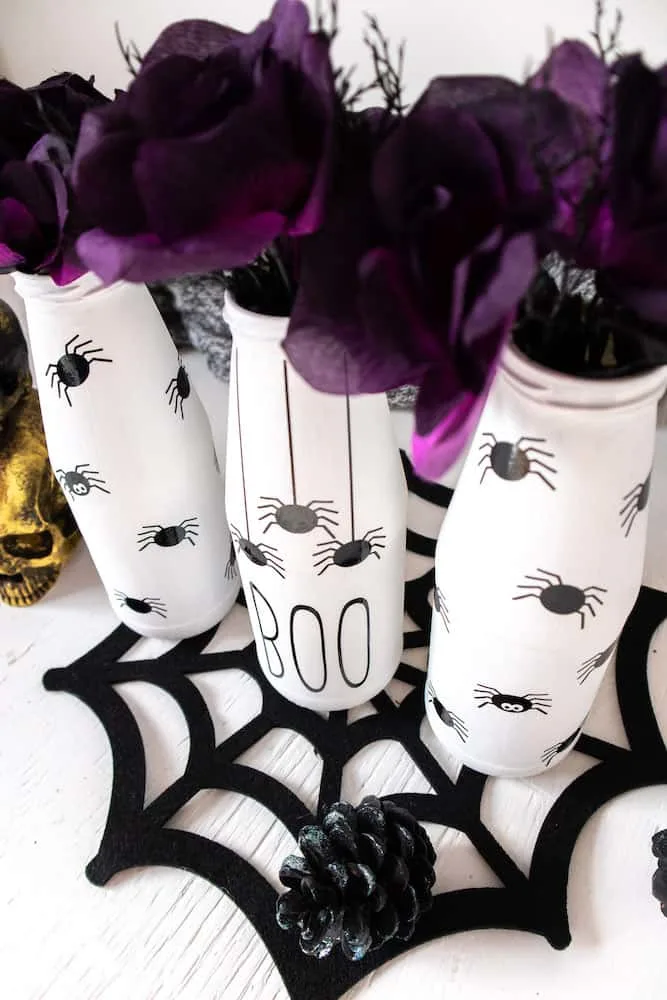
How to Make Cricut Spider Vases for Halloween
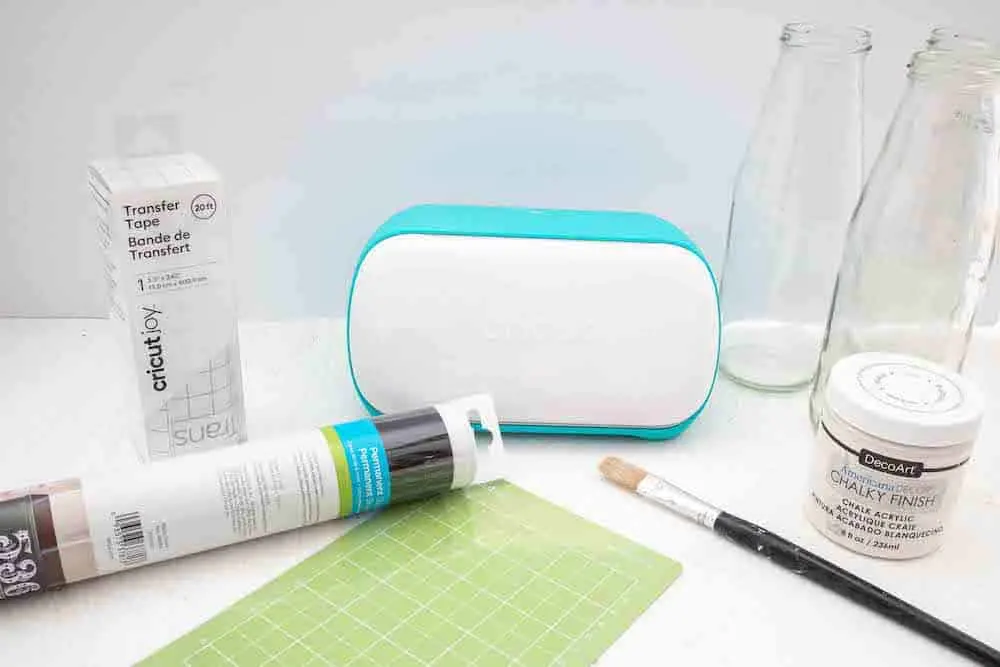
Materials
- Hanging spider SVG file
- Cricut Joy with Fine Point Blade
- Cricut Joy Standard grip mat
- Cricut Premium Vinyl, Permanent in Black
- 3 Glass Jars with lids removed
- Scissors
- Cricut Weeder tool
- Americana Chalky Finish (for Glass) in Everlasting
- Paintbrush
Instructions
Wash jars with soap and hot water and let them dry completely before using.
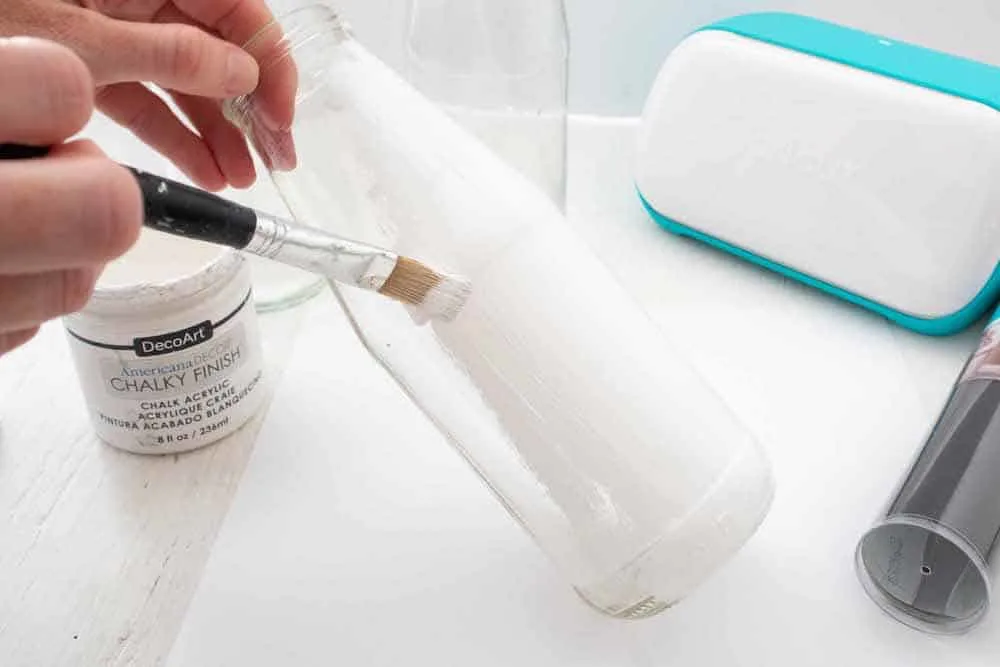
Once dried, apply a thin layer of chalky finish paint to each of the mason jars. Use our easy tutorial for how to chalk paint glass jars for more details. Allow to dry completely.
If you want thicker coverage, apply more coats as you’d like and let dry in between.
Preparing the Spider Images on Cricut
Open Cricut Design Space. Click on the “+” sign to start a new project, opening up a blank canvas.
Click on the “Upload” button from the toolbar and browse your downloaded files to insert the SVG file.
The cut image will appear on the canvas. Click on the “Ungroup” button.
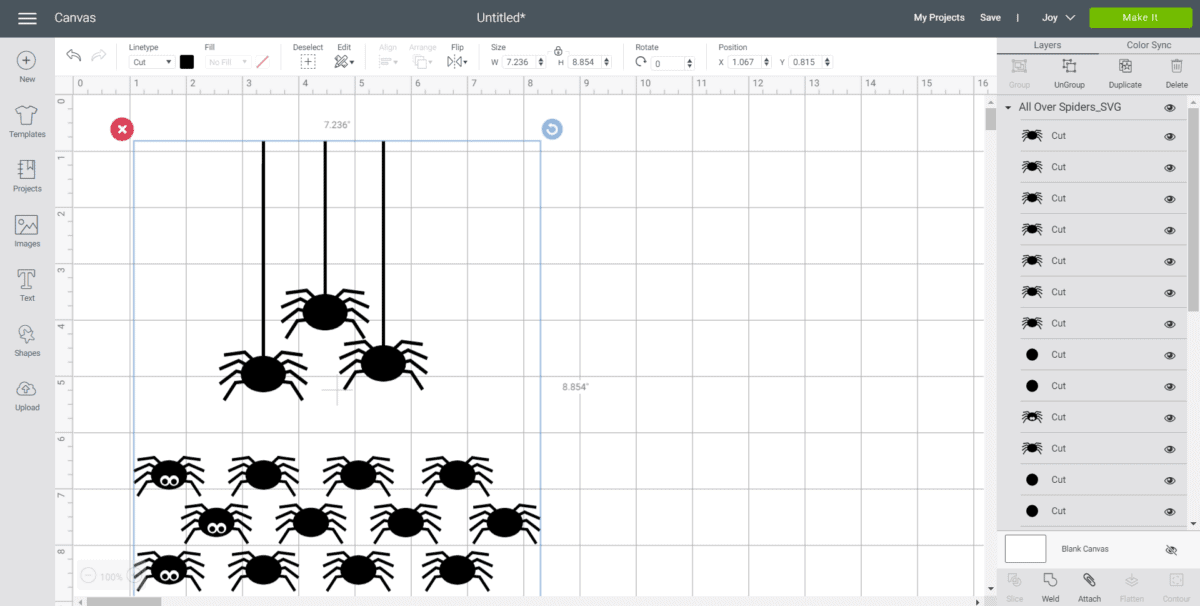
Highlight the dangling spiders image and click on the “Attach” button to secure all parts of the image together for cutting.
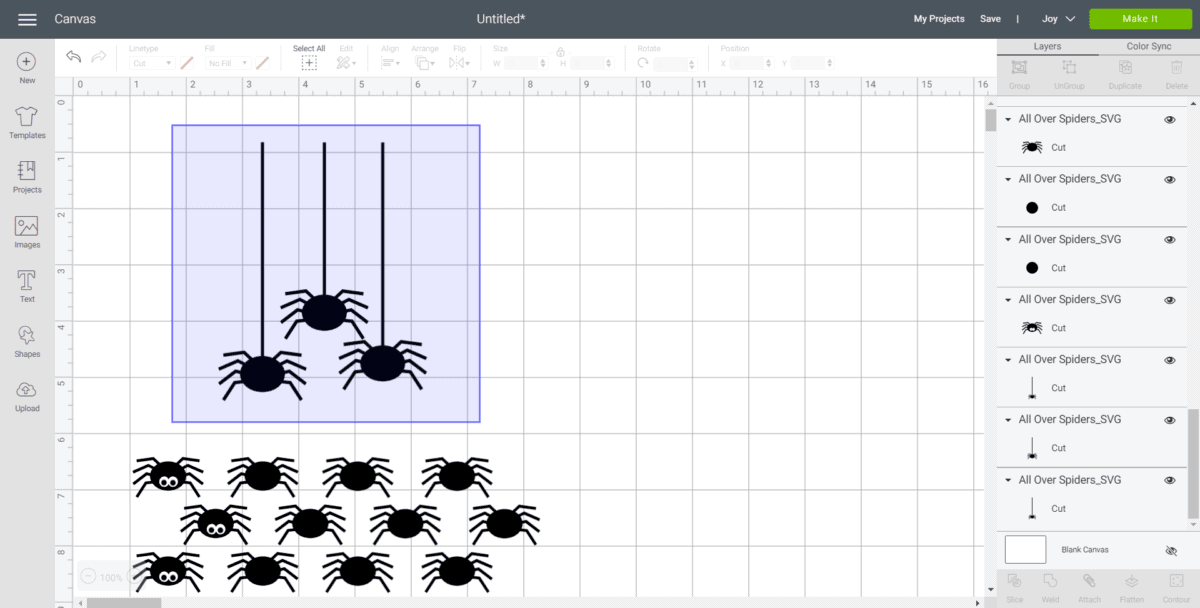
Highlight the bunches of spiders and click on the “Attach” button to secure all parts of the image together for cutting.
Right click on the bunches of spiders and duplicate the image to cut more spiders as needed.
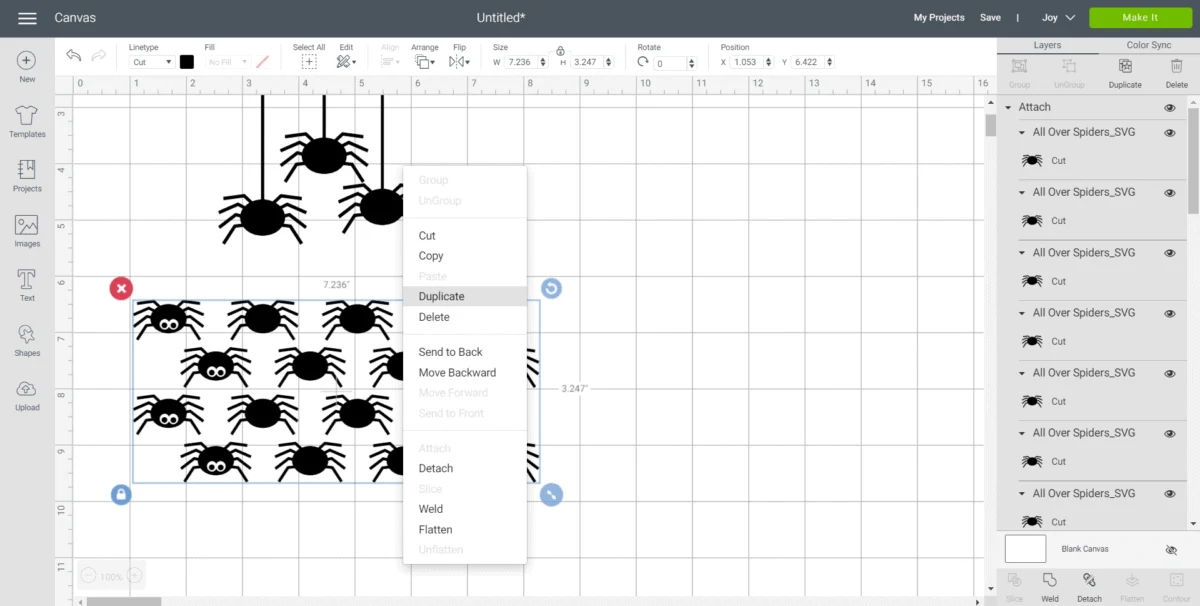
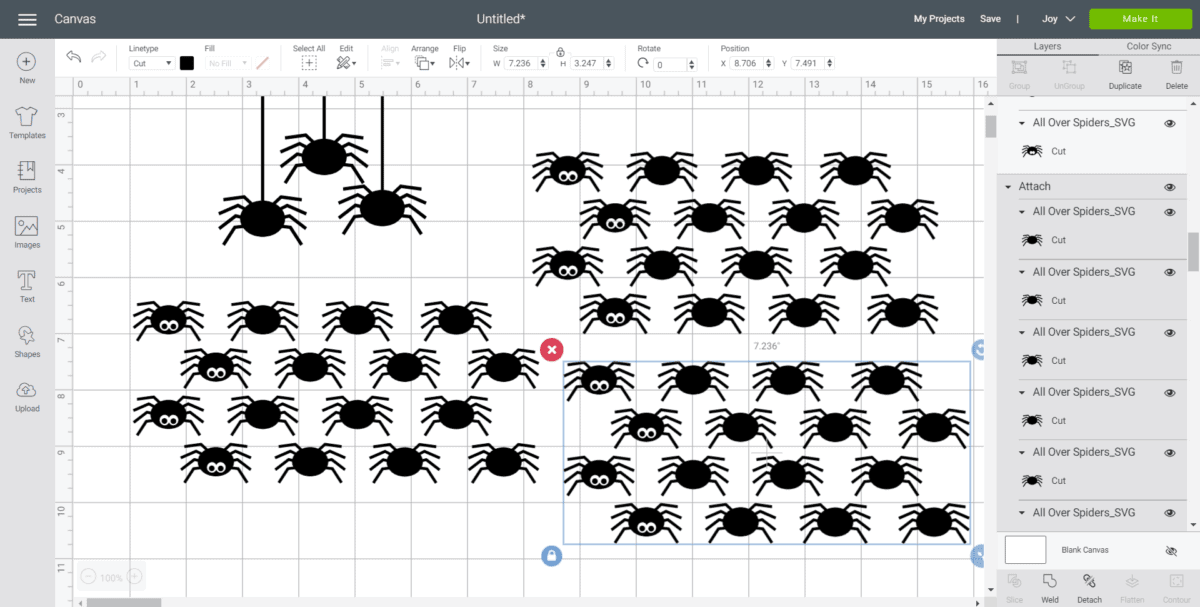
Maintain the size or adjust to fit your jars. To adjust the size, highlight the image and click on the size box in the top toolbar. Change the measurement to suit your jars accordingly.
Creating BOO Words
Select the text icon from the toolbar.
Type BOO.
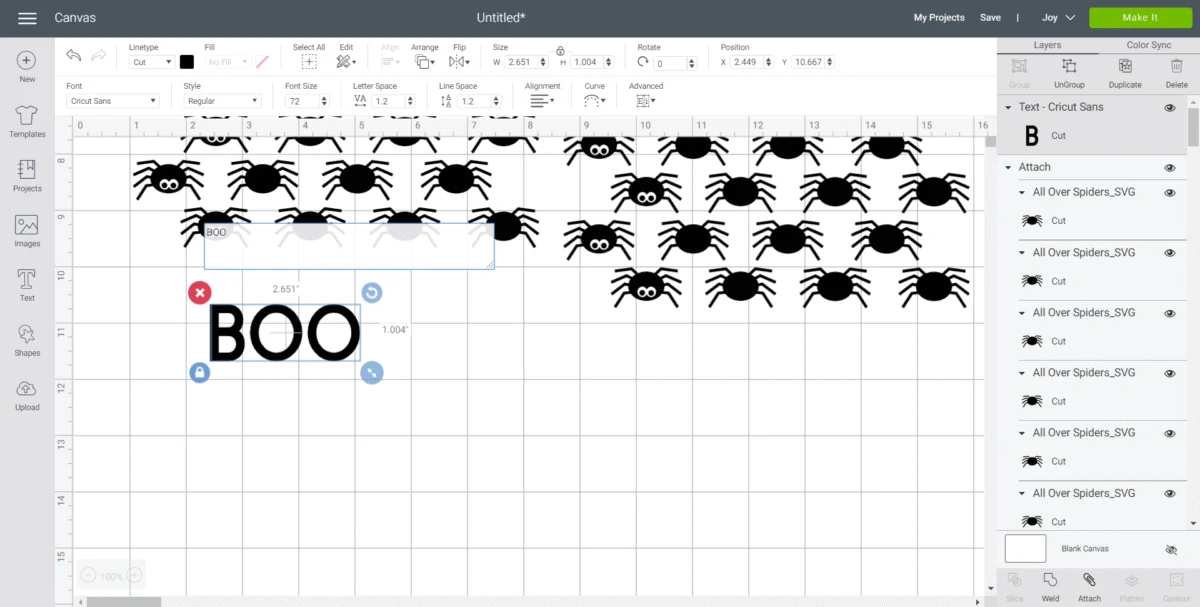
Change the font to “Little White Lies”.
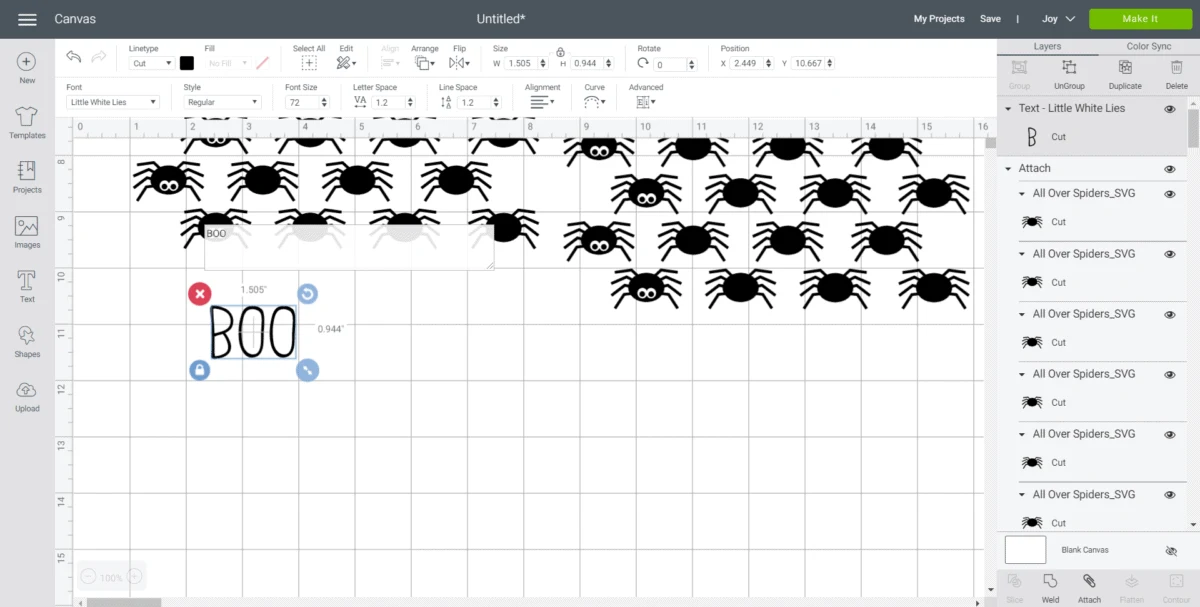
With the word highlighted, adjust the letter spacing to 0.7.
Stretch the lettering by clicking on the lock symbol above the size section and adjusting the height to 1.7” while keeping the width the same.
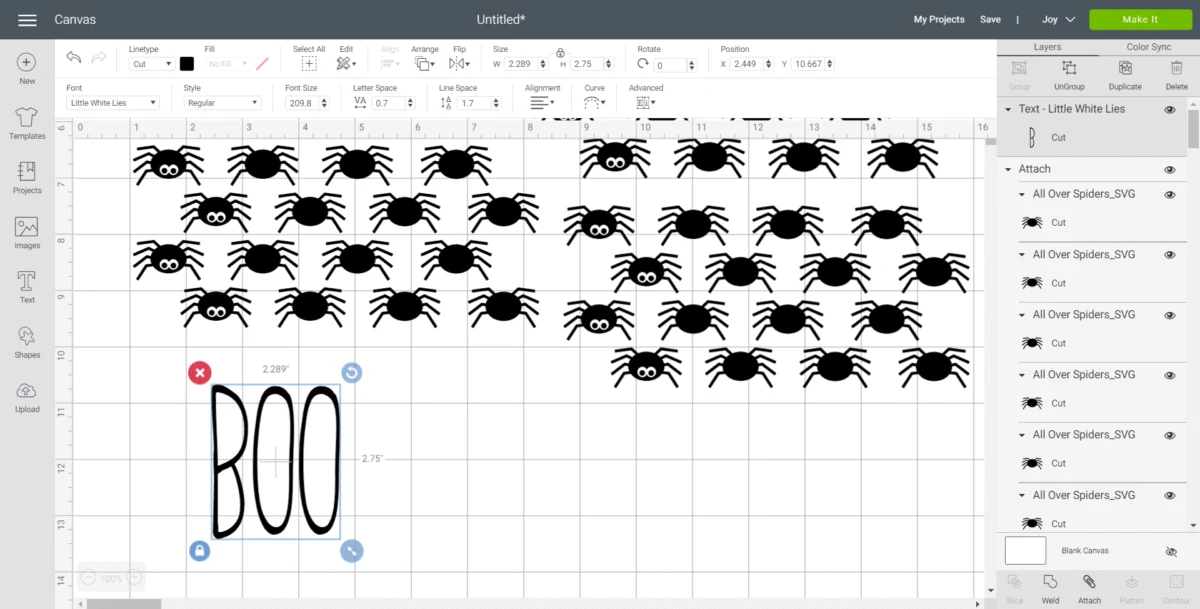
Next, click on the unlock symbol and adjust the word height to 2.75”.
With the word highlighted, click on the “Attach” button.
Cutting the Vinyl Spiders
Select “Make It” in Design Space.
Choose “On Mat” to cut vinyl using Cricut Joy cutting mat.
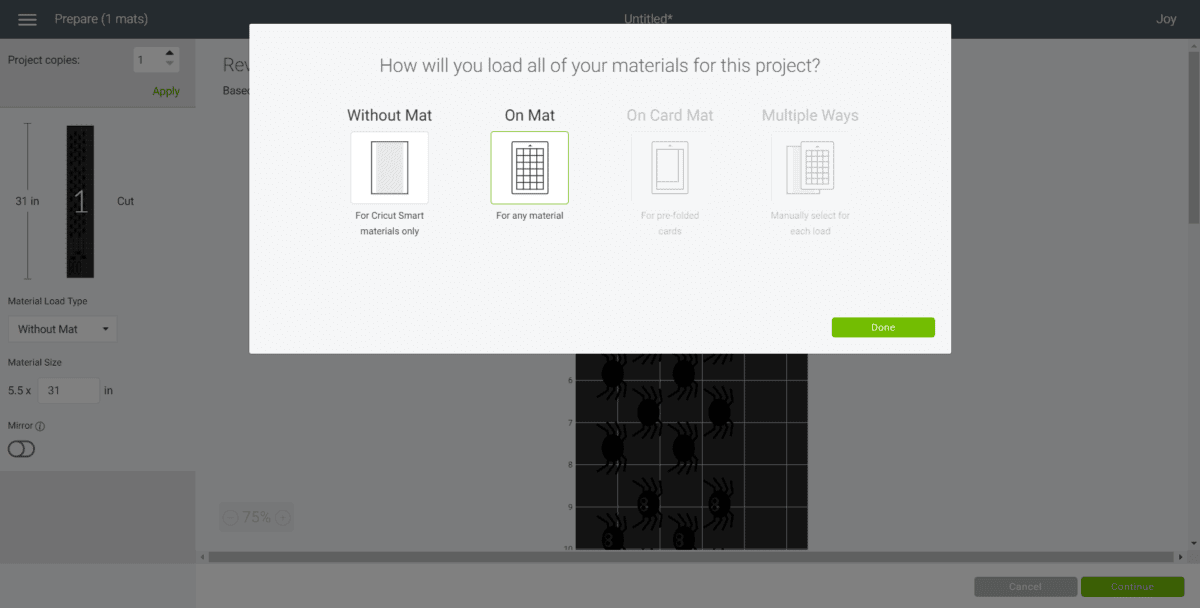
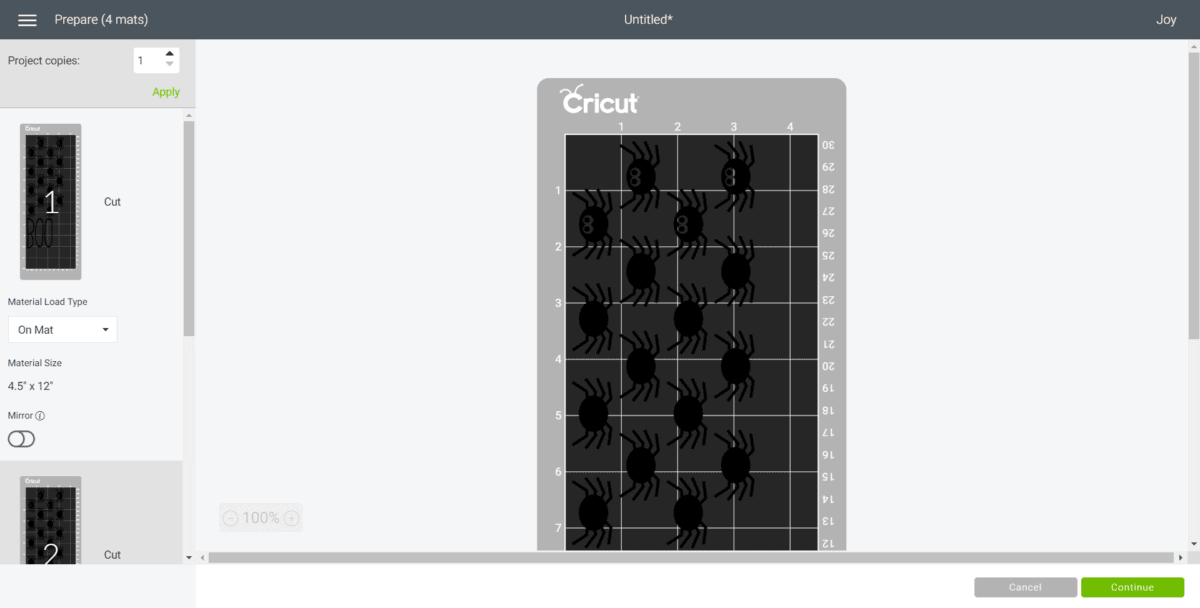
Follow prompts for loading the mat into the Cricut Joy and cutting the Premium Vinyl. When prompted, unload the mat from the cutting machine.
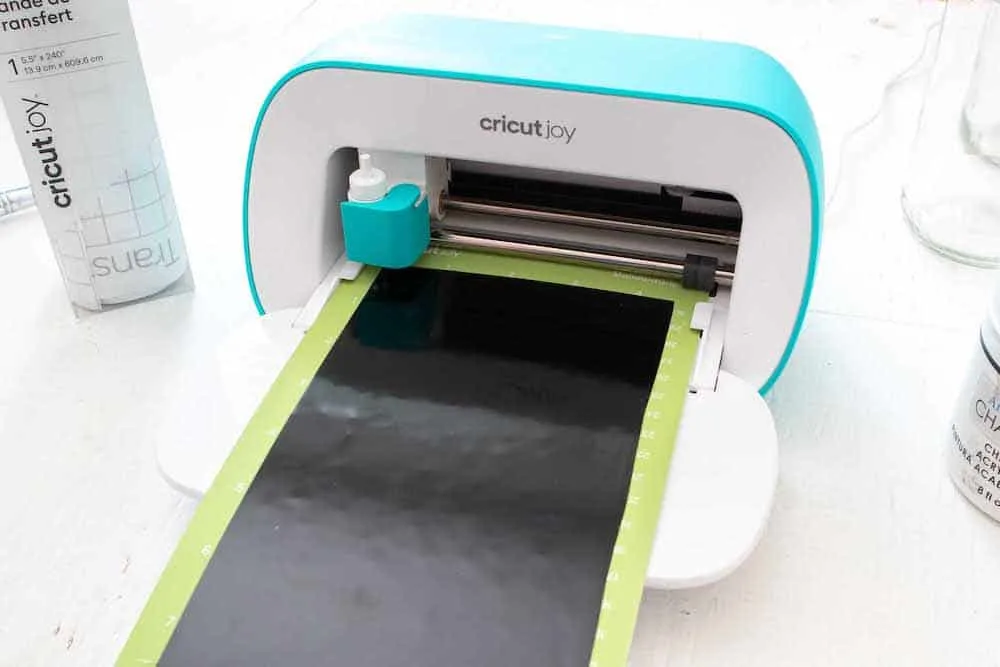
Remove the Premium Vinyl from the mat.
How to Make the Spider Vases
Using the weeding tool, peel away the excess vinyl around the cut images and discard.
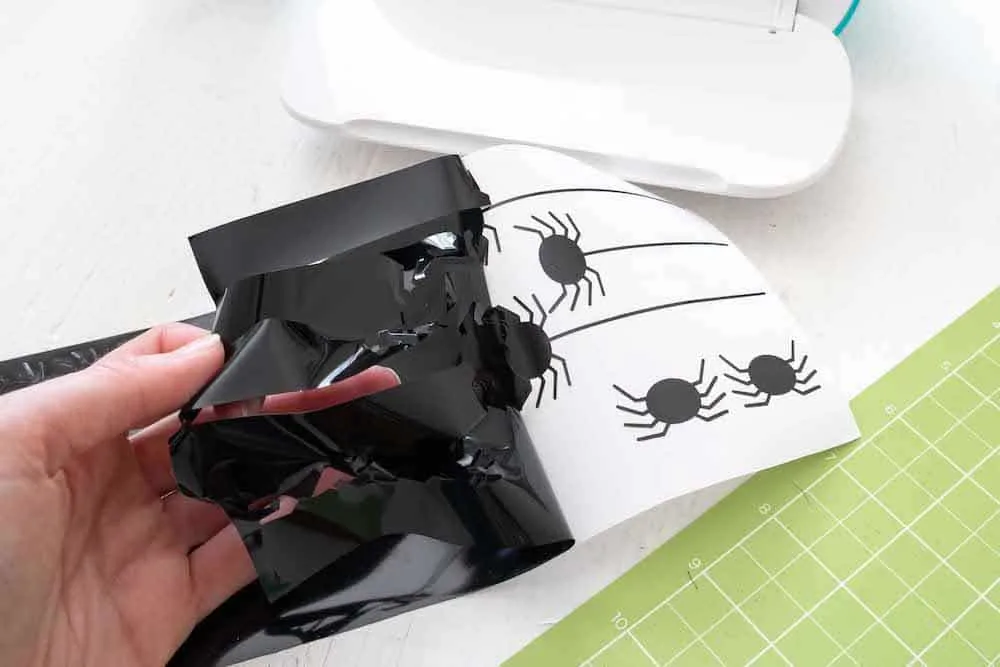
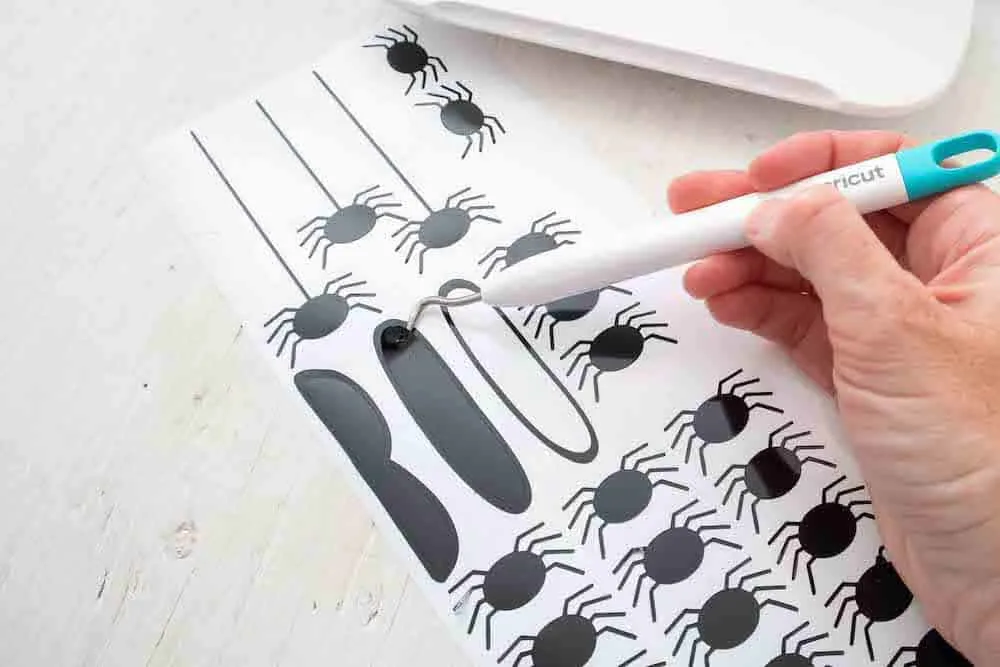
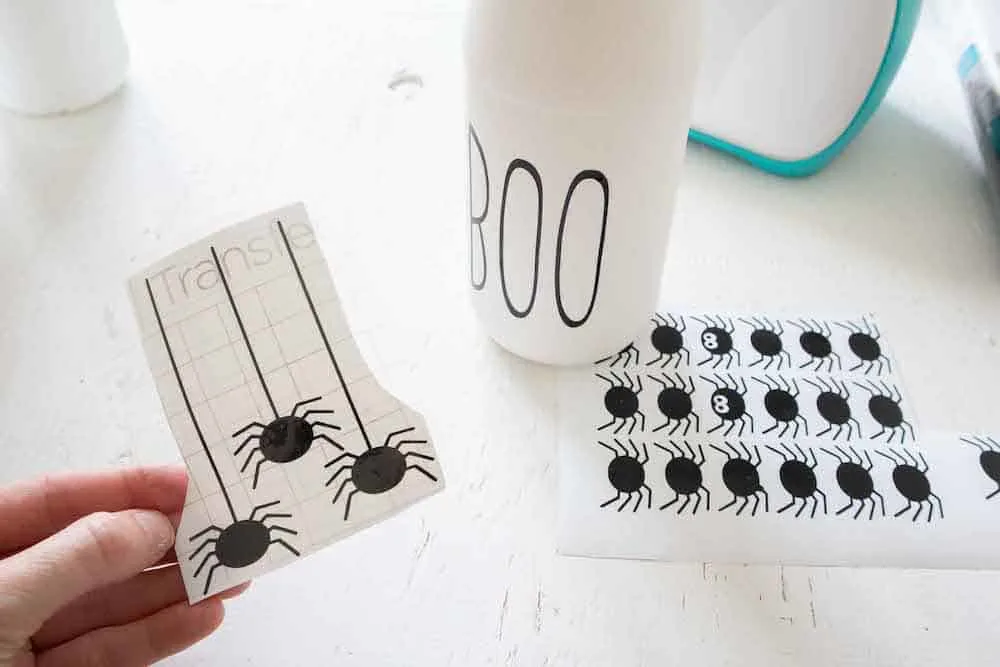
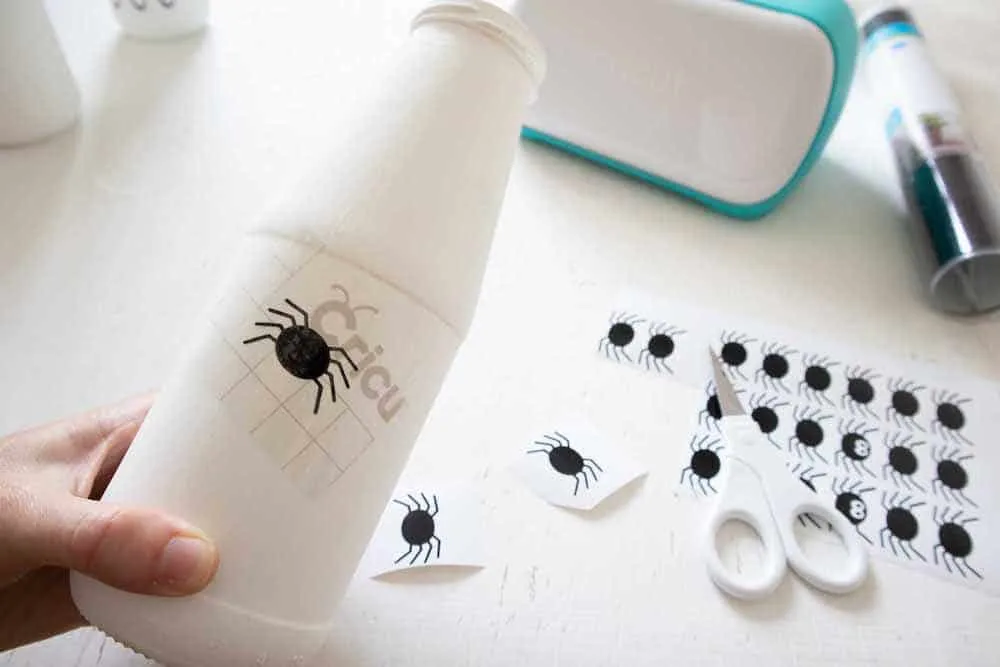
Cut around each spider and image with a pair of scissors.
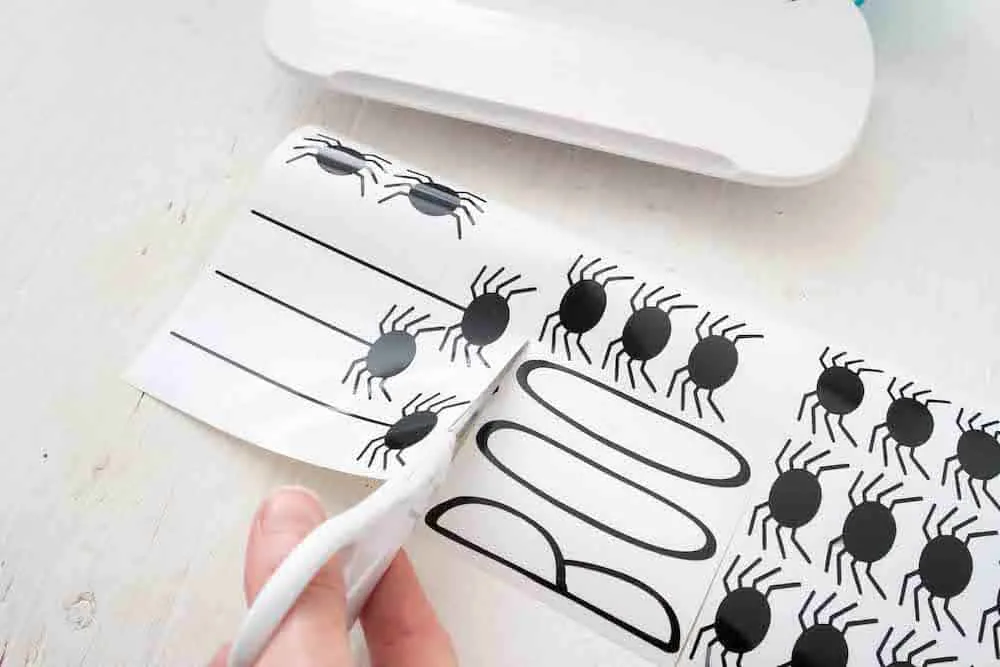
Cut a piece of transfer tape a bit larger than the size of the word BOO.
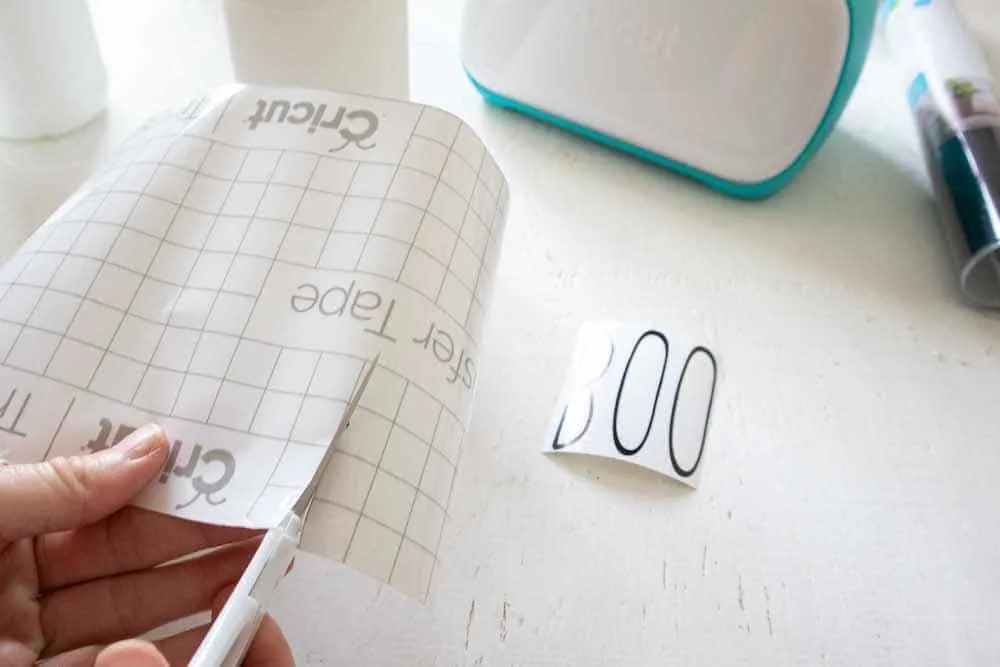
Peel away the transfer tape backing but ensure the transfer tape is not overly sticky. Dab the sticky side of the transfer tape with your hand to weaken the adhesive.
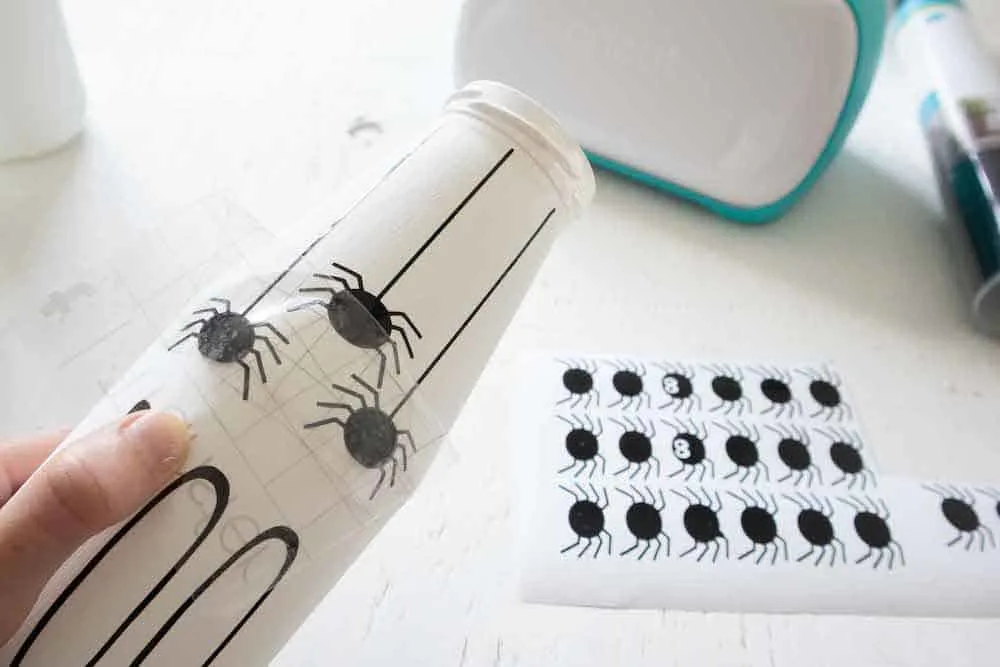
Place the transfer tape overtop of the image. Gently rub the vinyl to help it stick to the transfer tape. Peel away the vinyl backing, leaving just the image adhered to the transfer tape.
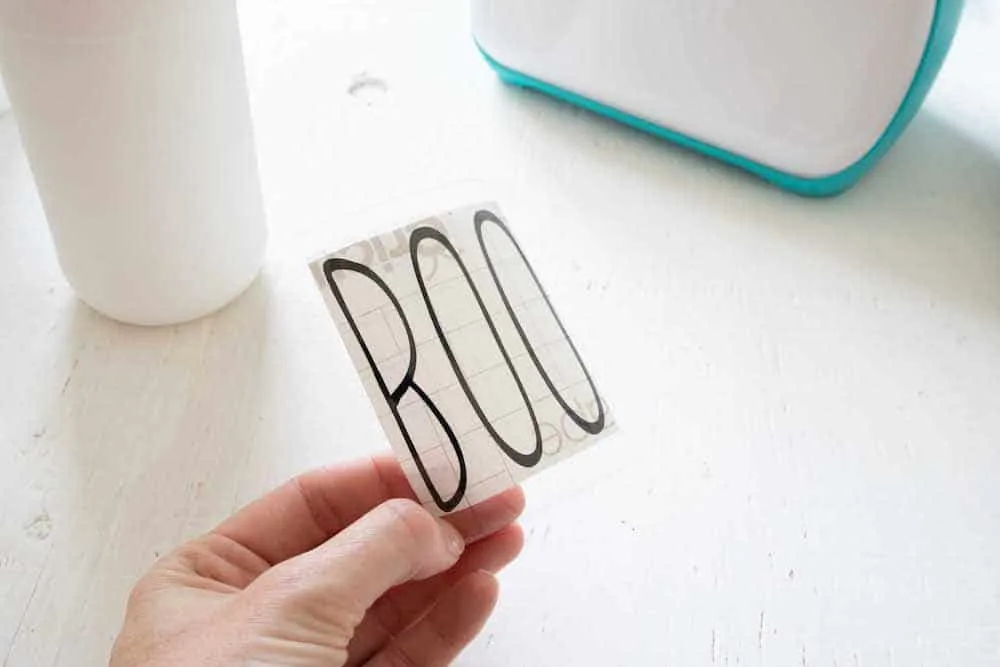
Position the image with the transfer tape on to the lower part of the jar and press in place.
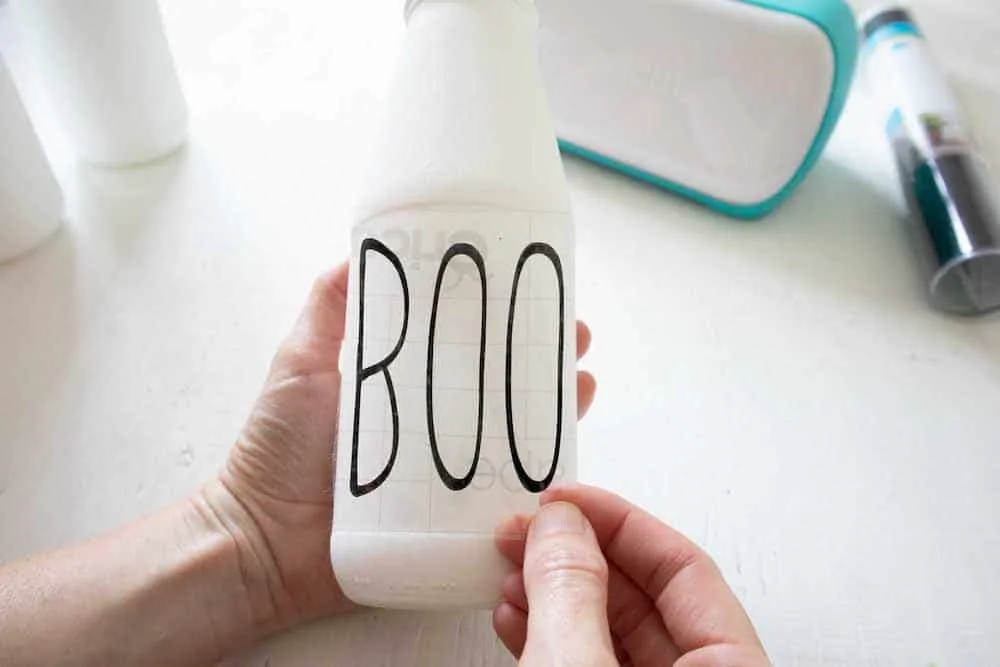
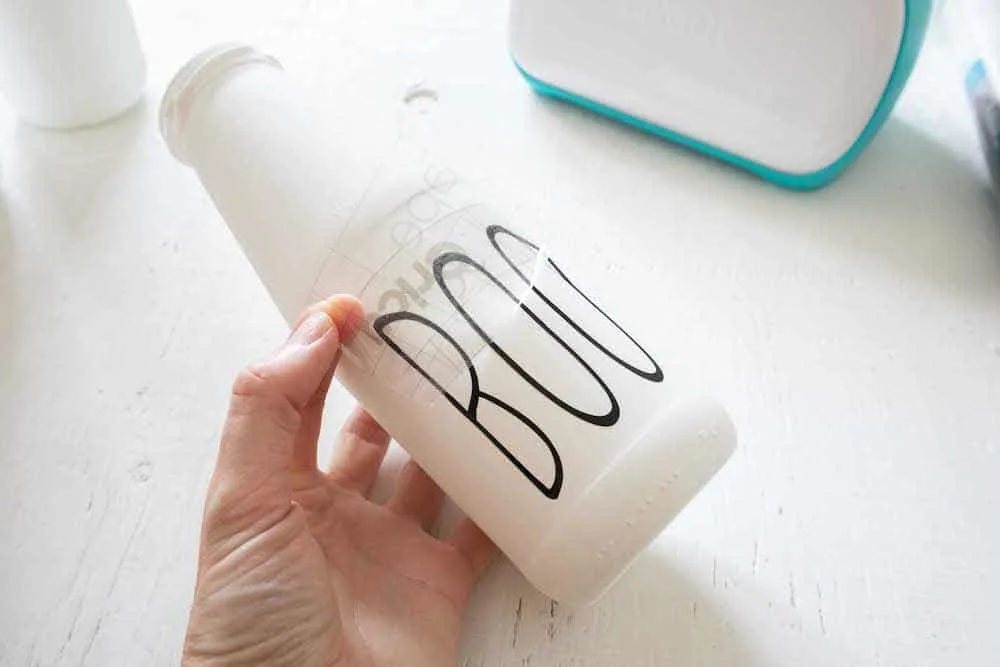
Press the vinyl down with your fingers to help it to stick to the painted glass jar.
Slowly and carefully remove the transfer tape leaving the vinyl image on the jar.
Repeat for the other spider images placing them all over the jar in a random pattern.
To finish, fill the containers with artificial flowers or other Halloween decor.
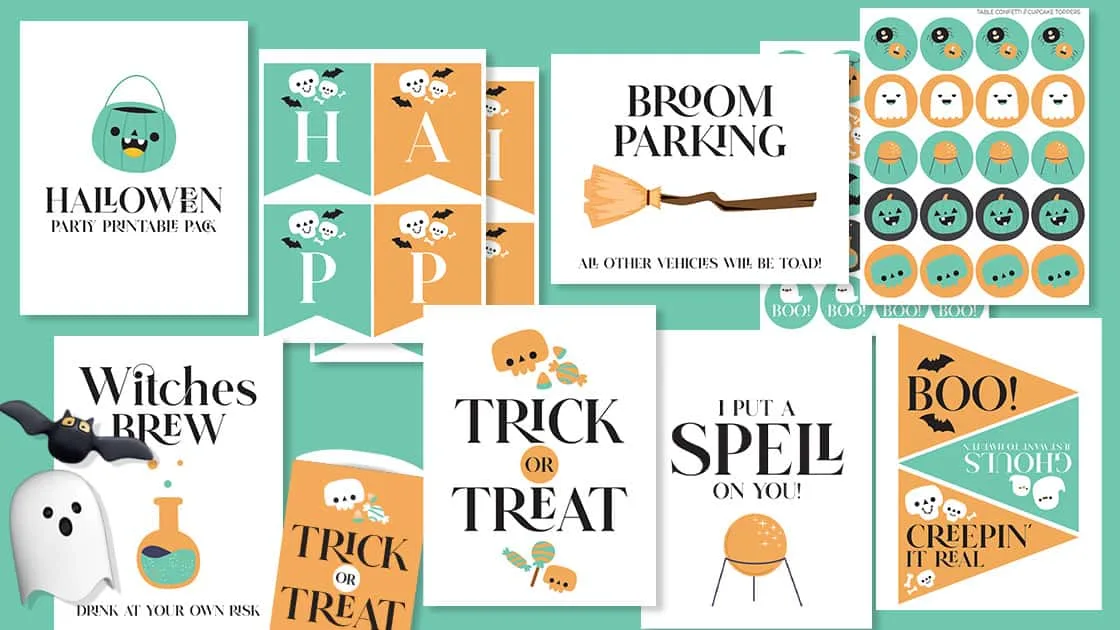
Hurry! Get Your Halloween Printables Pack Now!
This fun Halloween printables pack has banners, signs, treat bags and cupcake toppers. Don’t miss out!
Be sure to Pin This to keep for later or share with friends.
Want more Halloween DIY projects? You’ll love these crafts:
- Rae Dunn Inspired Dollar Store Pumpkins
- Felt Halloween Garland
- 3D Felt Pumpkins
- Cricut Spider Web Wall Hanging


Sheila
Saturday 15th of October 2022
where is the free bottle spider web?
Kimberly
Saturday 15th of October 2022
Hi Sheila, the link is under the supplies section - the hanging spider SVG file