Cinnamon stick Santa ornaments are so much fun to make because they are easy to assemble and add a warming scent of spice to the air. Our vintage-style cinnamon stick ornaments use yarn trim to give the tree decorations an old-fashioned look.
If you can paint and glue, then you can make these ornaments! They only look complicated!
These easy cinnamon stick crafts are the perfect small gift for:
- Teachers
- Hostess gift
- Neighbor gifts
- Mail delivery person
- Gift toppers
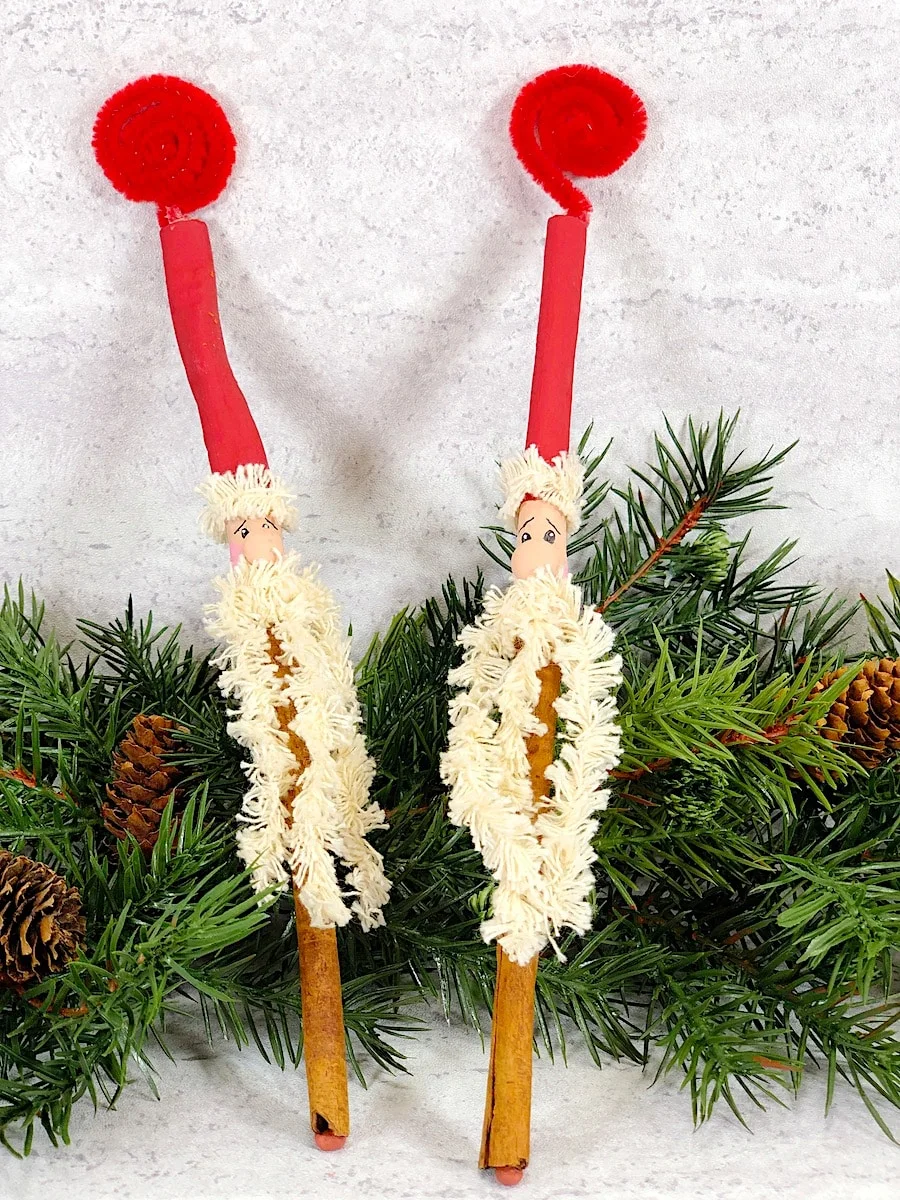
The unique part about these cinnamon stick ornaments is that we used extra long cinnamon sticks to get that long, vintage look of old-fashioned Santas. Instead of the short cinnamon sticks you find in the grocery store, we used 10-12″ long cinnamon sticks.
You can often find these sticks in craft stores, as well as the spice aisle in specialty grocery stores. Or look in the spice aisle of your grocery store, you may be surprised to find them there!
In addition to the long cinnamon sticks, we used a yarn fringe trim that has a nostalgic feel to it. The trim we used is often used in doll making, so you may want to look in that section of the craft store to source your trim.
If you cannot find this type of fringe trim, you can use fur trim, chenille trim or even lace trim.
This is just one of our 75 No-Sew Christmas Ornament DIYs. Be sure to check out more of our ideas!
These cinnamon stick Santas are so easy to make that even older kids, tweens and teens will have fun making them.
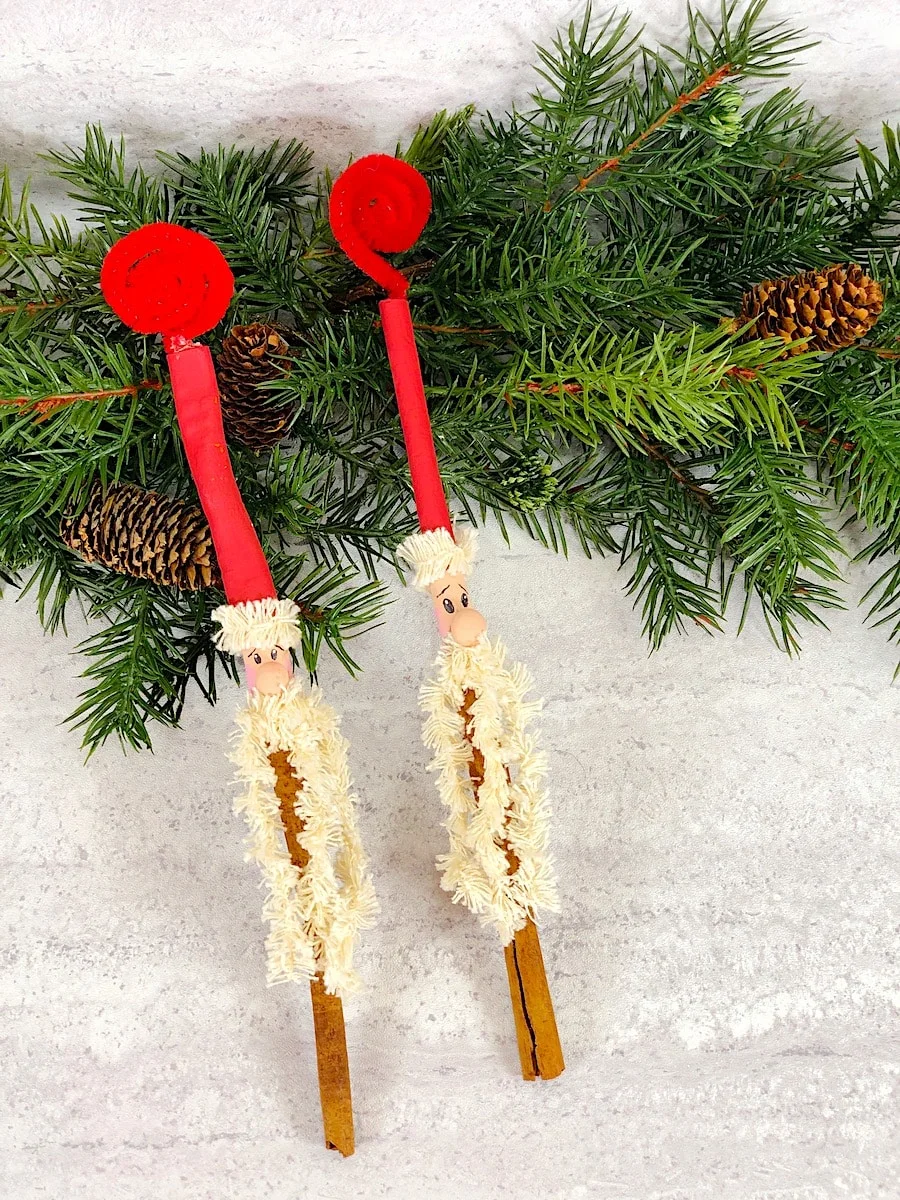
How to Make Cinnamon Stick Santa Ornaments
Materials
- Cinnamon Sticks (10” to 12” long)
- Very Small Wooden Beads
- Fringe Trim
- Red Chenille Stem Pipe Cleaner
- Acrylic Craft Paint (Red, Light Peach or other flesh tone, Pink)
- Paintbrushes
- Glue Gun and Glue Sticks or Craft Glue
- Black Permanent Marker with Fine Tip
- White Pen with Fine Tip (such as a Gelly Roll Pen or Sharpie)
- Tape (optional)
Instructions
Step 1
Paint the top four inches of each cinnamon stick with red acrylic craft paint. Let dry.
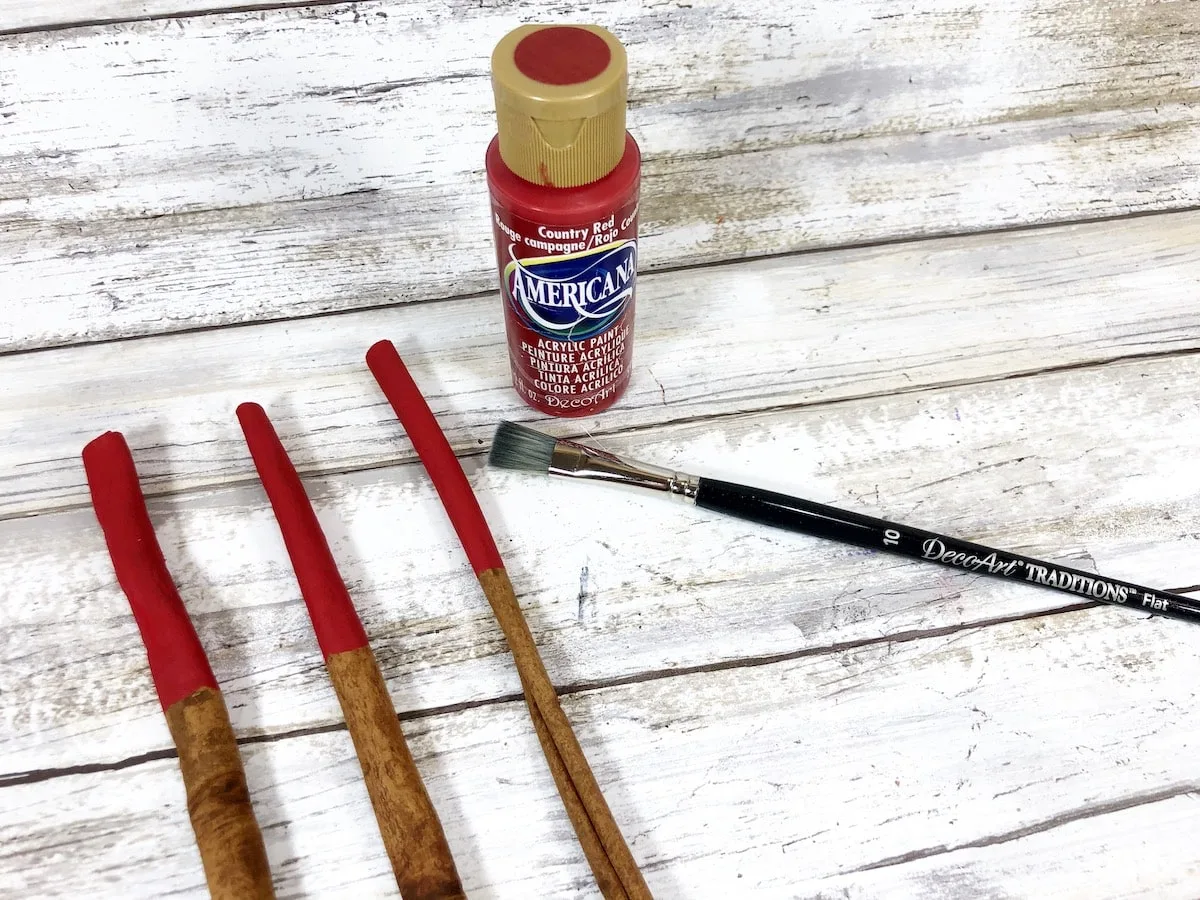
Apply a second coat, if needed.
Step 2
Paint a two-inch section with light peach acrylic craft paint or a flesh tone of your choice underneath the red section.
Place a few small wooden plugs (one for each ornament) on top of a sticky side of tape. Paint the wooden circles with the flesh color paint that you are using. Paint all around the wooden bead, but don’t worry about covering the part that is stuck to the tape.
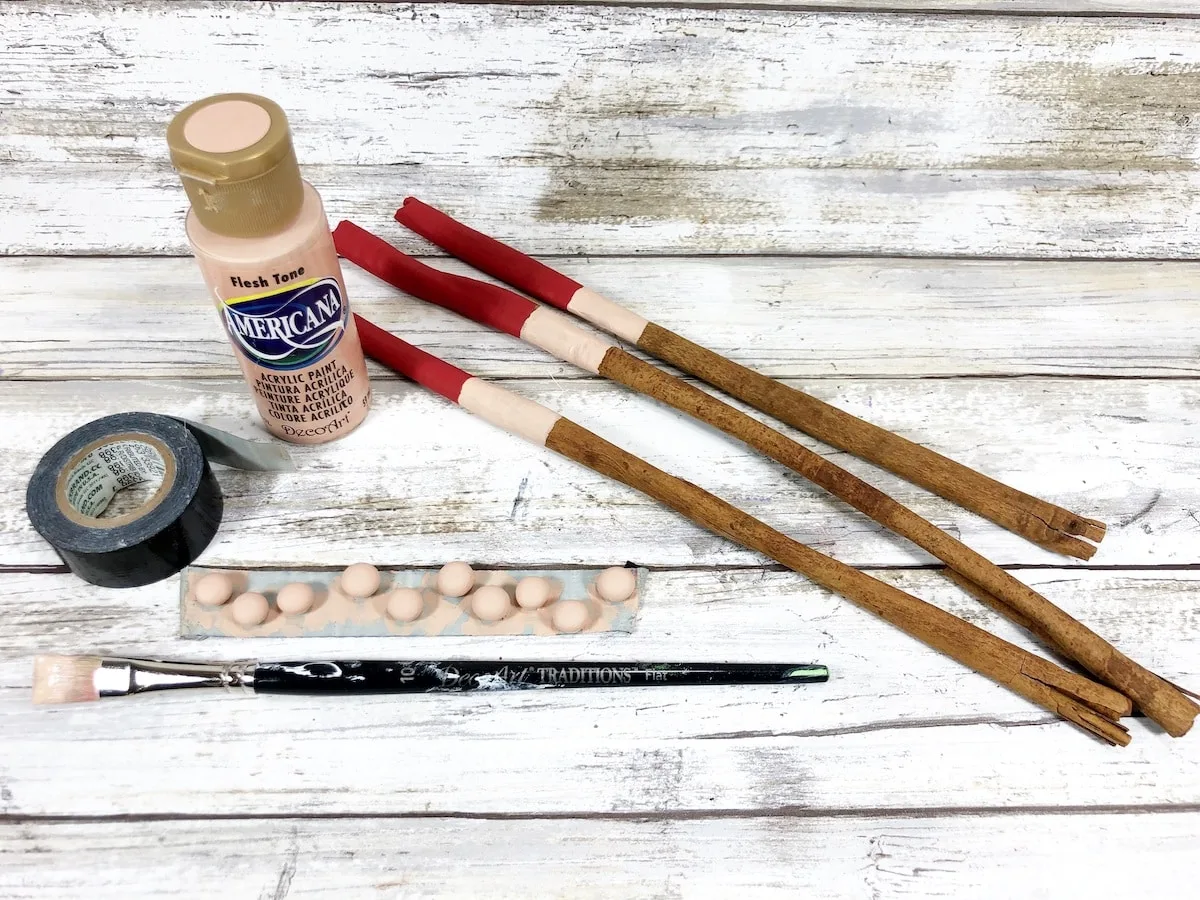
If you don’t have tape, you can paint the wooden balls on any surface.
Let dry and apply a second coat, if needed.
Step 3
Paint two rosy cheeks on either side of Santa’s face with pink acrylic craft paint and a small brush.
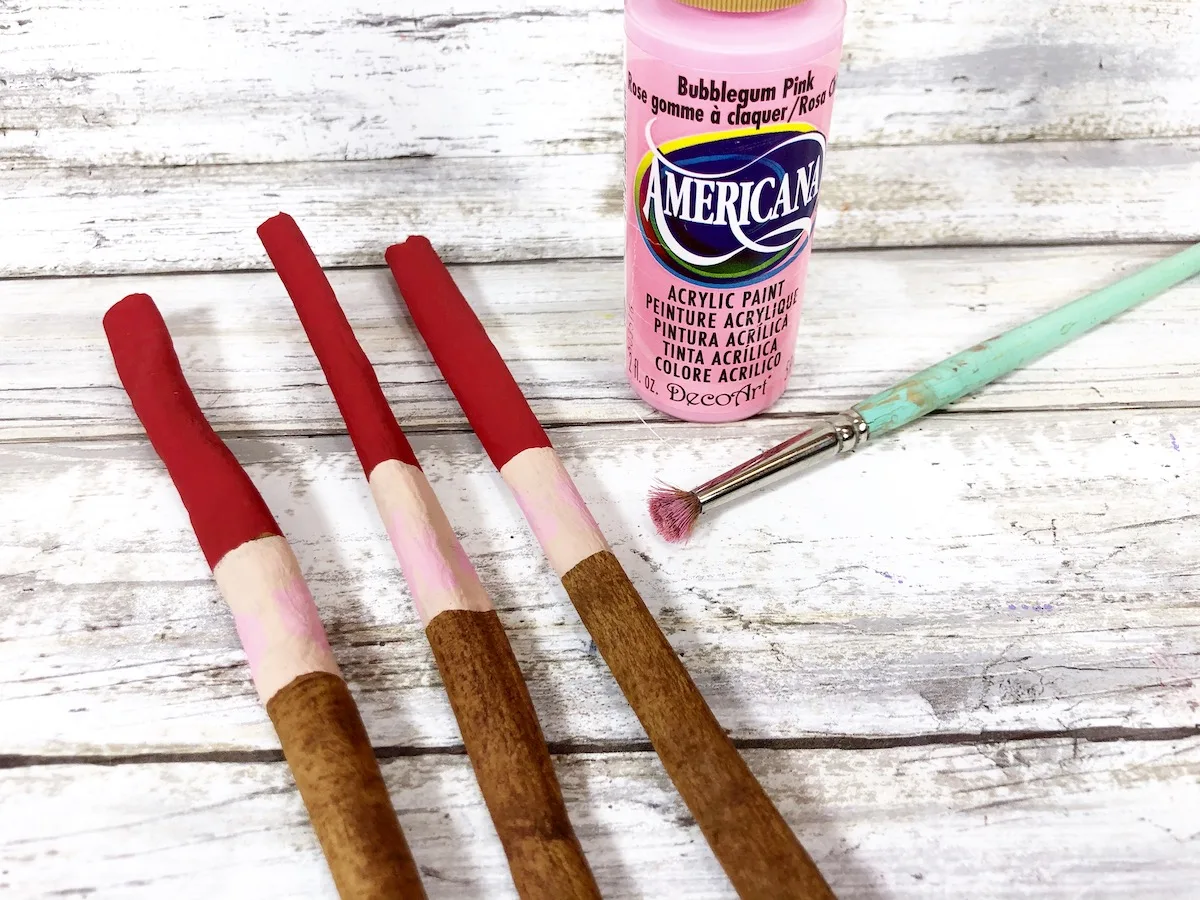
Set aside to dry.
Step 4
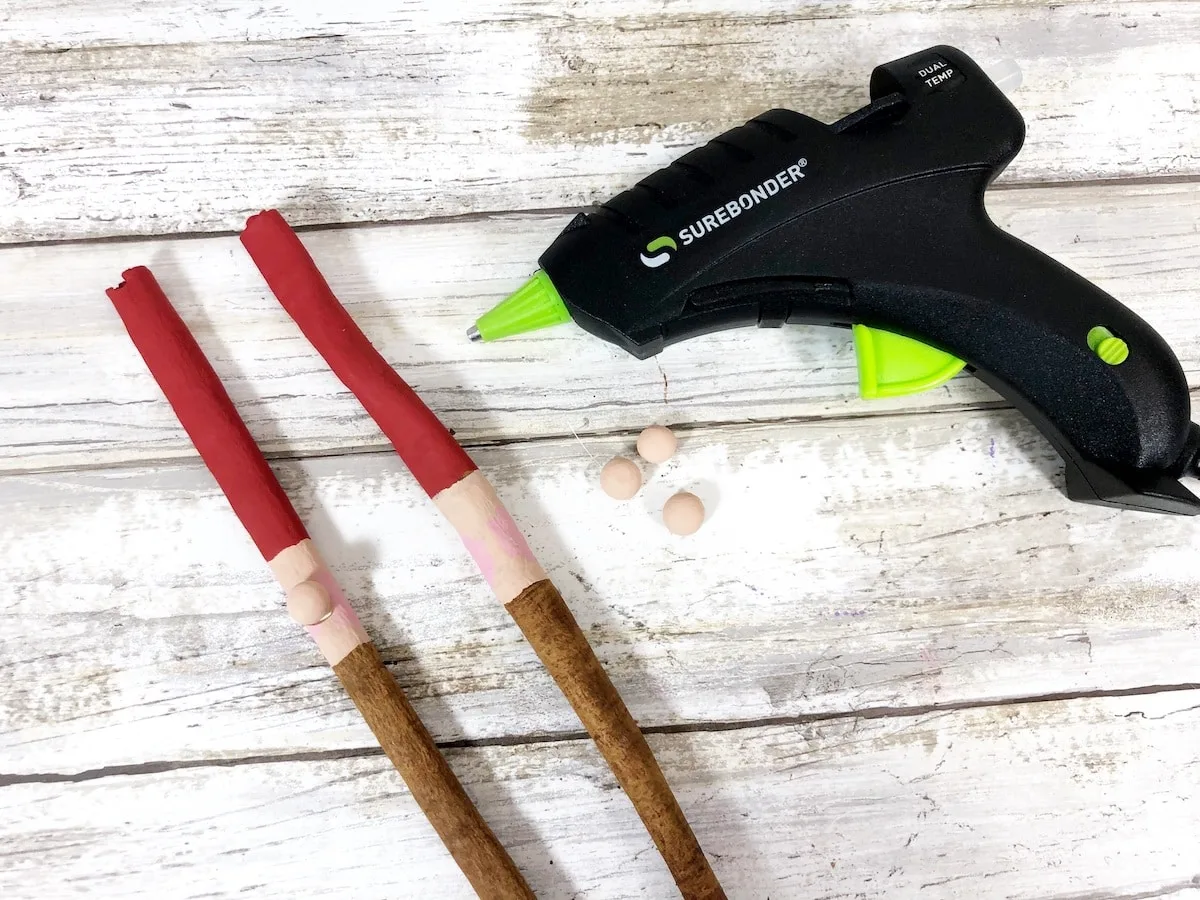
Glue a small wooden bead as a nose to the center of Santa’s face.
Step 5
Using a fine tip permanent black marker, draw on two ovals for eyes and two lines for eyebrows. Add highlight dots to each eye with a white pen.
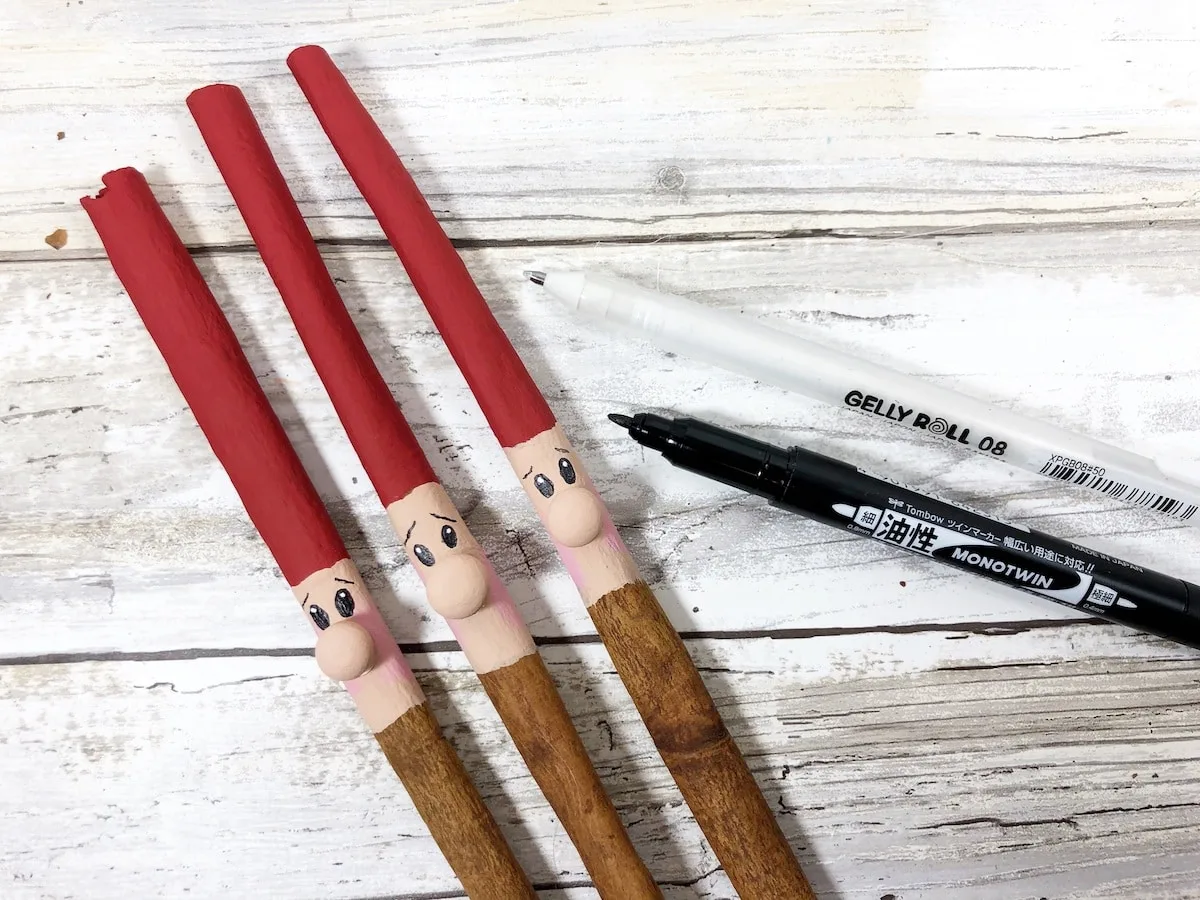
If you don’t have a white Gelly Roll pen or white Sharpie marker, use white acrylic craft paint and a super fine paintbrush.
Step 6
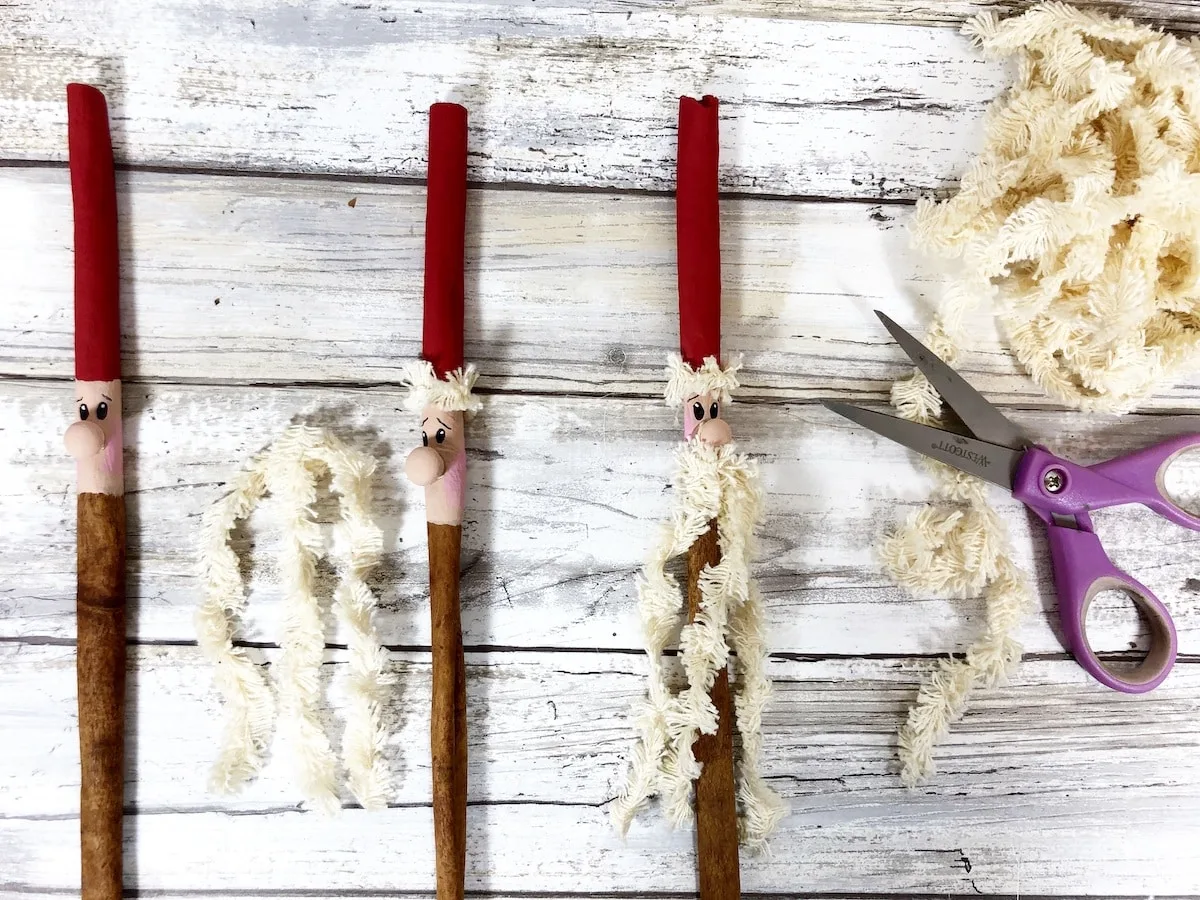
Glue a small piece of fringe trim around the cinnamon stick at the base of the red painted section.
Cut three 4-inch lengths of fringe trim. Glue the there pieces under Santa’s nose to create his mustache and beard.
Step 7
Cut a red chenille stem in half with scissors.
Roll the chenille stem (pipe cleaner) into a swirl shape with your fingers, leaving one-inch at the end straight.
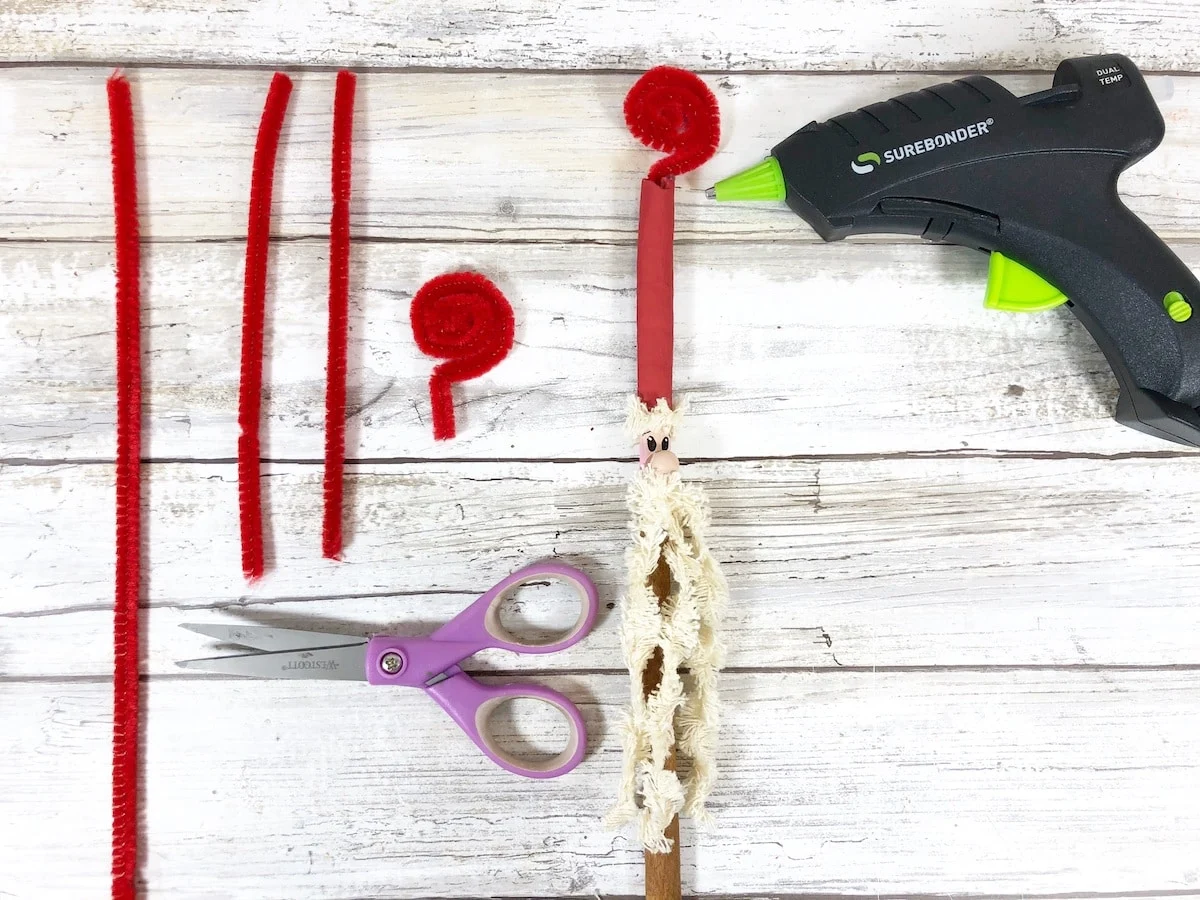
Apply a small amount of glue and insert the straight part of the chenille stem into the top end of the cinnamon stick. The looped portion can work as an ornament hanger, and also looks like an old-fashioned hat.
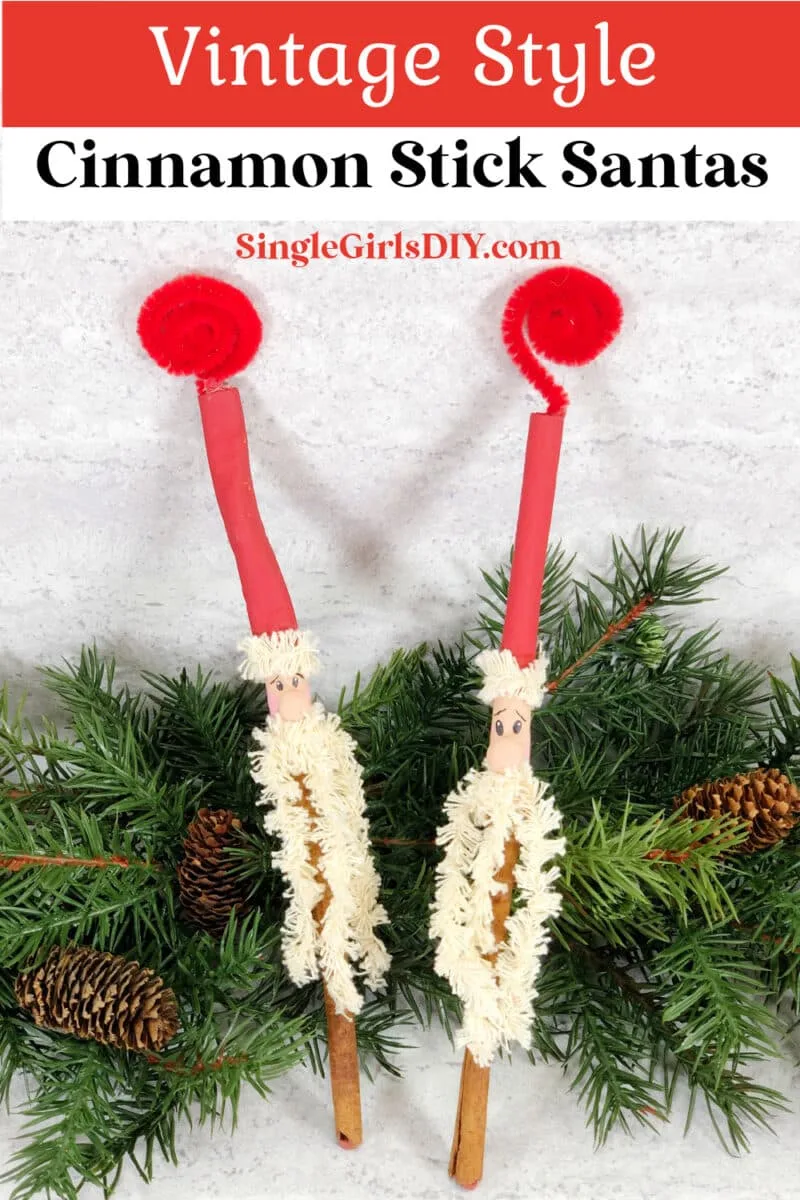
Be sure to Pin This craft to save for later!
If you like this Cinnamon Stick Santa Ornament, you will want to see these Santa ornaments, too:

