
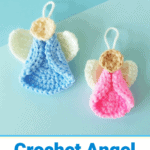
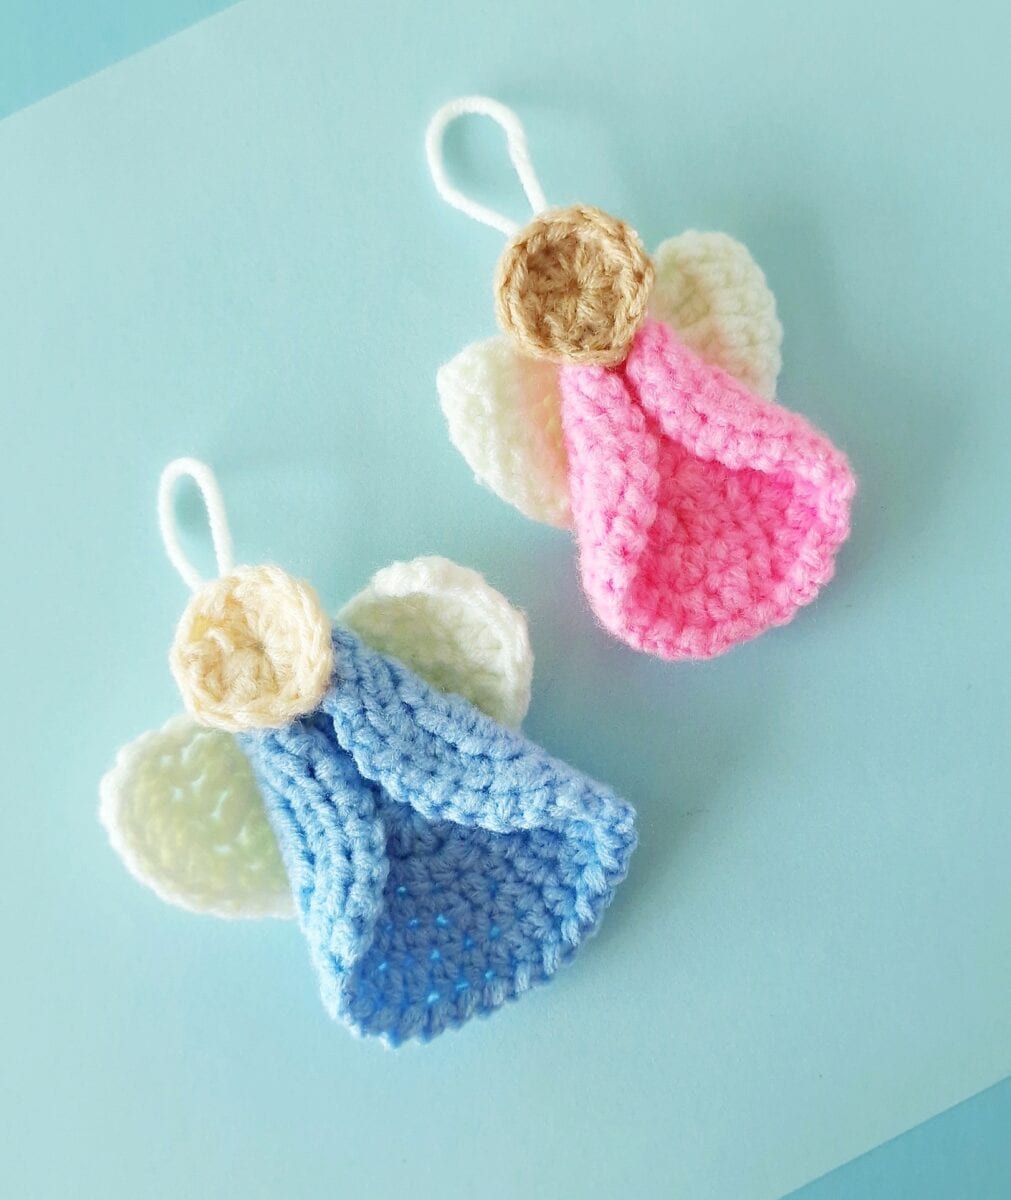
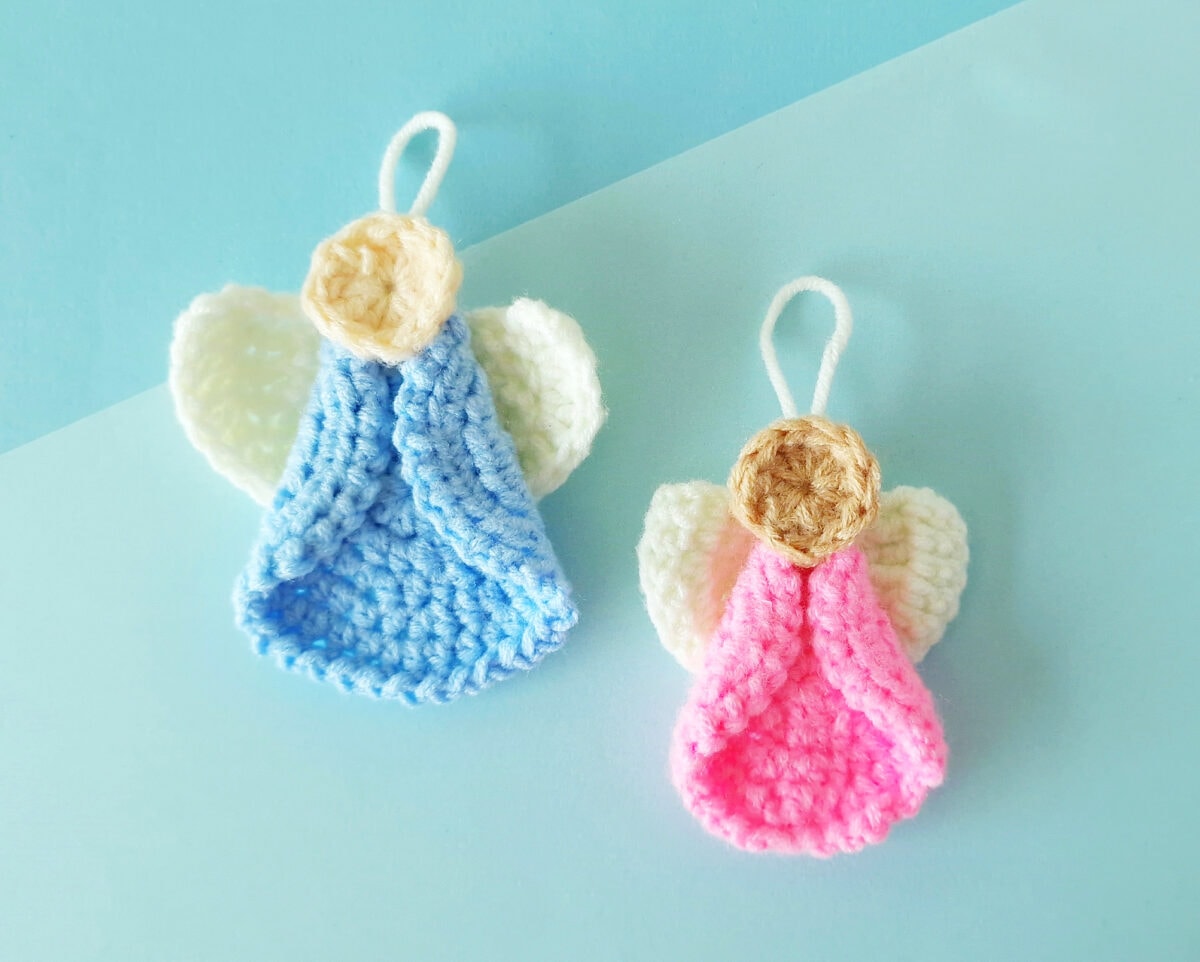
Our crochet angel pattern creates small angels with a halo that can be used as a hanger.
These DIY angels are perfect for:
- Christmas ornaments
- Easter gifts
- Baptism gifts
- Christening gifts
- Get Well Soon gifts
- Encouragement
- Operation Christmas Child gifts
Be sure to see our free Cross Bookmark Crochet Pattern, too!
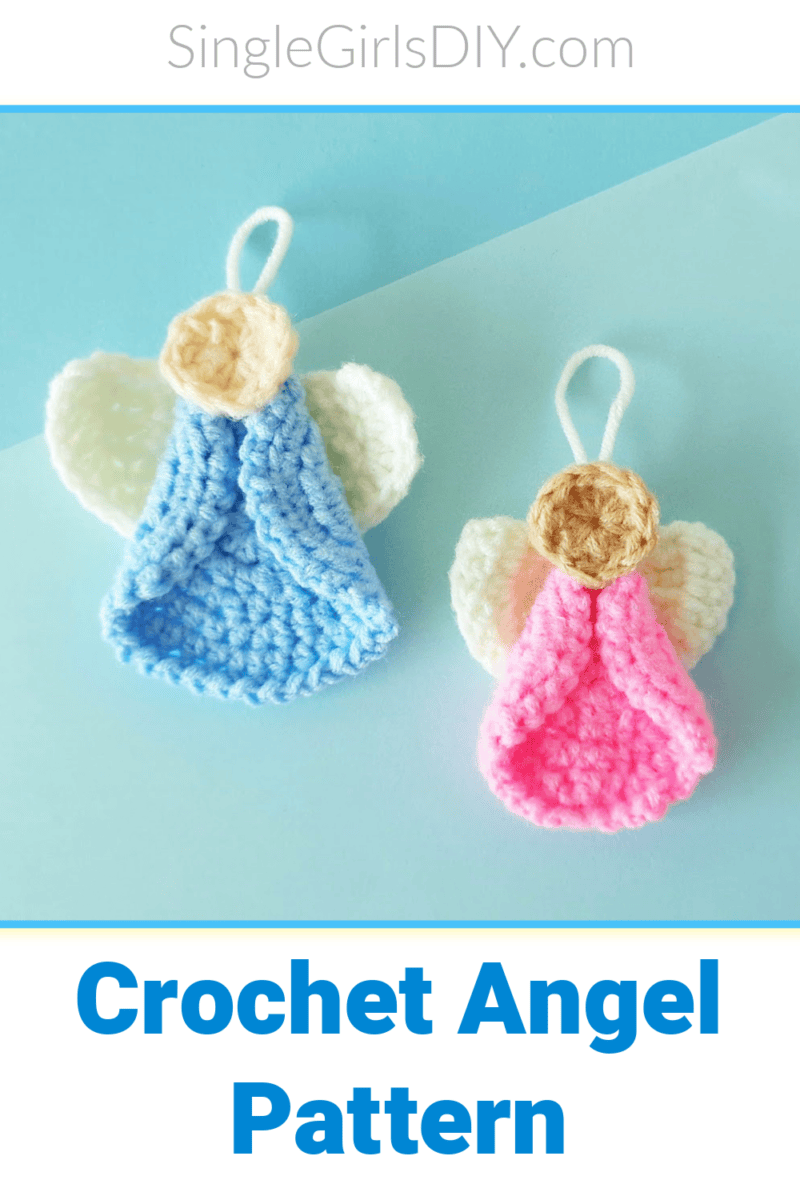
Crochet Angel Pattern
This pattern uses up to three different colors of yarn. You can make the skin, wings and body different colors, or you could use all one yarn color.
Supplies
- Yarn (we used 3 different colors)
- Crochet hook
- Scissors
- Tapestry needle or hot glue
Crochet Angel Body Pattern Instructions
Step 1: Start by making a magic ring.
Step 2: Chain (CH) 3.
Step 3: Work 8 Double Crochet (dc) into the magic ring then make a slip stitch (sl st) into the 3rd chain.
Step 4: Chain 2 again.
Step 5: Work 2 DC into each chain stitch of the previous round. End this round with a slip stitch.
Step 6: Chain 2.
Step 7: Work 1 DC into the next space and 2 DC into the next space.
Step 8: Repeat this pattern (1 DC into a space, 2 DC into the next space) until you reach the end of this round. Then make a slip stitch.
Step 9: Chain 2.
Step 10: Work 2 DC into the next two spaces (1 DC in each space), and again work 2 DC into the 3rd space (2 DC into the same space).
Step 11: Repeat this pattern (1 D, 1 DC, 2 DC) until you reach the end of this round. Then make a slip stitch.
Step 12: Chain 2.
Step 13: Work 3 DC into the next three spaces (1 DC into each space) and 2 DC into the 4th space.
Step 14: Repeat this pattern (1 D, 1 DC, 1 DC, 2 DC) until you reach the end of this round. Then make a slip stitch.
Step 15: Work 1 chain stitch on hook.
Step 16: Slip stitch into the next.
Step 17: Chain 1 then slip stitch into the next, and repeat this pattern around. Lastly, make a slip stitch.
Step 18: Now cut the yarn with a long tail and sew it at the backside of the pattern.
Crochet Angle Head Instructions
Step 1: Make a magic ring and then work 3 chains.
Step 2: Work 12 DC into the magic ring.
Step 3: Make a slip stitch into the third chain.
Step 4: Cut the yarn and sew it at the backside of the pattern.
Crochet Angle Wings Instructions
Step 1: Make a magic ring, then chain 3.
Step 2: Work 10 DC into the magic ring.
Step 3: Chain 4.
Step 4: Now yarn over twice in your hook.
Step 5: Insert your hook into the next space. See 4 loops in your hook.
Step 6: Yarn over again then pull through into the first loop.
Step 7: Yarn over and pull through 2 adjacent loops on the hook.
Step 8: Yarn over and pull through 2 adjacent loops on the hook.
Step 9: Yarn over and pull through the remaining 2 loops on the hook. This stitch is called extended treble crochet (ex TC).
Step 10: Work here another Ex Treble crochet into the same space. Follow steps 4 to 9 to make Ex Treble crochet. Make 2 Ex Treble crochet in the next space.
Step 11: Work Extended Double Crochet (Ex DC) into the next space. Yarn over and insert your hook into the next space, yarn over and pull through. See 3 loops on the hook. Yarn over and pull through into the first loop only. Yarn over and pull through the next 2 loops. Now yarn over and pull through the remaining two loops.
Step 12: Make another Ex DC in the same space.
Step 13: Work 4 DC into the next two spaces (2 DC in each space).
Step 14: Work 2 Ex DC into the next space, and 6 Ex Treble into the next 3 spaces (2 Ex TC in each space).
Step 15: Chain 3 and work Ex DC into the same space.
Step 16: Work 4 Ex DC into the next two spaces (2 Ex DC in each space).
Step 17: 1 DC into the next space.
Step 18: Work Half Double Crochet (HDC) into the next 10 spaces (1 HDC in each space).
Step 19: Now work 1 DC into the next space, and 6 Ex DC into the next 3 spaces (2 ex DC in each space).
Step 20: Cut the yarn with a long tail and sew it at the backside of the pattern.
Final Step: Use hot glue or needle and thread to attach the parts.
Fold in ¾ inch (2 cm) from both sides of the body pattern and glue or stitch them down. Glue or stitch the head to the top and wing to the backside to complete the angel pattern.
Save this free angel crochet pattern when you save it to Pinterest or Flipboard.
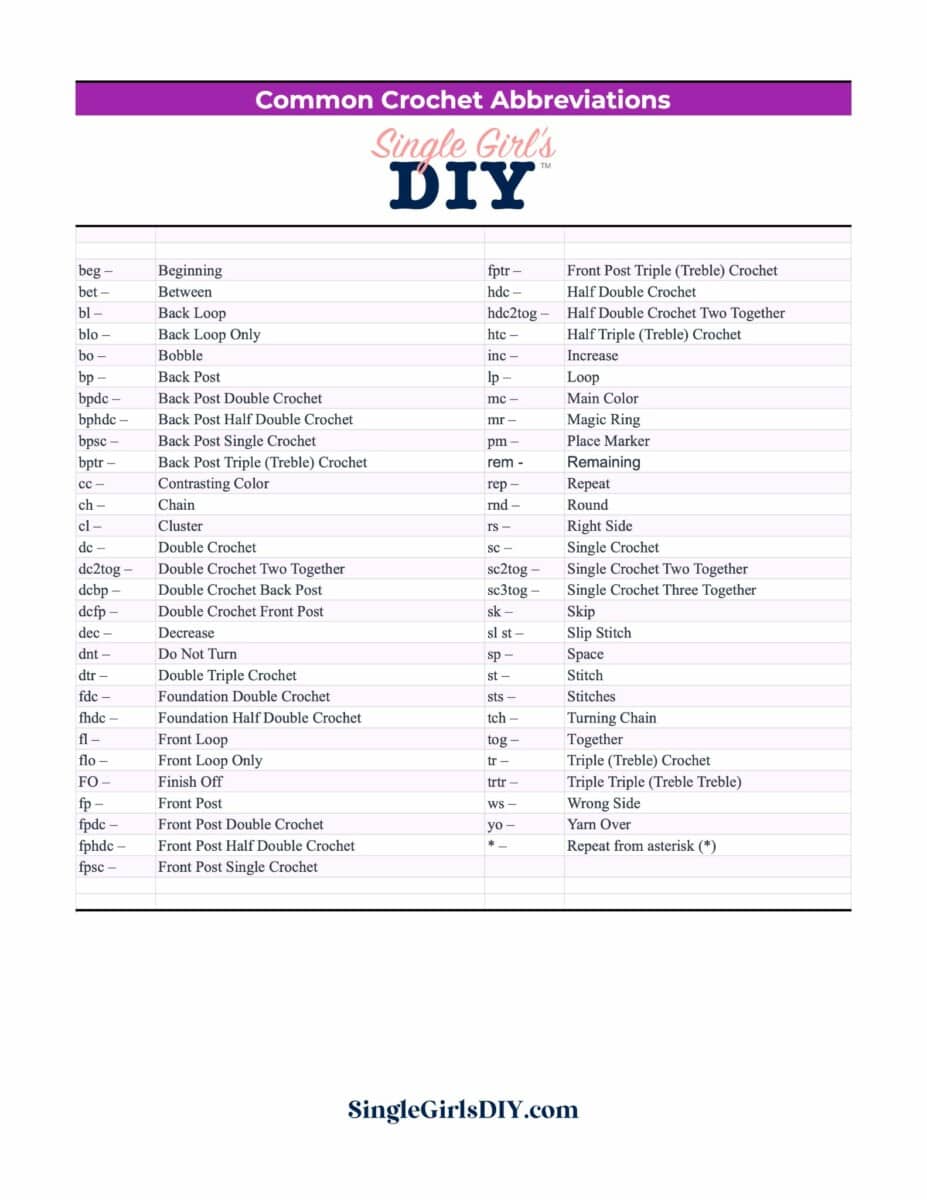
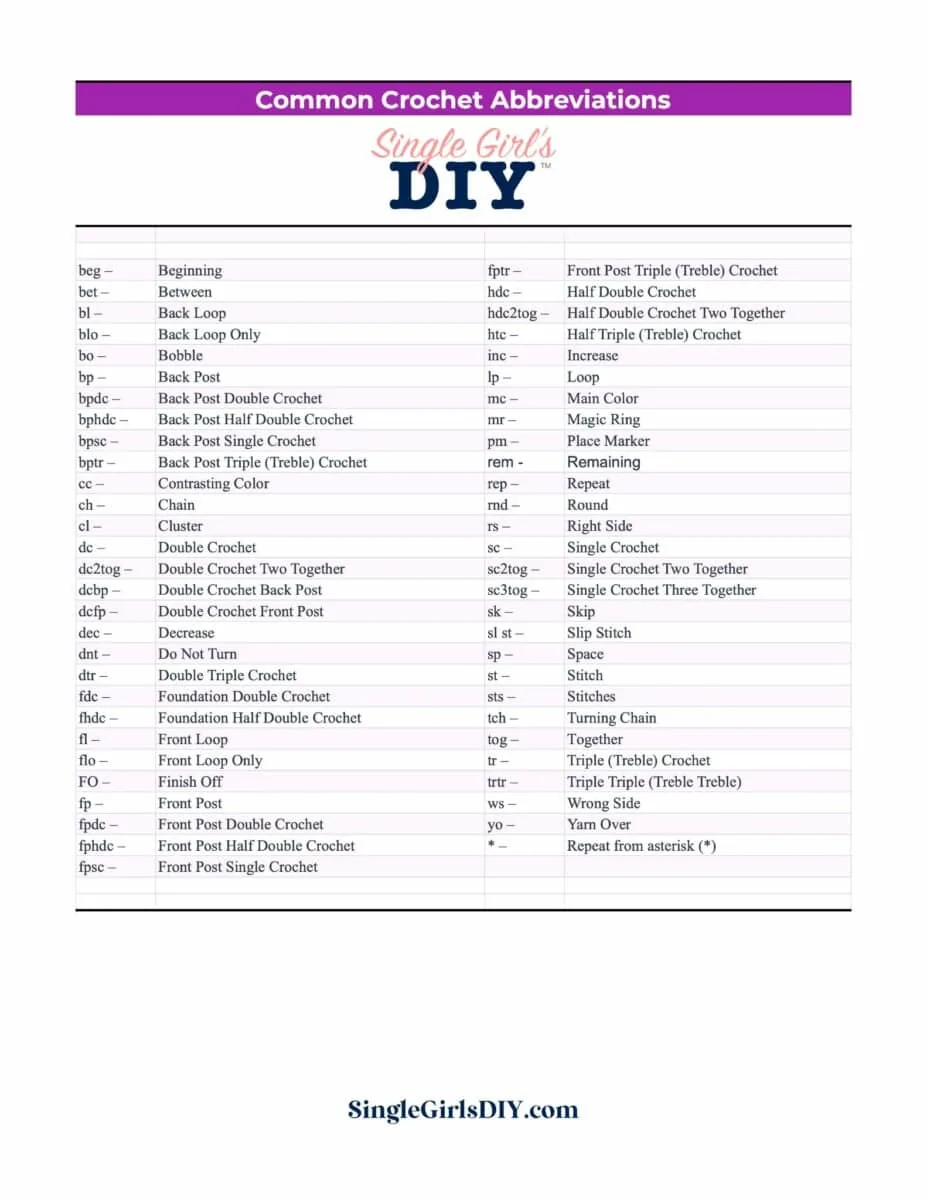
Free Crochet Abbreviations Chart
Get a free printable chart of all the crochet abbreviations you need to know when working on patterns.
The free download is in our pattern library.
Want more free crochet patterns? See these next:
- Easy Single Crochet Patterns
- 14 Baby Headband Crochet Patterns
- 12 Free Crochet Patterns for Baby Booties and Shoes
- 15 Free and Easy Baby Hat Crochet Patterns
