


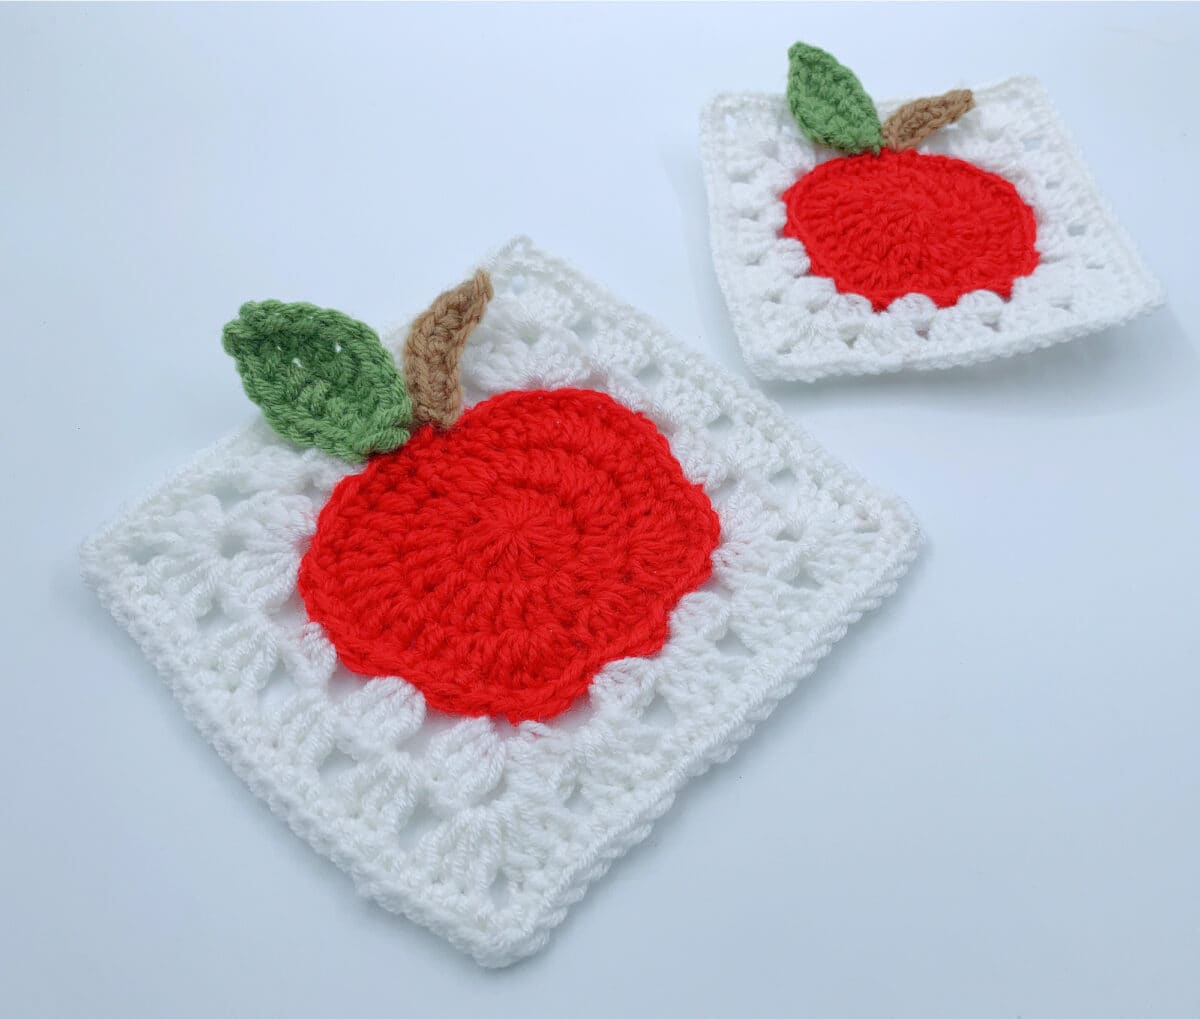
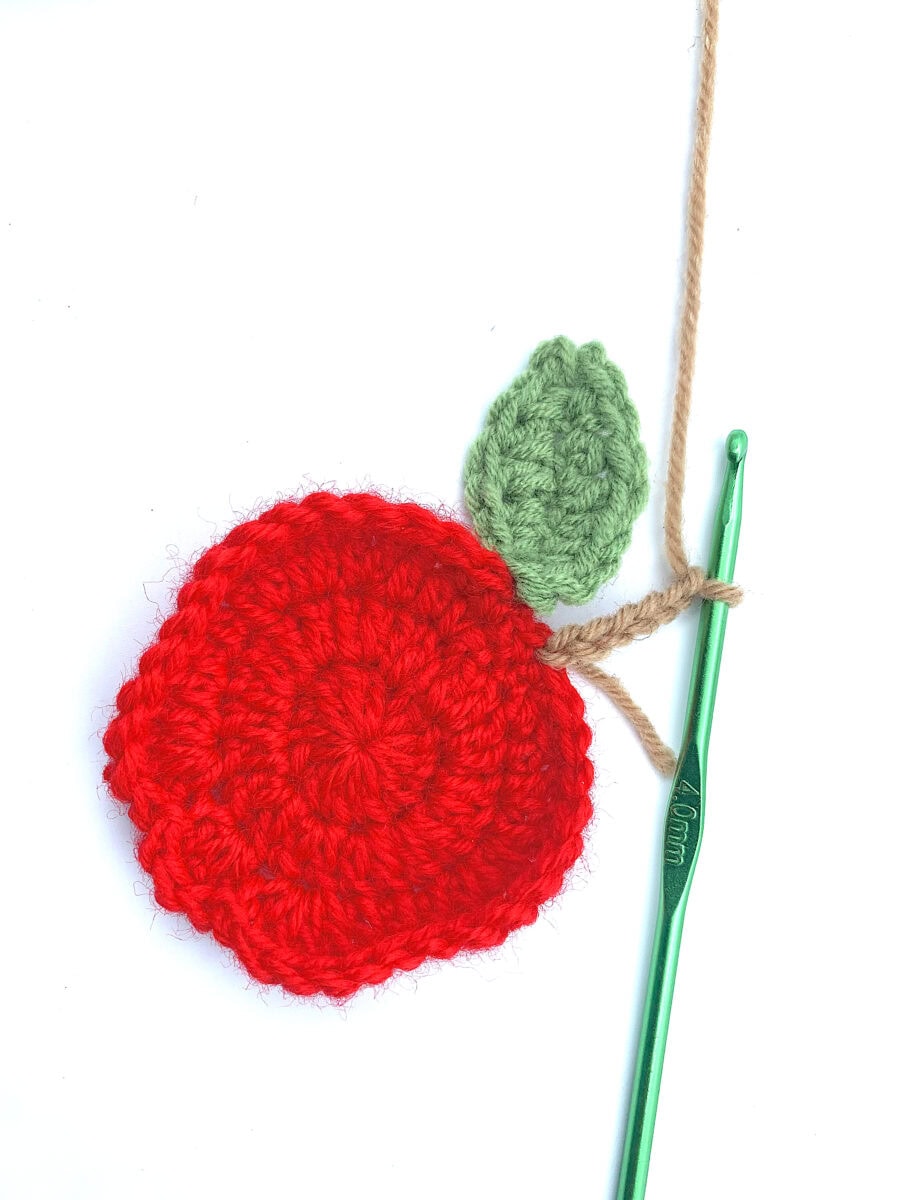
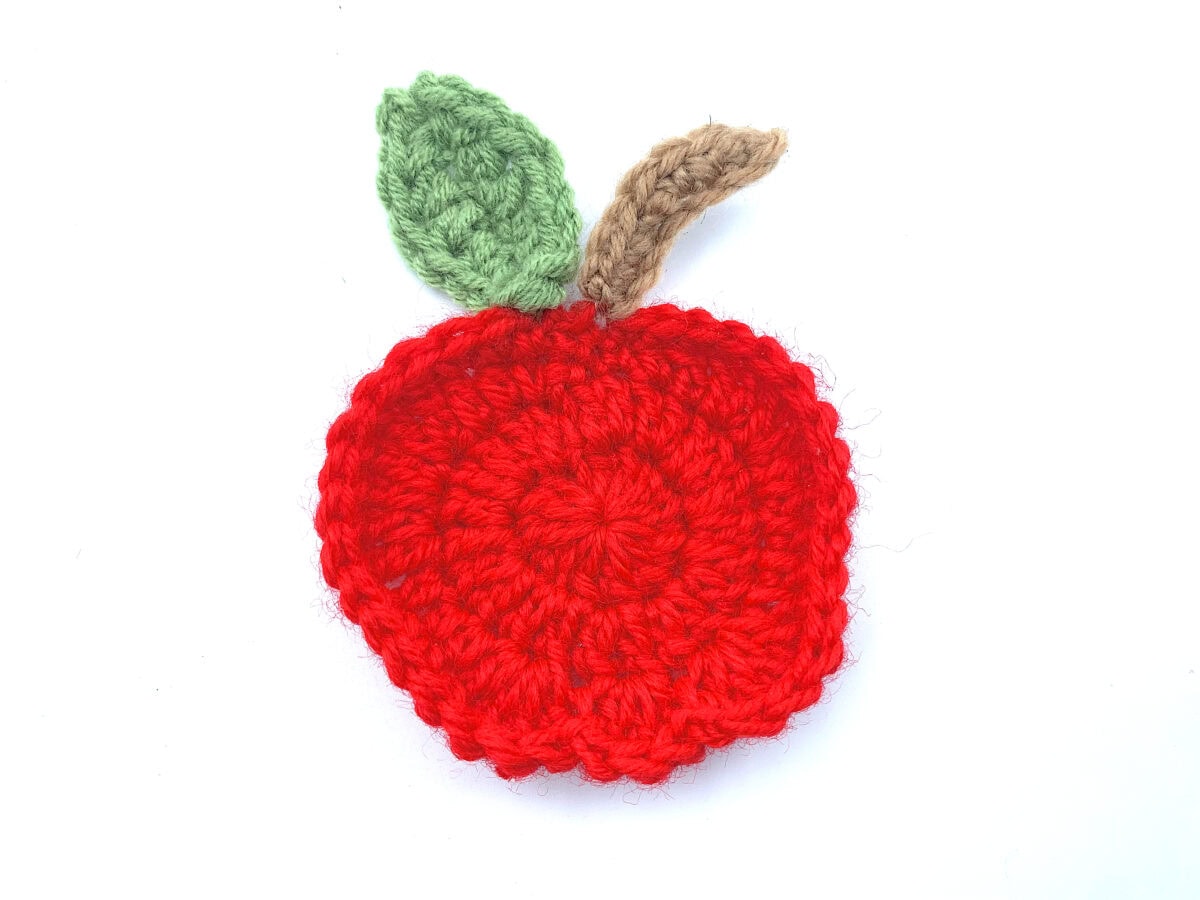
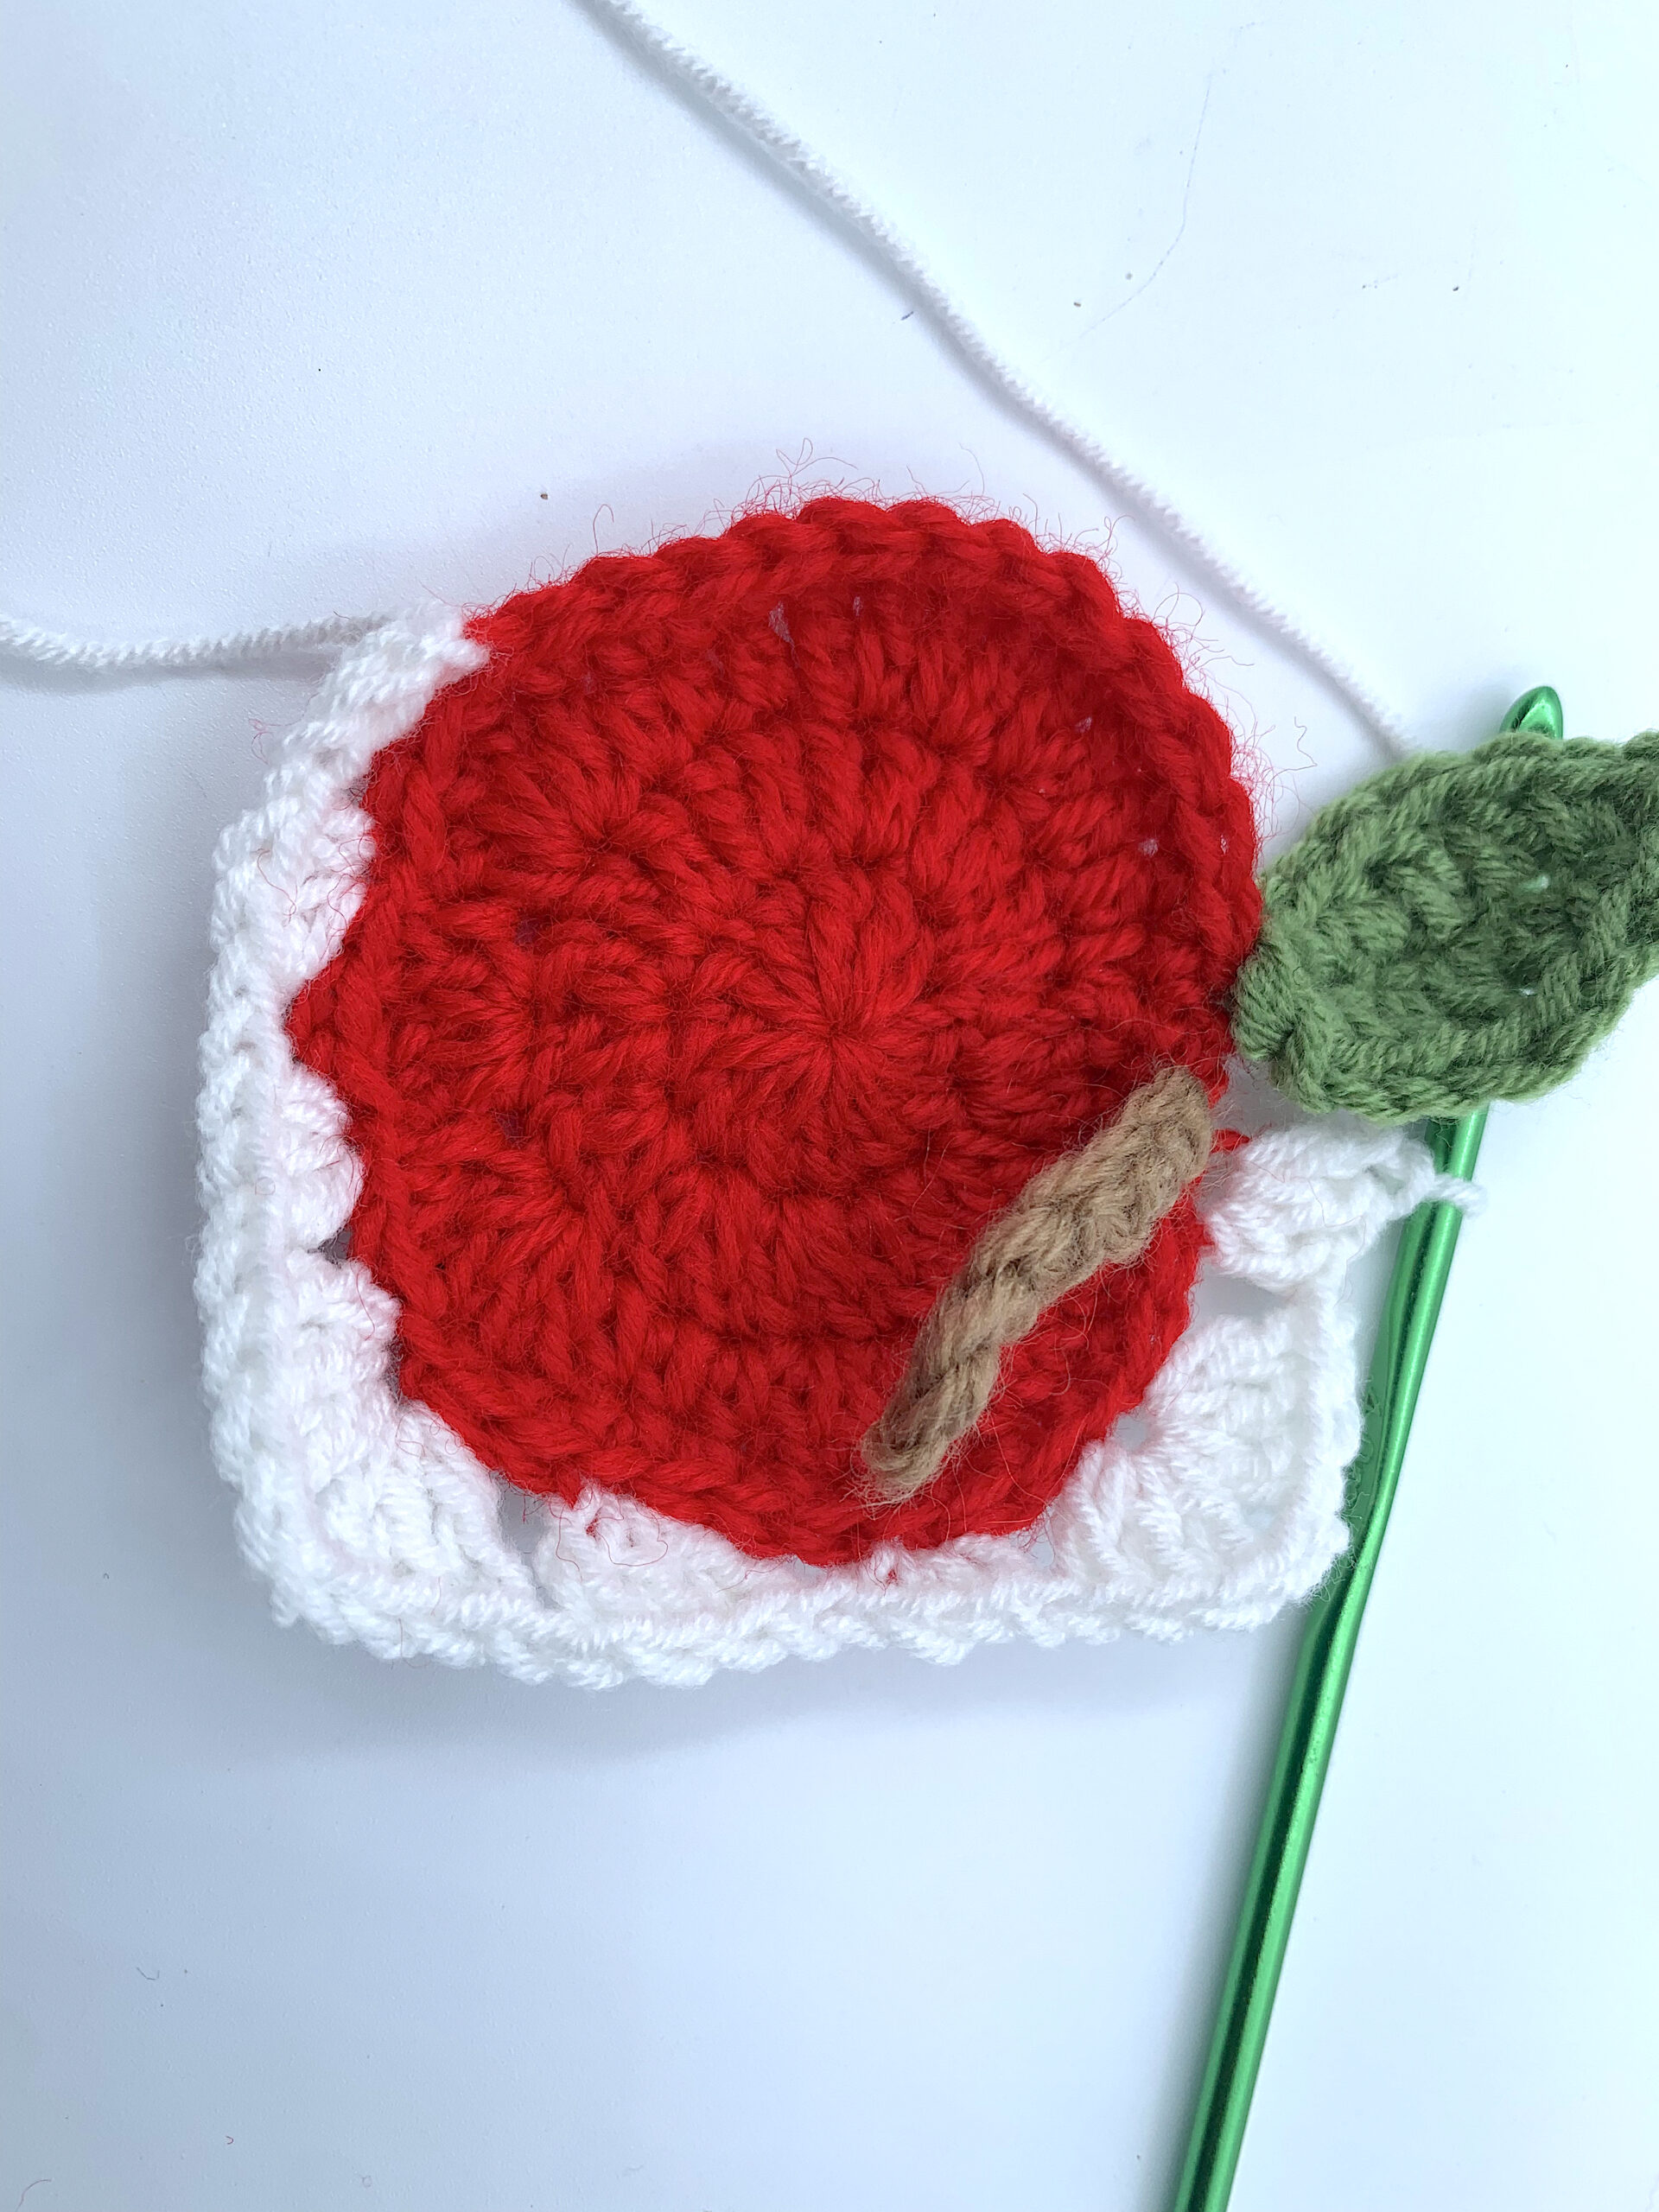
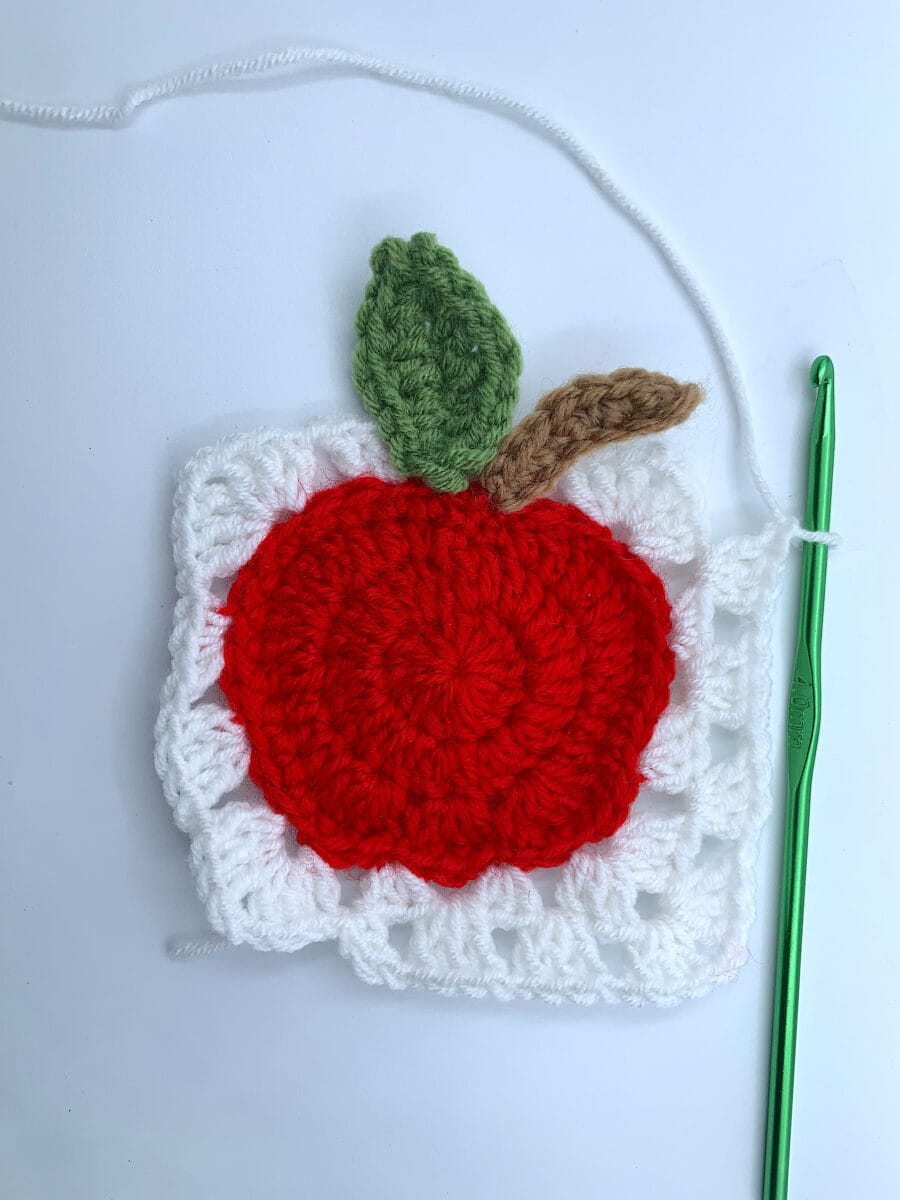
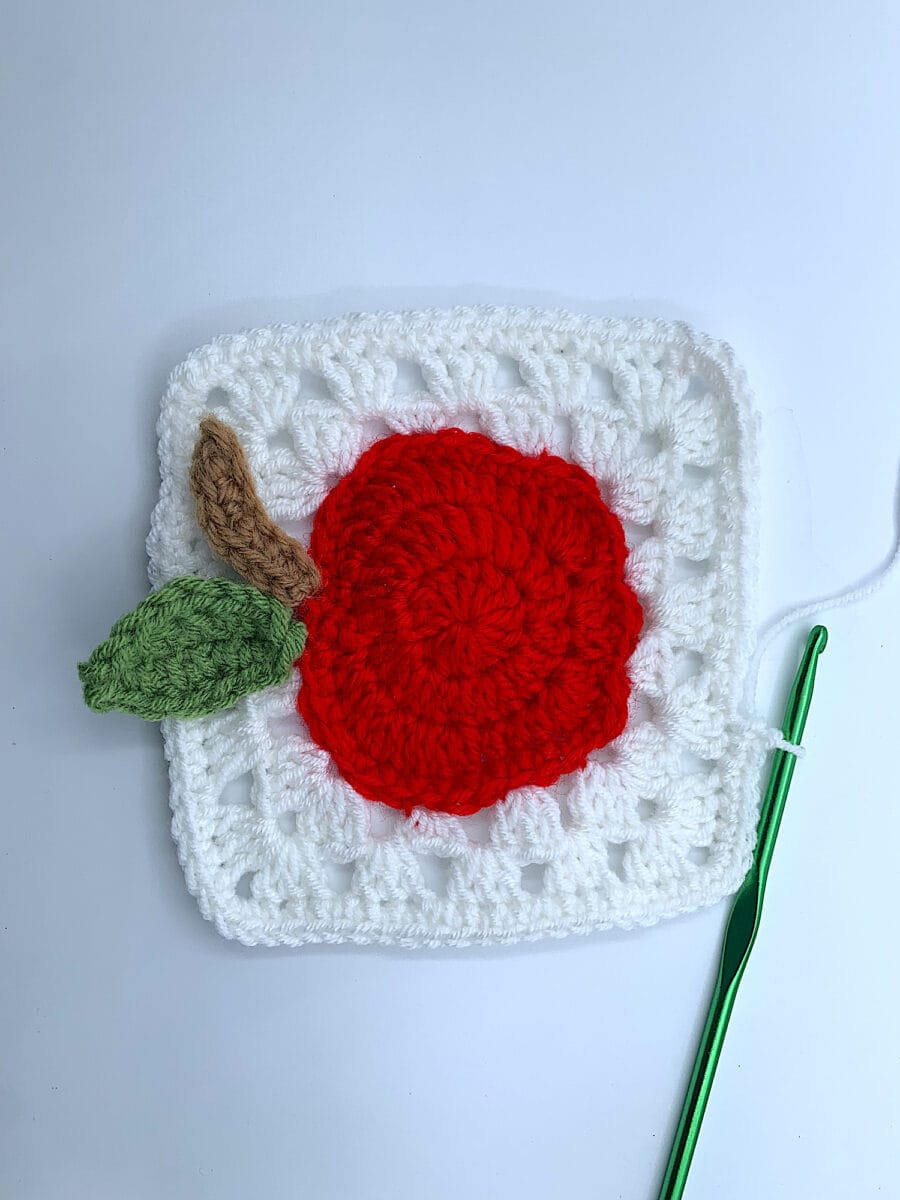
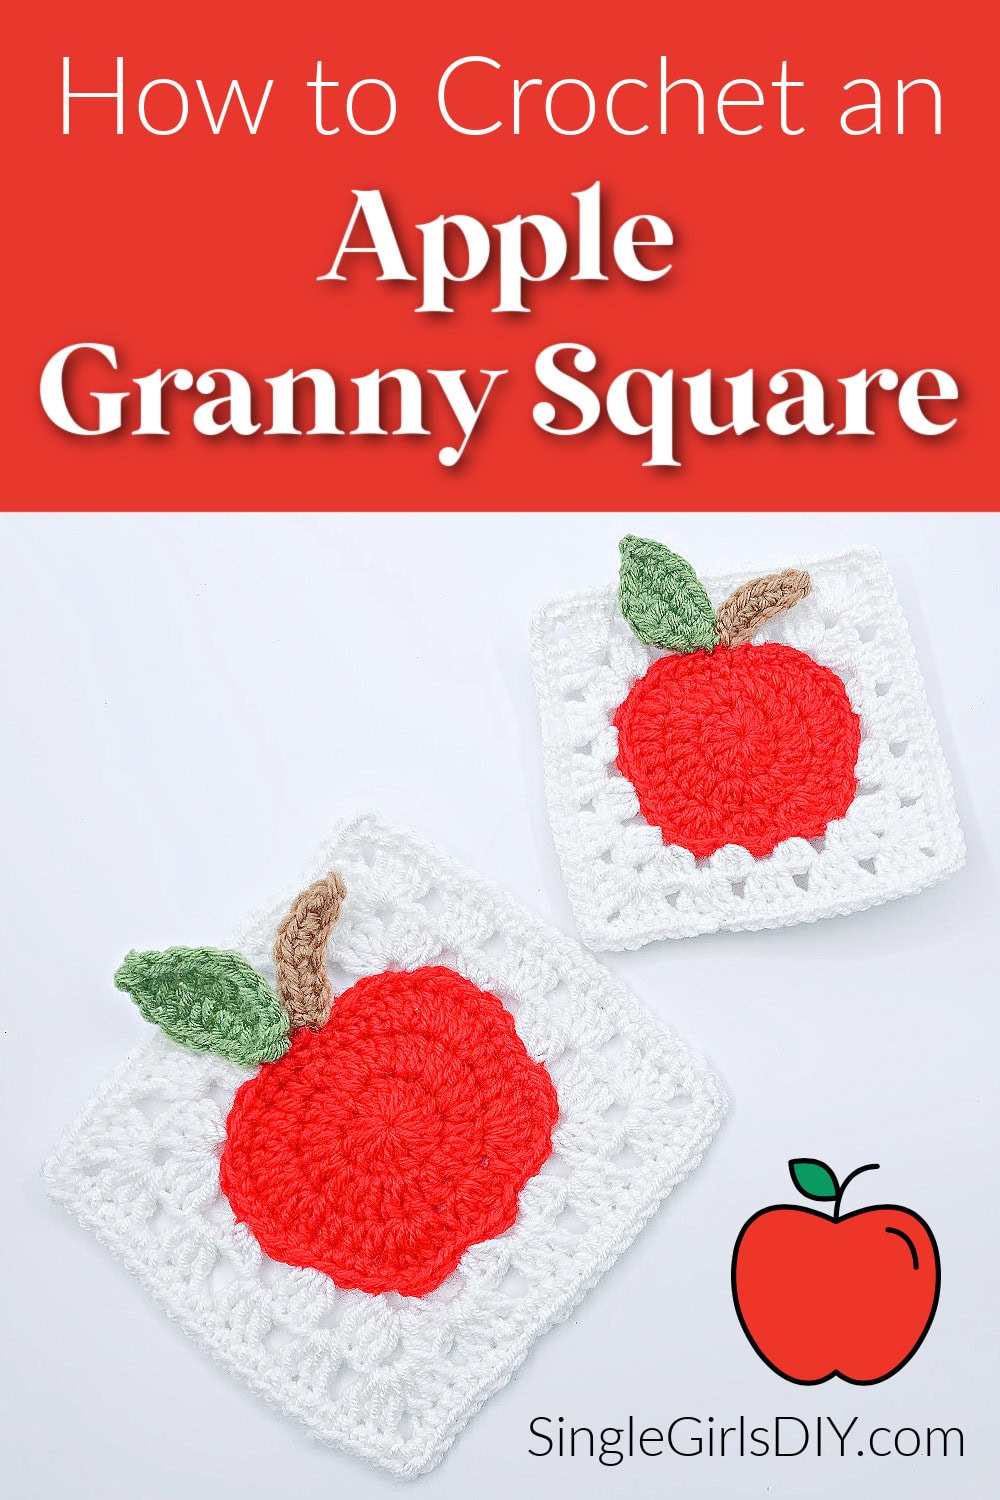
Celebrate autumn and harvest time with a crochet apple granny square!
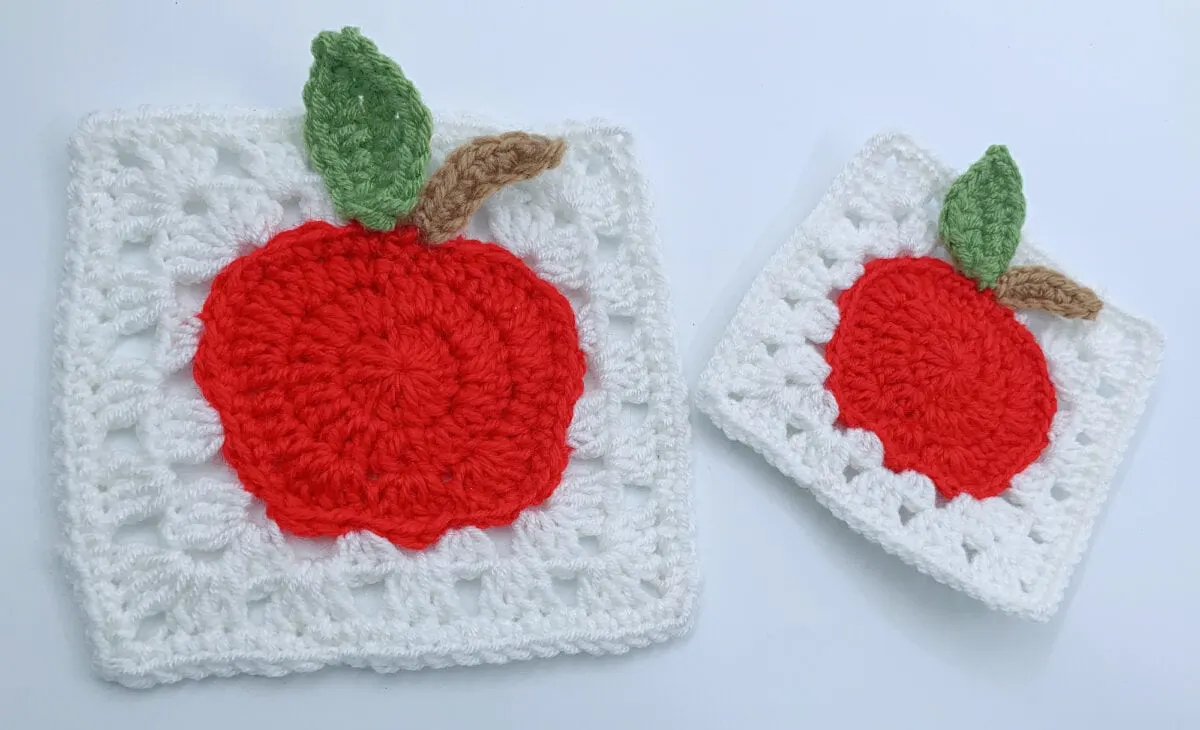
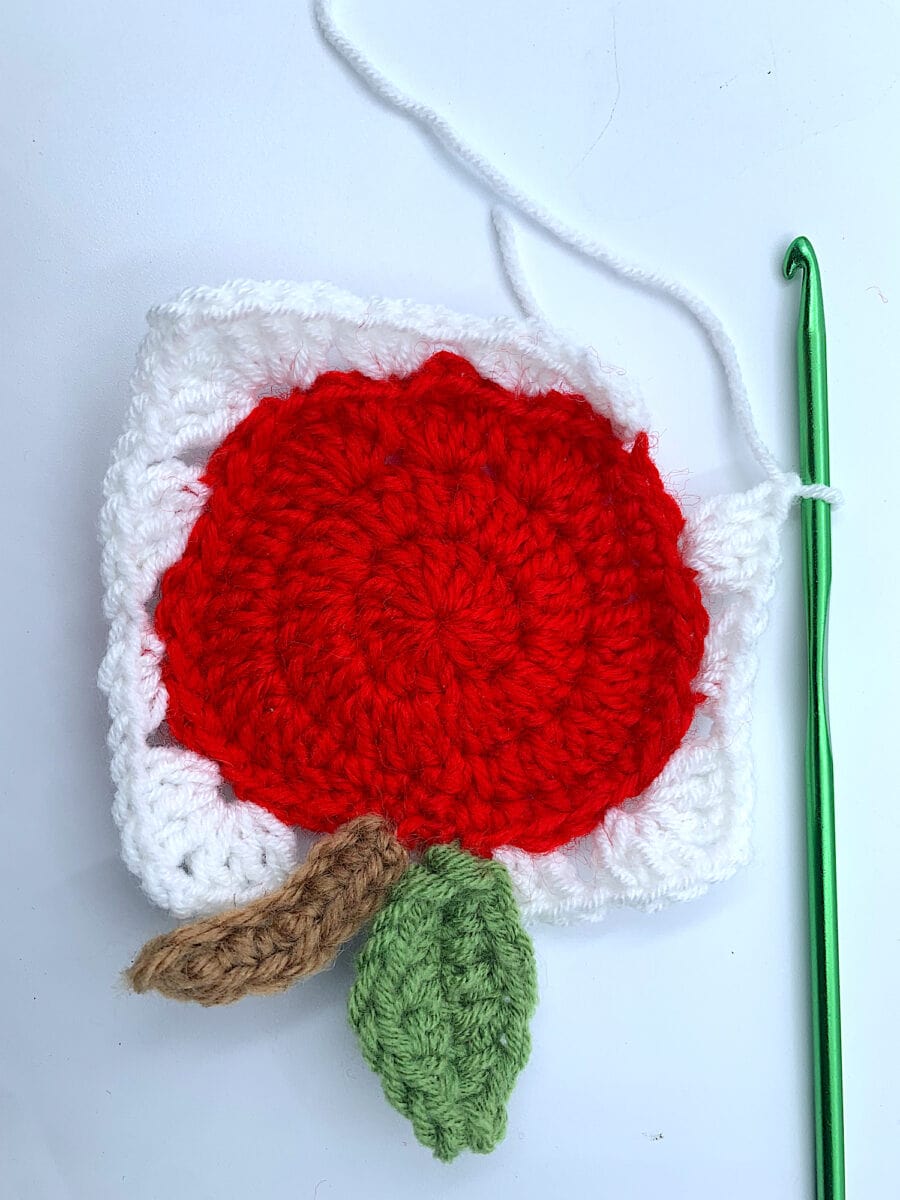
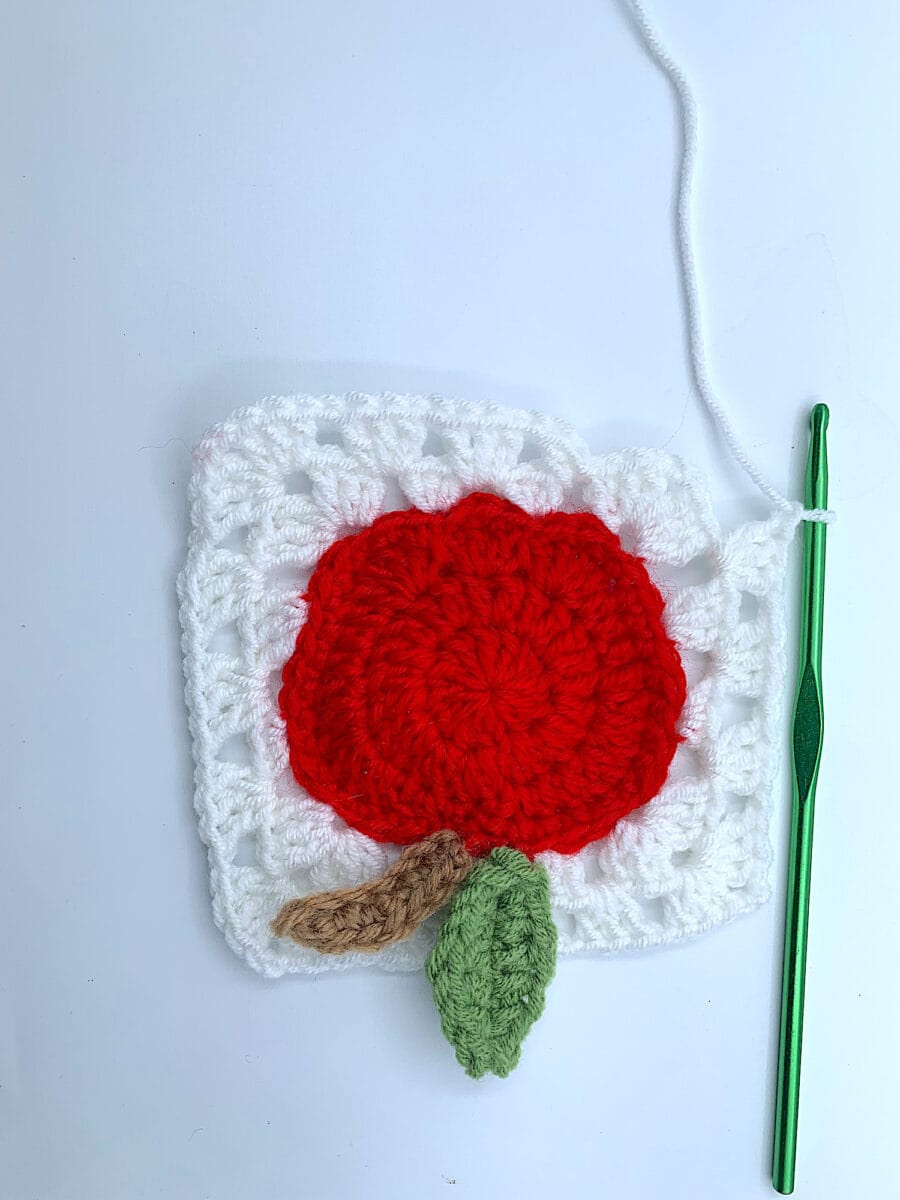
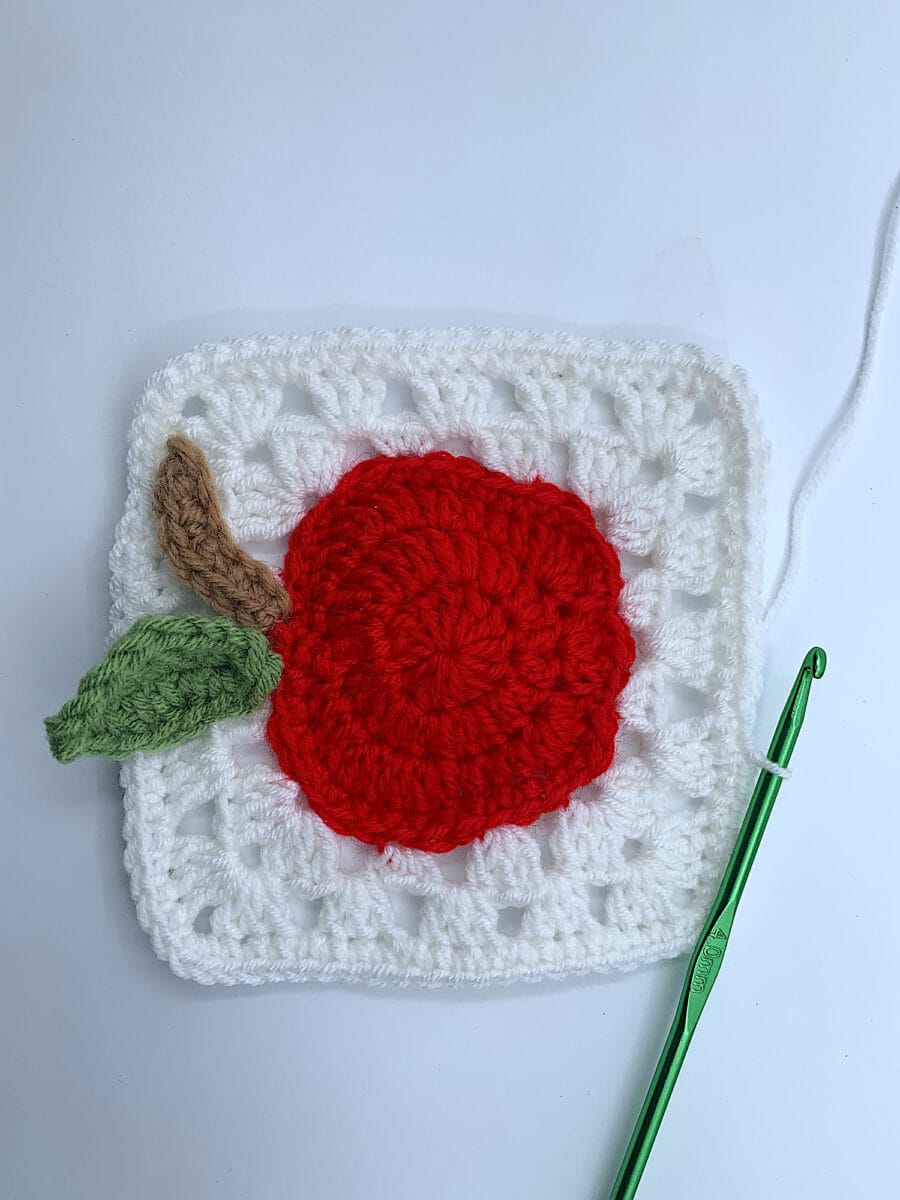
This tutorial will show you how to make a variation of a granny square with an apple in the center, and a raised leaf and apple stem. It is a great substitute for traditional granny squares in blankets, afghans and other crochet patterns.

We do have free crochet patterns to do a classic crochet granny square. This unique pattern adds a fun apple in the center.
We used classic red and white colors to make this granny square. However, apples are green, too, so feel free to change the yarn color!

We have a variety of free crochet patterns and crochet stitch tutorial guides. Be sure to see our Crochet crafts page for even more ideas!
There are a lot of steps for this apple granny square pattern. If you would like to follow the pattern without ads, you can purchase our apple granny square crochet pattern.
How to Crochet an Apple Granny Square
SUPPLIES
- Red yarn
- Green yarn
- Brown yarn
- White yarn
- Crochet hook
- Scissors
FOUNDATION
Step 1
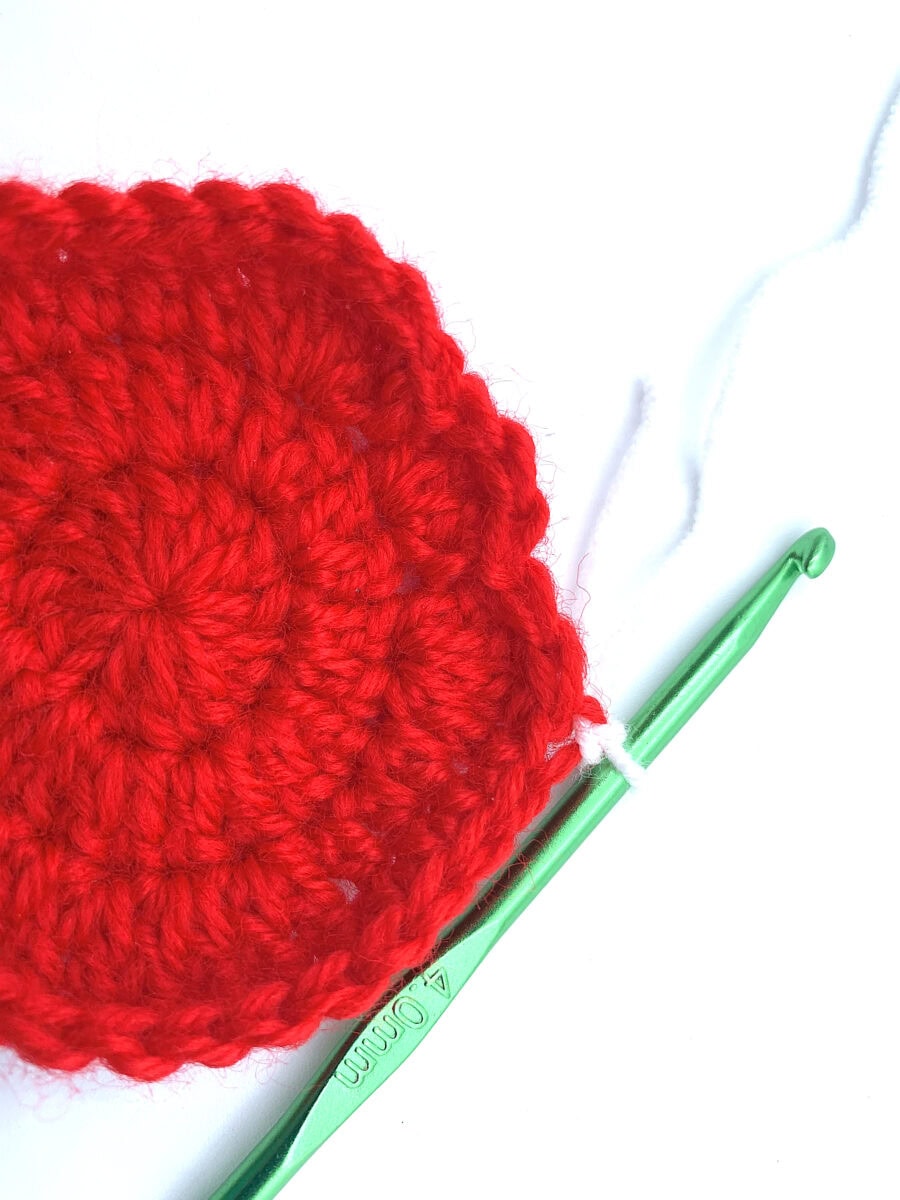
Using the apple red yarn, create a Magic Circle. Do not cut the yarn.


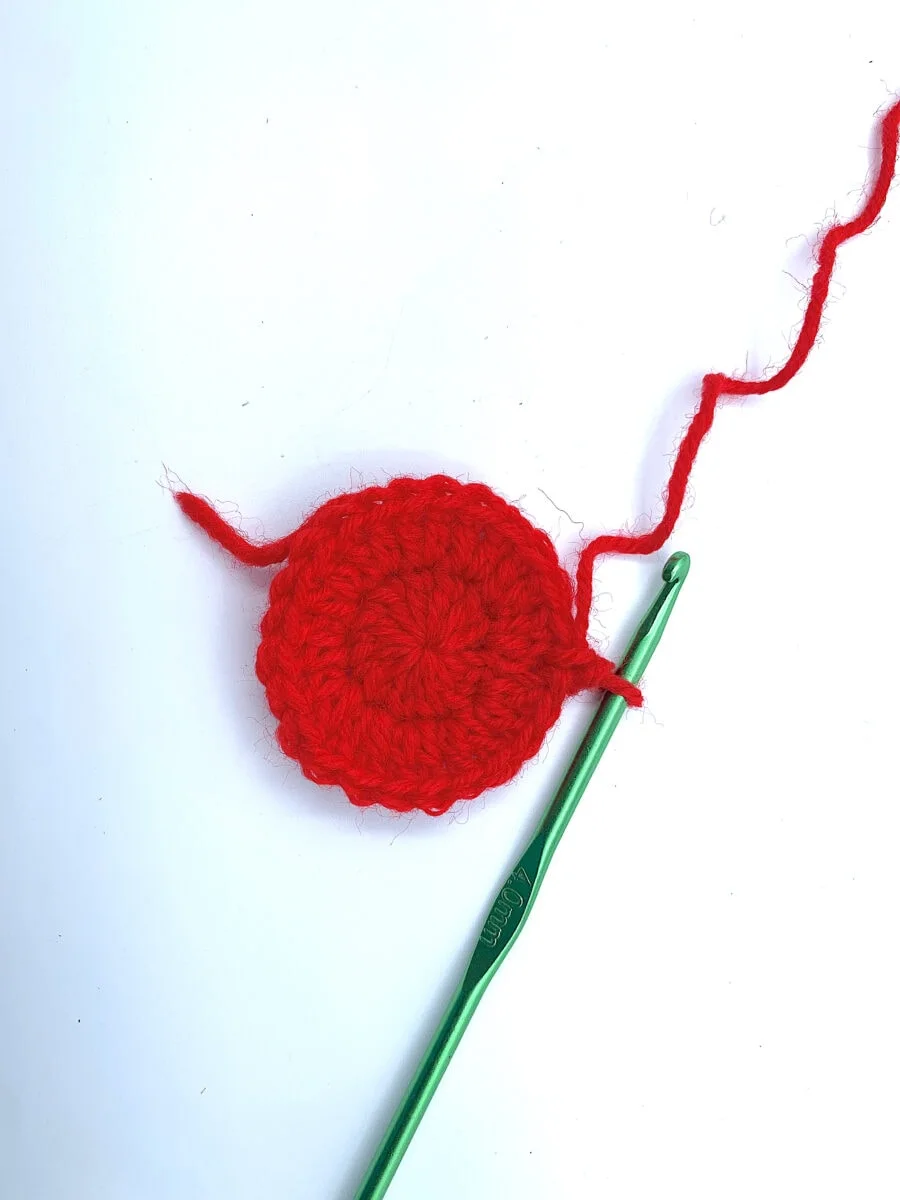
ROUND 1
Step 1
Chain 1, work 12 Double Crochets into the Magic Ring.
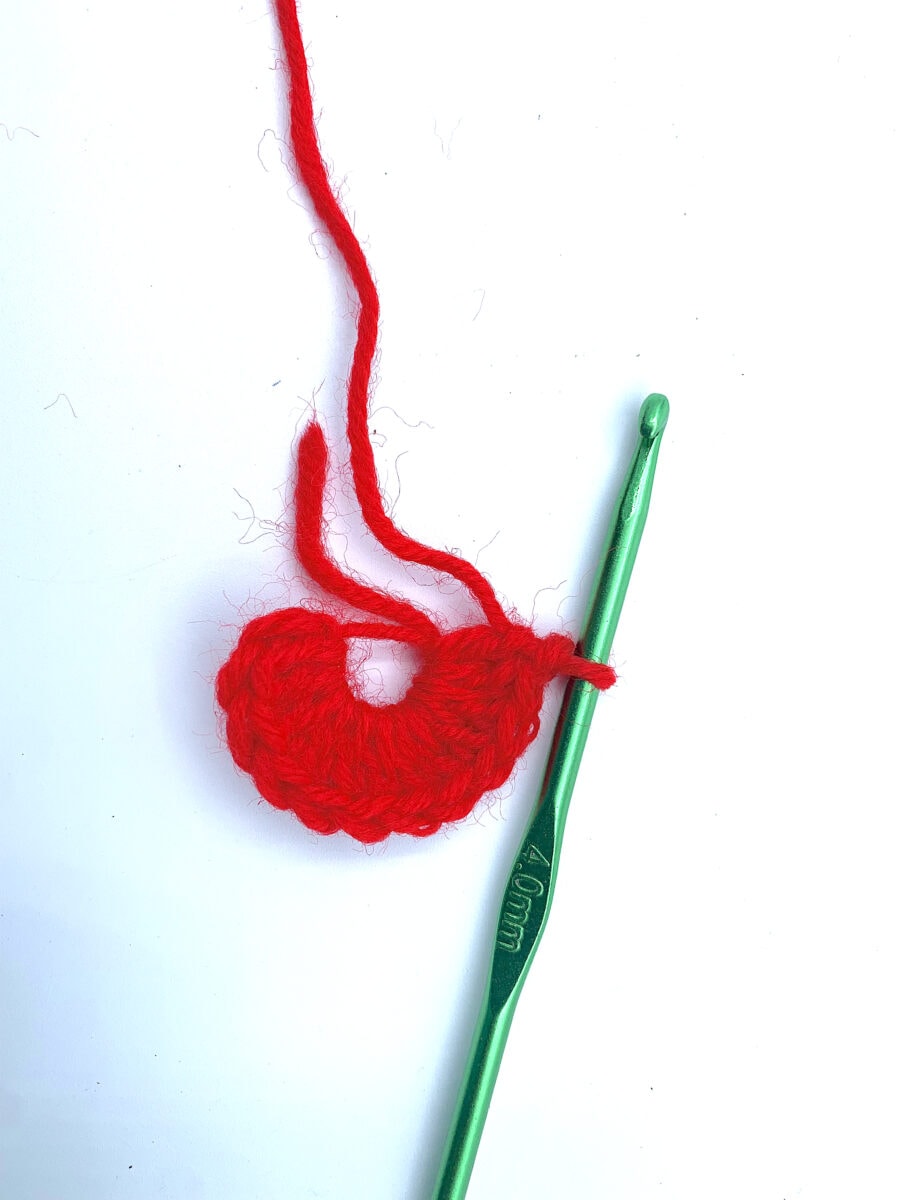

Step 2
Pull the tail to close the Magic Ring.


Step 3
Join with a Slip Stitch to the top of the first Double Crochet.
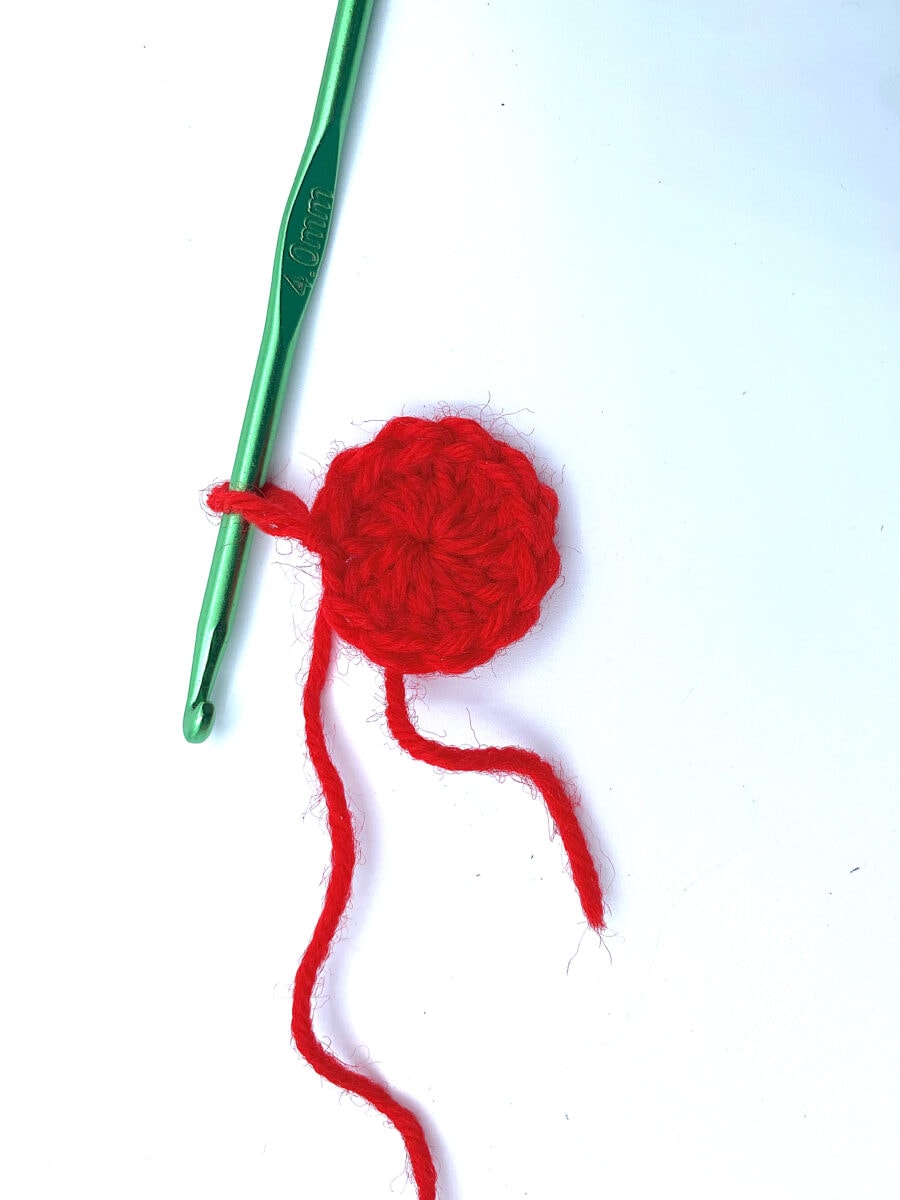

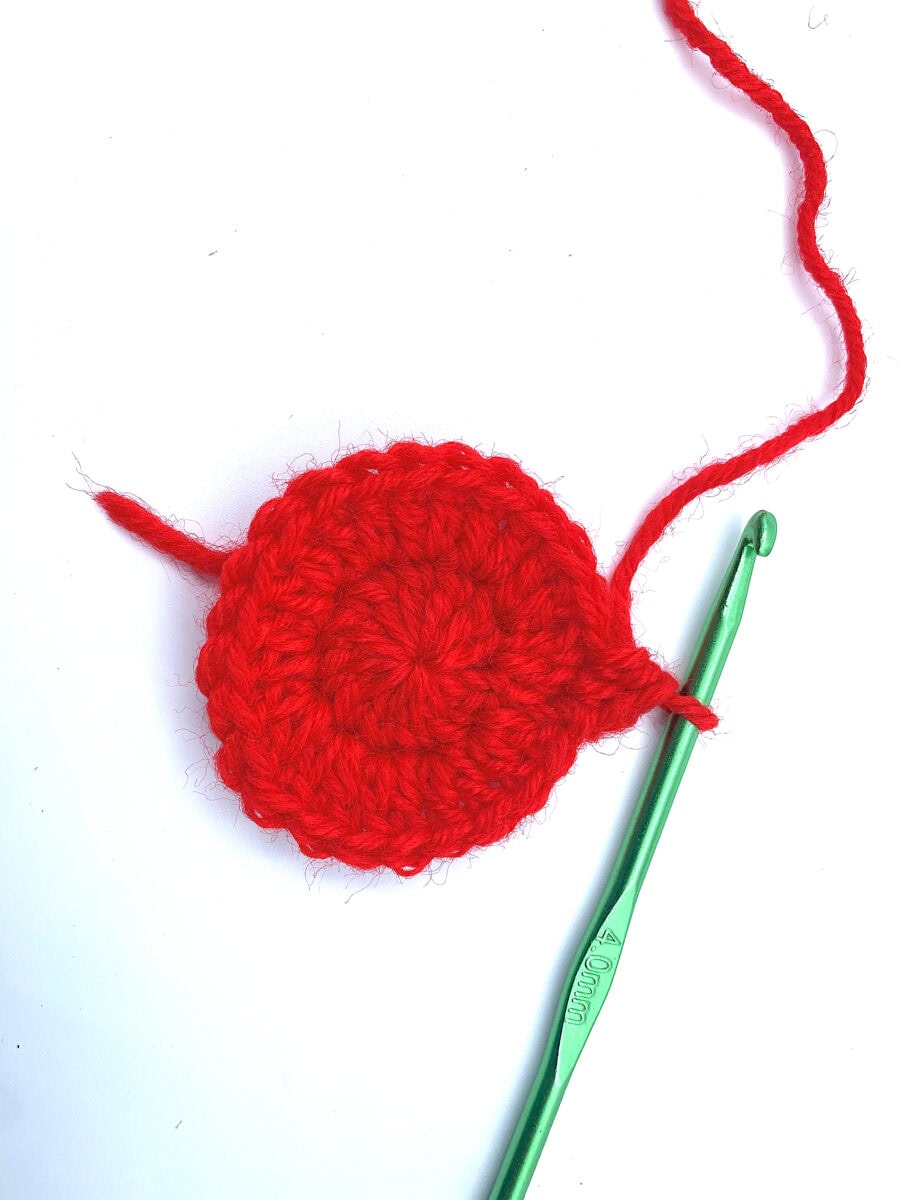
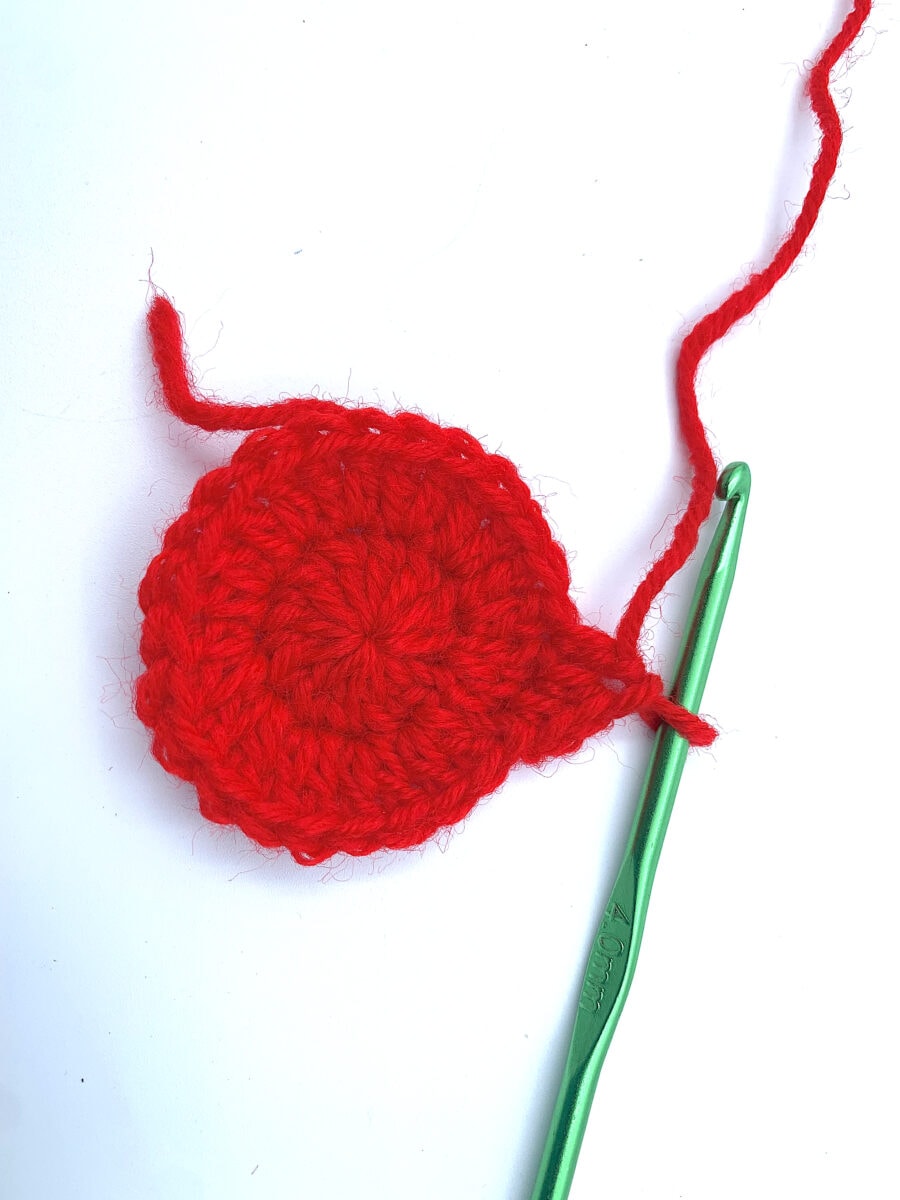
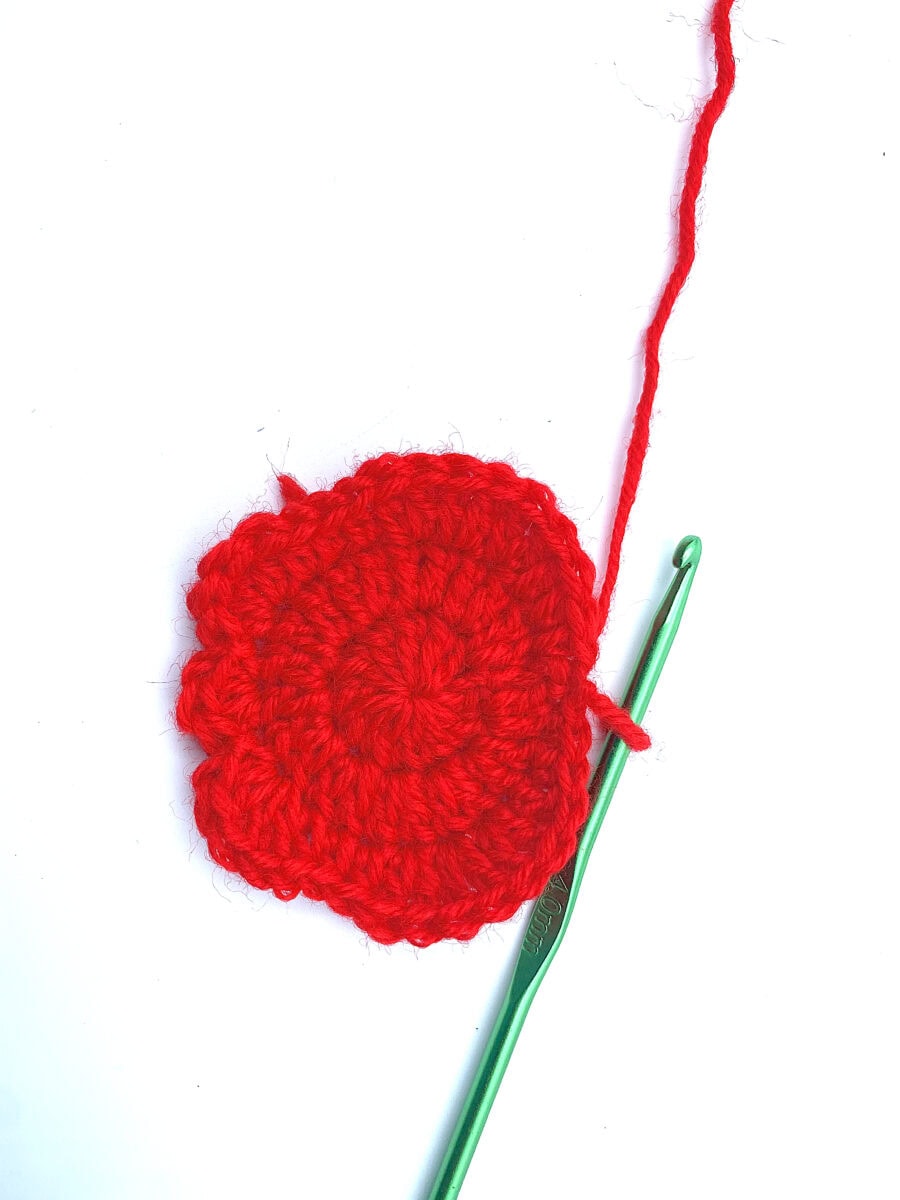
ROUND 2
Step 1
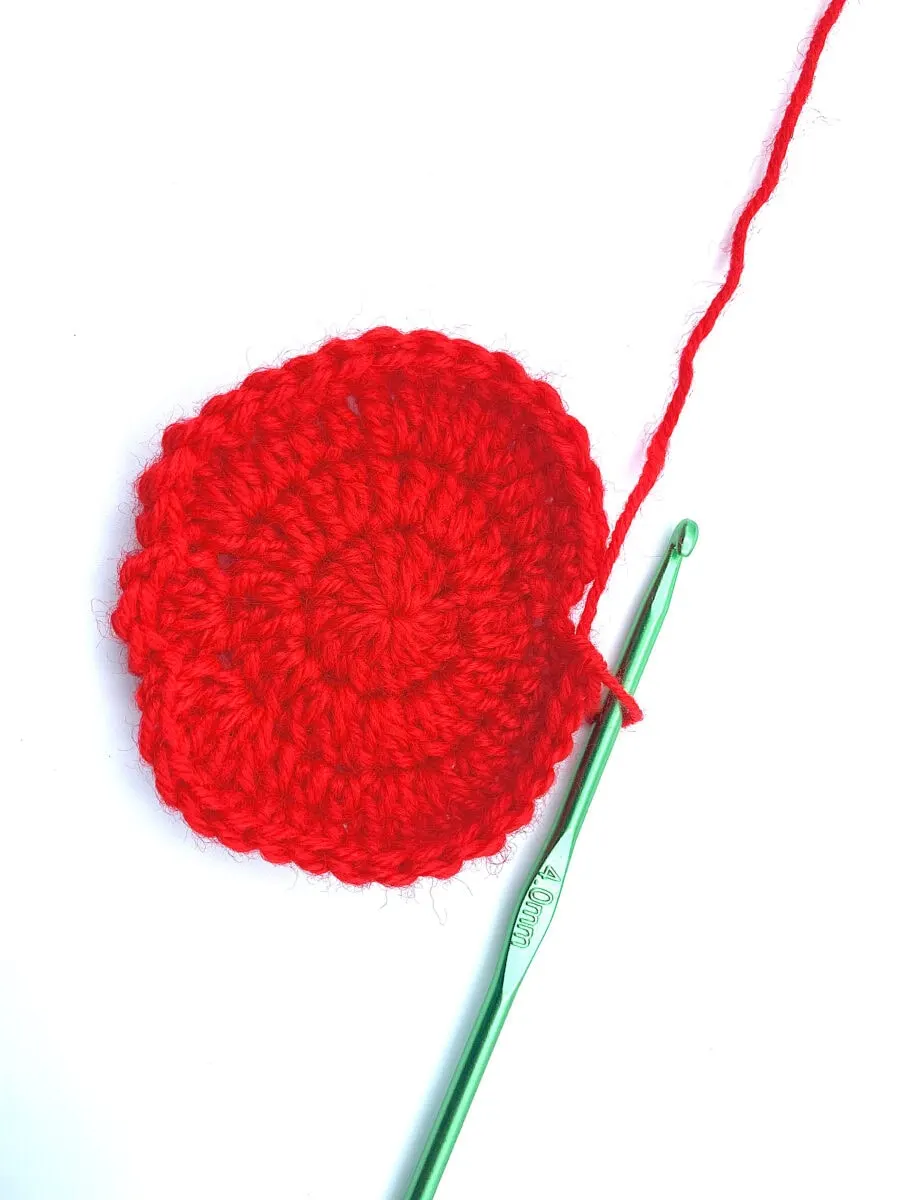
Chain 1, work 2 Double Crochets into each stitch around (24 Double Crochets).
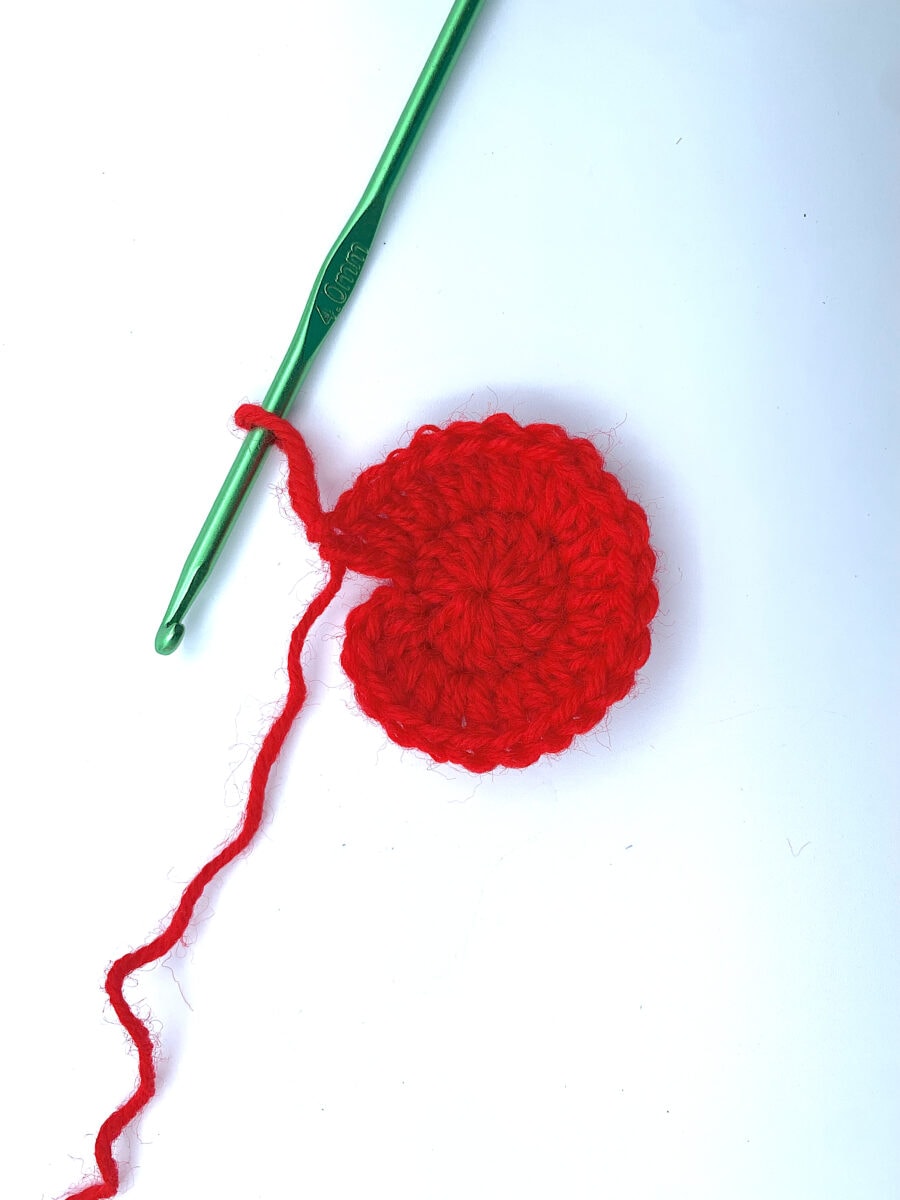

Step 2
Join with a Slip Stitch to the top of the first Double Crochet.
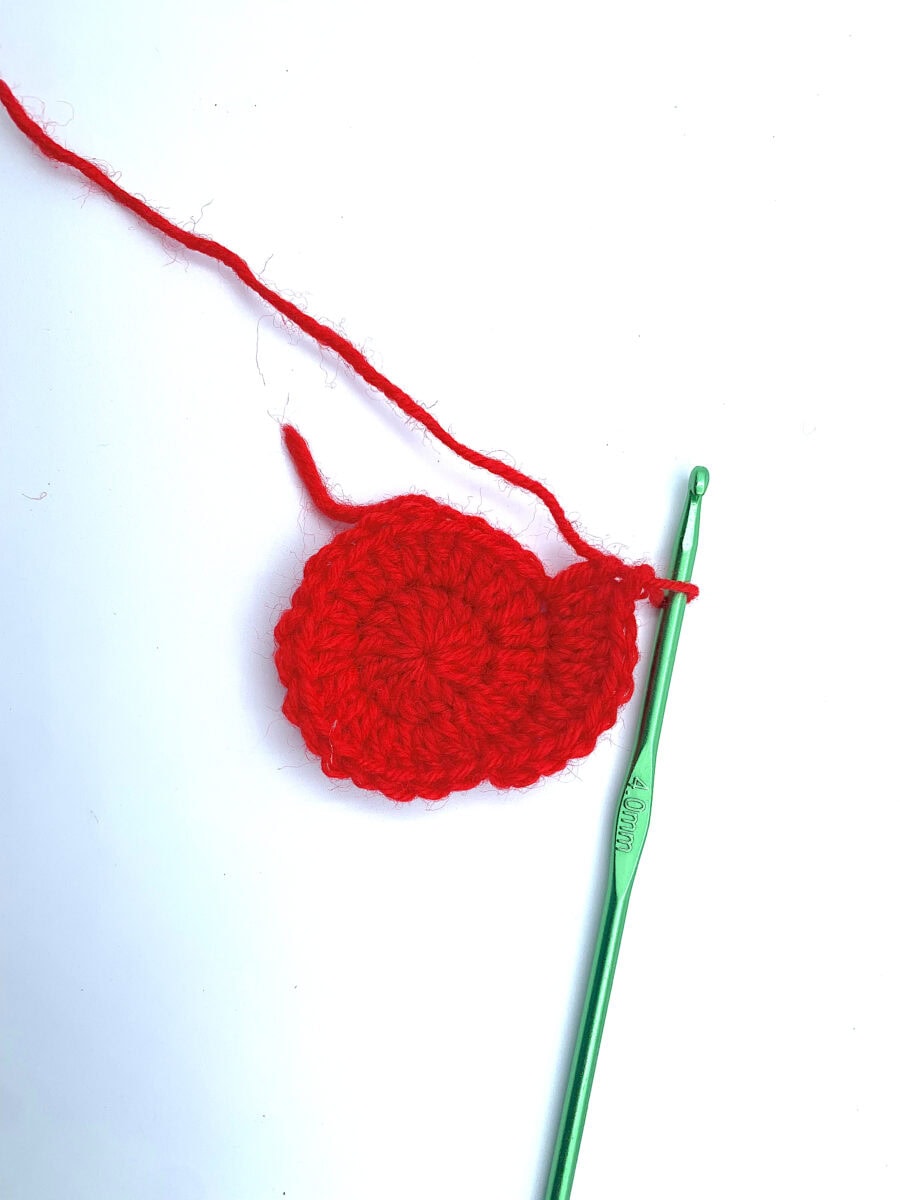
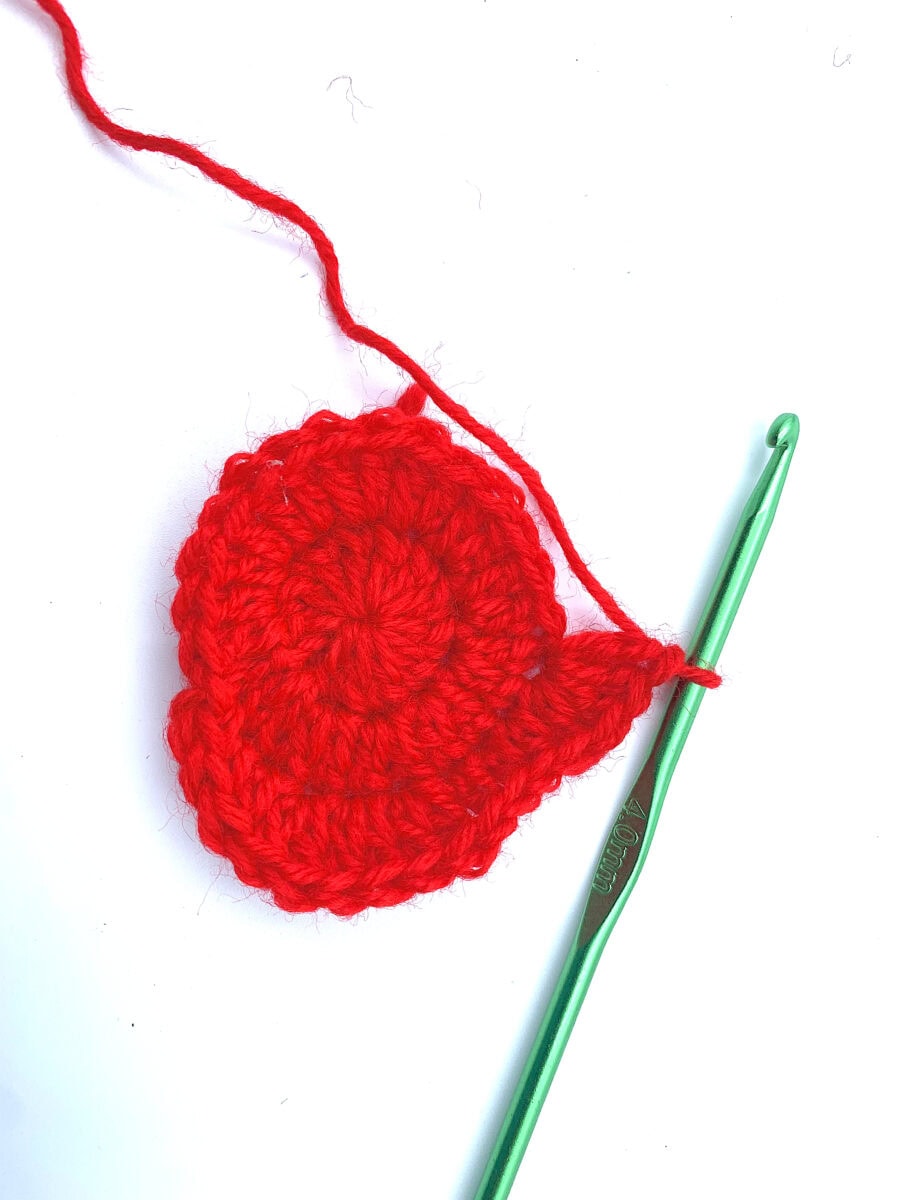
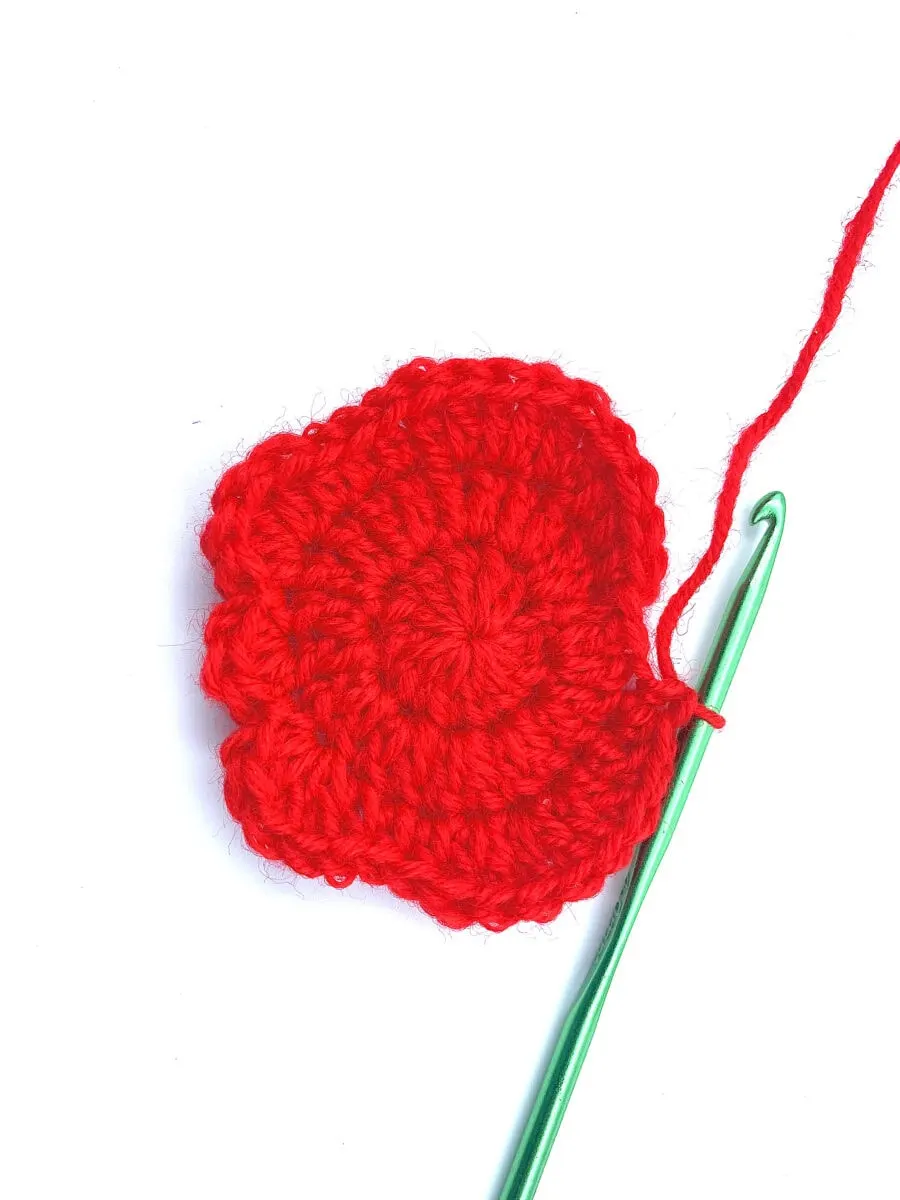
ROUND 3
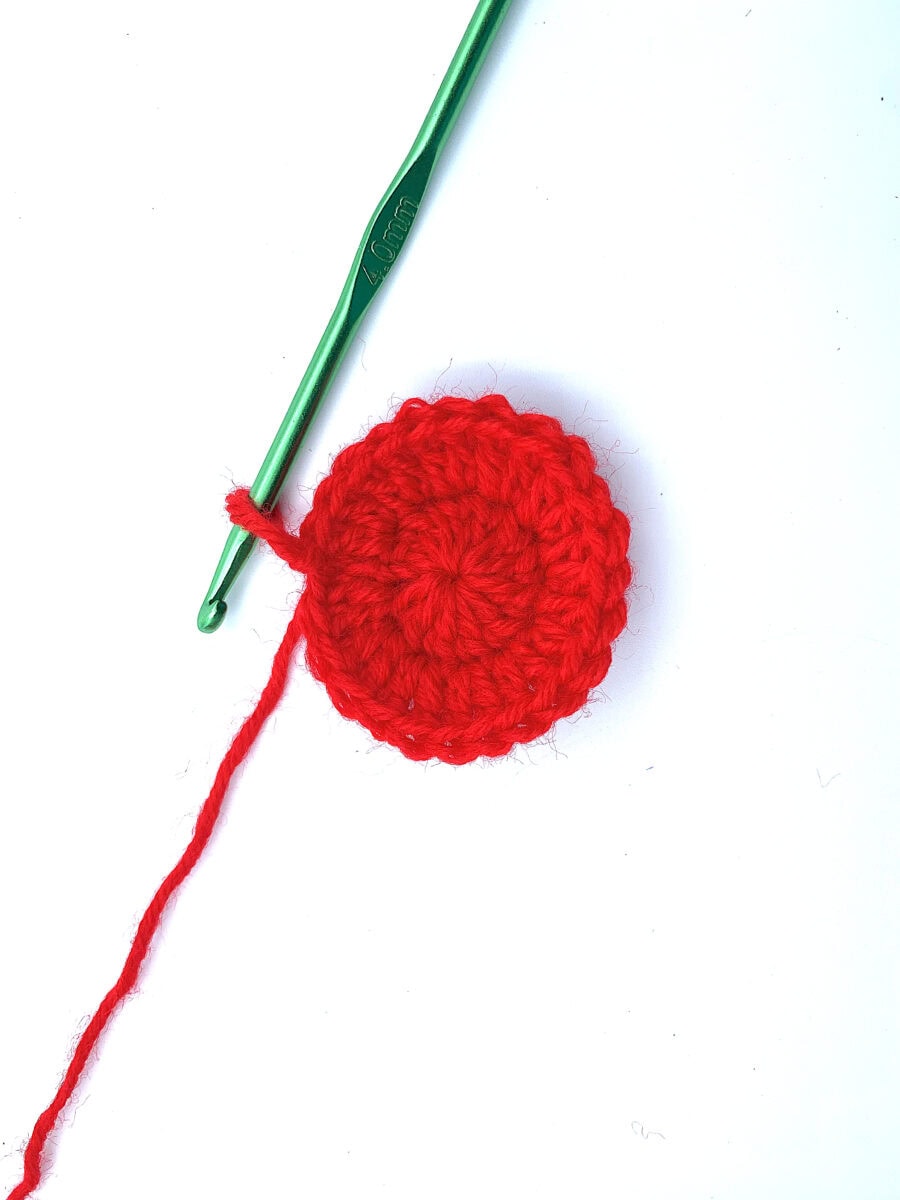
Step 1
Chain 1, Single Crochet in the next stitch, Half Double Crochet in the next stitch, Double Crochet in the next stitch.


Step 2
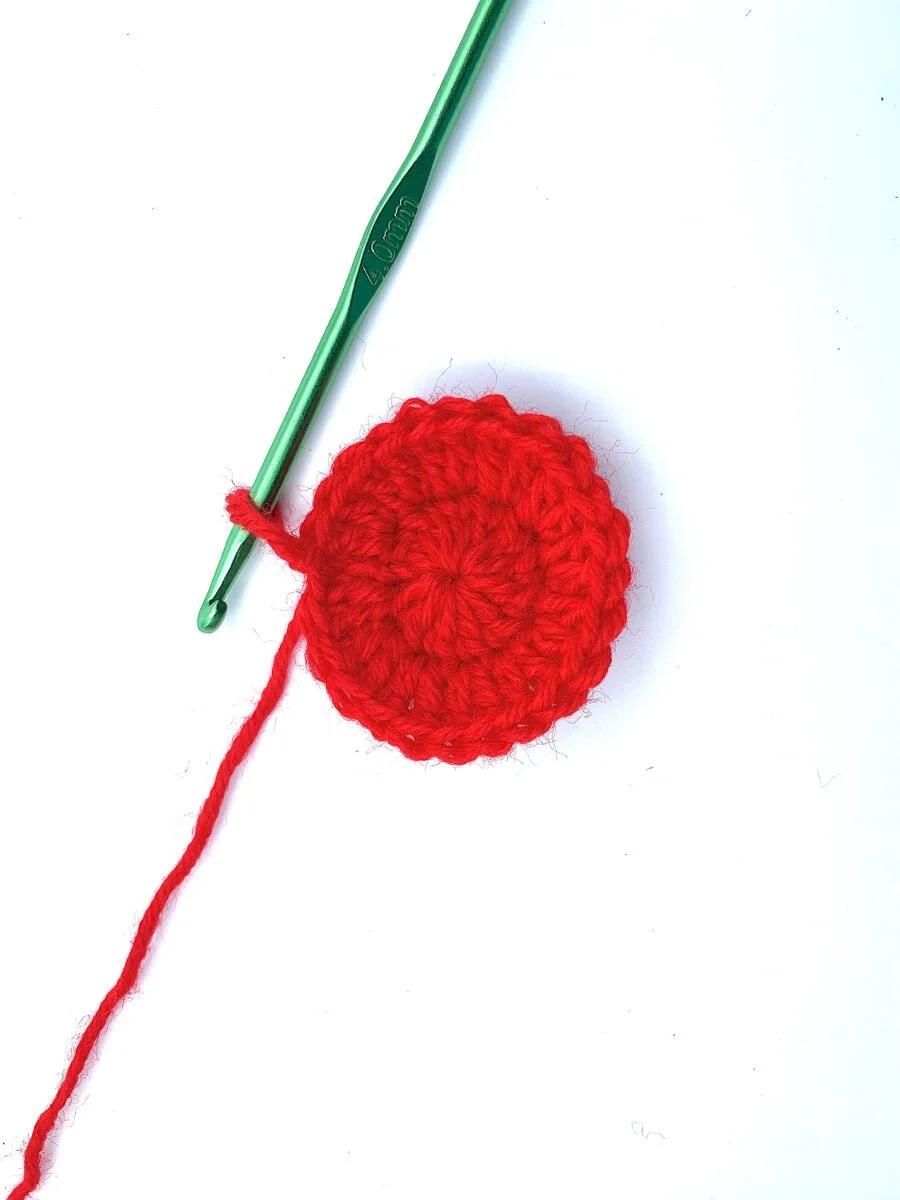
Work 2 Double Crochets in each of the next 3 stitches.

Step 3
1 Half Double Crochet in each of the next 3 stitches.


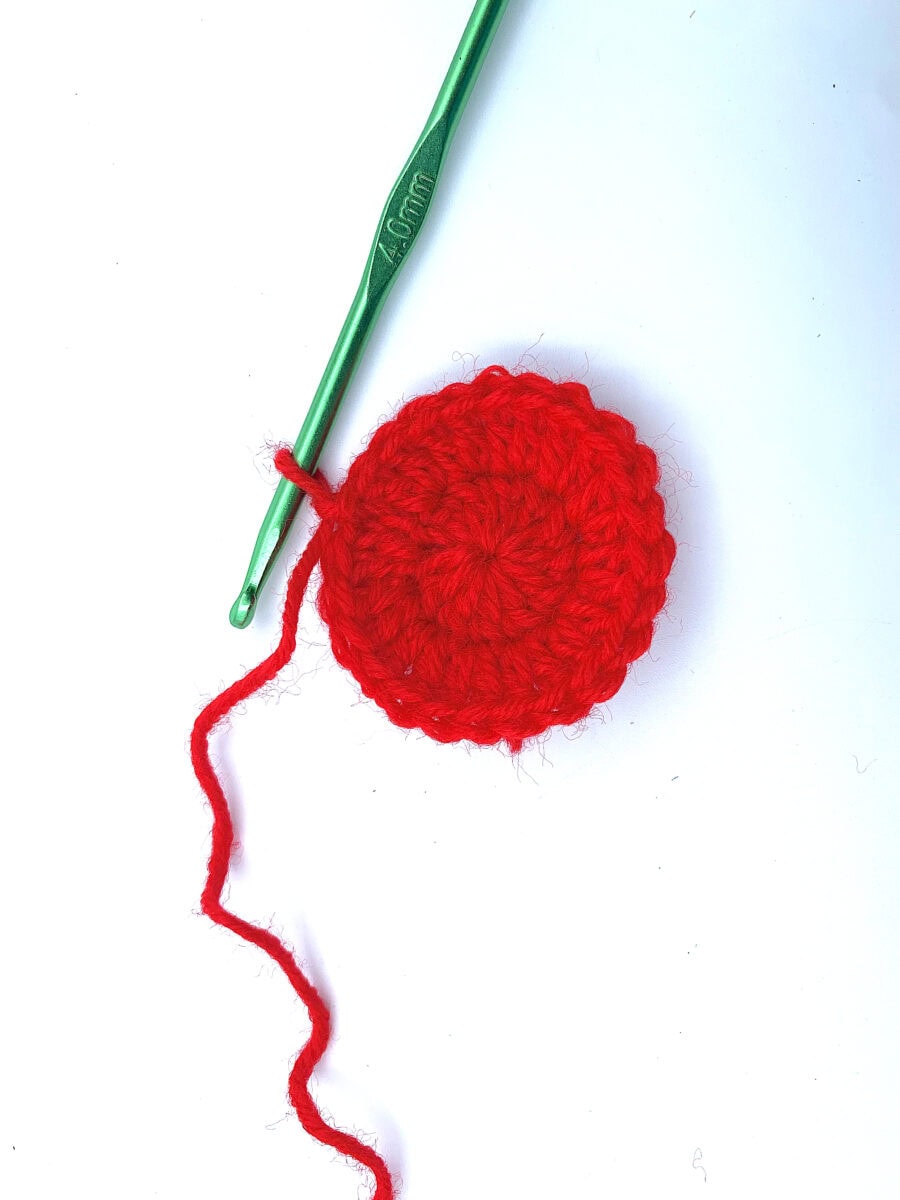
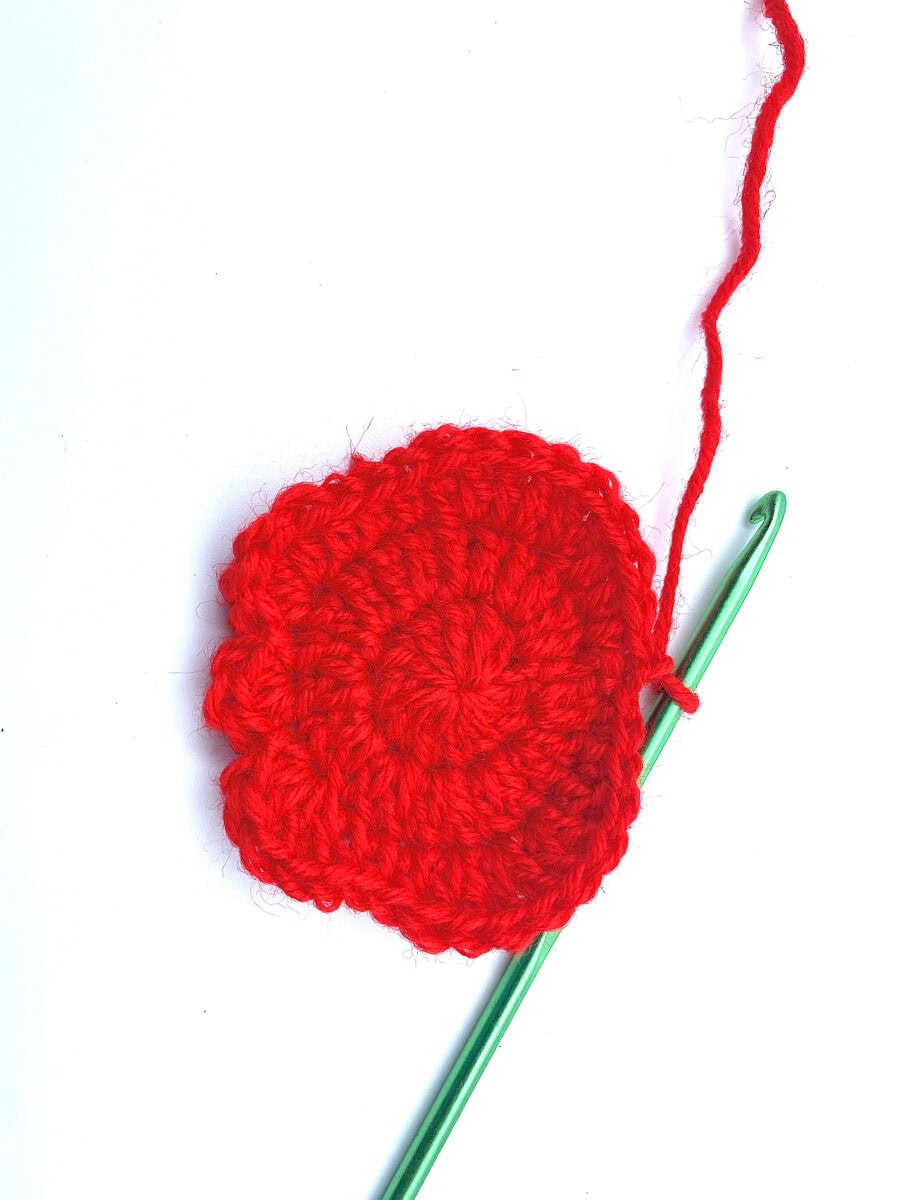
Step 4
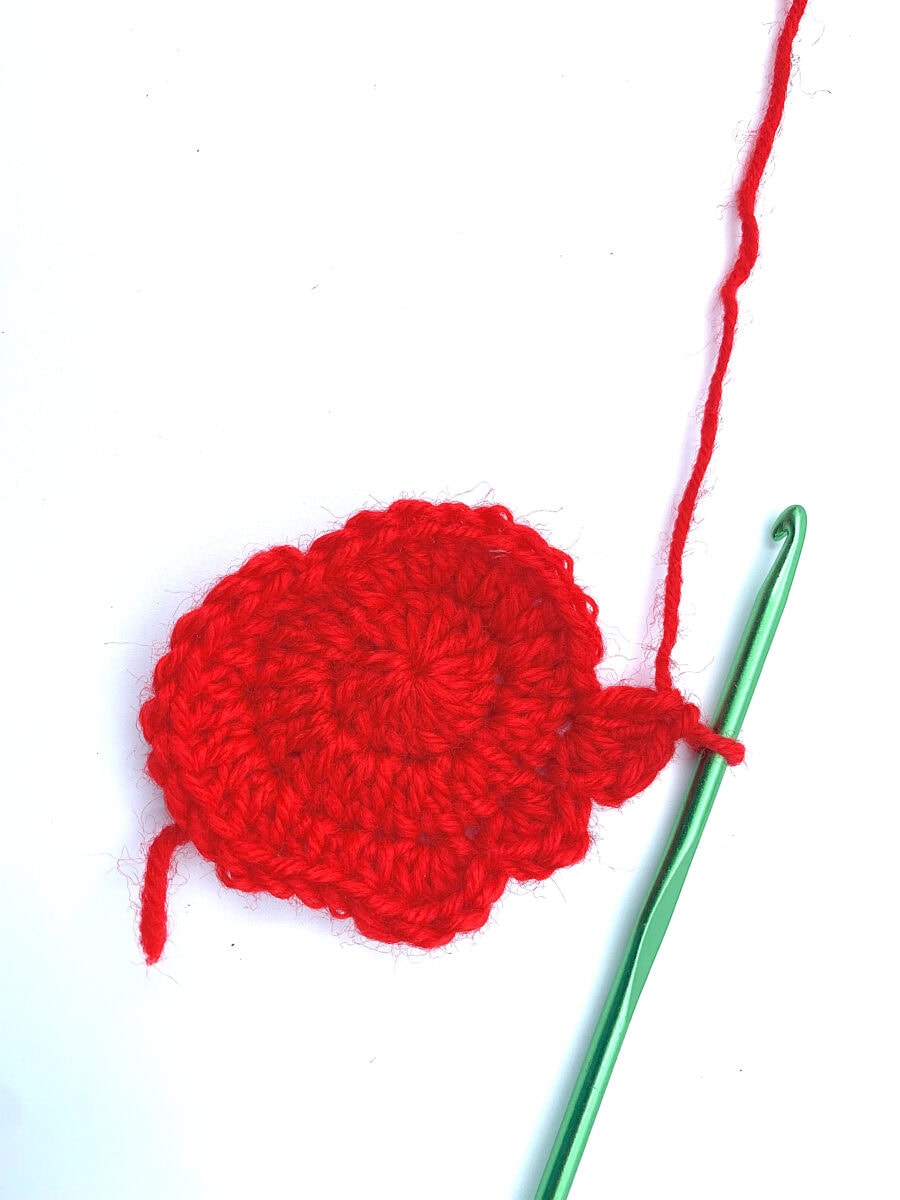
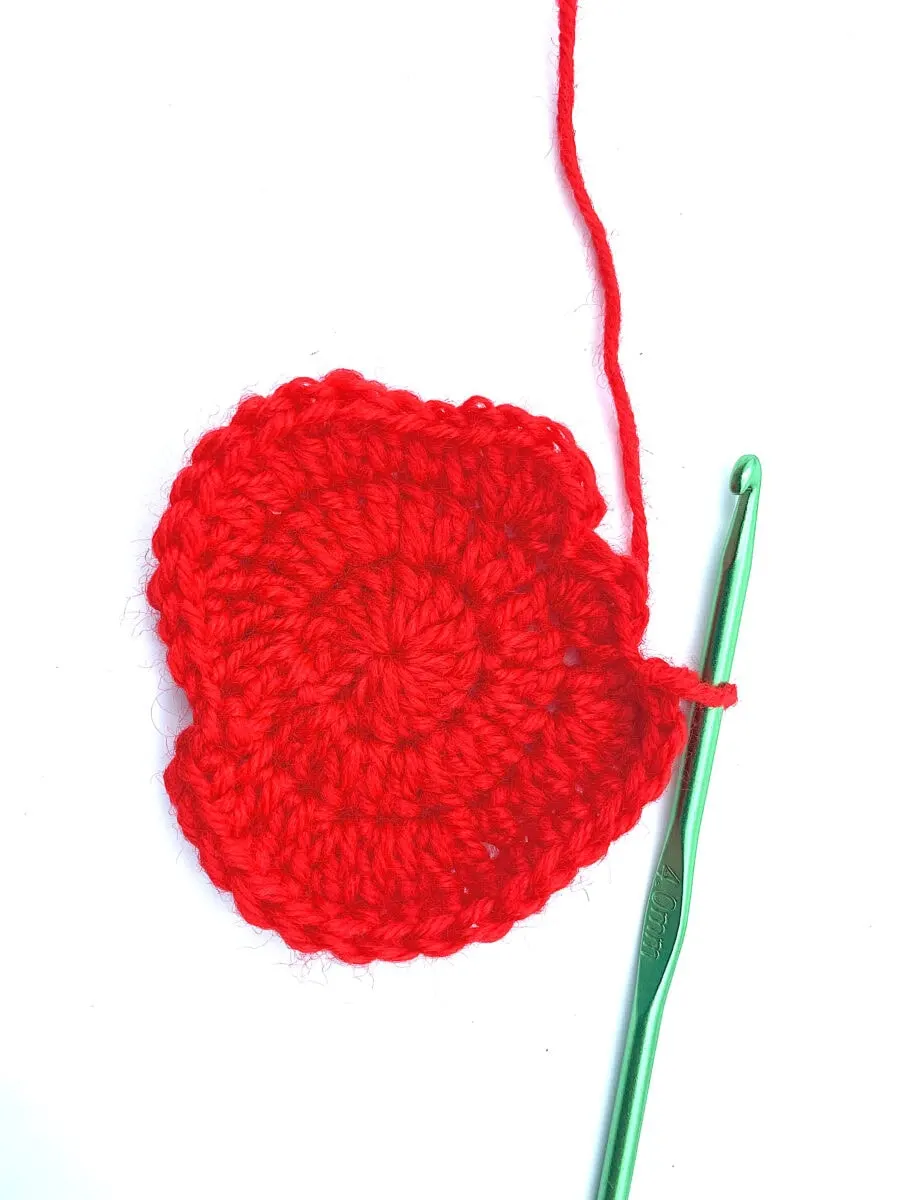
Create the first “hump” by working 4 Double Crochets into the next stitch, then Slip Stitch into the next stitch.


Step 5
Create the middle “hump” by working 3 Double Crochets into the next stitch, then Slip Stitch into the next stitch.


Step 6
Create the last “hump” by working 4 Double Crochets into the next stitch.

Step 7
Half Double Crochet in each of the next 3 stitches.

Step 8
Work 2 Double Crochets in each of the next 3 stitches.

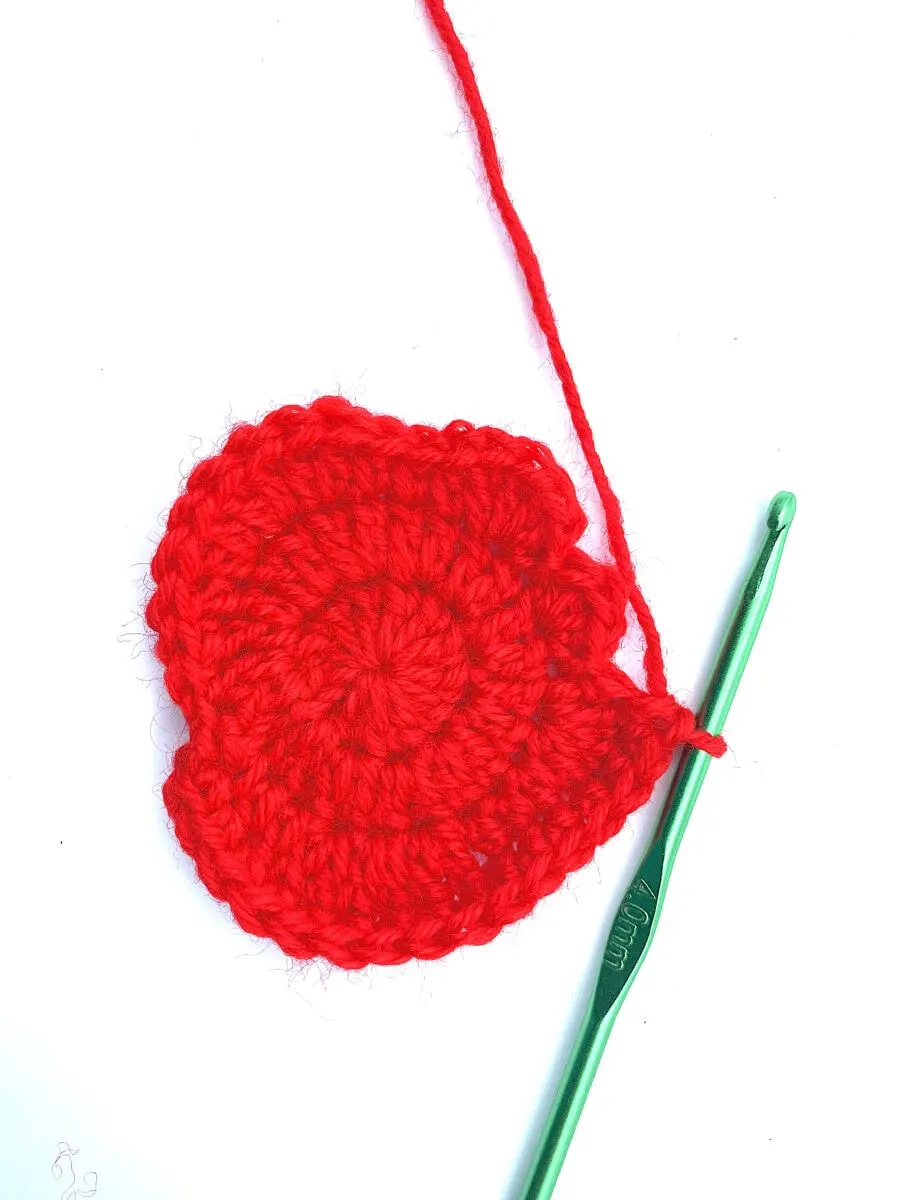
Step 9
Double Crochet in the next stitch, Half Double Crochet in the next stitch, Single Crochet in the next stitch.


Step 10
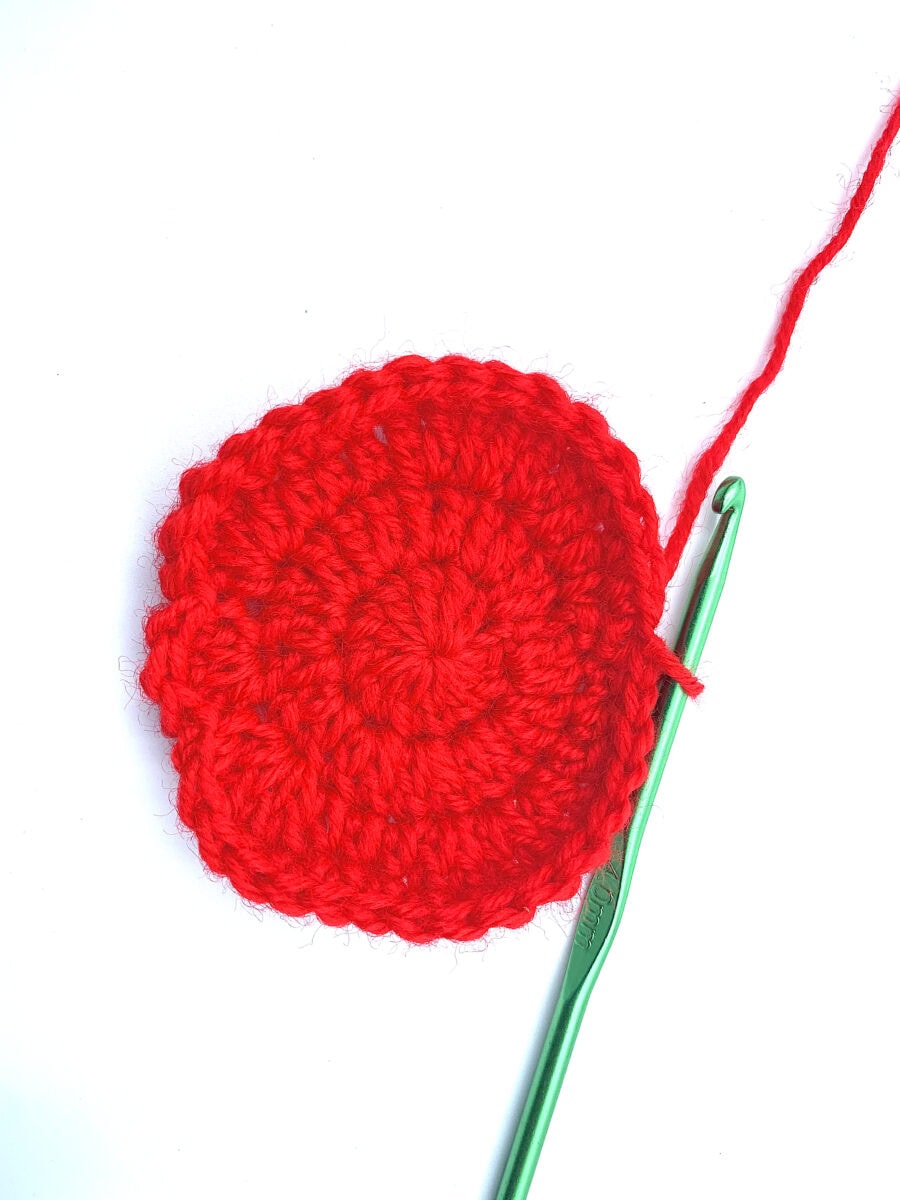
Join with a Slip Stitch to the top of the first Single Crochet of the round.

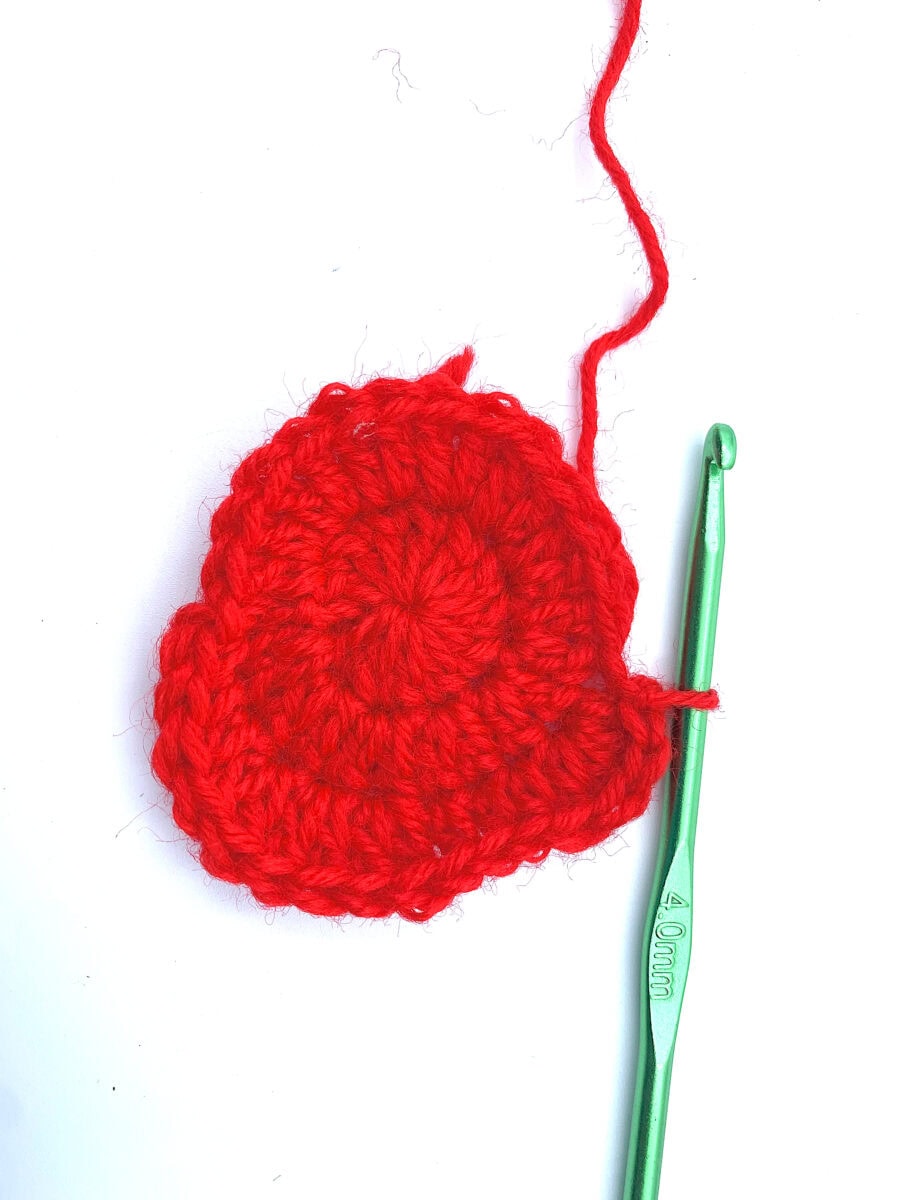
ROUND 4
Step 1
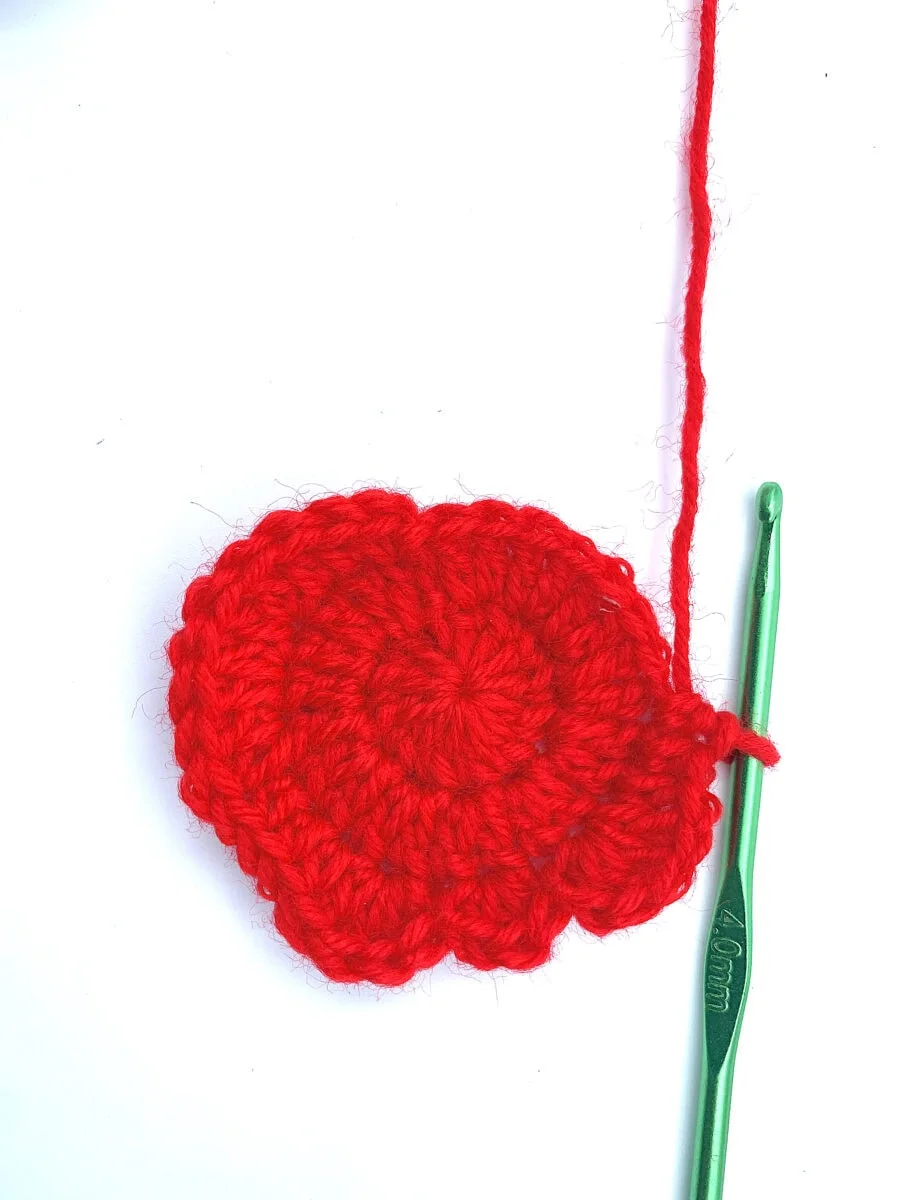
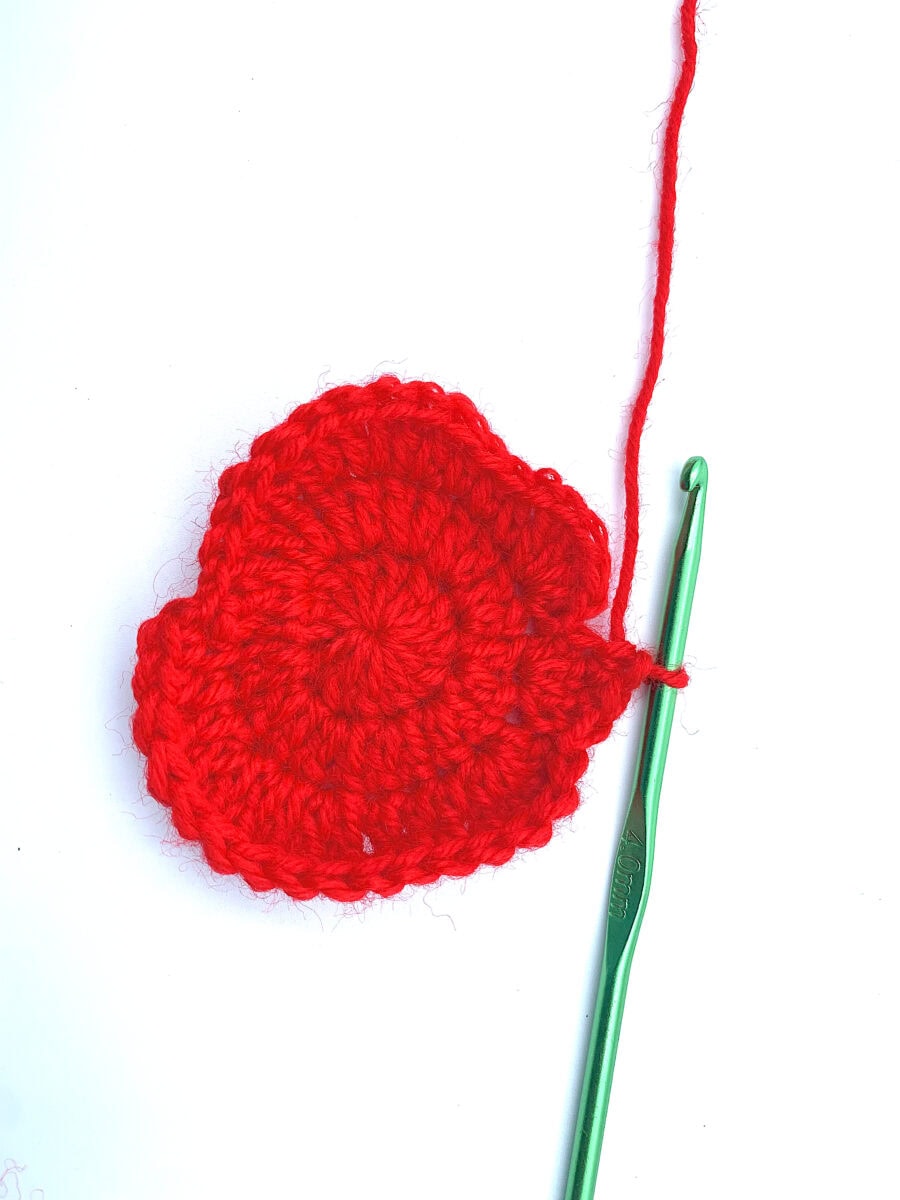
Chain 1, Single Crochet in each of the next 16 stitches.


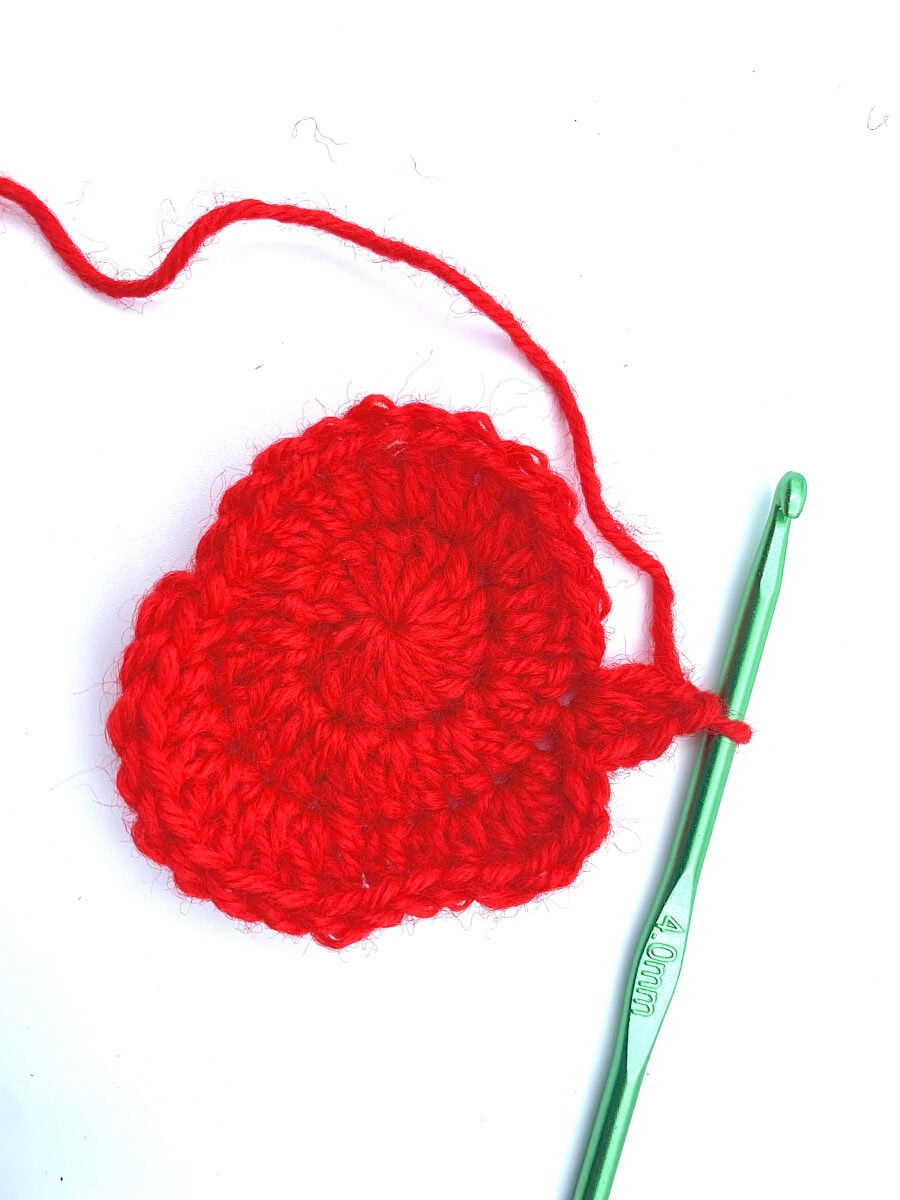
Step 2
Work a Slip Stitch to the Slip Stitch of the previous round.

Step 3
Single Crochet in each of the next 3 stitches.
Step 4
Work a Slip Stitch to the Slip Stitch of the previous round.

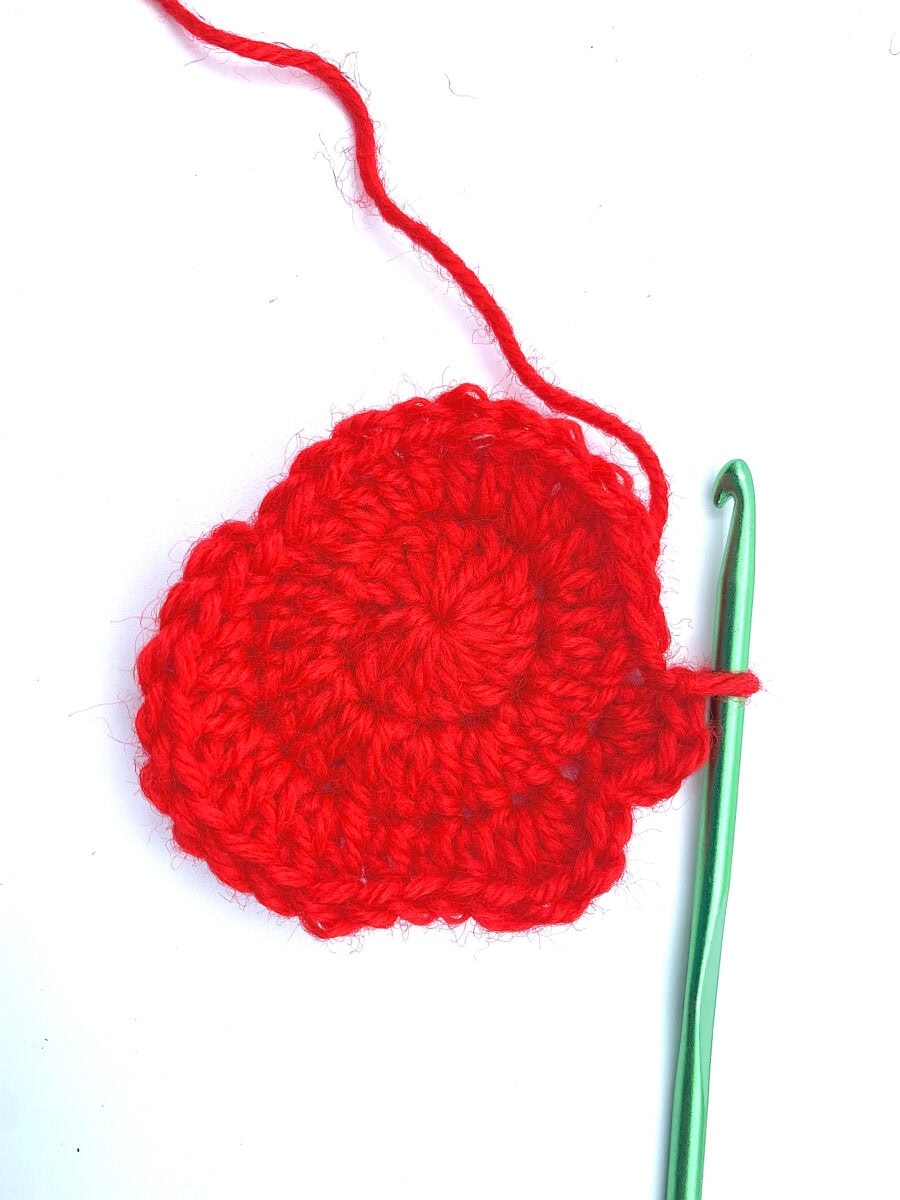
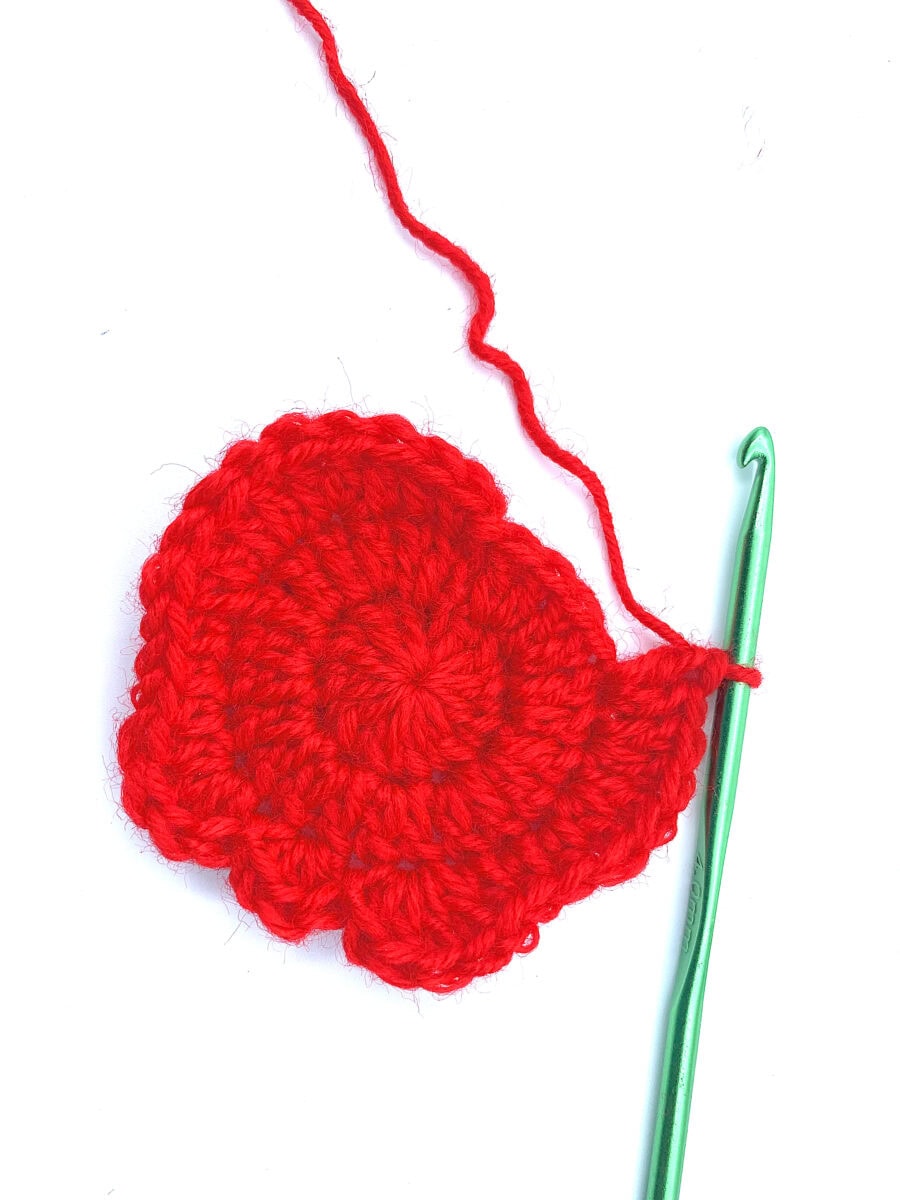
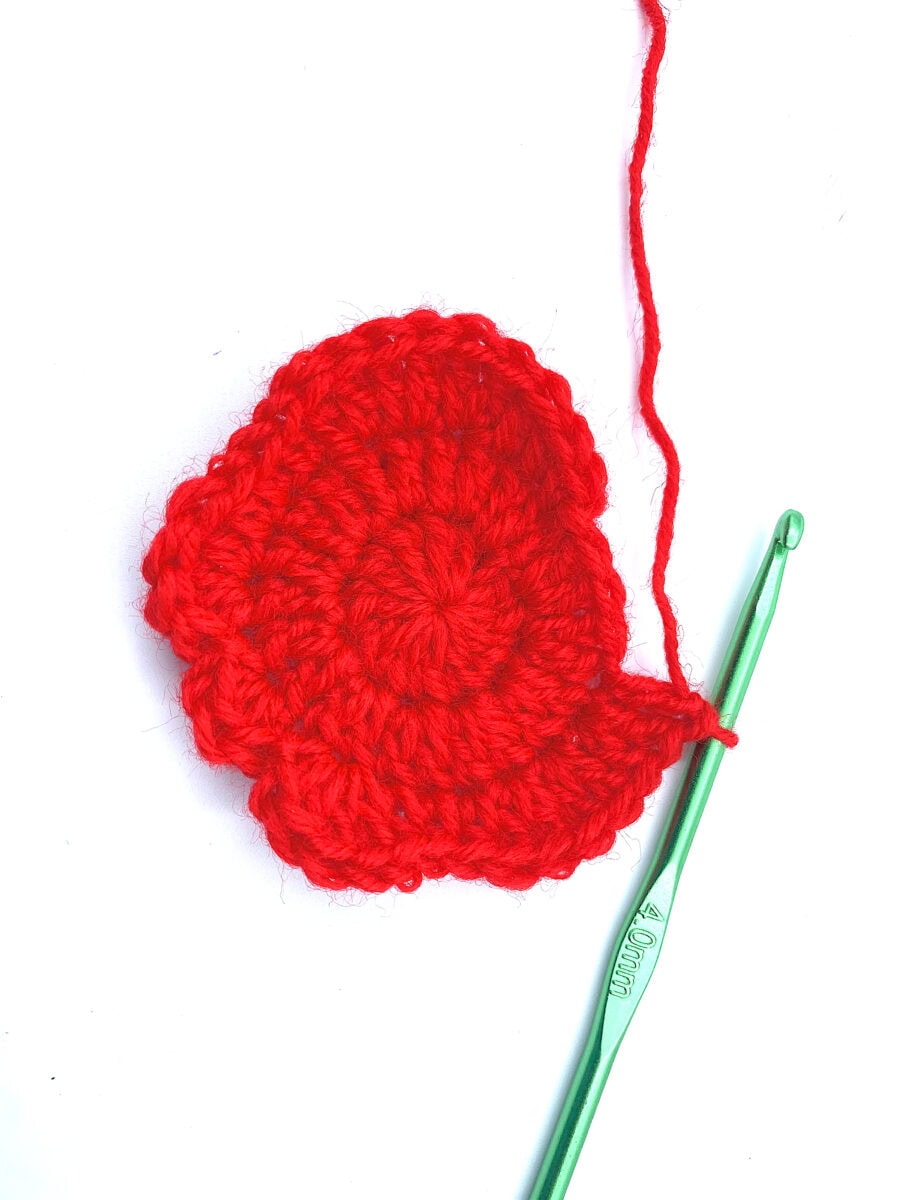
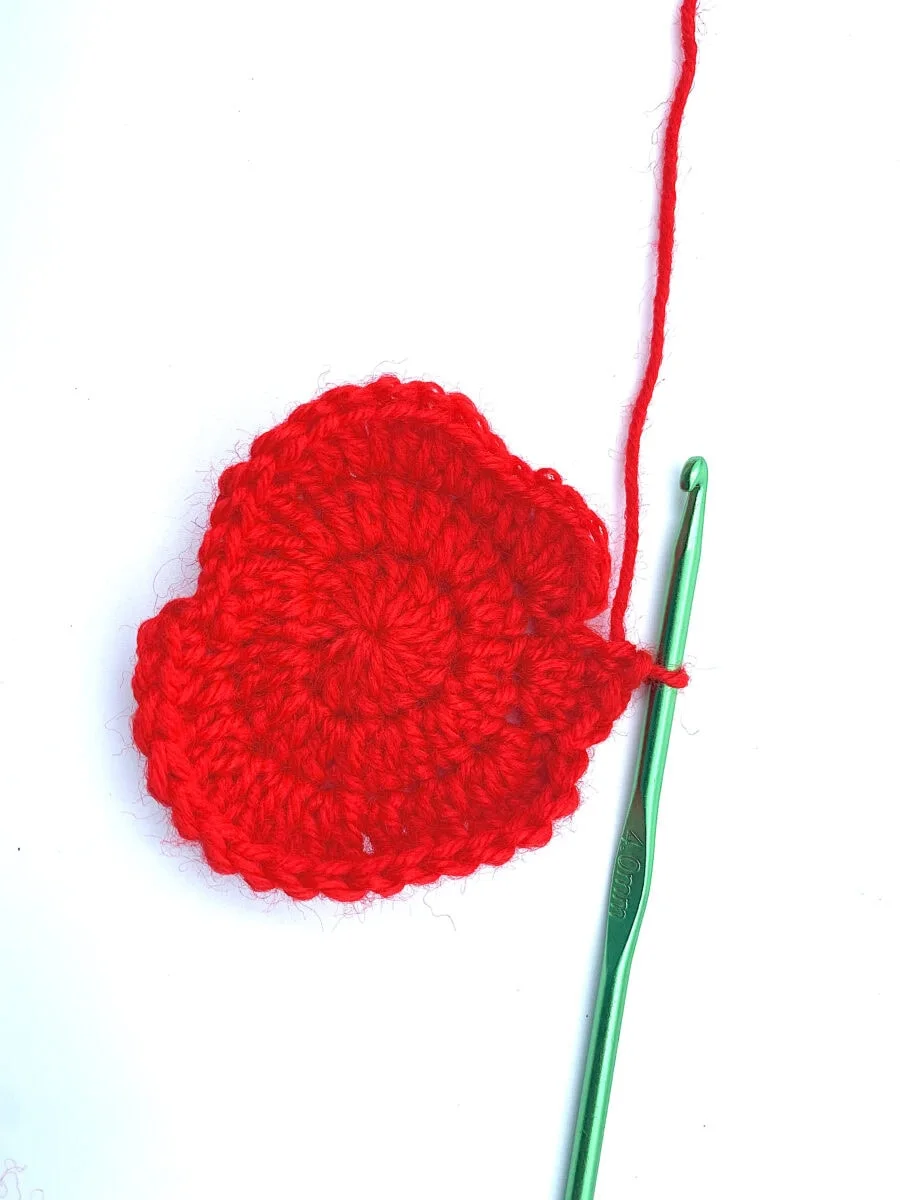
Step 5
Single Crochet in each of the next 17 stitches.

Step 6
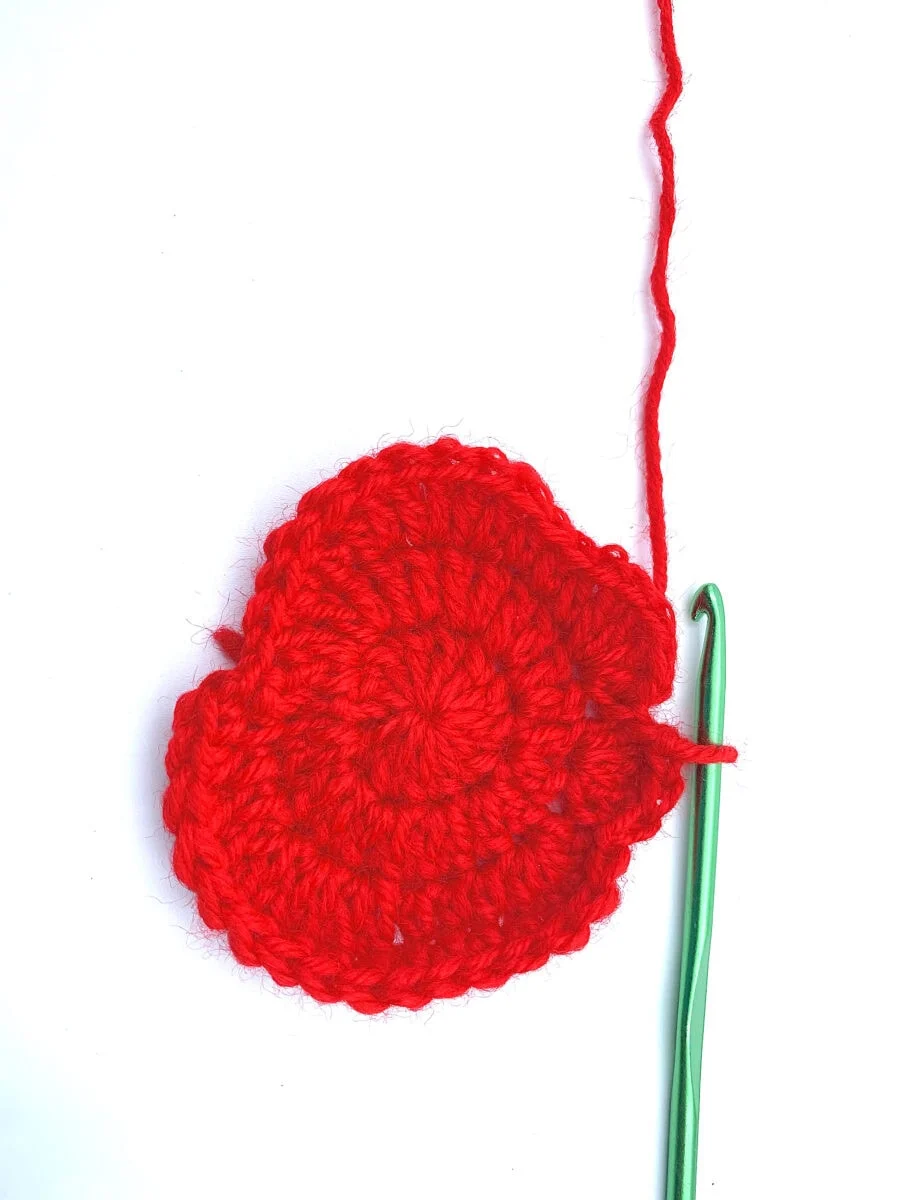
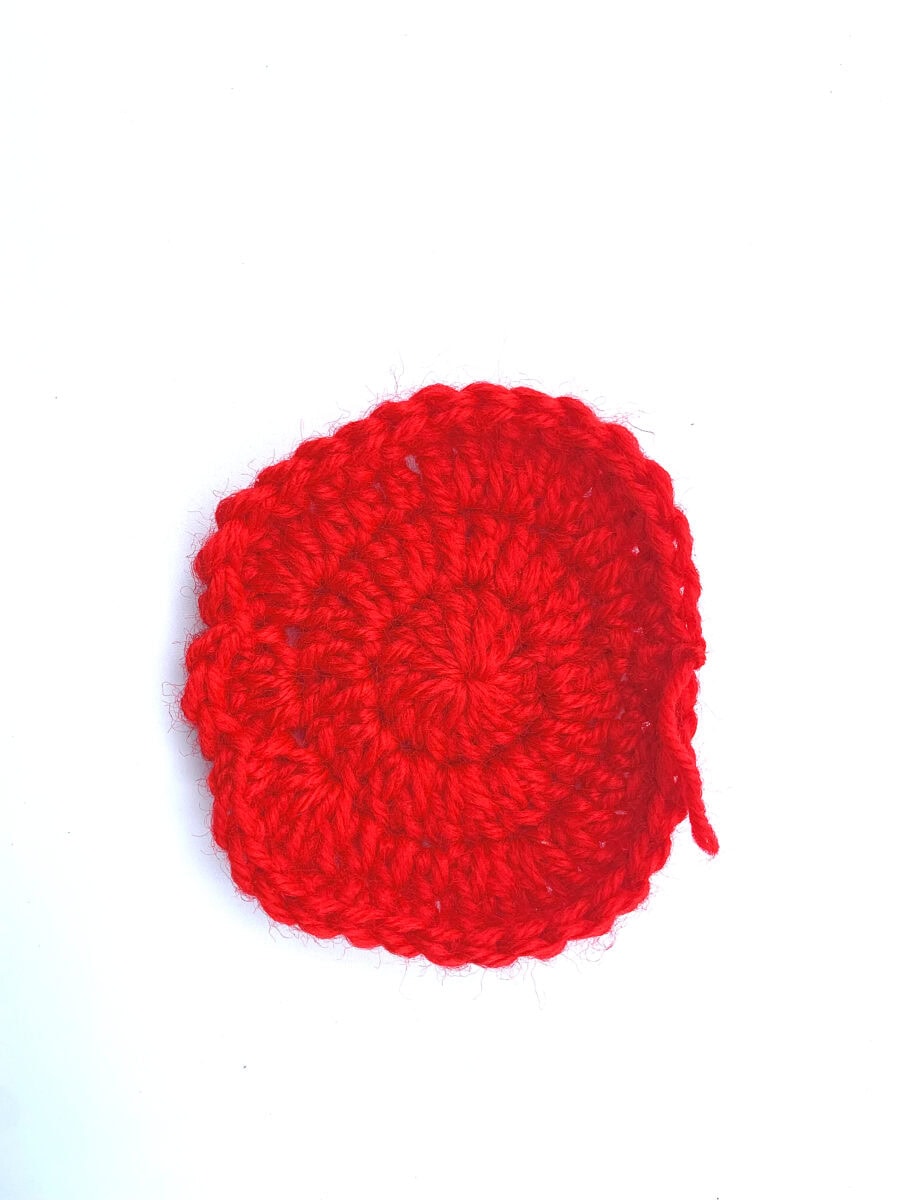
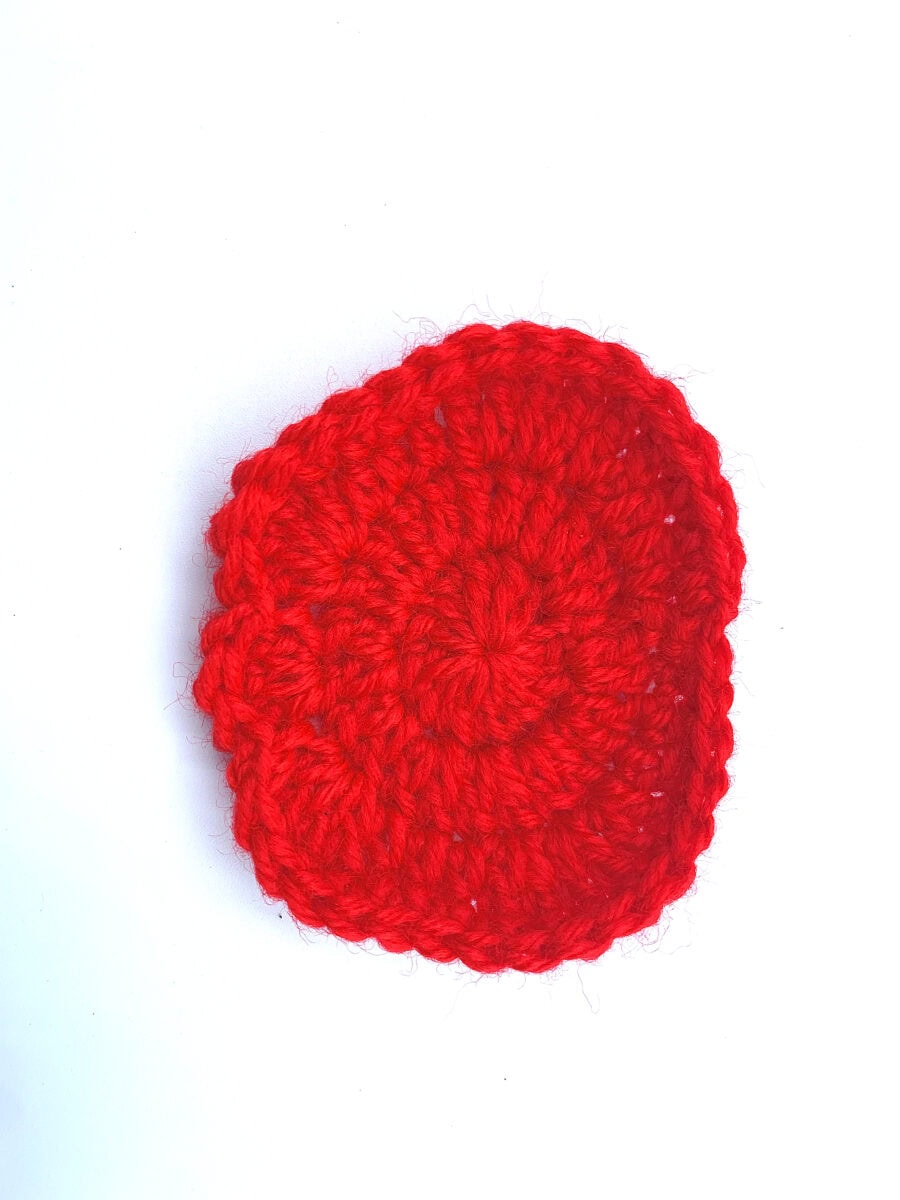
Join with a Slip Stitch to the top of the first Single Crochet of the round.

Step 7
Cut the yarn, leaving a tail for weaving in. Fasten off.


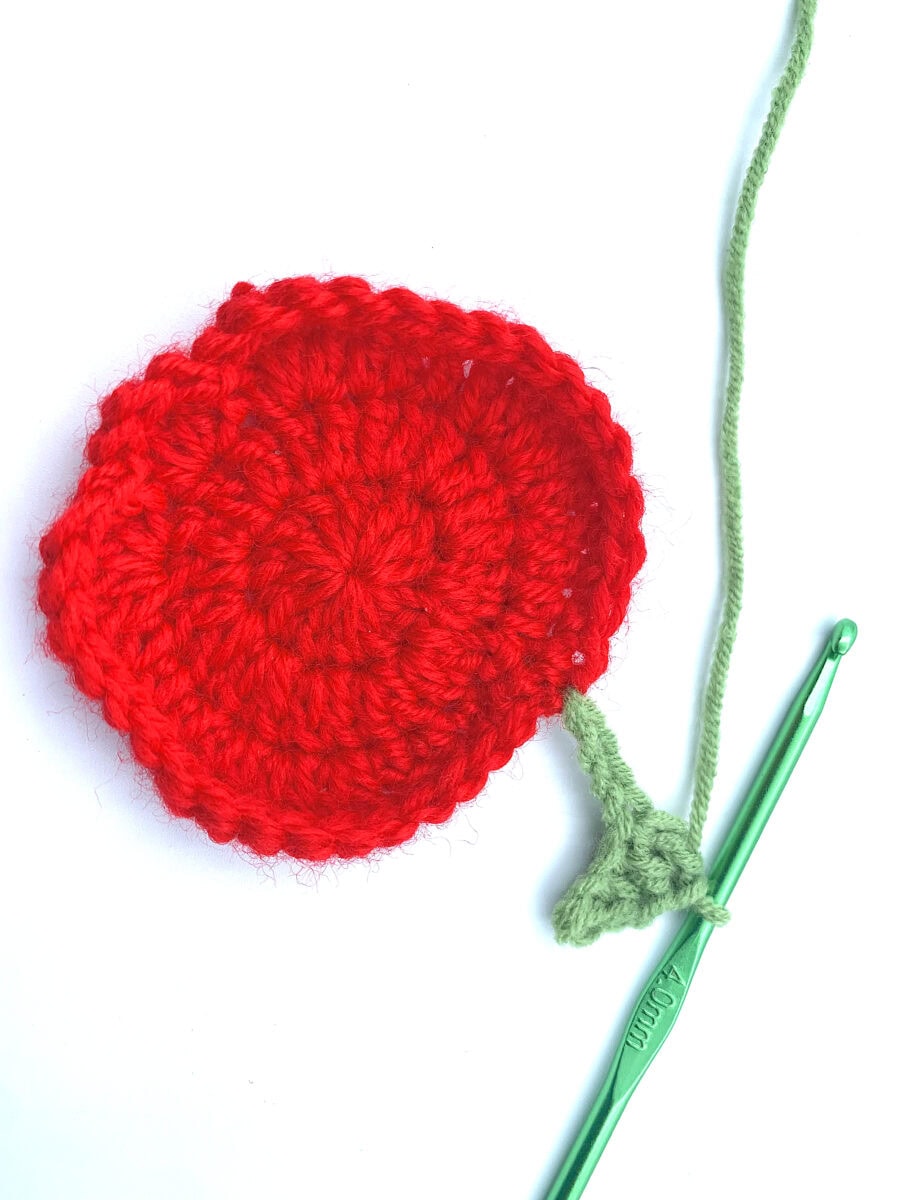
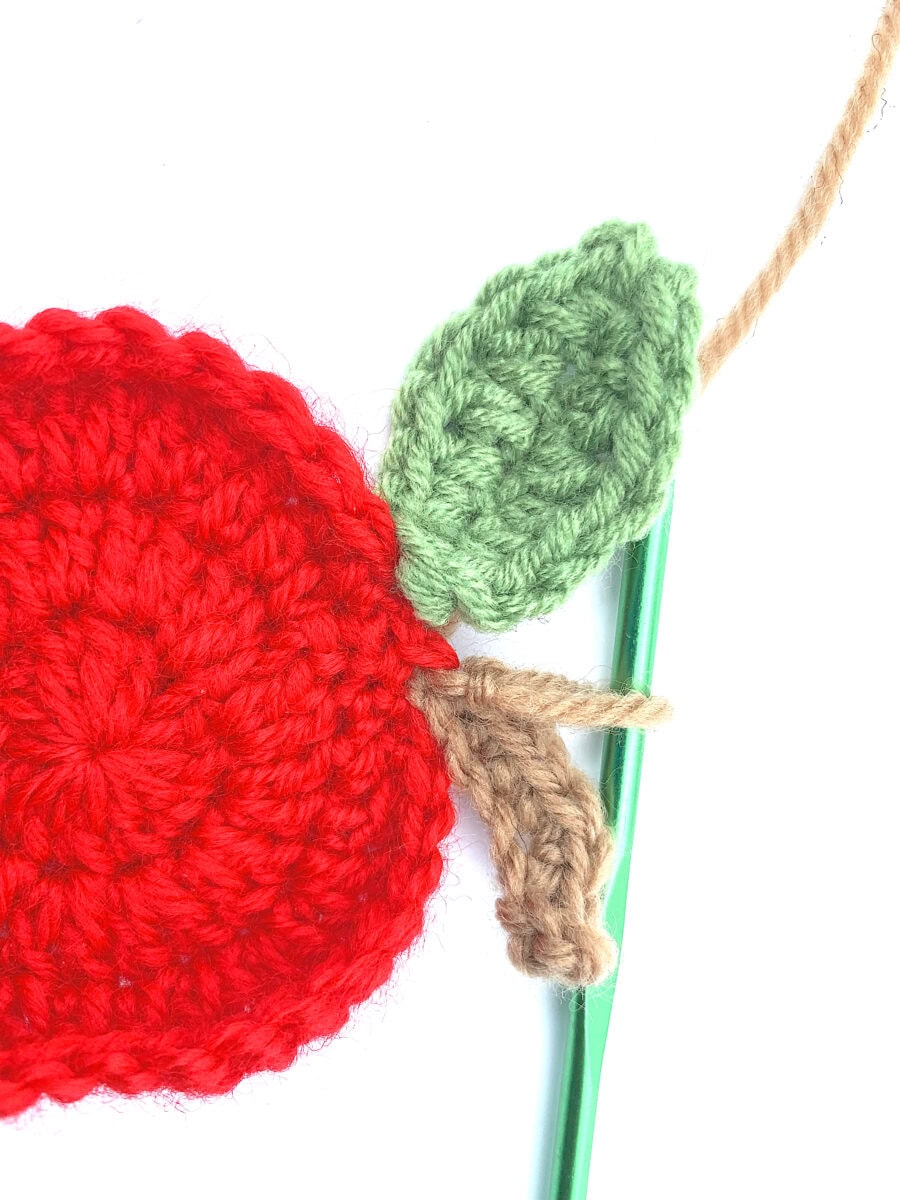
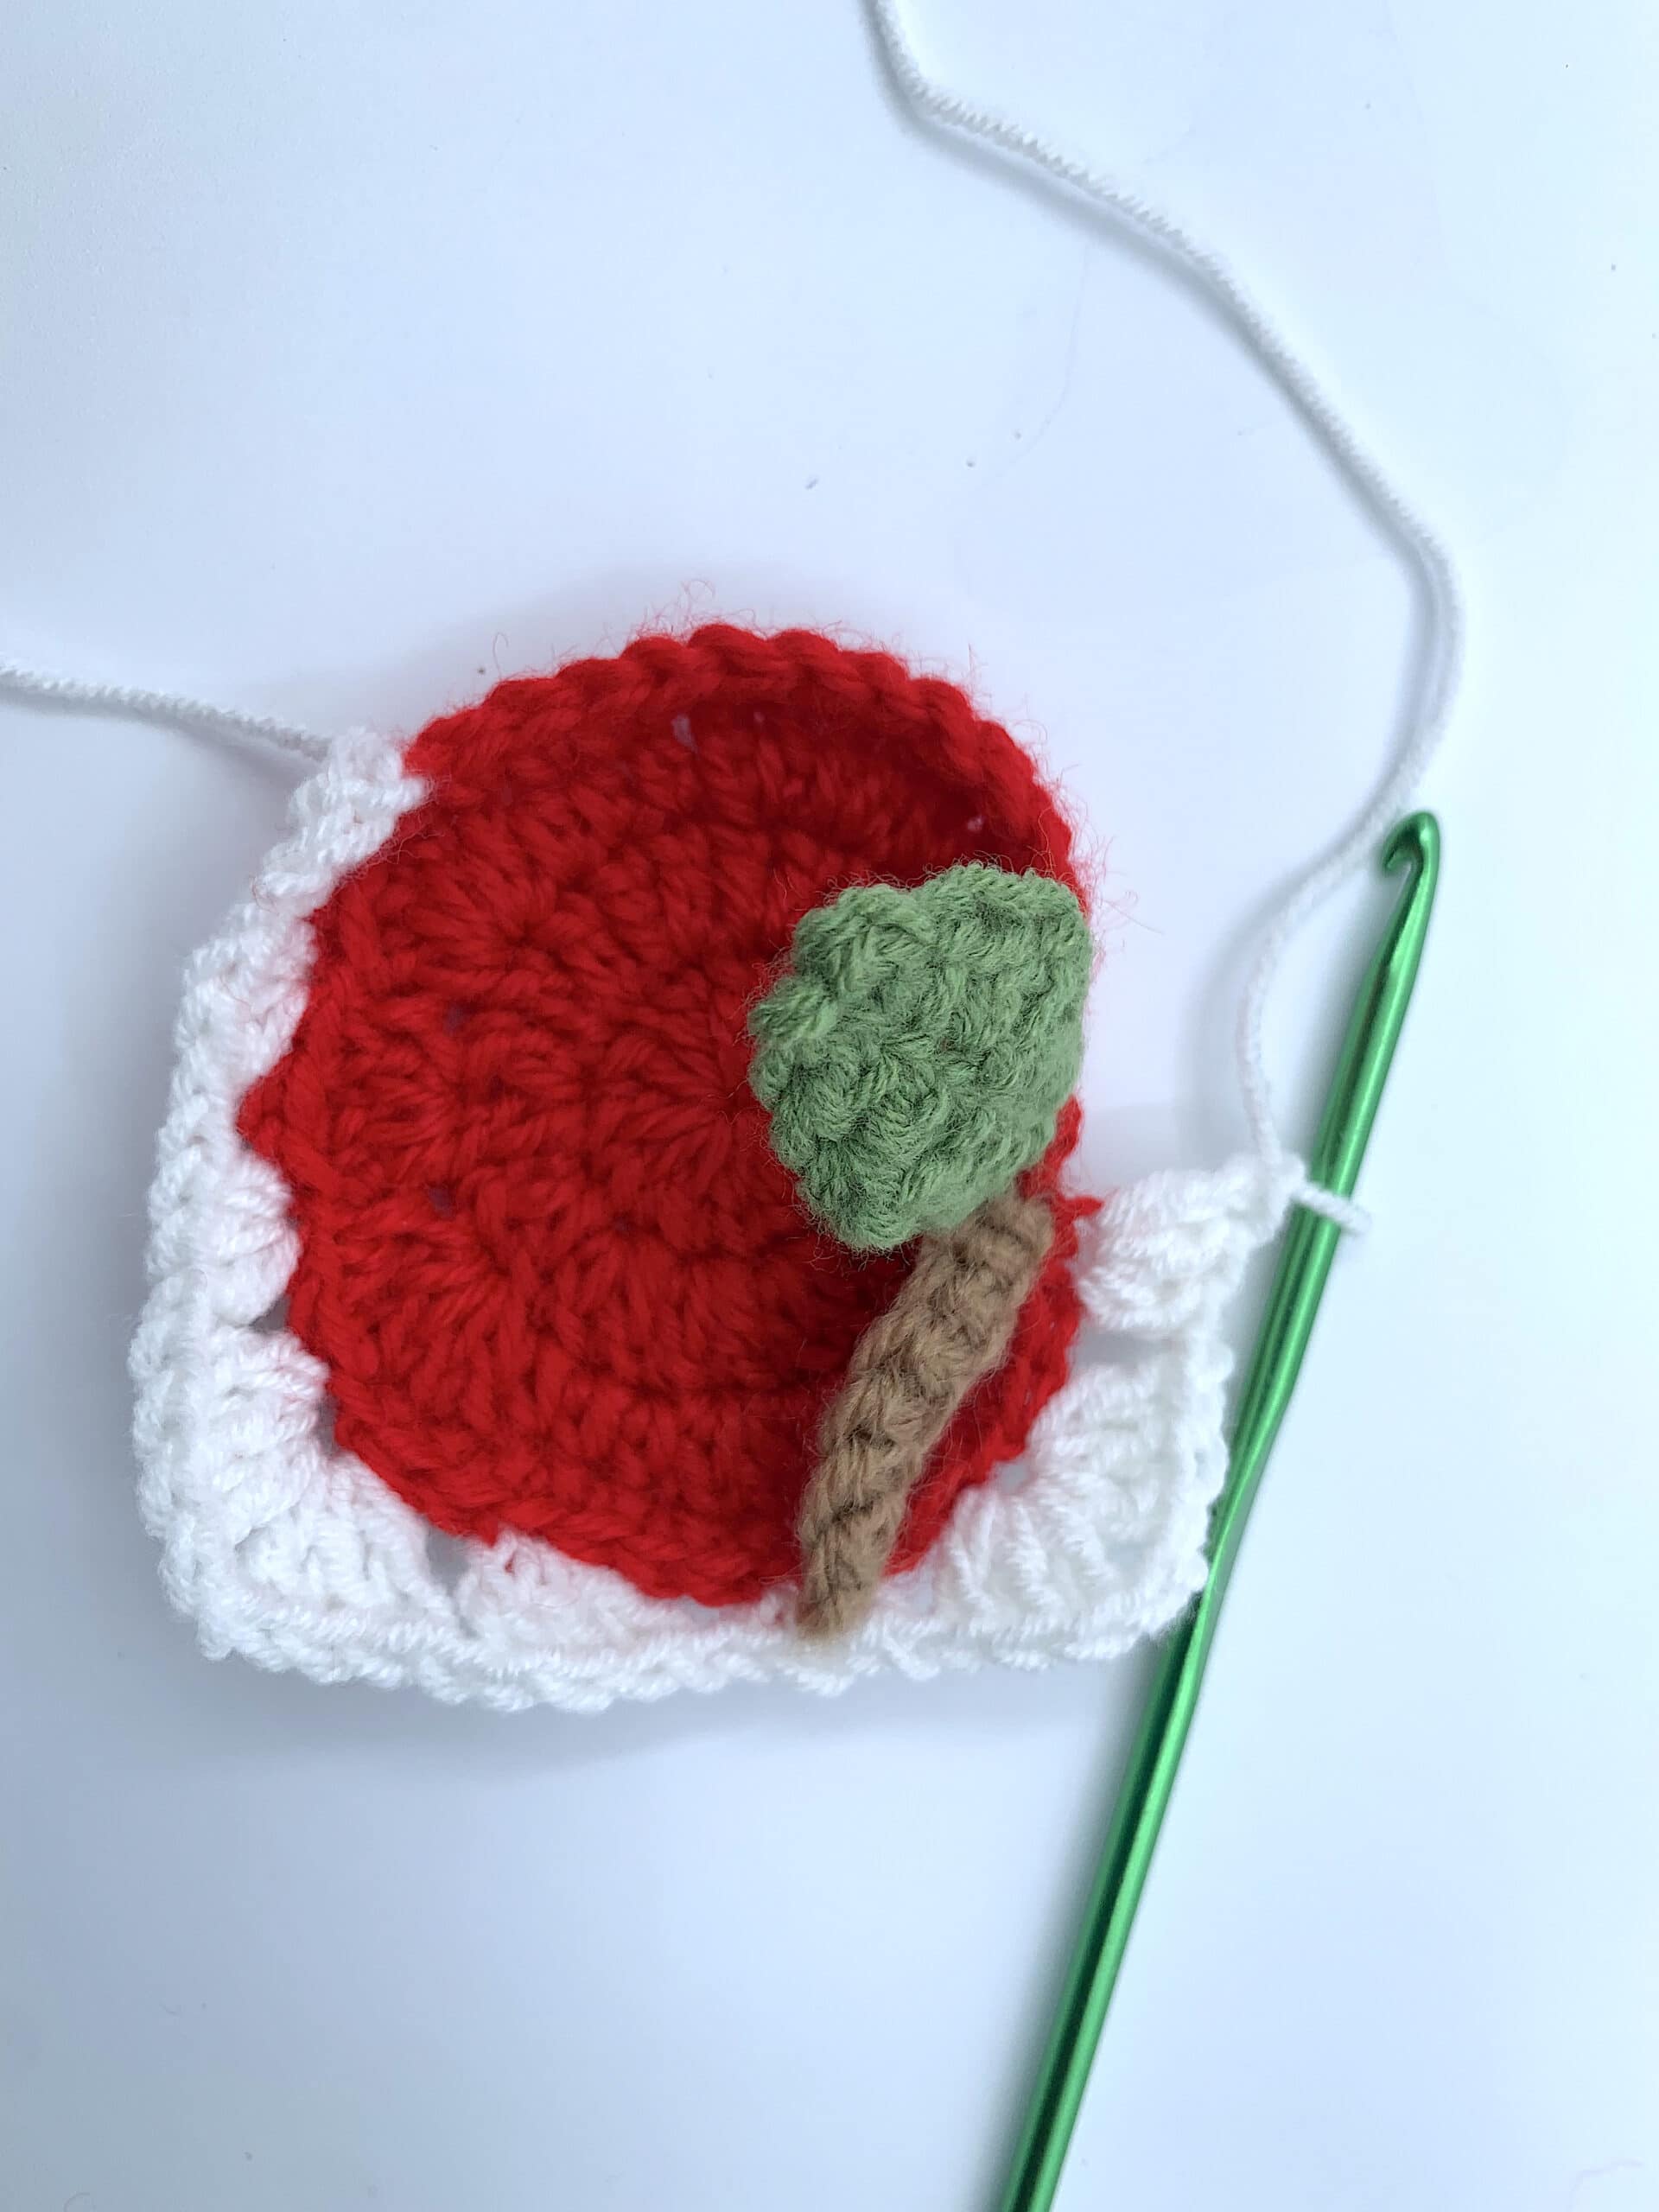
LEAF
Step 1
Join green yarn to the left stitch of the Slip Stitch used to join the apple round

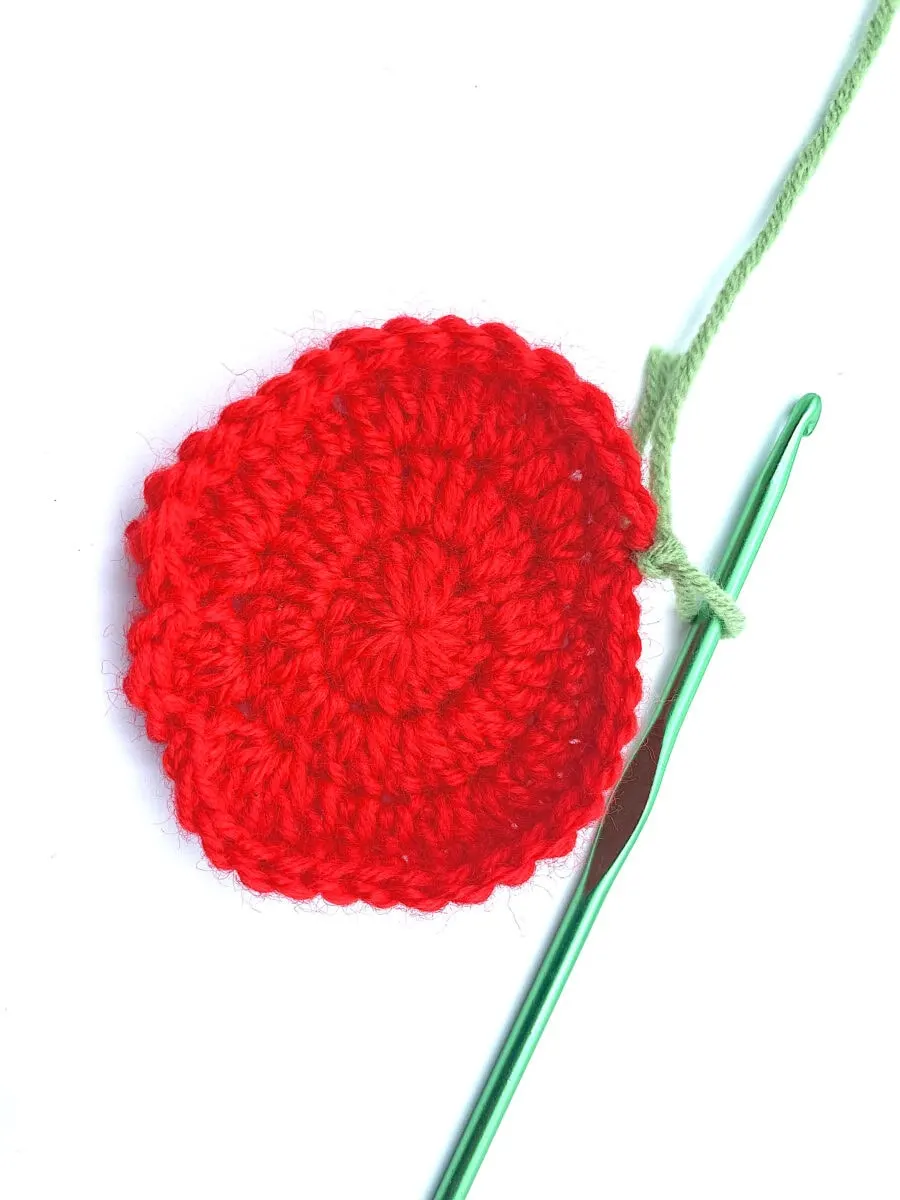
Step 2
Chain 7.

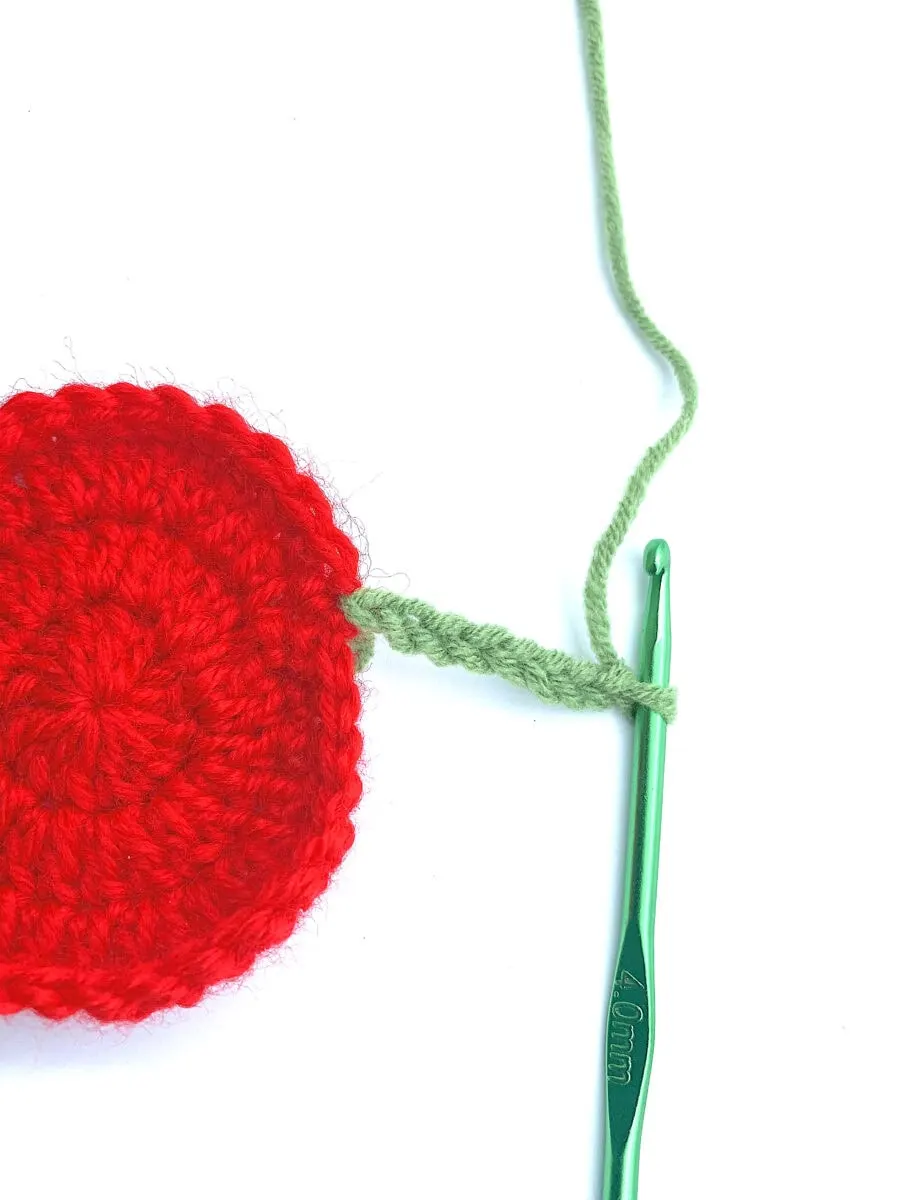
Step 3
Slip Stitch into the 2nd Chain from the hook.

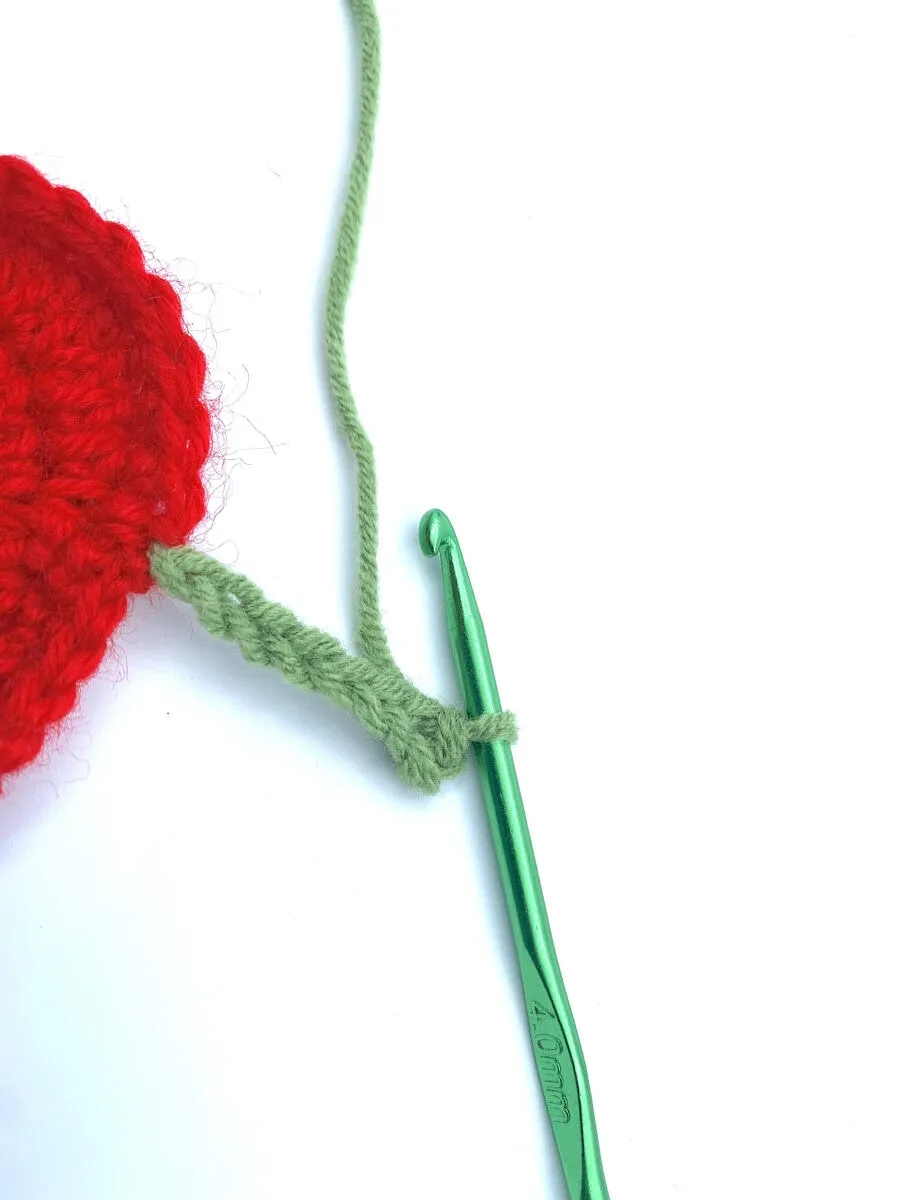
Step 4
Single Crochet in the next stitch.


Step 5
Half Double Crochet in the next stitch.

Step 6
Double Crochet in the next stitch.
Step 7
Half Double Crochet in the next stitch.

Step 8
Single Crochet in the next stitch.
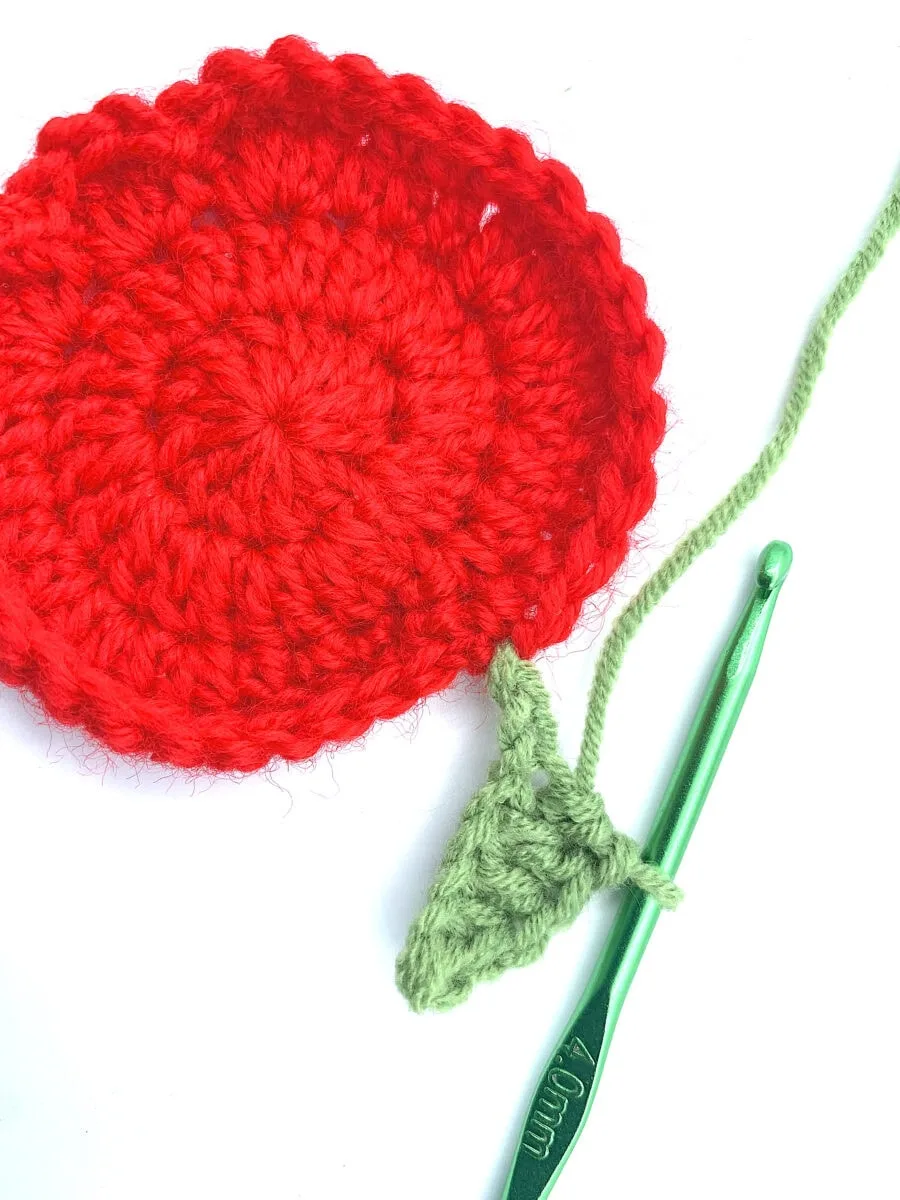
Step 9
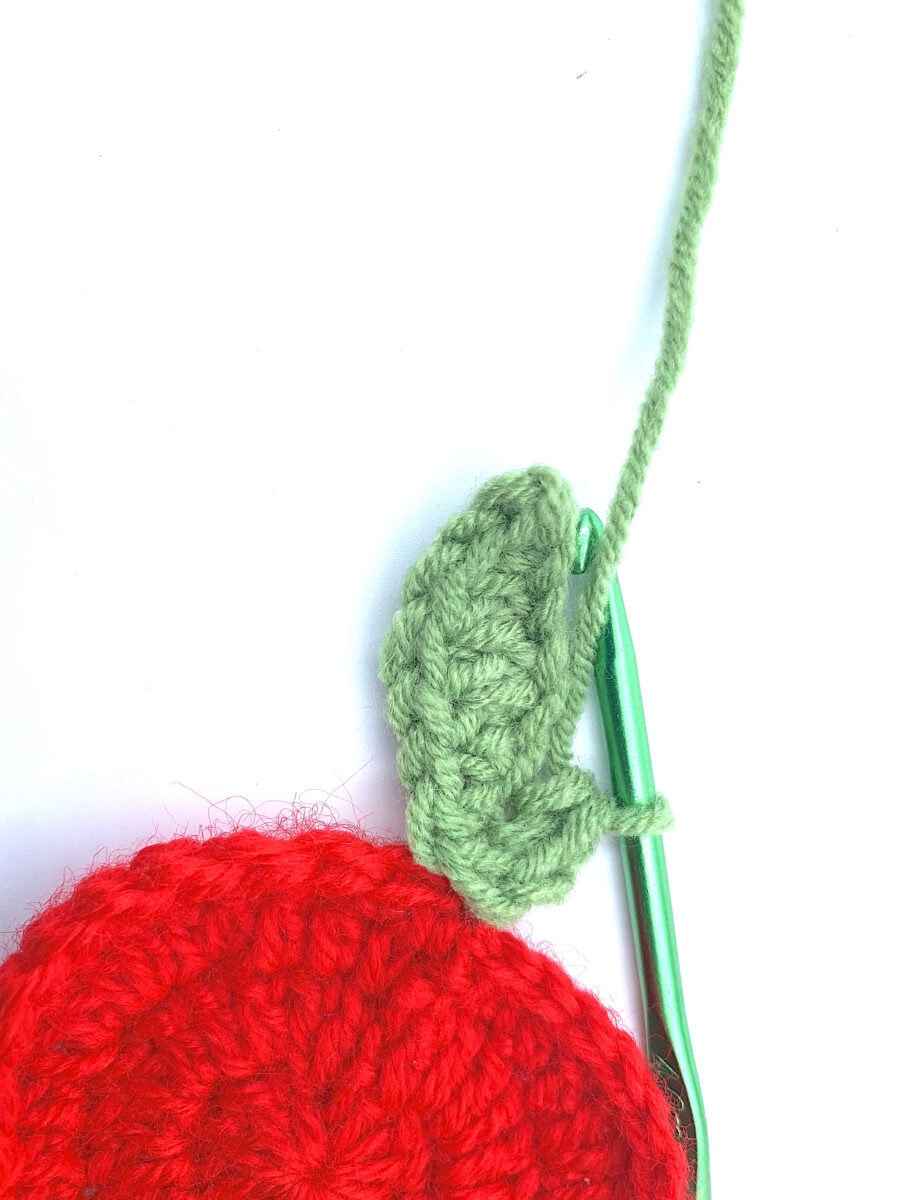
Work 3 Single Crochets into the last Chain (to work back on the other side of the chain).
Step 10
Single Crochet in the next stitch.
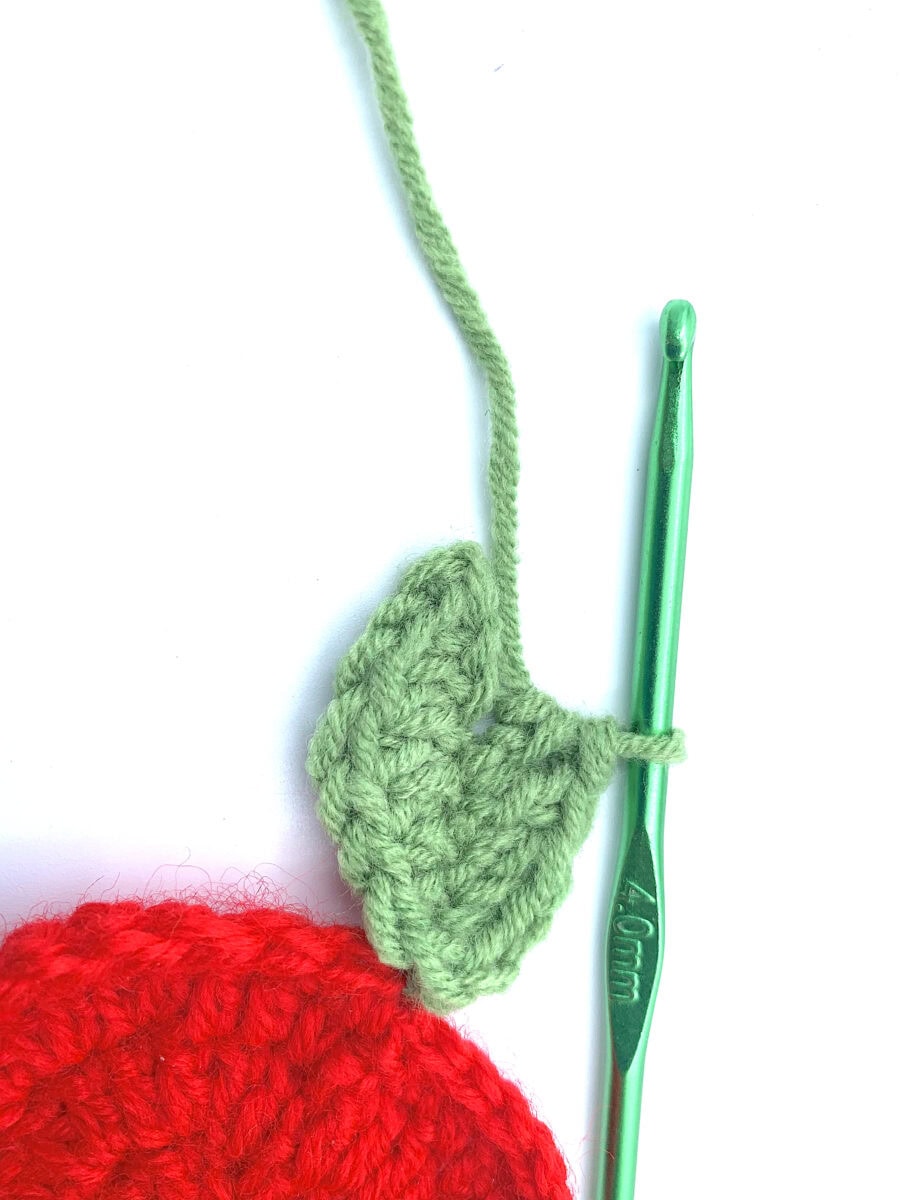
Step 11
Half Double Crochet in the next stitch.

Step 12
Double Crochet in the next stitch.

Step 13
Half Double Crochet in the next stitch.
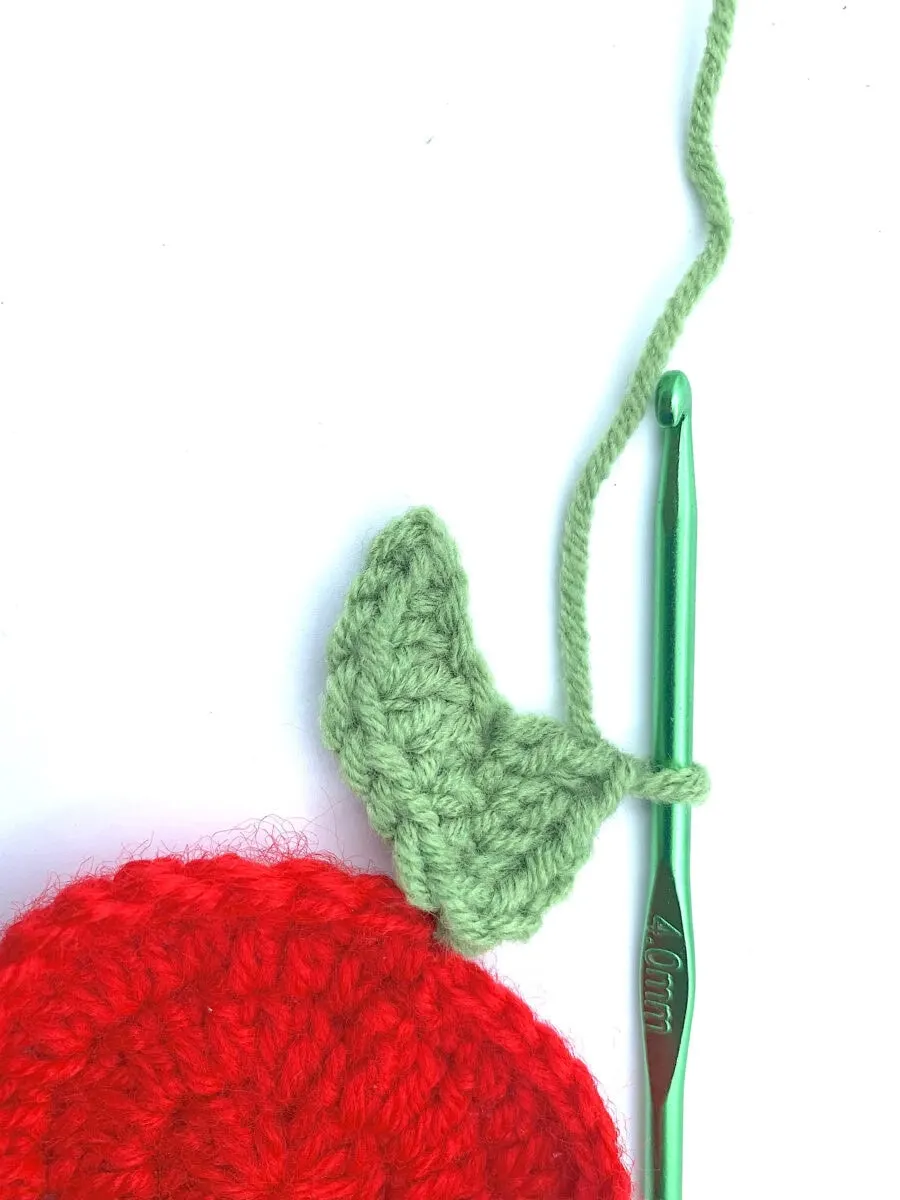
Step 14
Single Crochet in the next stitch.
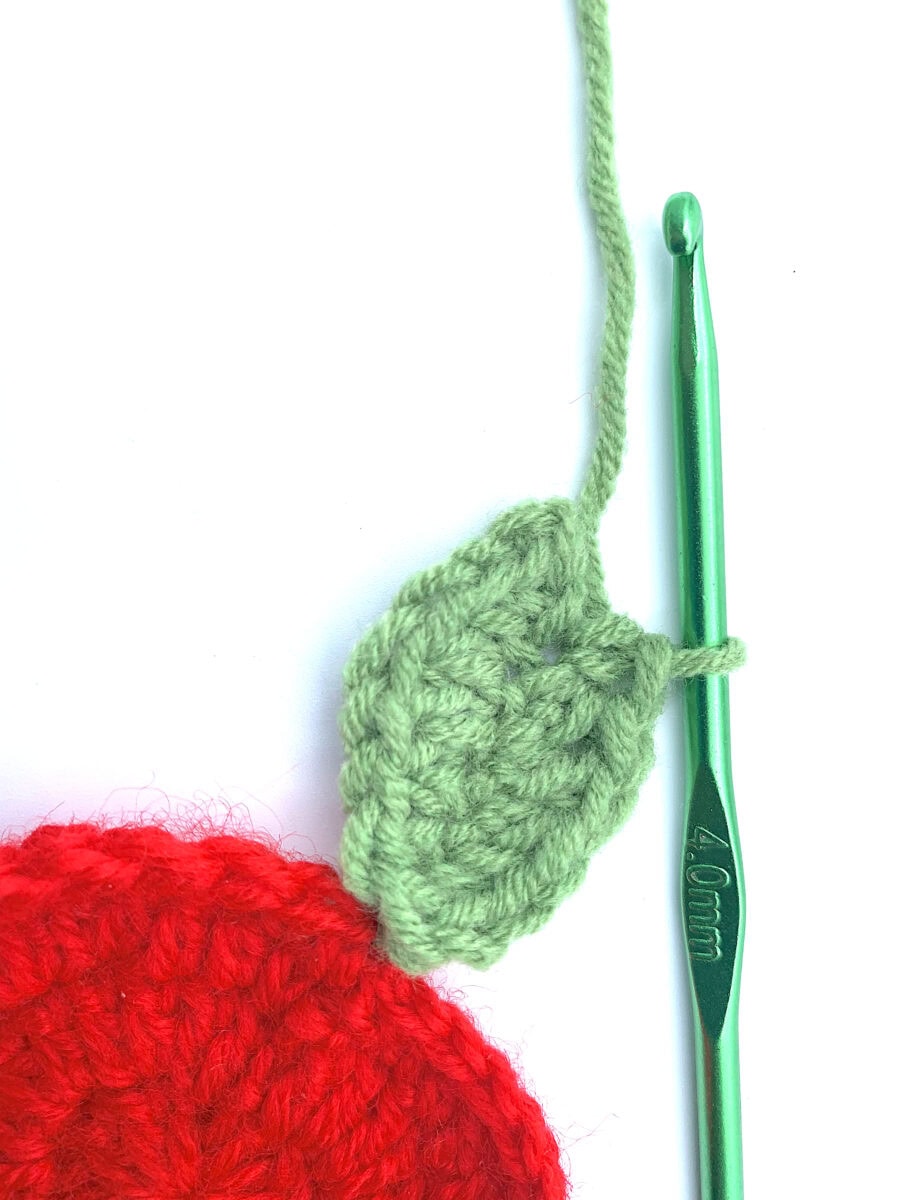
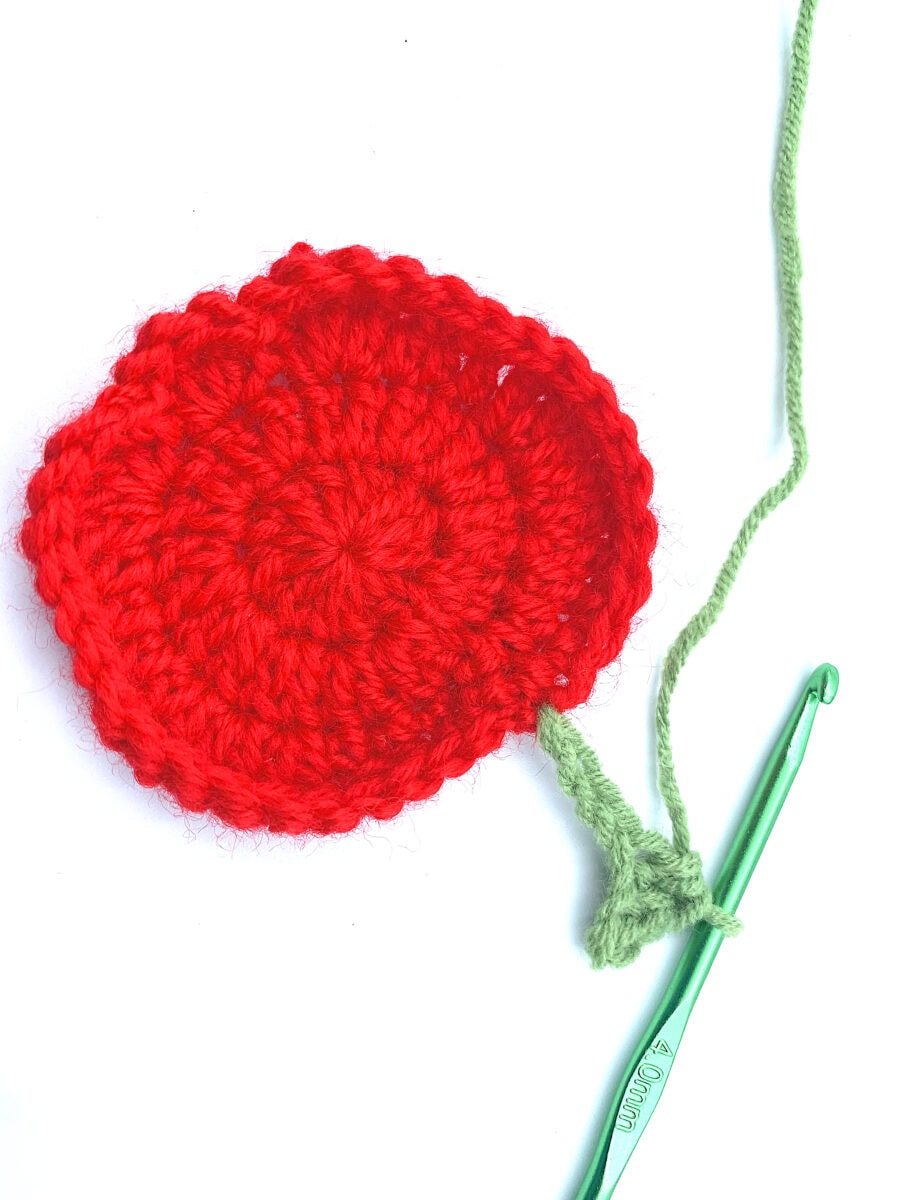
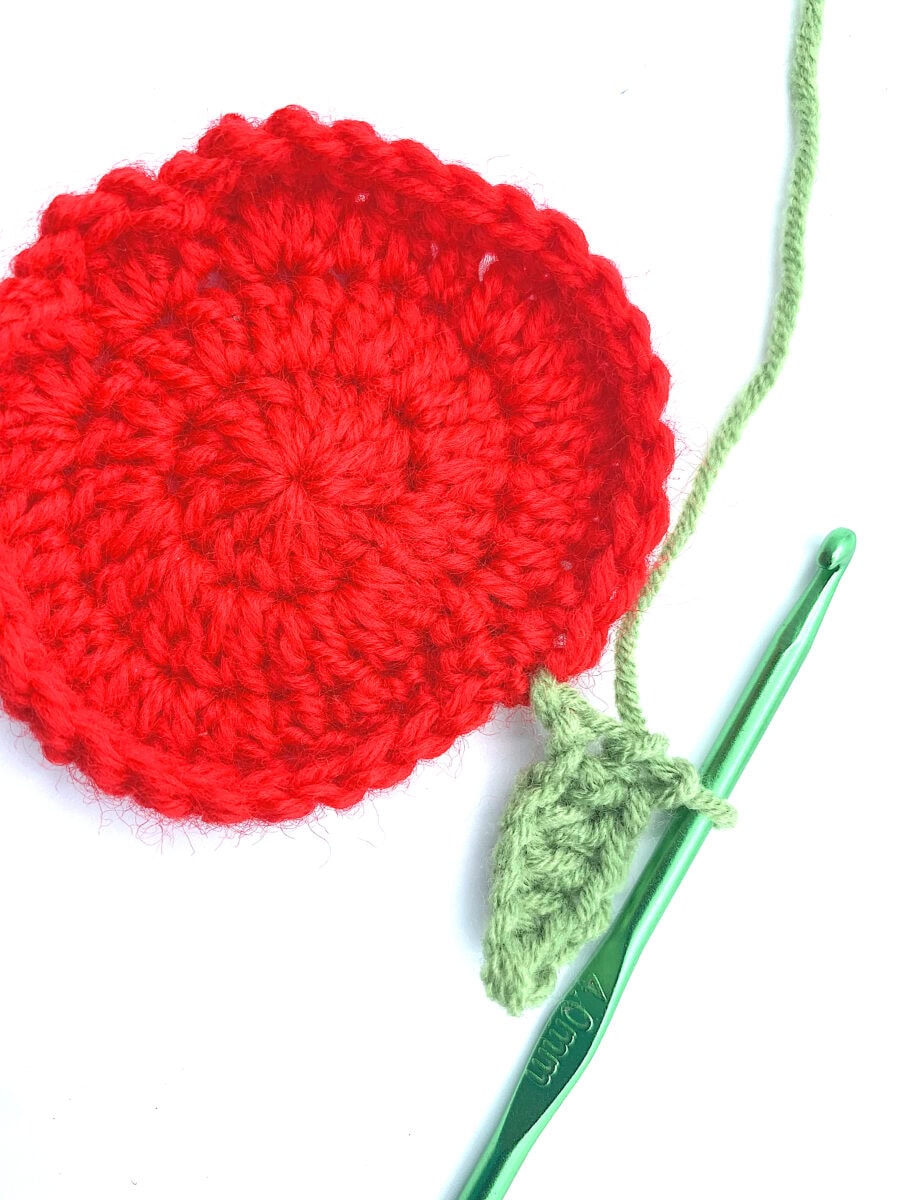
Step 15
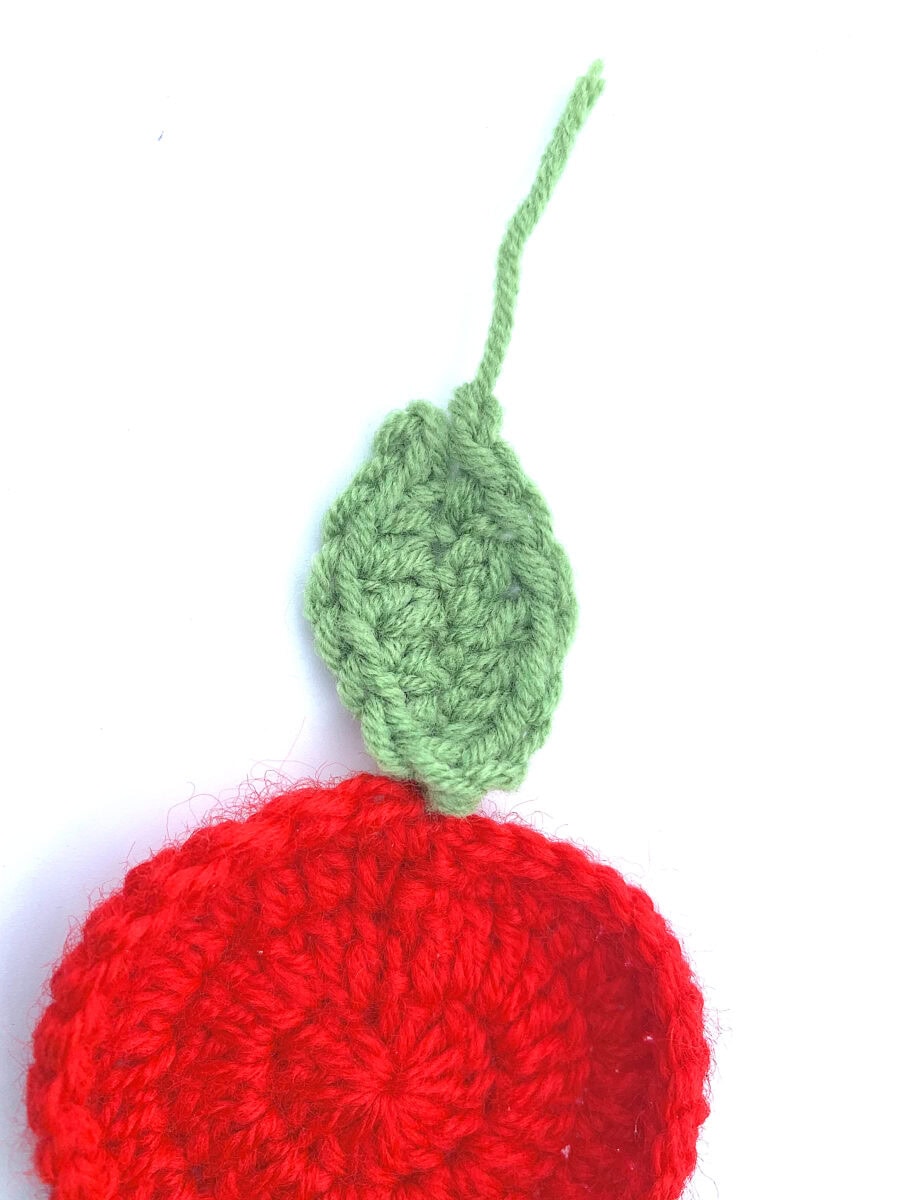
Slip Stitch into the next stitch.
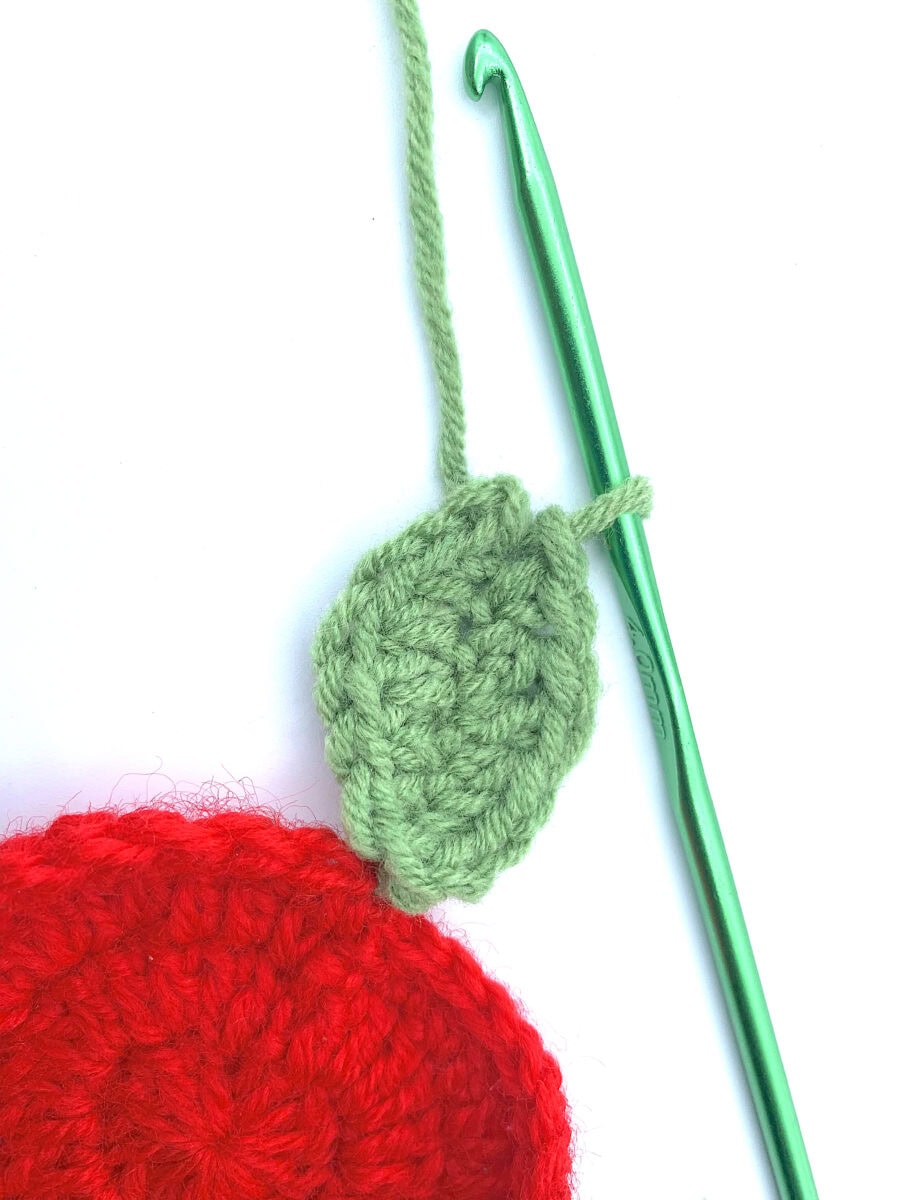
Step 16
Cut the yarn, leaving a tail for weaving in. Fasten off.
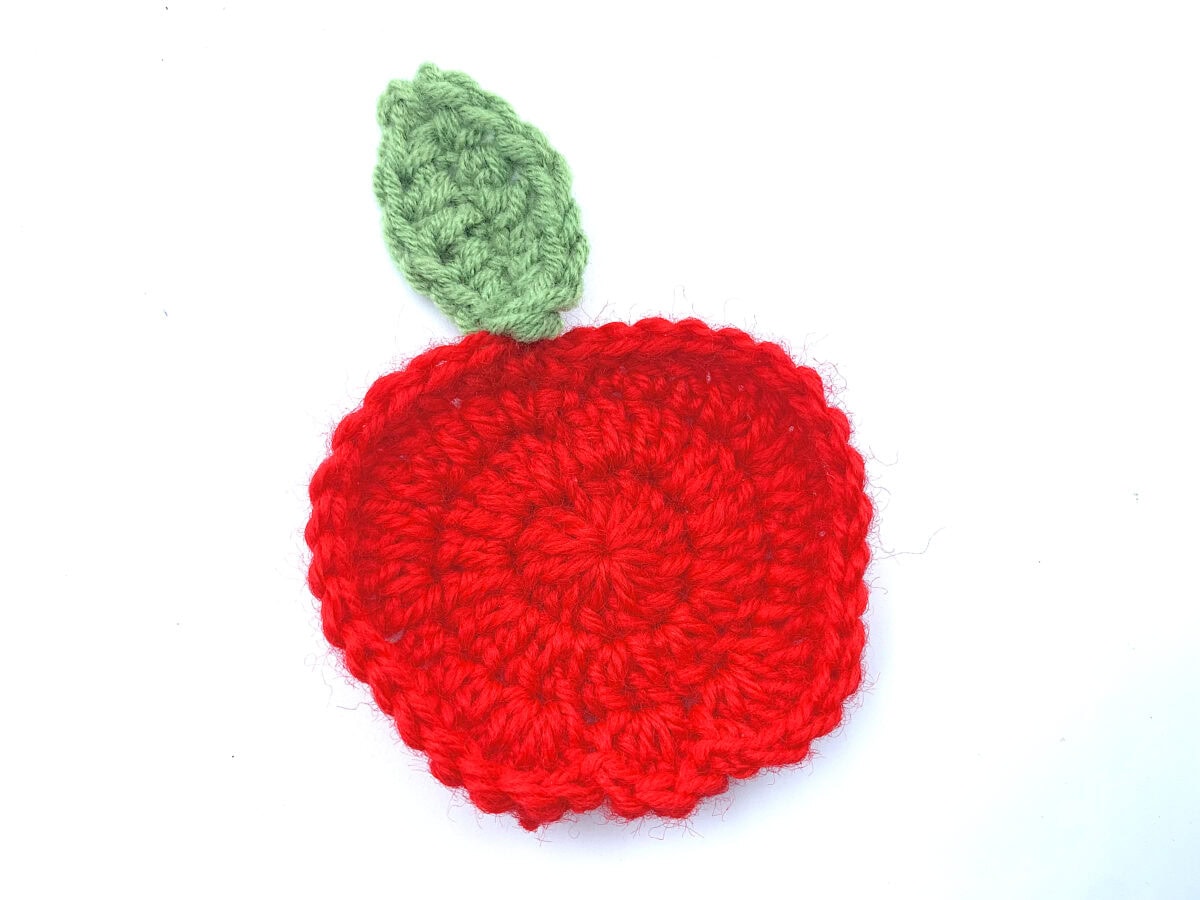

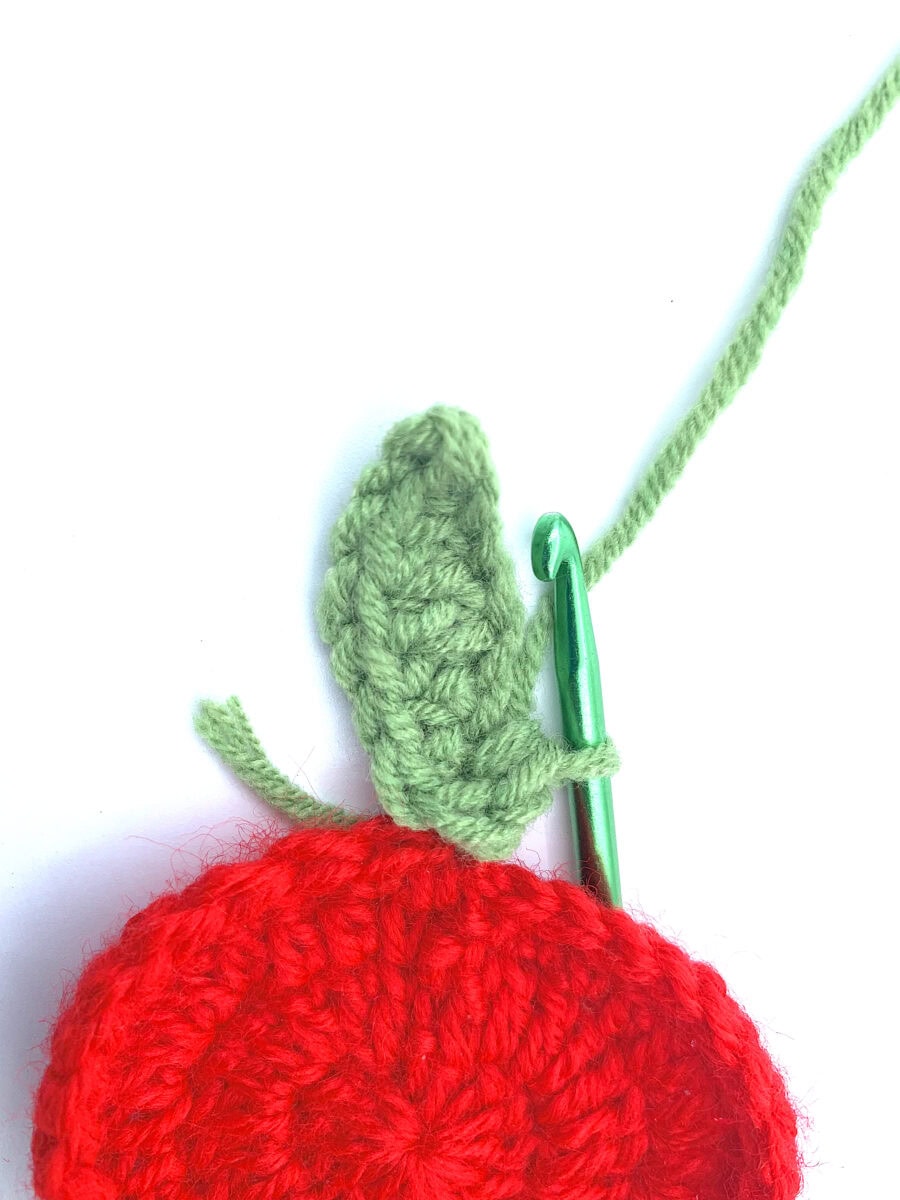
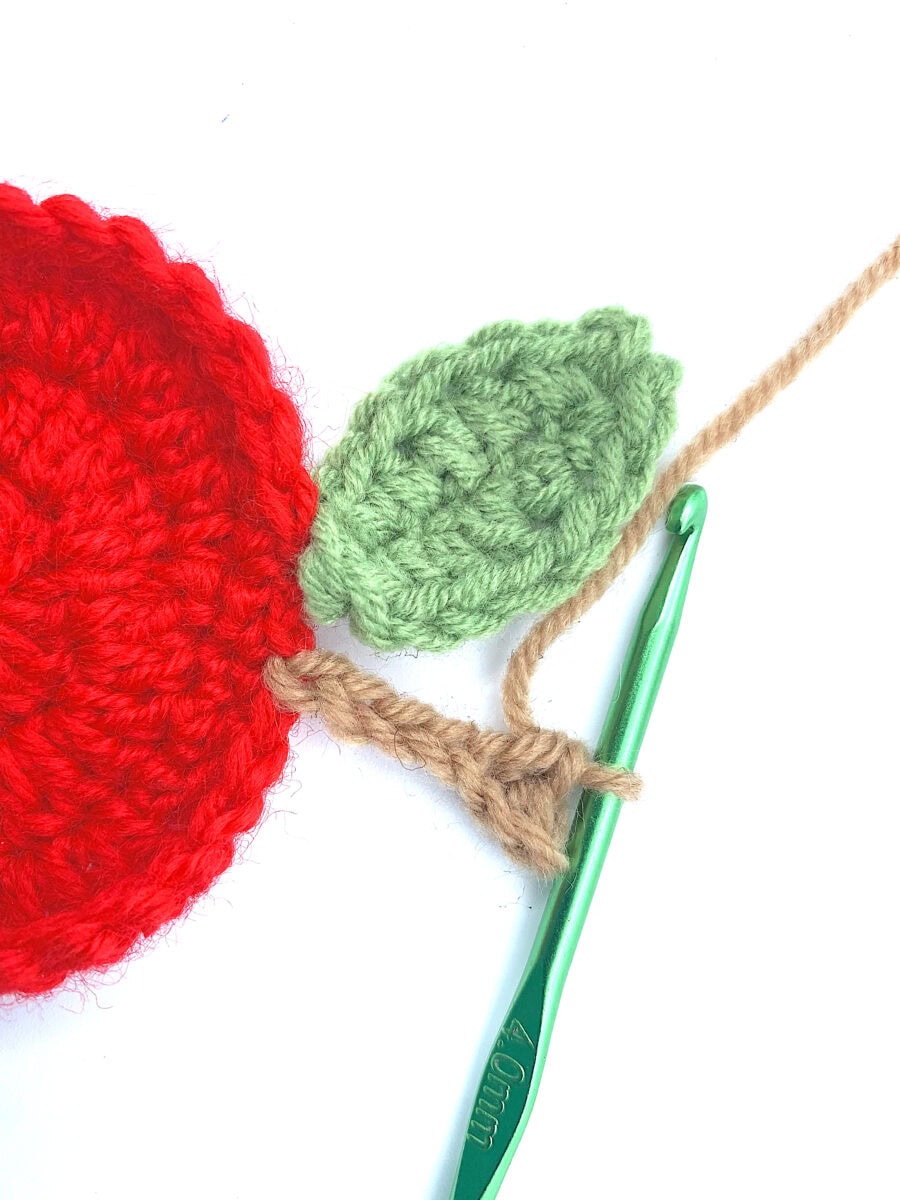
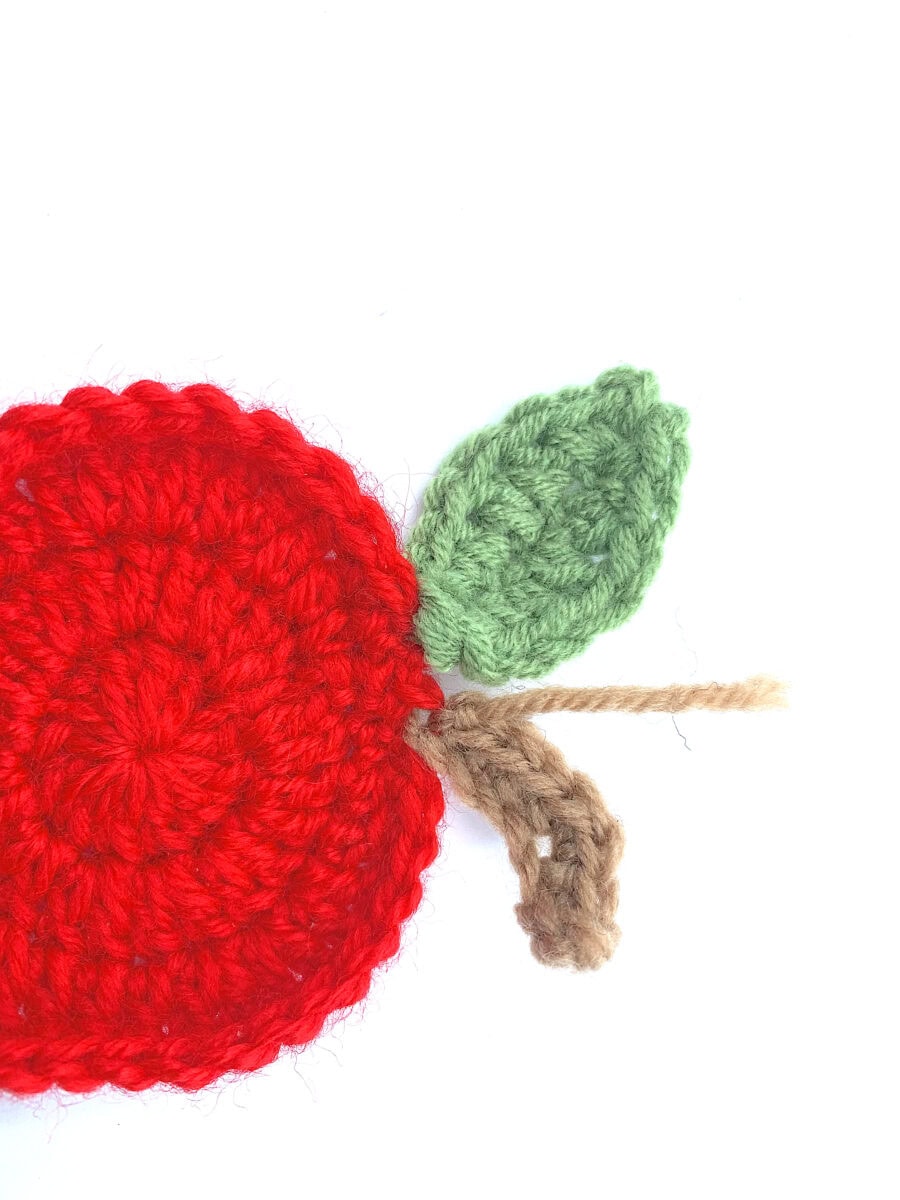
STEM
Step 1
Join brown yarn to the right stitch of the Slip Stitch used to join the apple round.
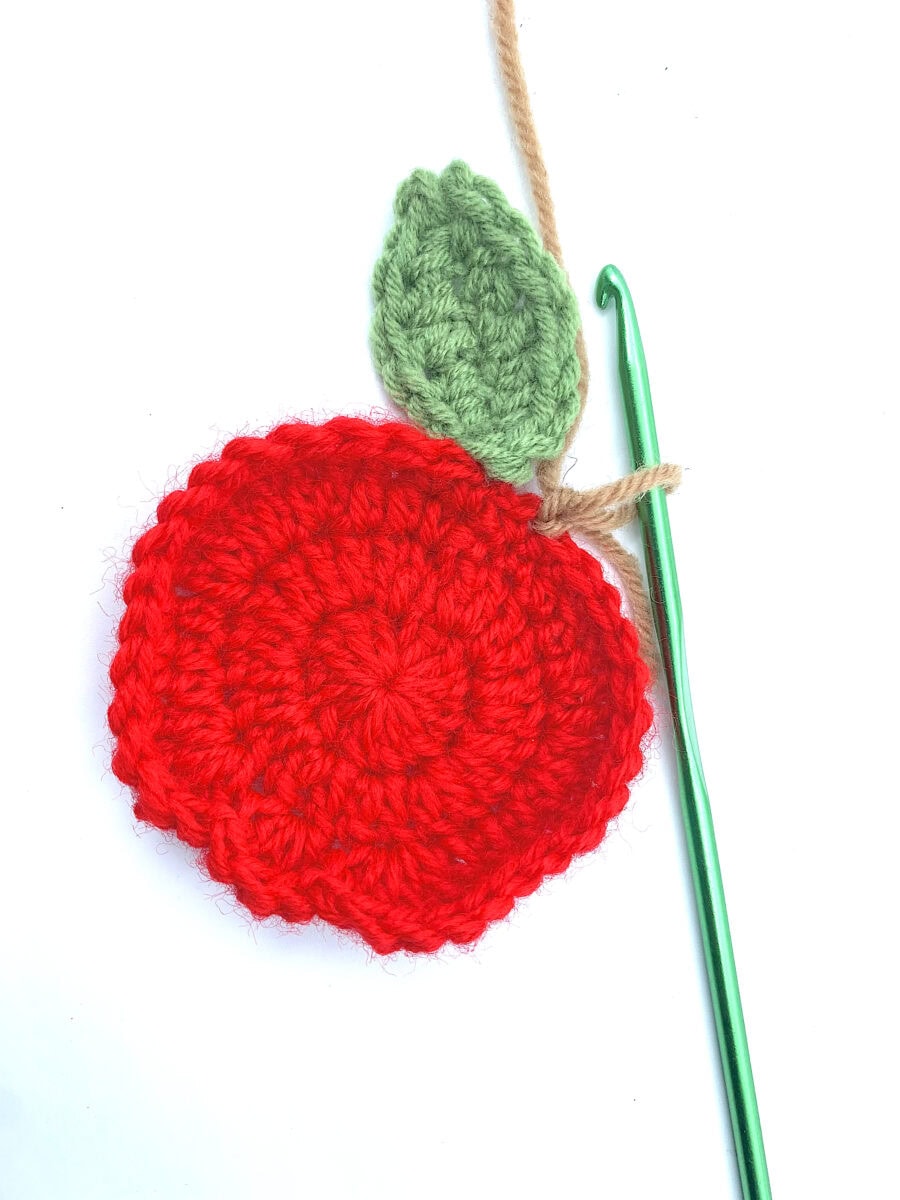
Step 2
Chain 6.
Step 3
Single Crochet in each of the next 2 Chains from the 2nd Chain from the hook.
Step 4
Work 2 Single Crochets into the next Chain.
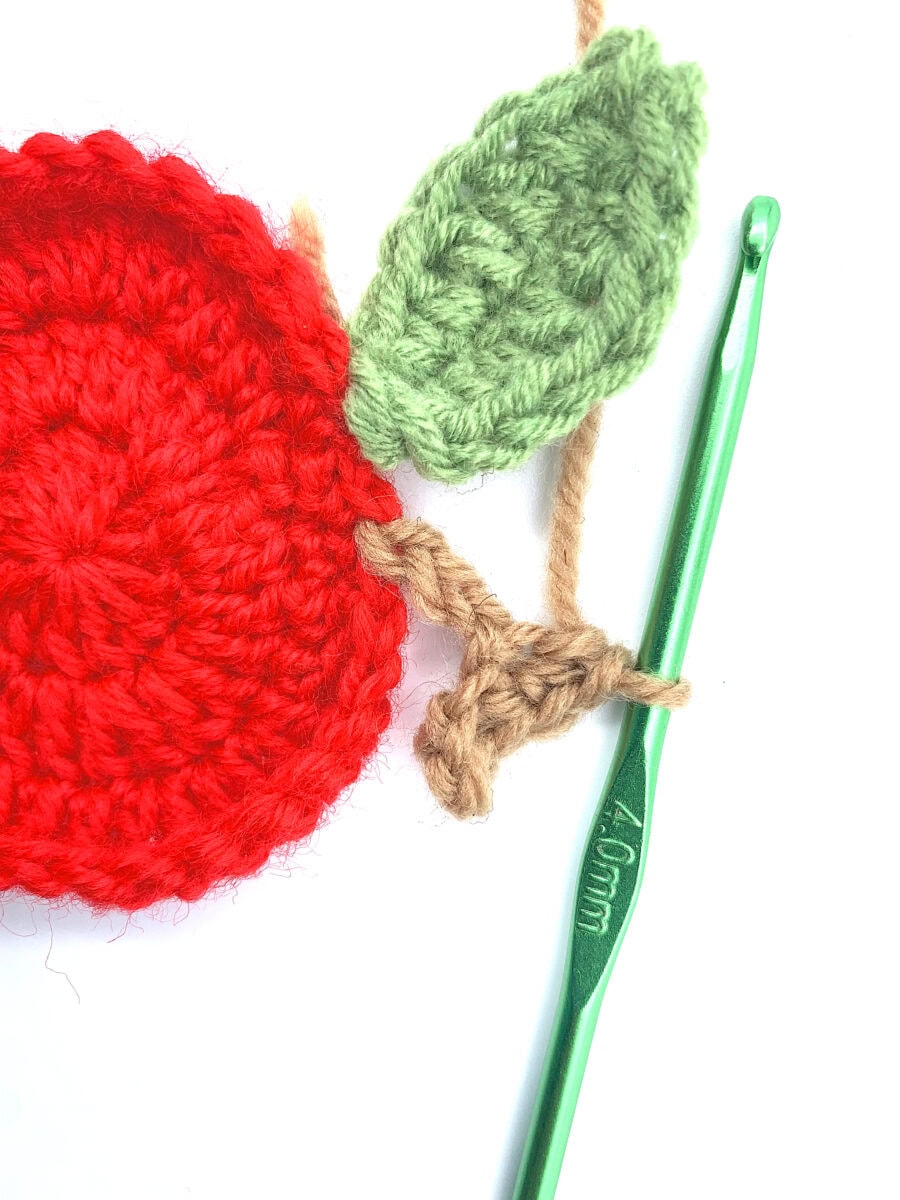
Step 5
Single Crochet in each of the next 3 Chains.
Step 6
Join with a Slip Stitch to the starting point.
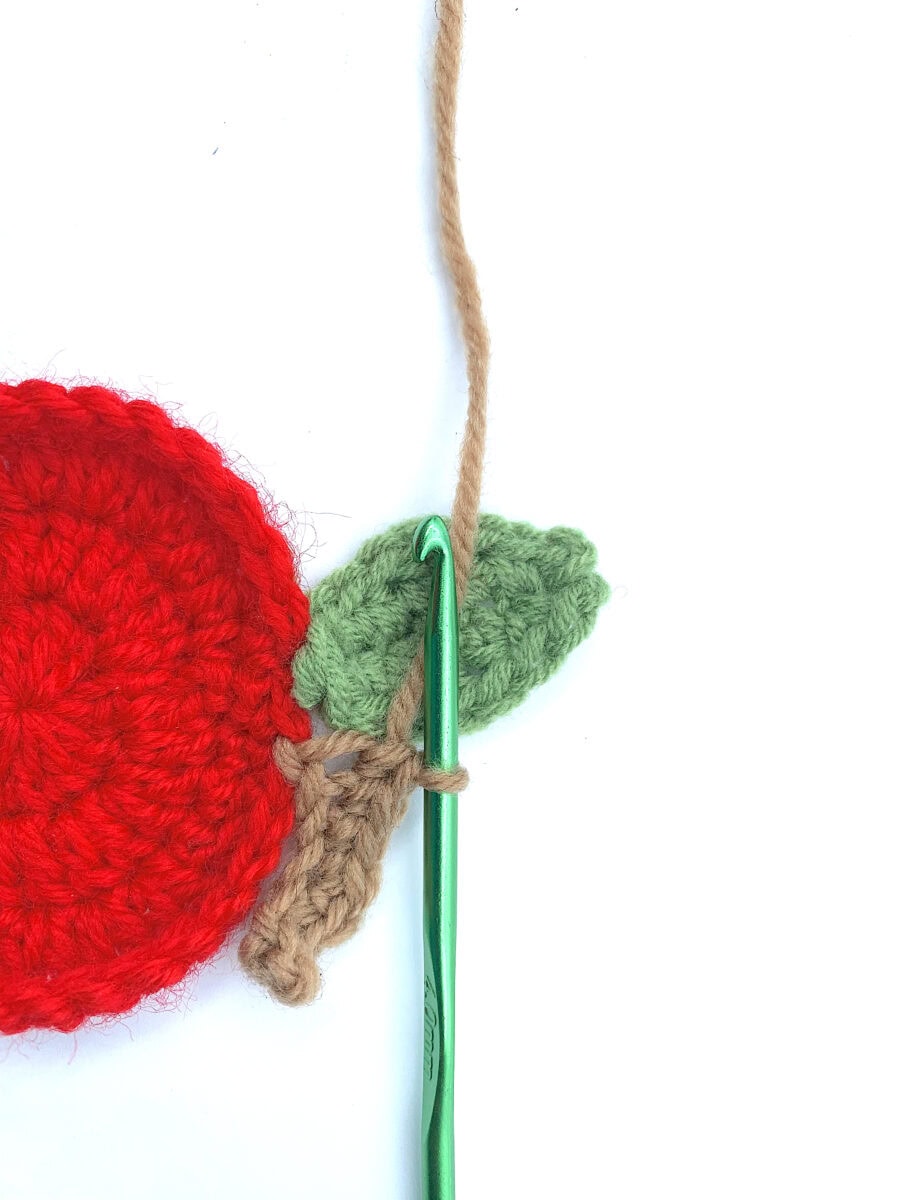
Step 7
Cut the yarn, leaving a tail for weaving in. Fasten off.
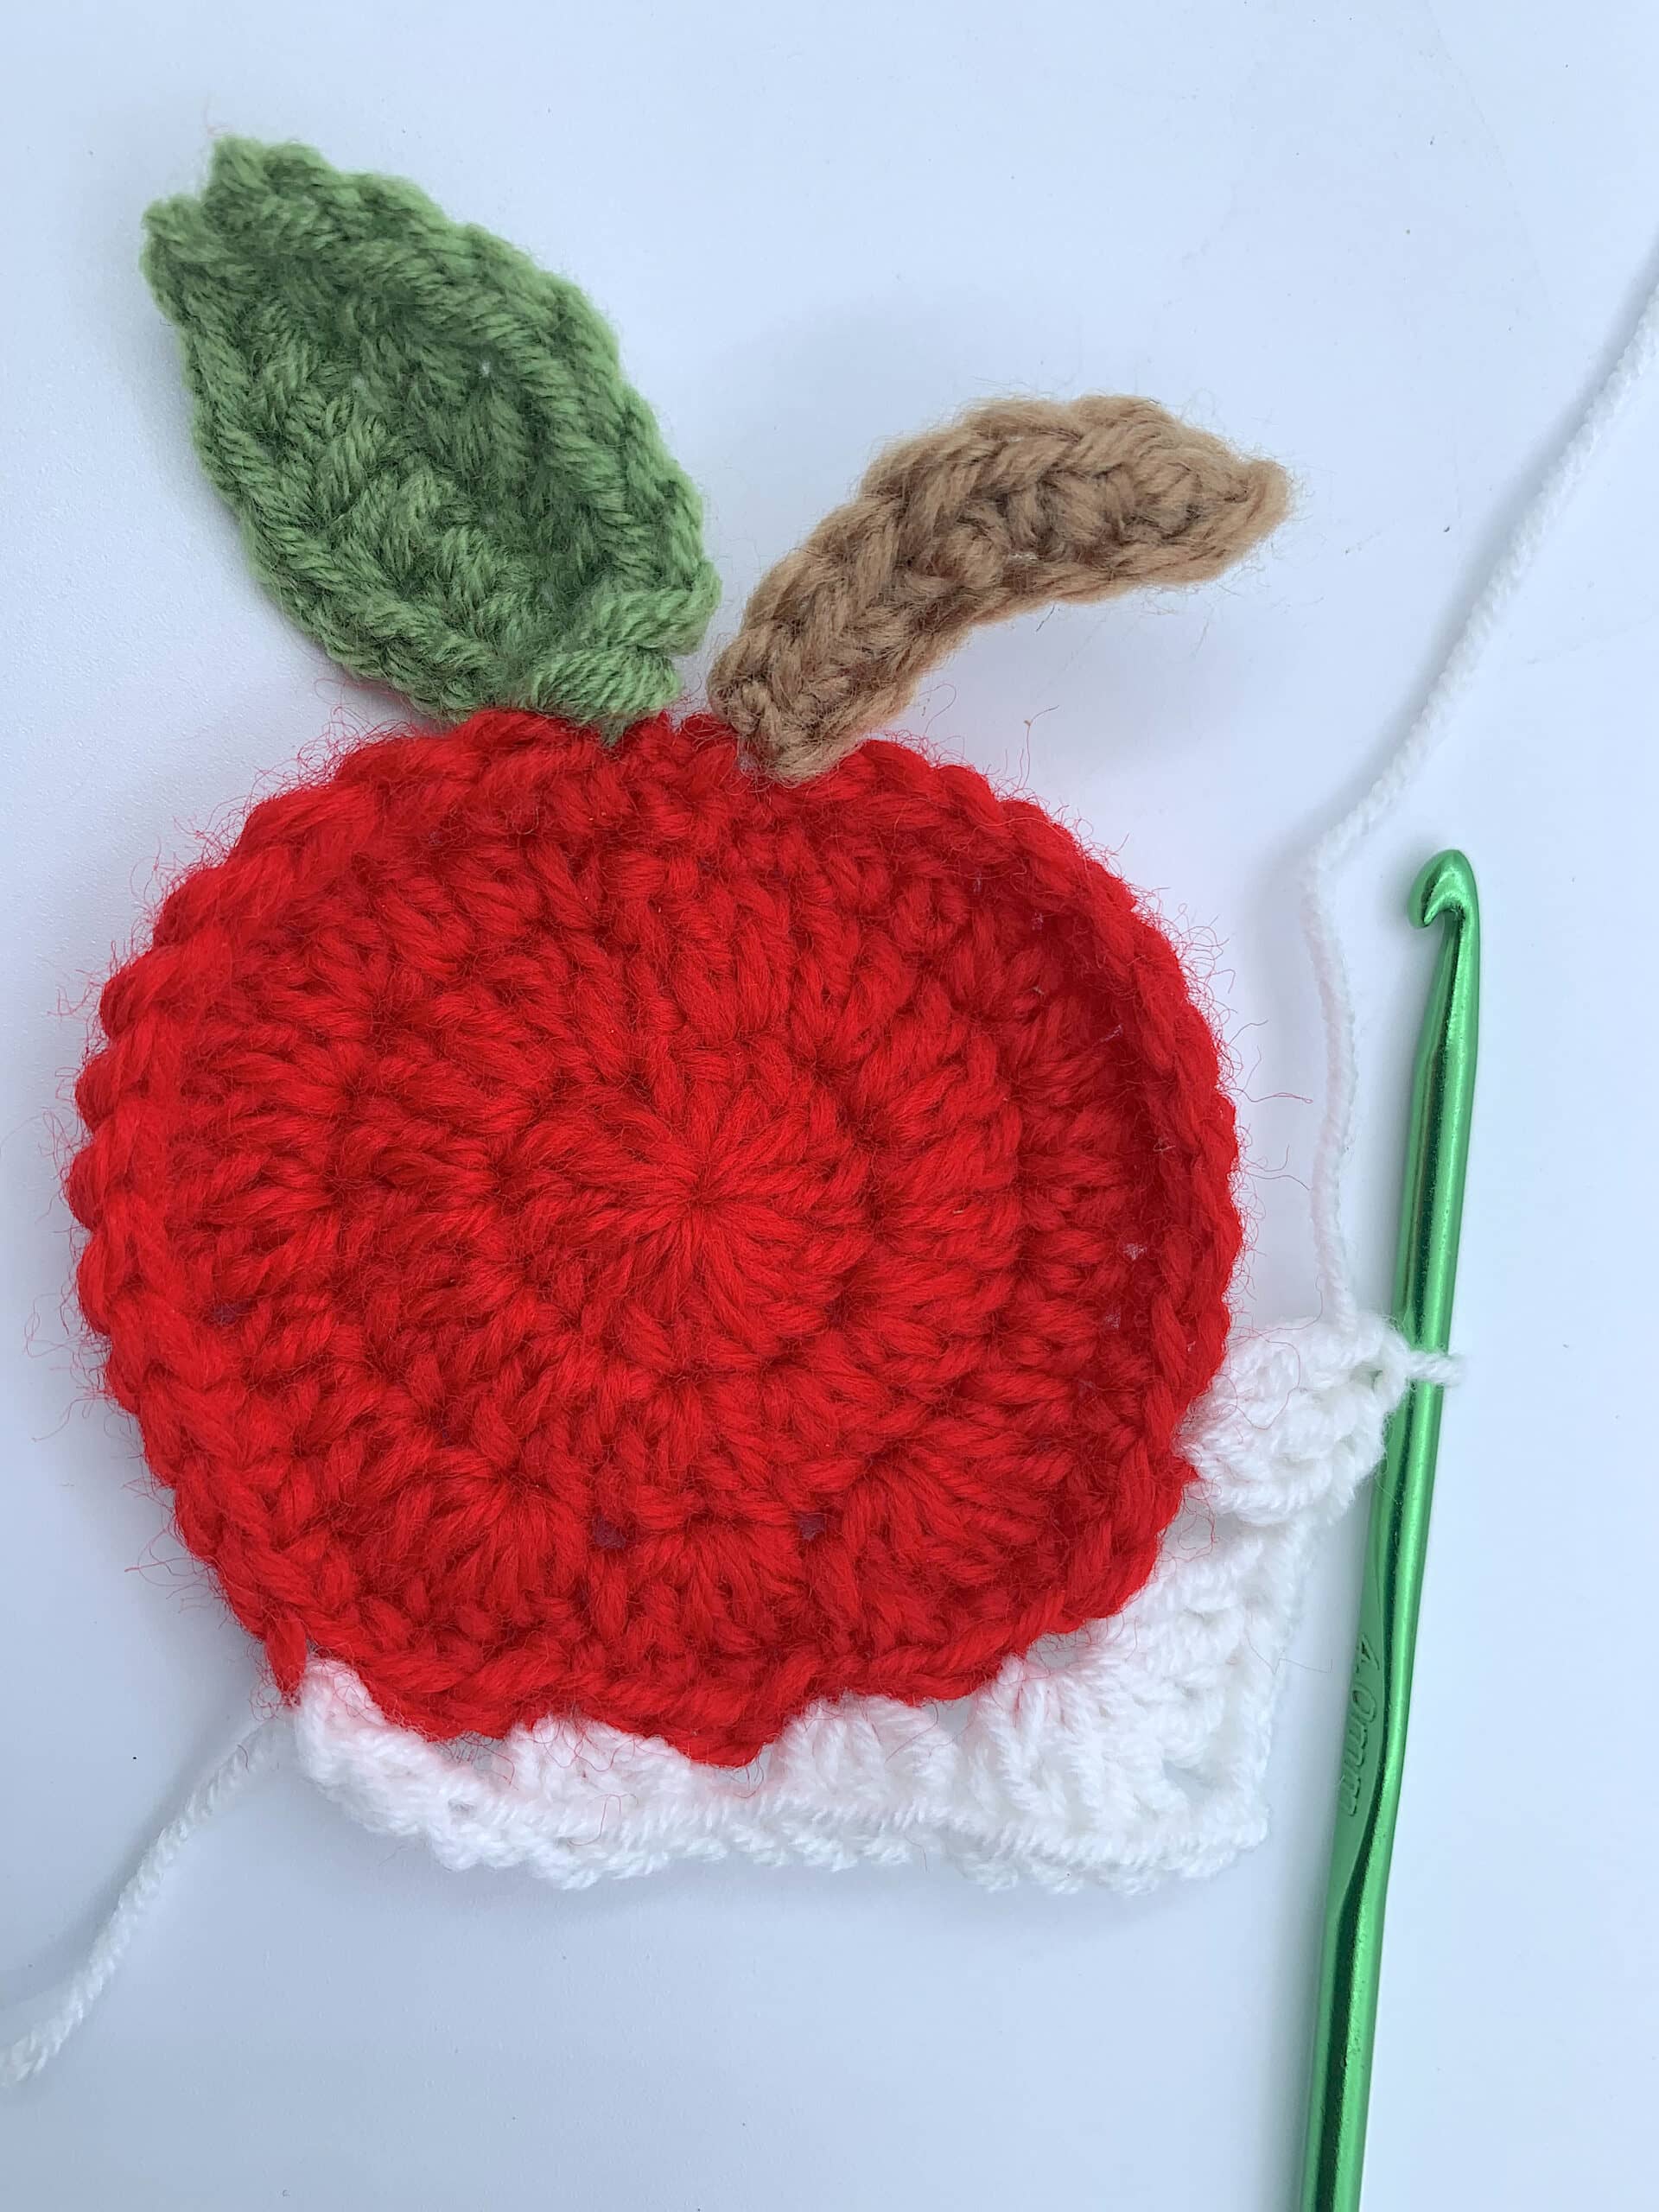
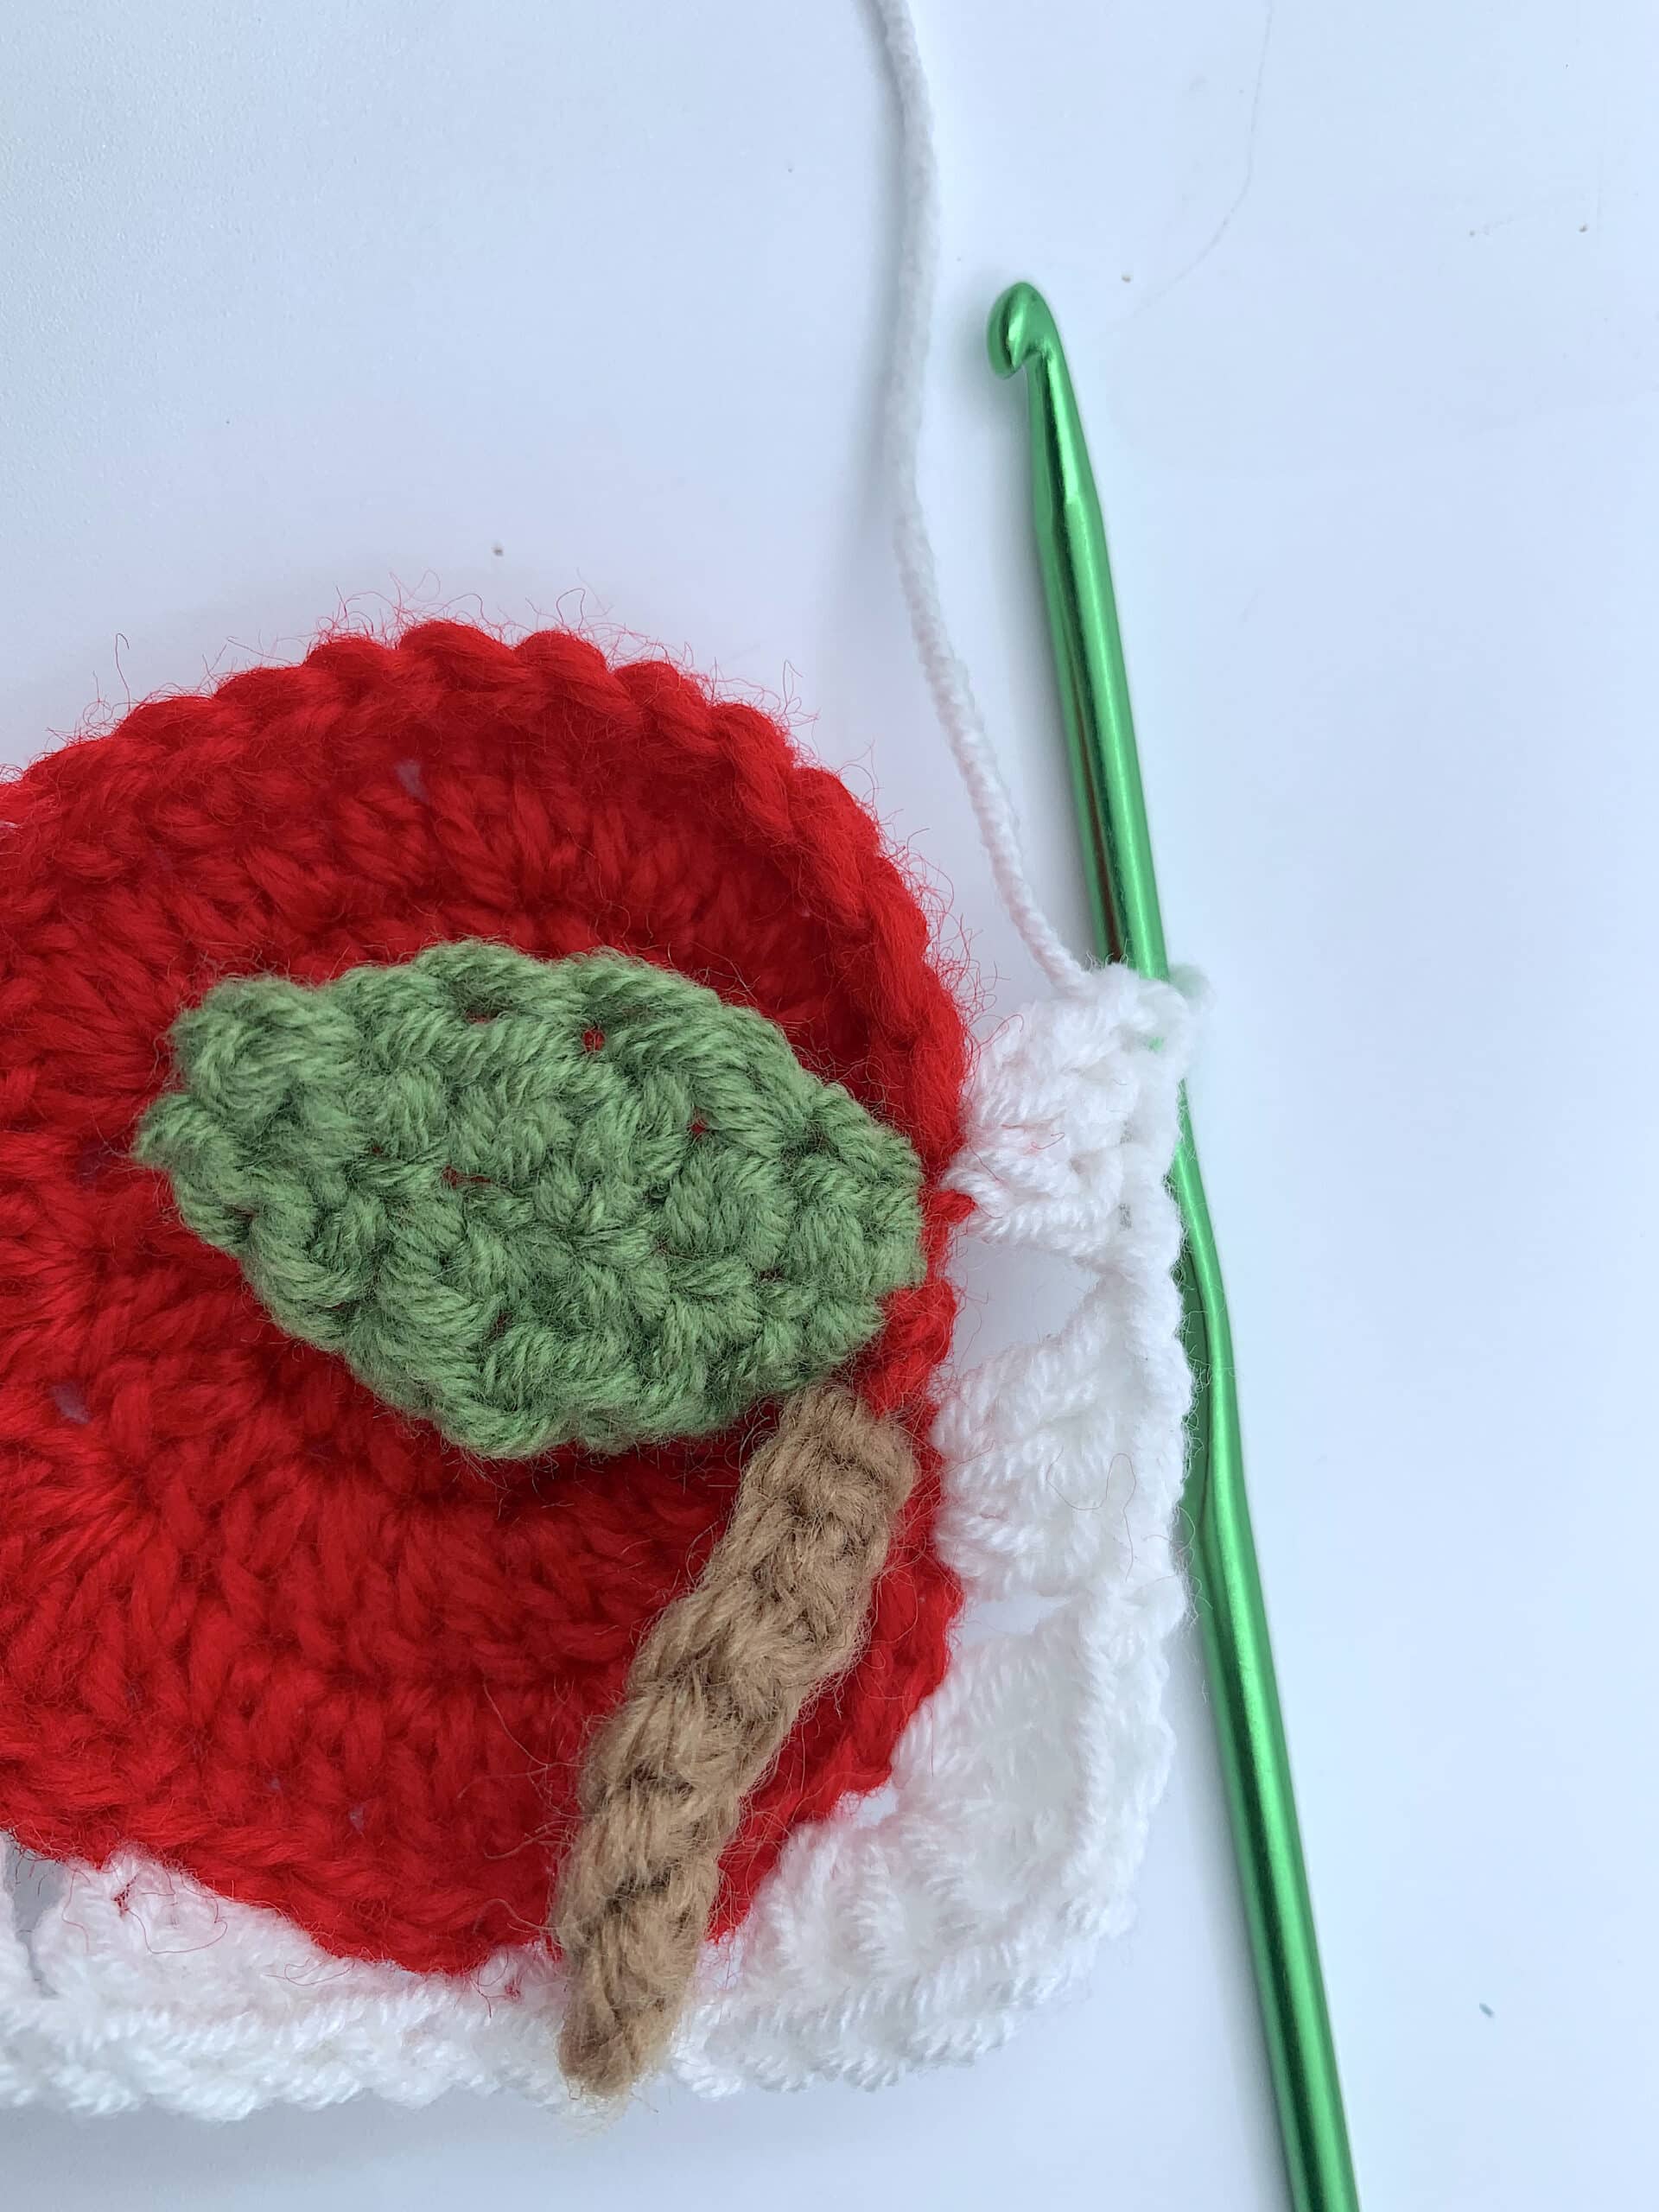
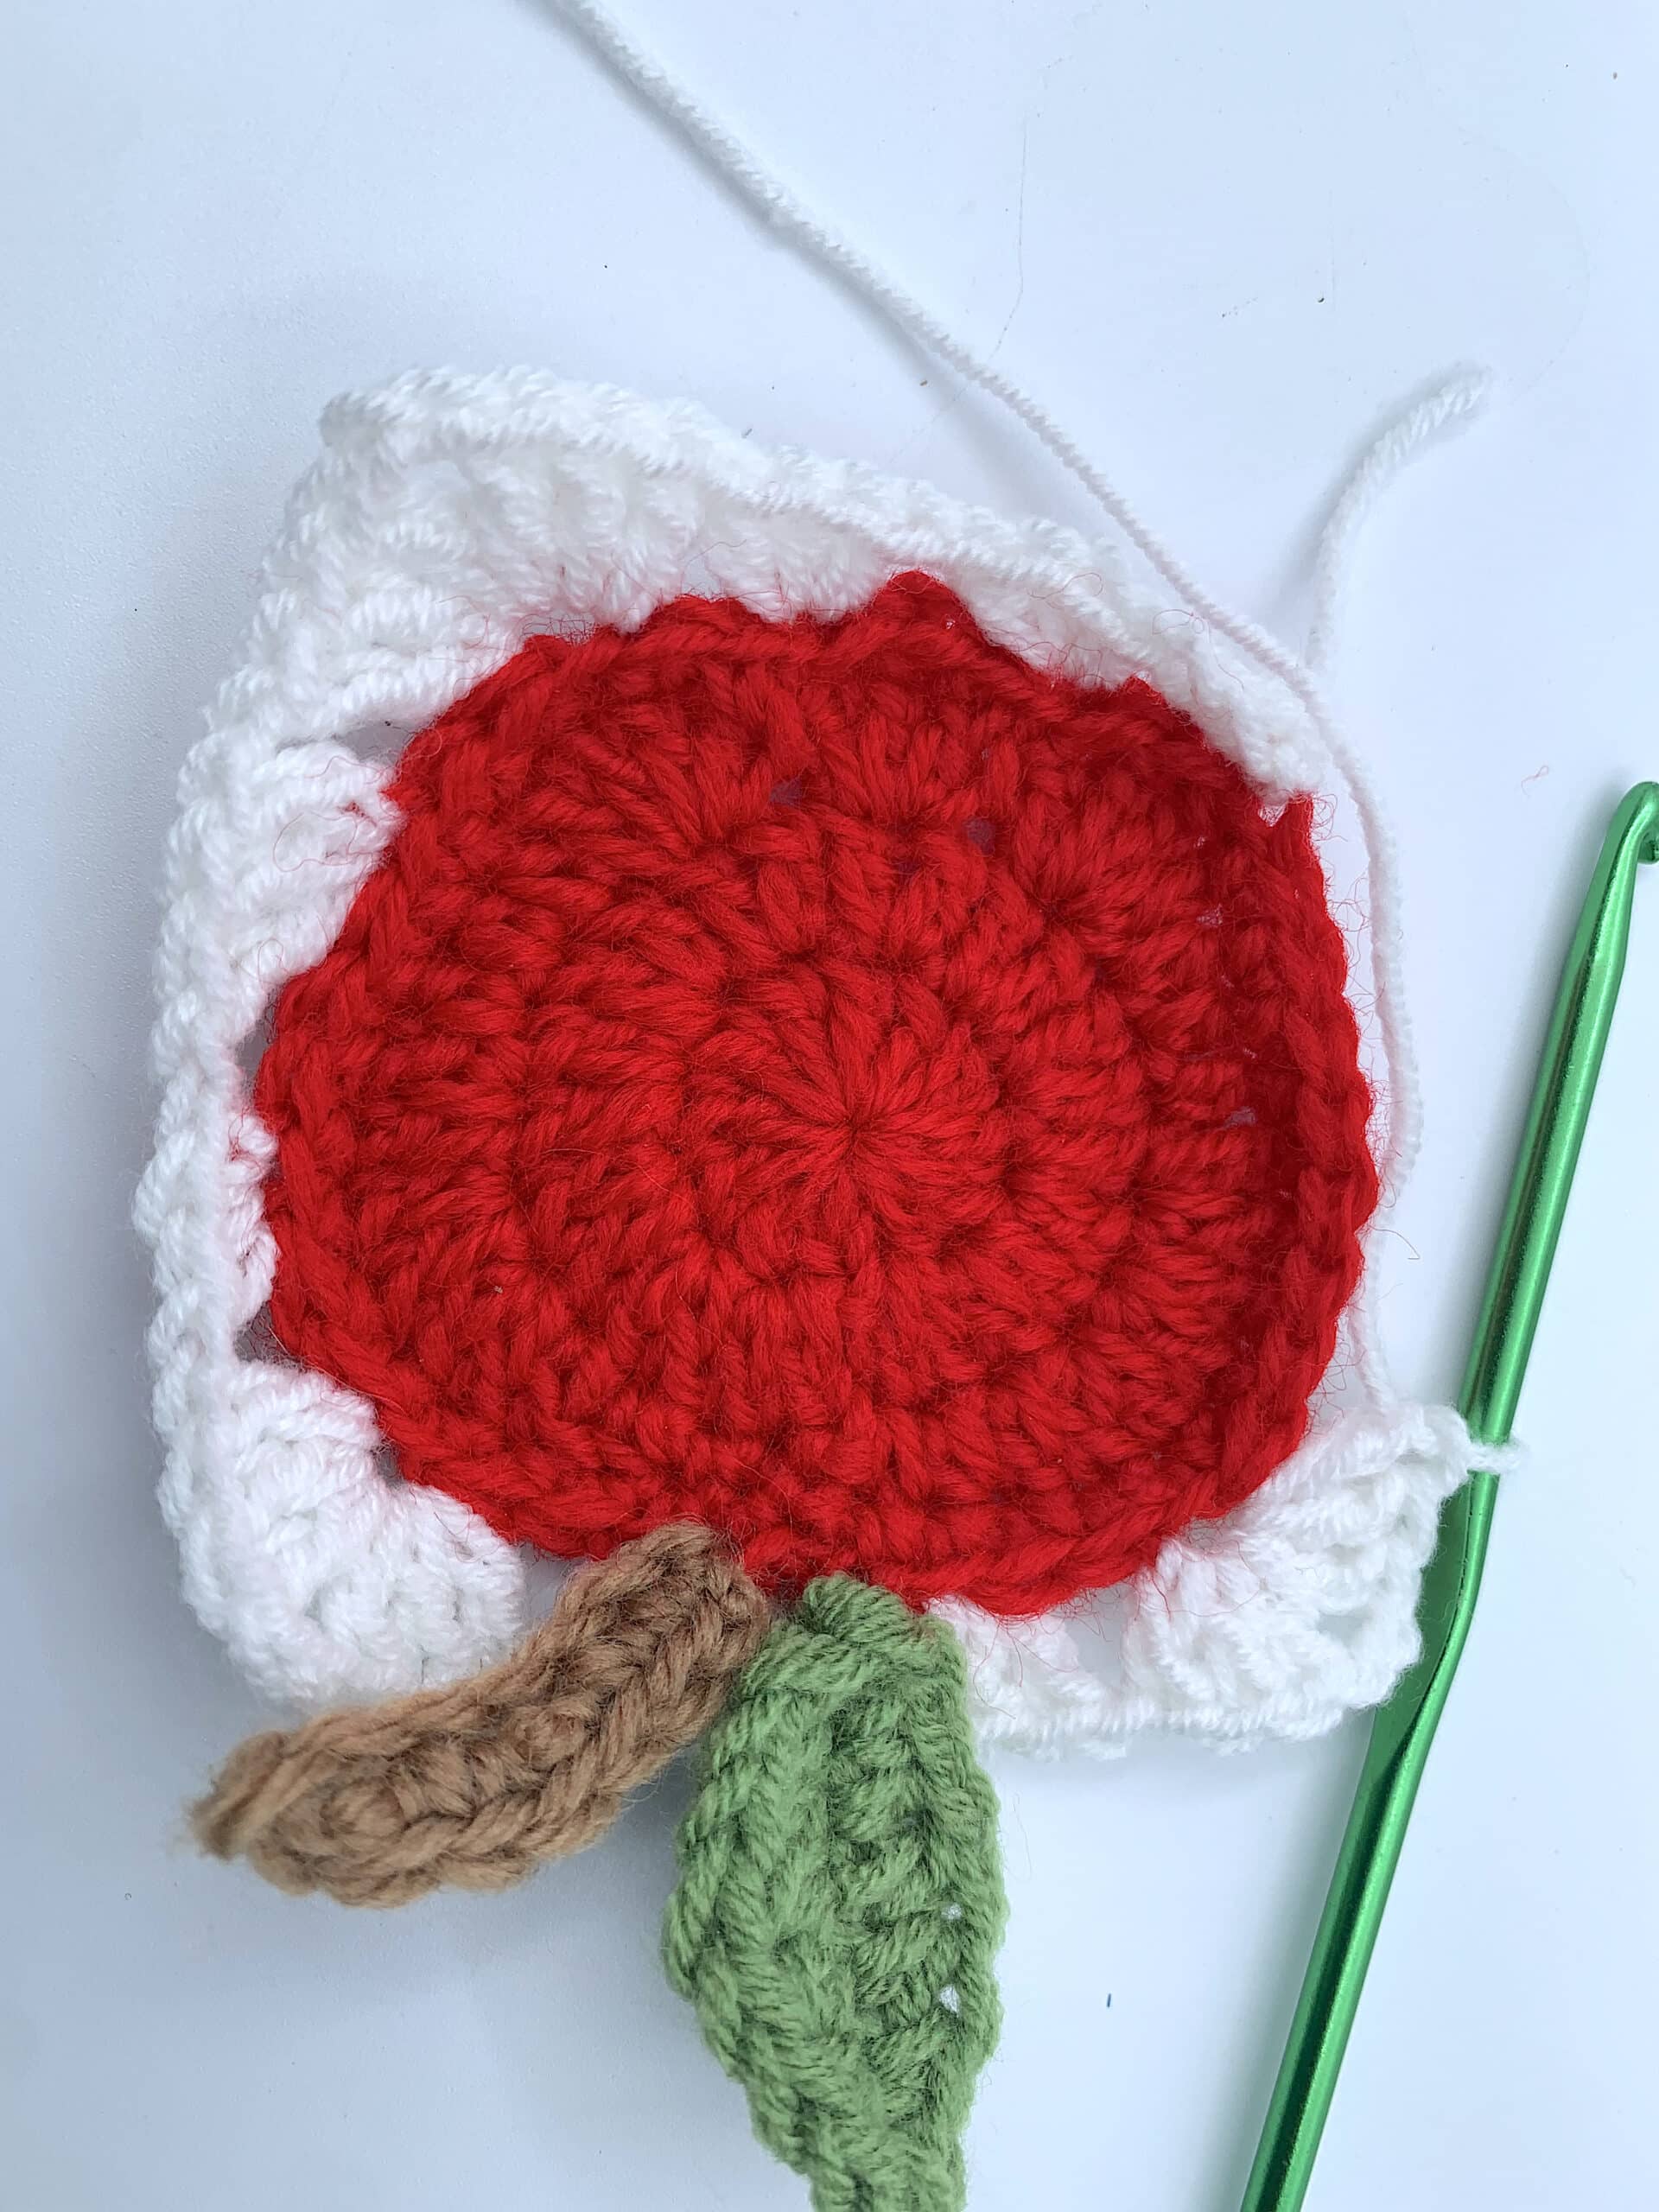
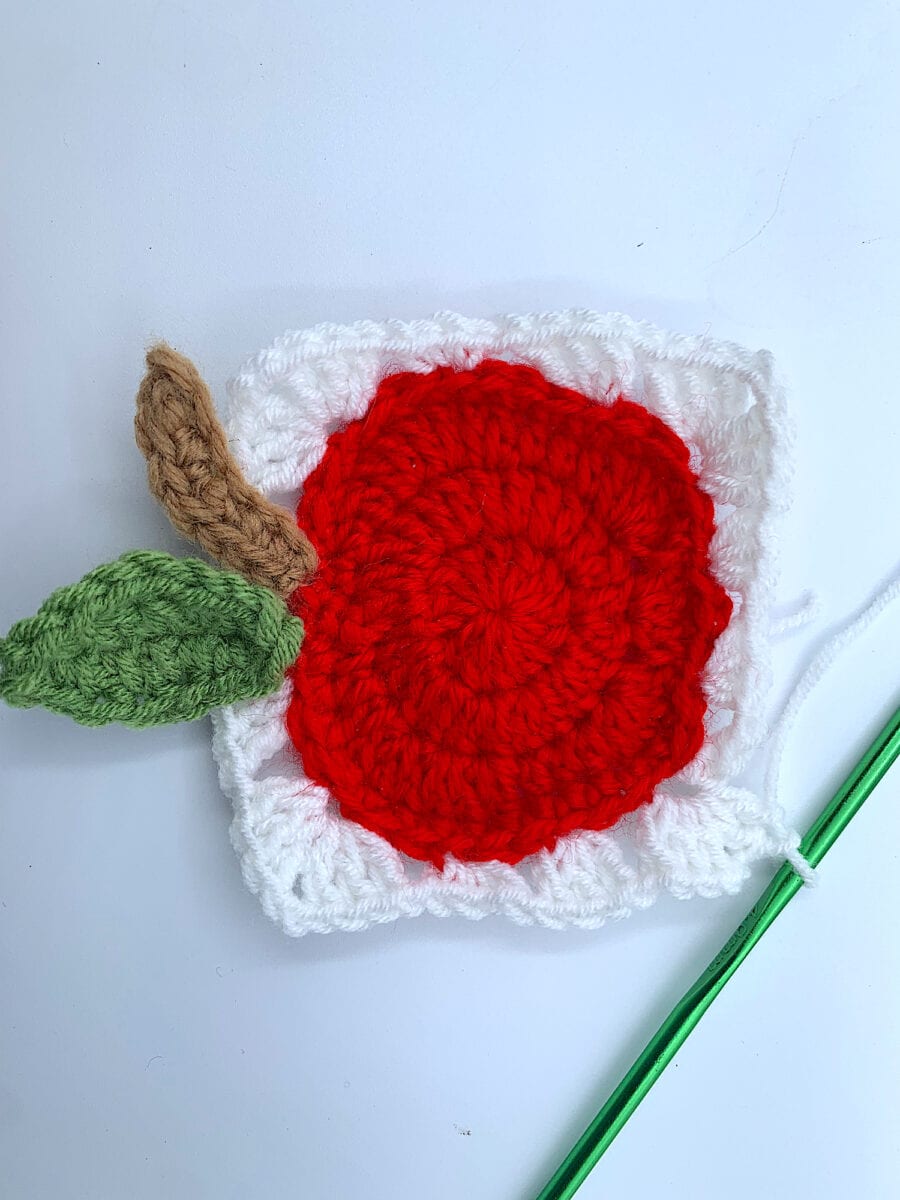
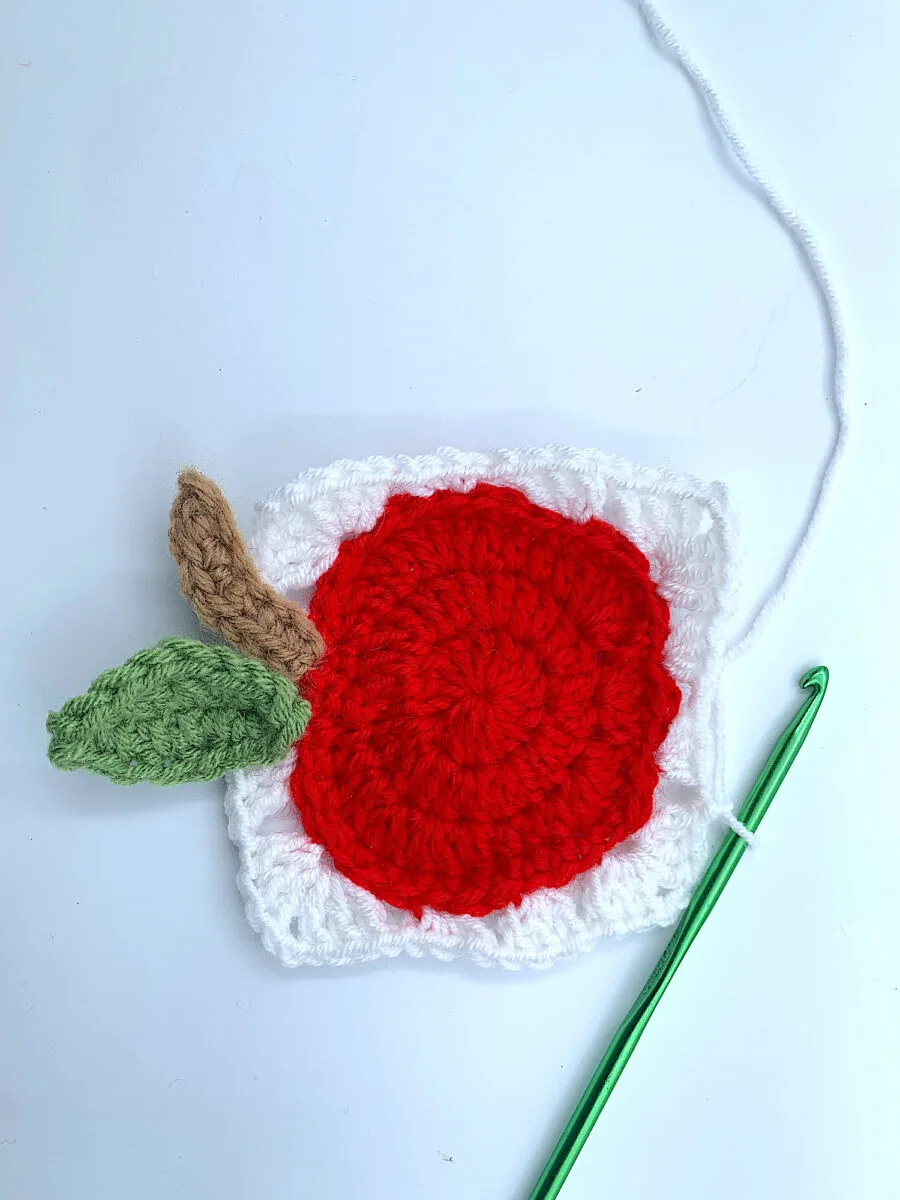
ROUND 5
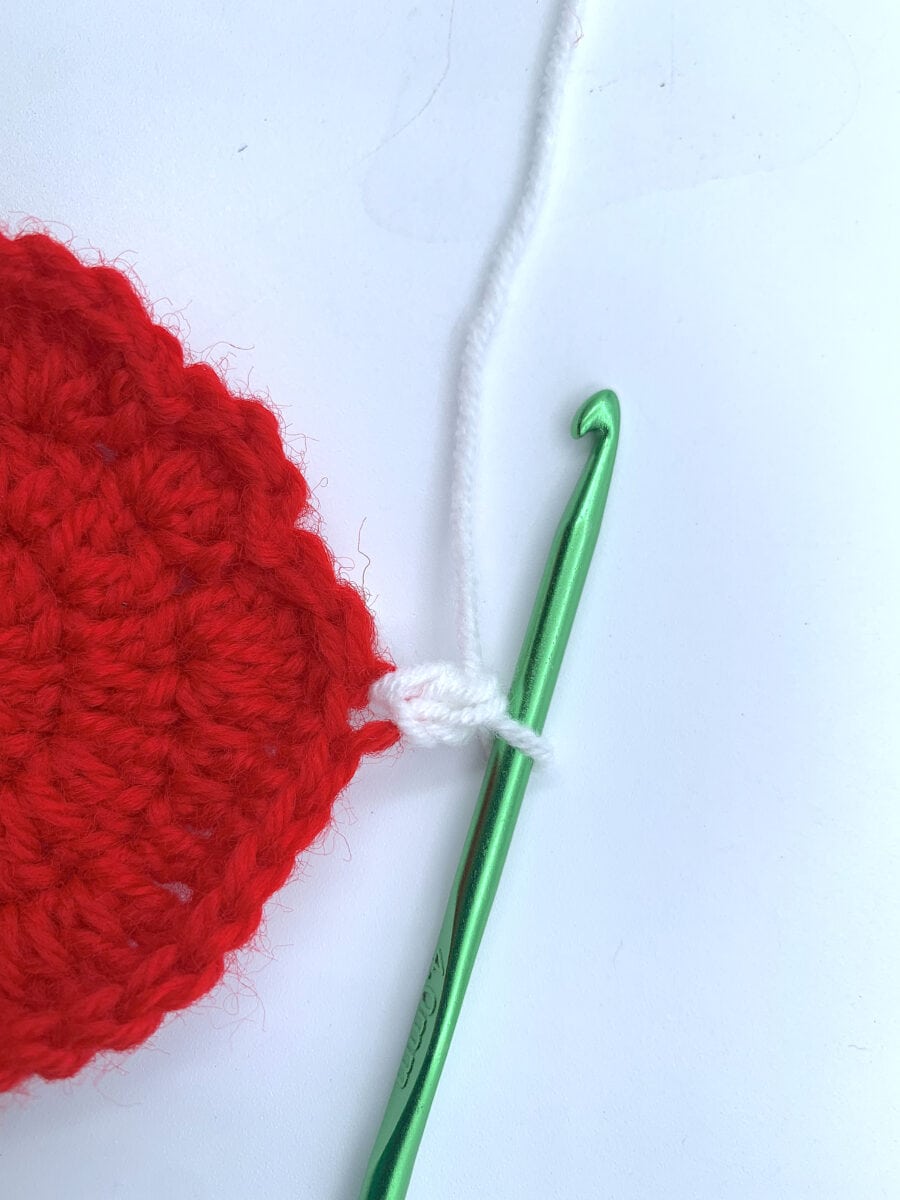
Step 1
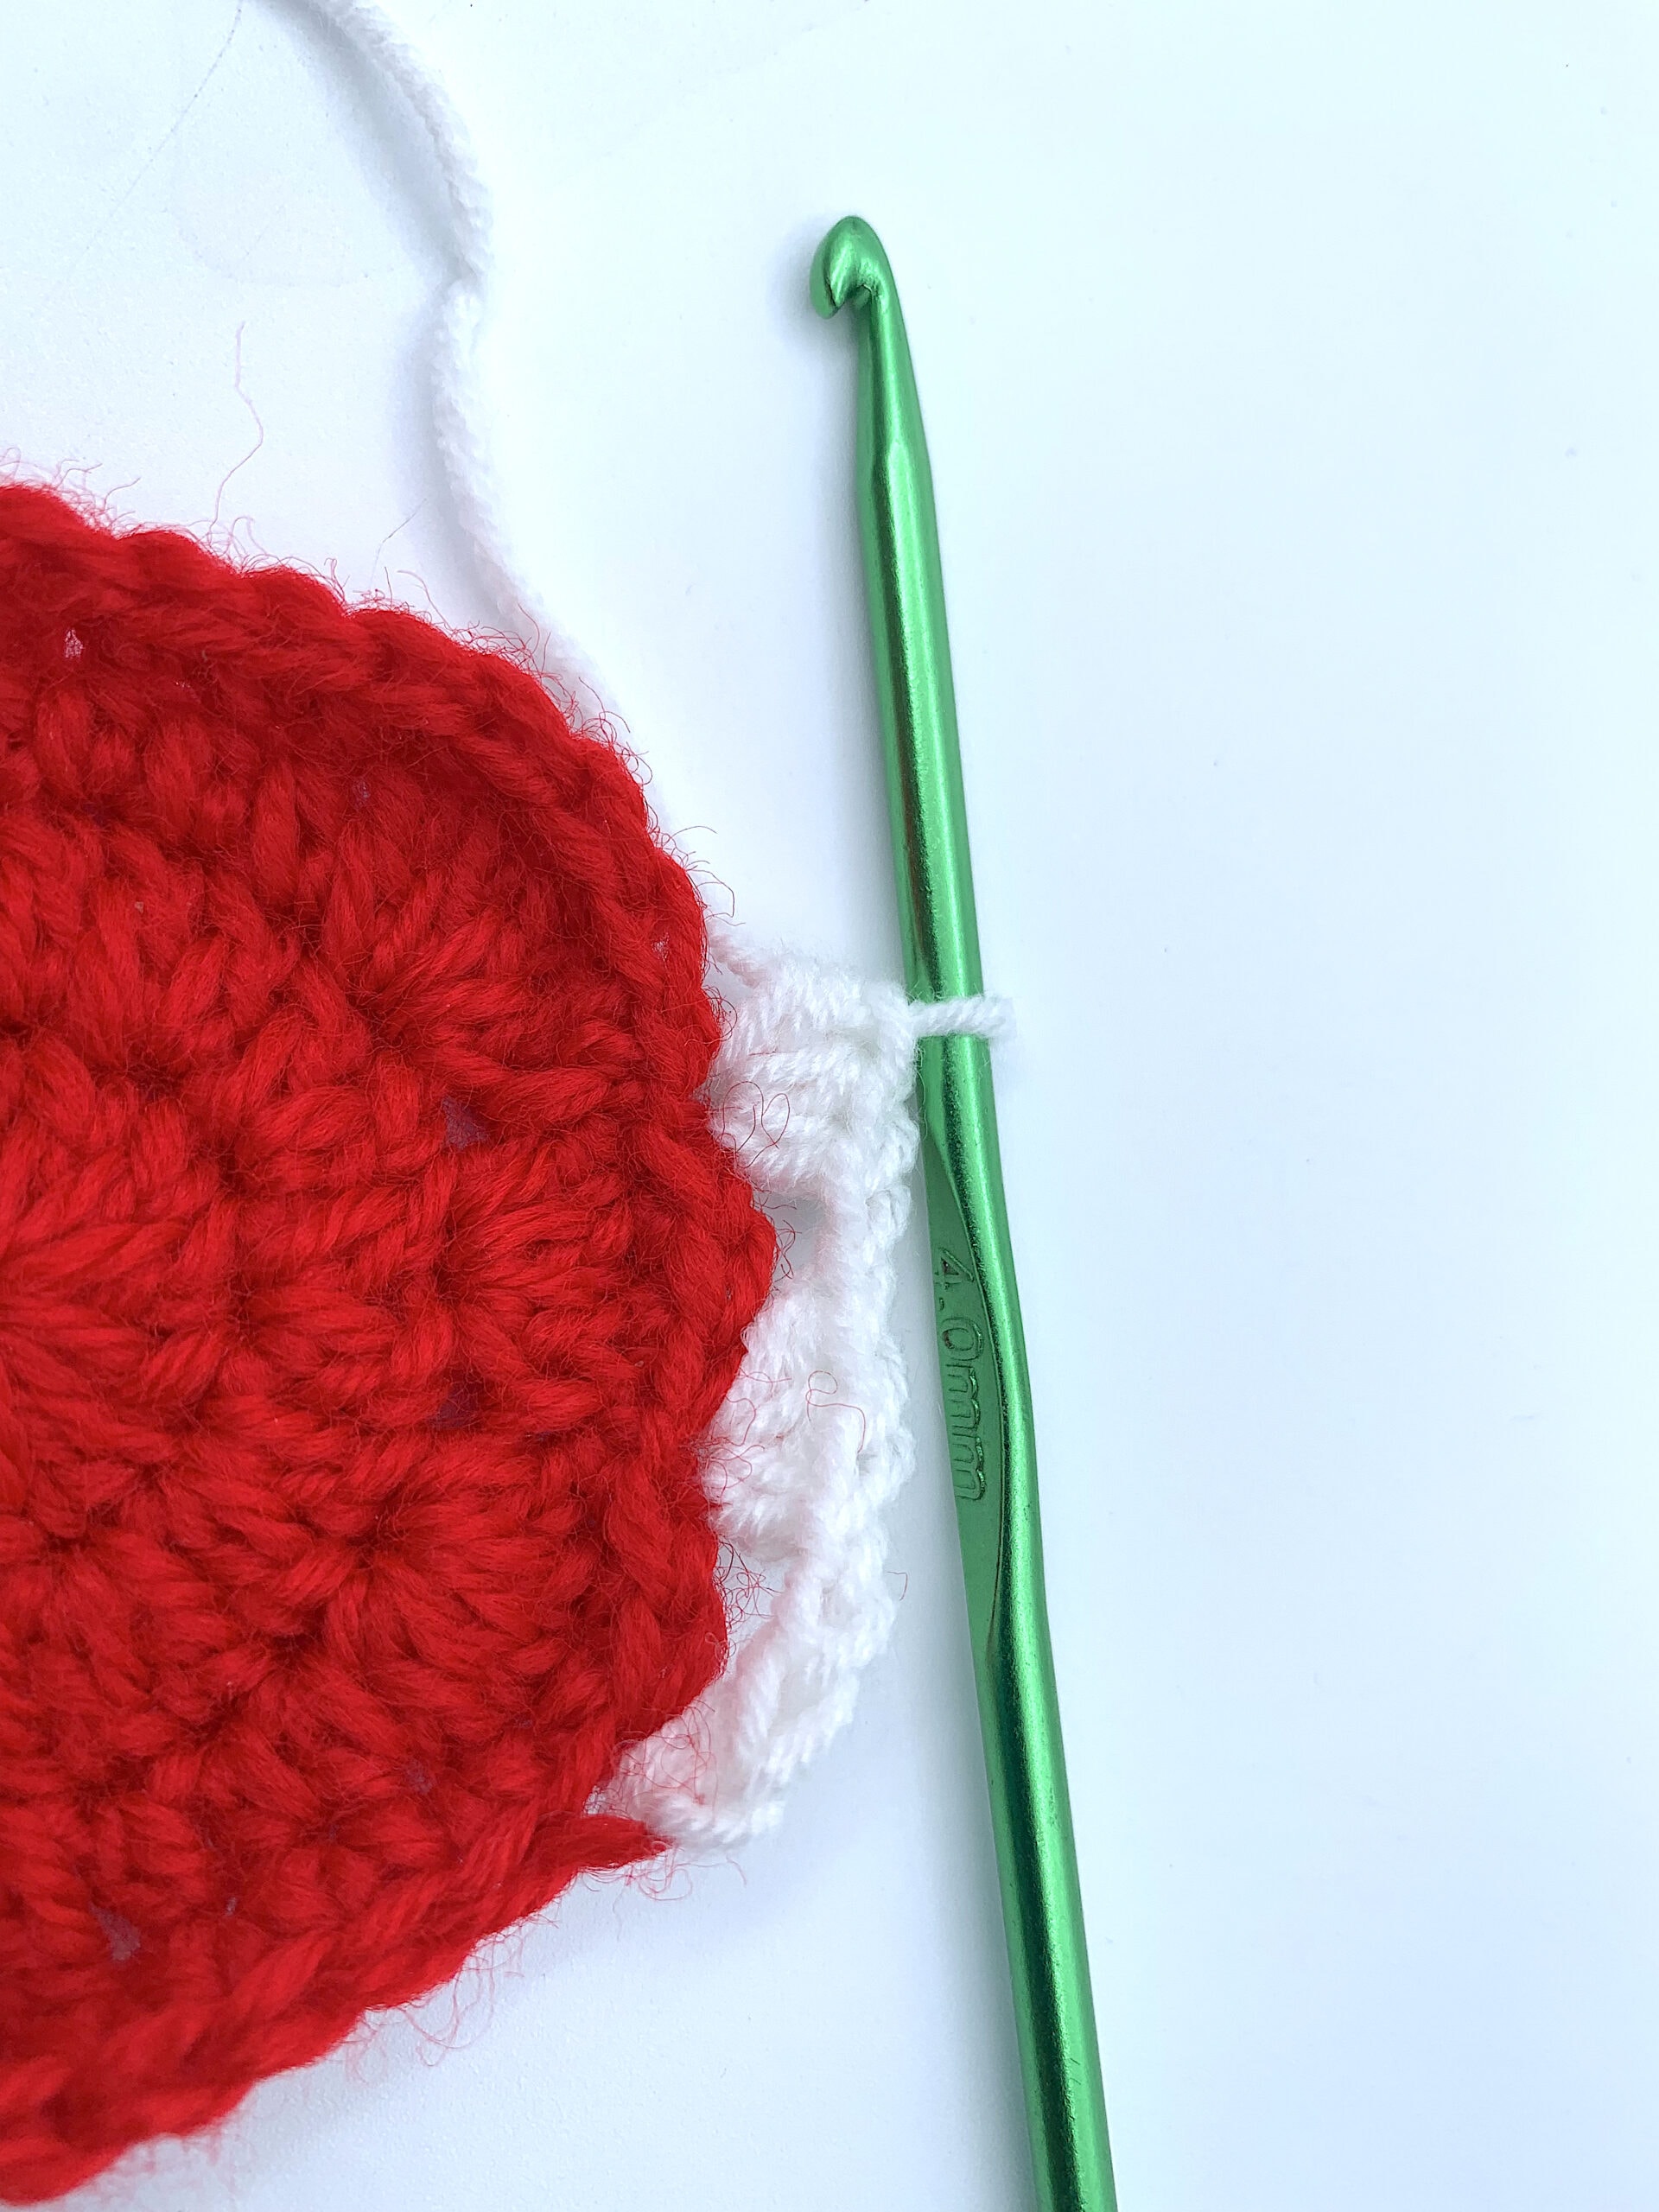
Join white yarn into the back loop of the 3rd Chain from the Slip Stitch of the previous round. (next to right hump)
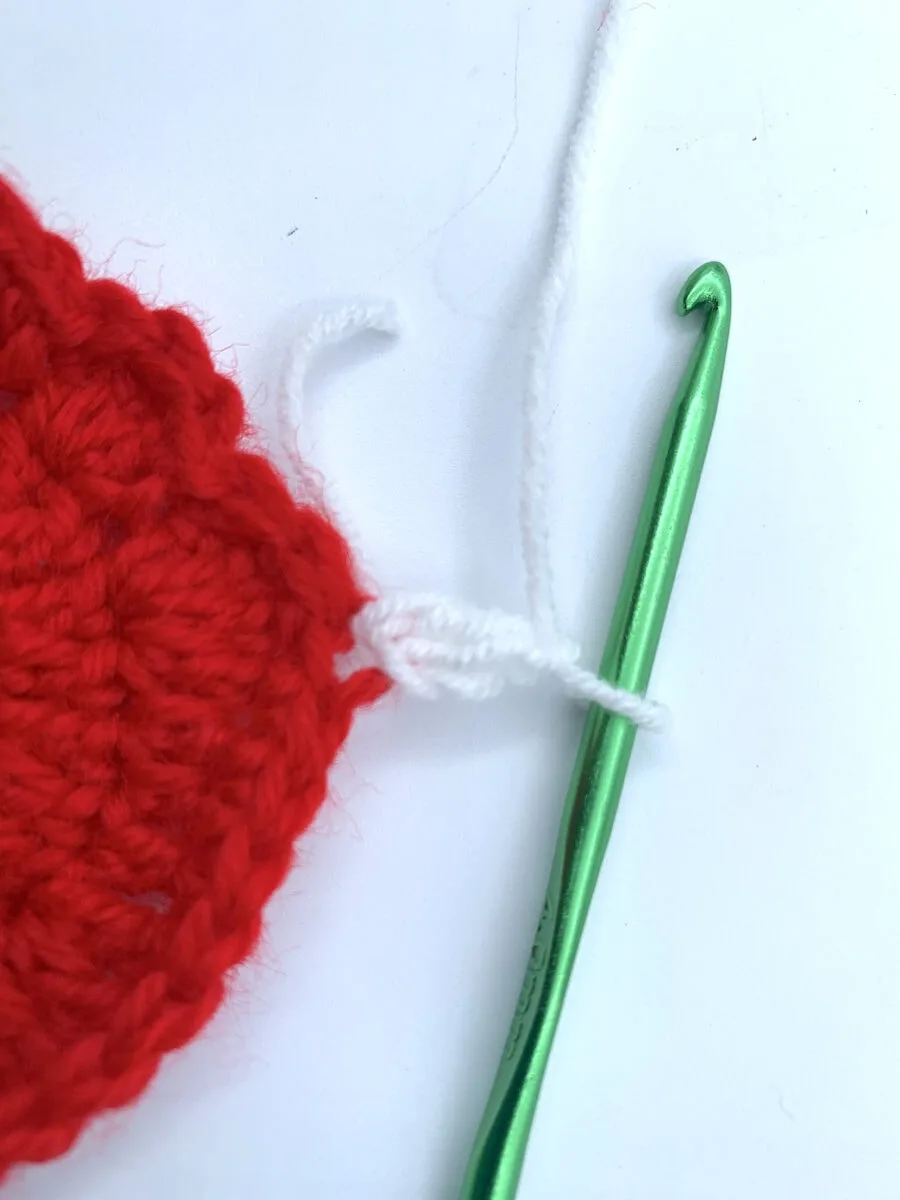
Step 2
Chain 1, Double Crochet in the same back loop.
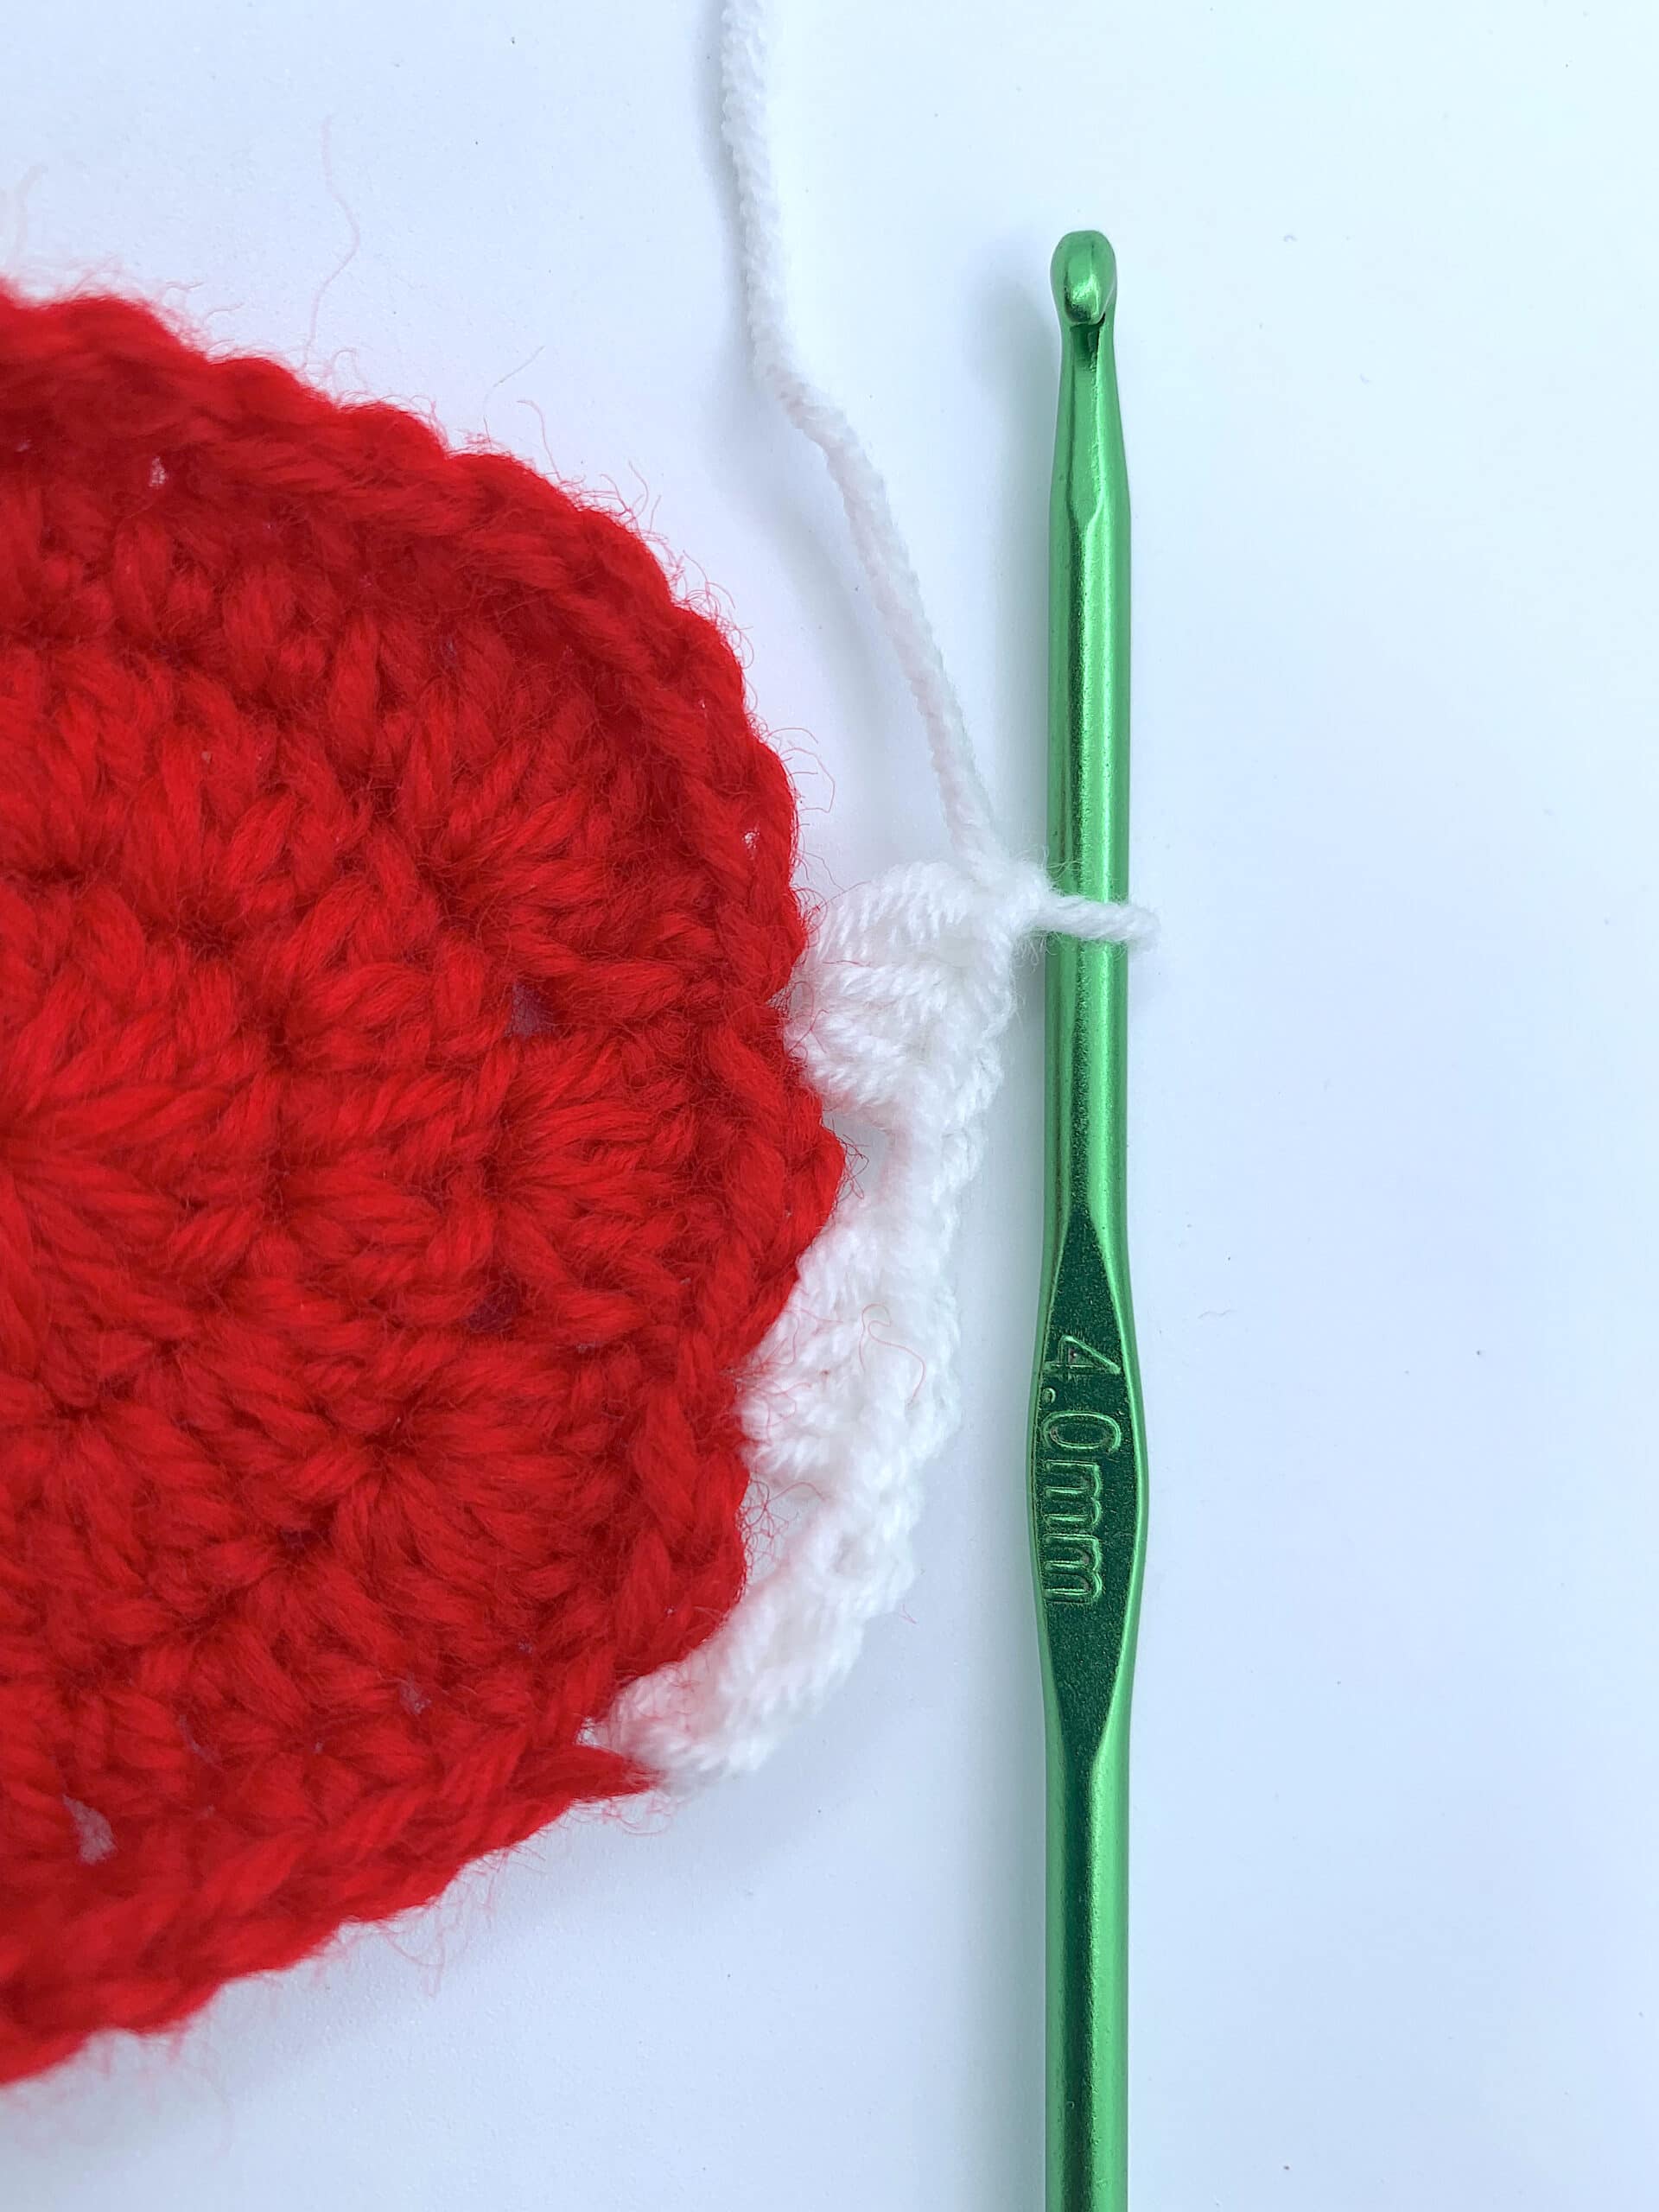
Step 3
Chain 1, skip 2 stitches, work 3 Half Double Crochets into the back loop of the next stitch. Chain 1.

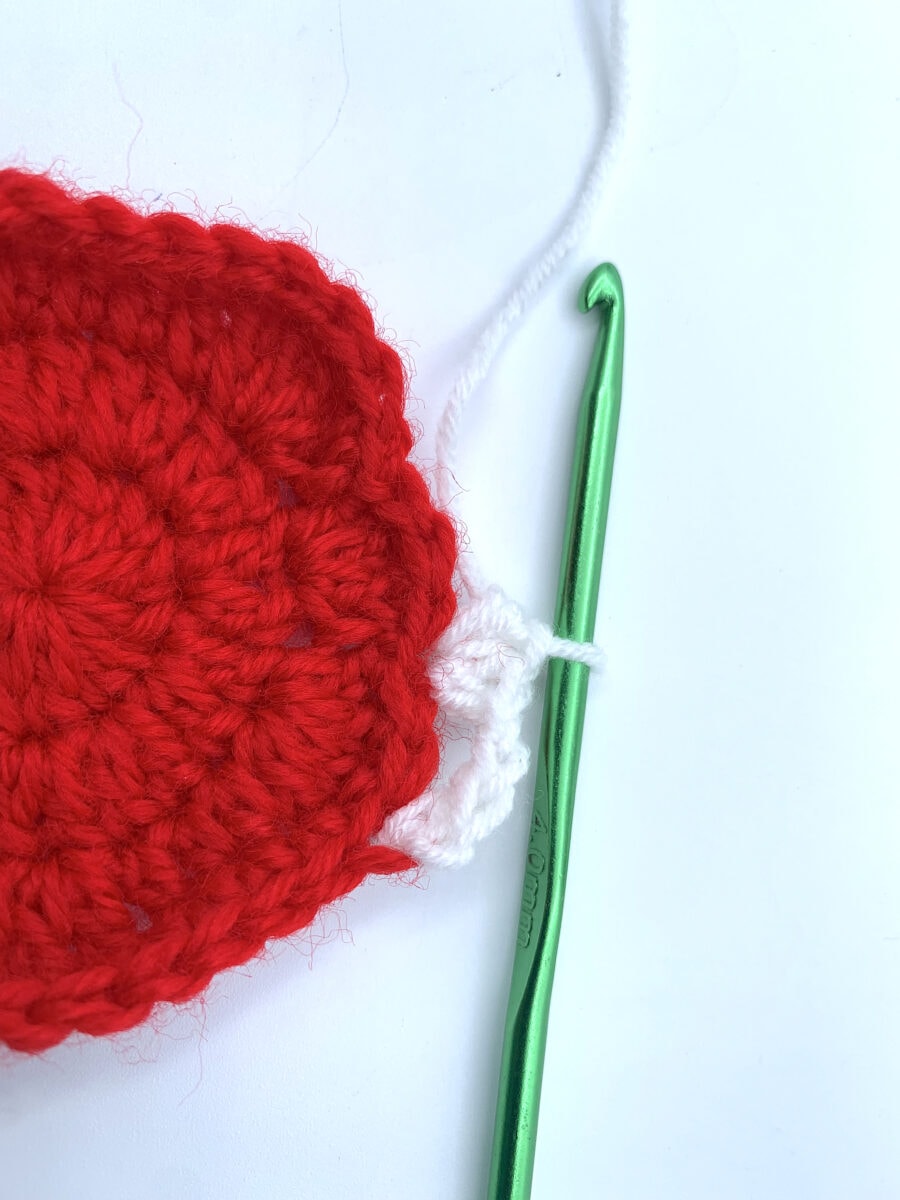
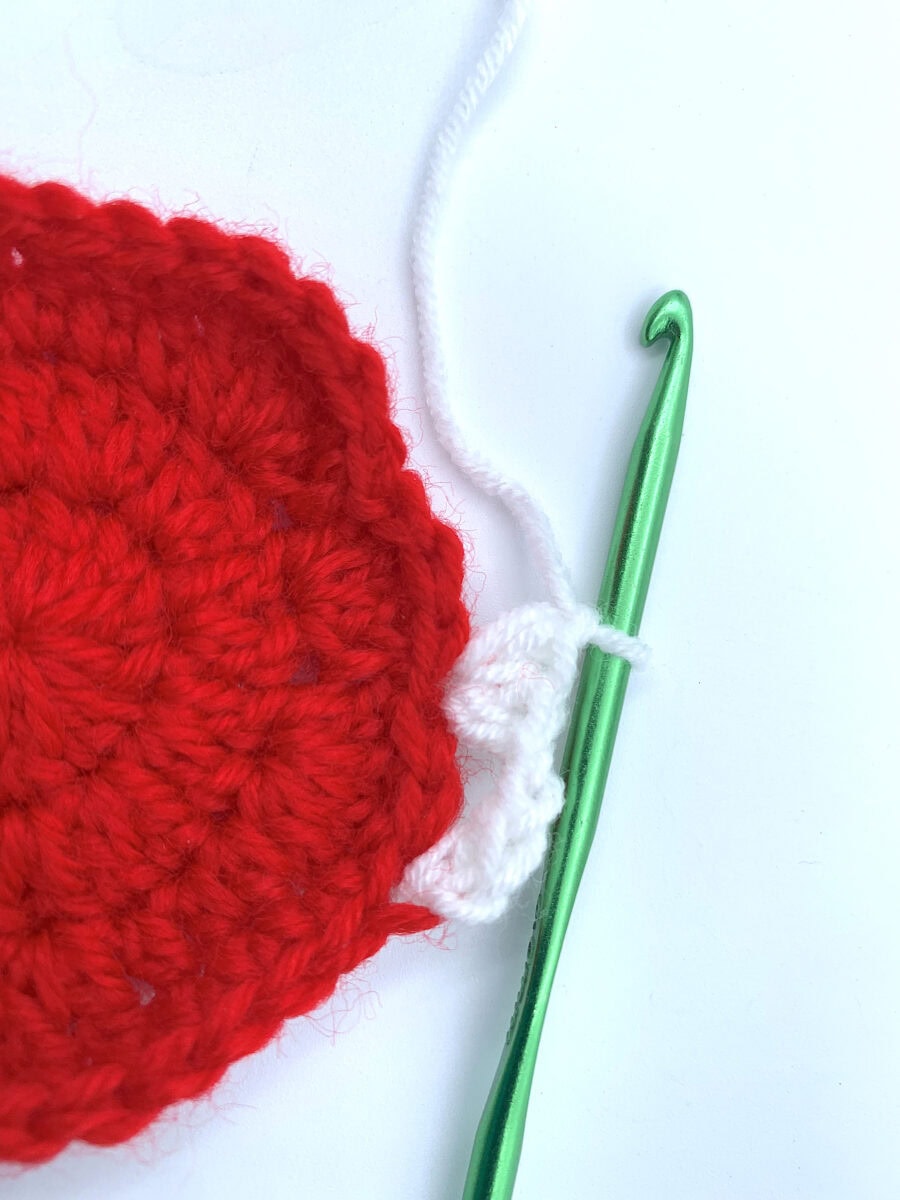
Step 4
Skip 3 stitches, work 3 Half Double Crochets into the back loop of the next stitch. Chain 1.
Step 5
Skip 2 stitches, work (3 Double Crochets, Chain 2, 3 Double Crochets) into the back loop of the 3rd stitch. Chain 1.
Step 6
Skip 2 stitches, work 3 Double Crochets into the back loop of the 3rd stitch. Chain 1.
Step 7
Skip 3 stitches, work 3 Single Crochets into the back loop of the 4th stitch. Chain 1.

Step 8
Skip 2 stitches, work (3 Double Crochets, Chain 2, 3 Double Crochets) into the back loop of the 3rd stitch. Chain 1.

Step 9
Skip 2 stitches, work 3 Double Crochets into the back loop of the 3rd stitch. Chain 1.
Step 10
Work 3 Double Crochets into the back loop of the stitch after the leaf. Chain 1.
Step 11
Skip 2 stitches, work (3 Double Crochets, Chain 2, 3 Double Crochets) into the back loop of the 3rd stitch. Chain 1.
Step 12
Skip 2 stitches, work 3 Single Crochets into the back loop of the 3rd stitch. Chain 1.
Step 13
Skip 3 stitches, work 3 Double Crochets into the back loop of the 4th stitch. Chain 1.
Step 14
Skip 2 stitches, work (3 Double Crochets, Chain 2, 2 Double Crochets) into the back loop of the 3rd stitch (same stitch as the starting point). Chain 1.
Step 15
Join with a Slip Stitch to the top of the first Double Crochet of the round.
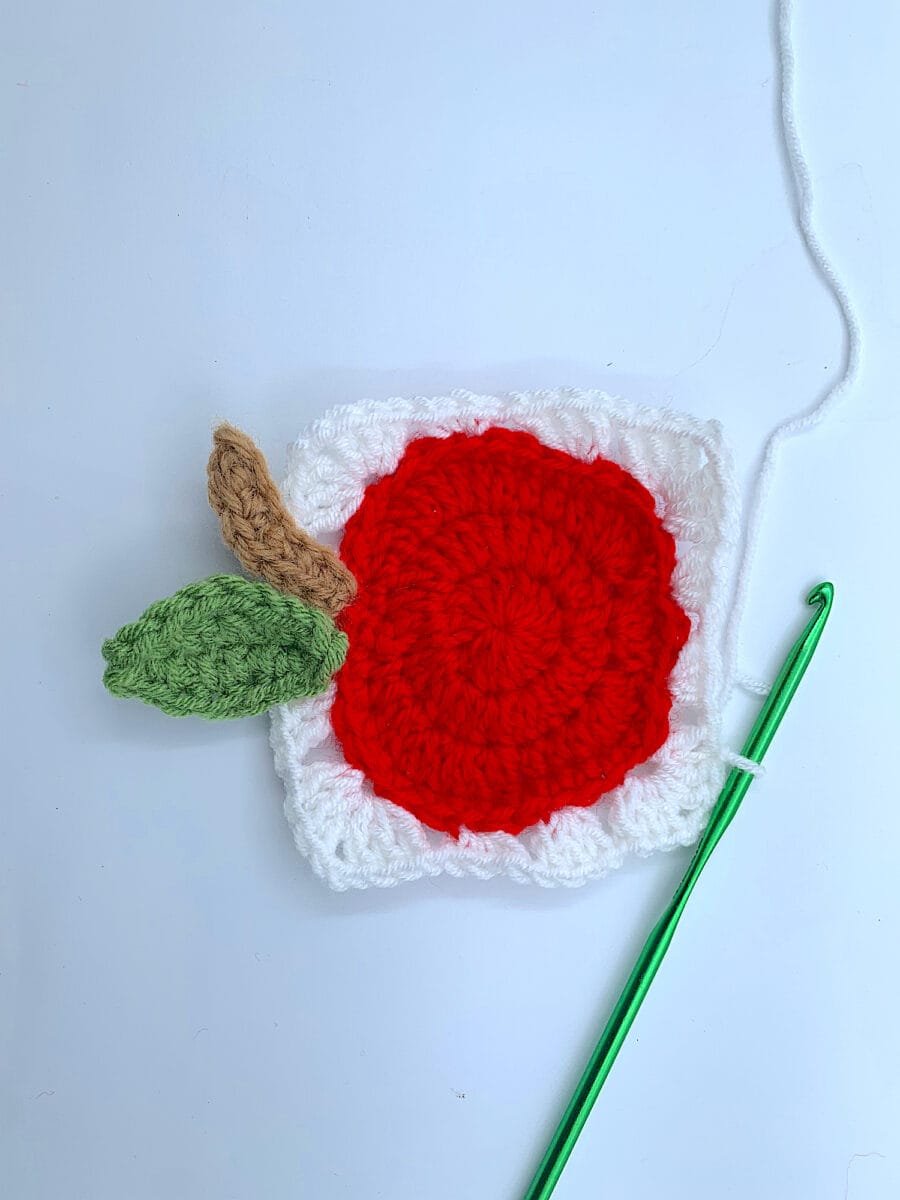
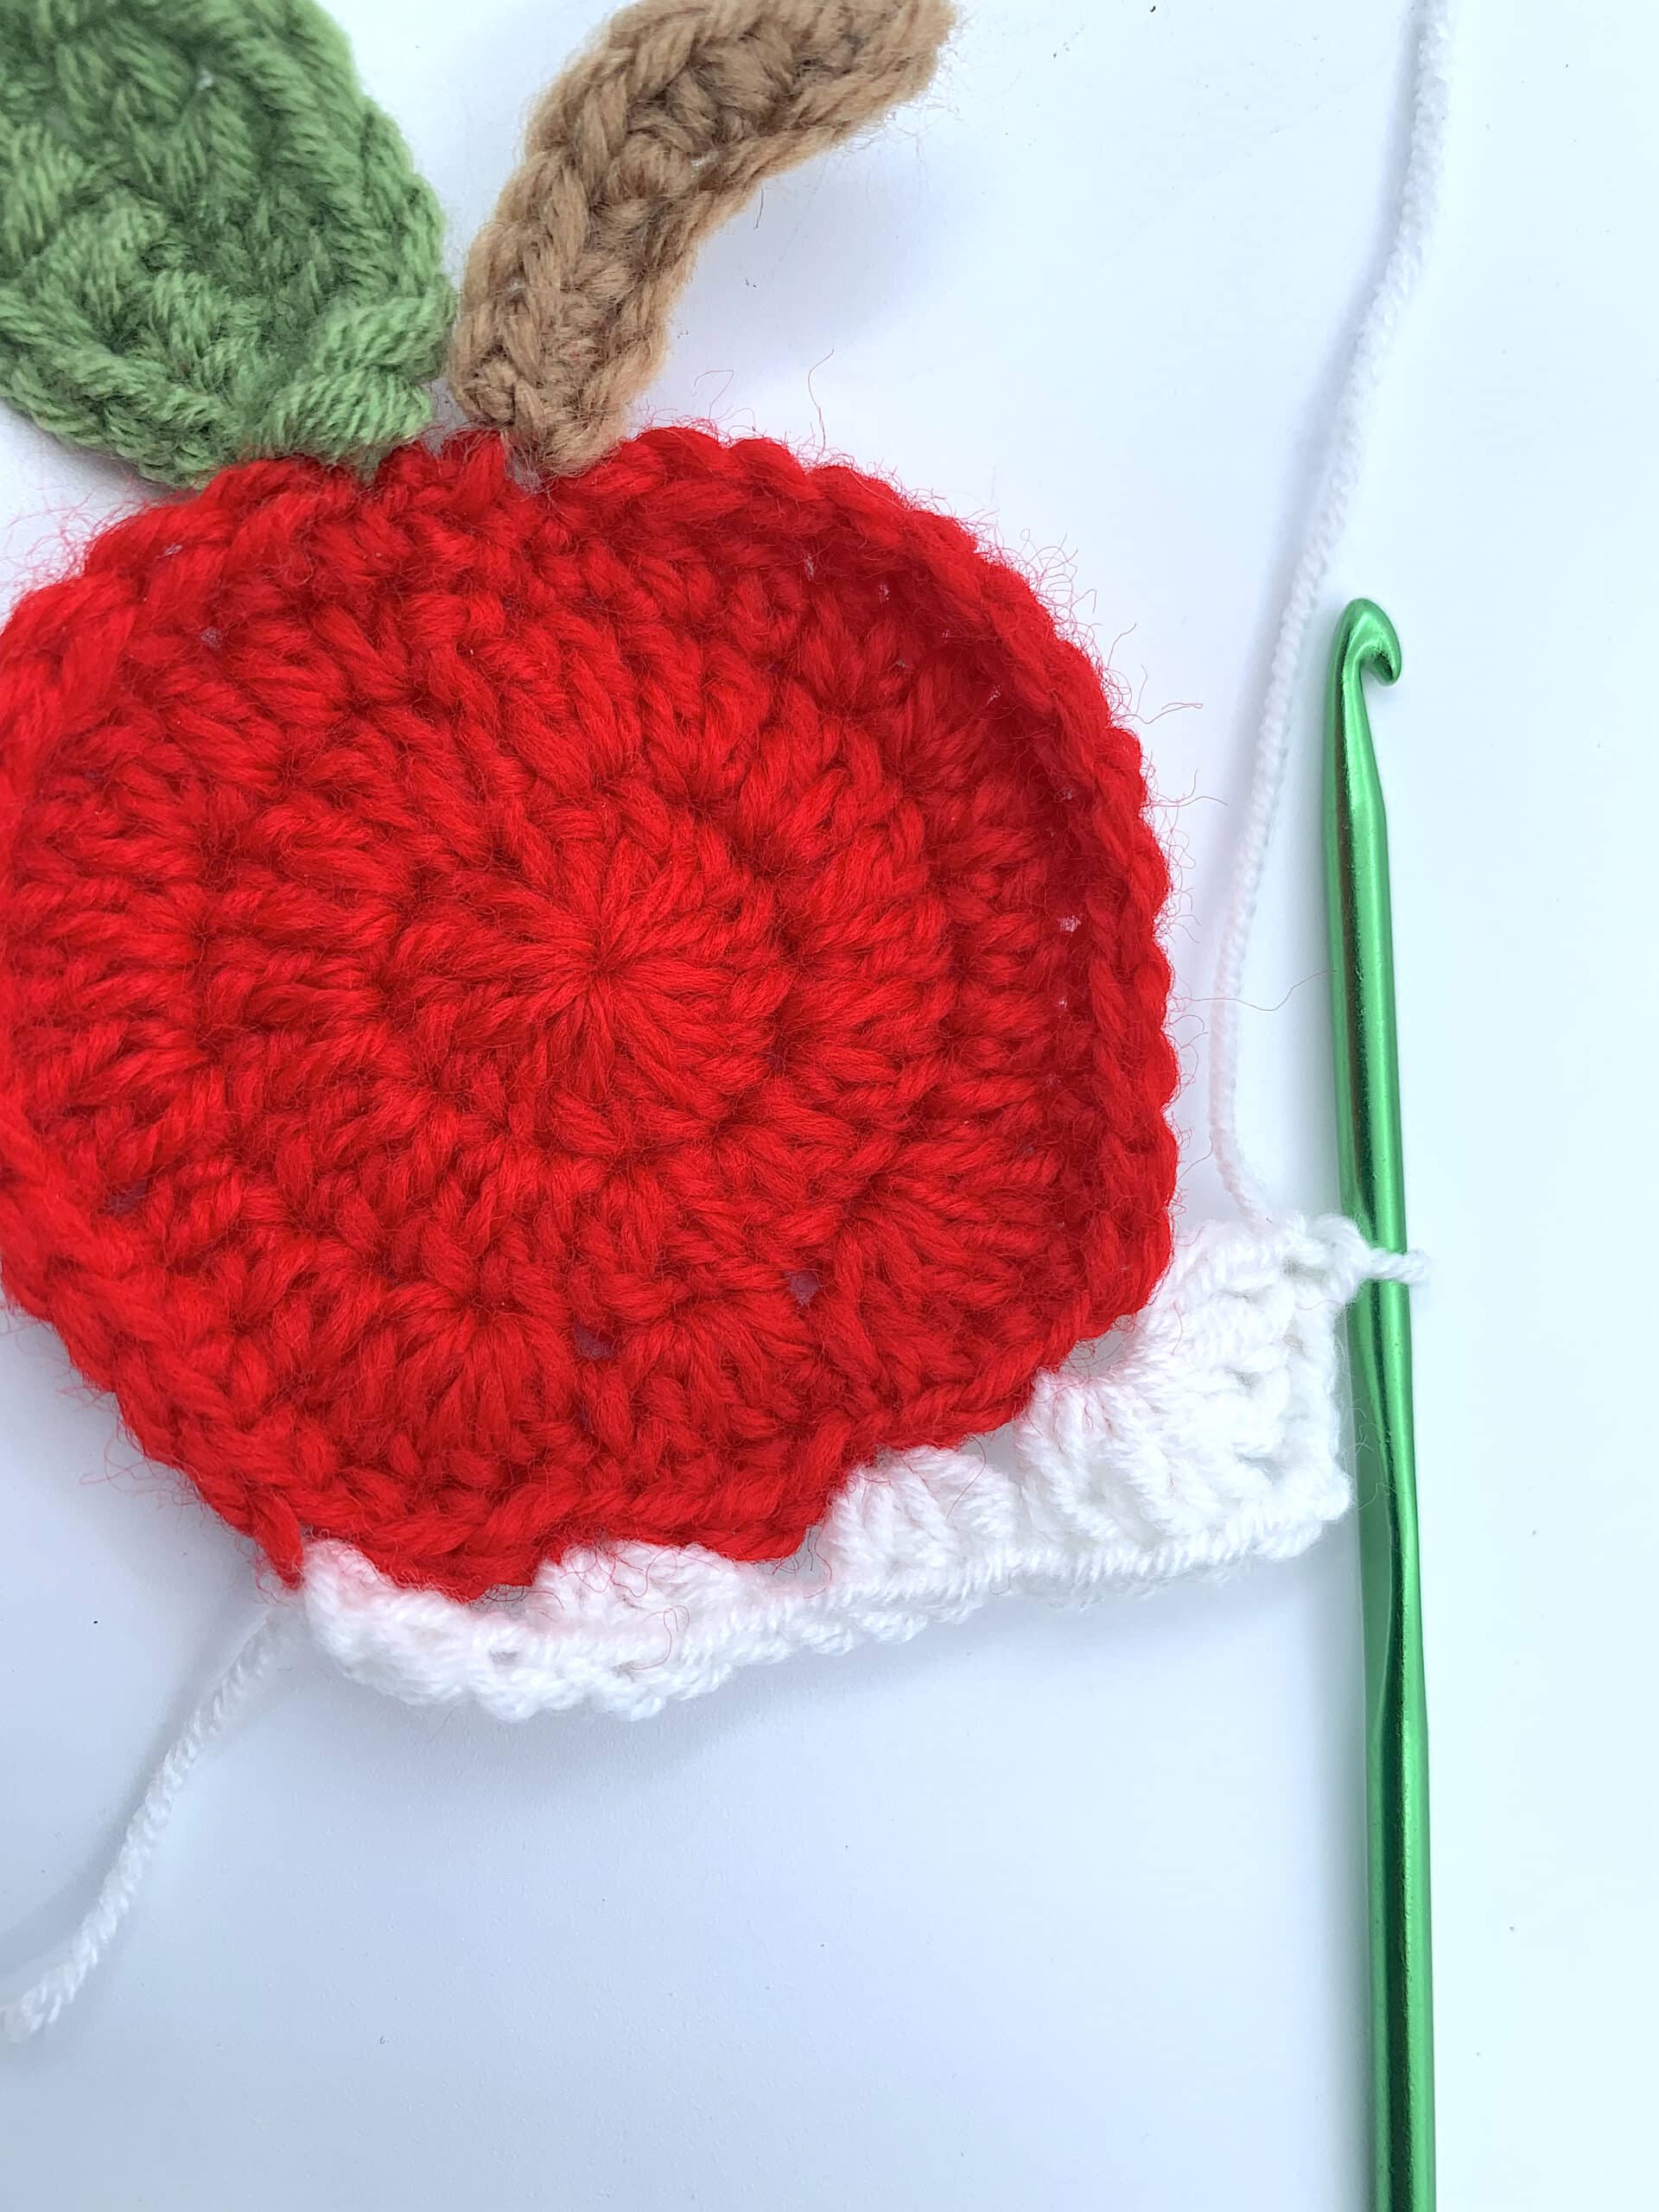
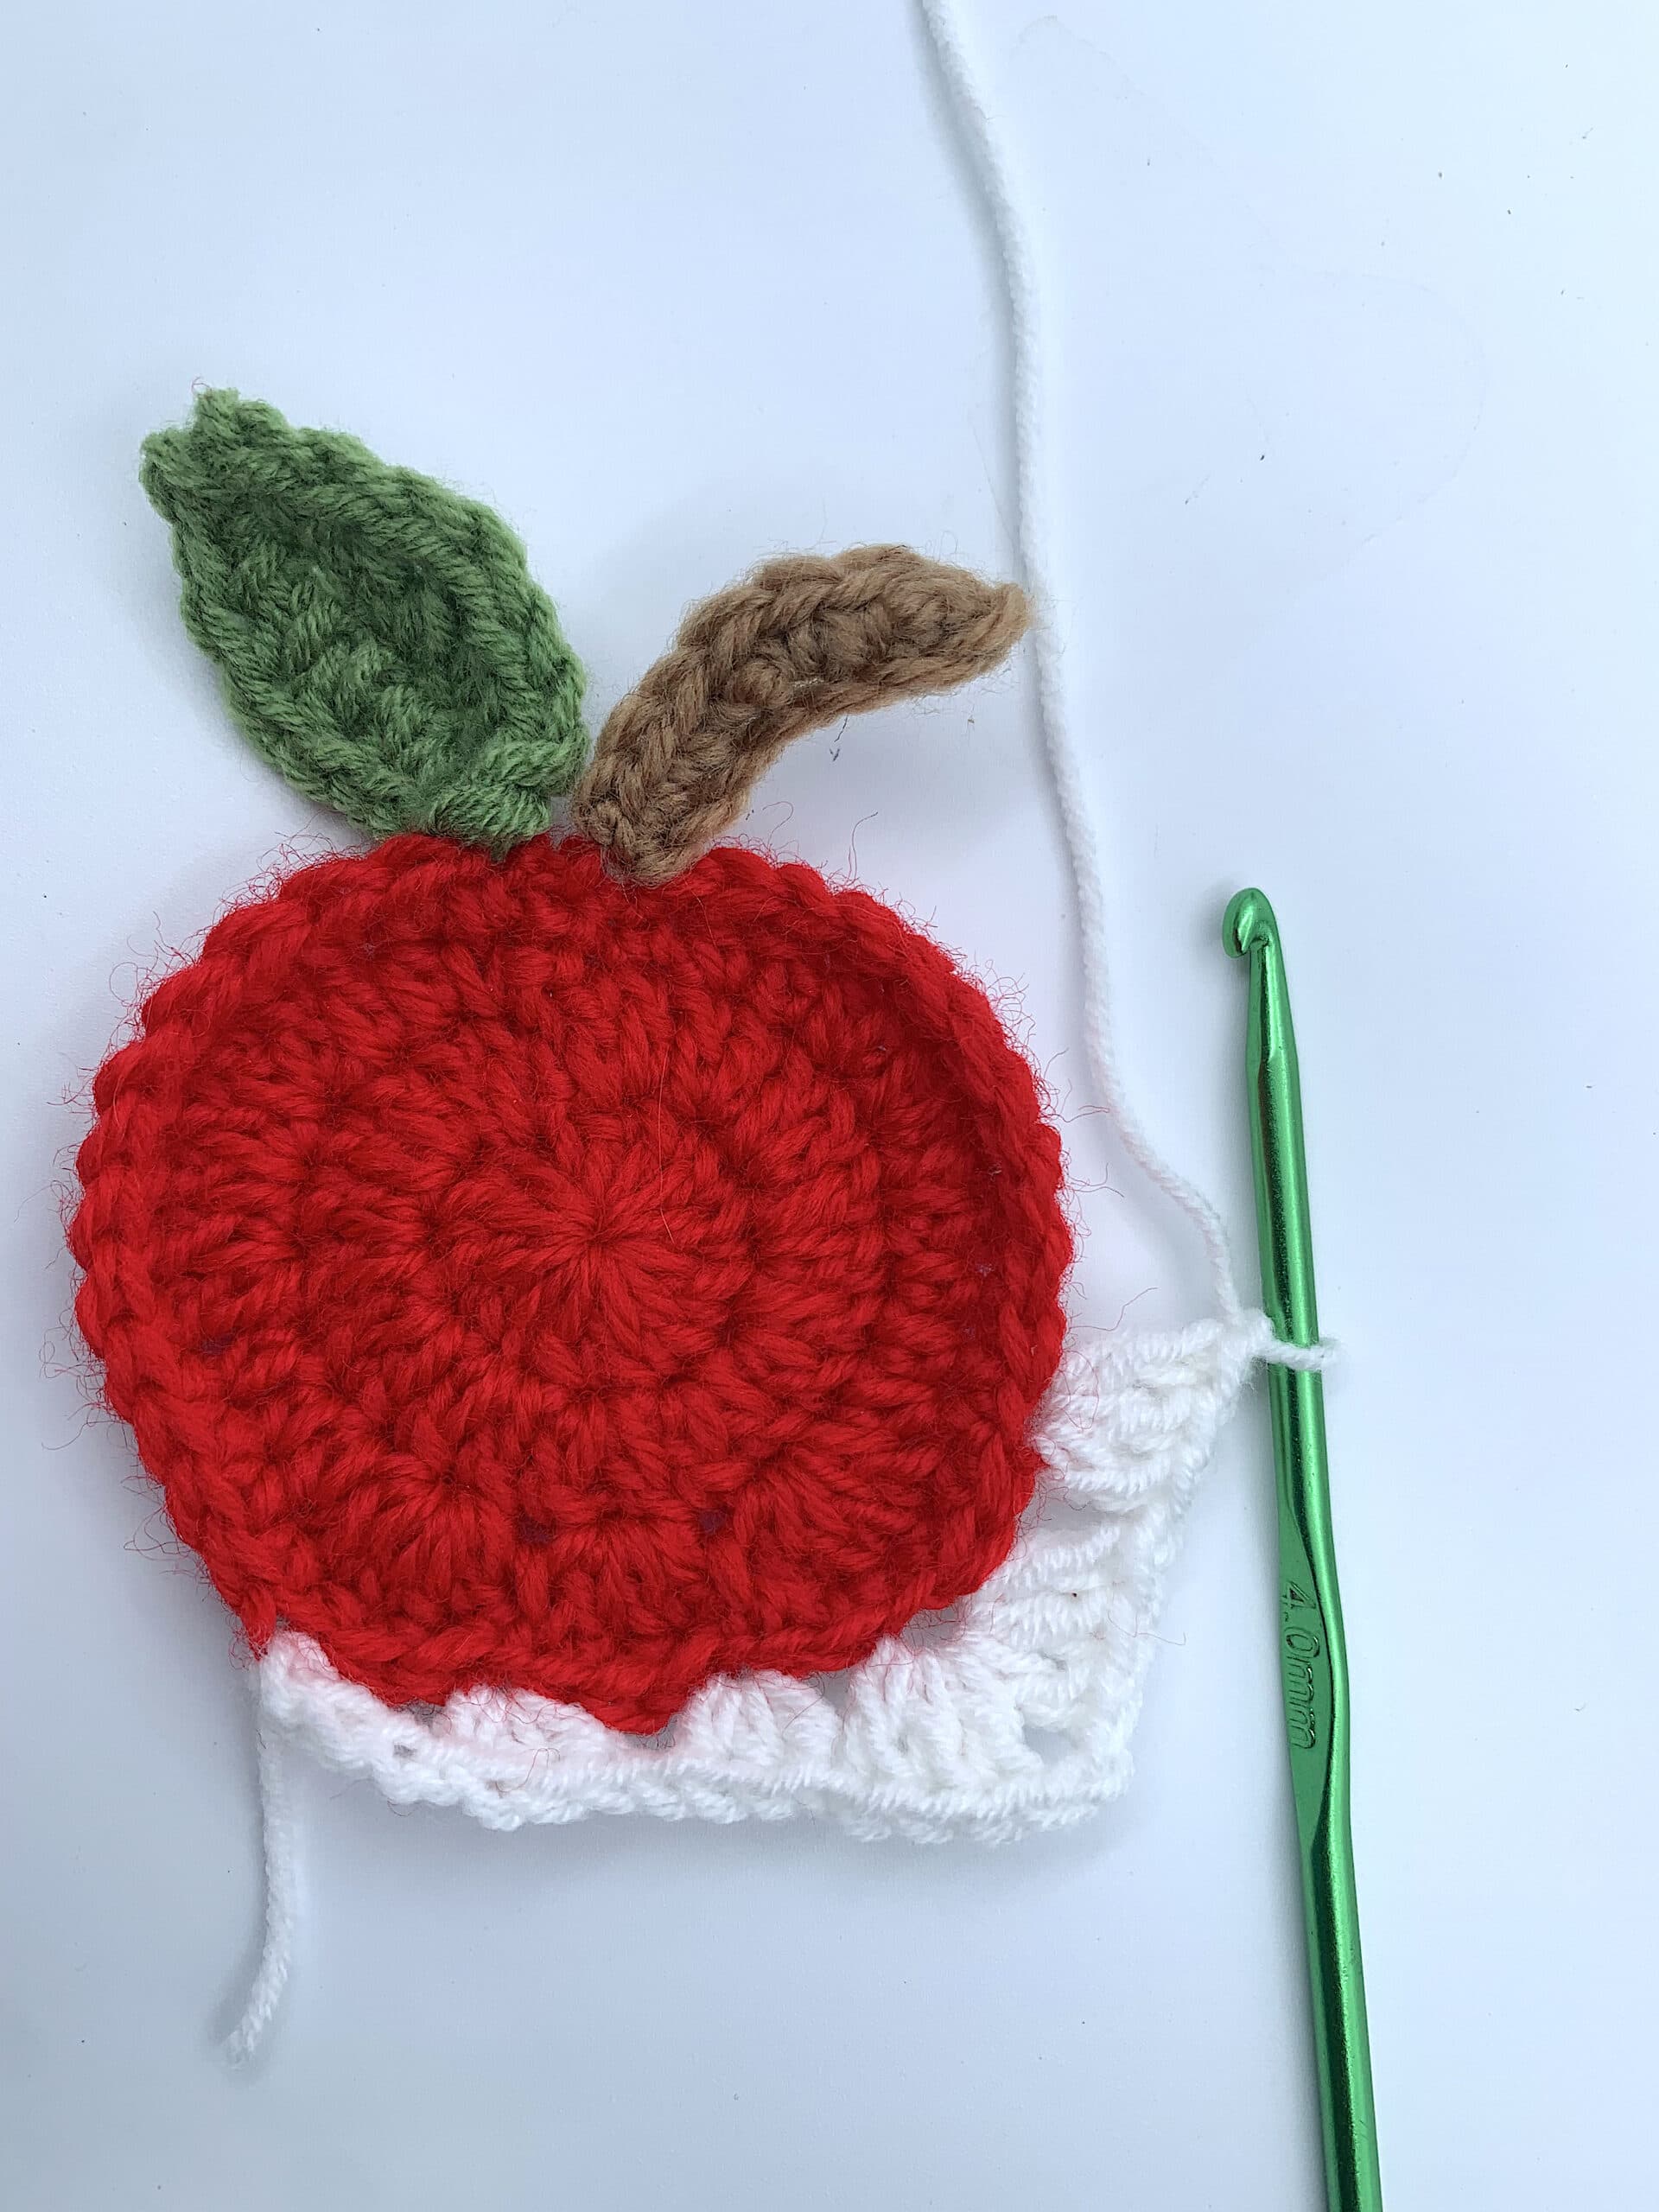
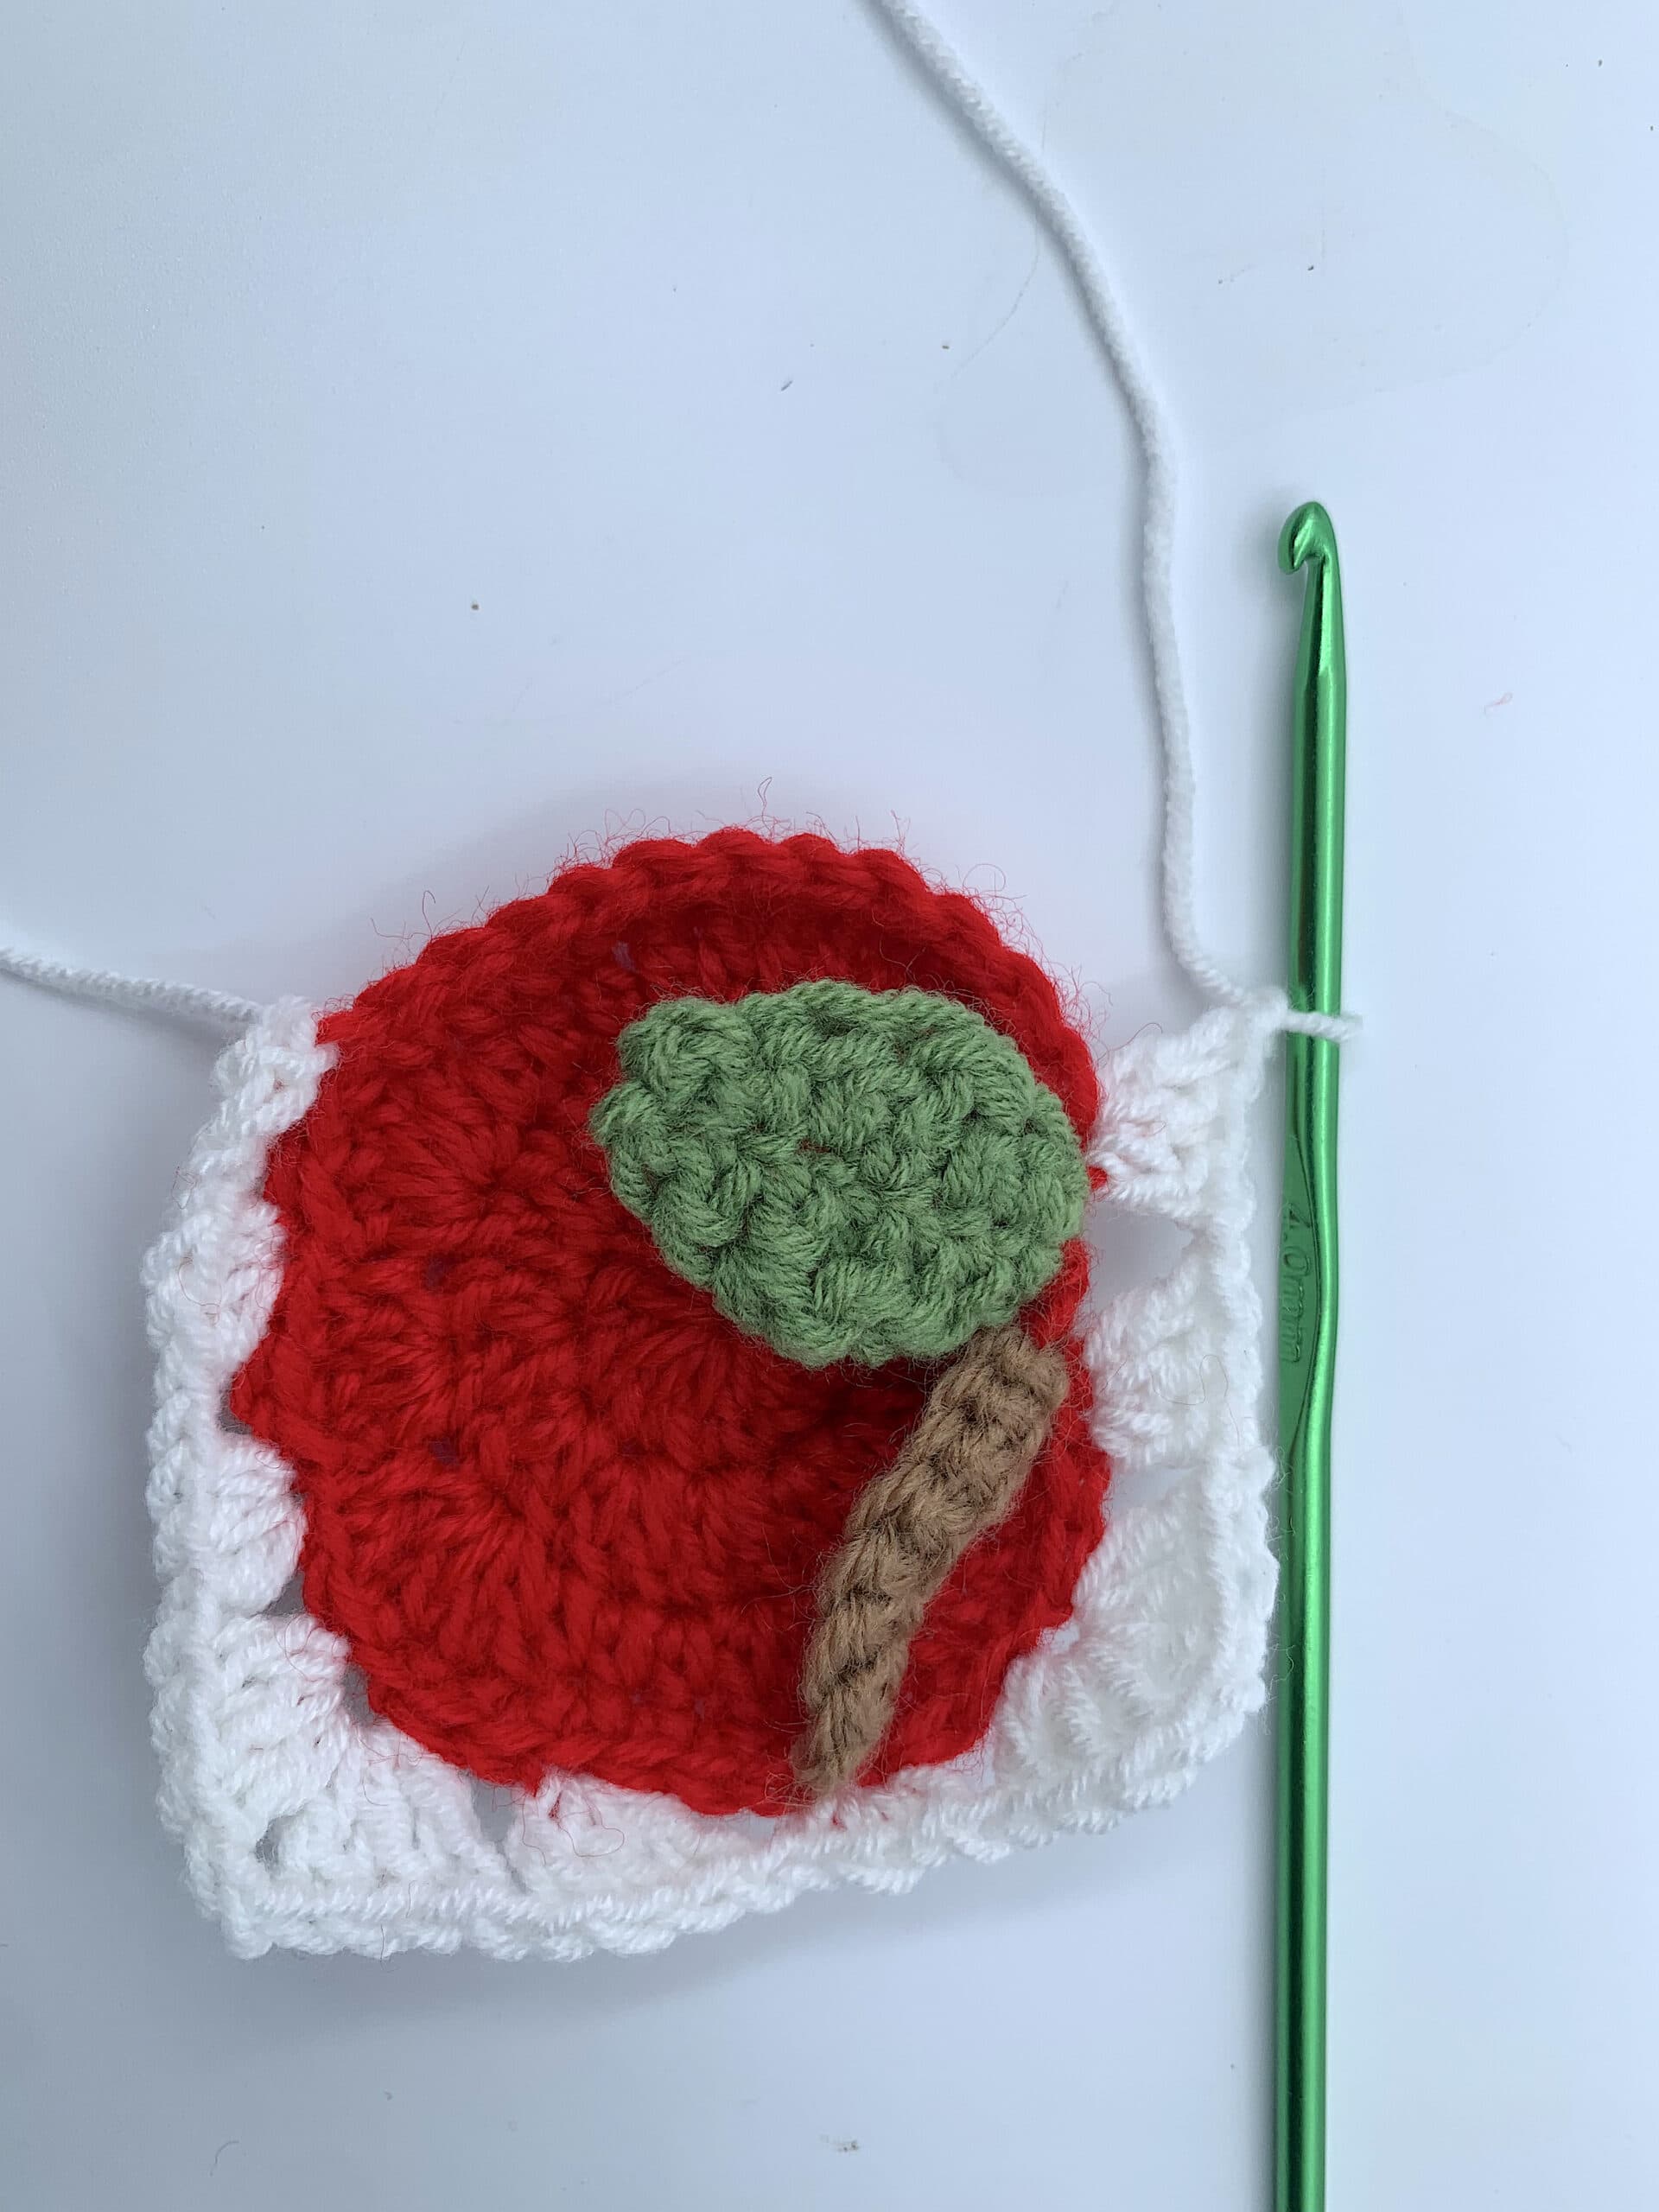
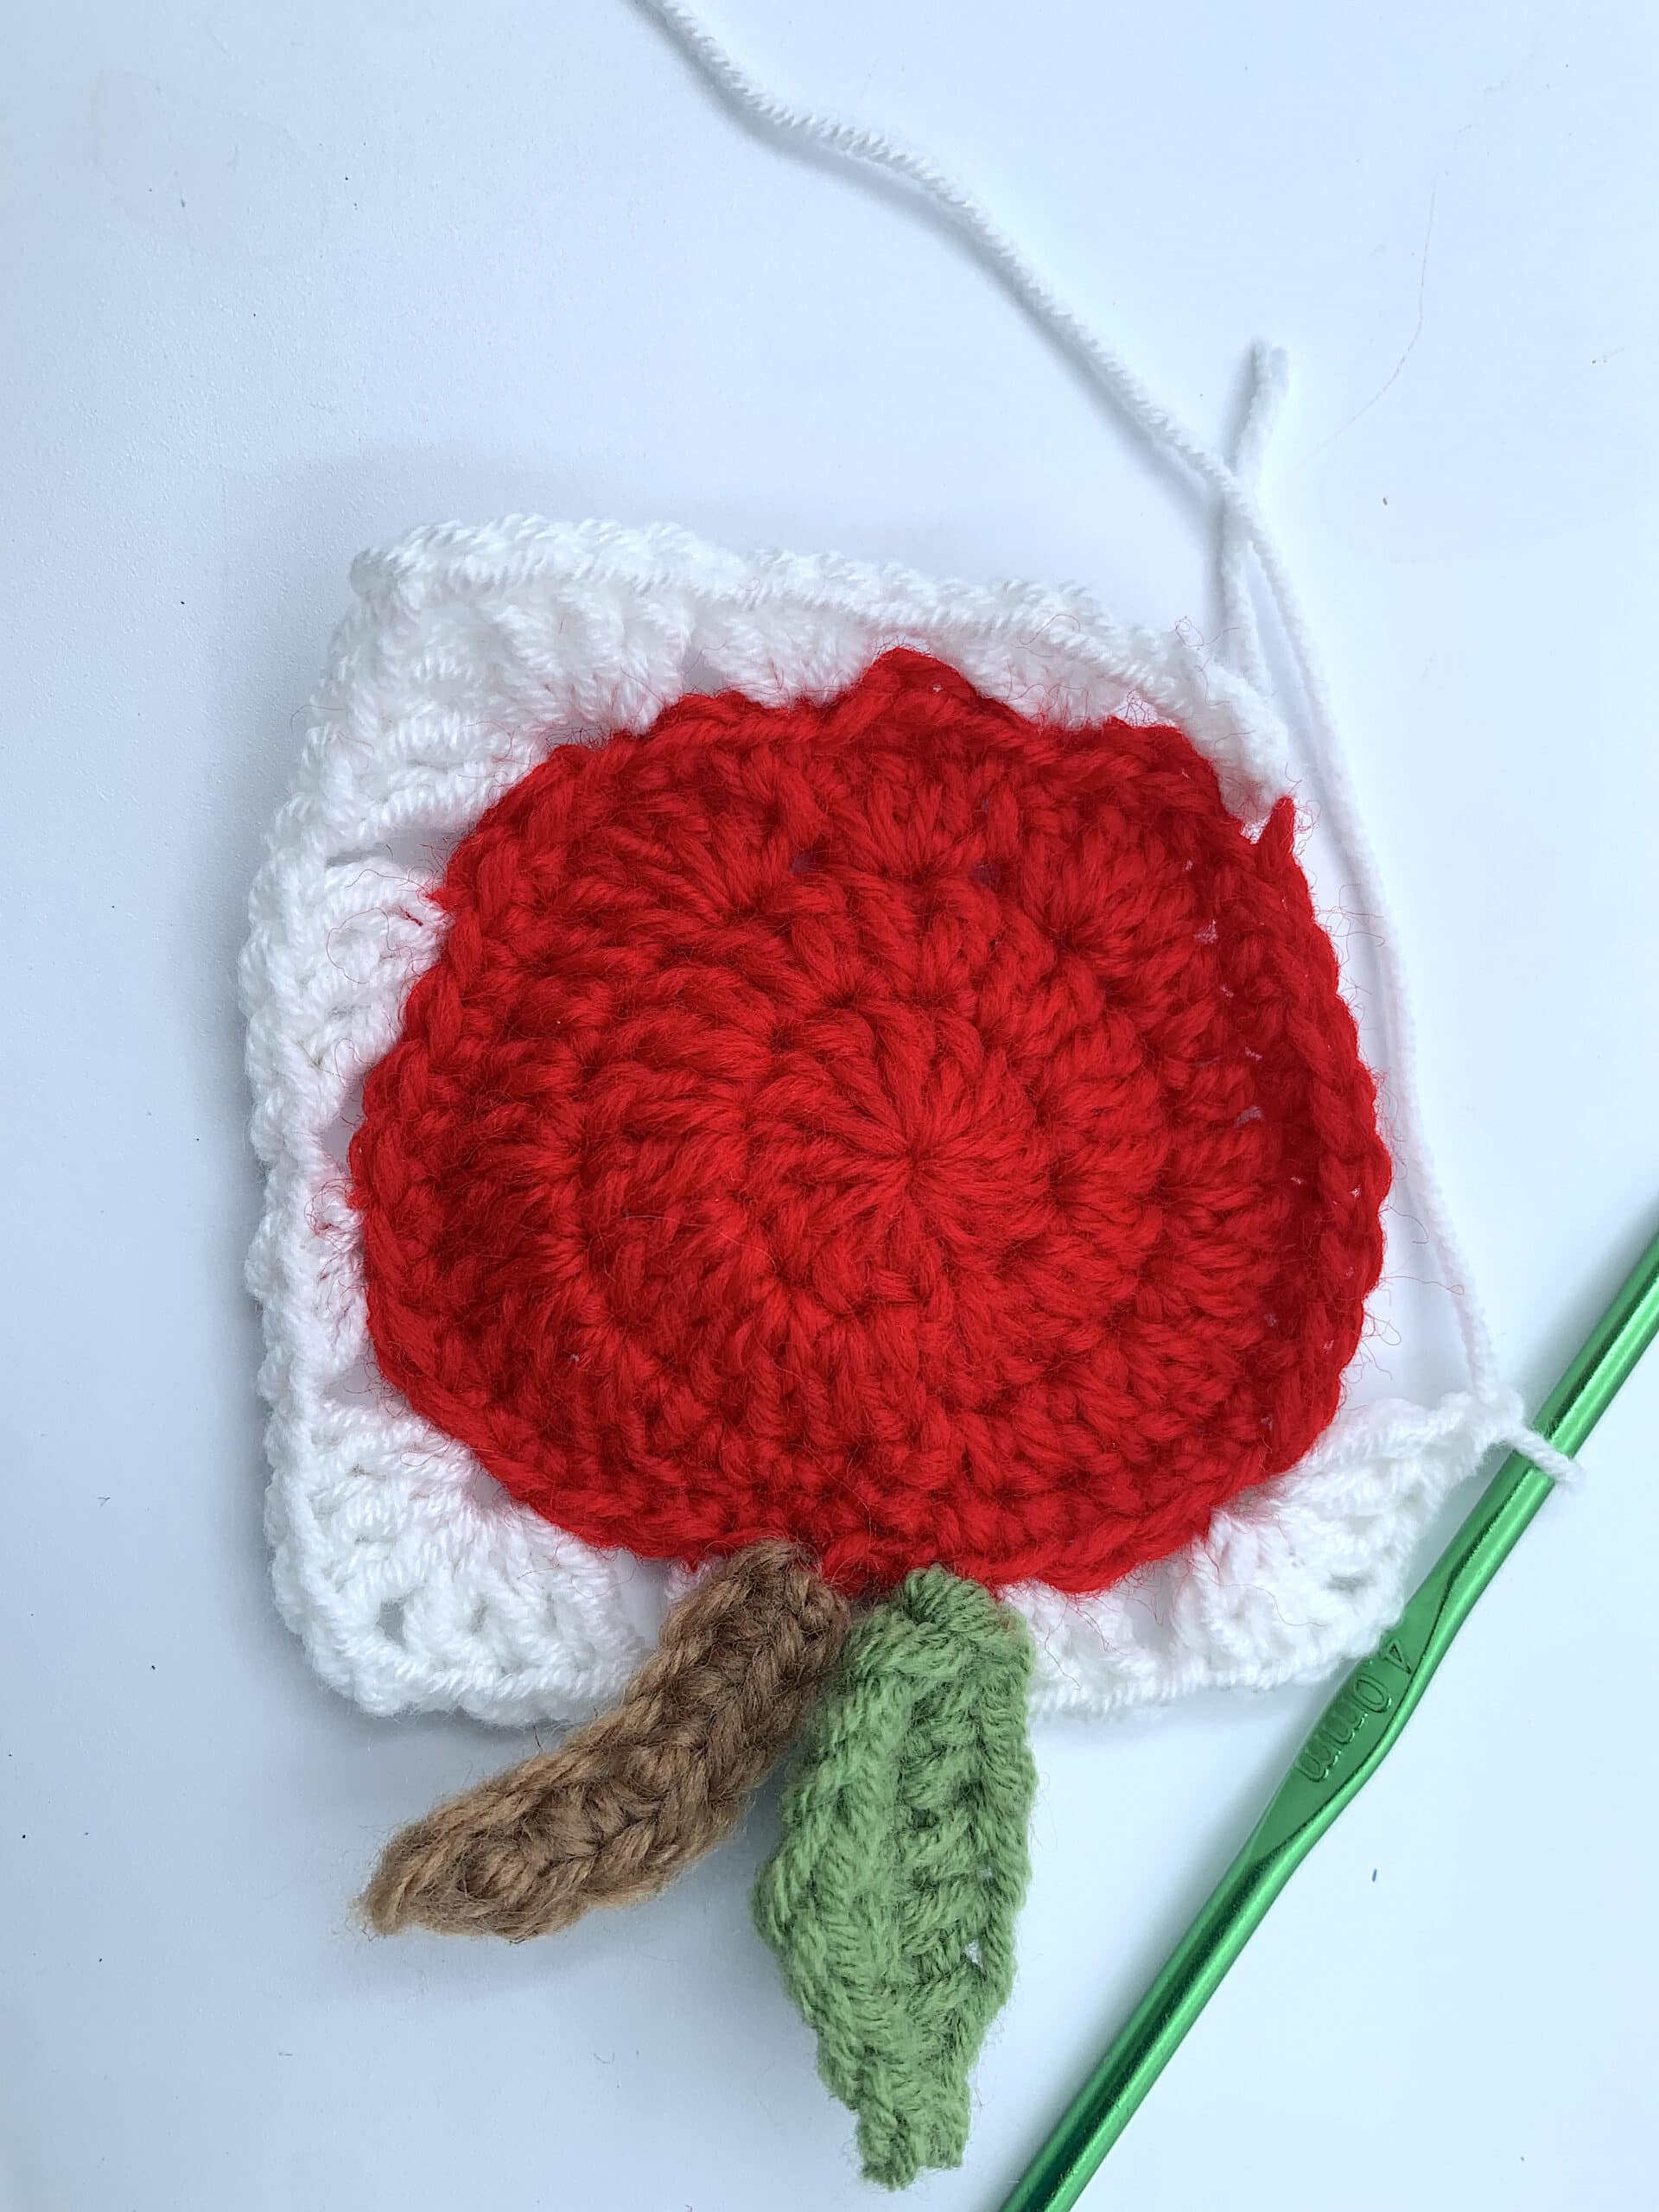
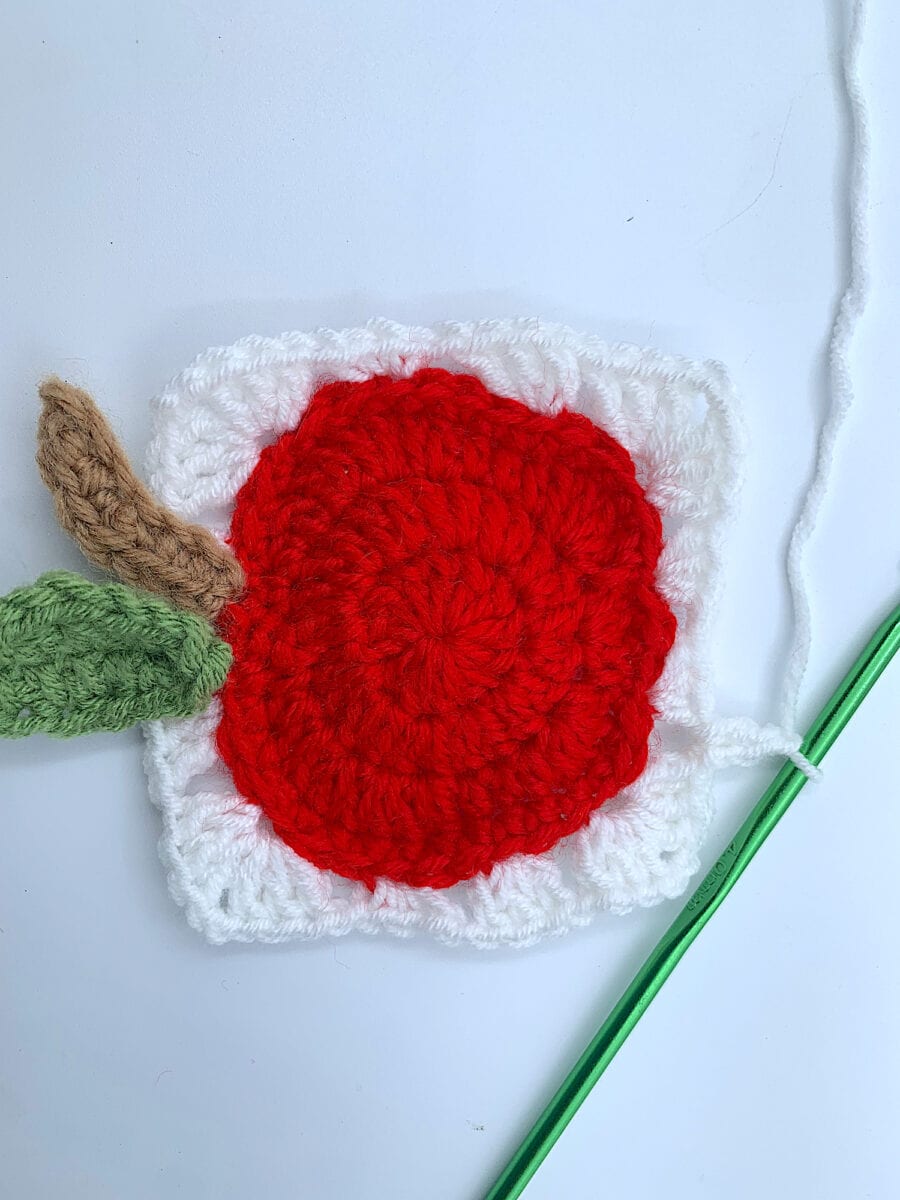
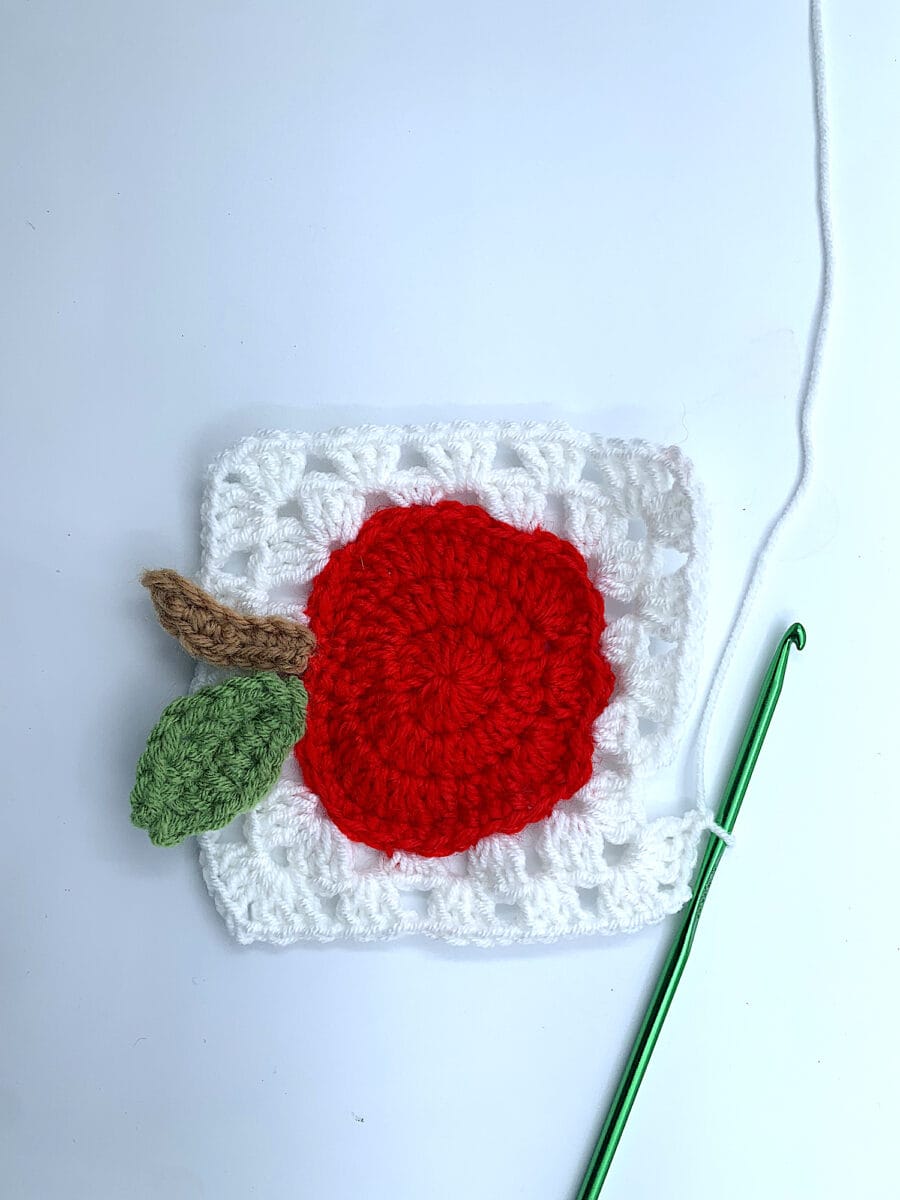
ROUND 6
Step 1
Slip Stitch into the first Chain 1 space to move the loop.

Step 2
Chain 1, Double Crochet in the same Chain 1 space. Chain 1.


Step 3
Work (3 Double Crochets, Chain 1) into each of the next 2 Chain 1 spaces.
Step 4
Work (3 Double Crochets, Chain 2, 3 Double Crochets) into corner Chain 2 space.
Step 5
Work (3 Double Crochets, Chain 1) into each of the next 3 Chain 1 spaces.
Step 6
Work (3 Double Crochets, Chain 2, 3 Double Crochets) into corner Chain 2 space.
Step 7
Work (3 Double Crochets, Chain 1) into each of the next 3 Chain 1 spaces.
Step 8
Work (3 Double Crochets, Chain 2, 3 Double Crochets) into corner Chain 2 space.

Step 9
Work (3 Double Crochets, Chain 1) into each of the next 3 Chain 1 spaces.
Step 10
Work (3 Double Crochets, Chain 2, 3 Double Crochets) into corner Chain 2 space.

Step 11
Work 2 Double Crochets into the next Chain 1 space (same stitch as the starting point of the round).

Step 12
Join with a Slip Stitch to the top of the first Double Crochet of the round.
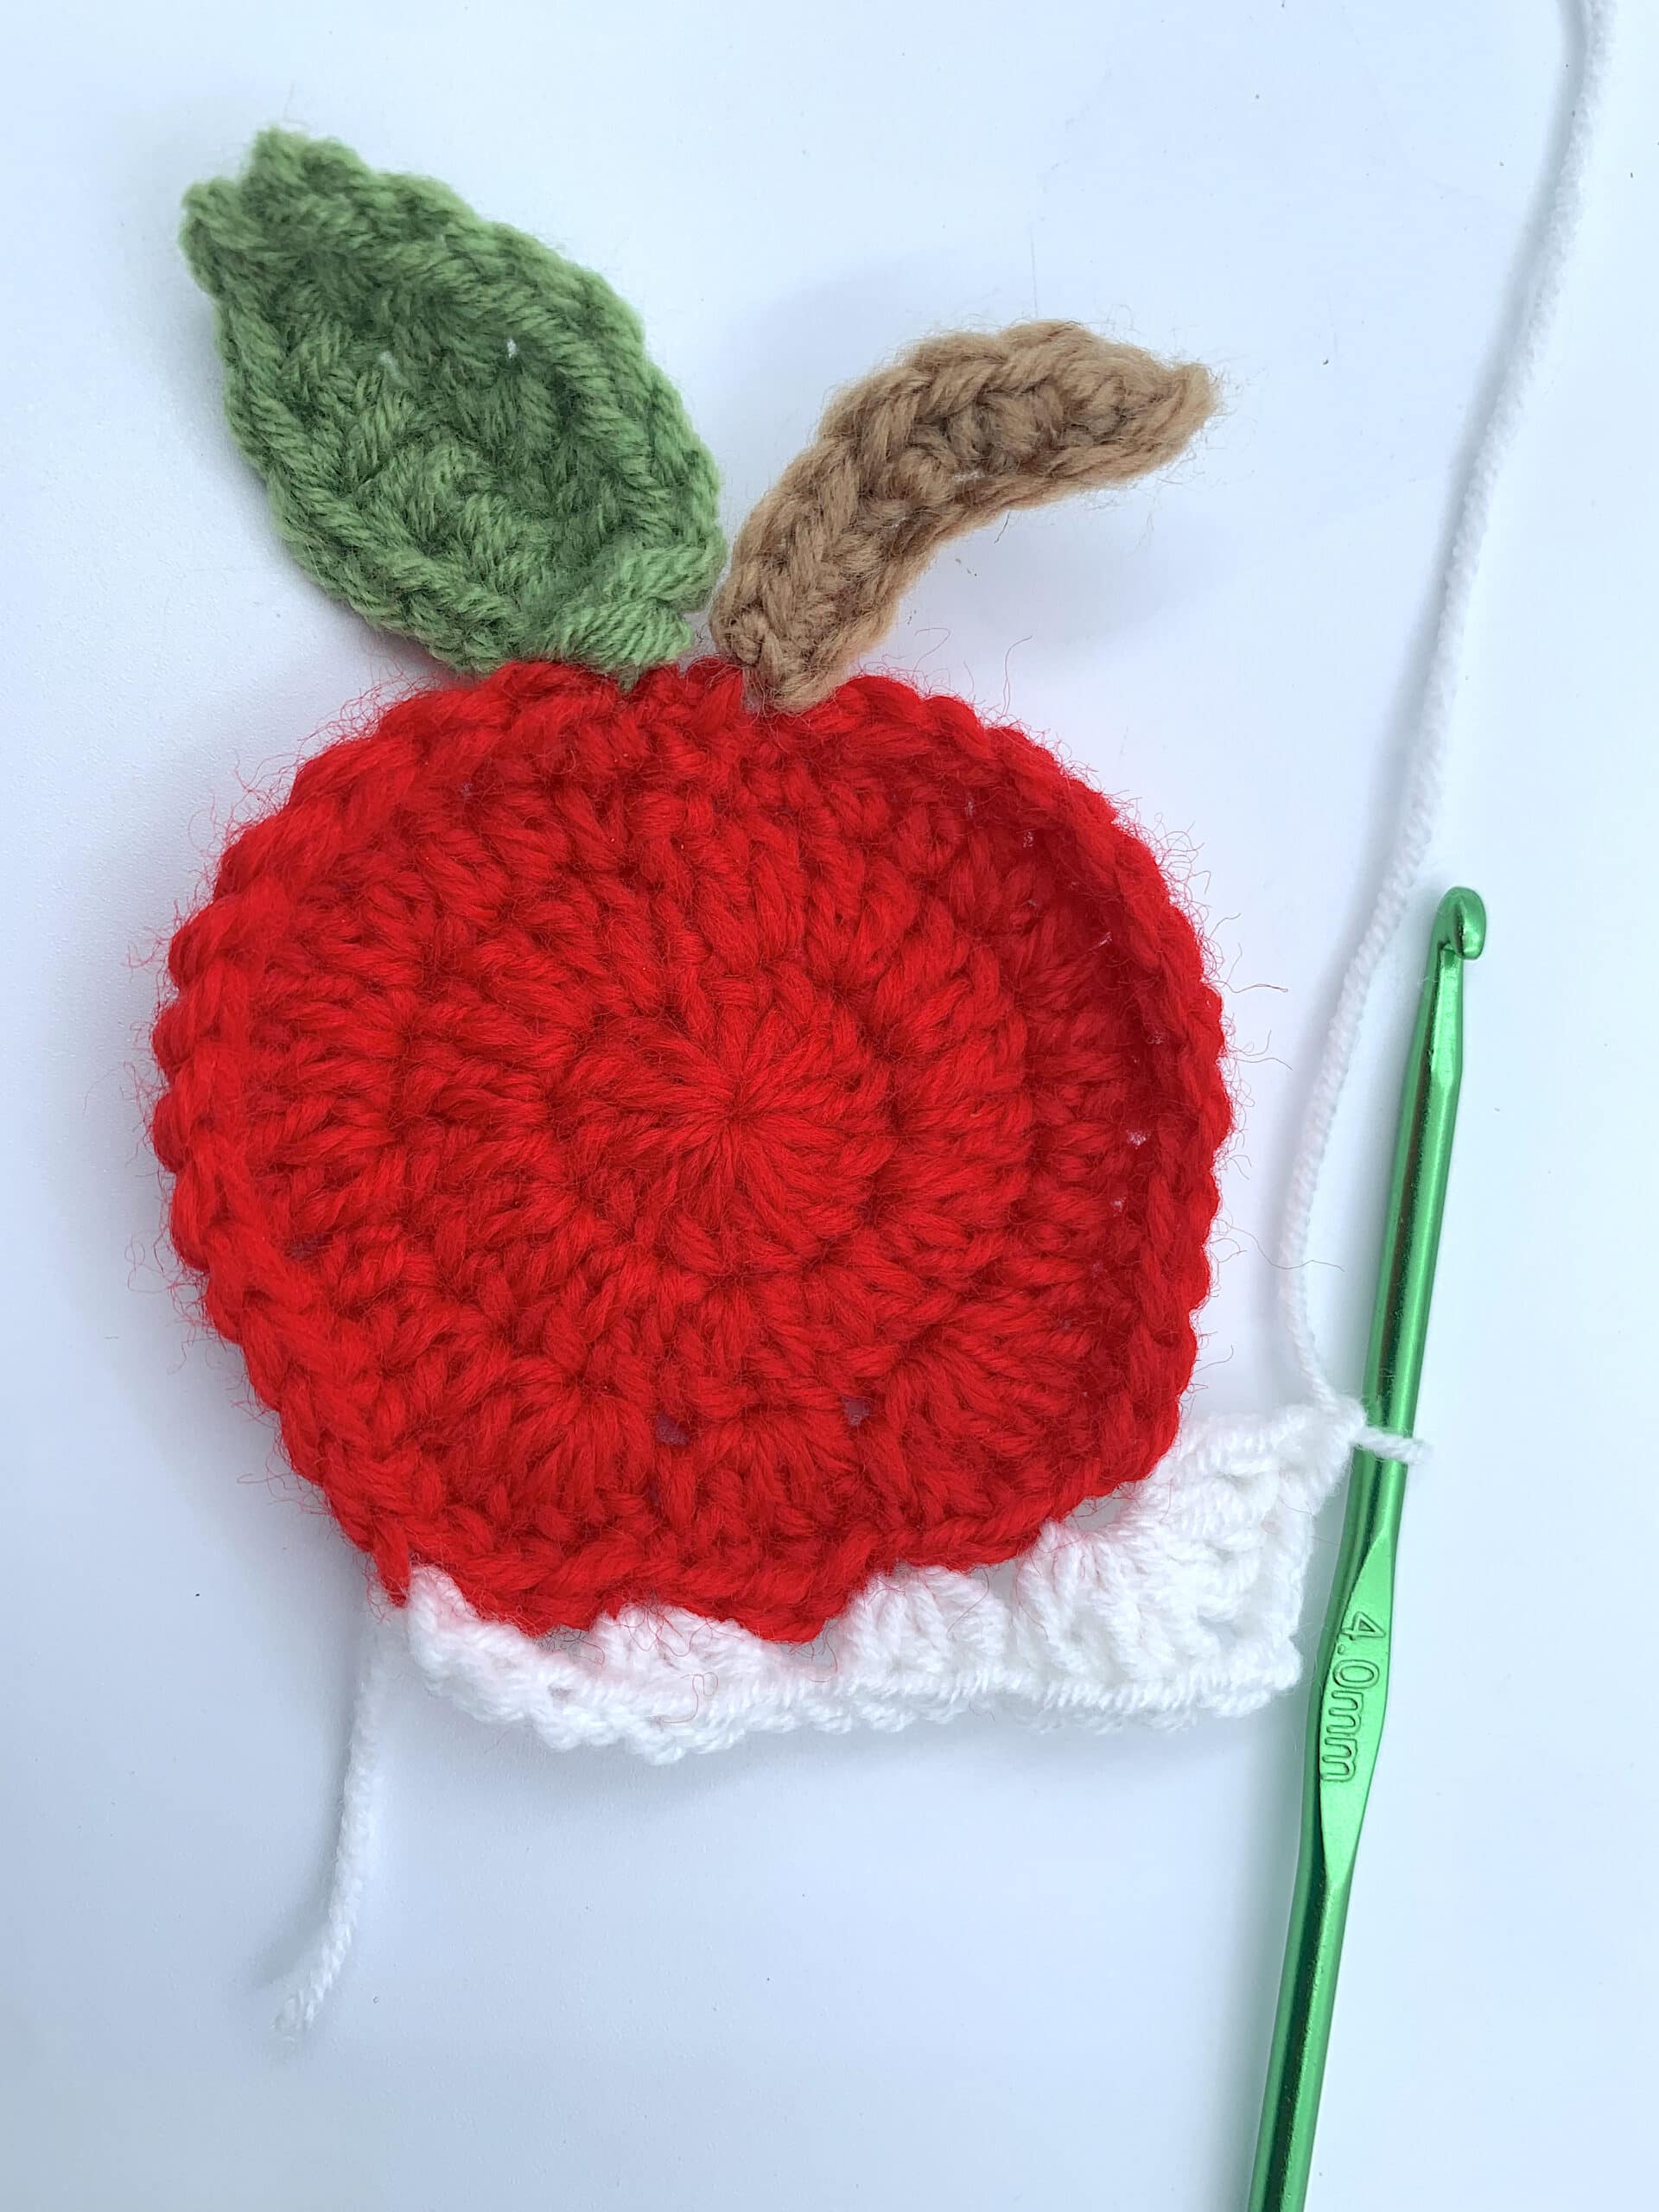
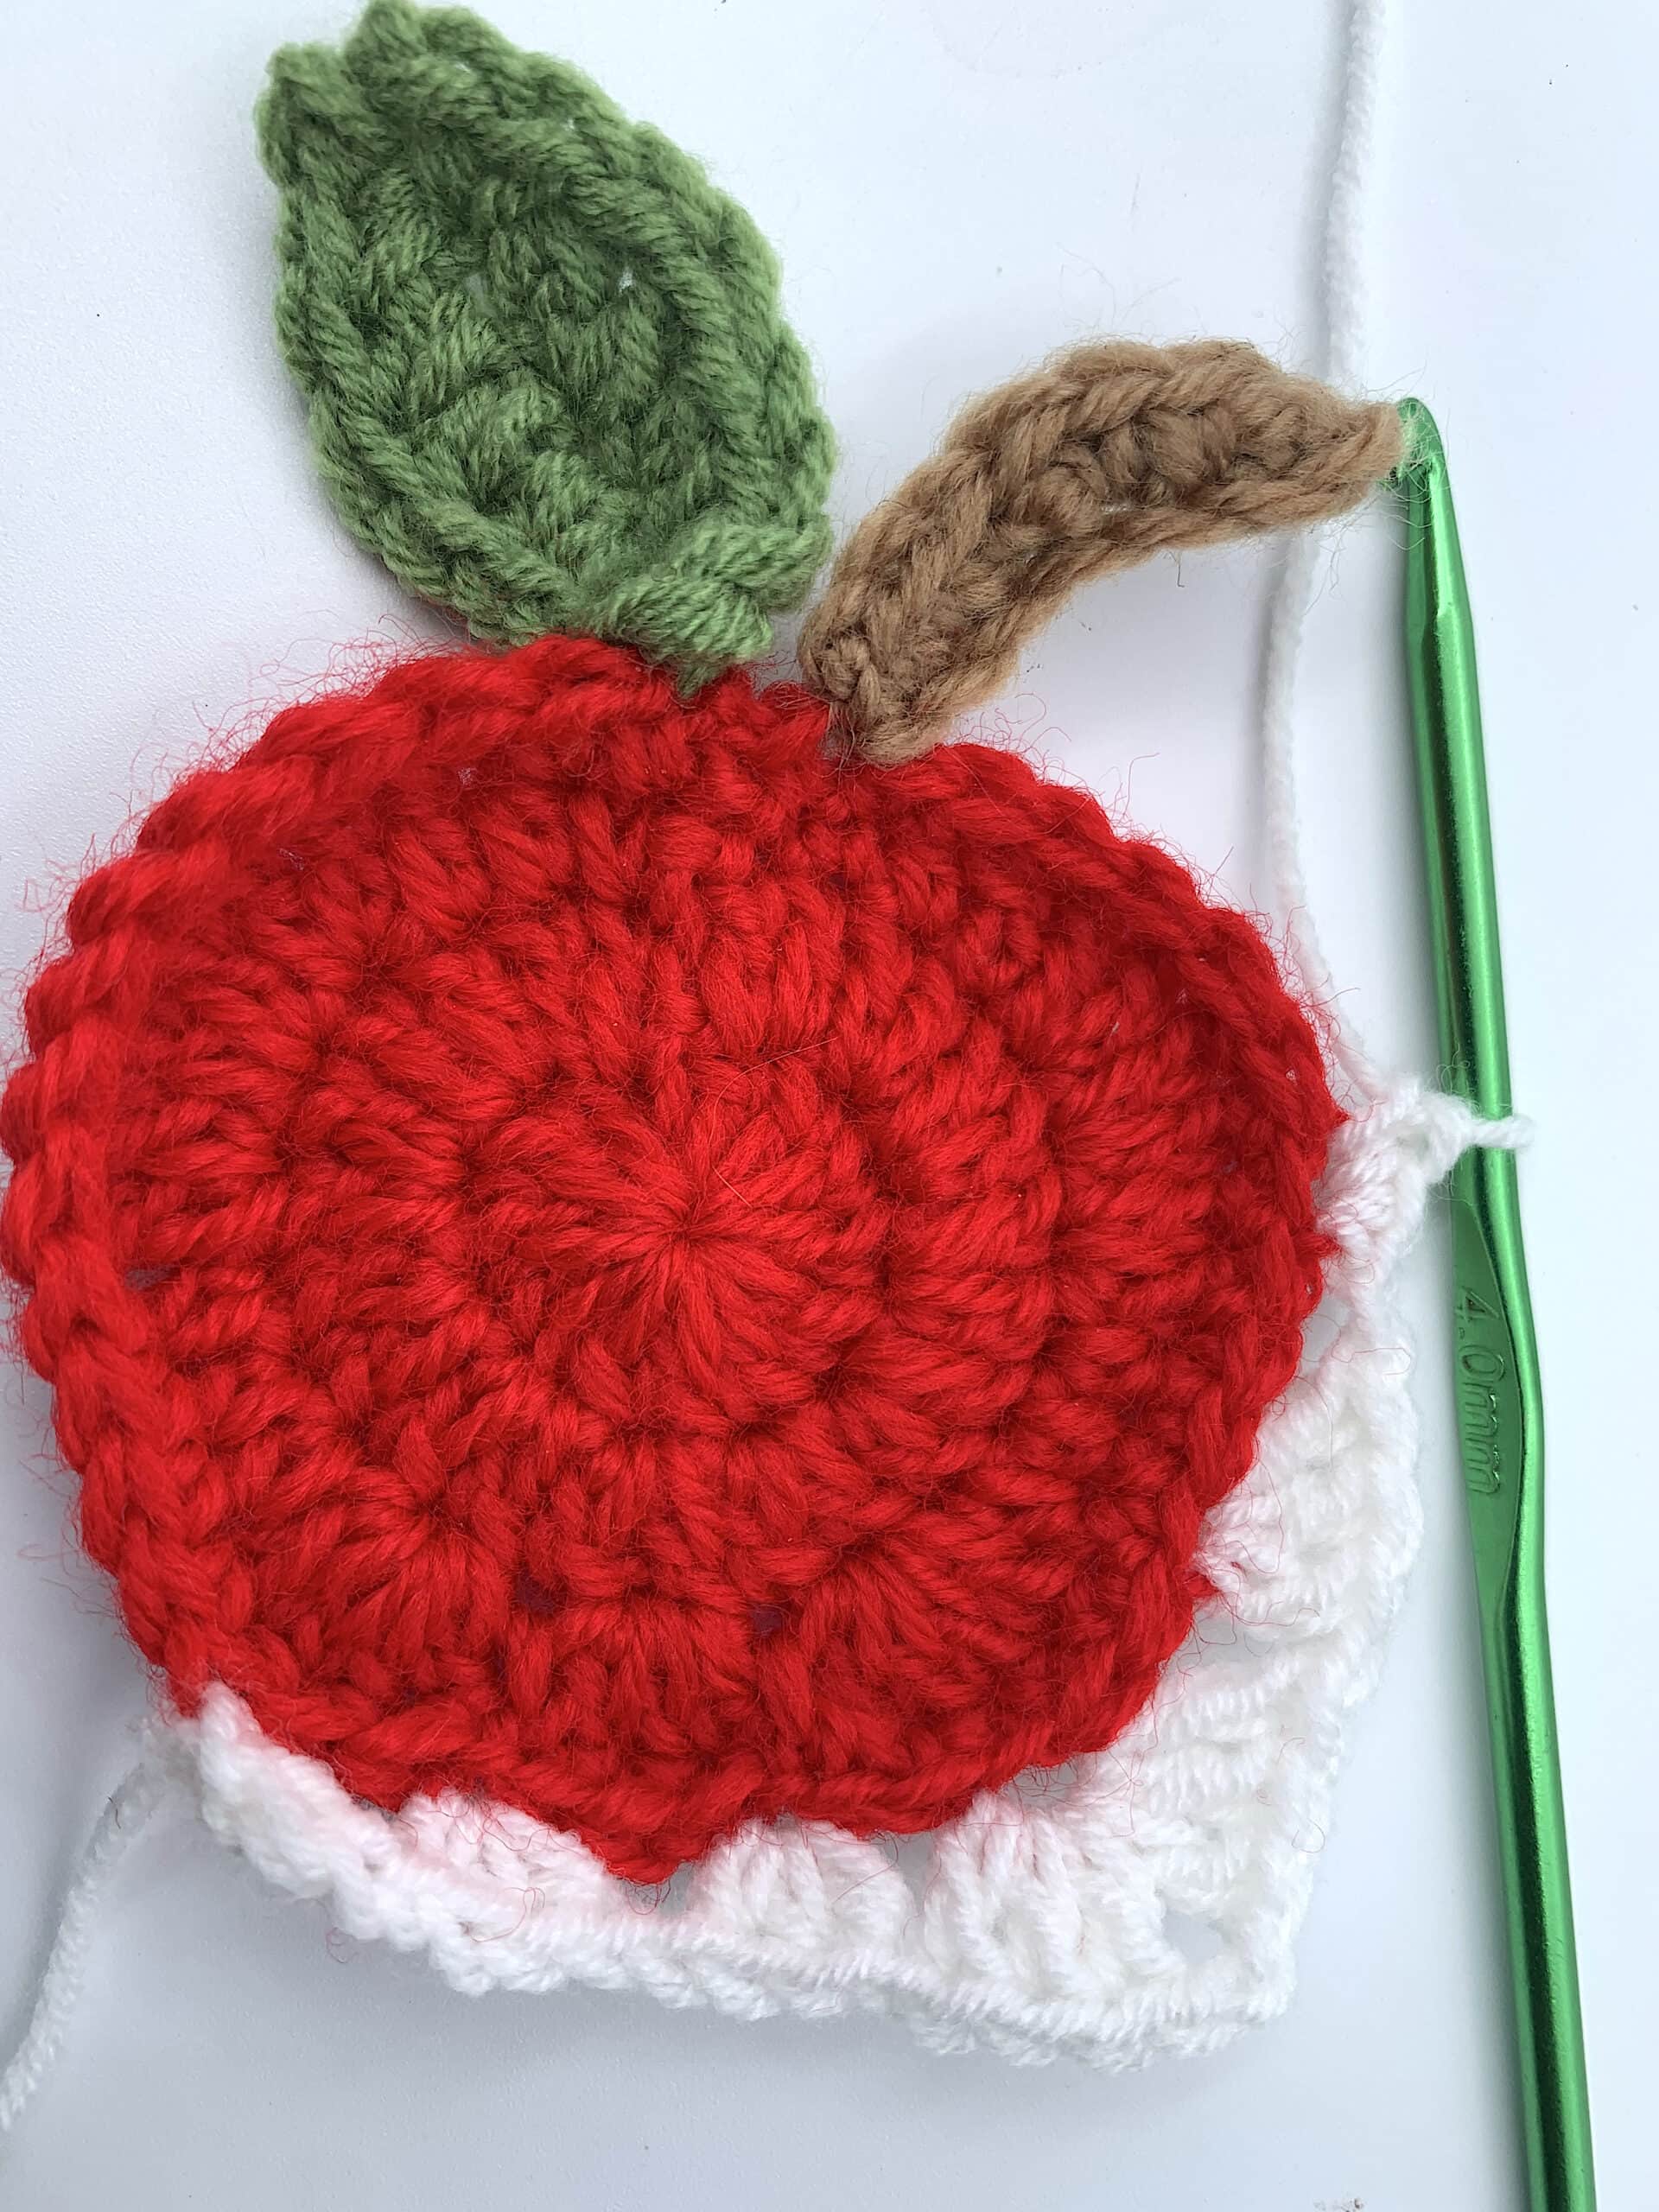
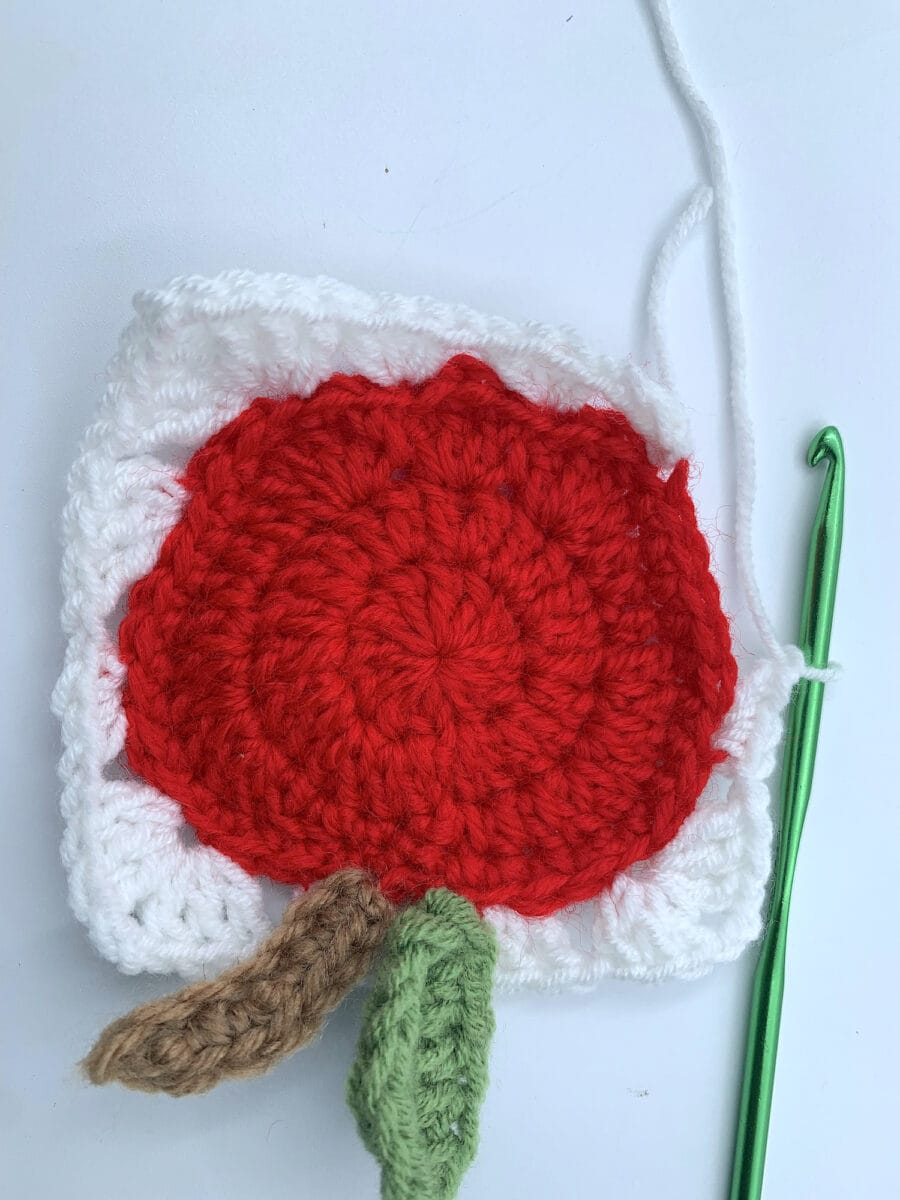
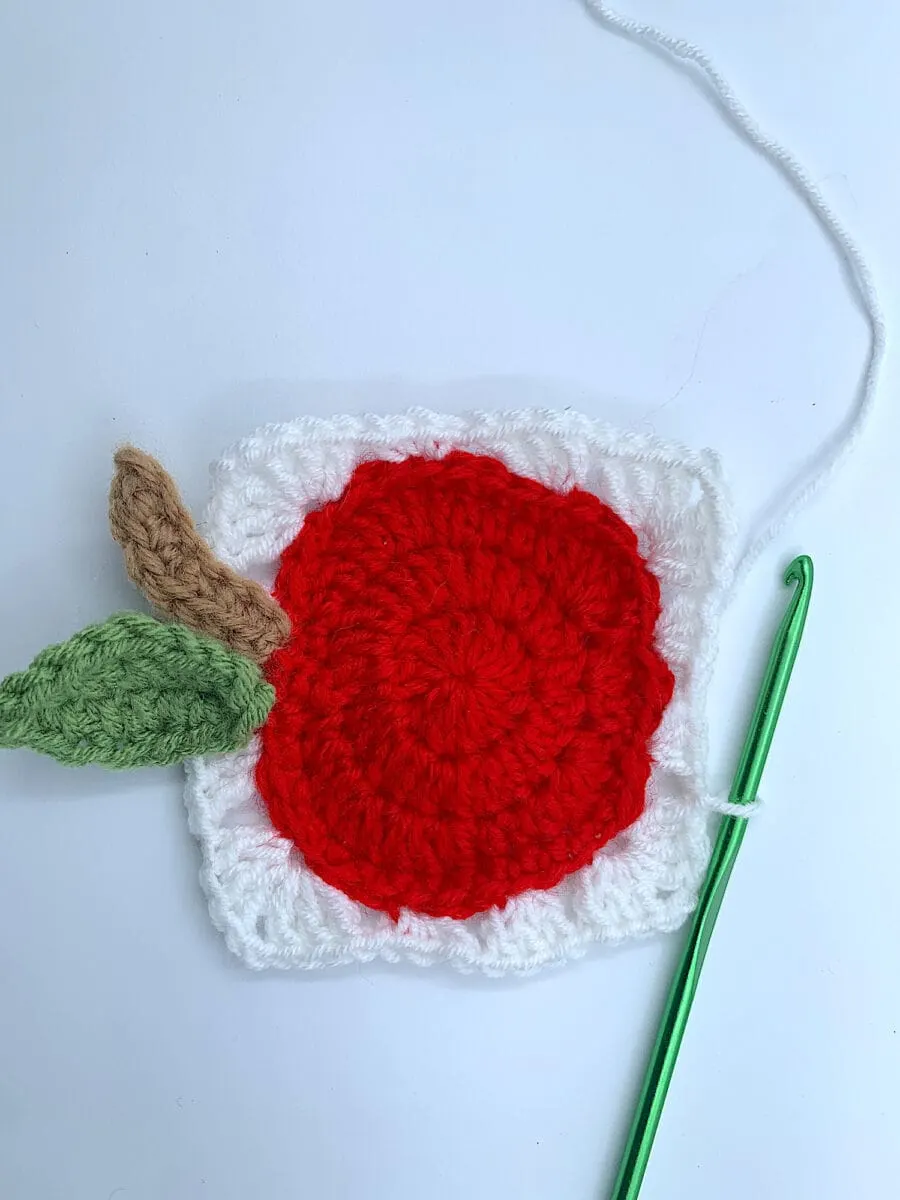
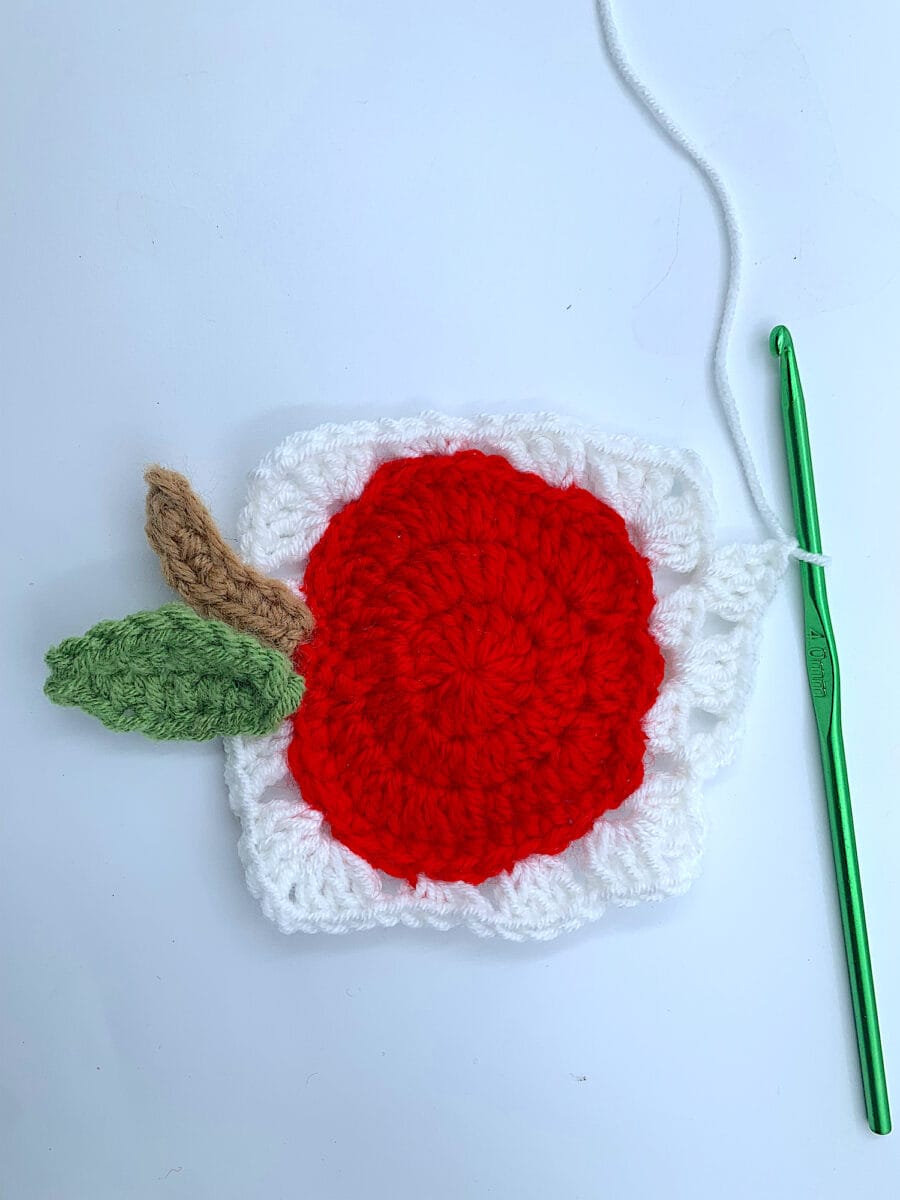
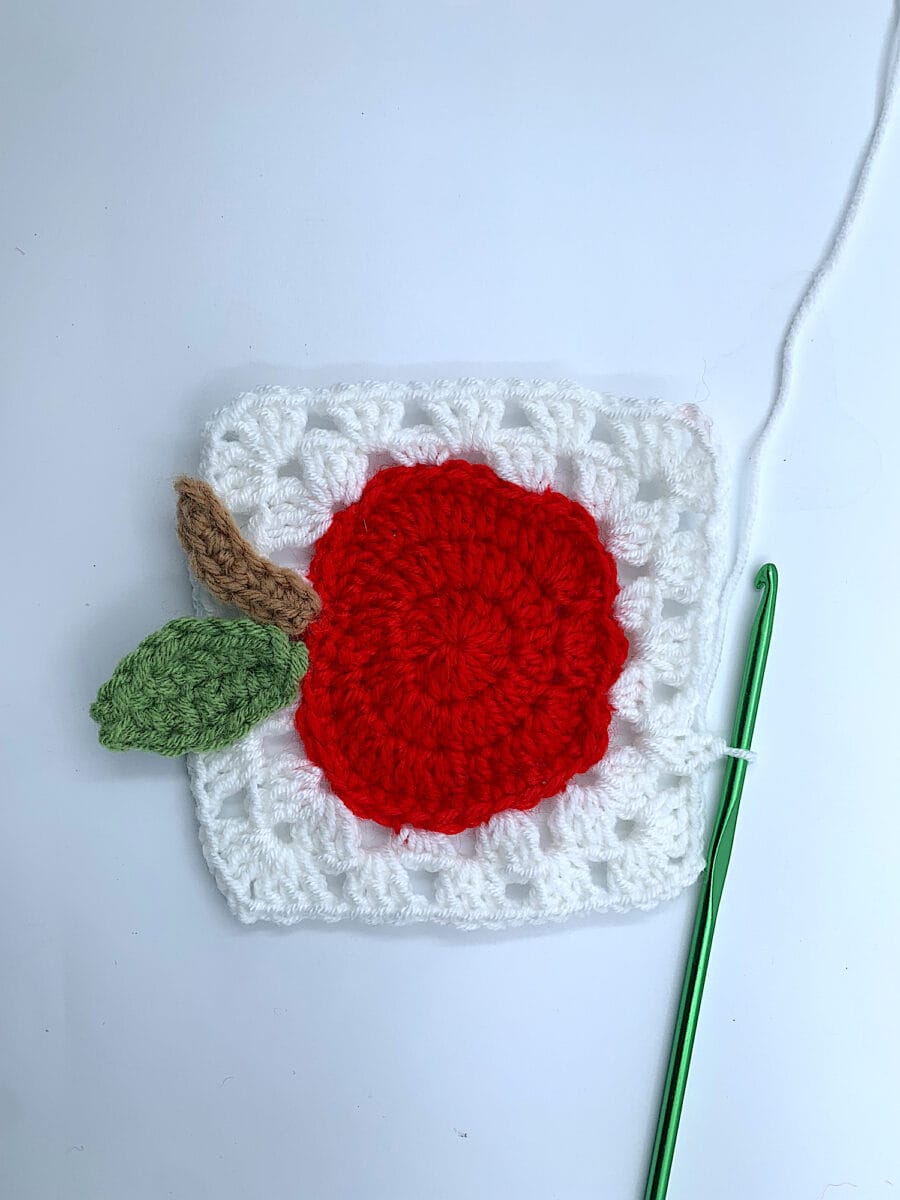
ROUND 7
Step 1
Chain 1, Single Crochet in each stitch until the corner.

Step 2
Work 3 Single Crochets into each corner Chain 2 space.
Repeat the above steps for all corners.
Join with a Slip Stitch to the top of the first Single Crochet of the round.
Step 3
Cut the yarn, leaving a tail for weaving in. Fasten off.

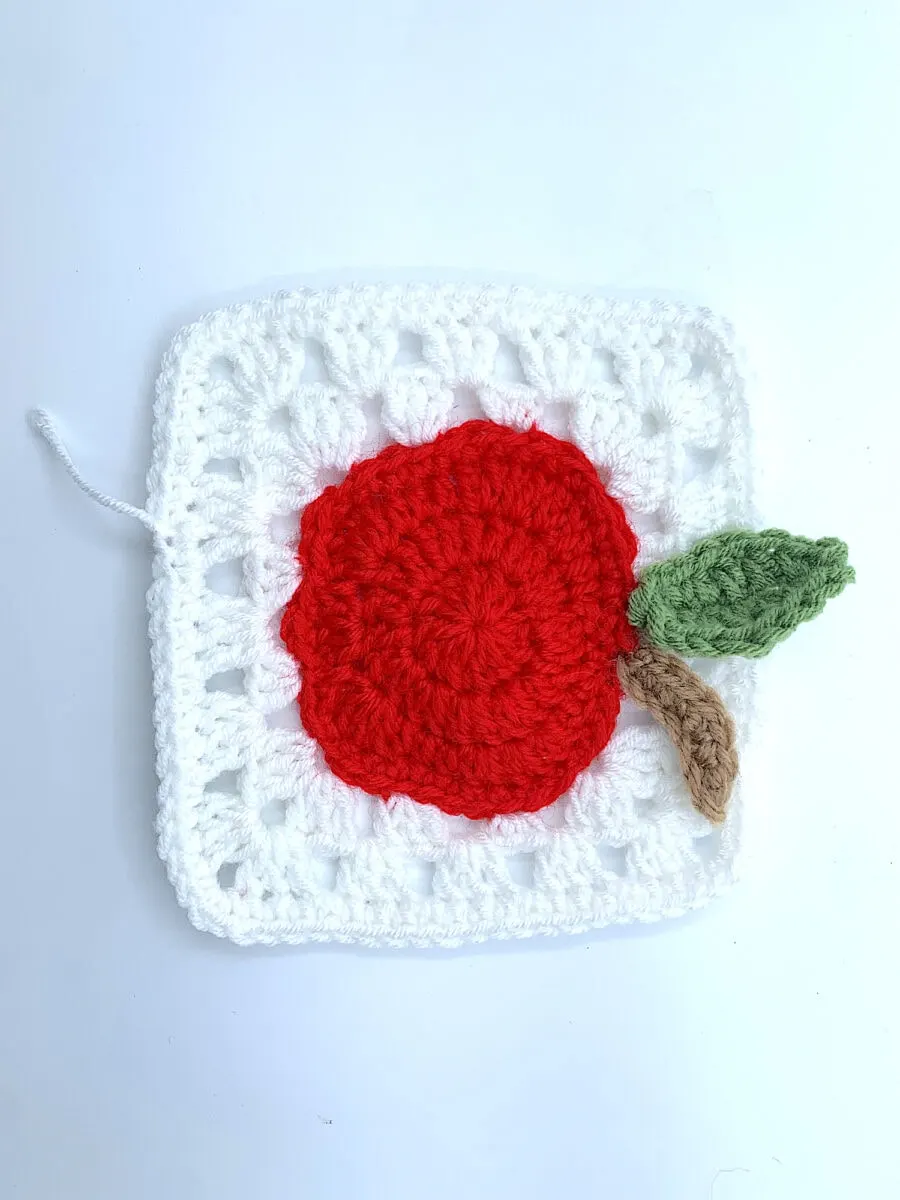
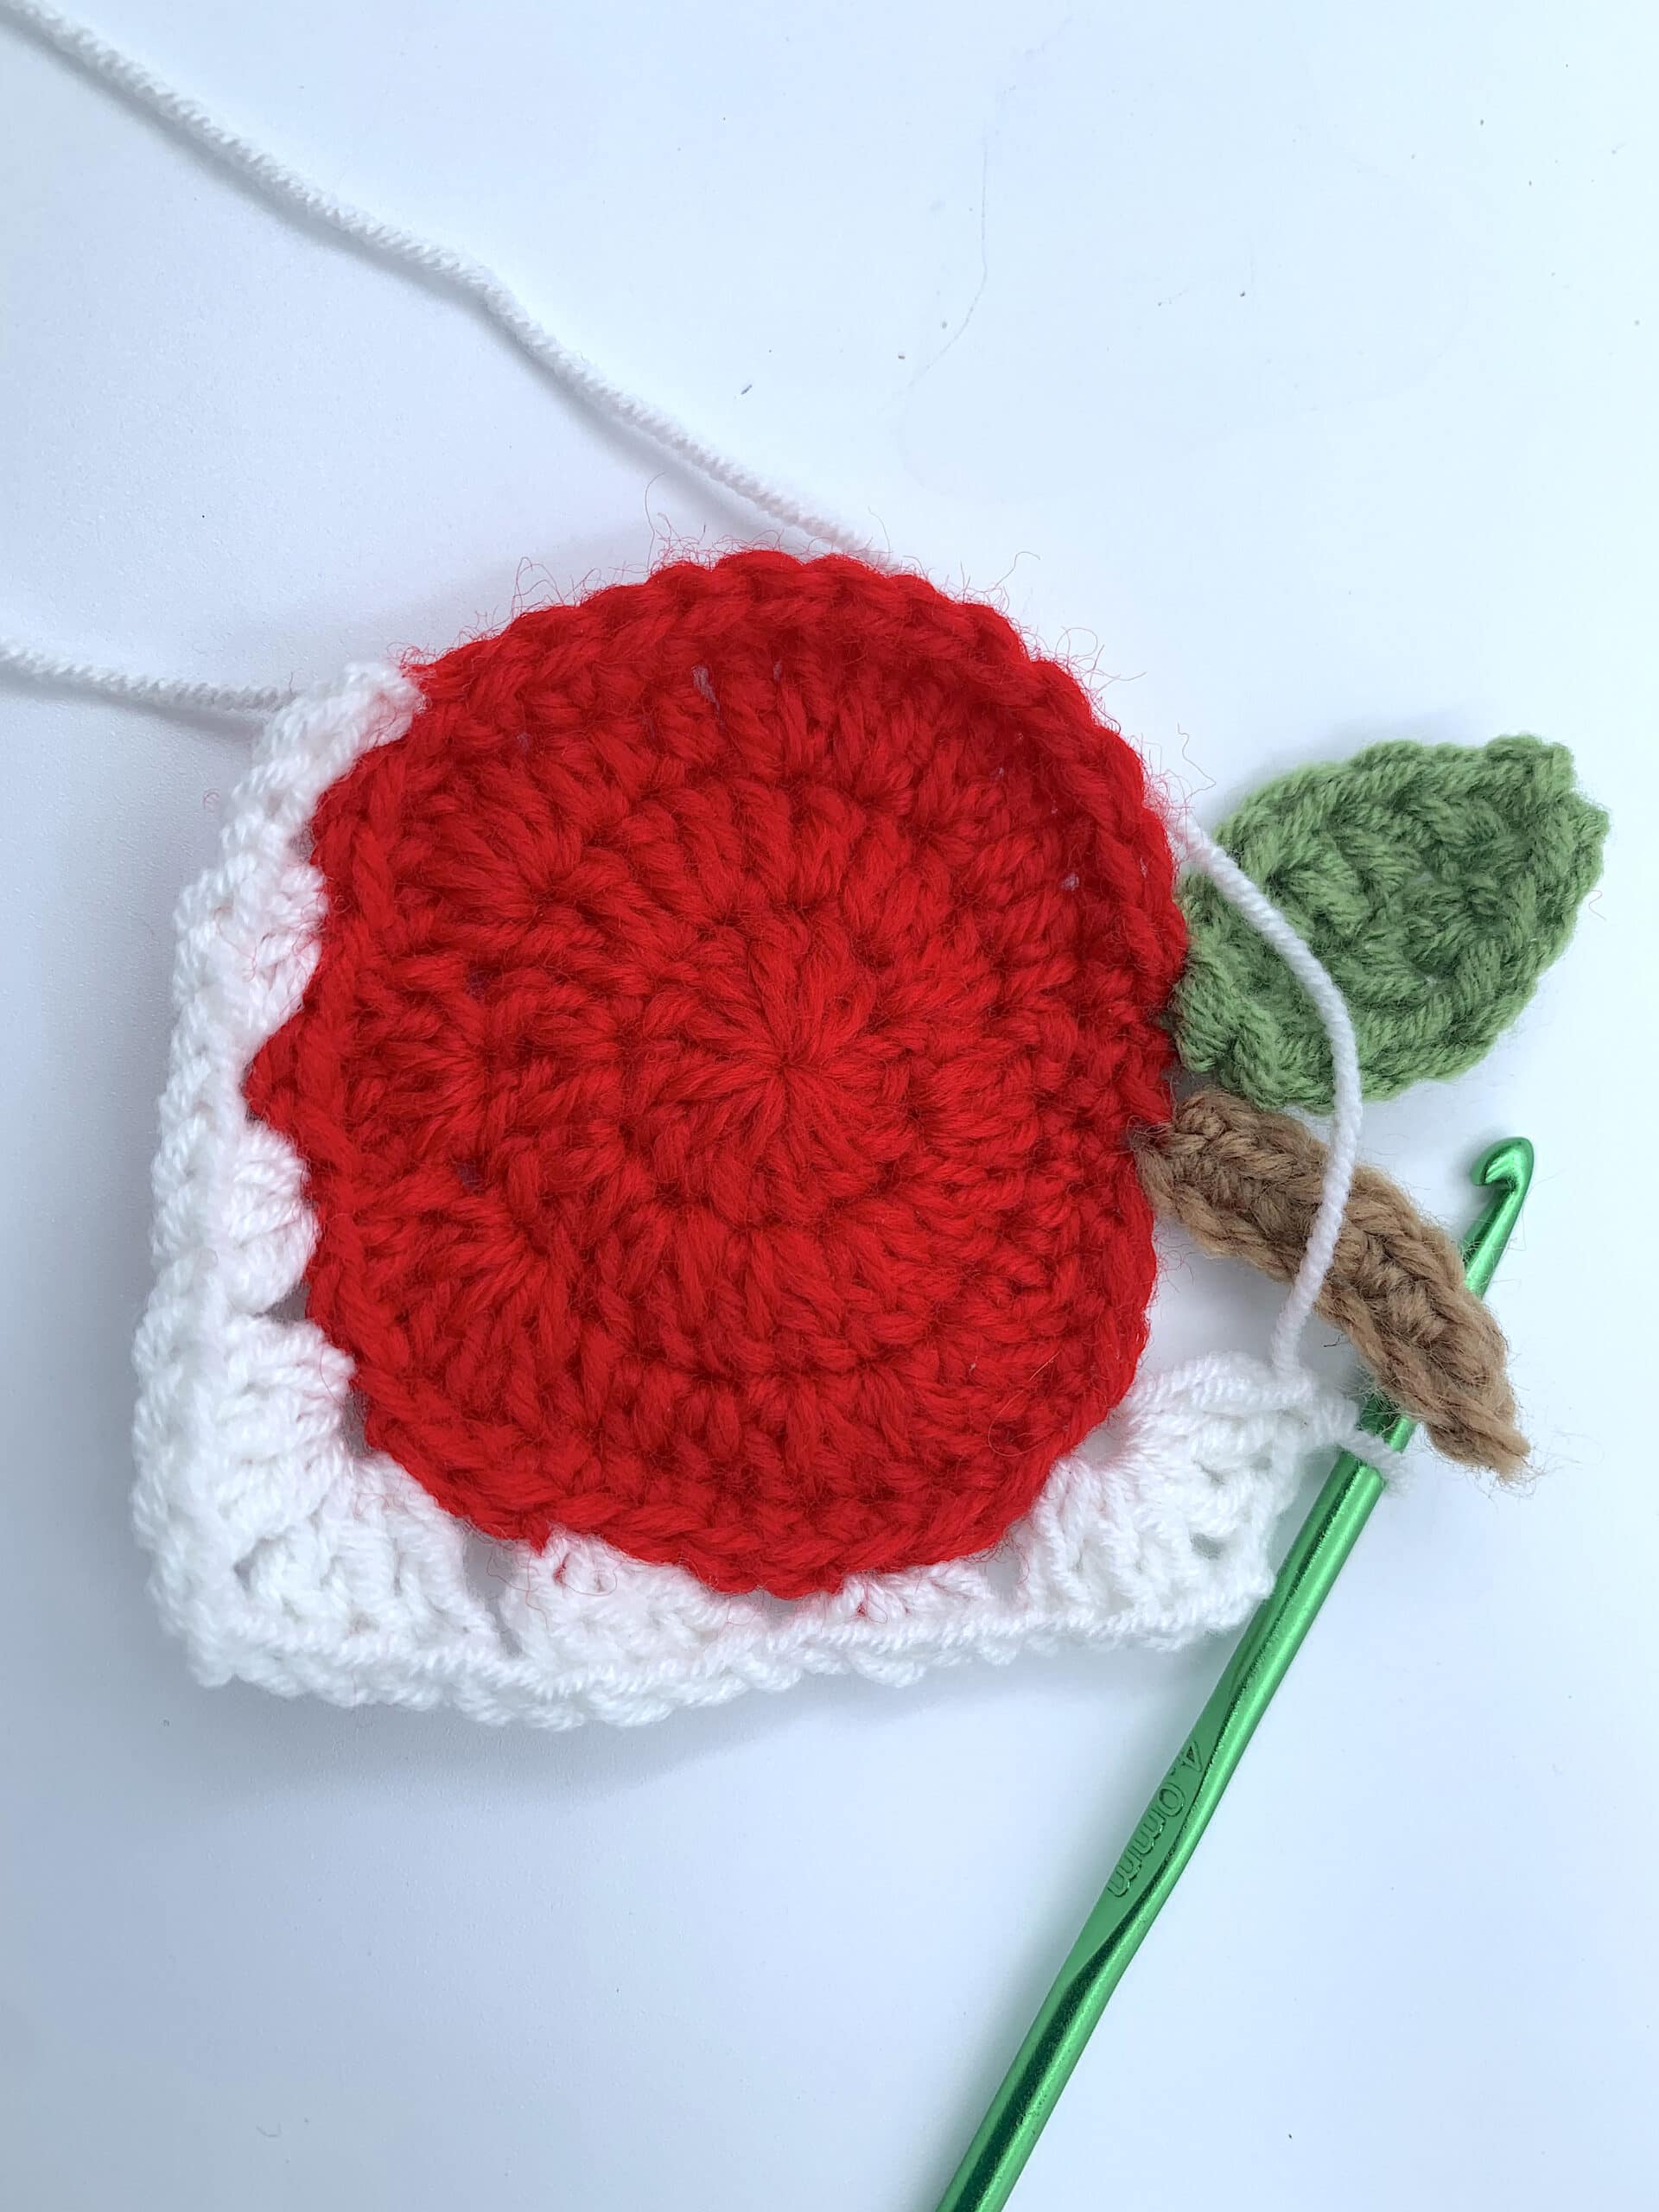
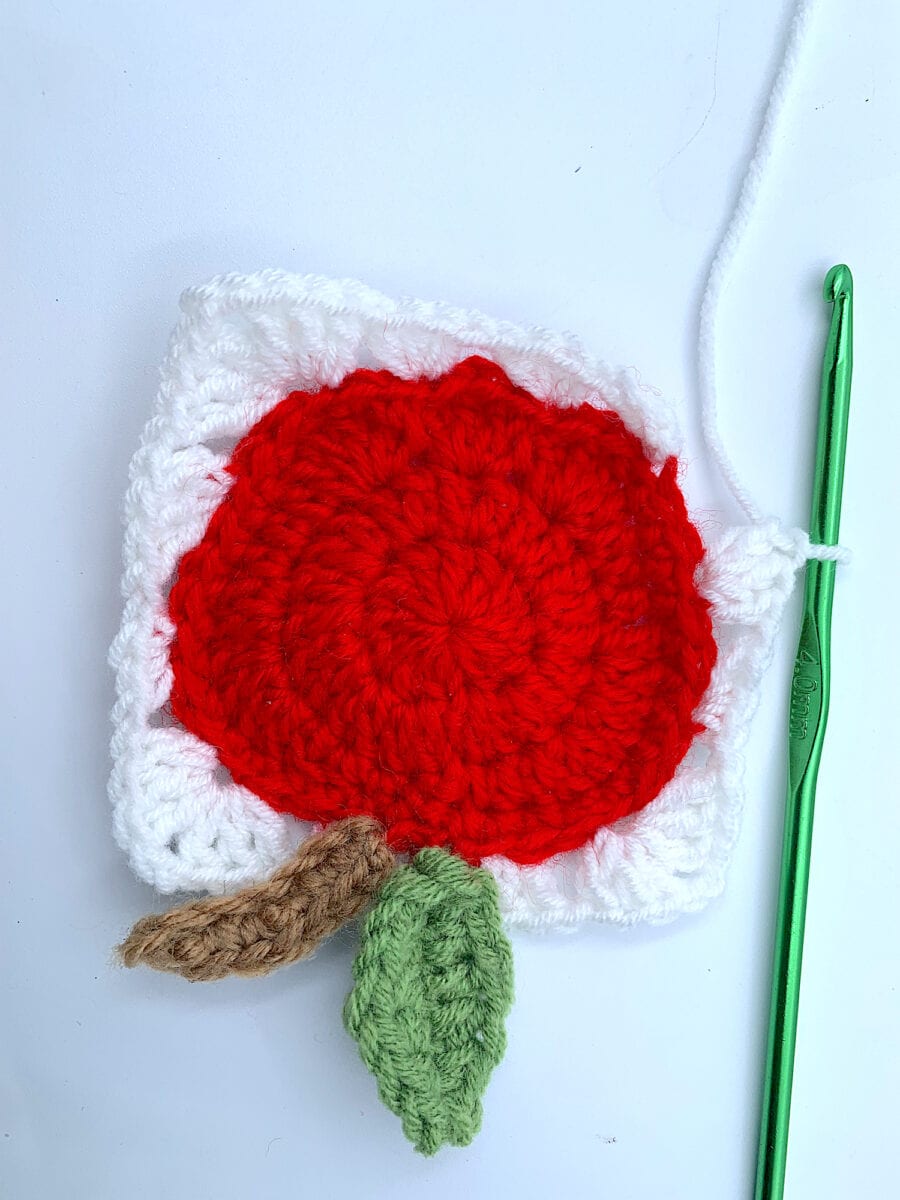
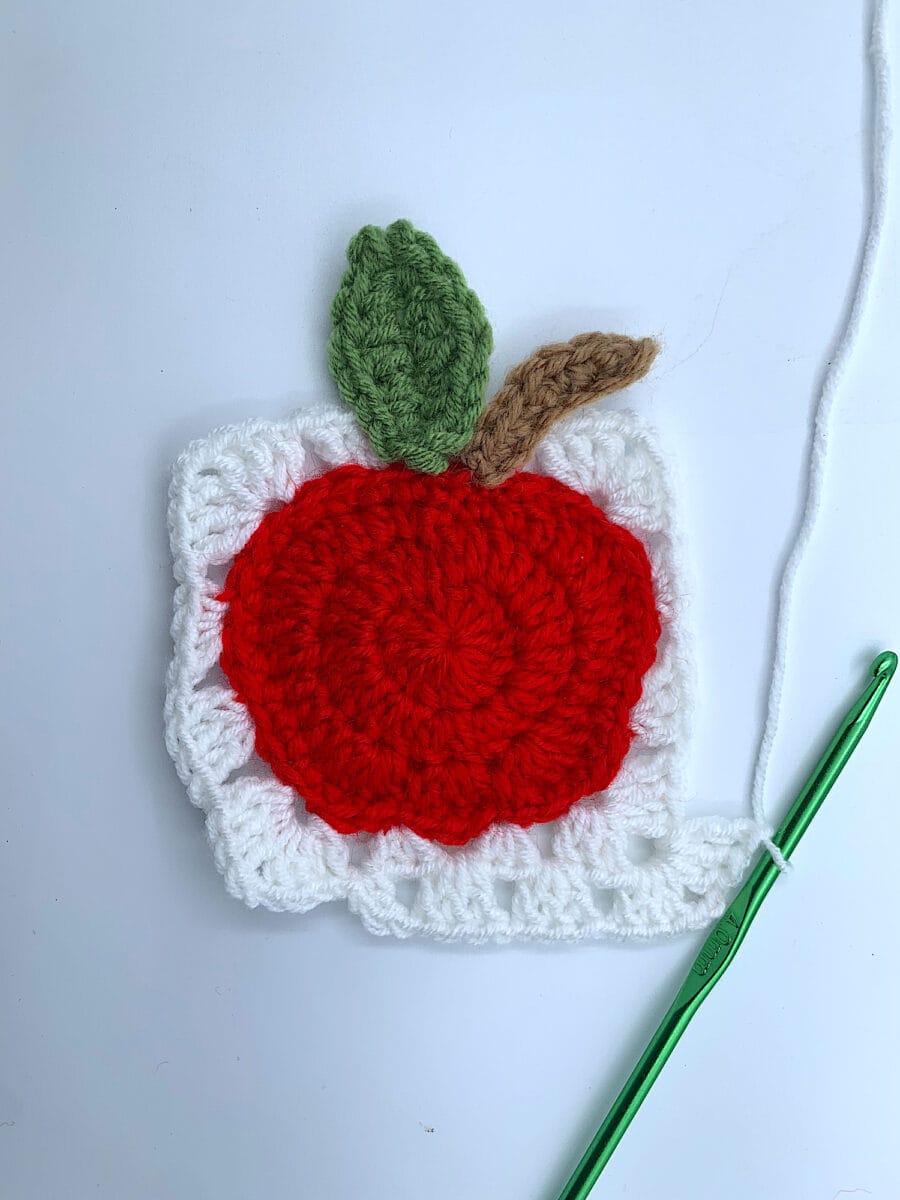
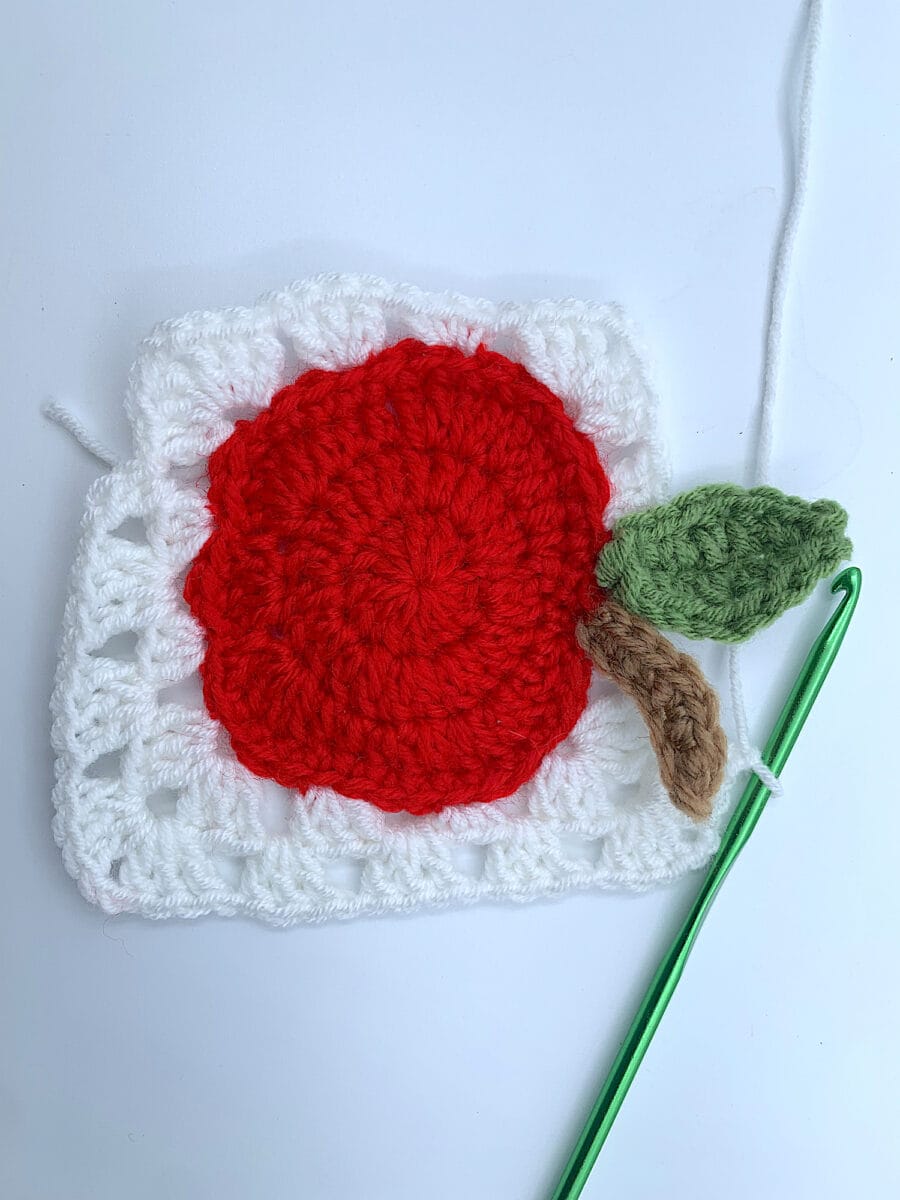
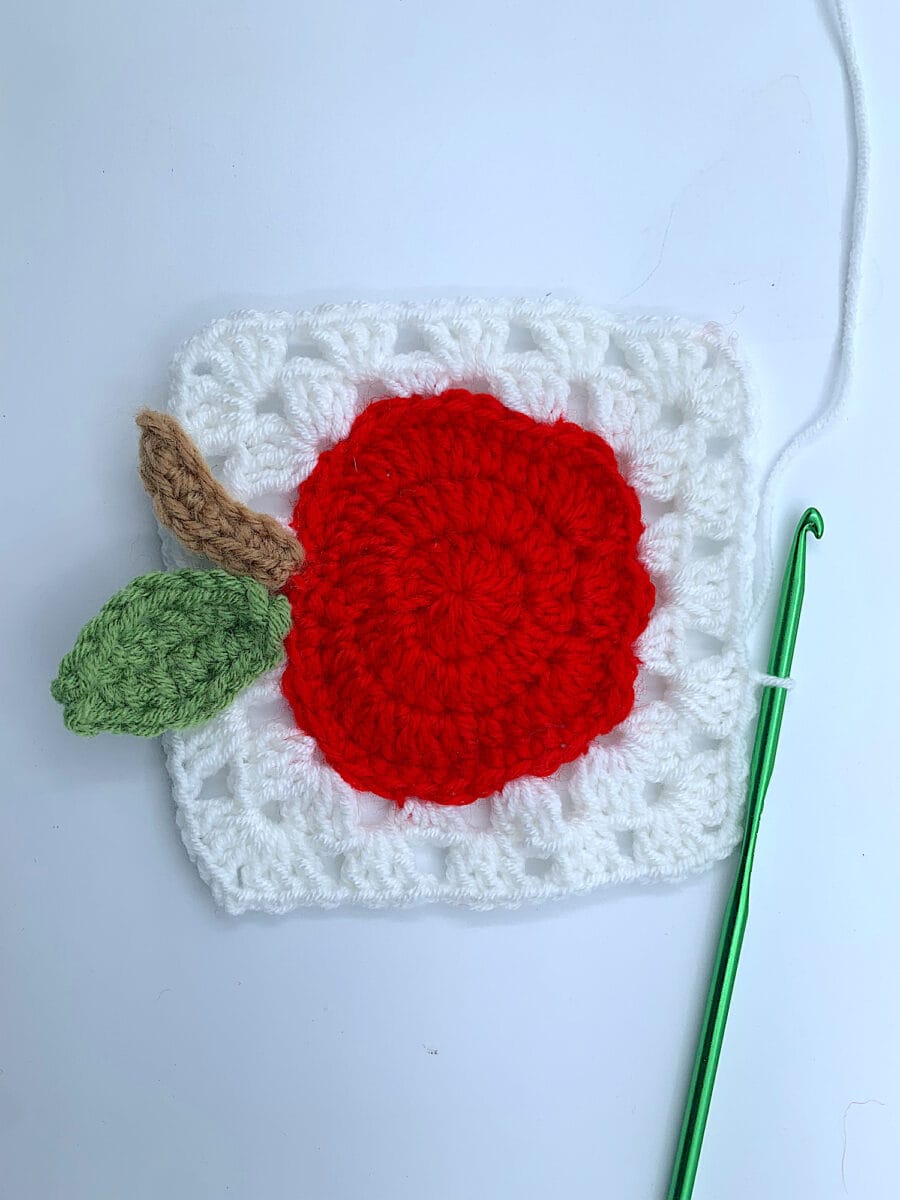
Step 6
Pull out the corners of the granny square using the crochet hook.
As you probably already know, crochet patterns are full of abbreviations. Make sure you download our free crochet abbreviations chart!
You can download a PDF copy of our apple granny square crochet pattern to use on your tablet or phone while crocheting!
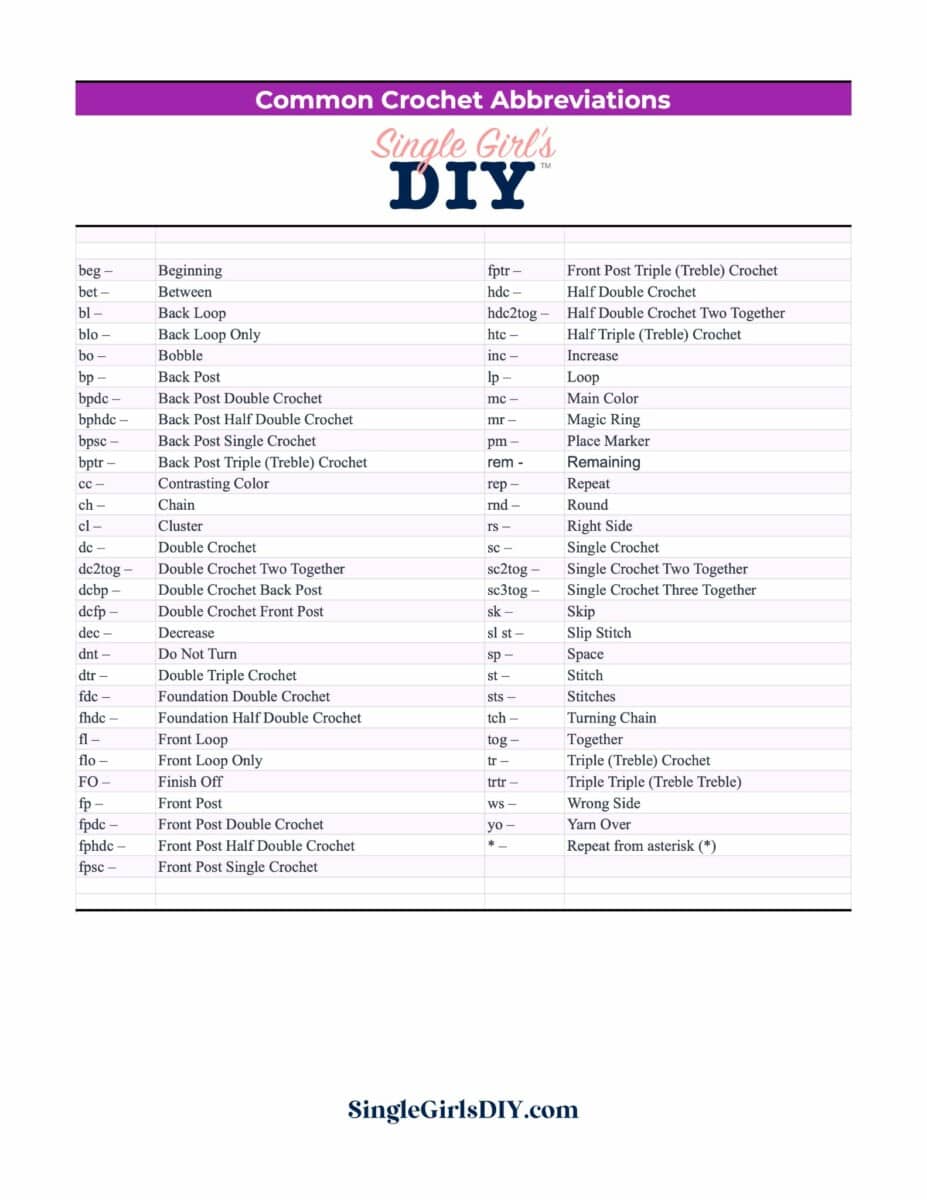
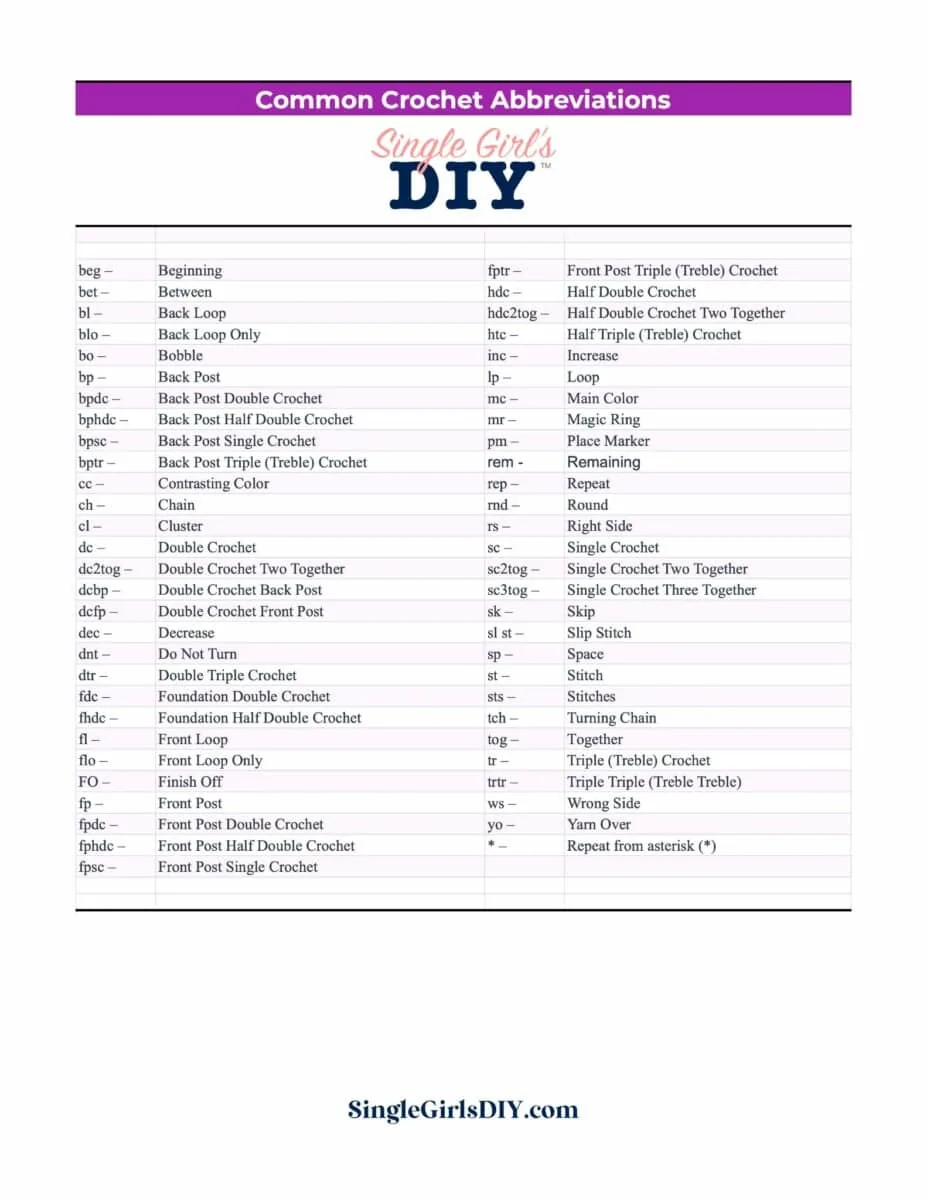
Free Crochet Abbreviations Chart
Get a free printable chart of all the crochet abbreviations you need to know when working on patterns.
The free download is in our pattern library.
Want to save this idea? Be sure to Pin It to Pinterest!
See these fun crochet granny square variations next:
