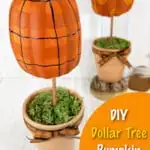
These Dollar Tree DIY Pumpkin Topiaries are easy to make! Using just a few dollars of craft supplies, you can make designer-look Fall decorations for your home.
We used Dollar Tree foam pumpkins to make cute pumpkin topiaries. Almost all of the supplies came from the Dollar store, so they are inexpensive to make.
Pumpkin topiaries can cost $15-30 to buy in a home decor store. Why would you pay that much money when you can make your own for a fraction of the cost?
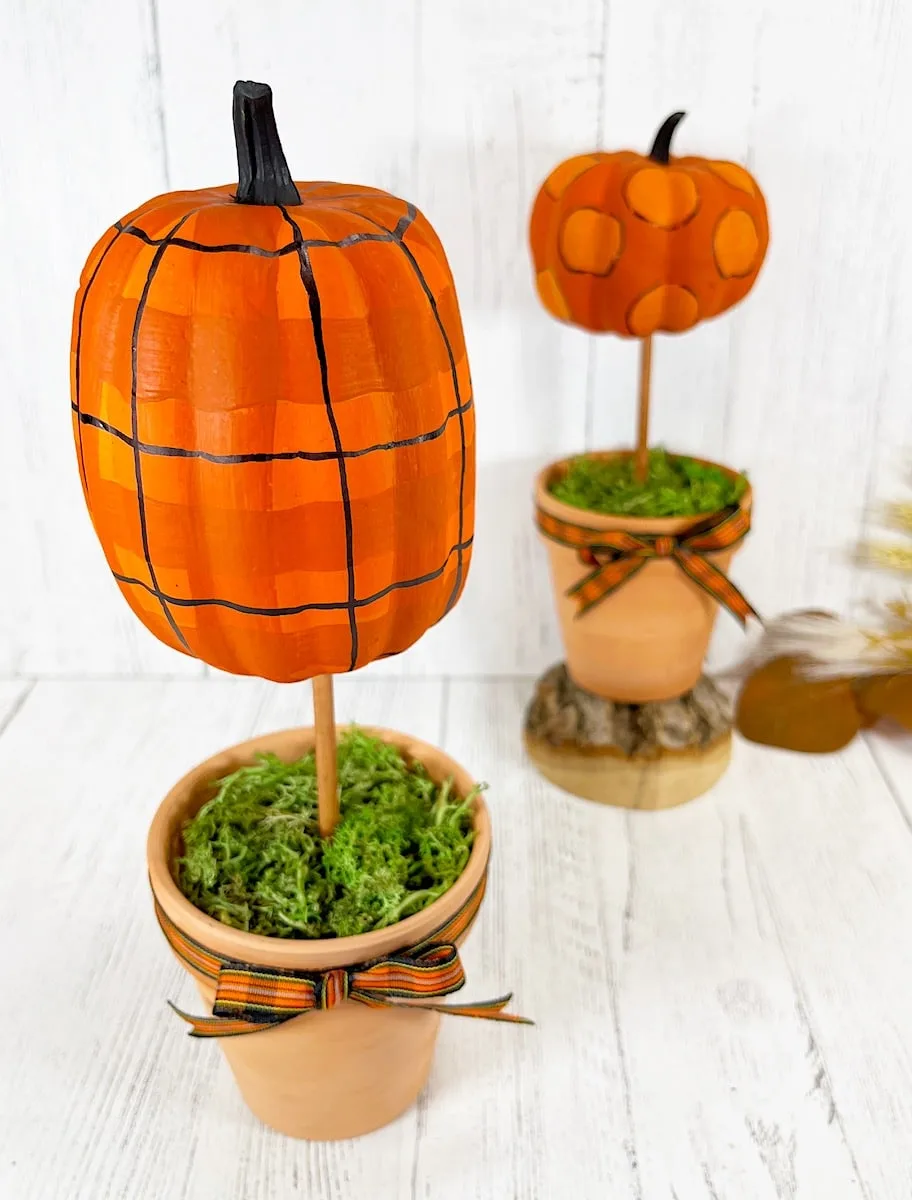
These pumpkin topiaries are so easy to make because all you need to do is paint and hot glue items together.
You can customize the pumpkins however you would like. While we chose patterns, you could write names on each pumpkin as a place setting. Or draw on a Jack-o-Lantern face for Halloween.
This is just one of our many easy Dollar Tree DIY crafts, so be sure to check out more ideas!
Be sure to see all of our easy Fall crafts for more great ideas!
How to Make Pumpkin Topiaries
Materials
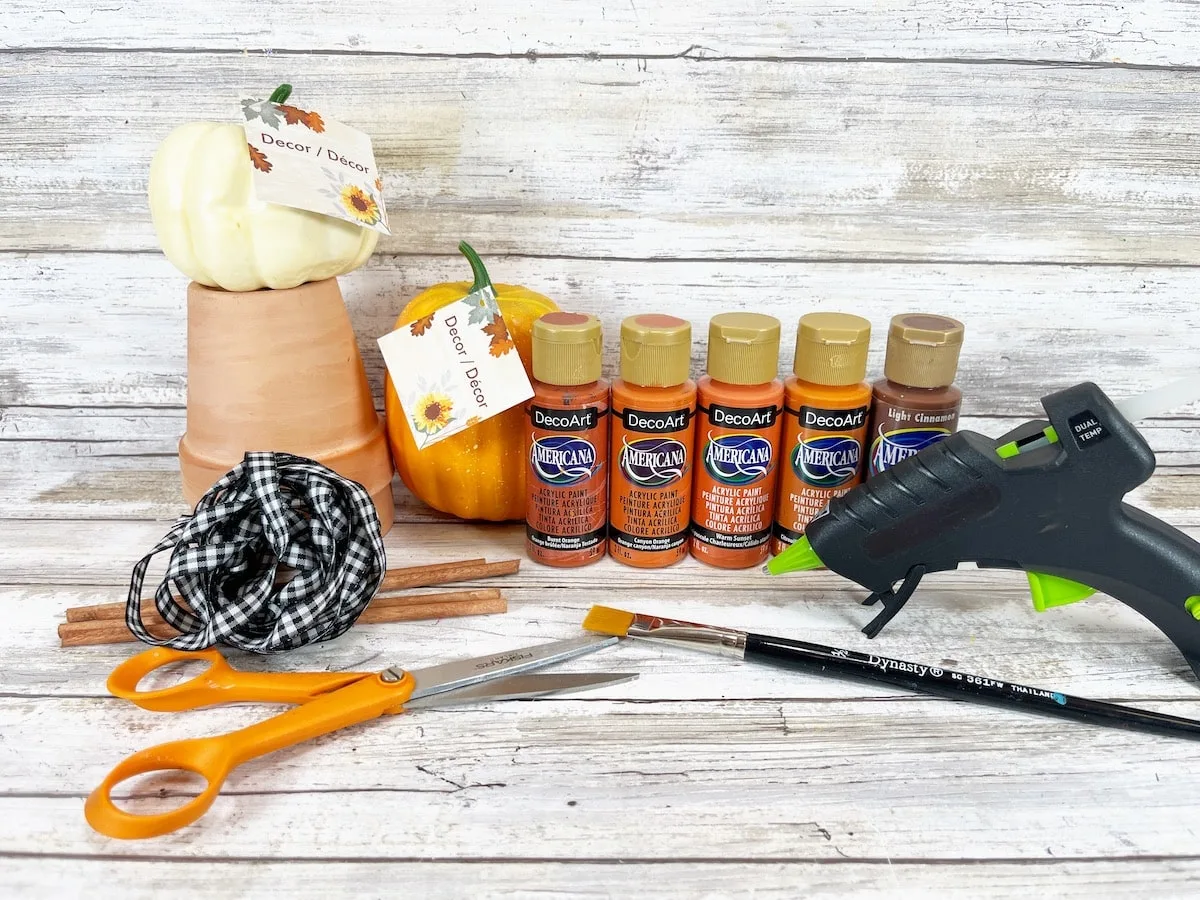
- Two Mini Foam Pumpkins (different shapes)
- Two 2.5″ Mini Clay Pots
- Wooden Dowels, 6” long
- Two 1.25″ Foam Balls
- Reindeer Moss
- Acrylic Craft Paint (I used DecoArt Americana Burnt Orange, Warm Sunset, Spiced Pumpkin, Light Cinnamon and Black)
- Ribbon
- Permanent Black Marker
- Round Foam Applicator (optional)
- Glue Gun and Glue Sticks
- Scissors
- Paintbrush
- Baby Wipe (optional)
Instructions
Step 1
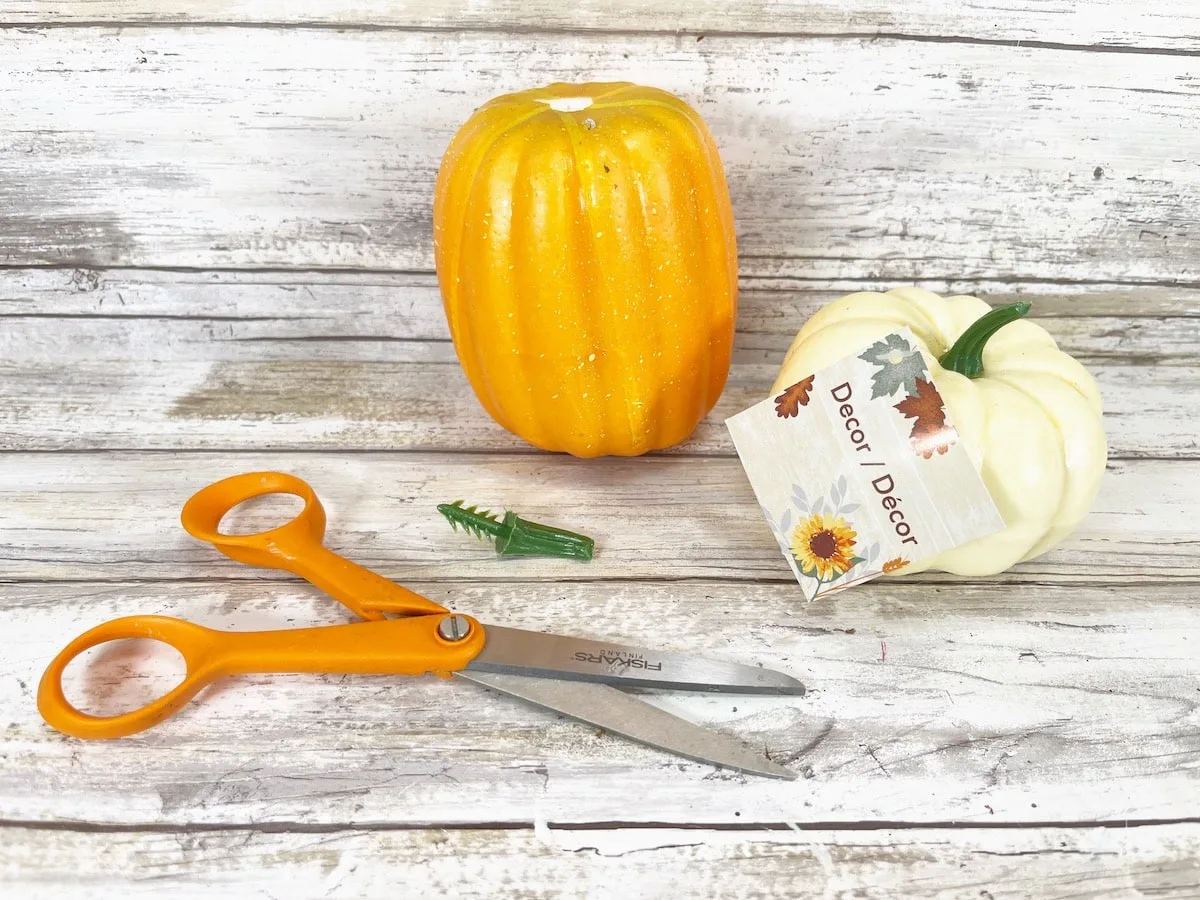
Remove the tags and stems from the pumpkins. The stems should pull out easily from the foam pumpkins. Keep the pumpkin stems for later.
Then paint the pumpkins. Paint the short pumpkin with dark orange acrylic craft paint, and then paint the tall pumpkin with medium orange acrylic craft paint.
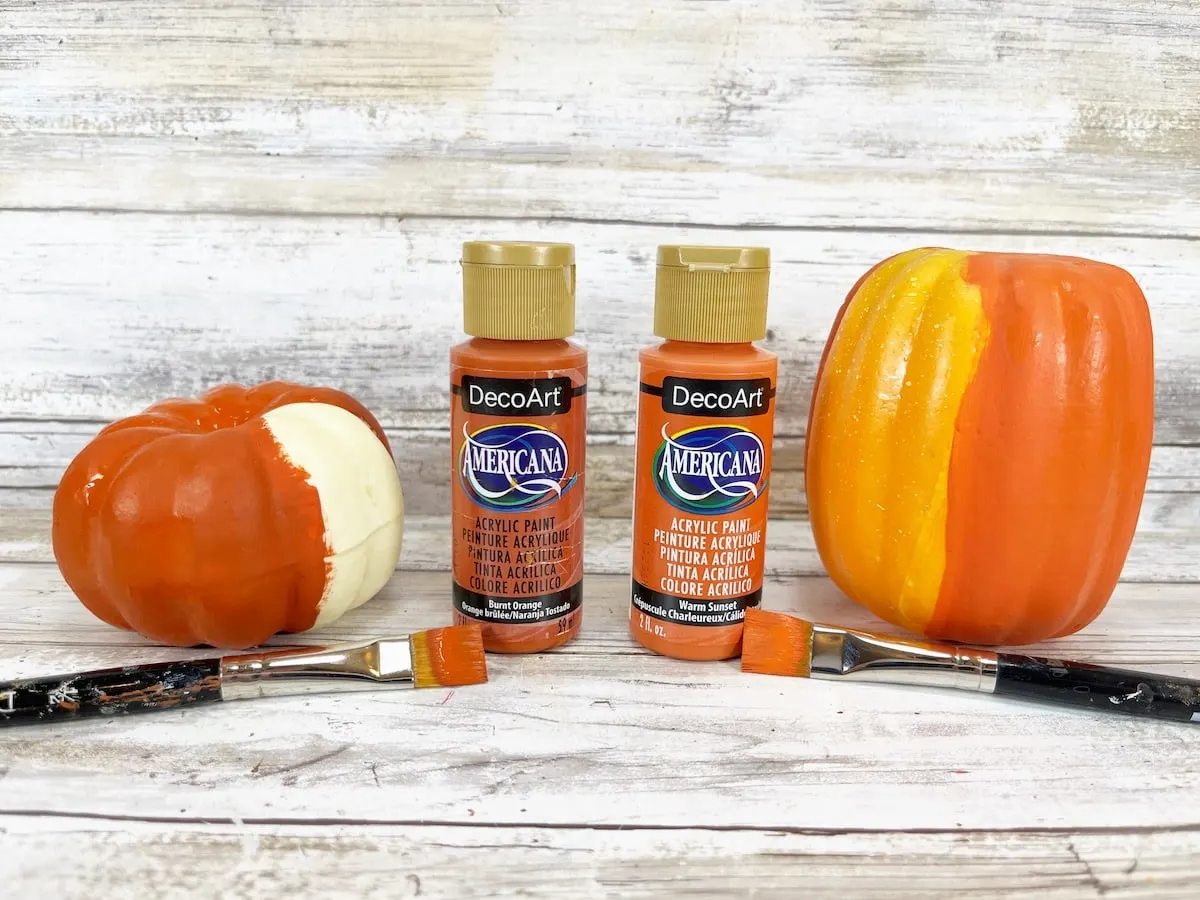
Allow to dry completely, and apply a second coat, if needed.
Step 2
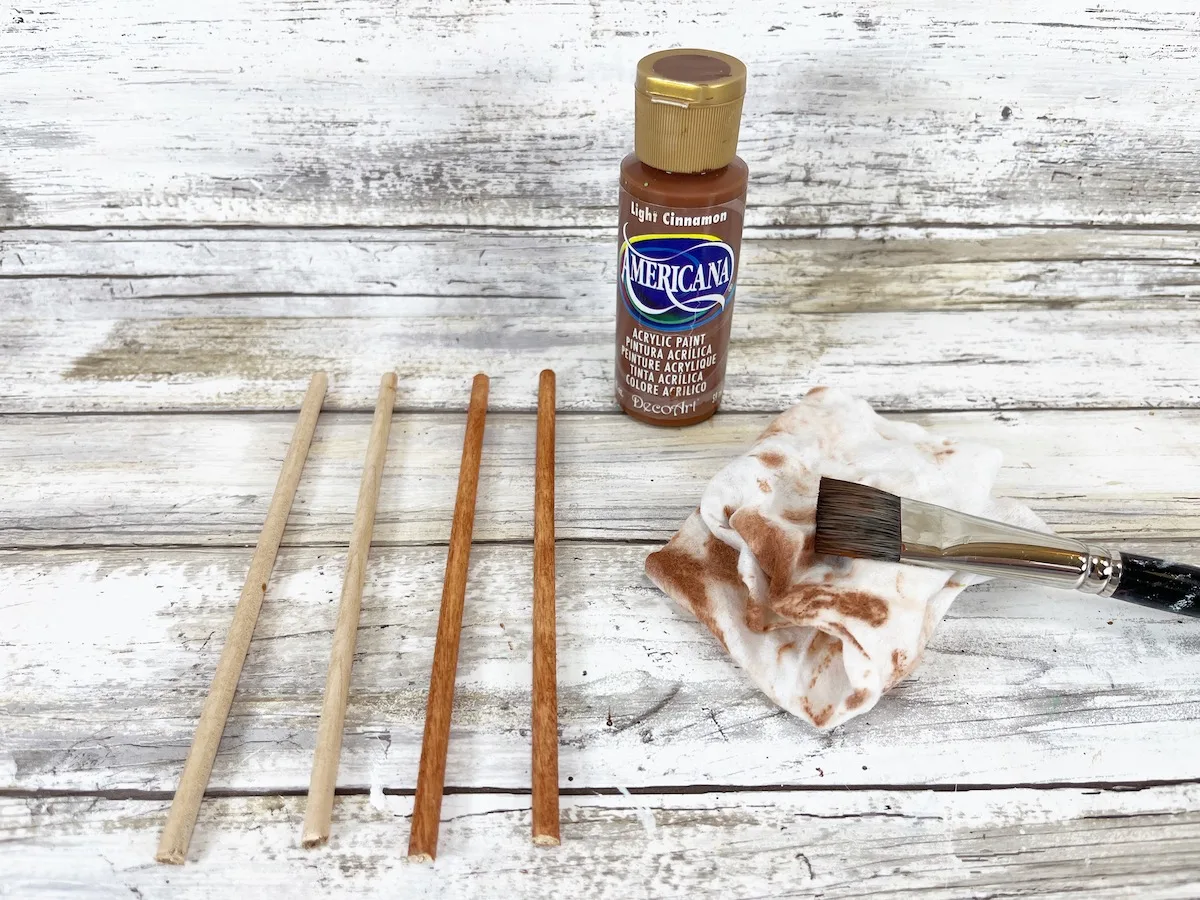
Paint the three wooden dowels with brown craft paint. Immediately after painting, rub a baby wipe along the dowel to remove some of the paint for a weathered look.
Allow to dry.
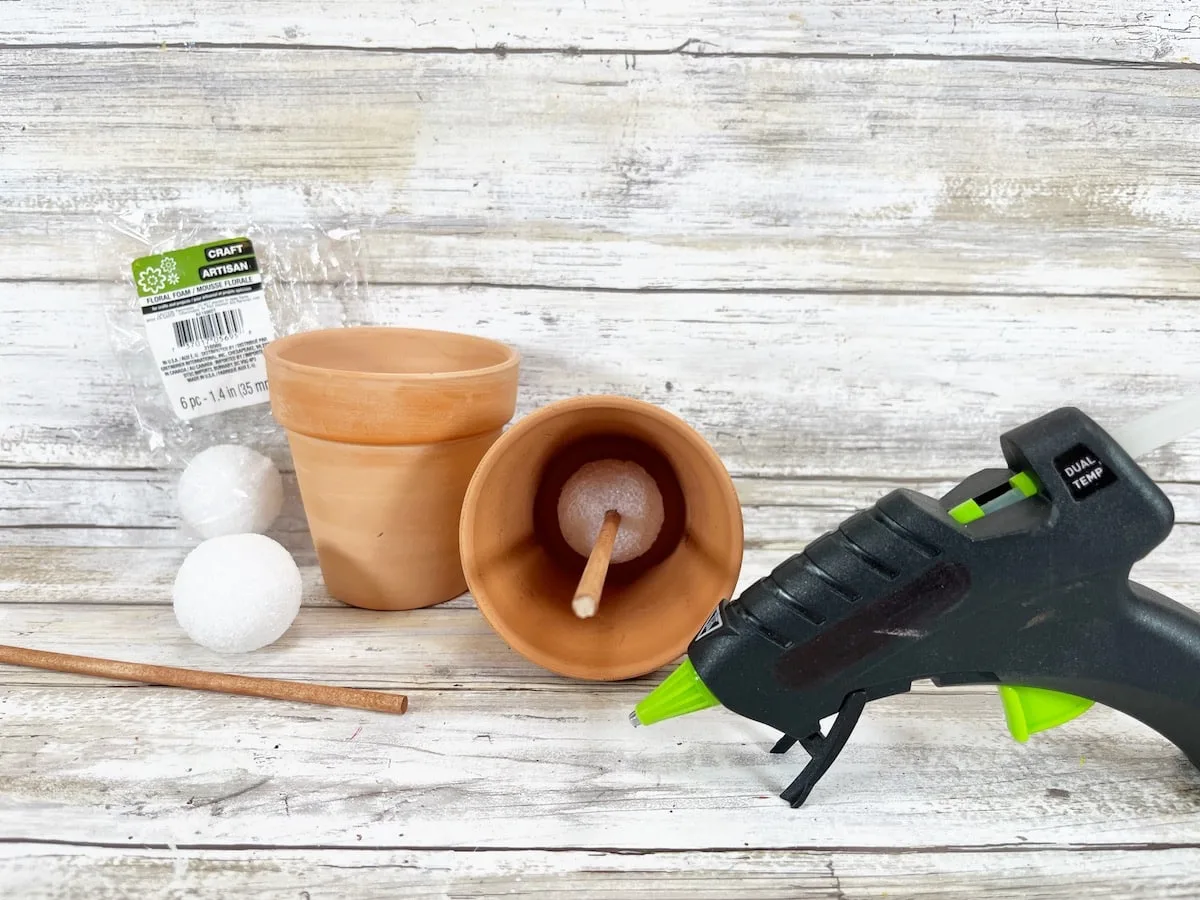
Glue one 1.25” foam ball in the bottom of each clay pot.
Insert the wooden dowel into the center of the foam ball, securing with hot glue.
Next, insert the wooden dowel into the bottom of the pumpkin to create a hole. Remove the dowel and then apply glue from the hot glue gun onto the top of the dowel and insert it back into the pumpkin to secure.
Step 3
Now it’s time to decorate the pumpkins! You can have fun with this and choose your own patterns. Or use the patterns that I did on my pumpkin topiaries.
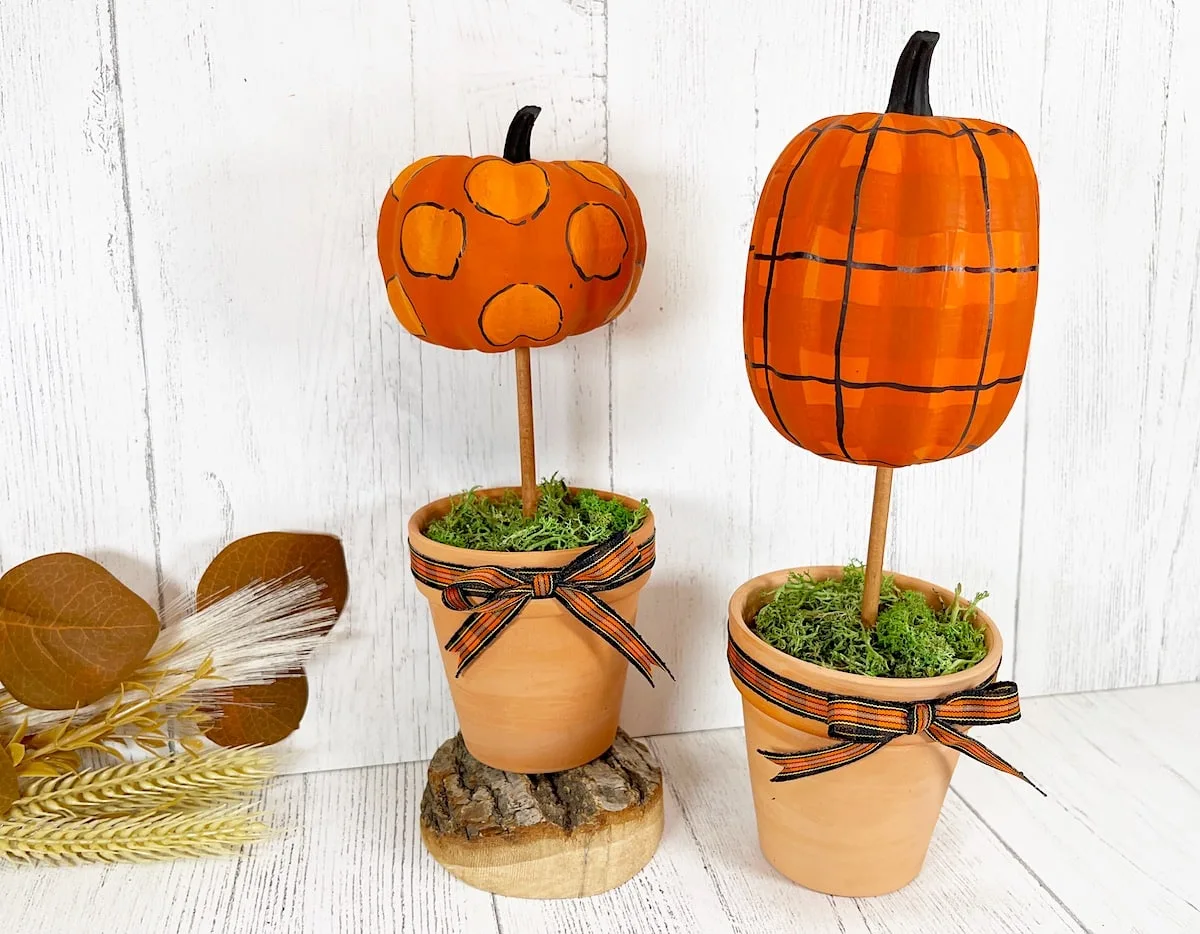
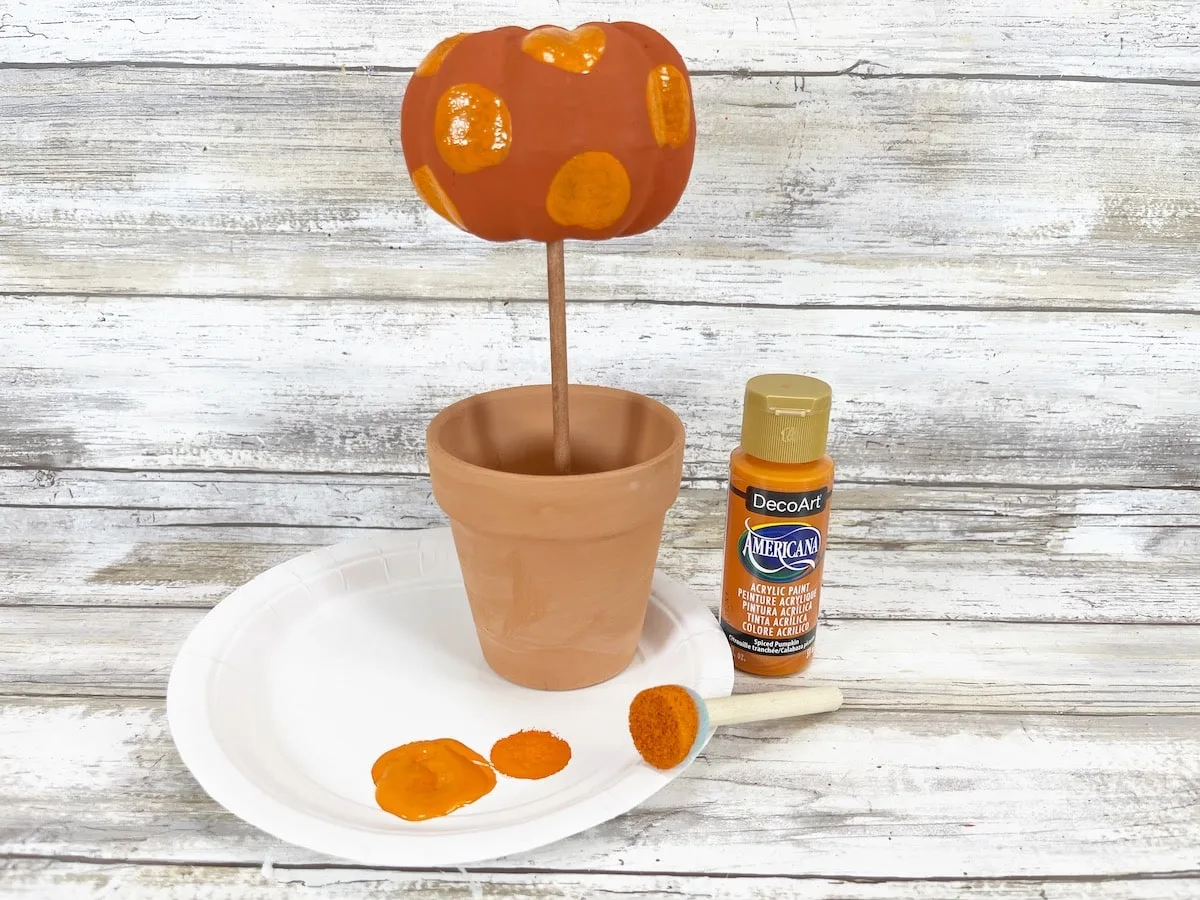
On the short pumpkin, create a polka dot pattern with a round foam applicator and bright orange acrylic craft paint.
Allow to dry completely.
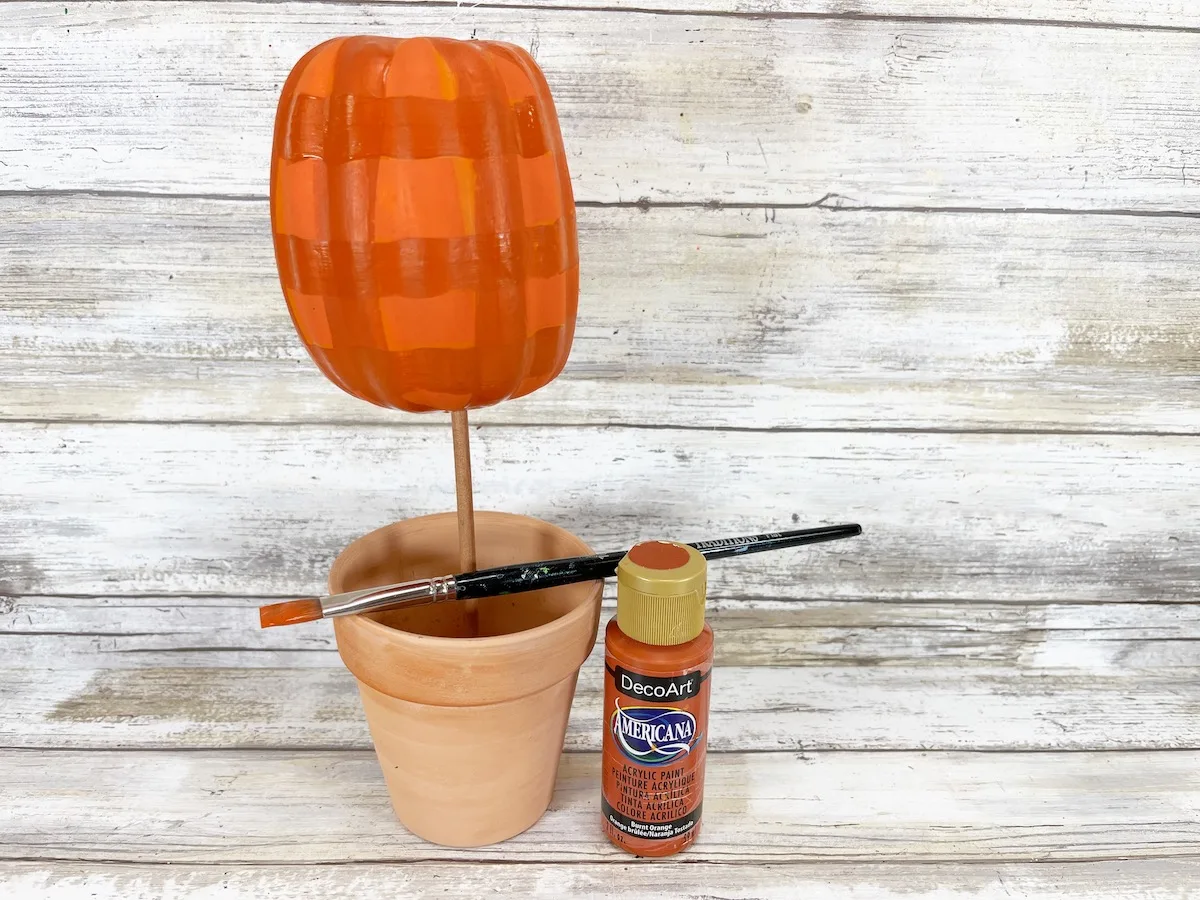
Create a plaid pattern on the tall pumpkin with a flat paintbrush and dark orange acrylic craft paint. Allow to dry completely.
Step 4
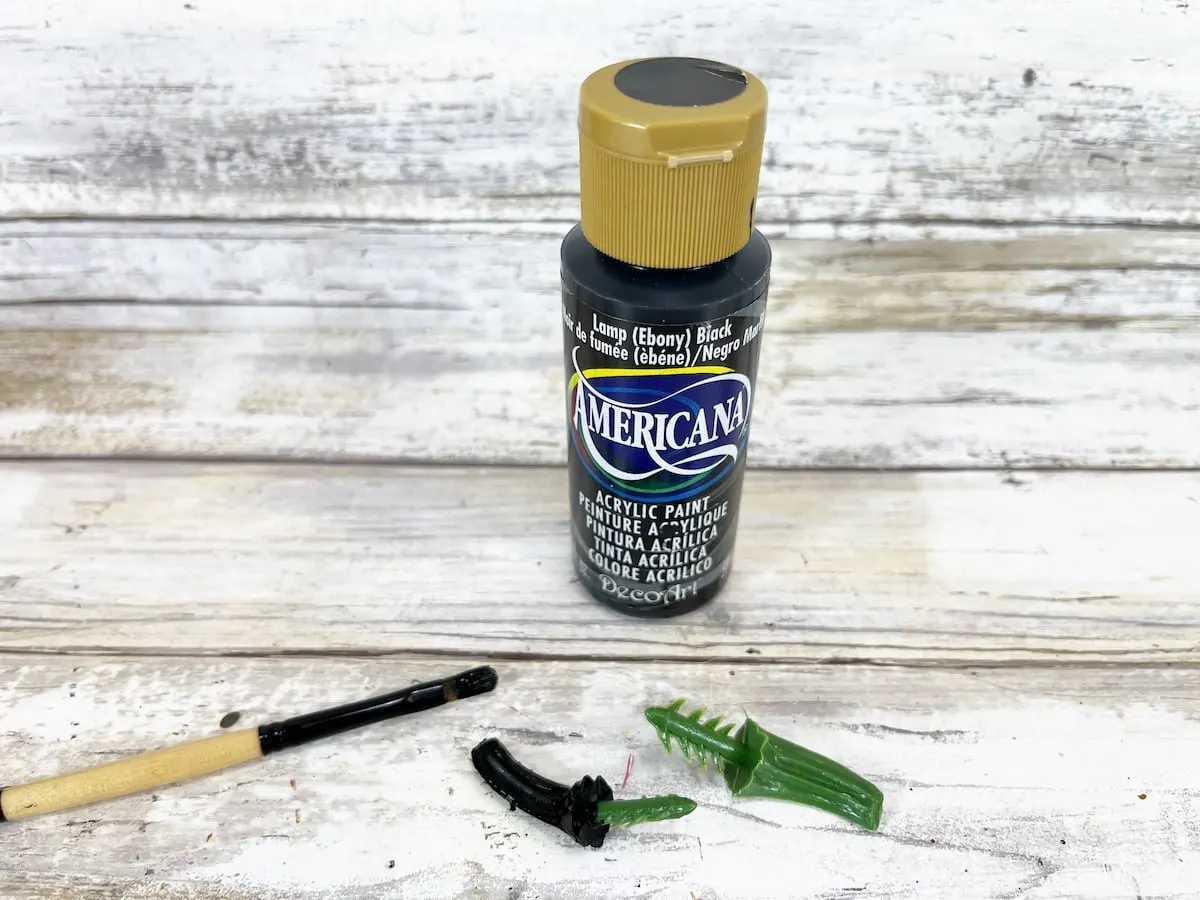
Paint the pumpkin stems with black acrylic craft paint and let dry.
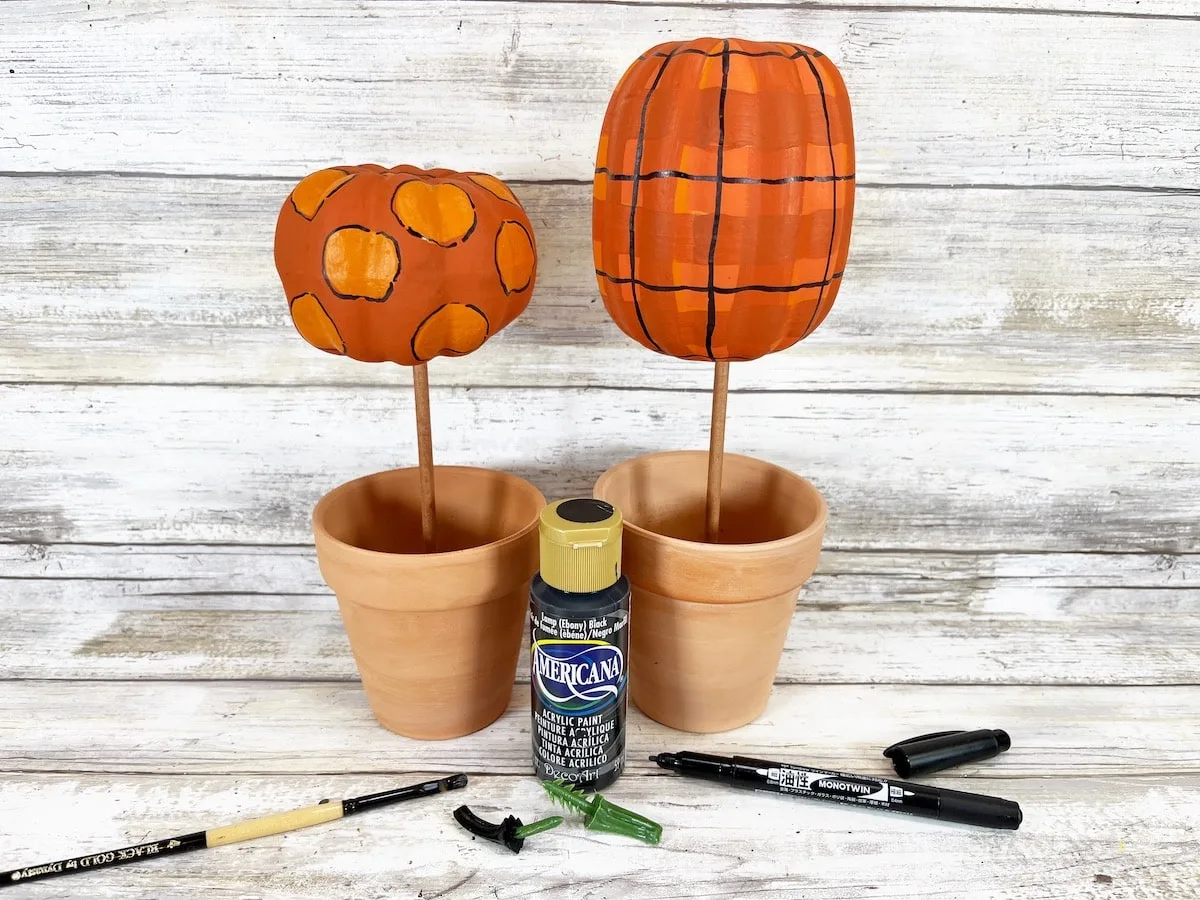
Using a small thin paintbrush, add an outline around the polka dots on the short pumpkin with a permanent black marker. The lines don’t have to be perfect!
On the tall pumpkin, add a thin plaid pattern using a permanent black marker. Make the lines loose and sketchy for a homemade feel.
Step 5
Glue the black stems back into the top of each pumpkin.
Glue plaid ribbon around the rim of both clay pots, securing the cut ends with a drop of glue.
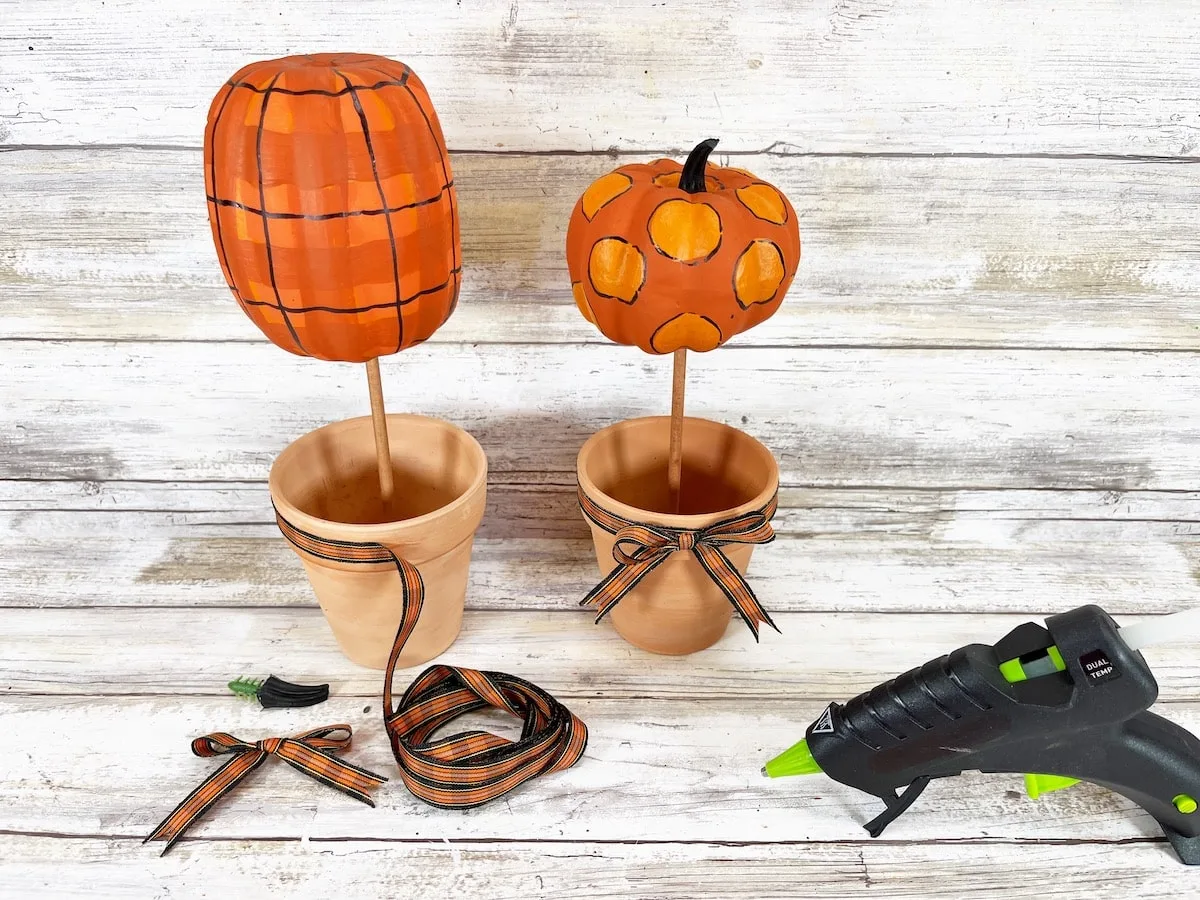
Tie additional ribbon into a bow and glue to the front of the clay pot. Trim any long ribbon ends with scissors.
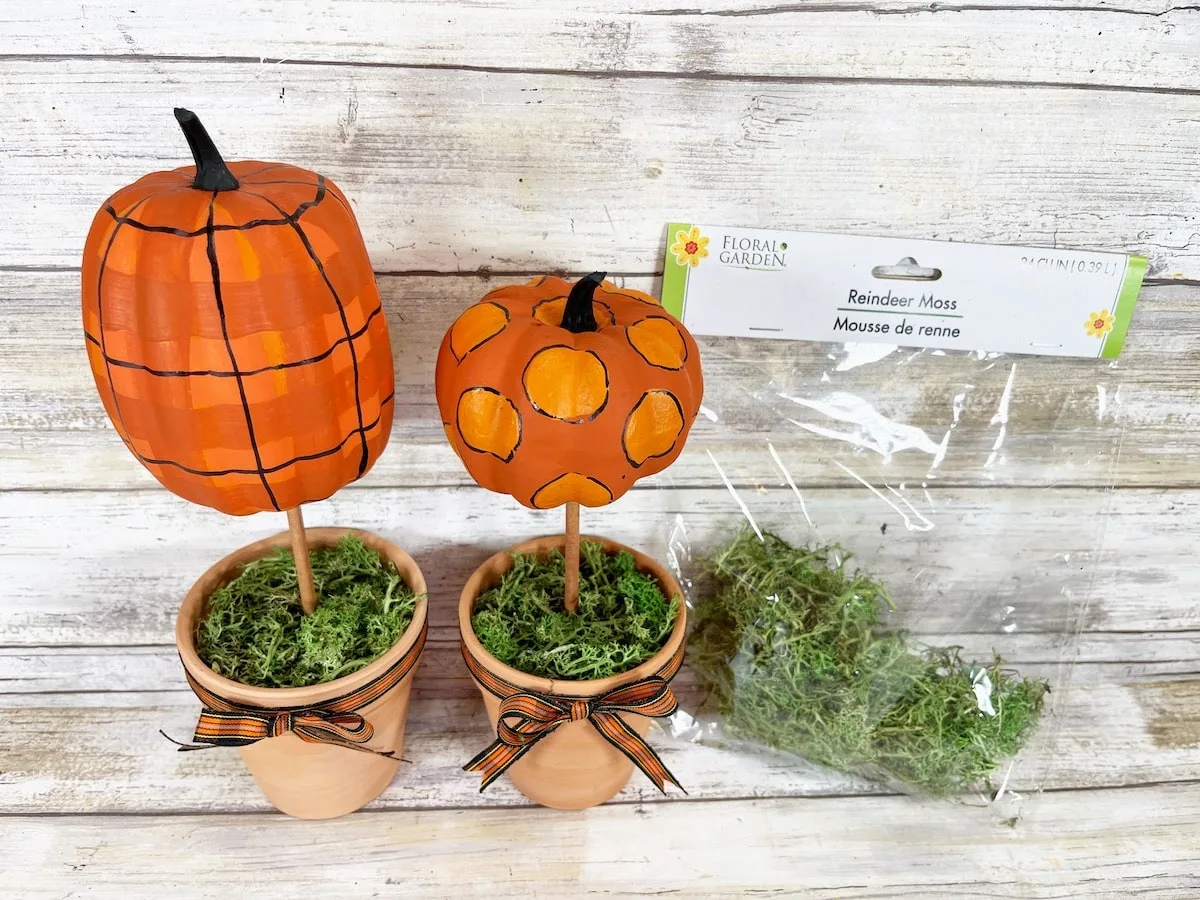
To finish, fill both clay pots on top of the styrofoam ball with green reindeer moss.
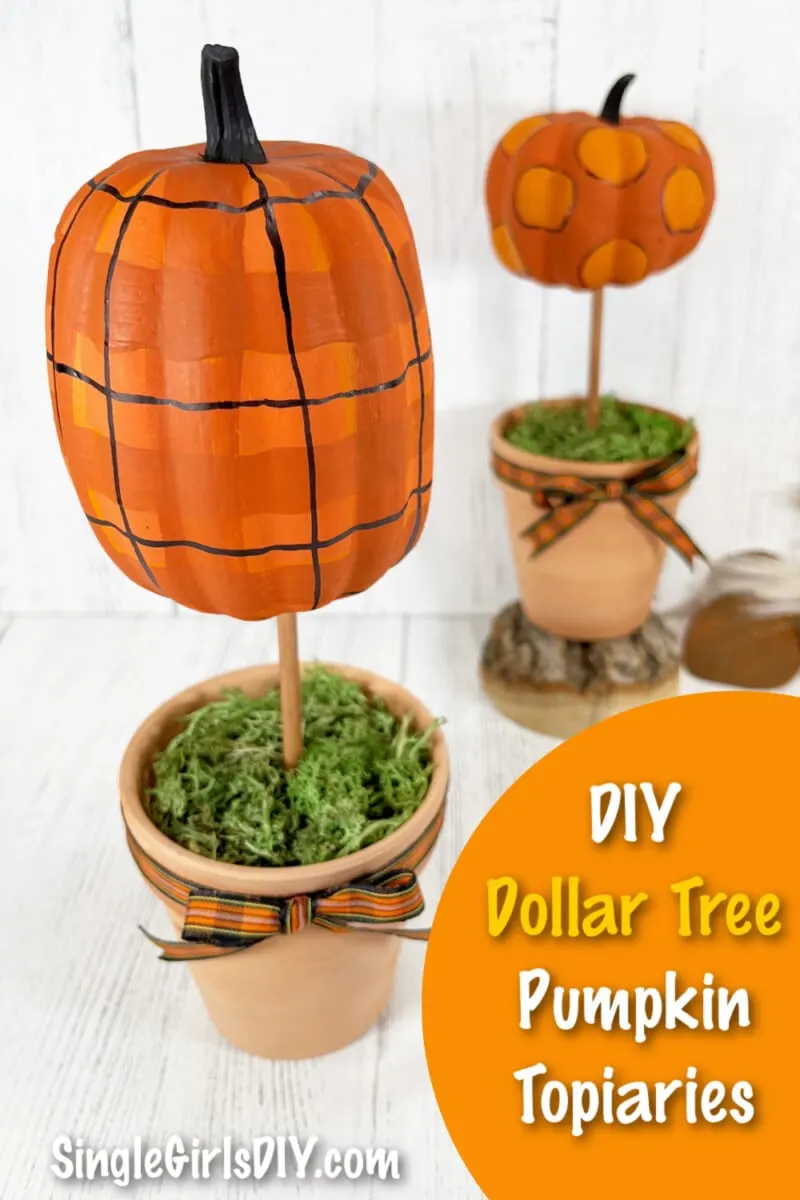
Be sure to Pin This idea to save for later!
See how we used a Dollar Tree foam pumpkin to create a gorgeous faux succulent pumpkin, too!

